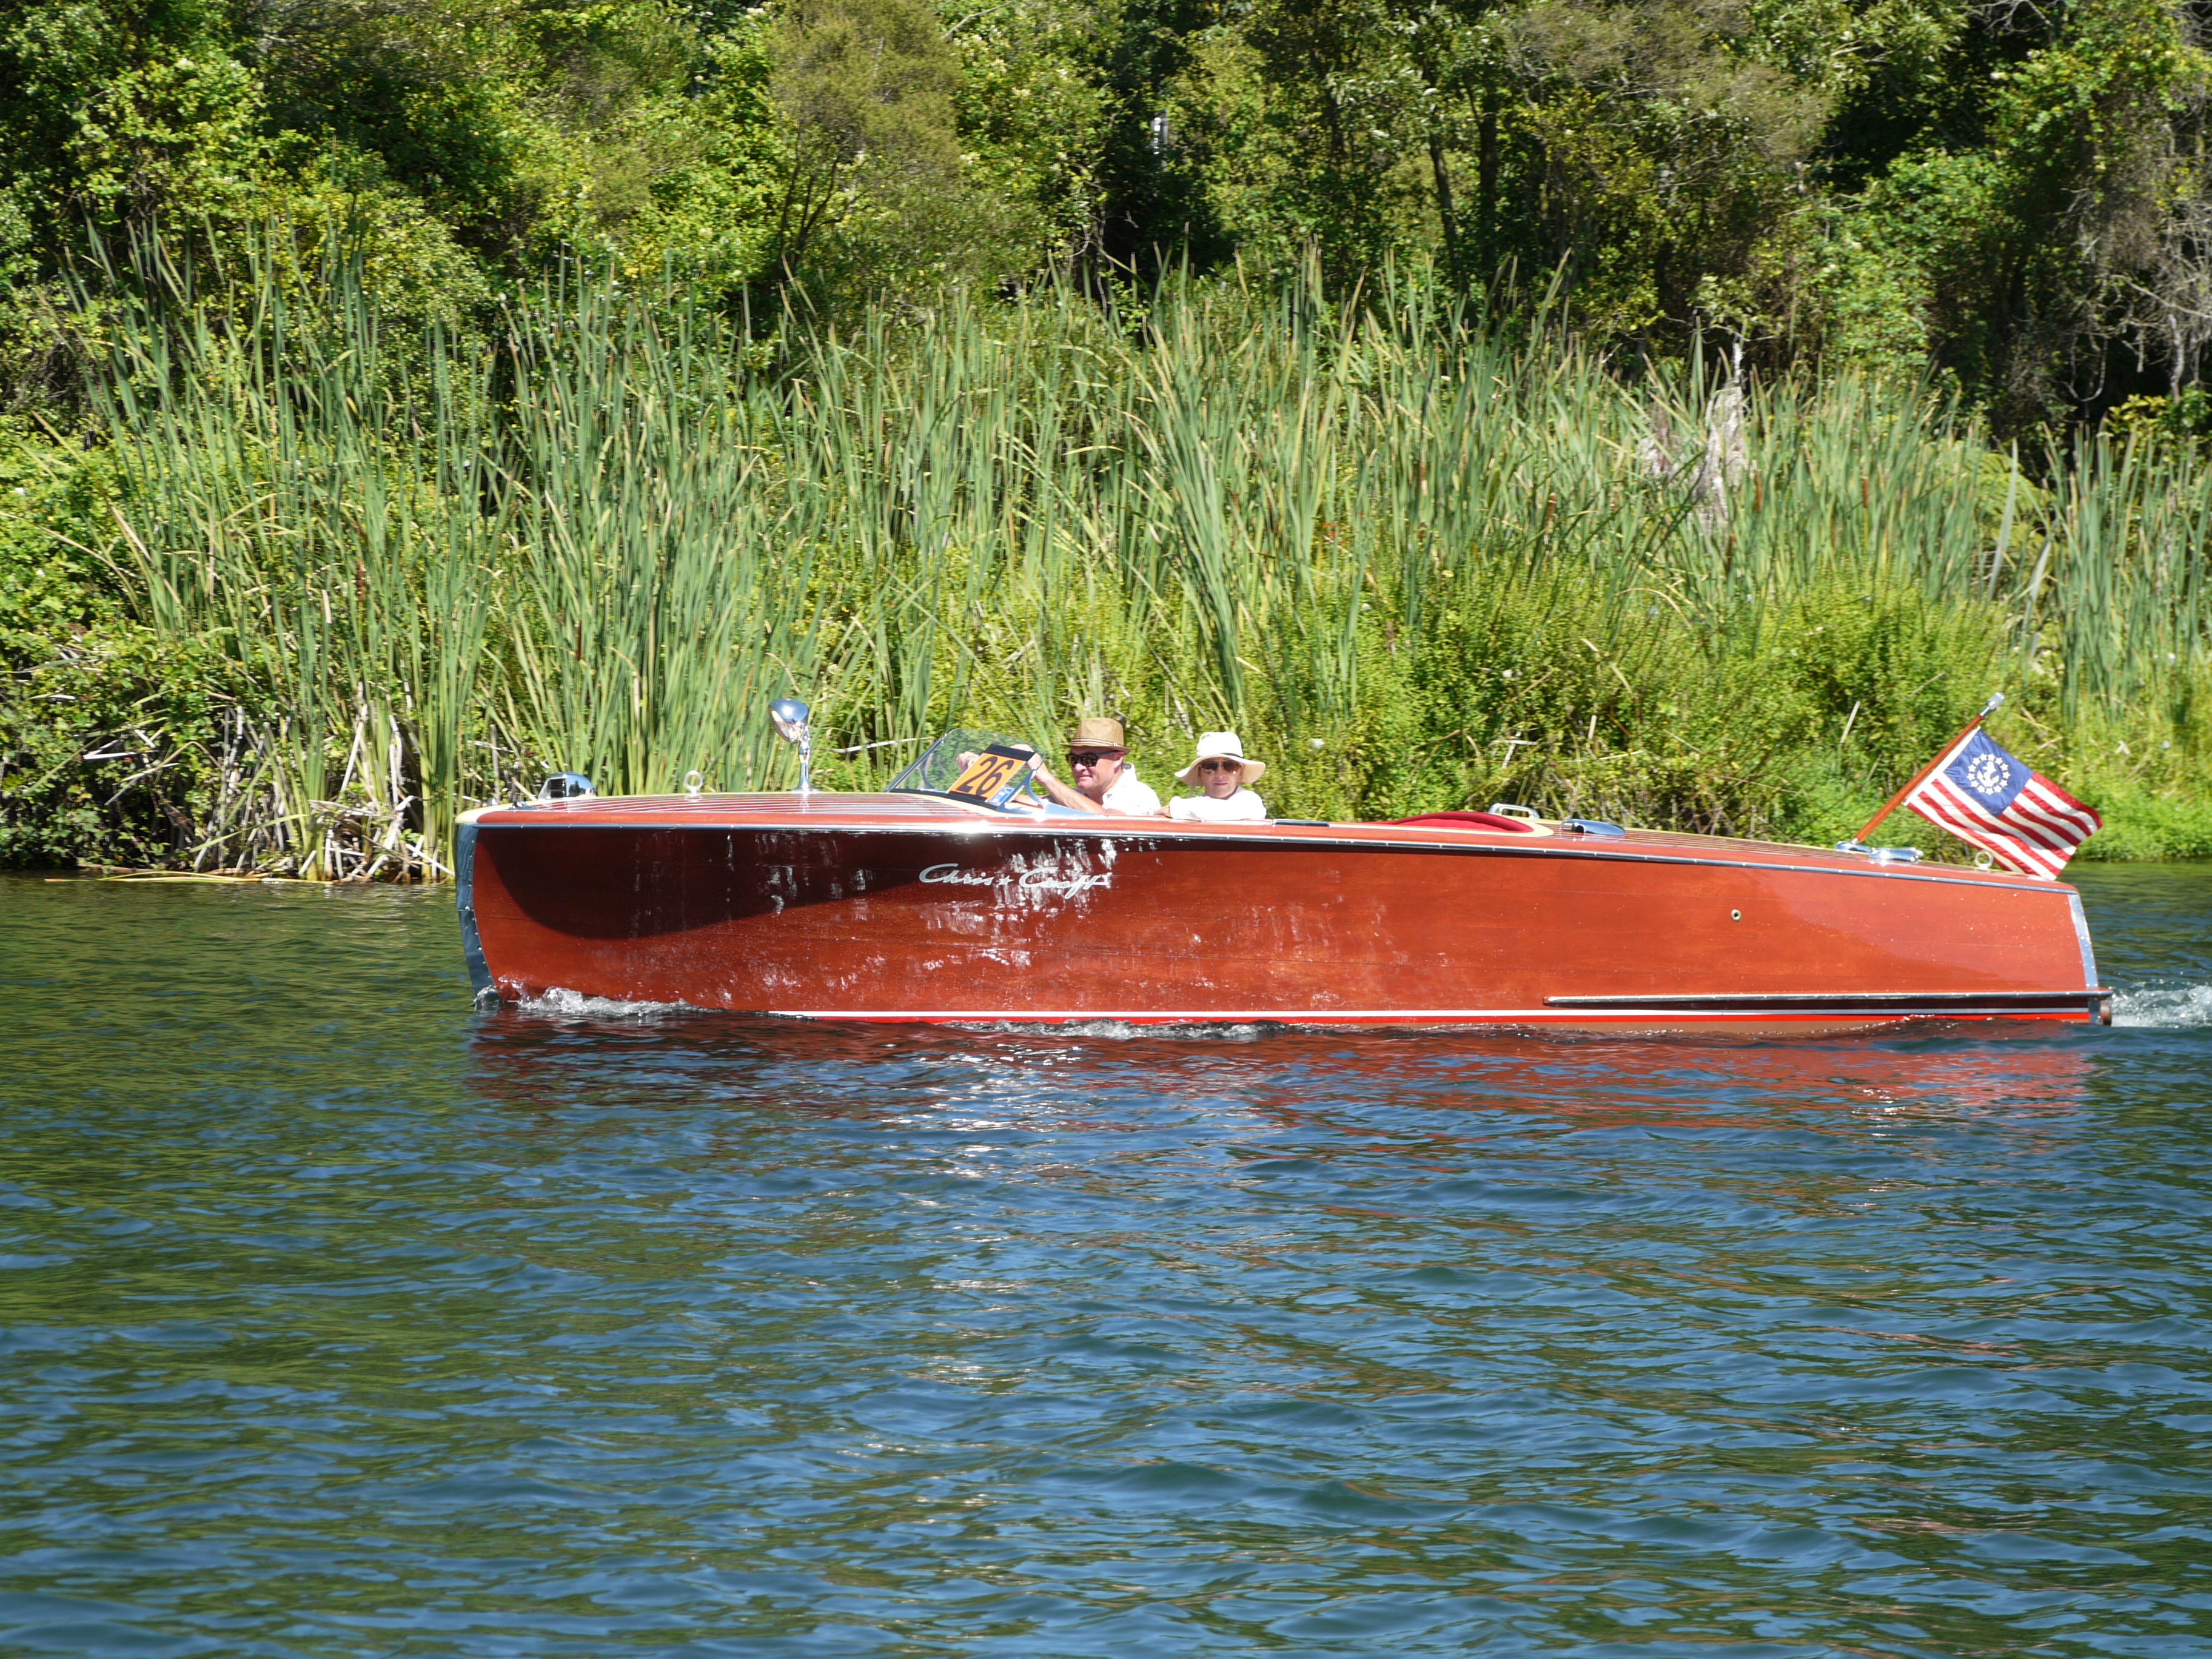
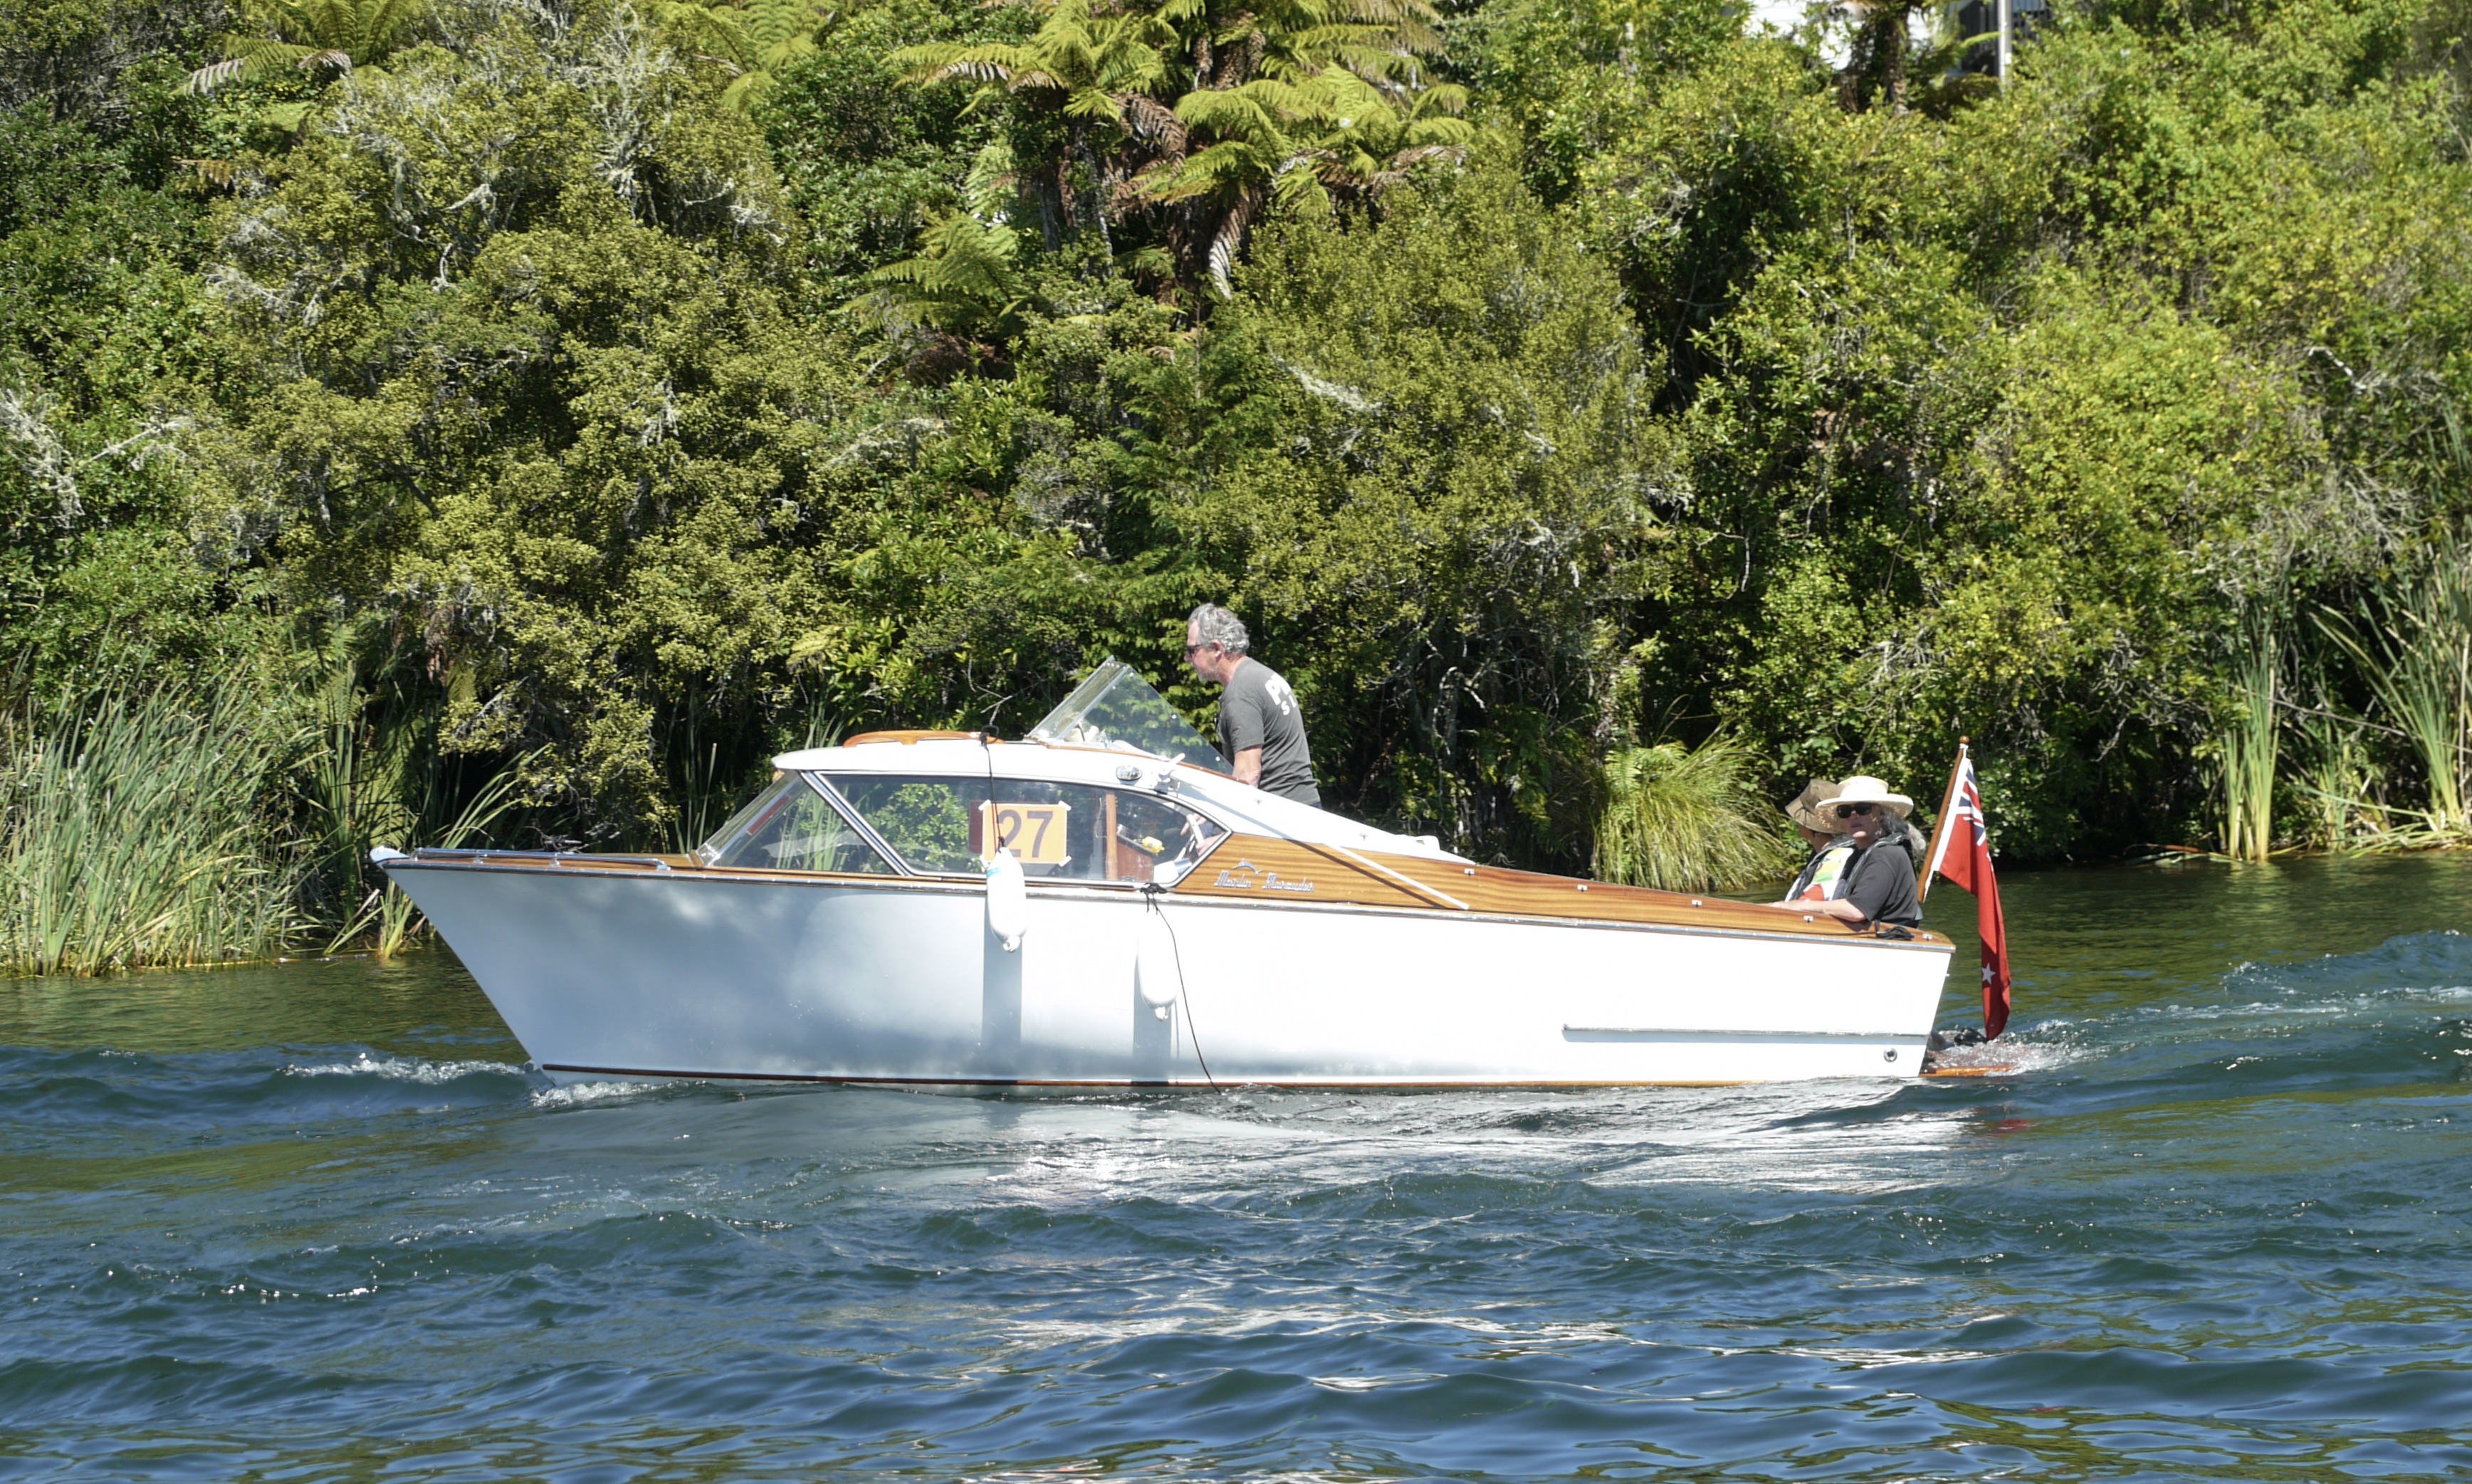
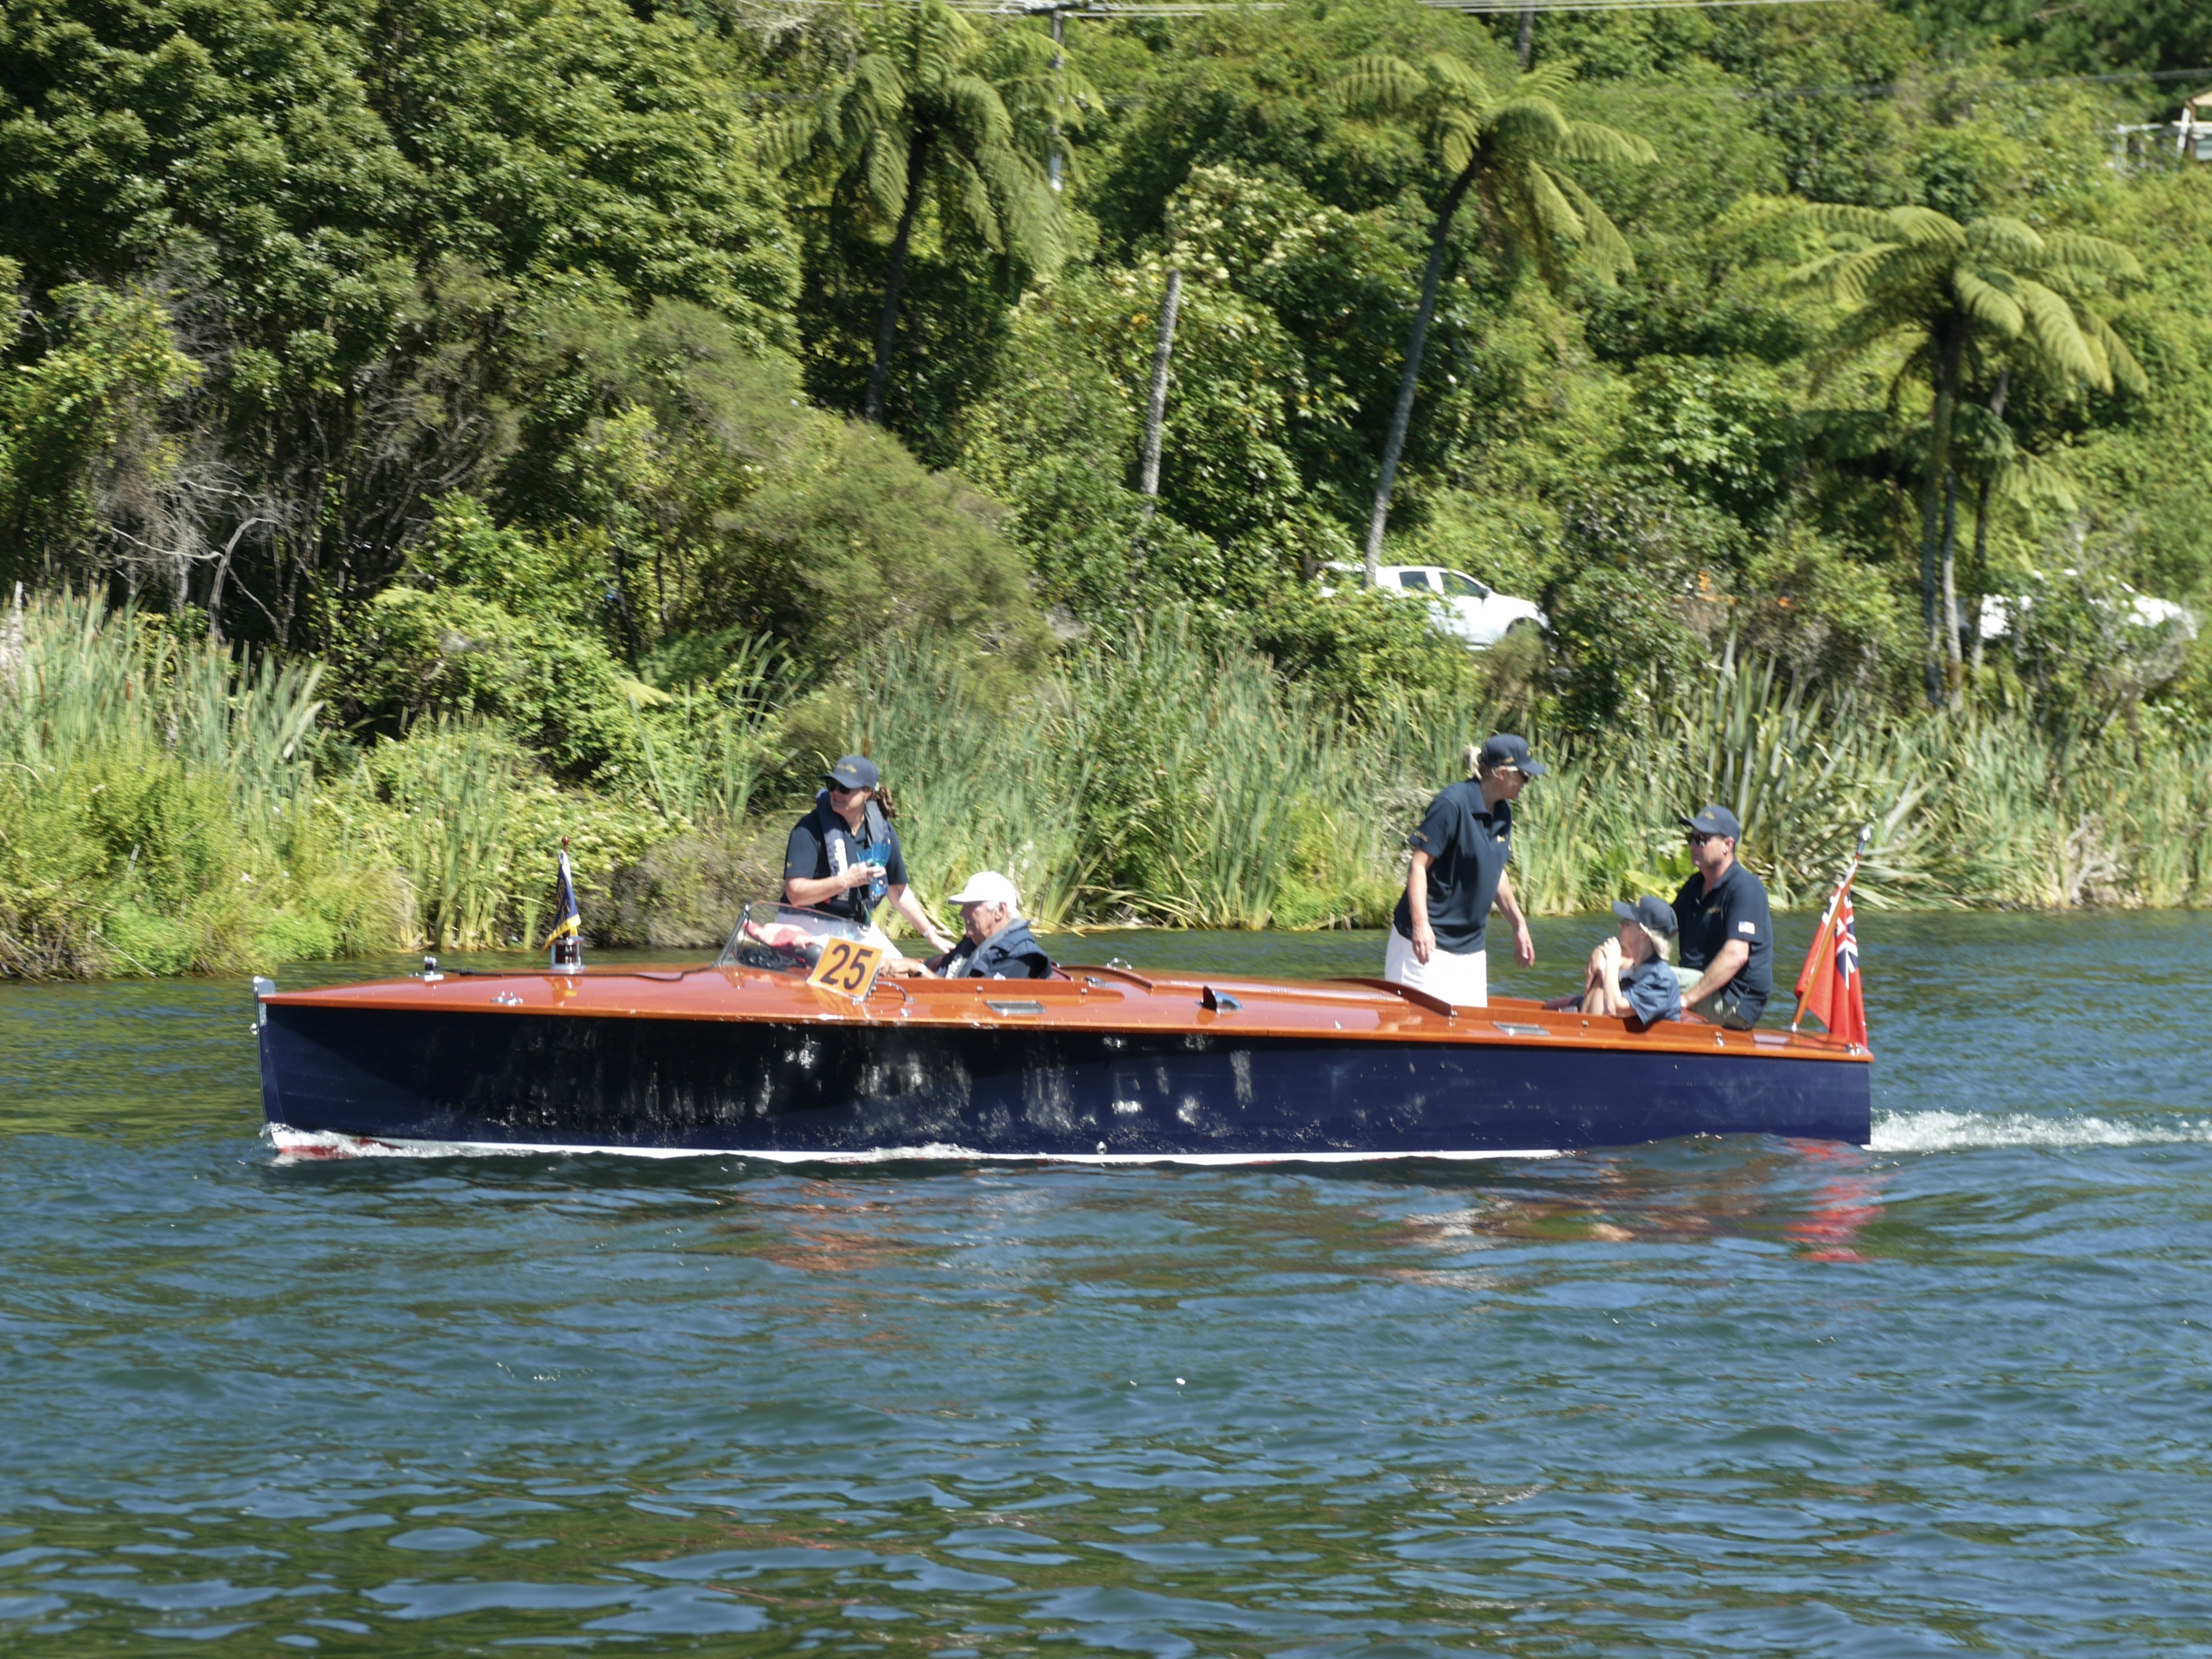
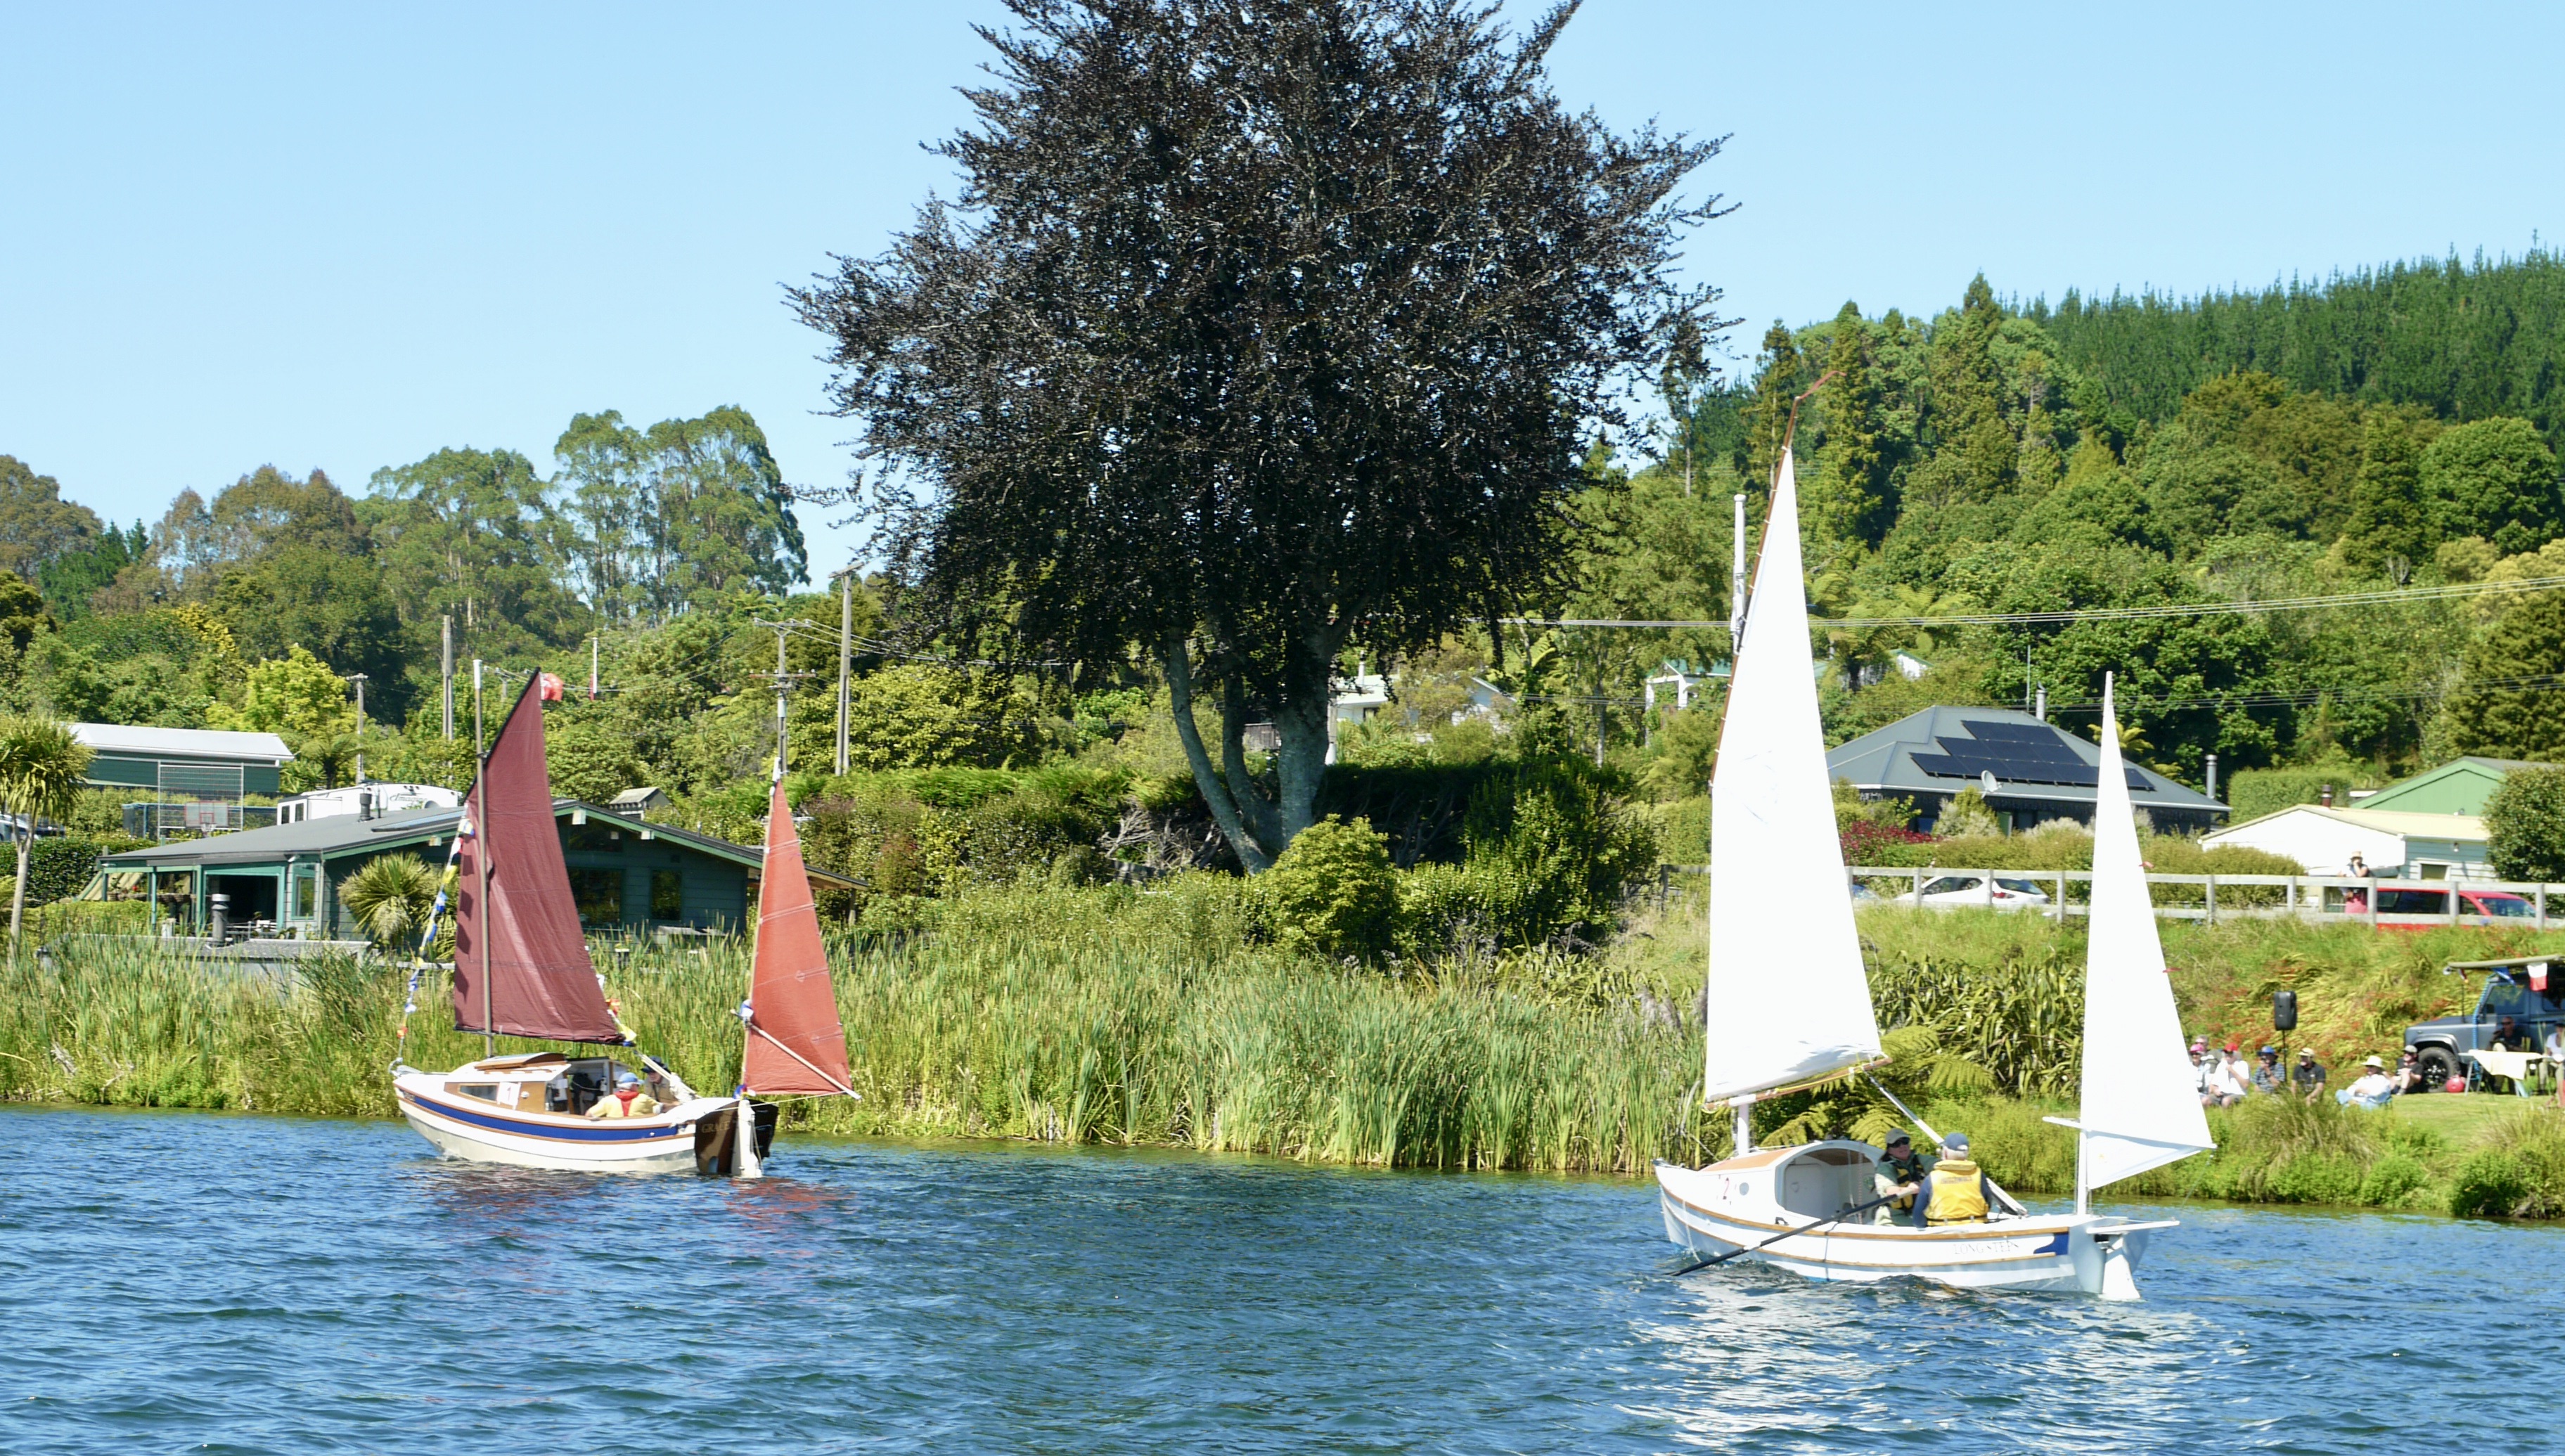
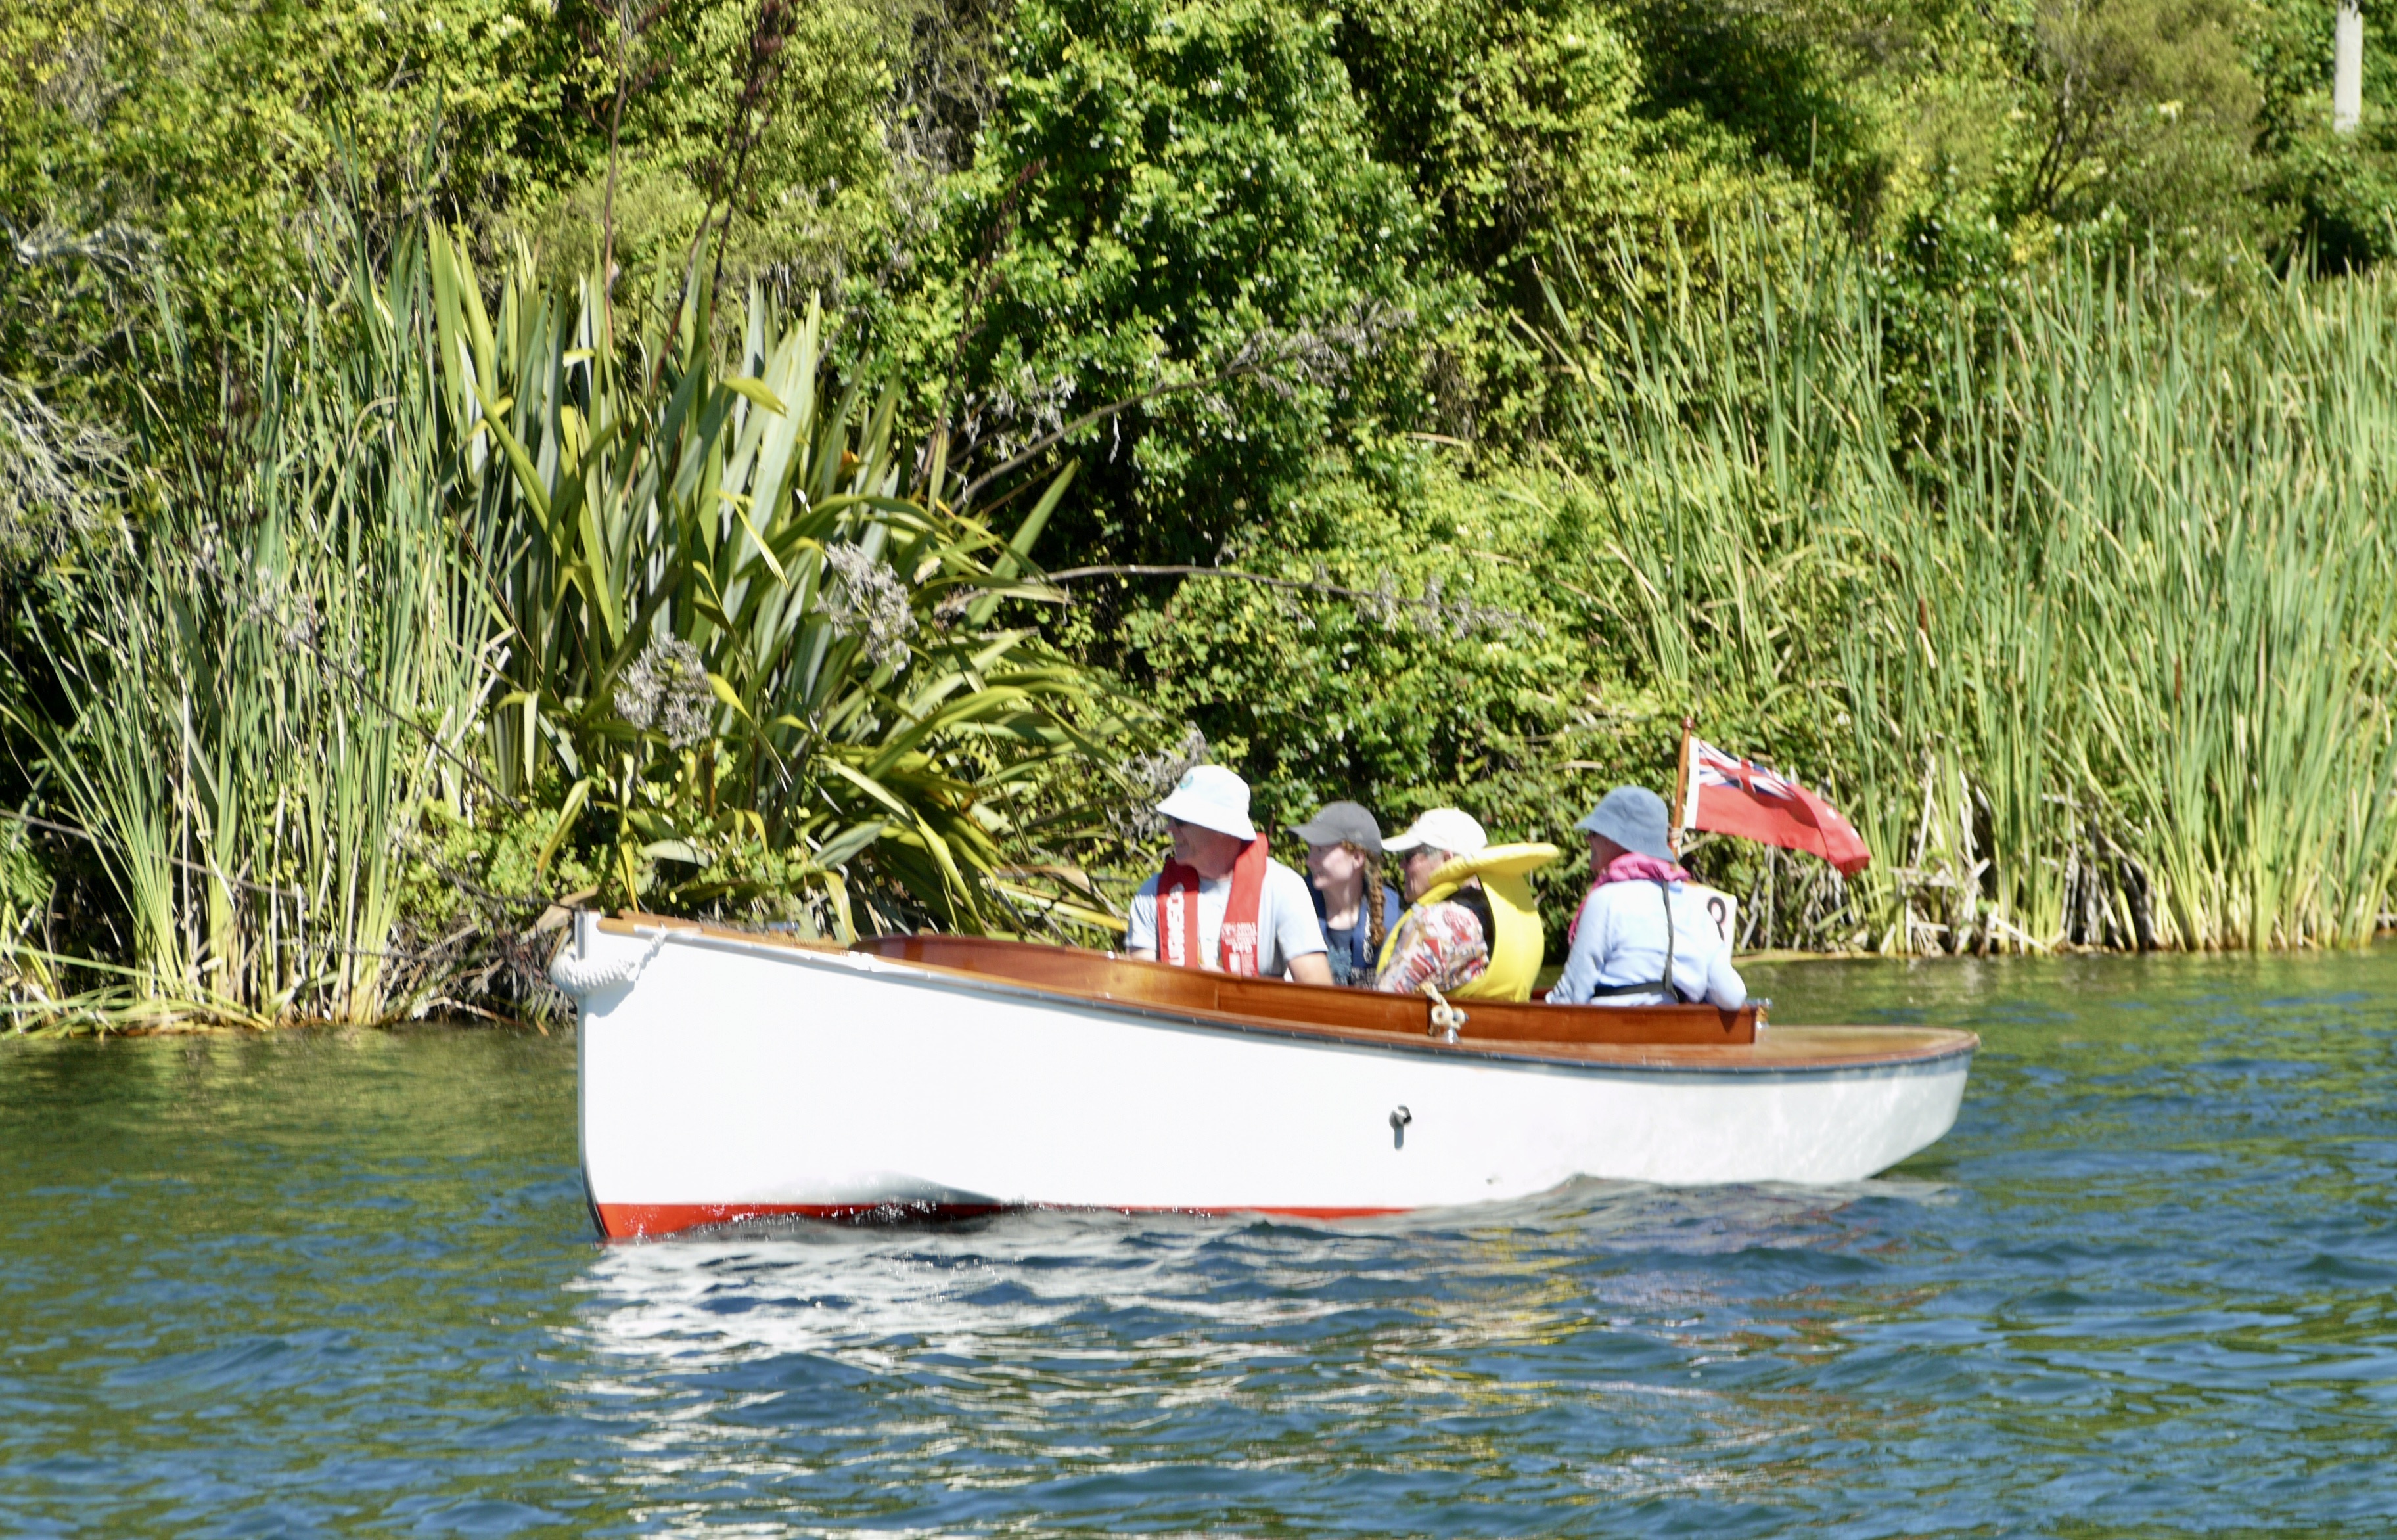
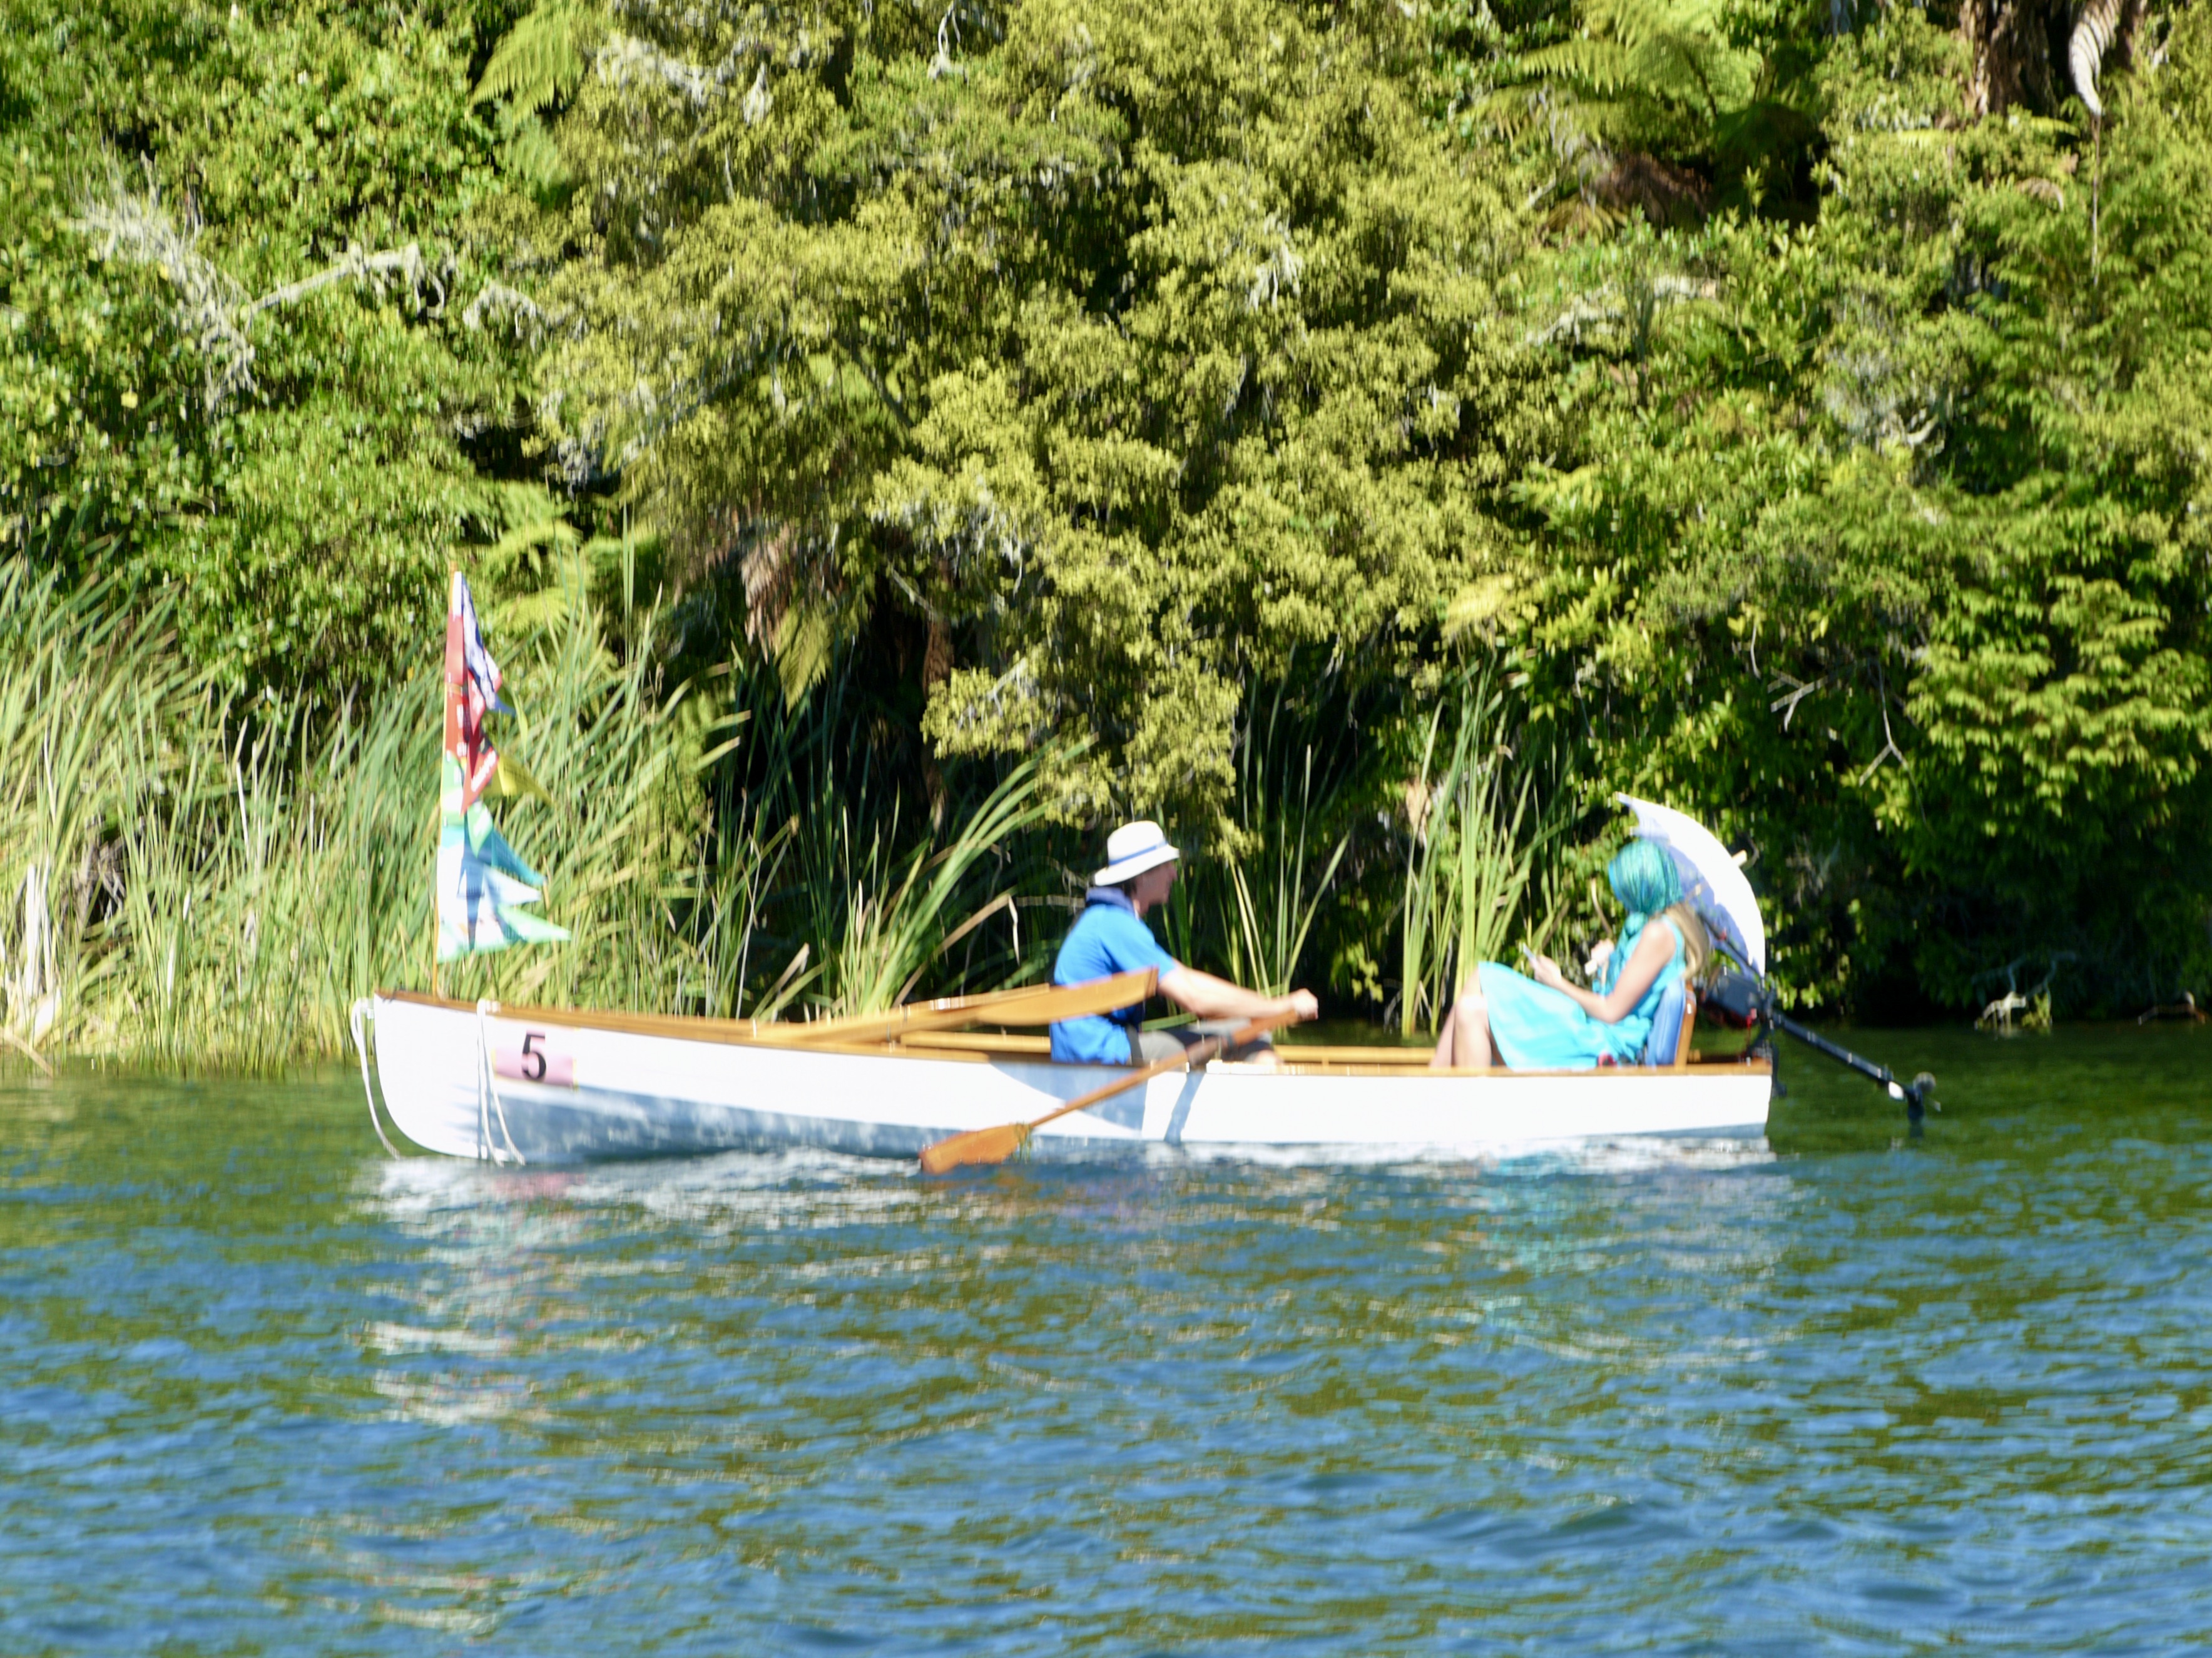
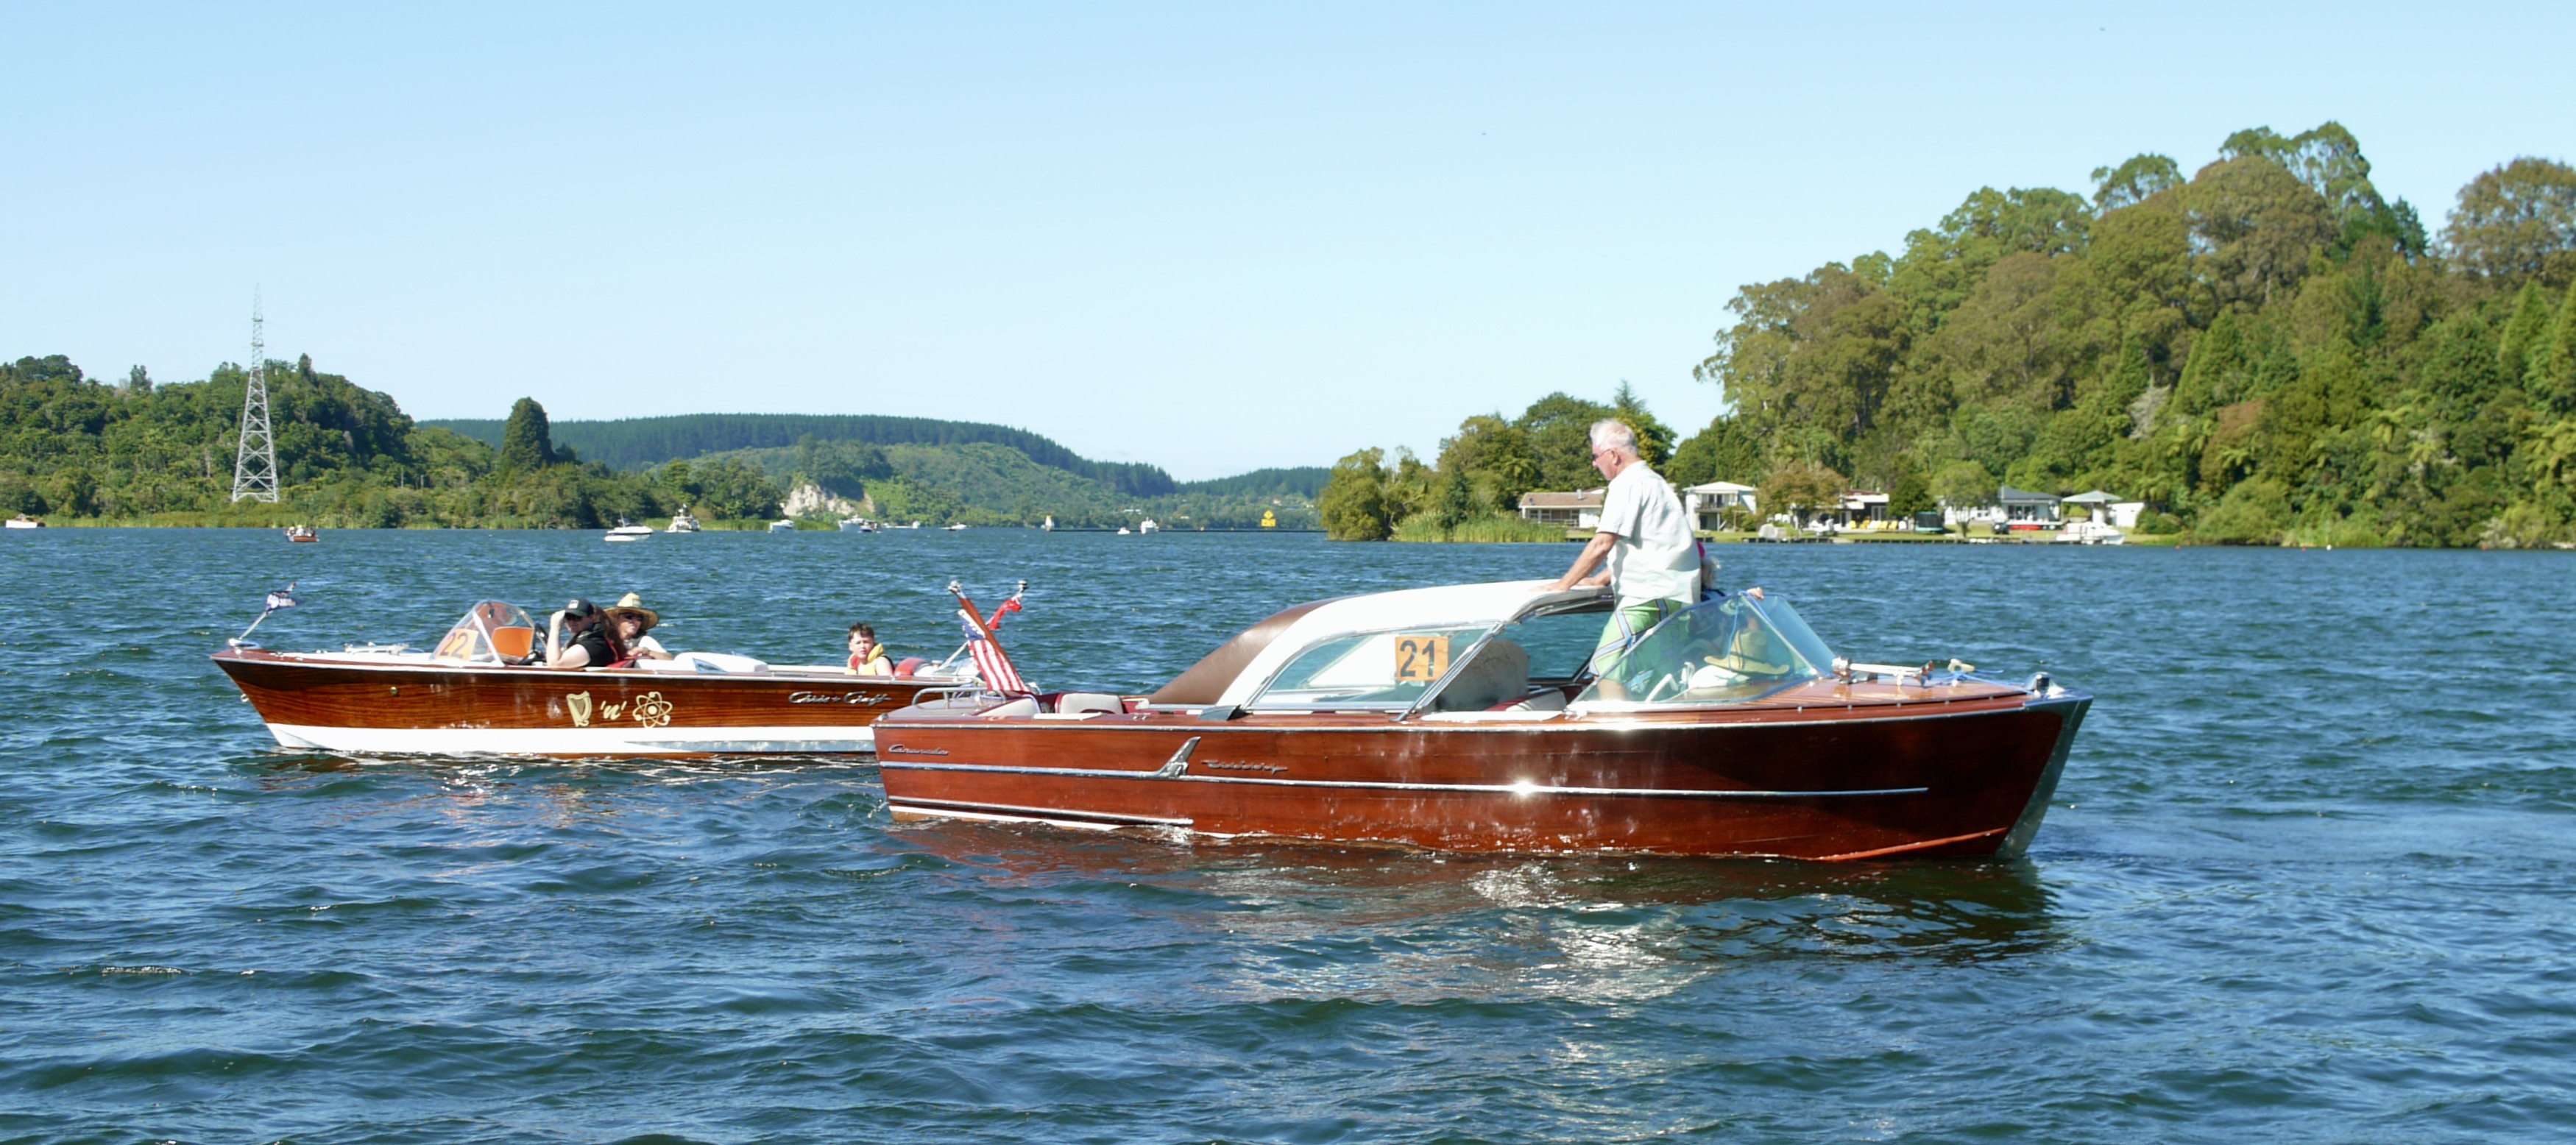
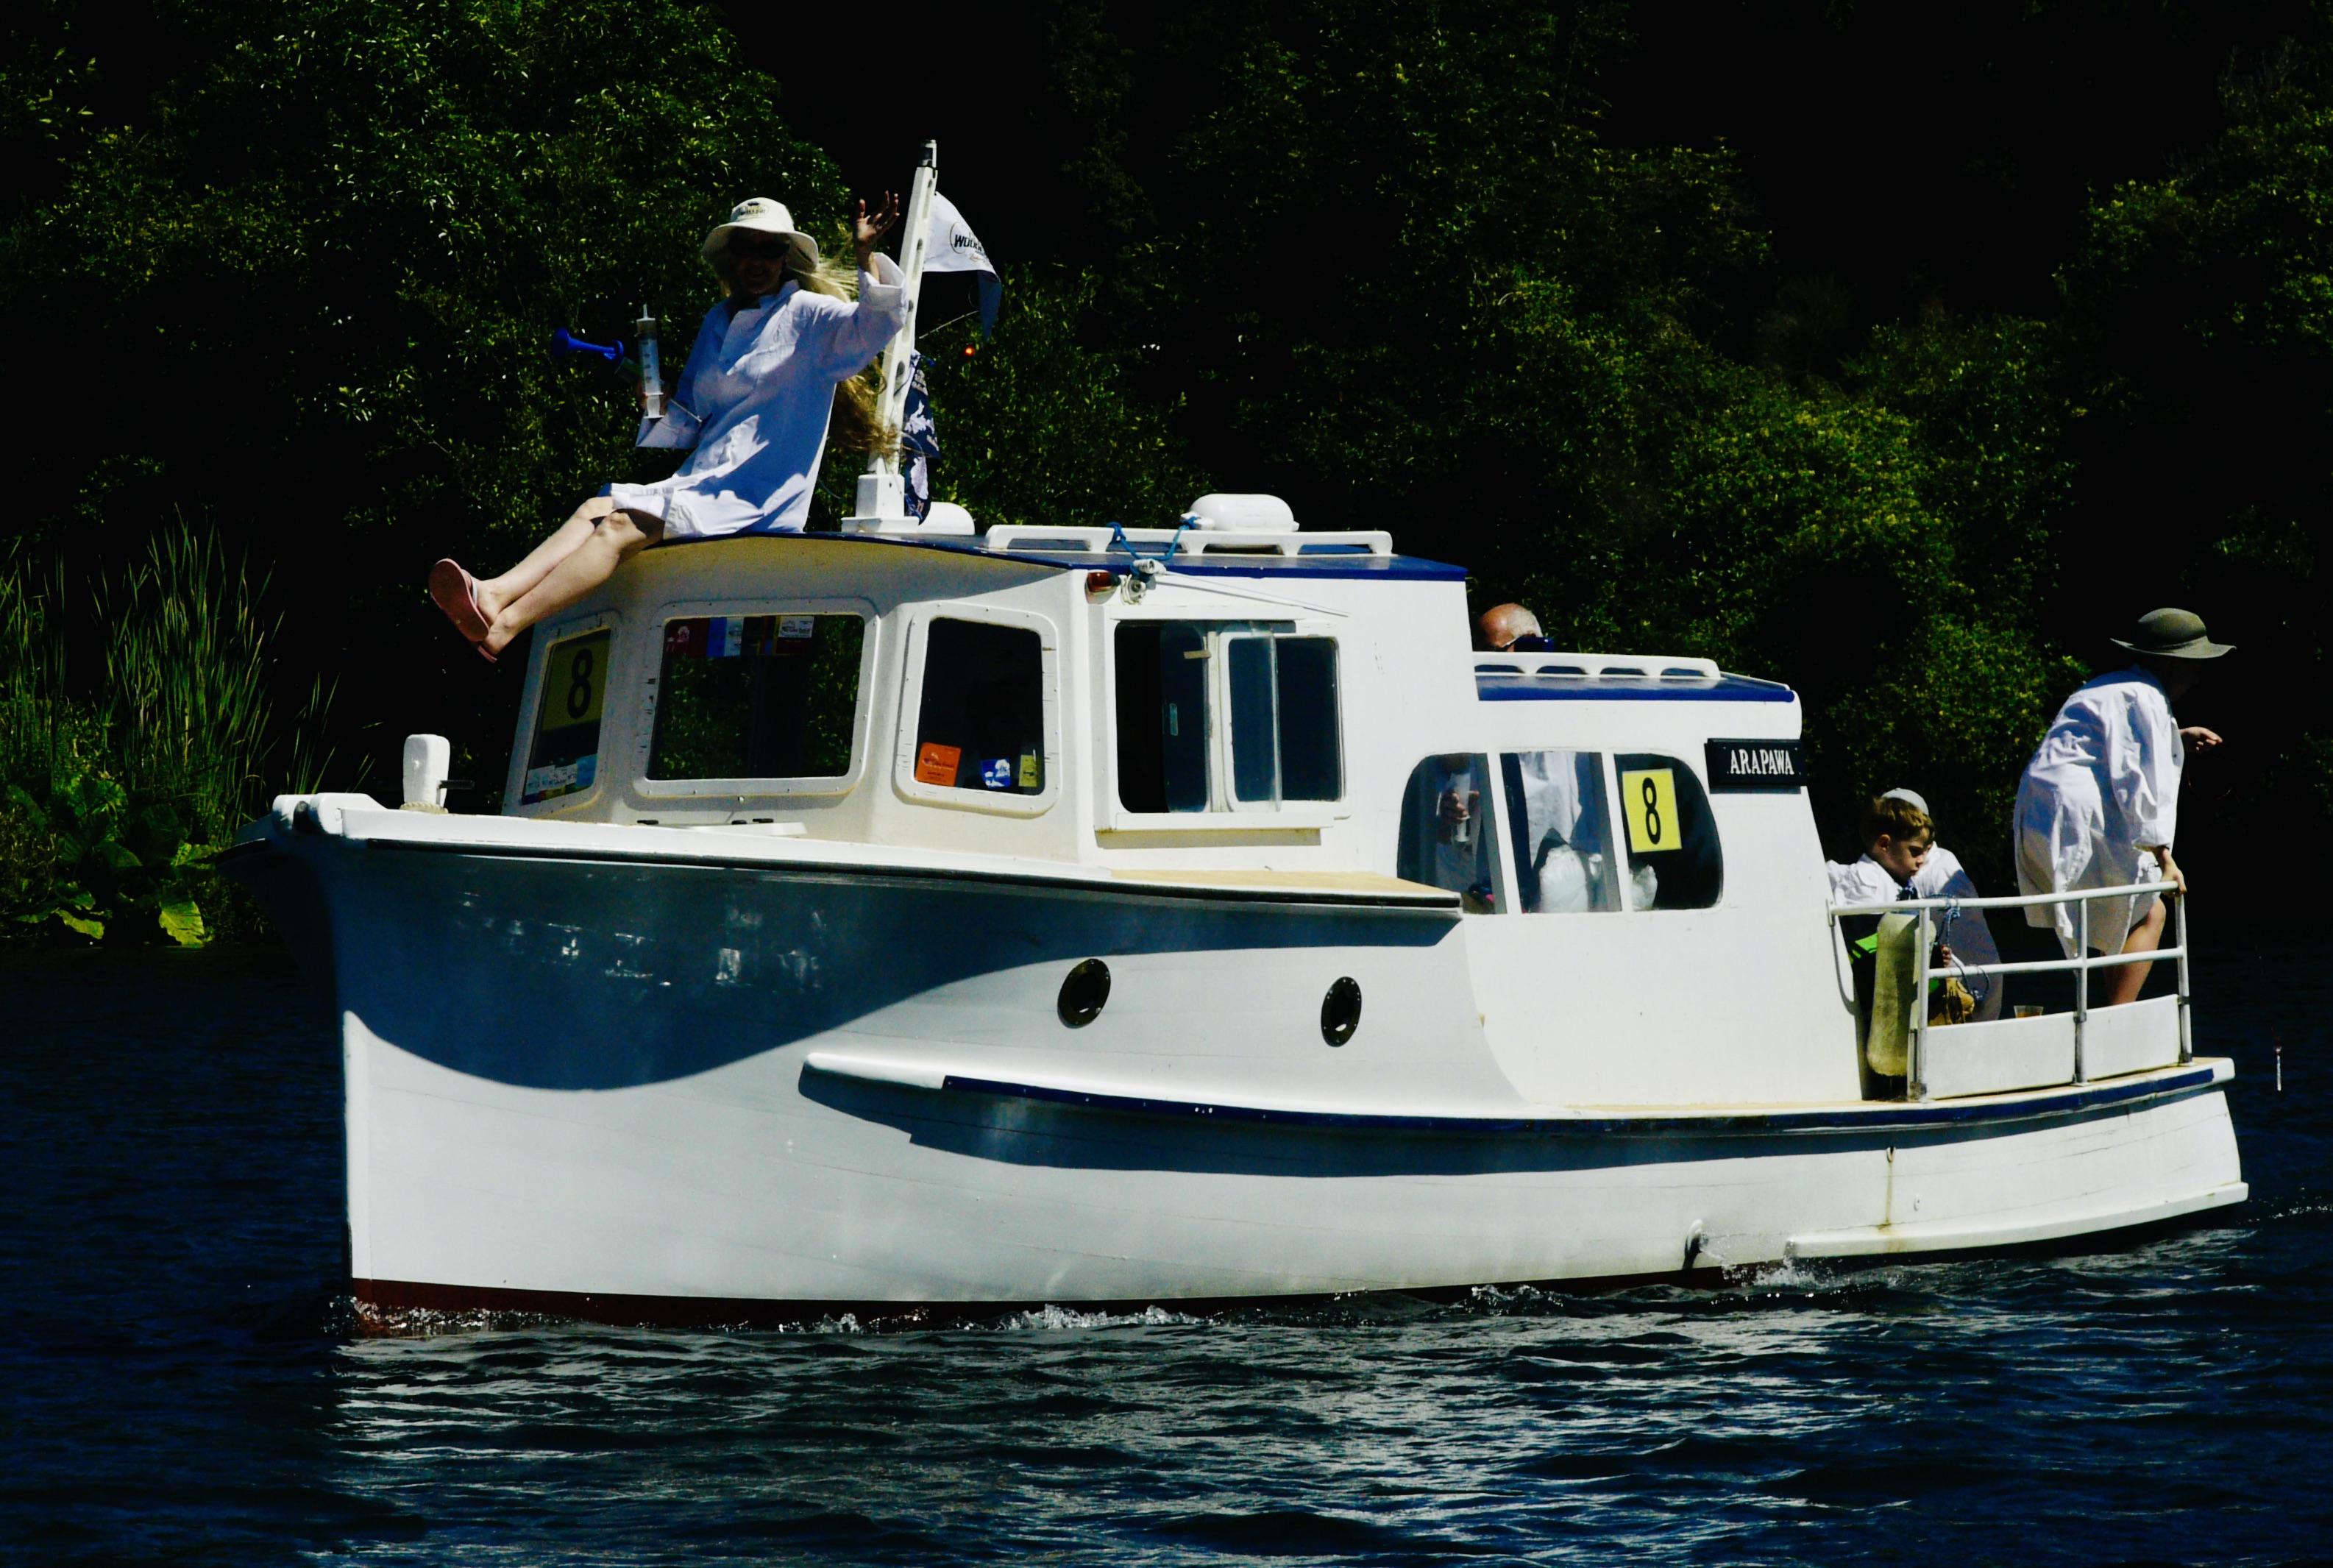
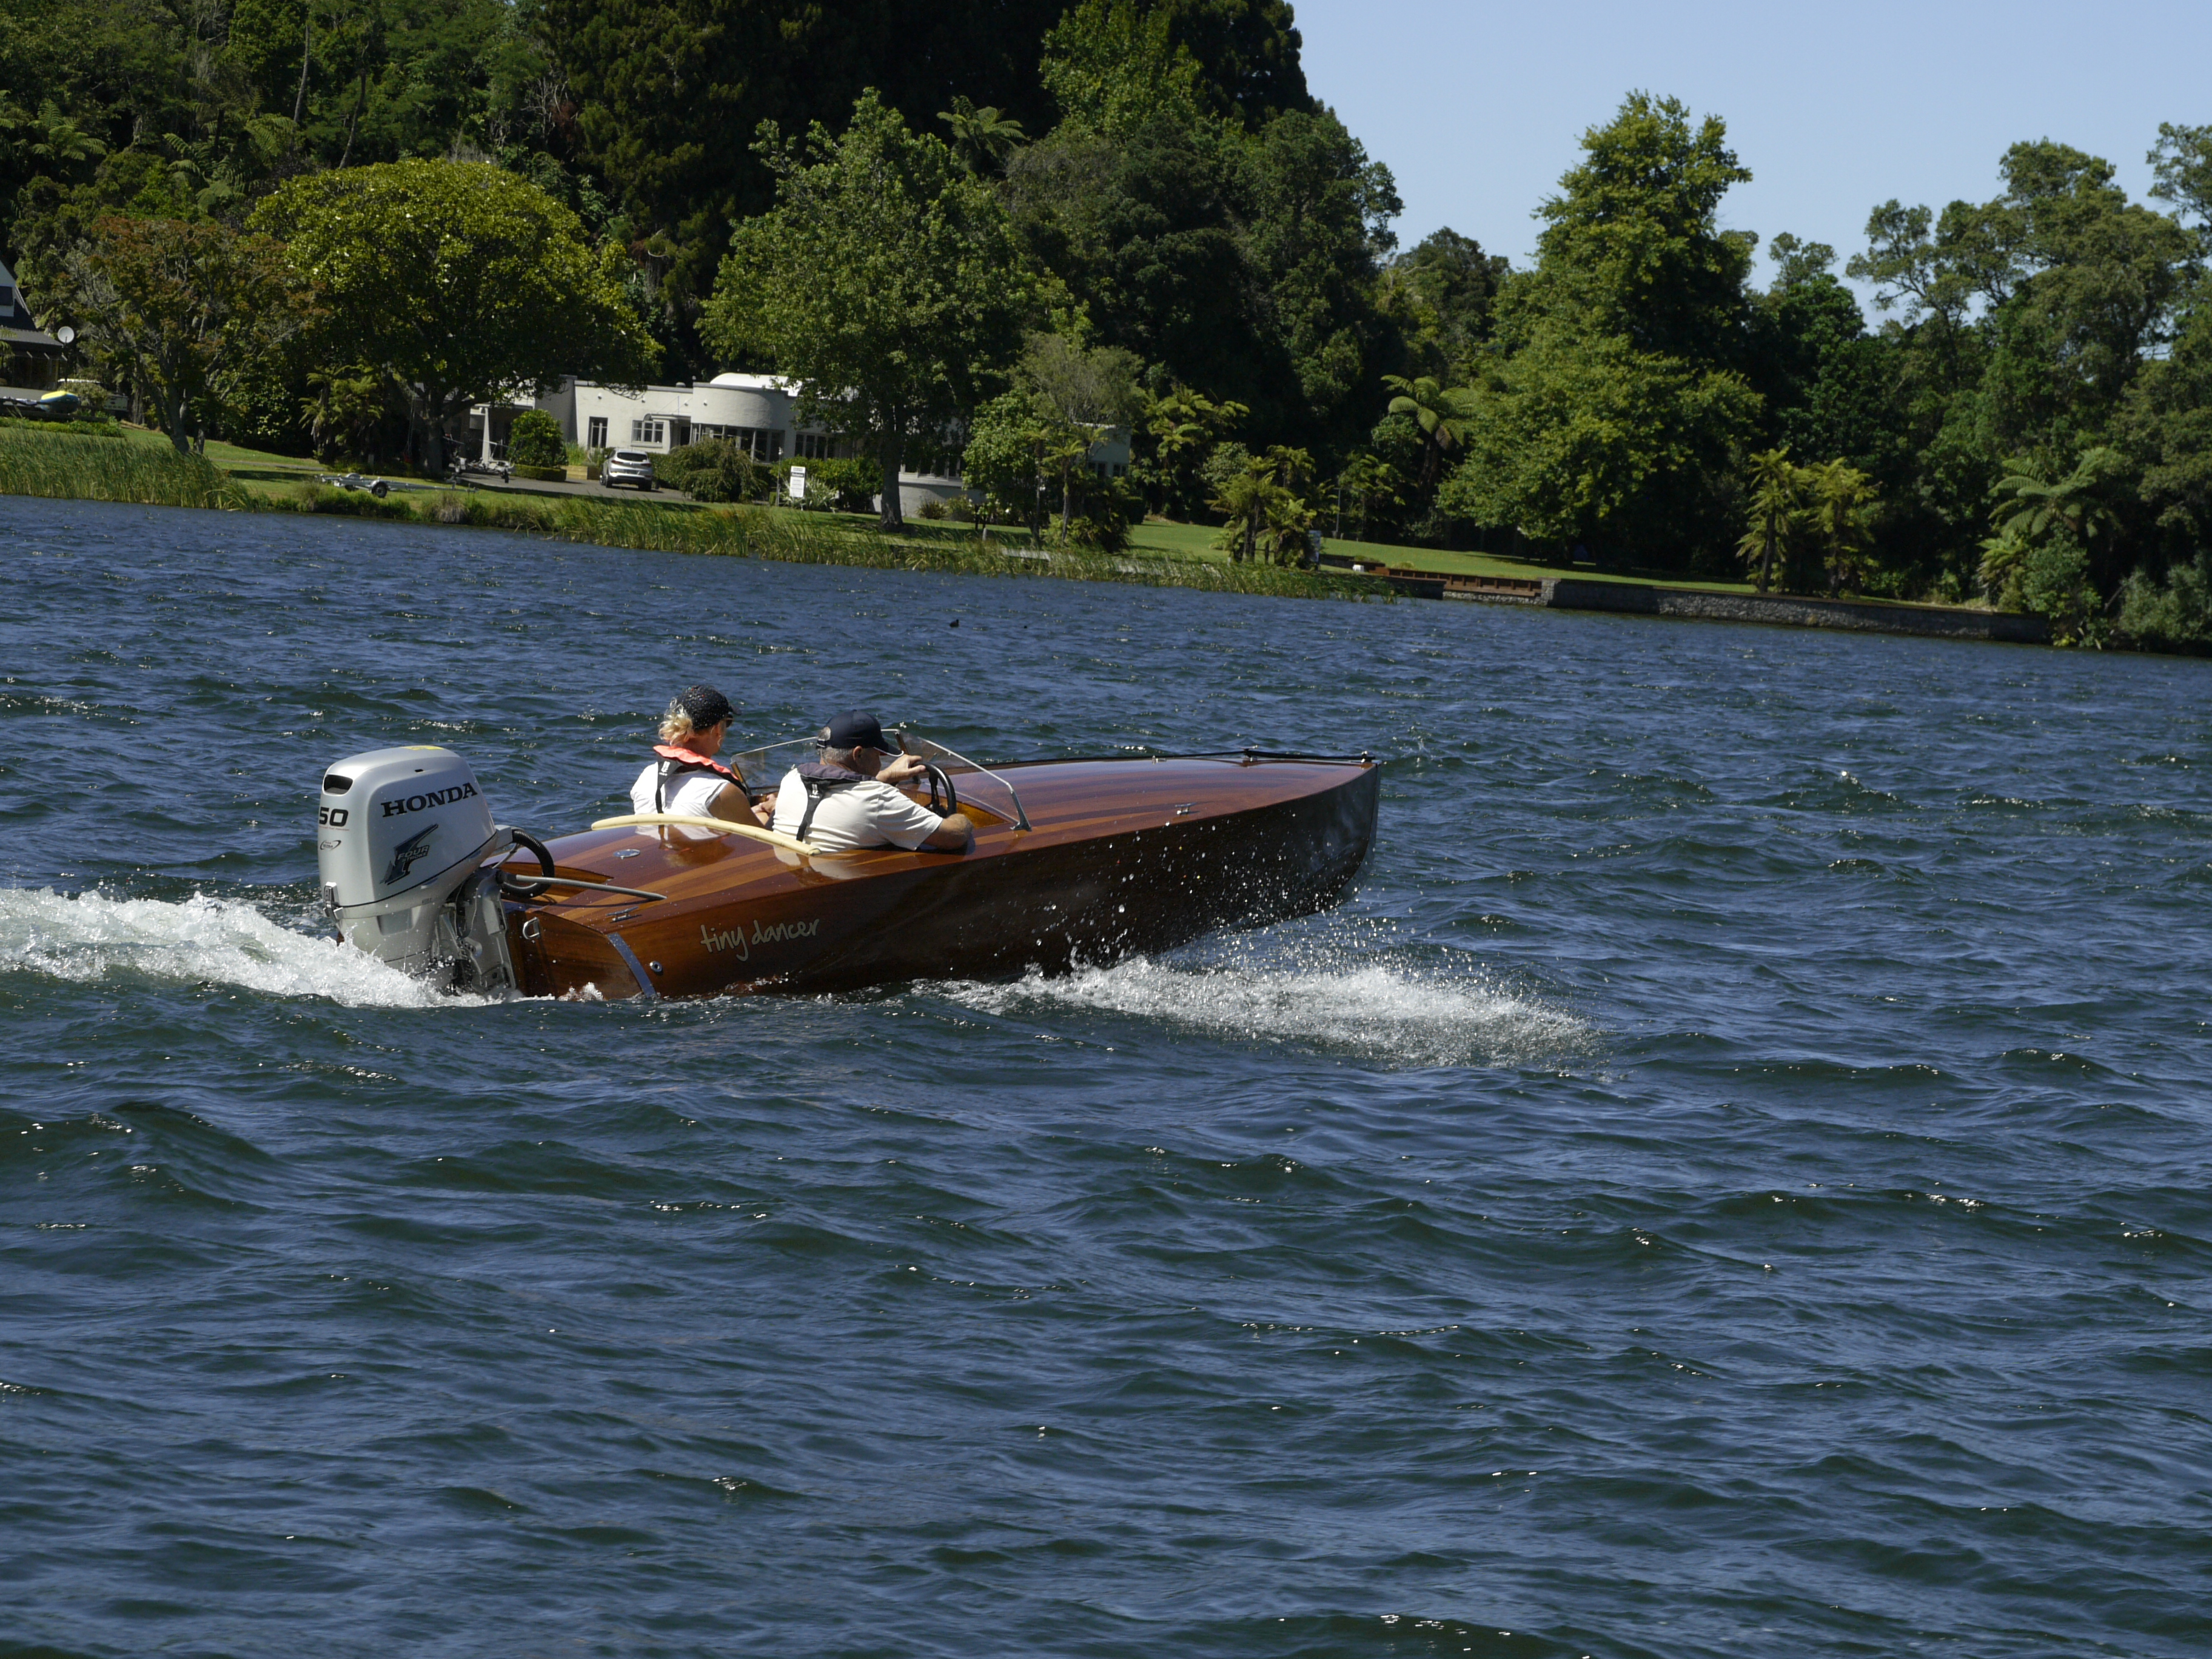
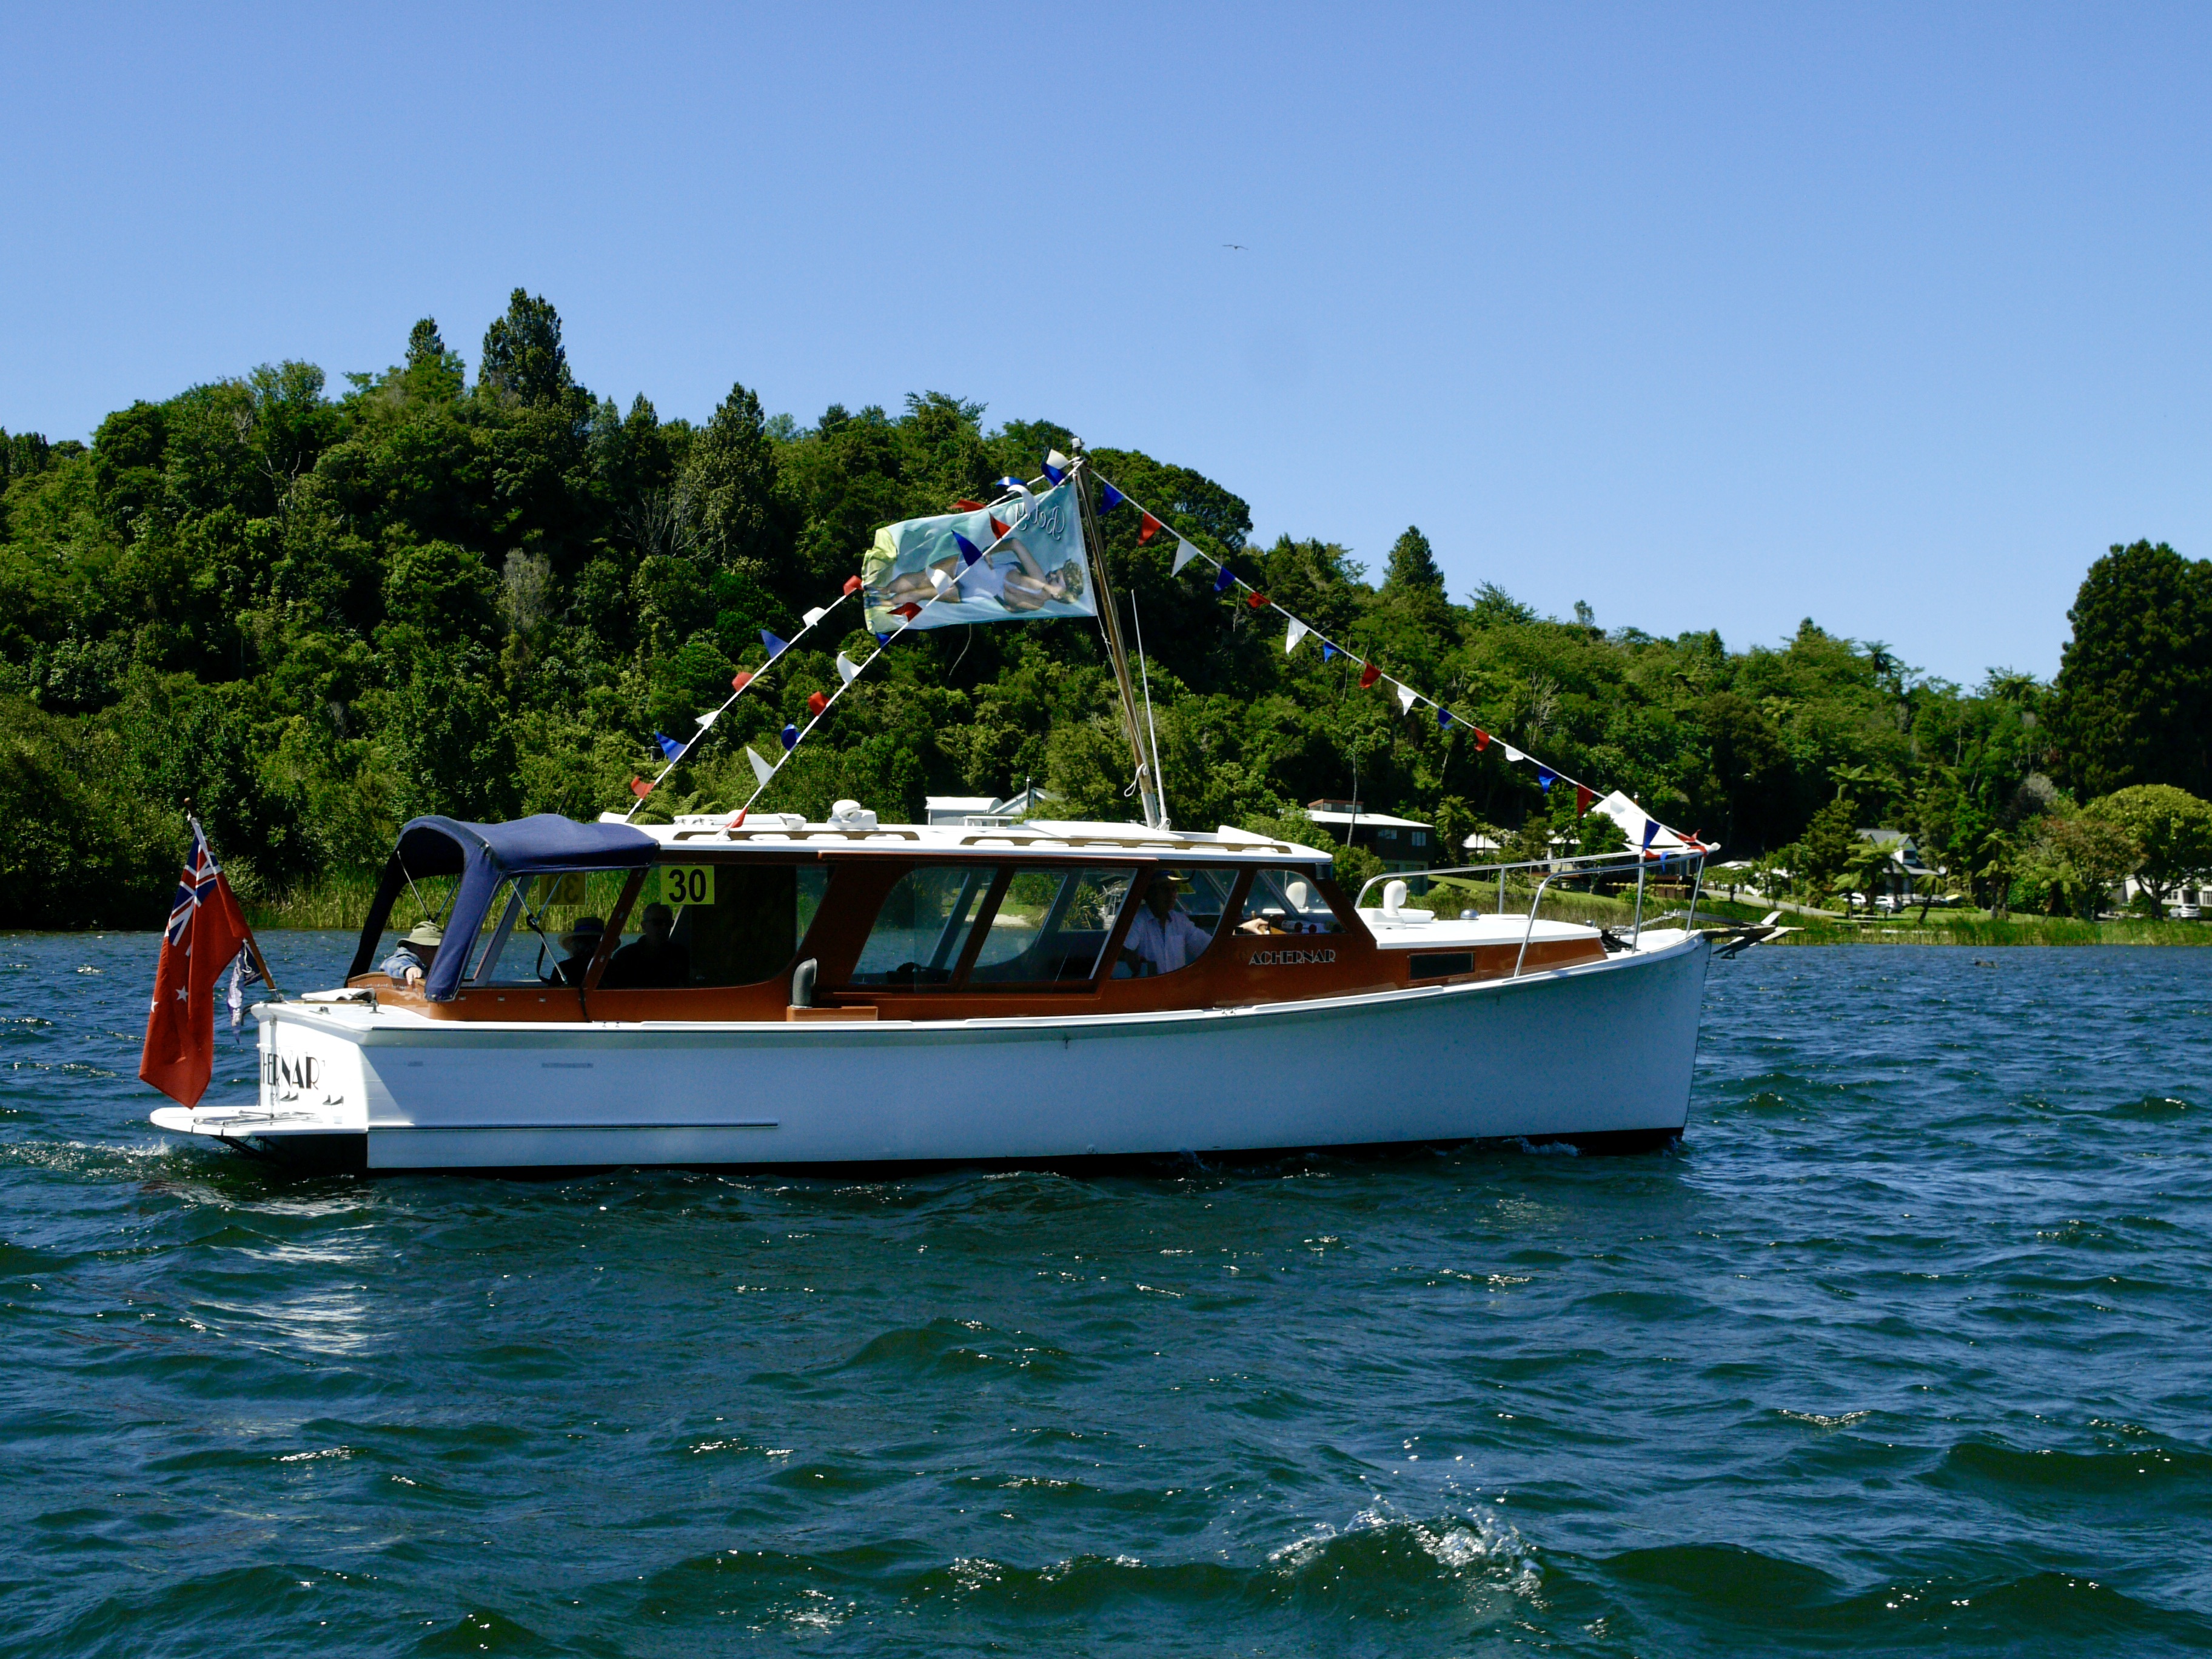
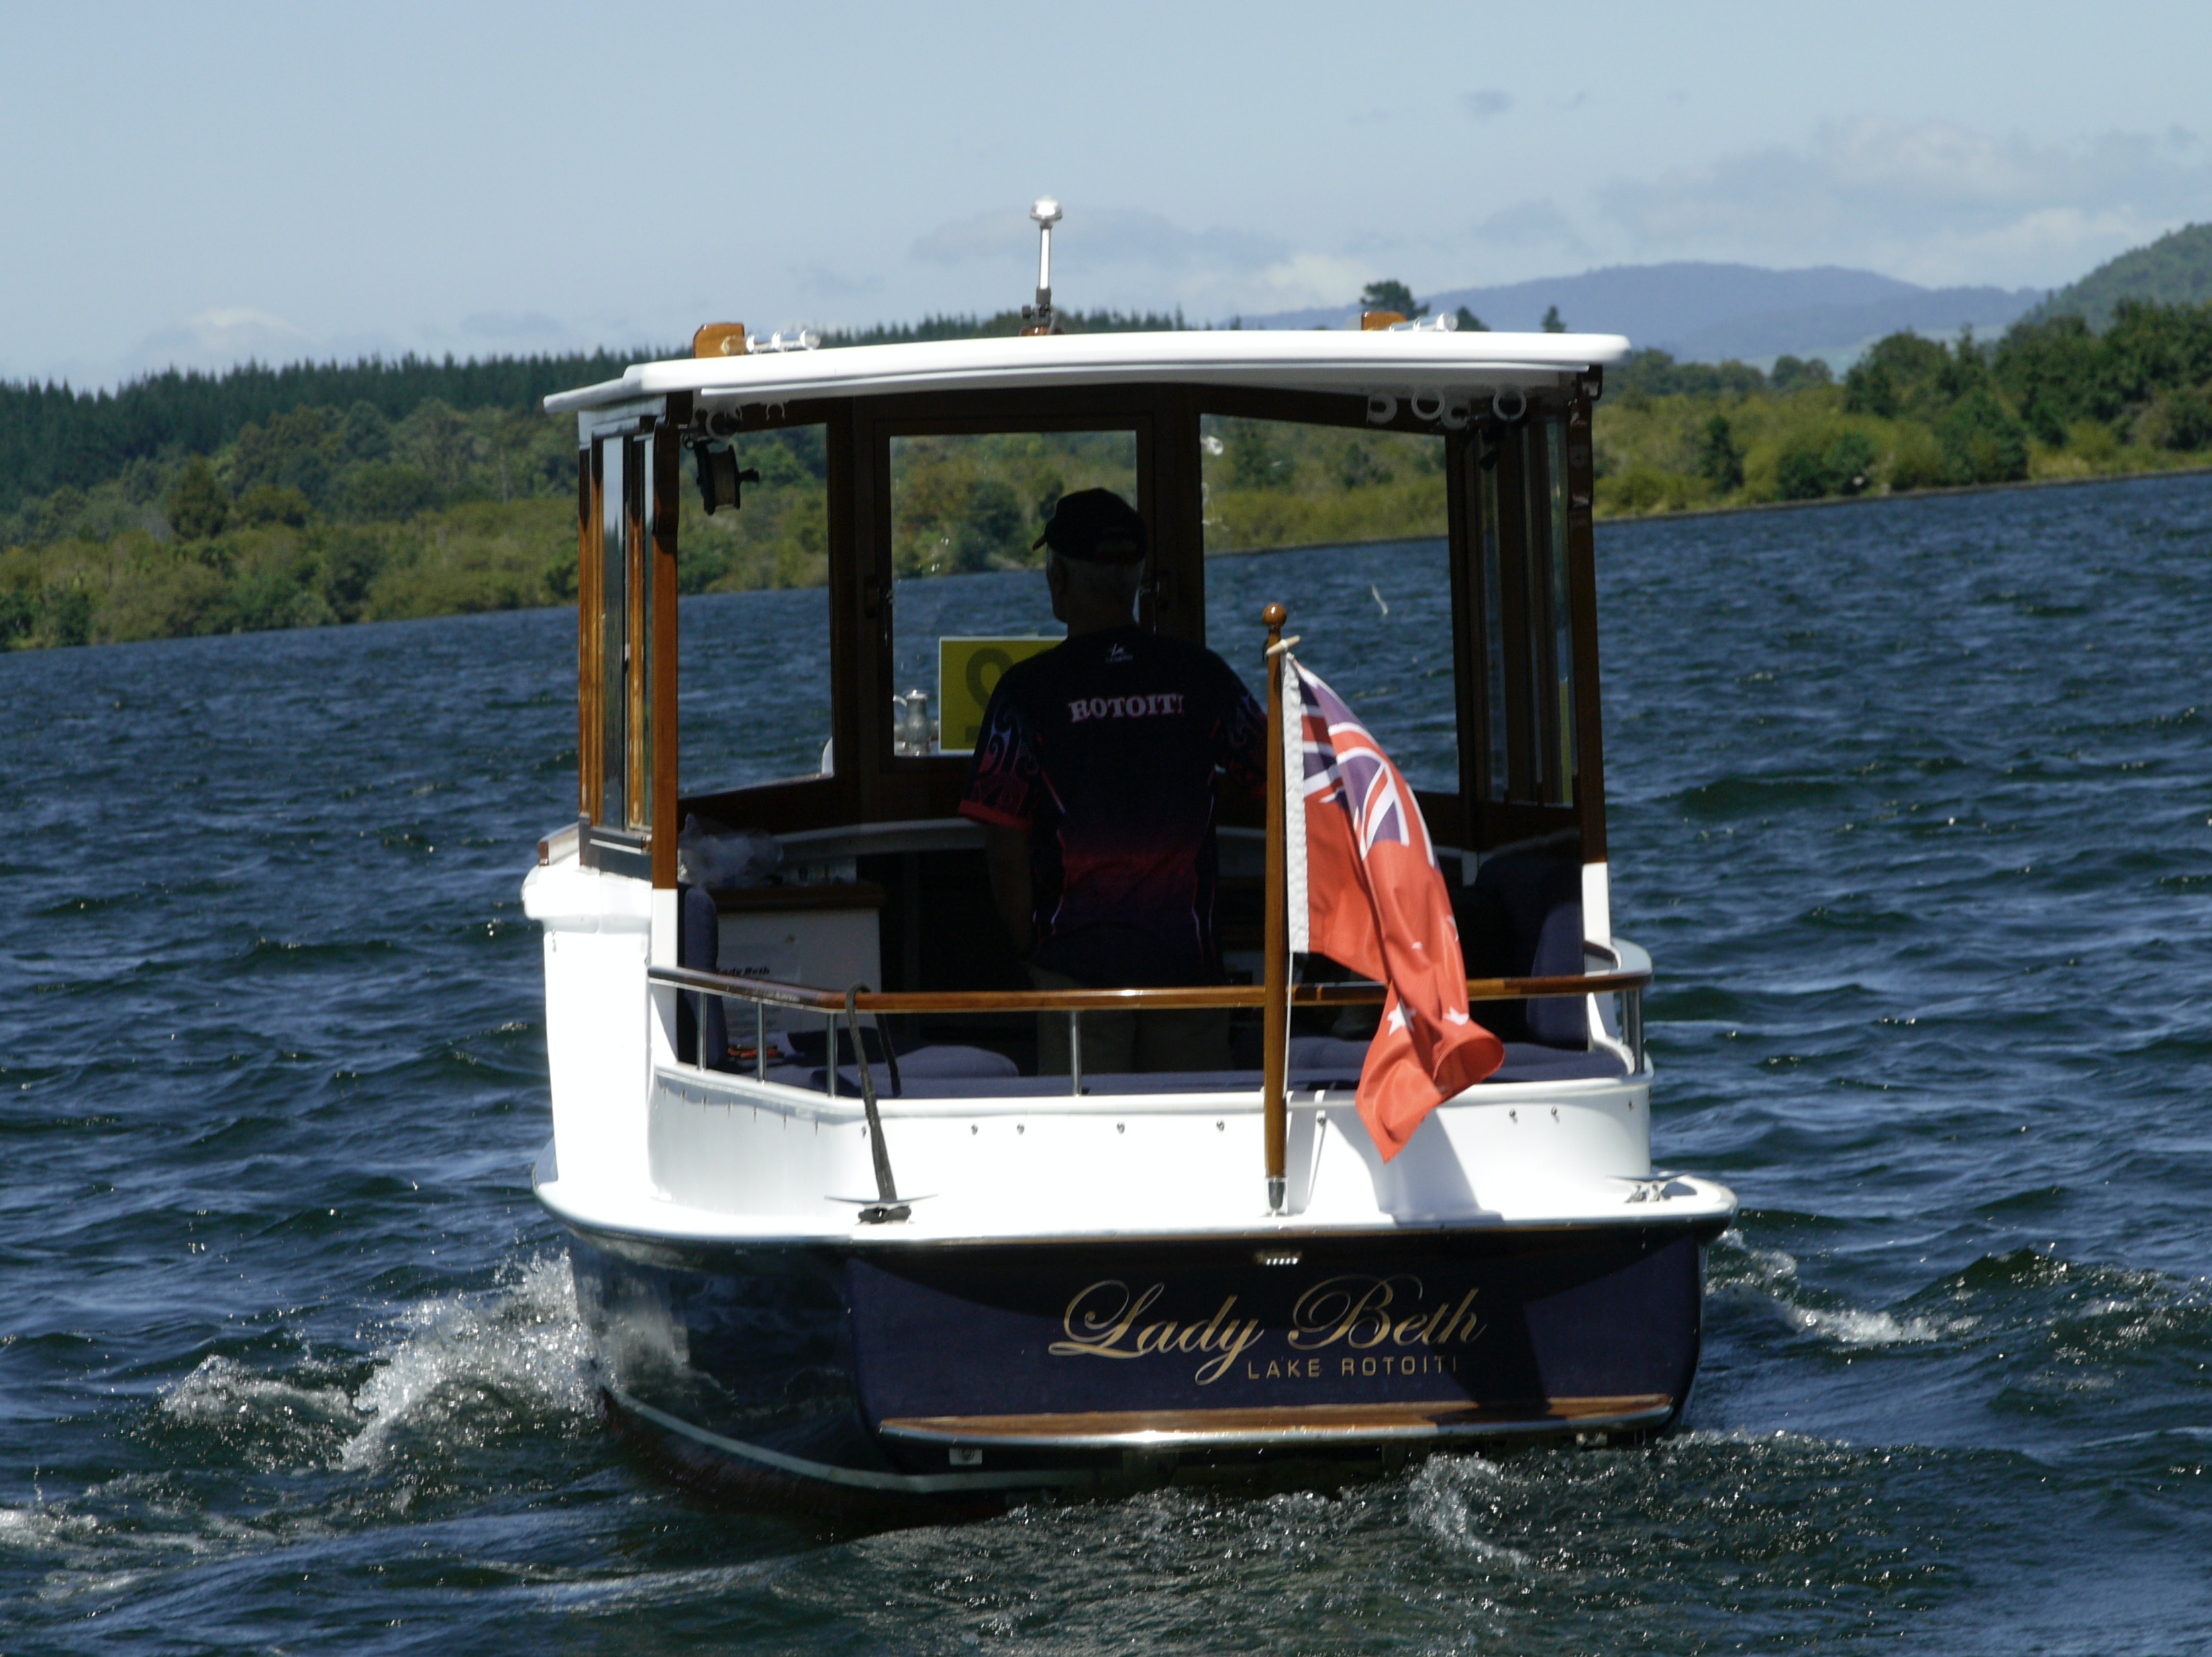
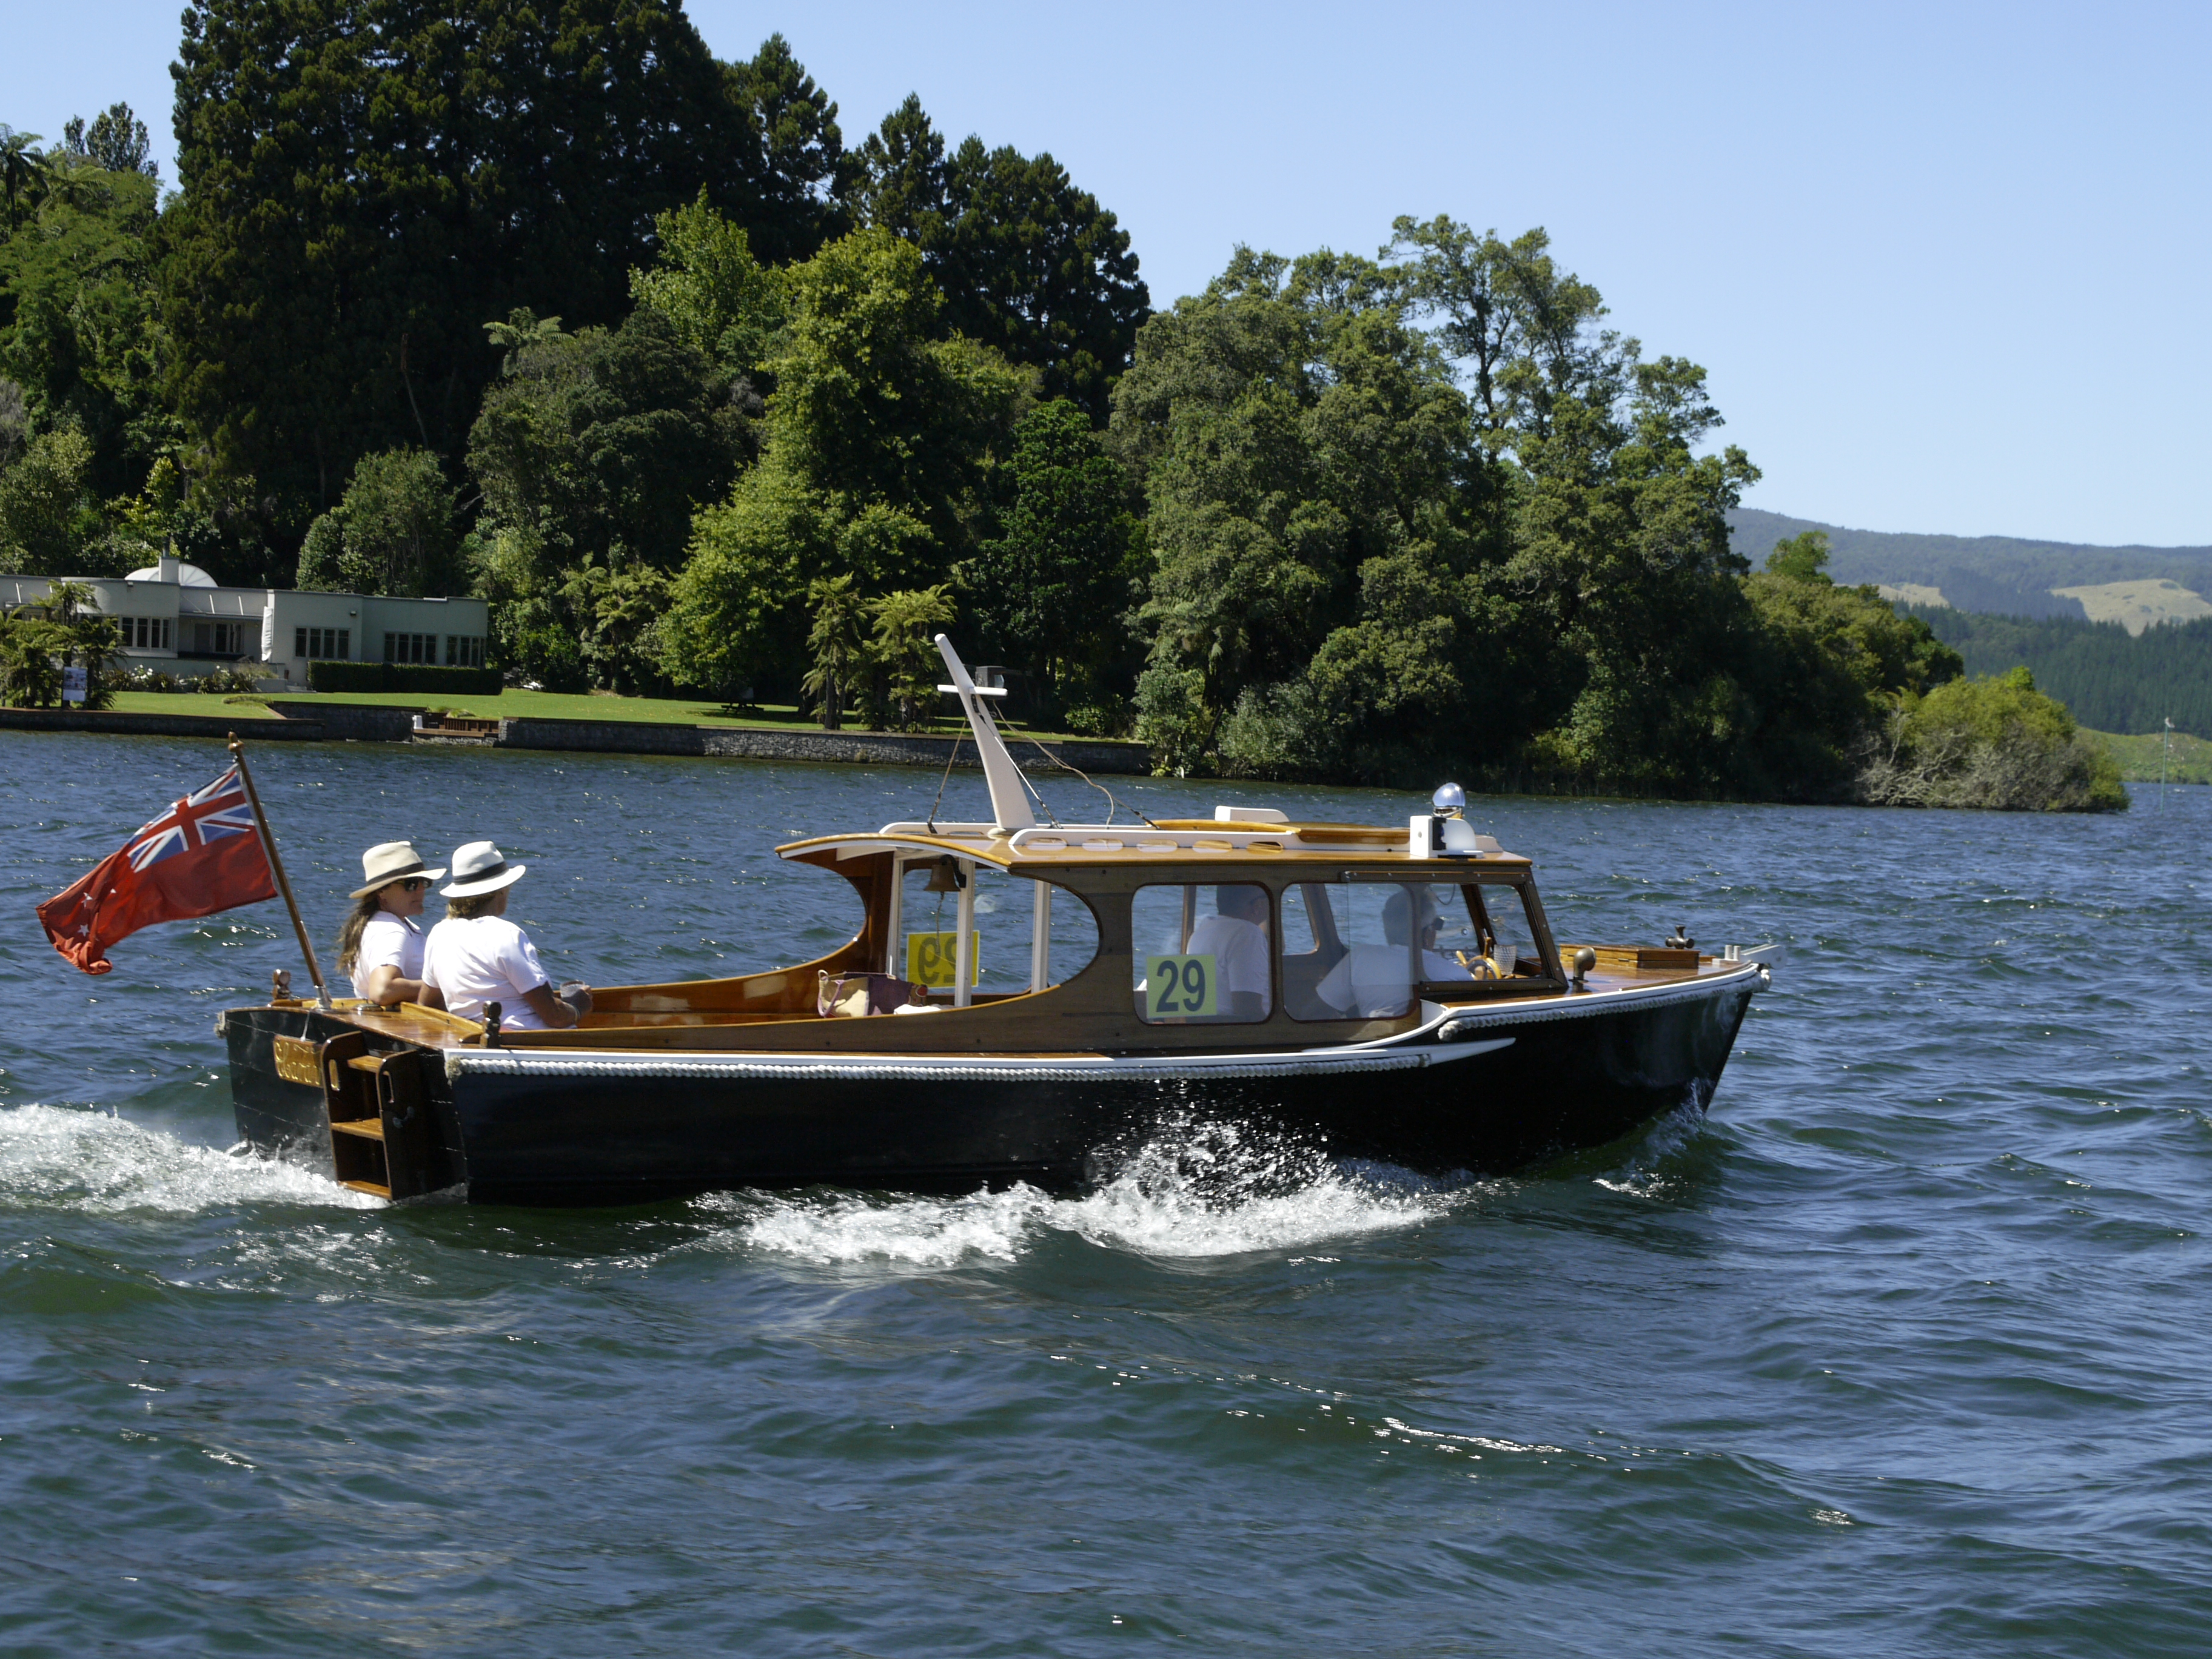
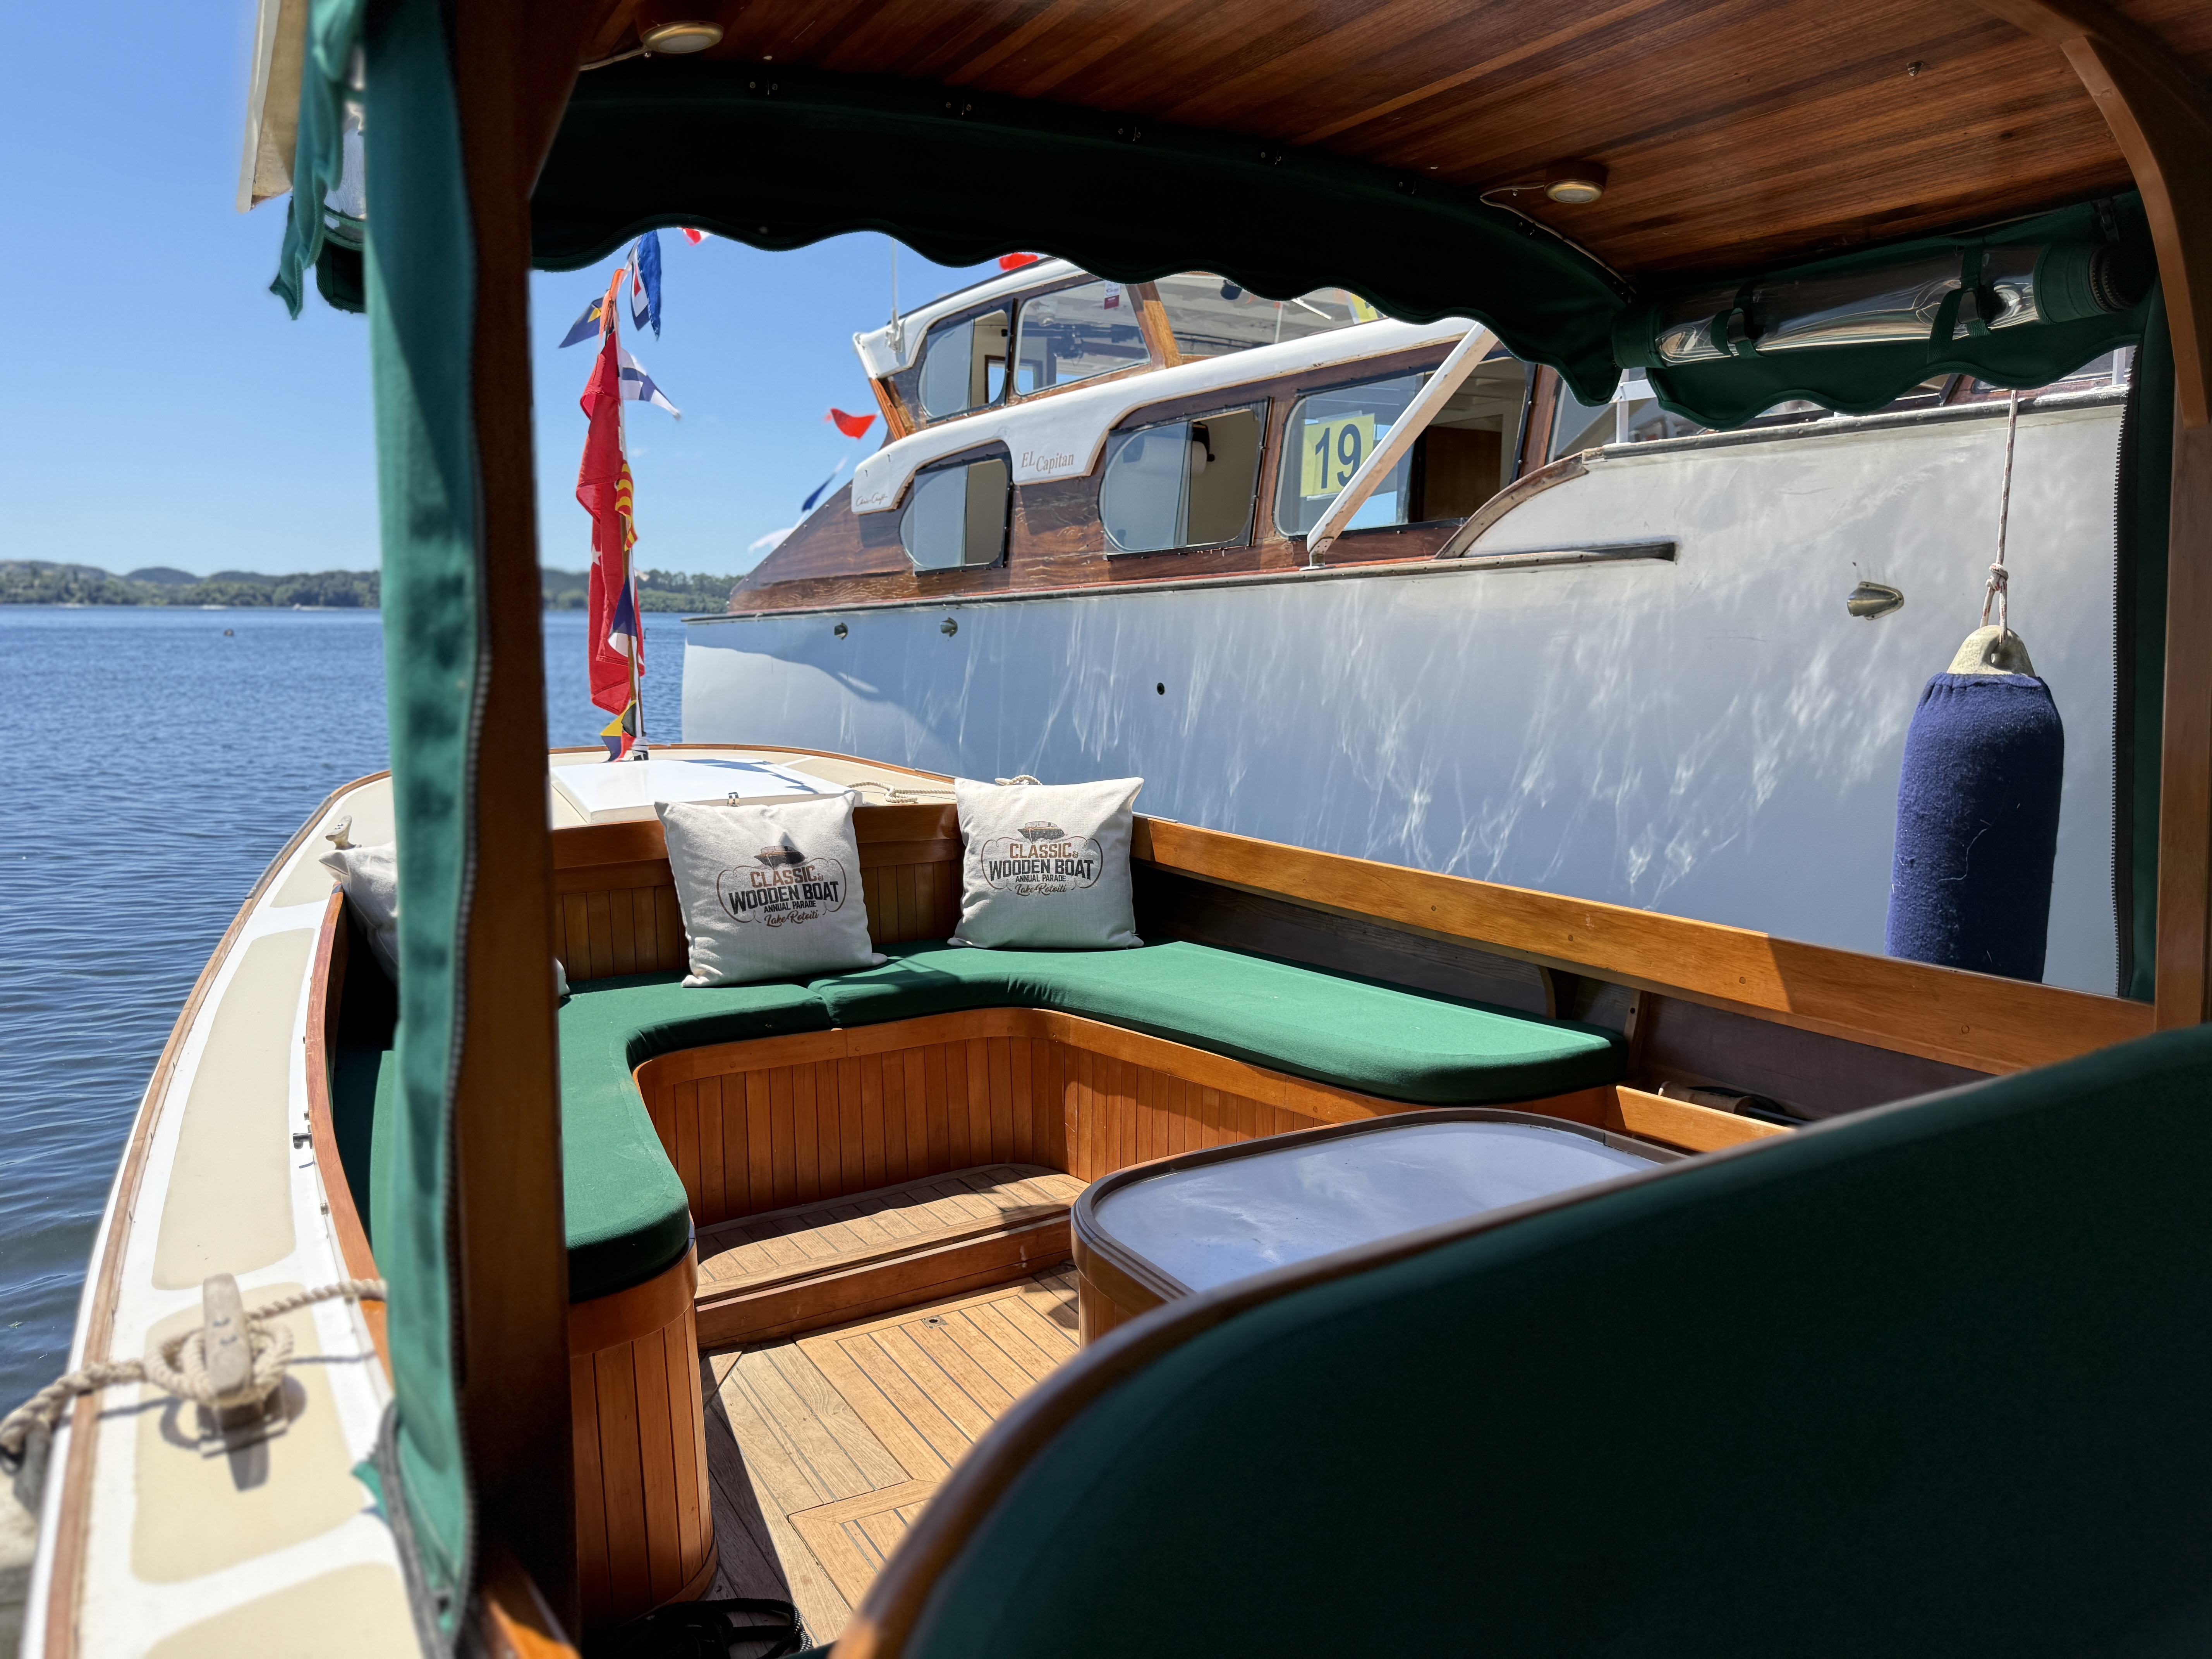
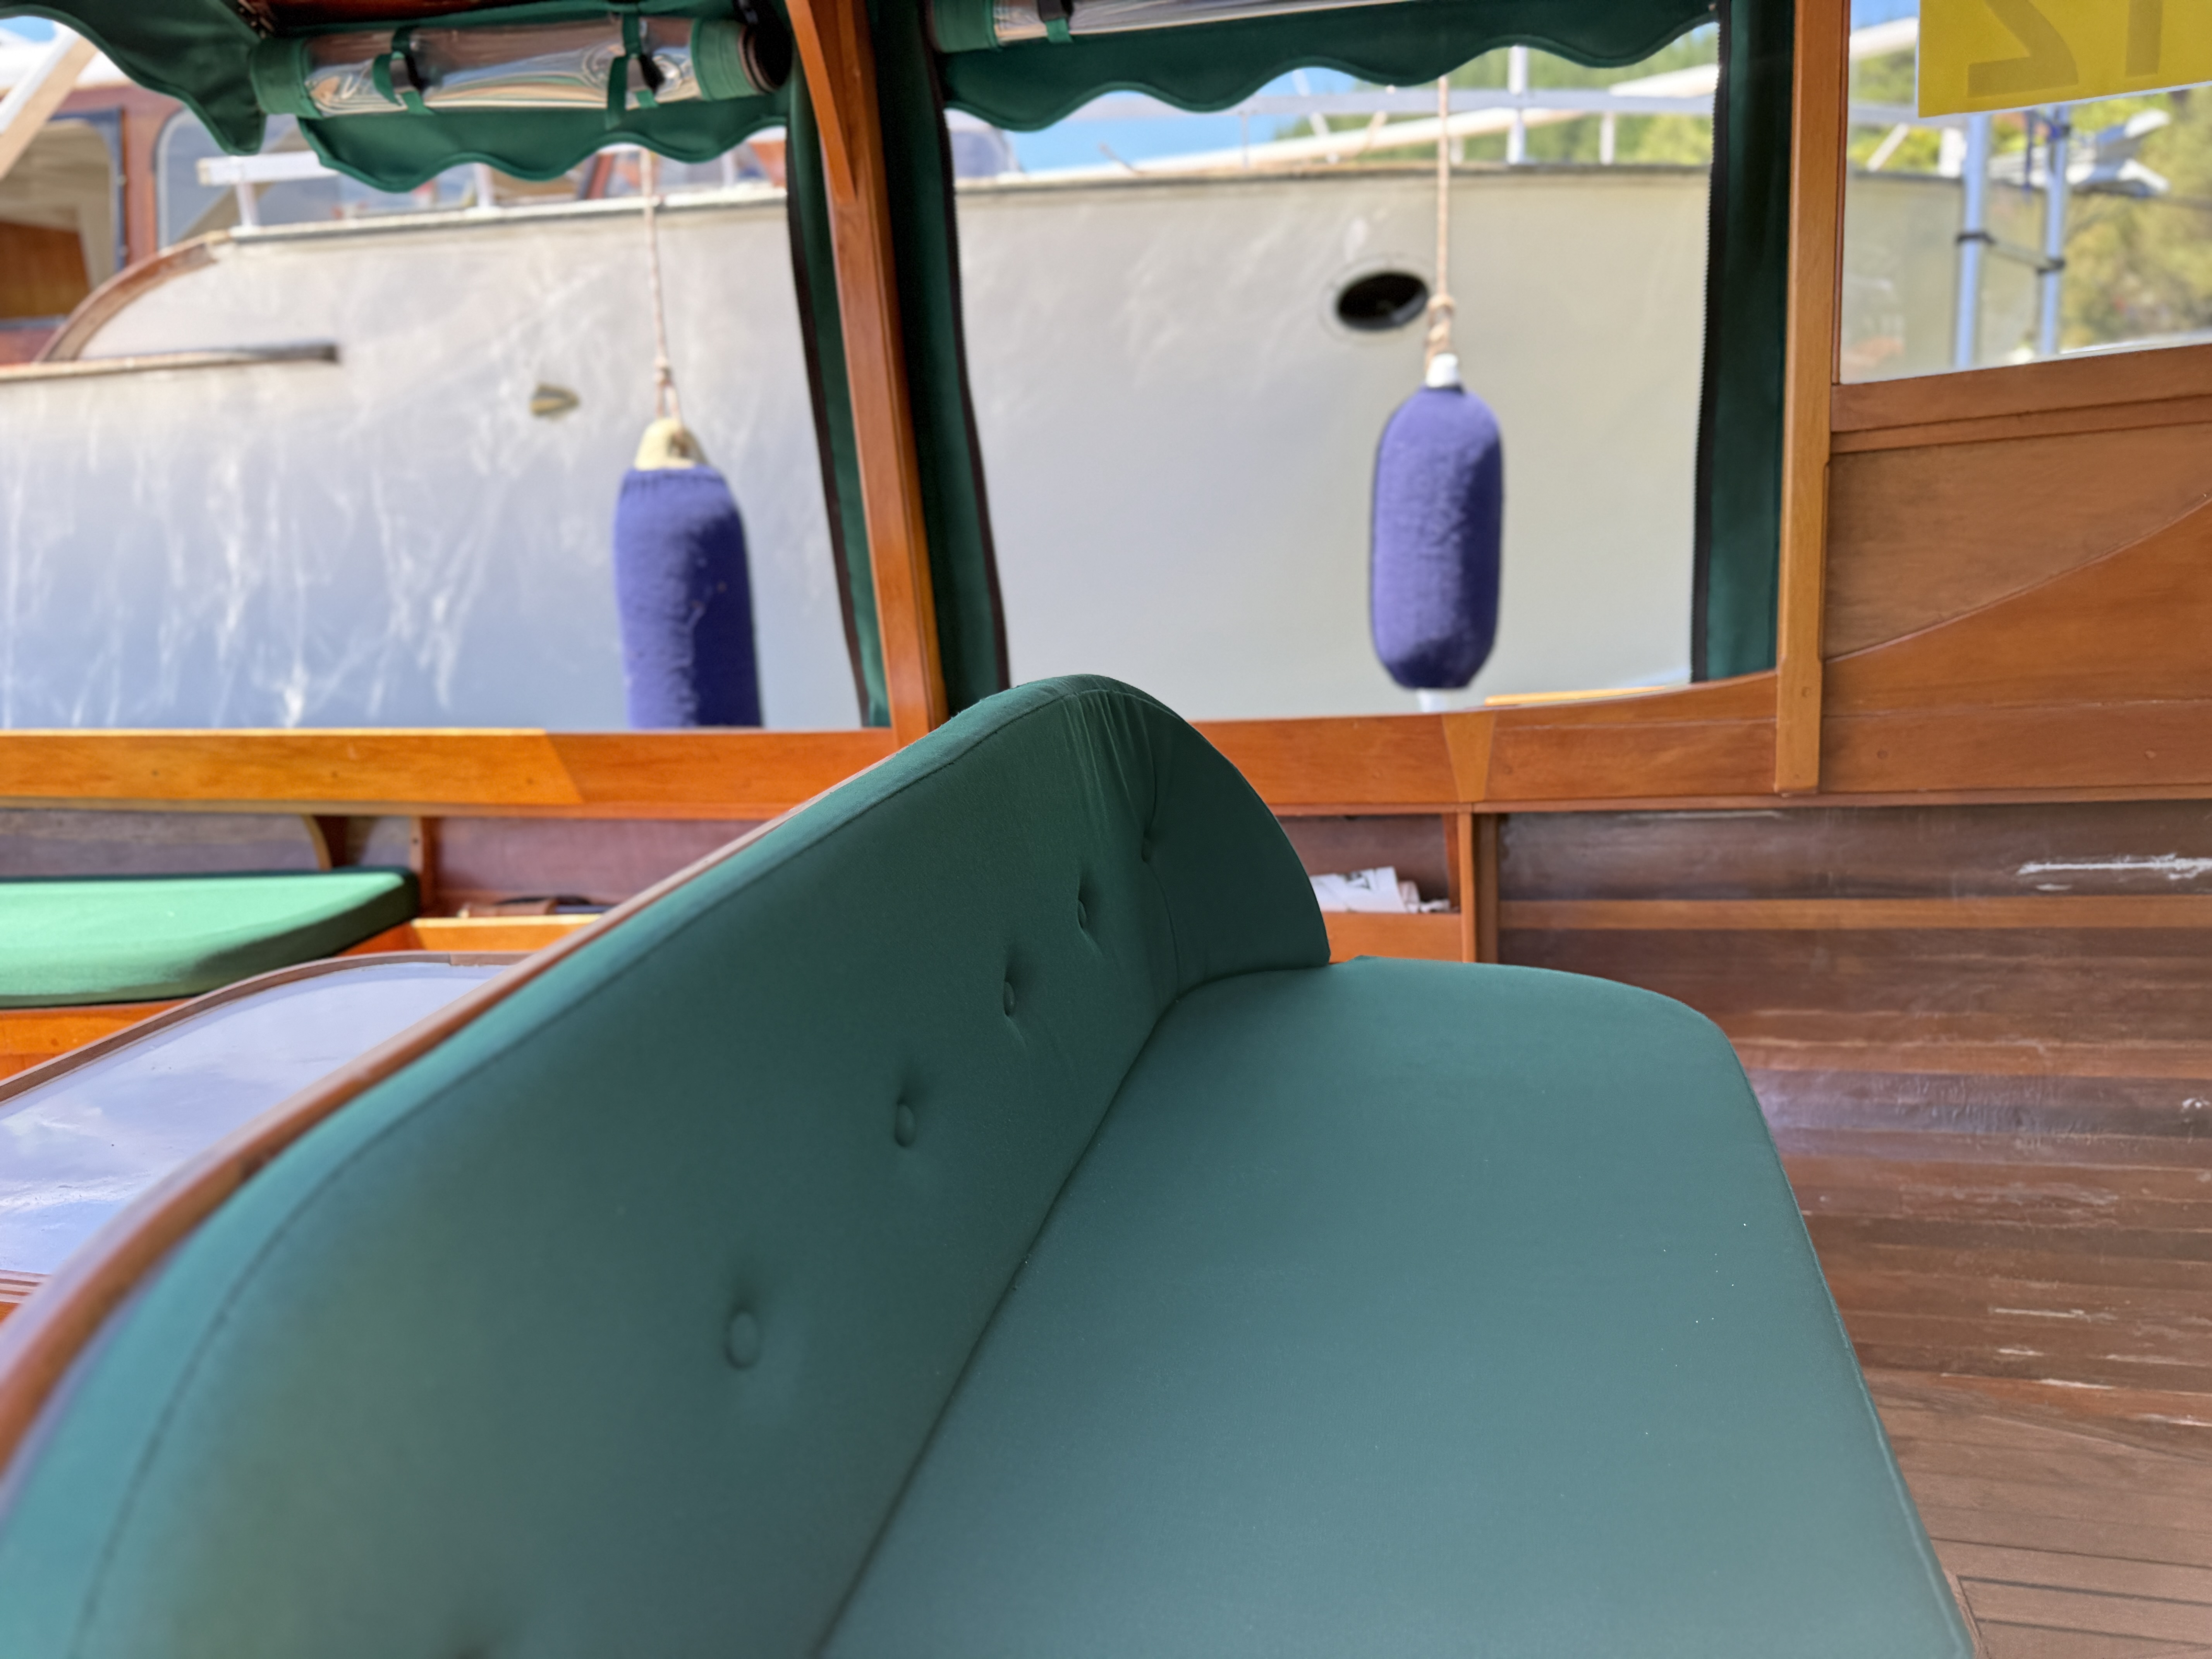
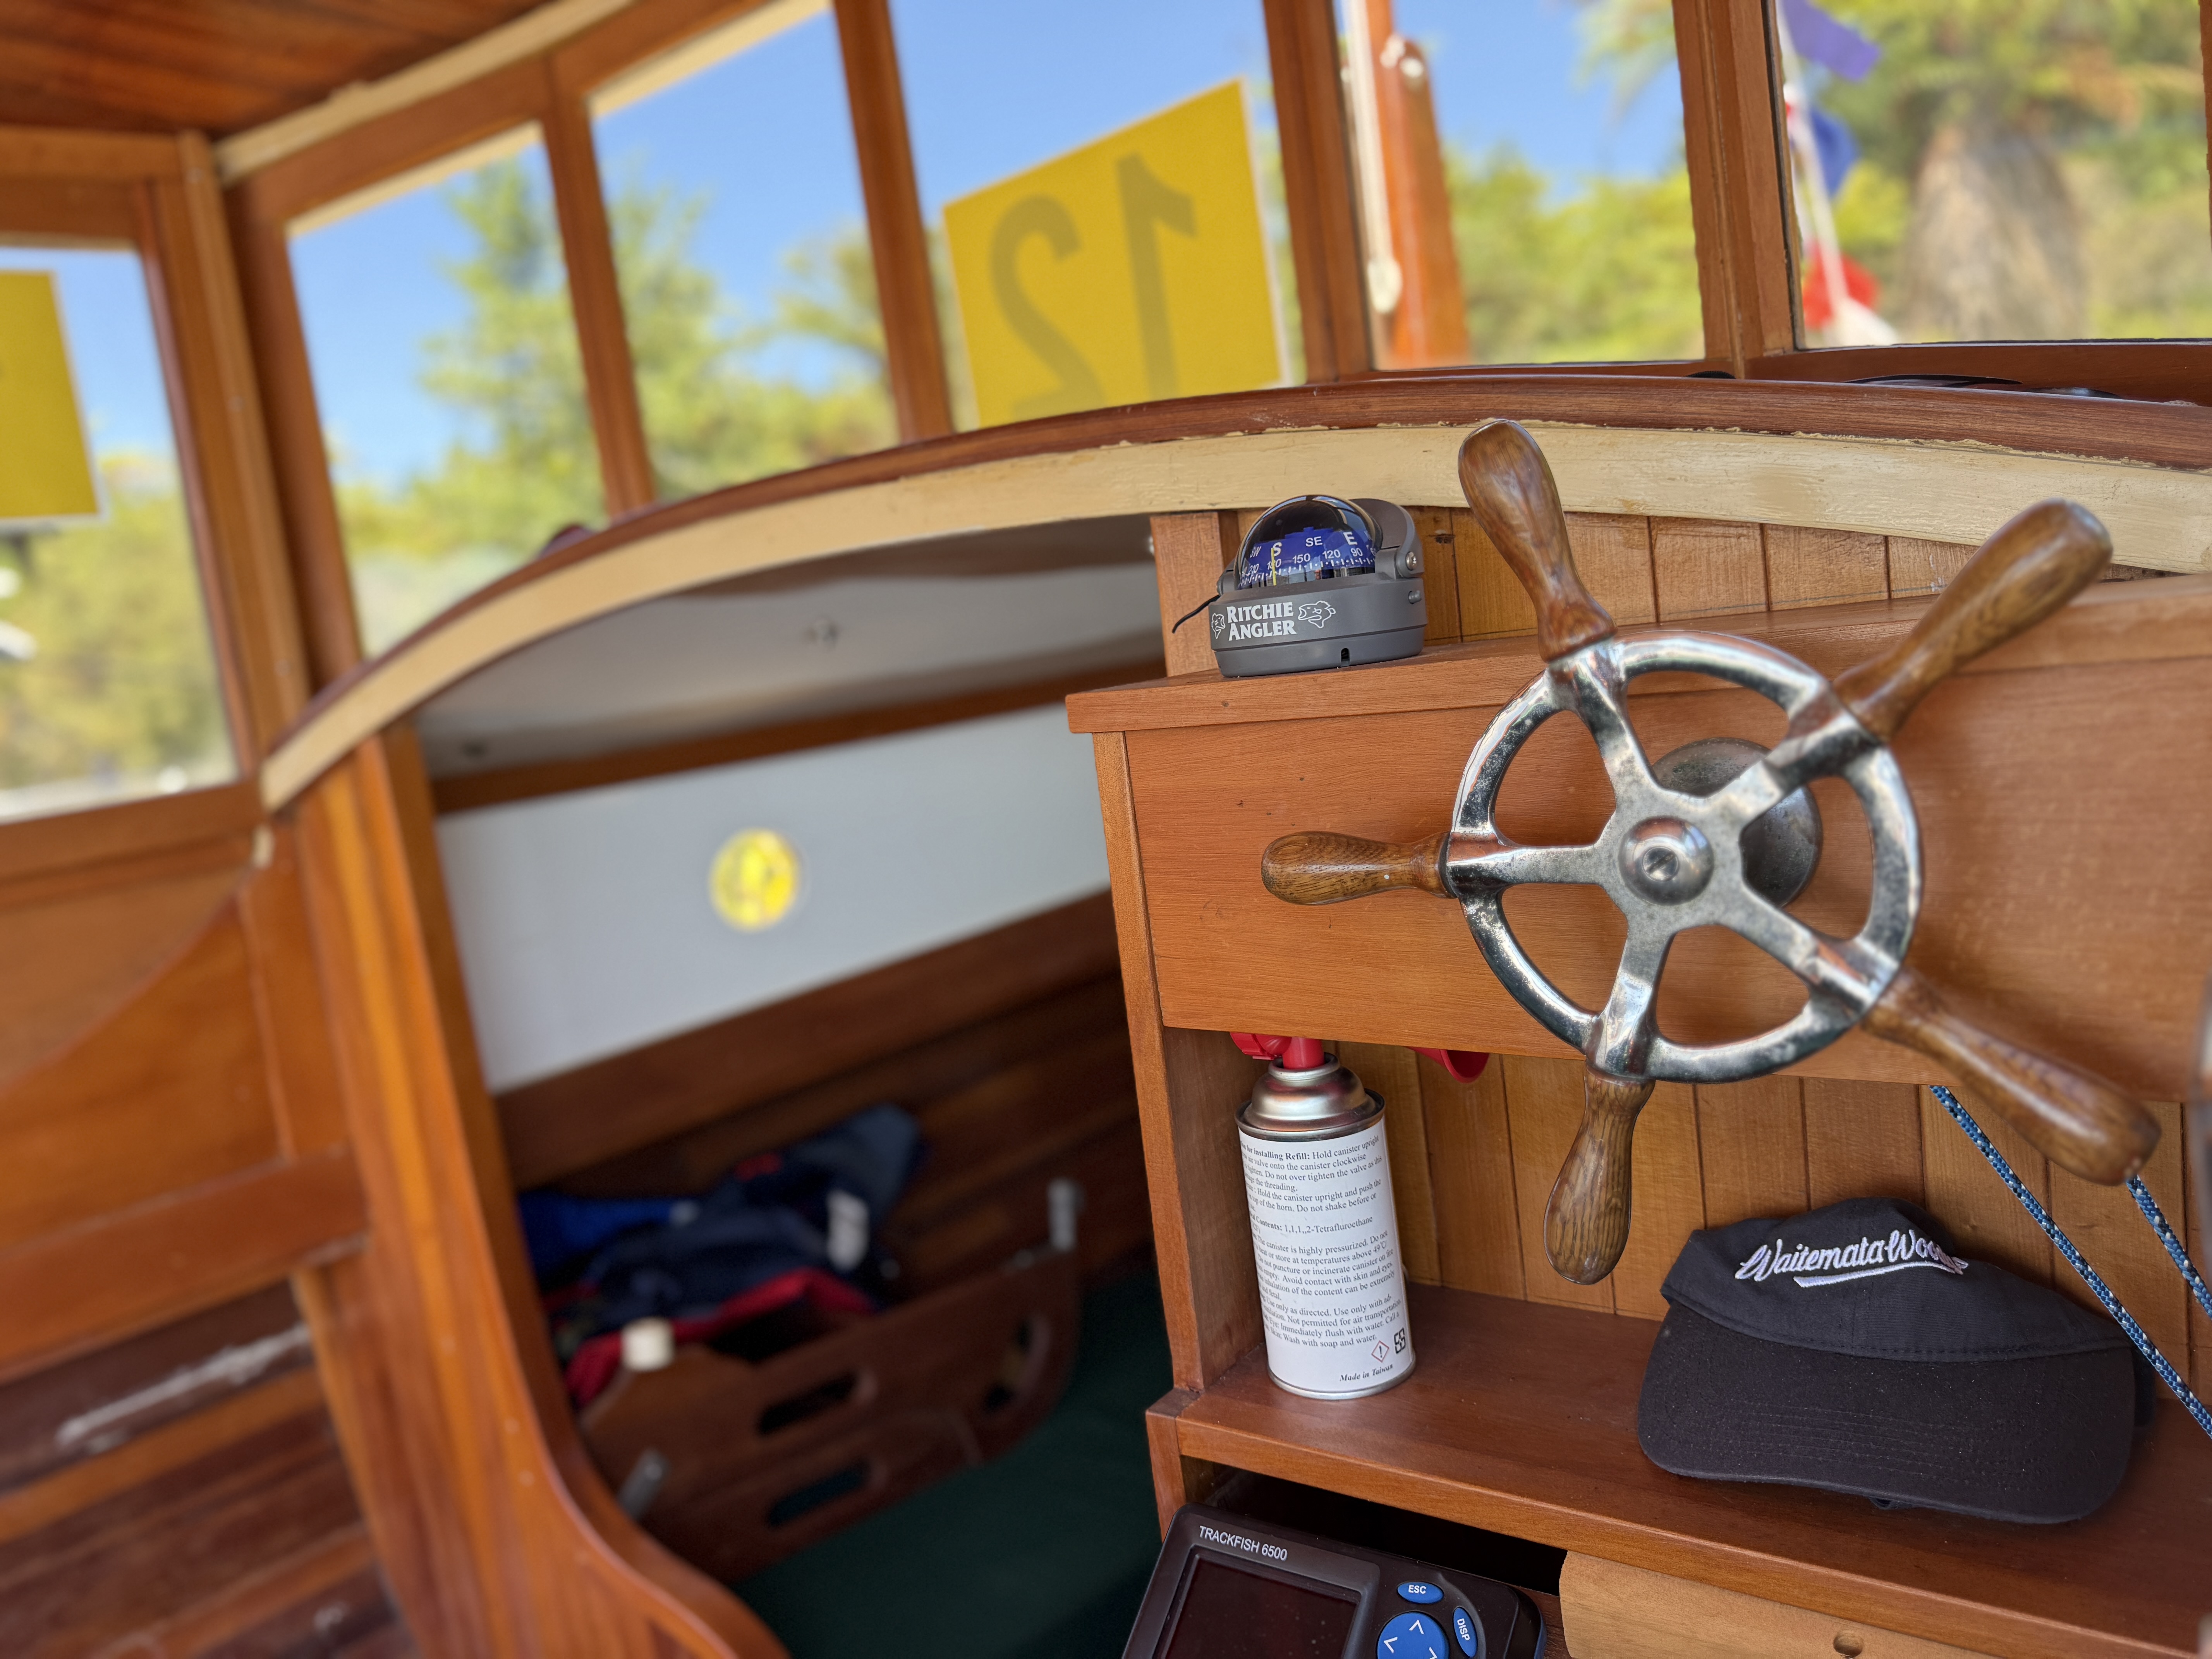
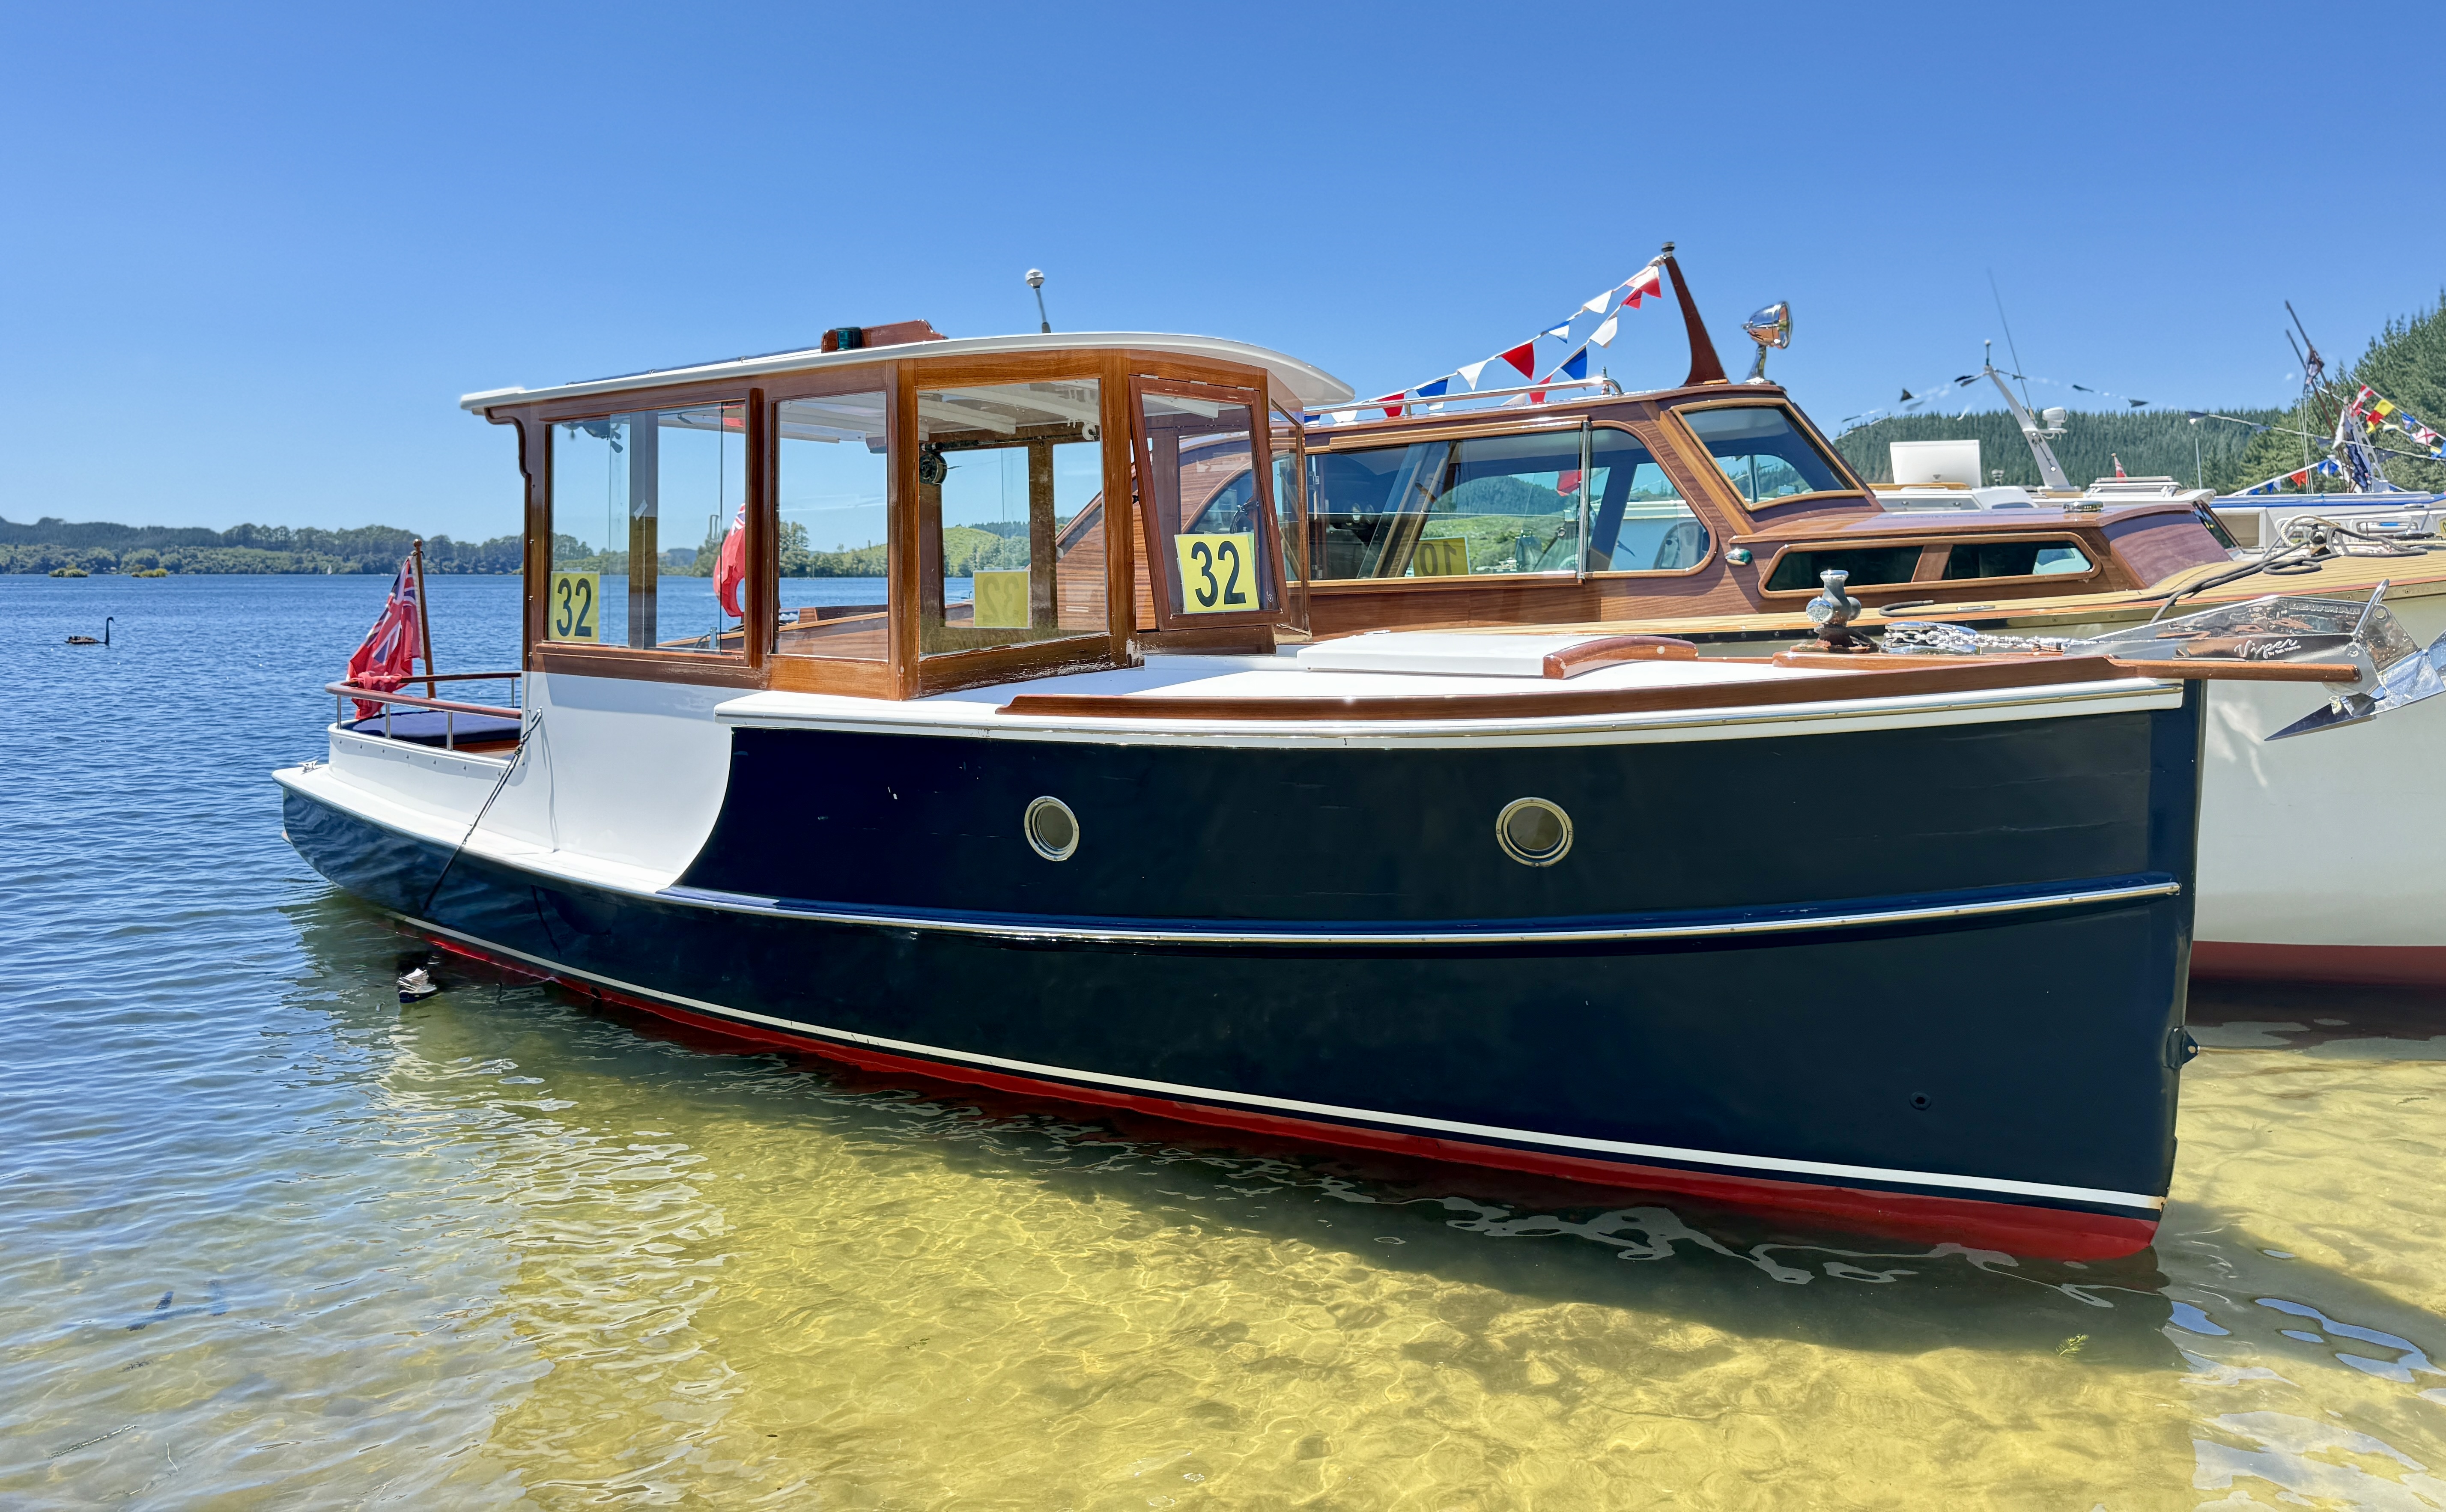
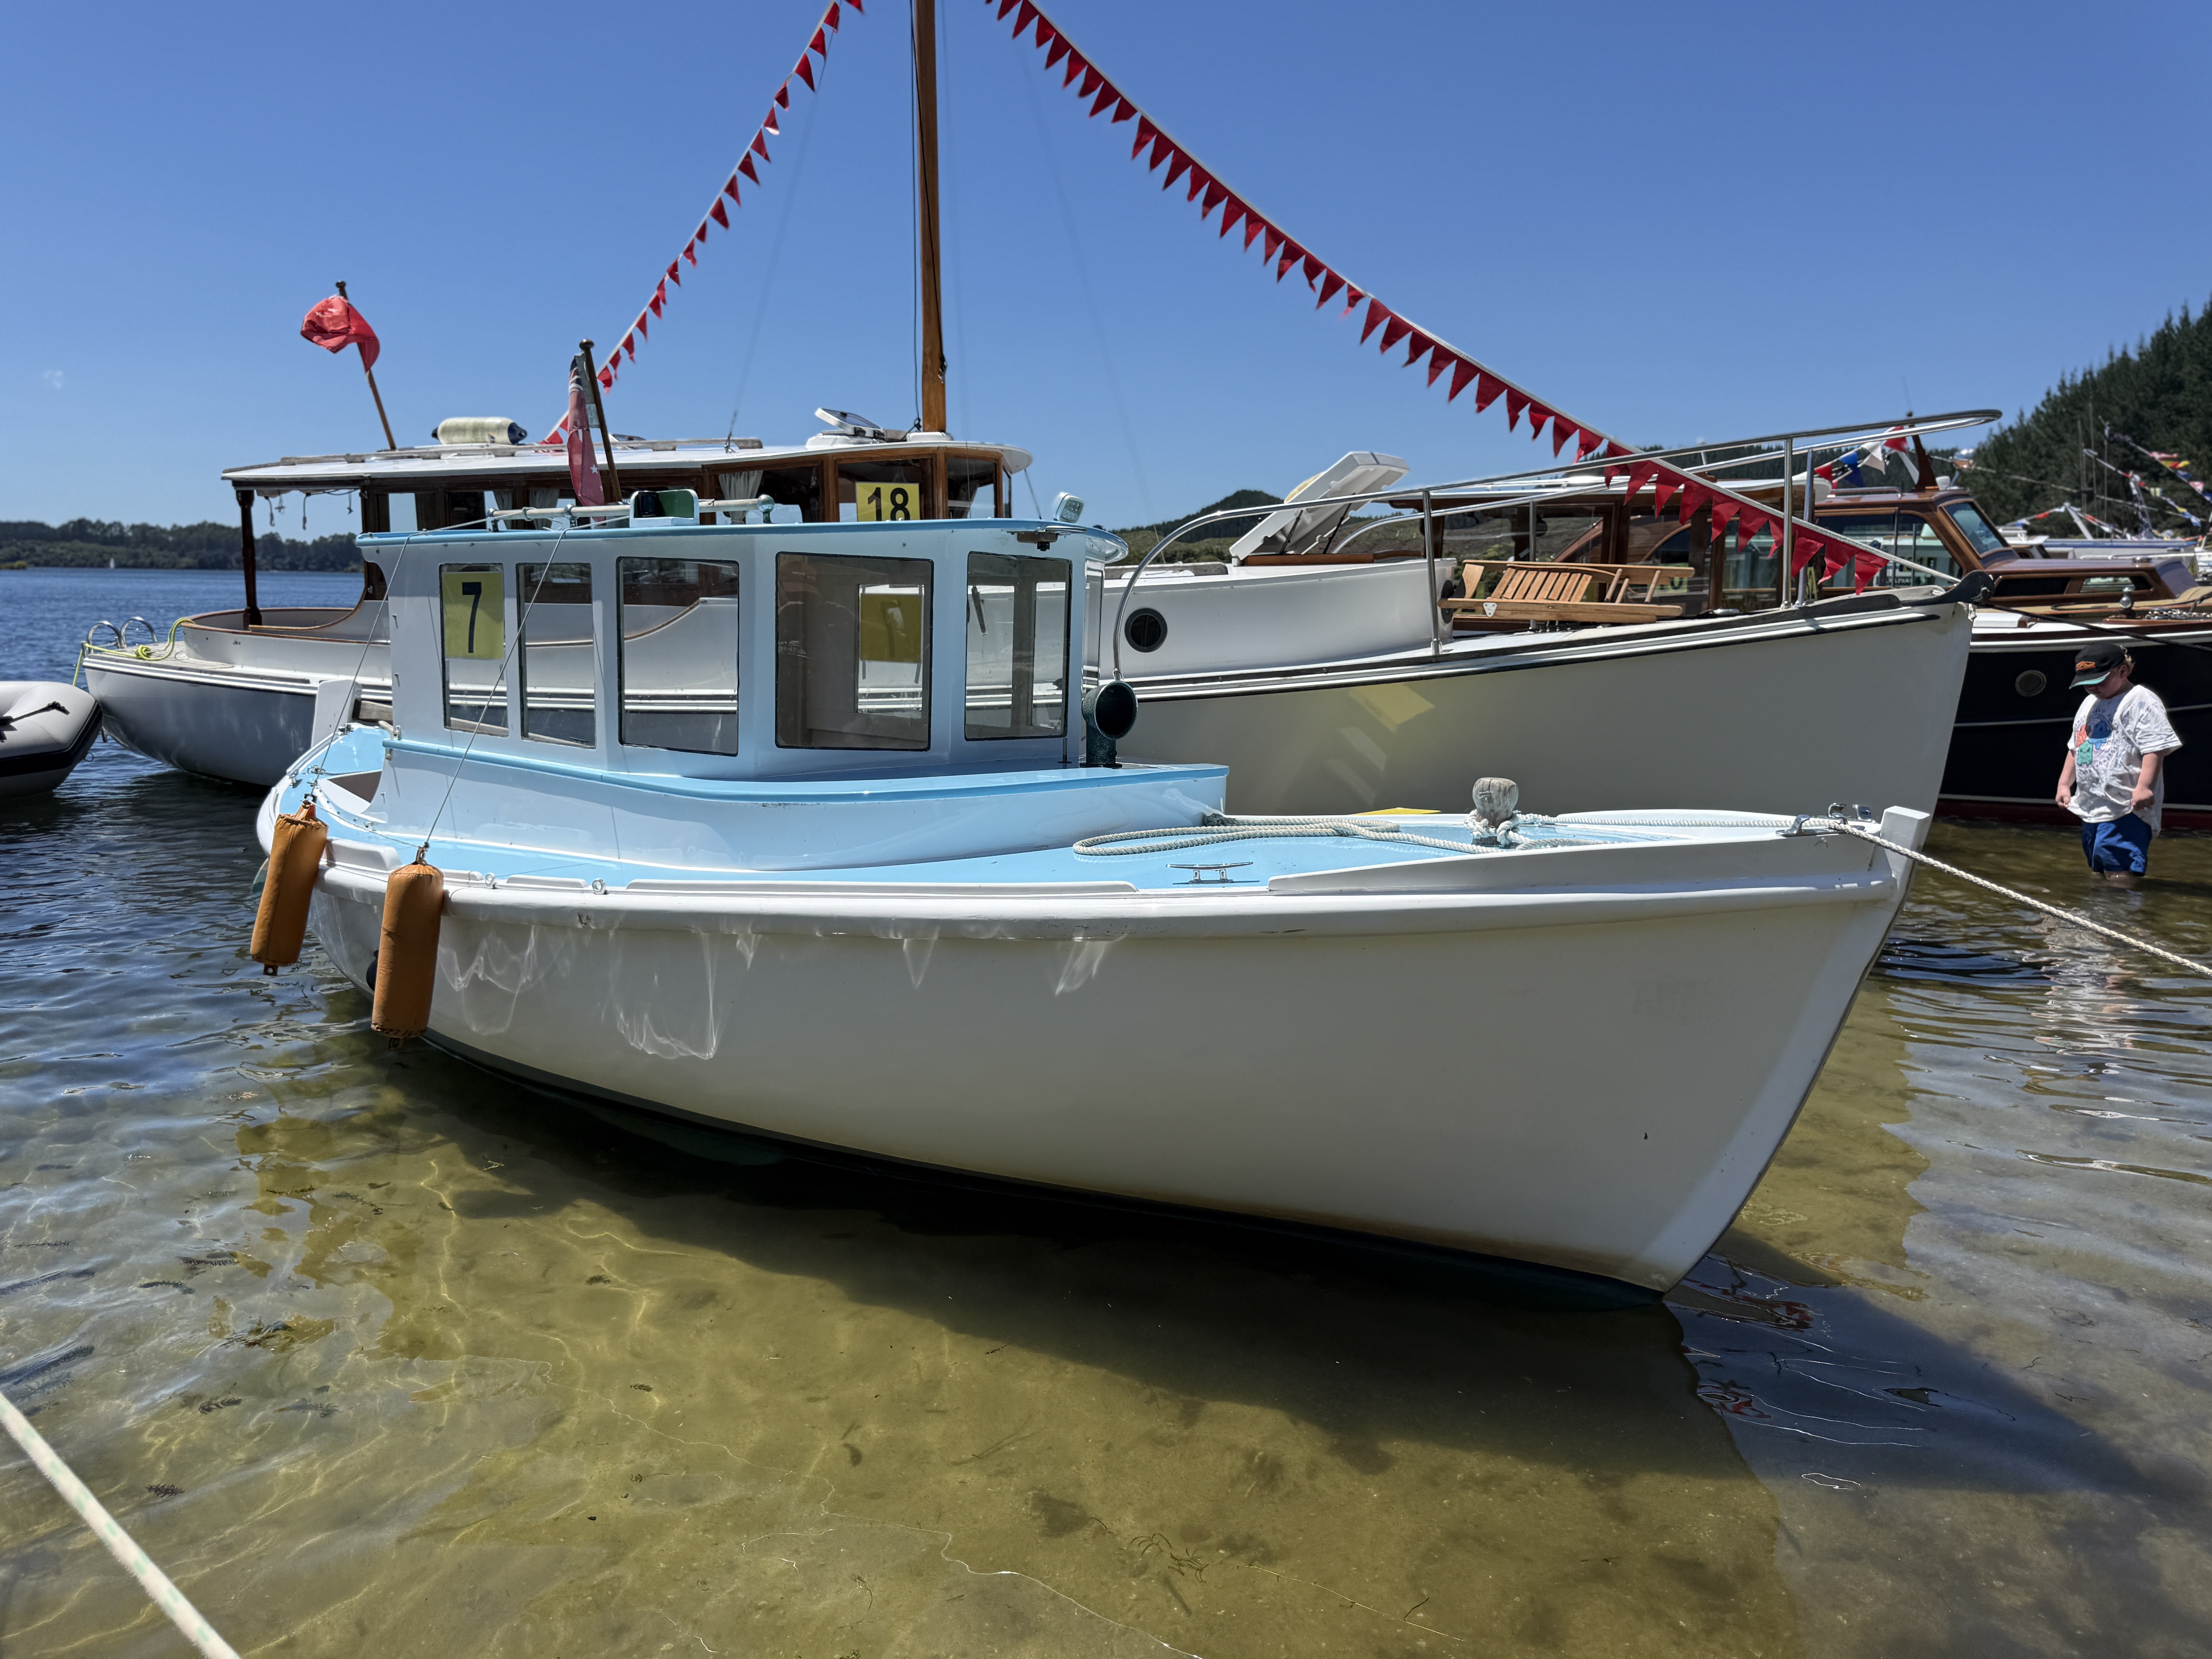
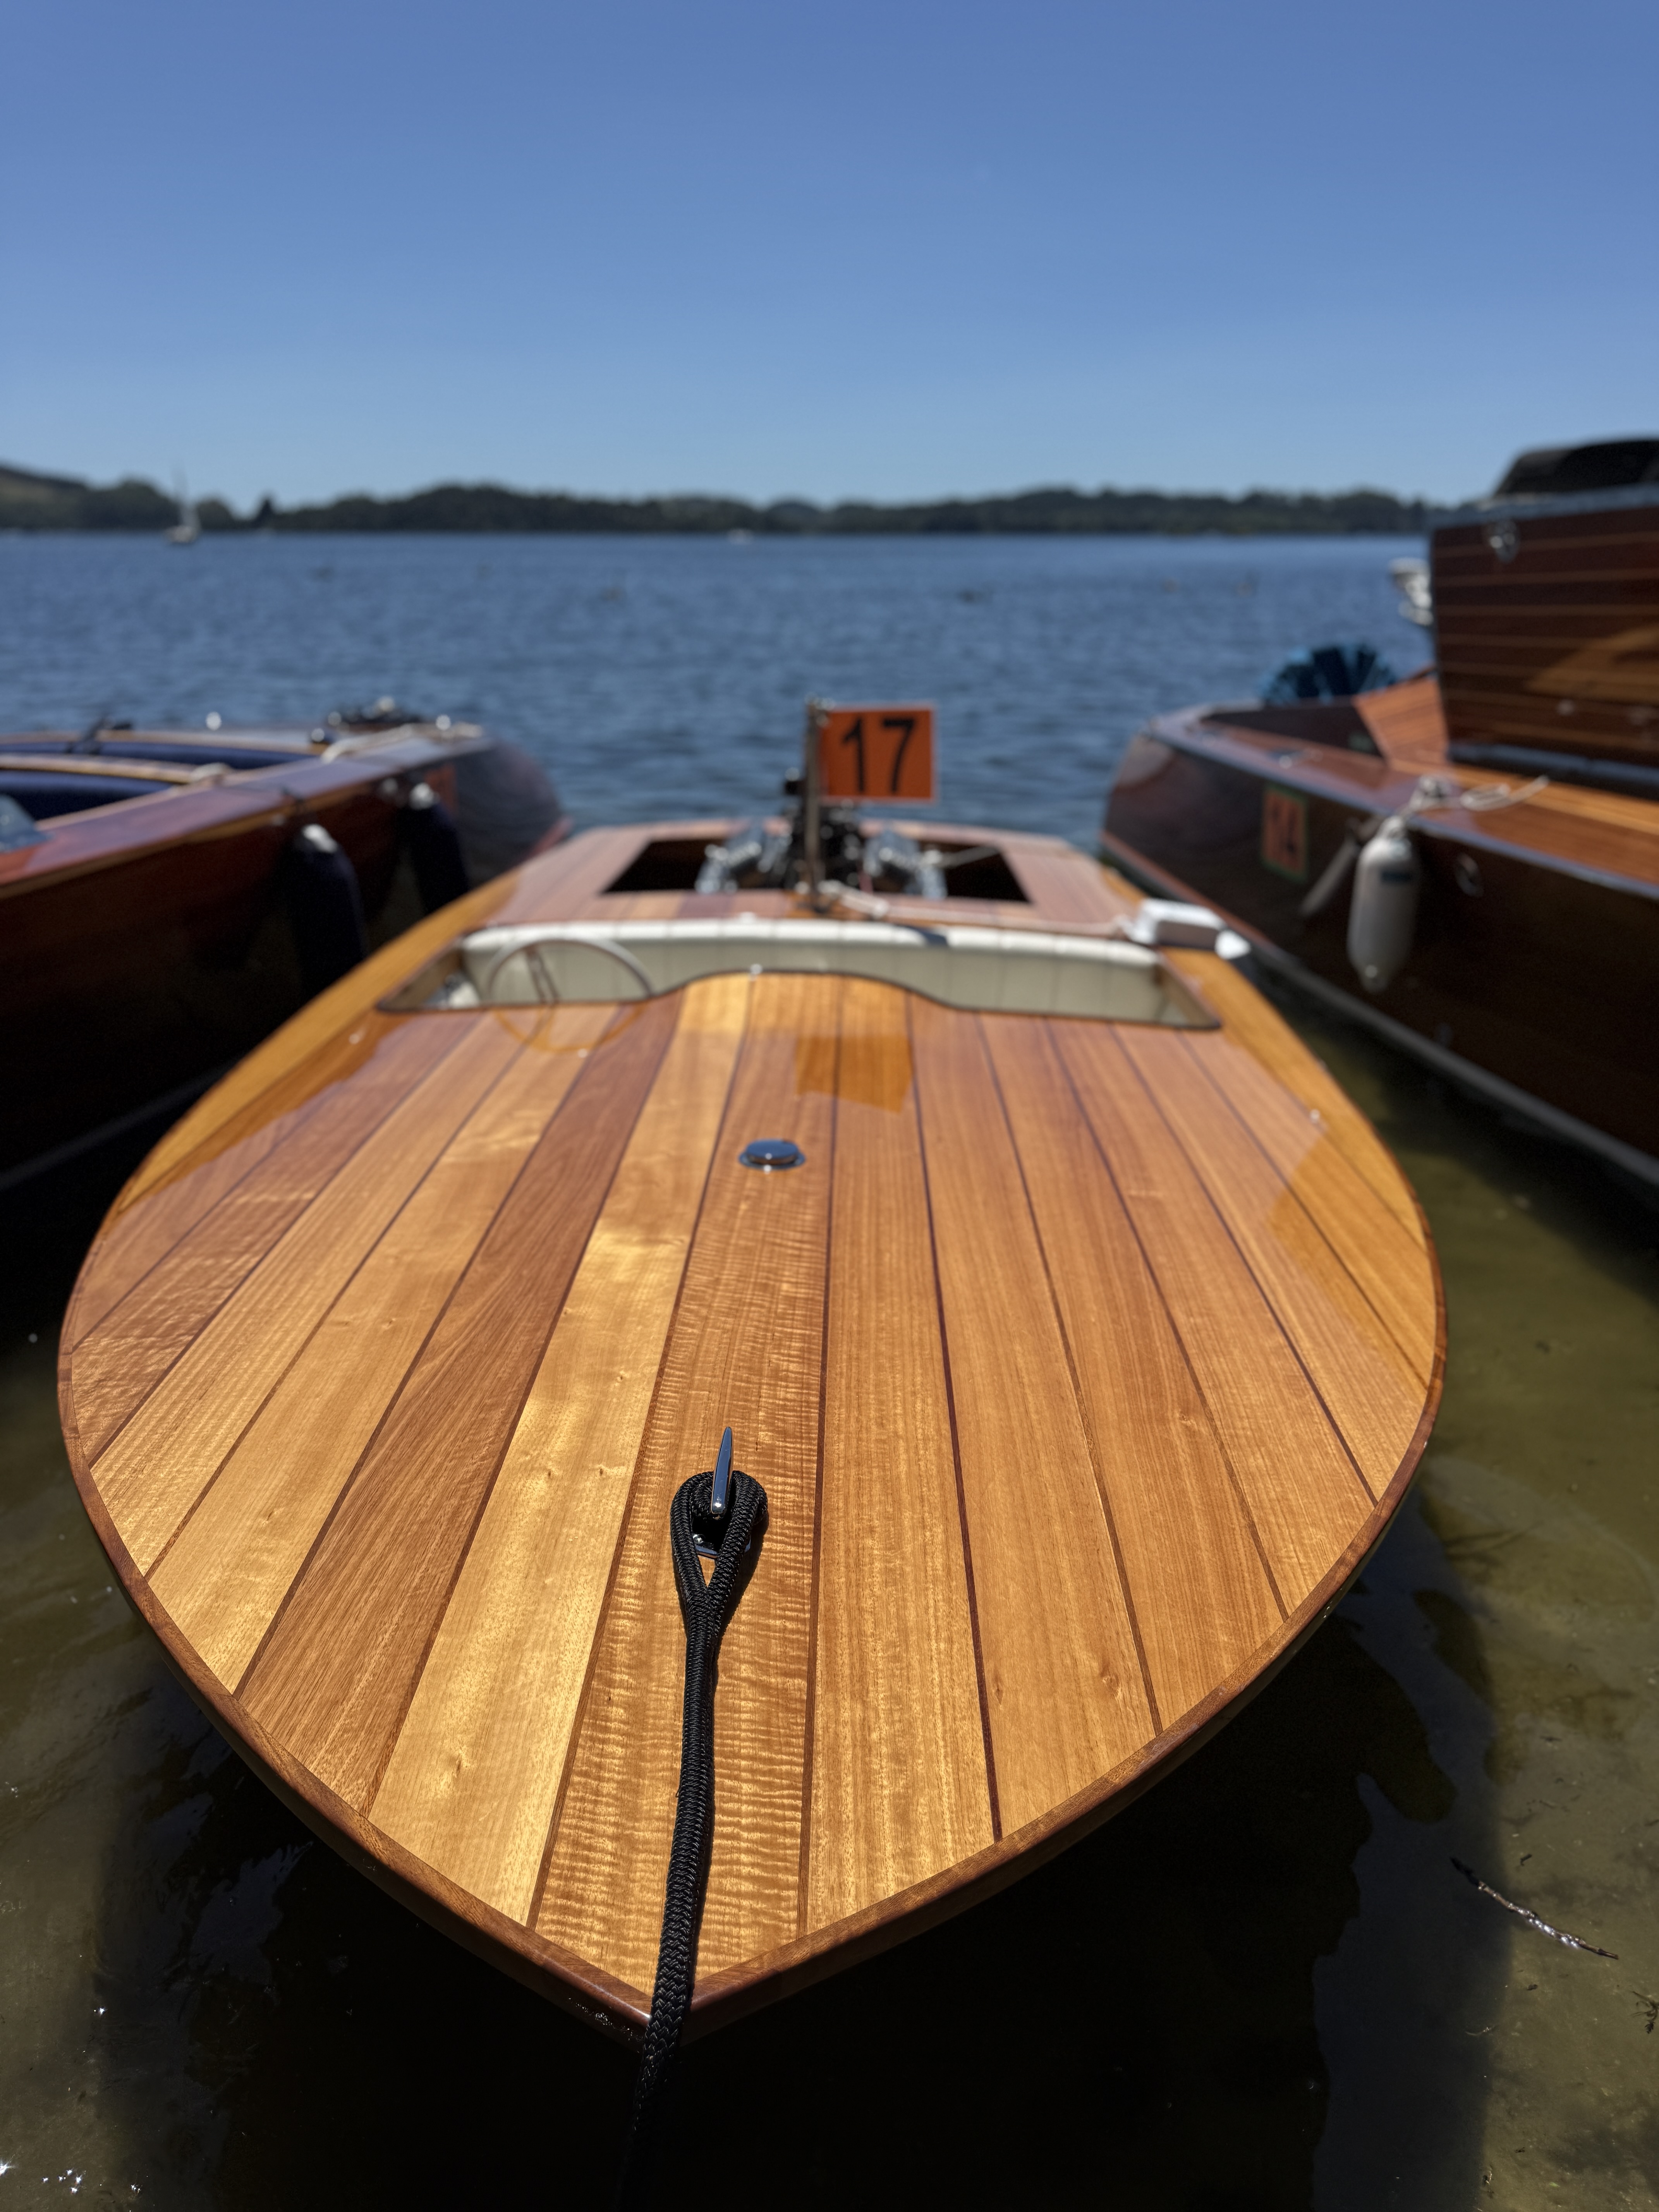
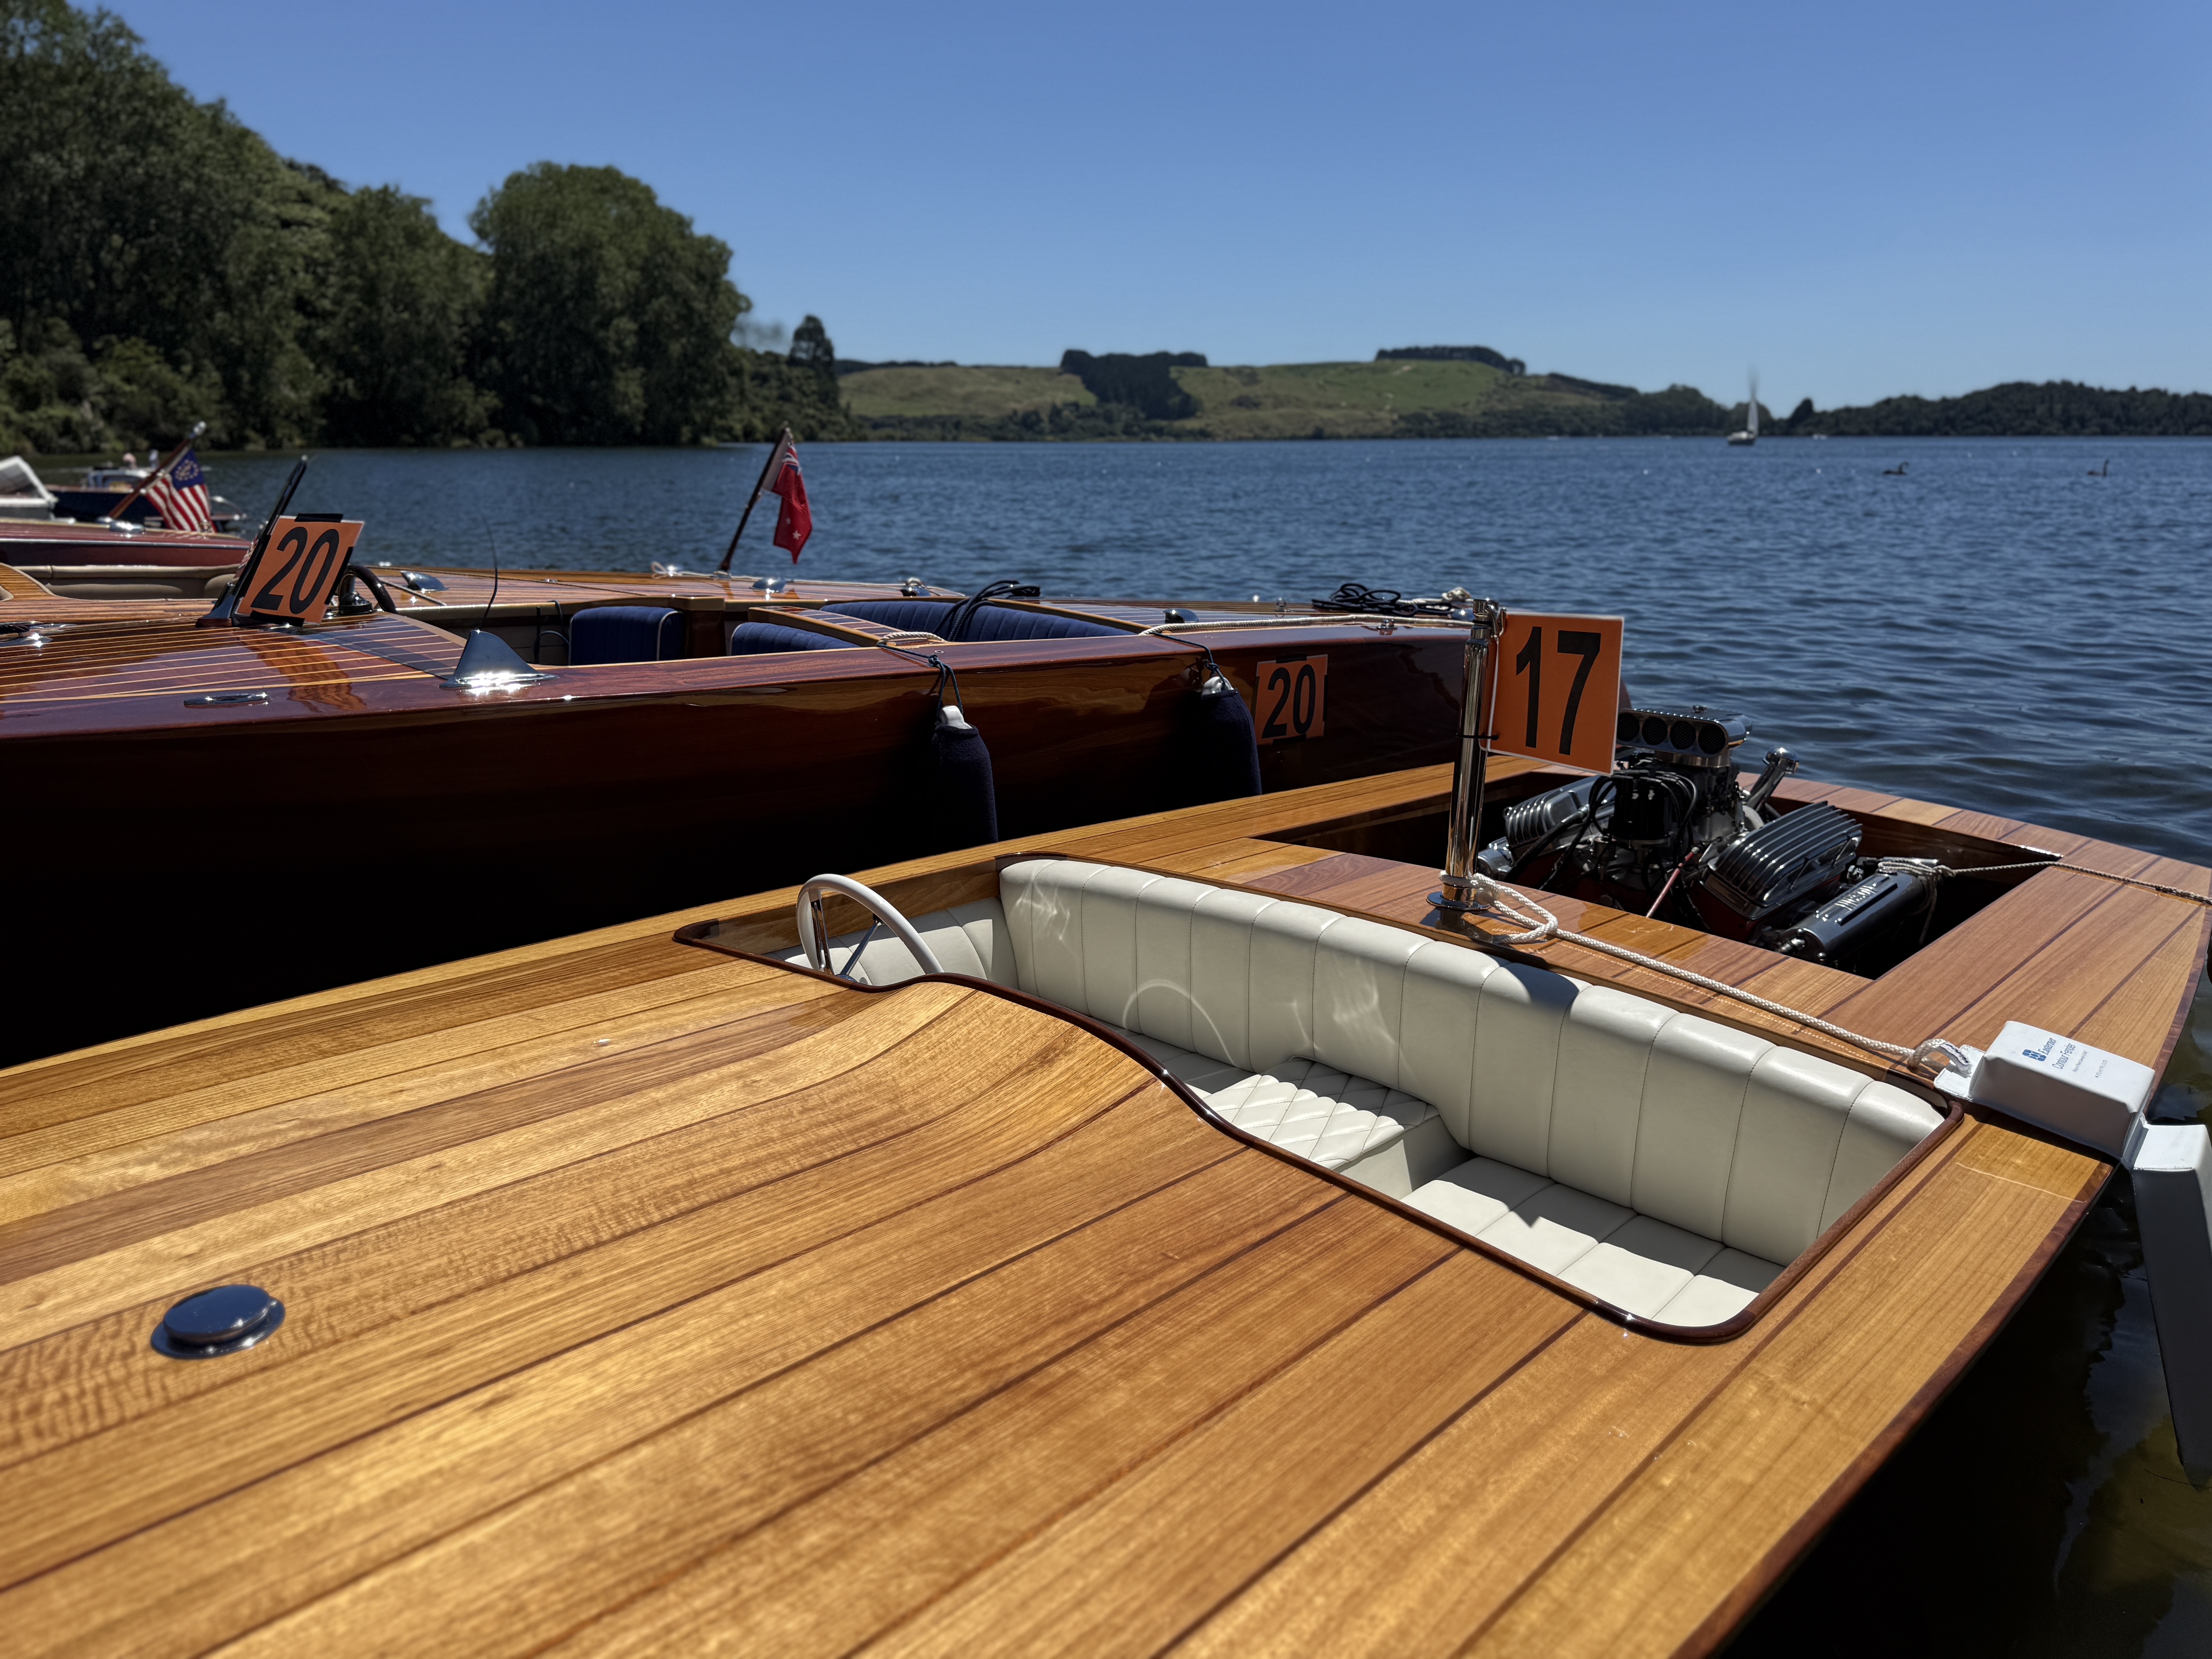
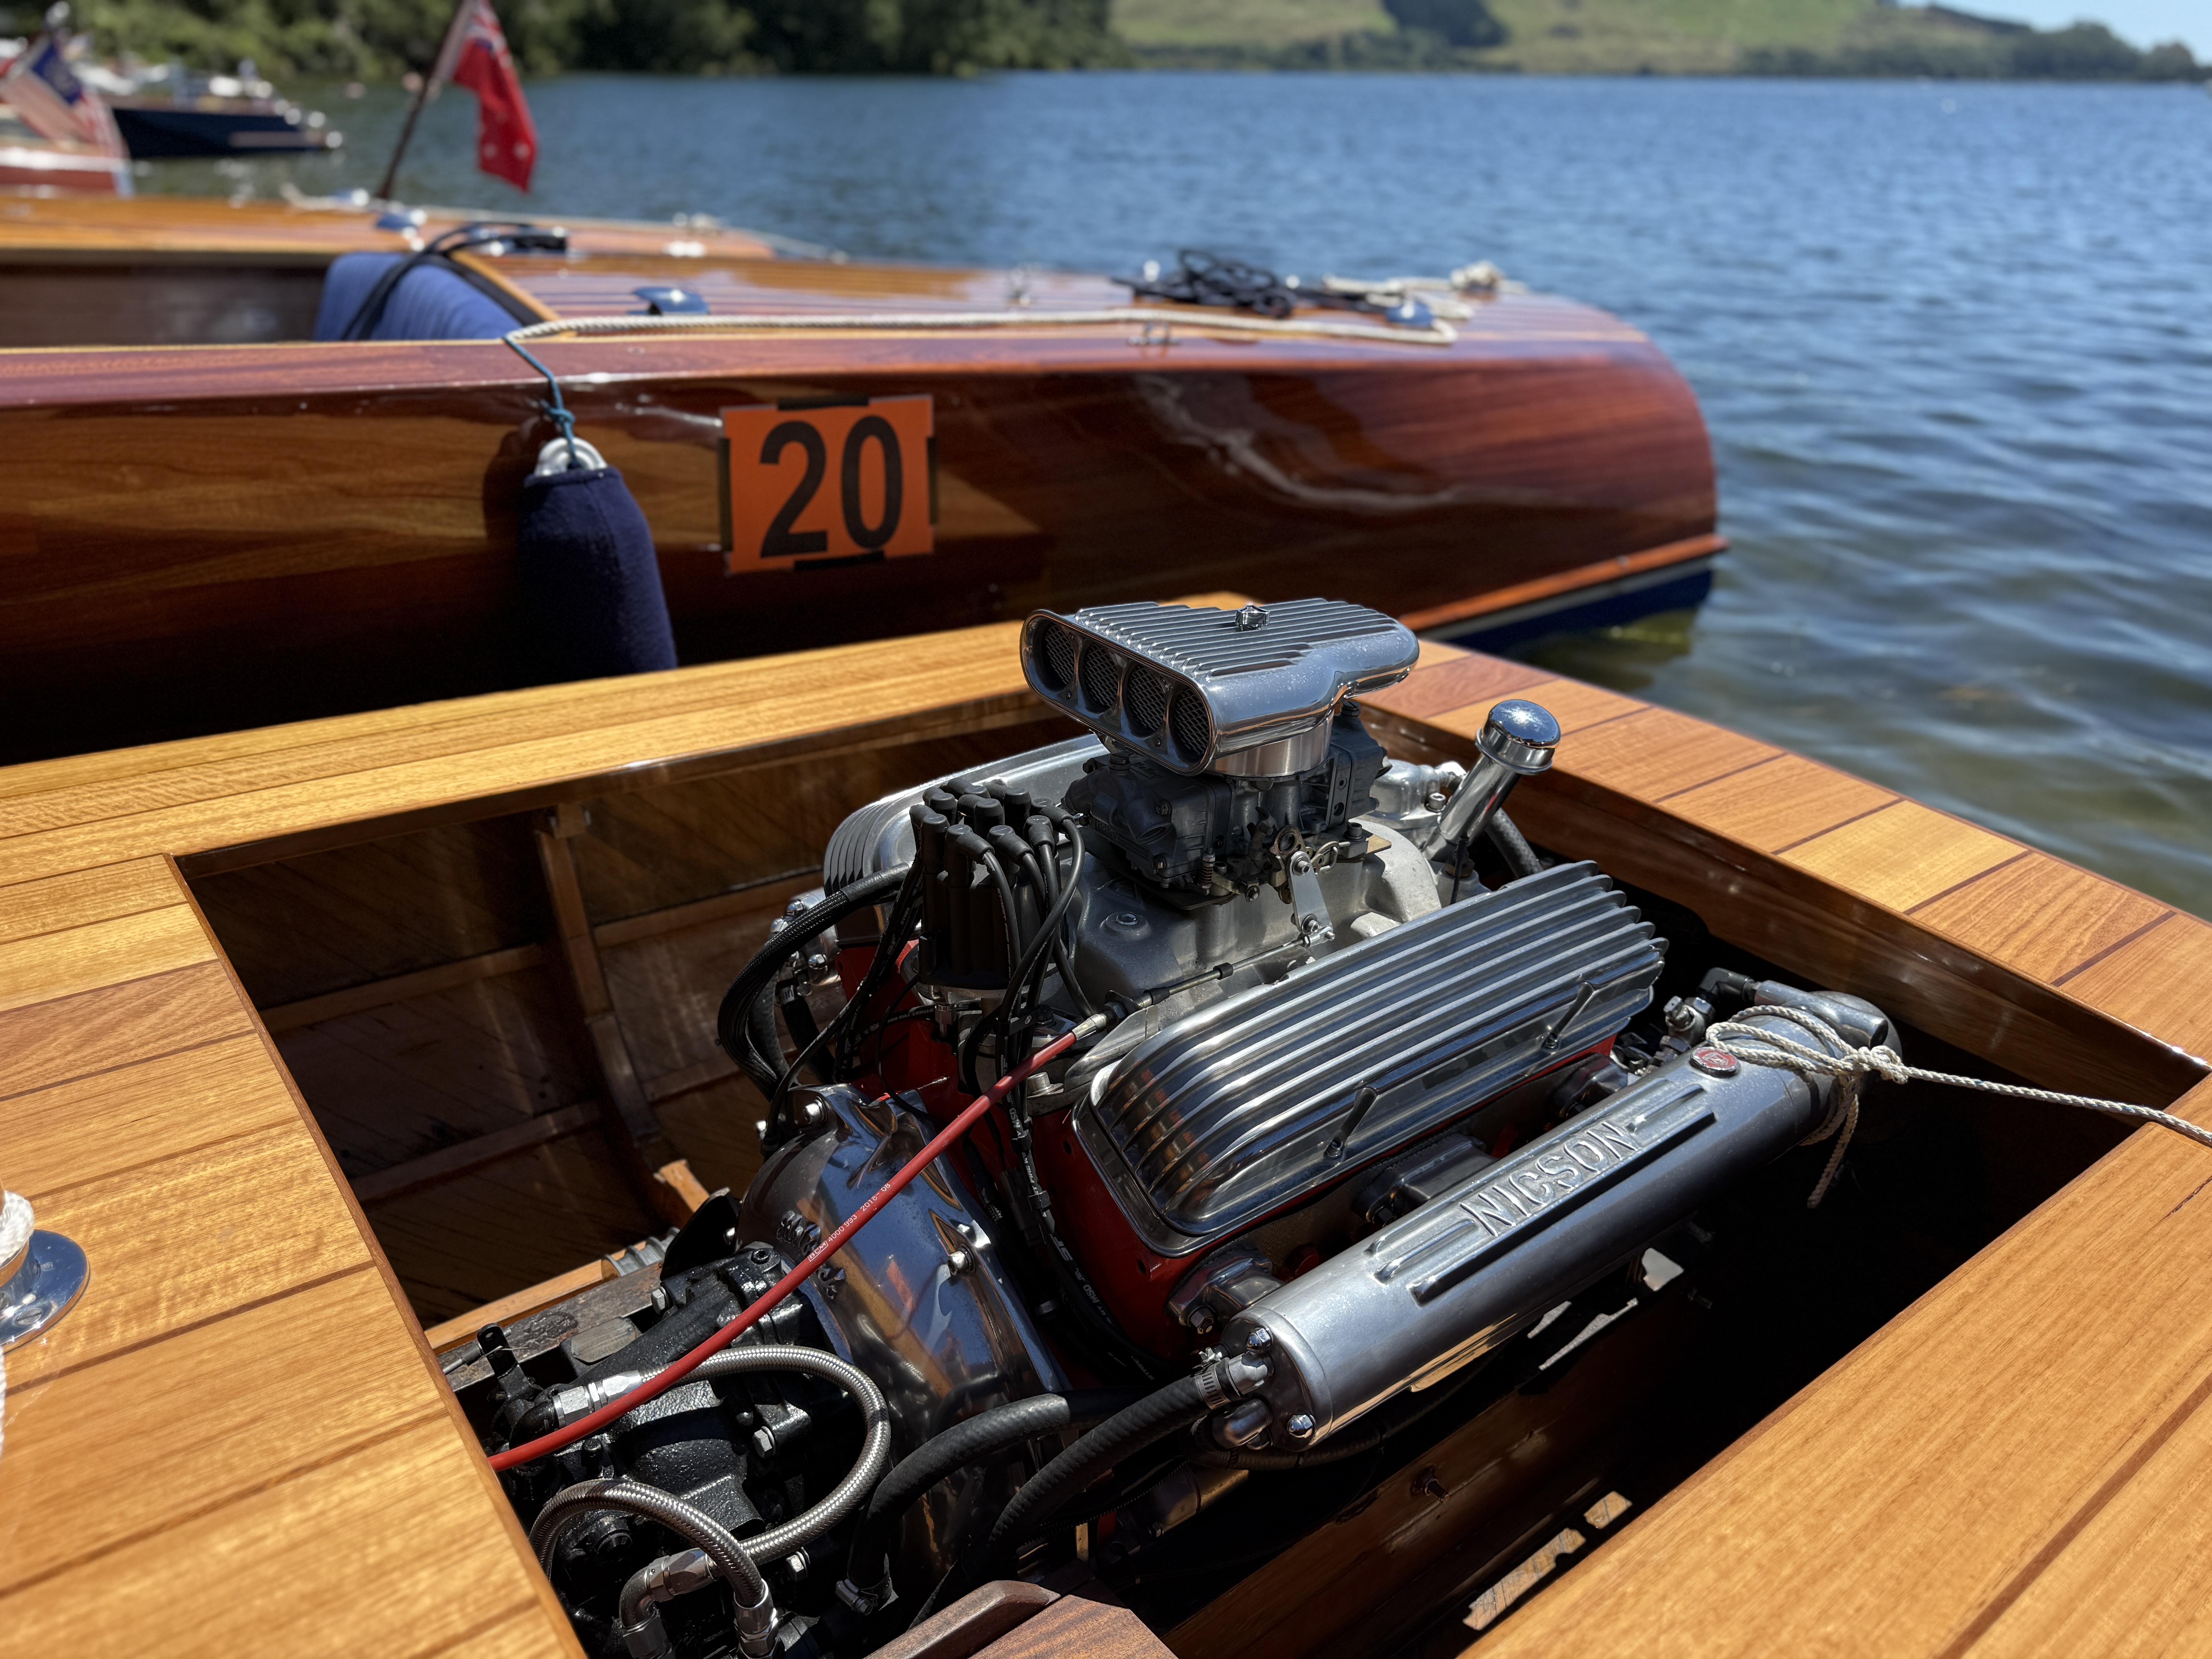
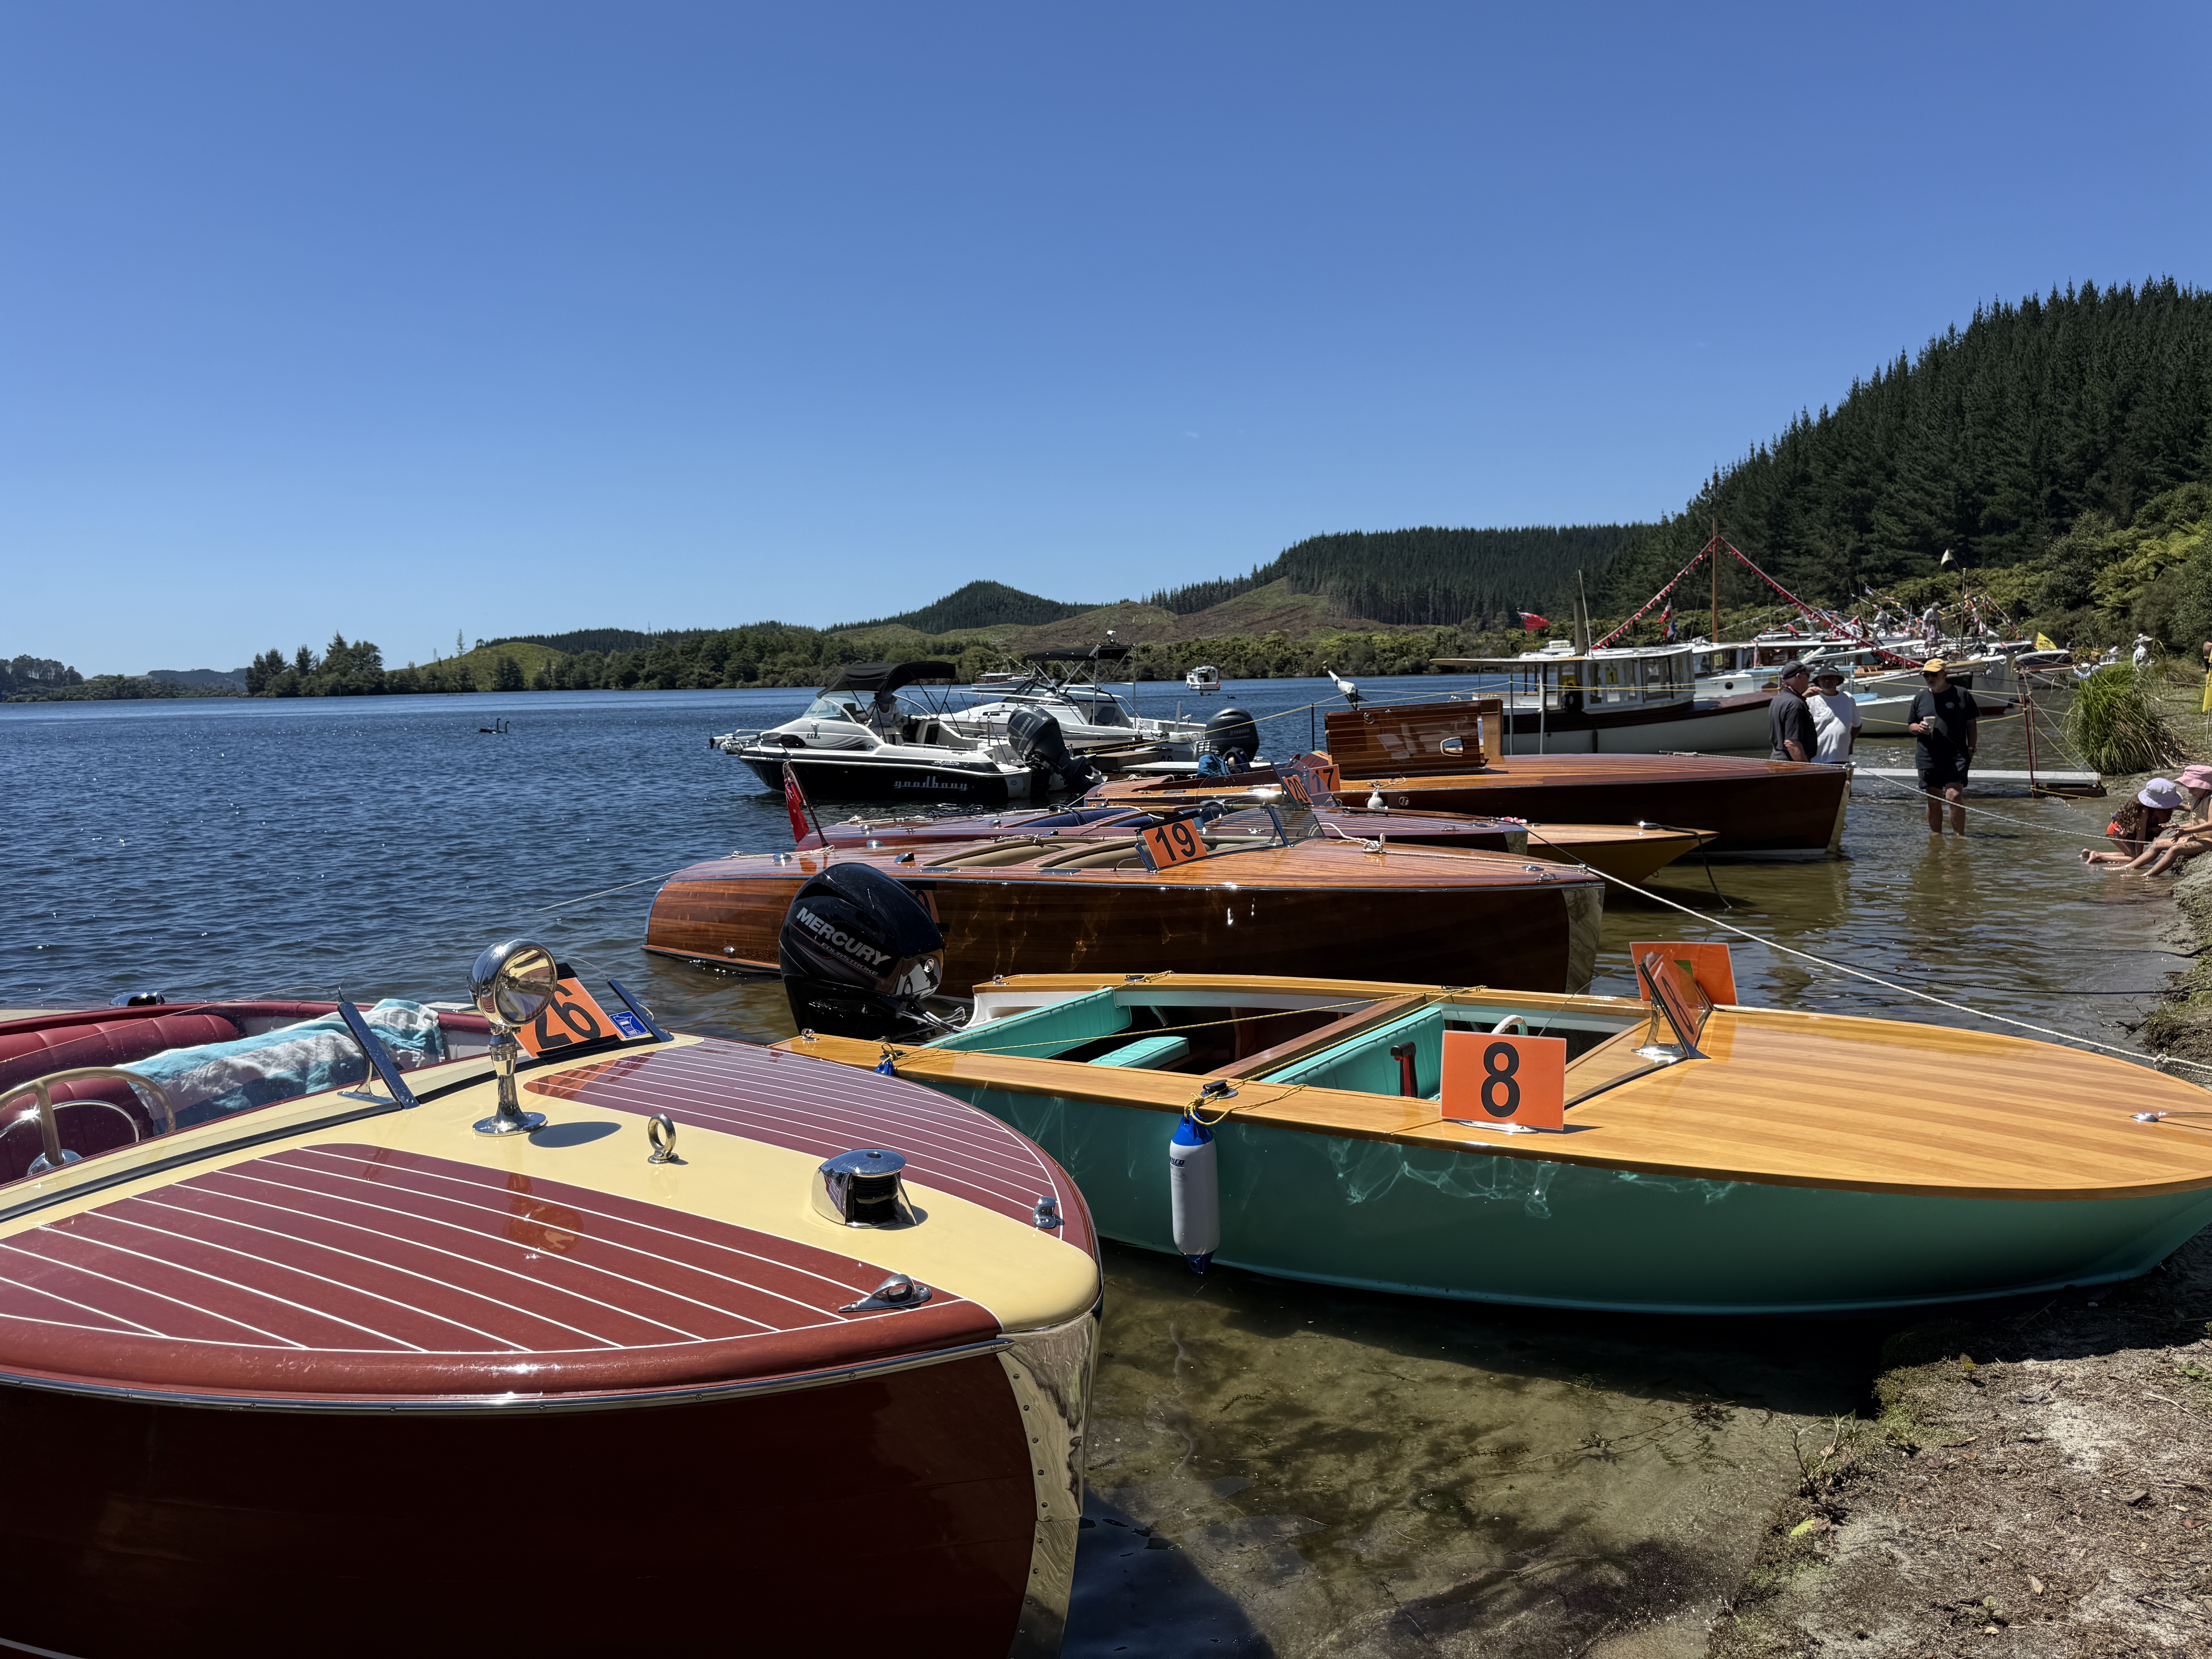
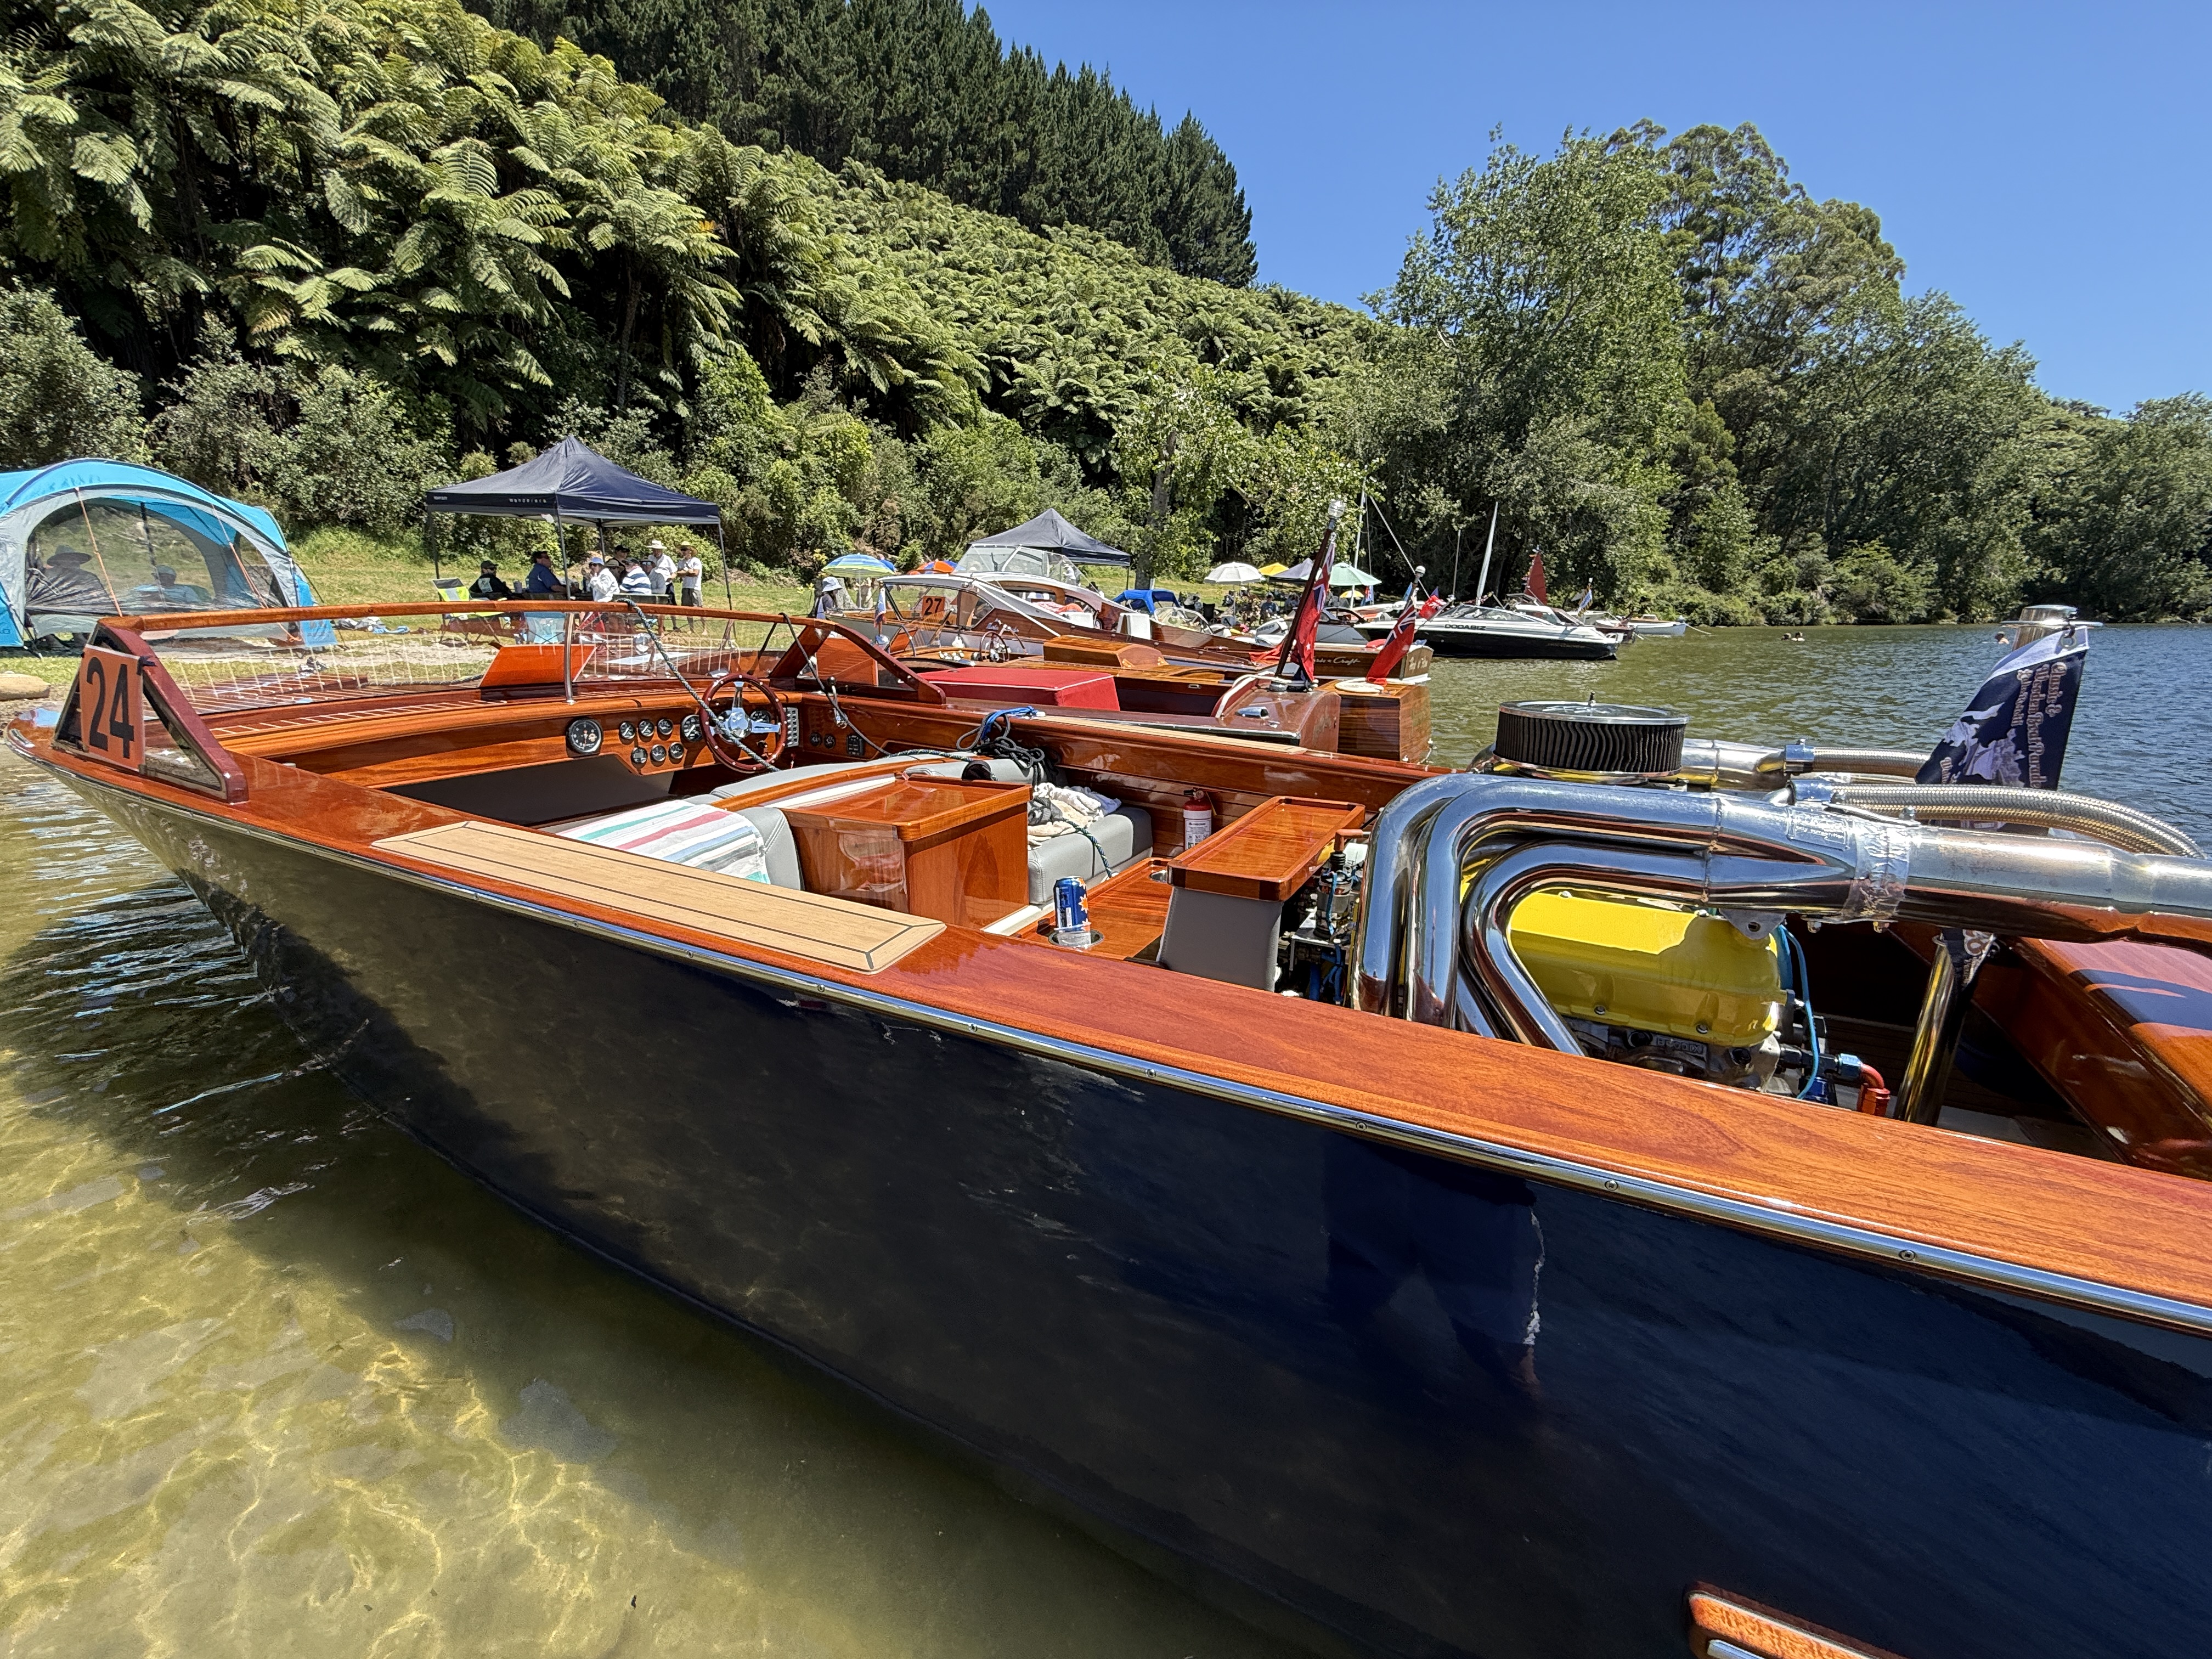
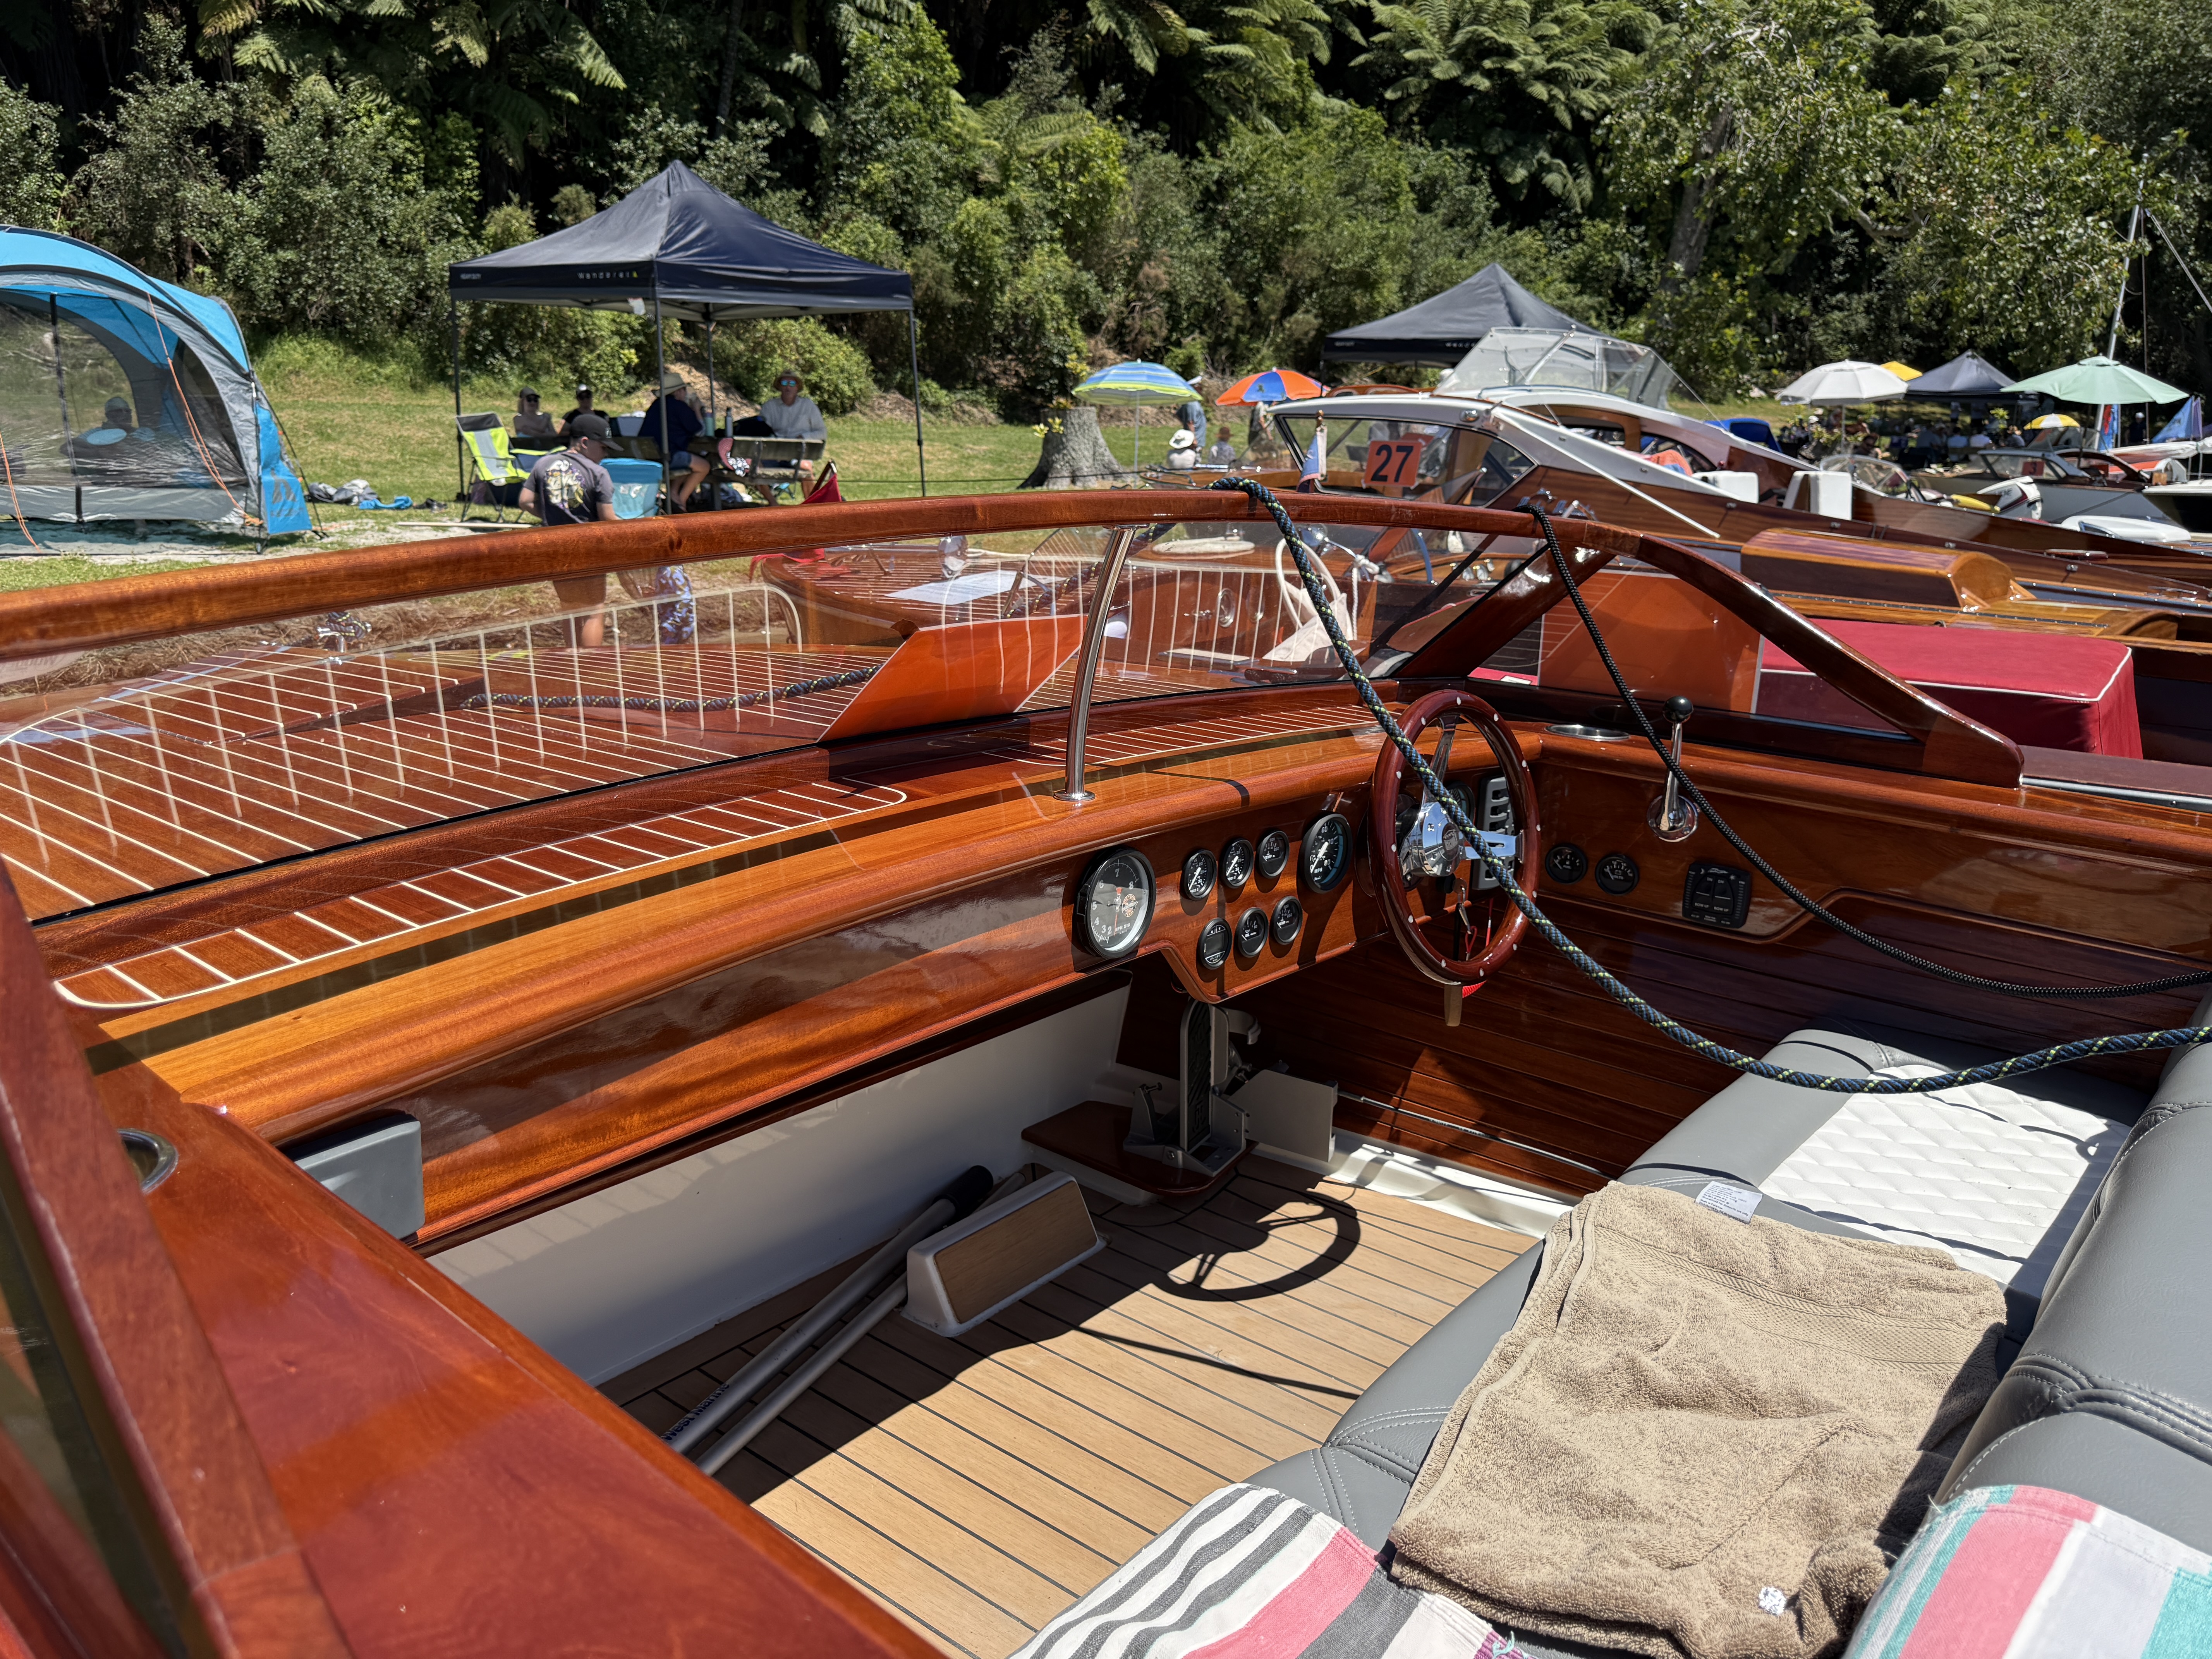
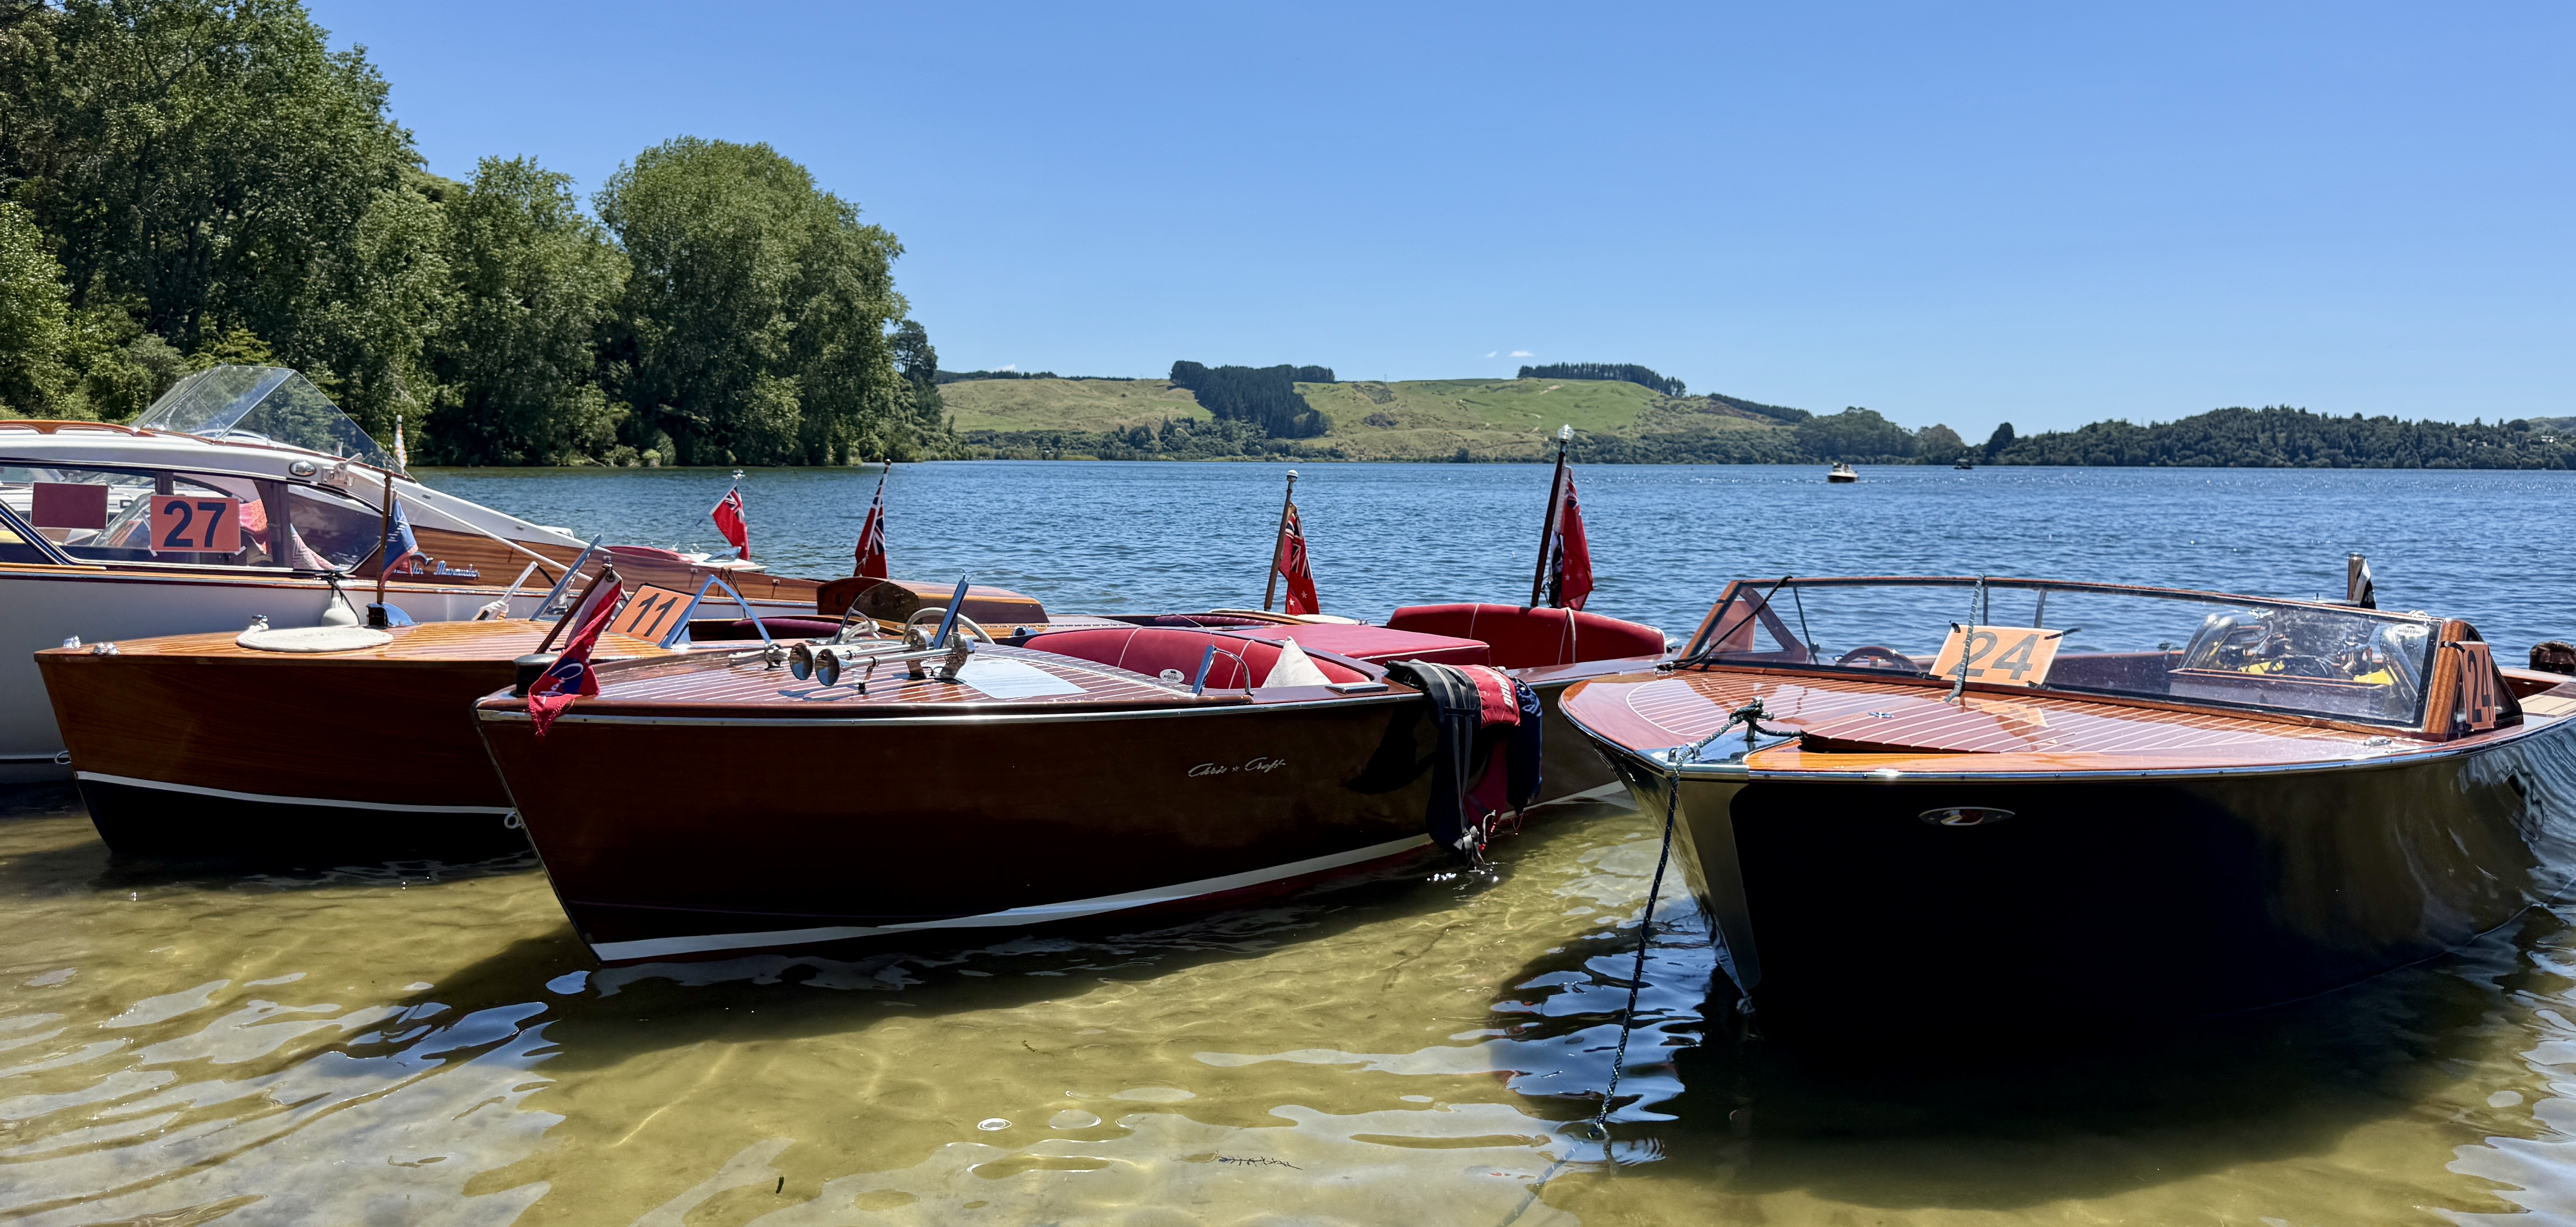
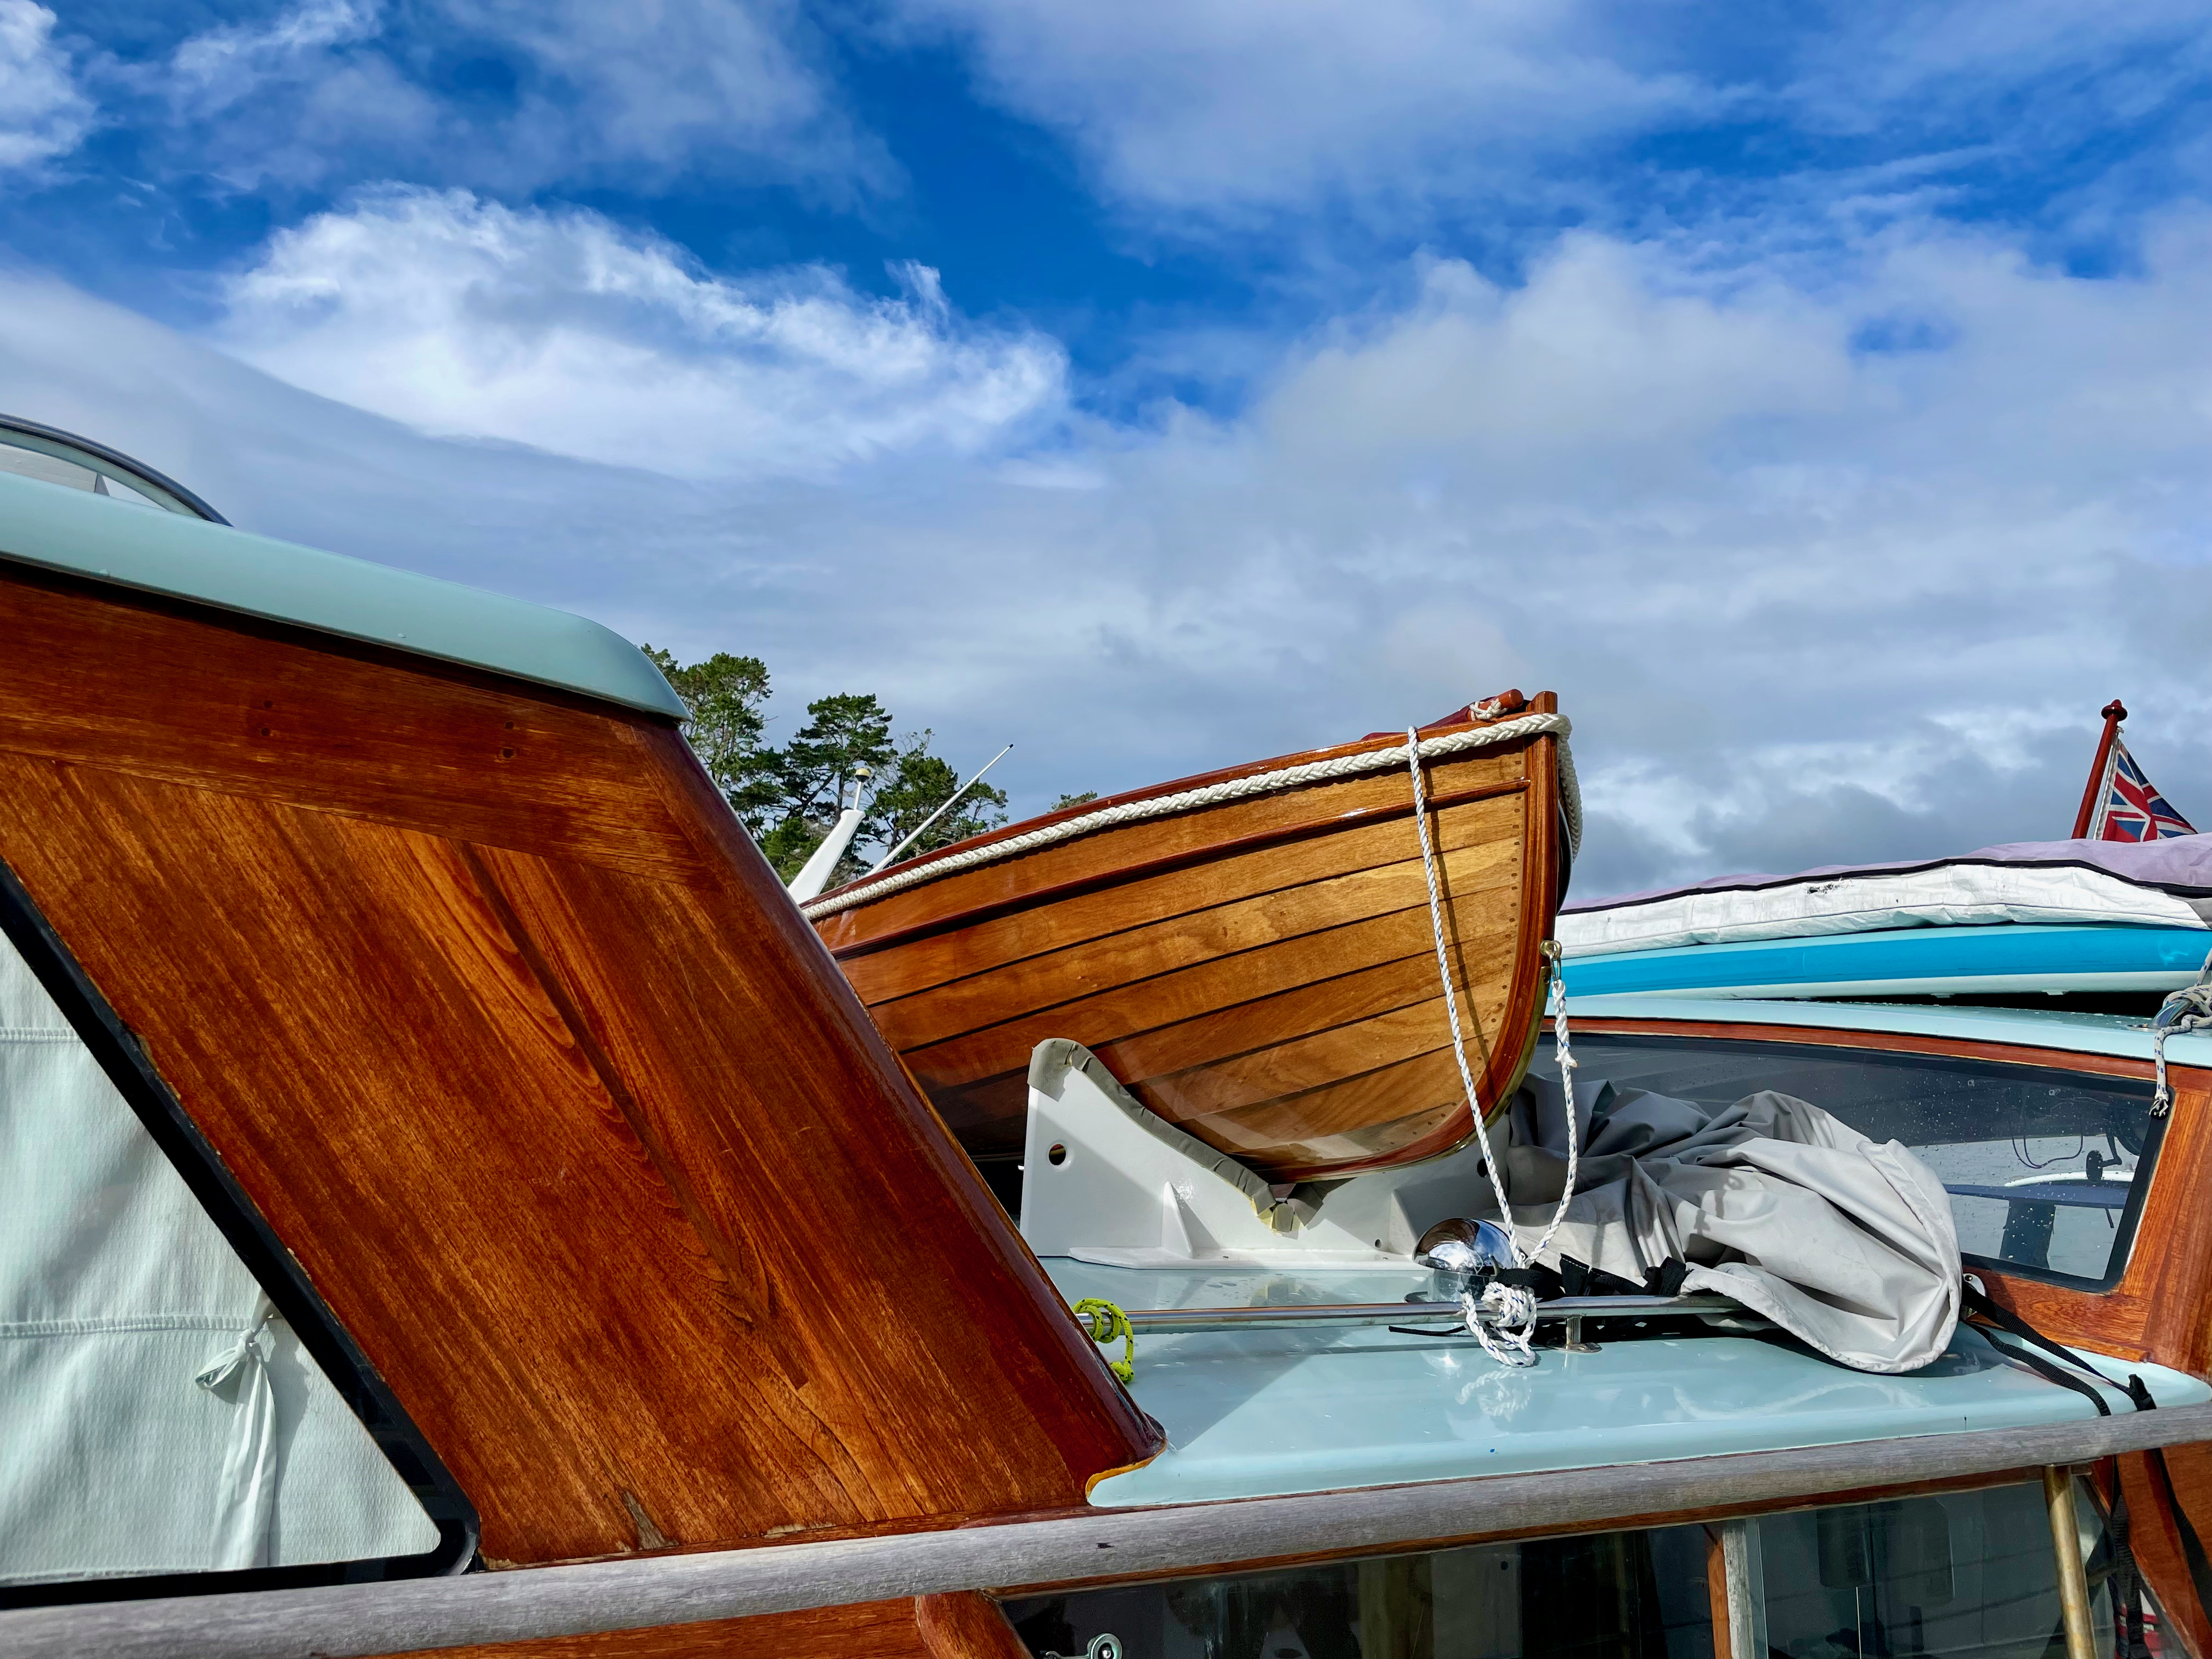
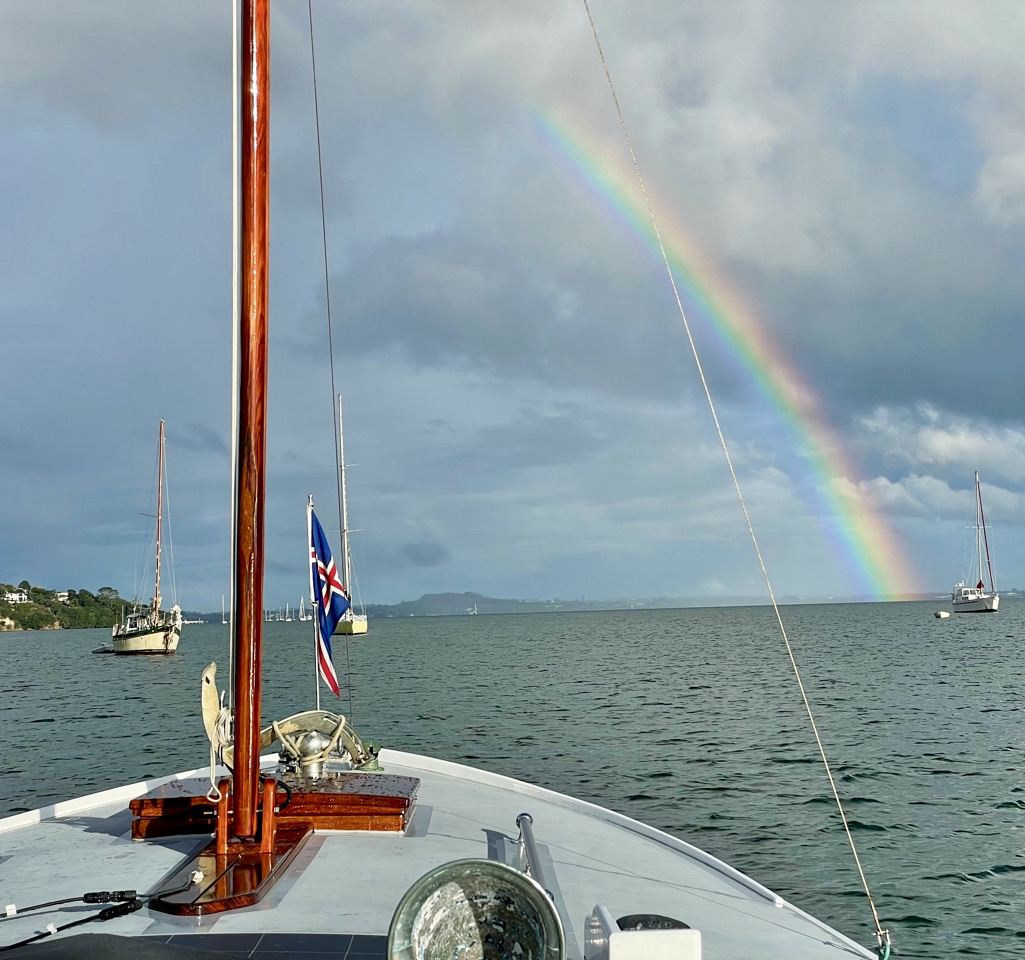
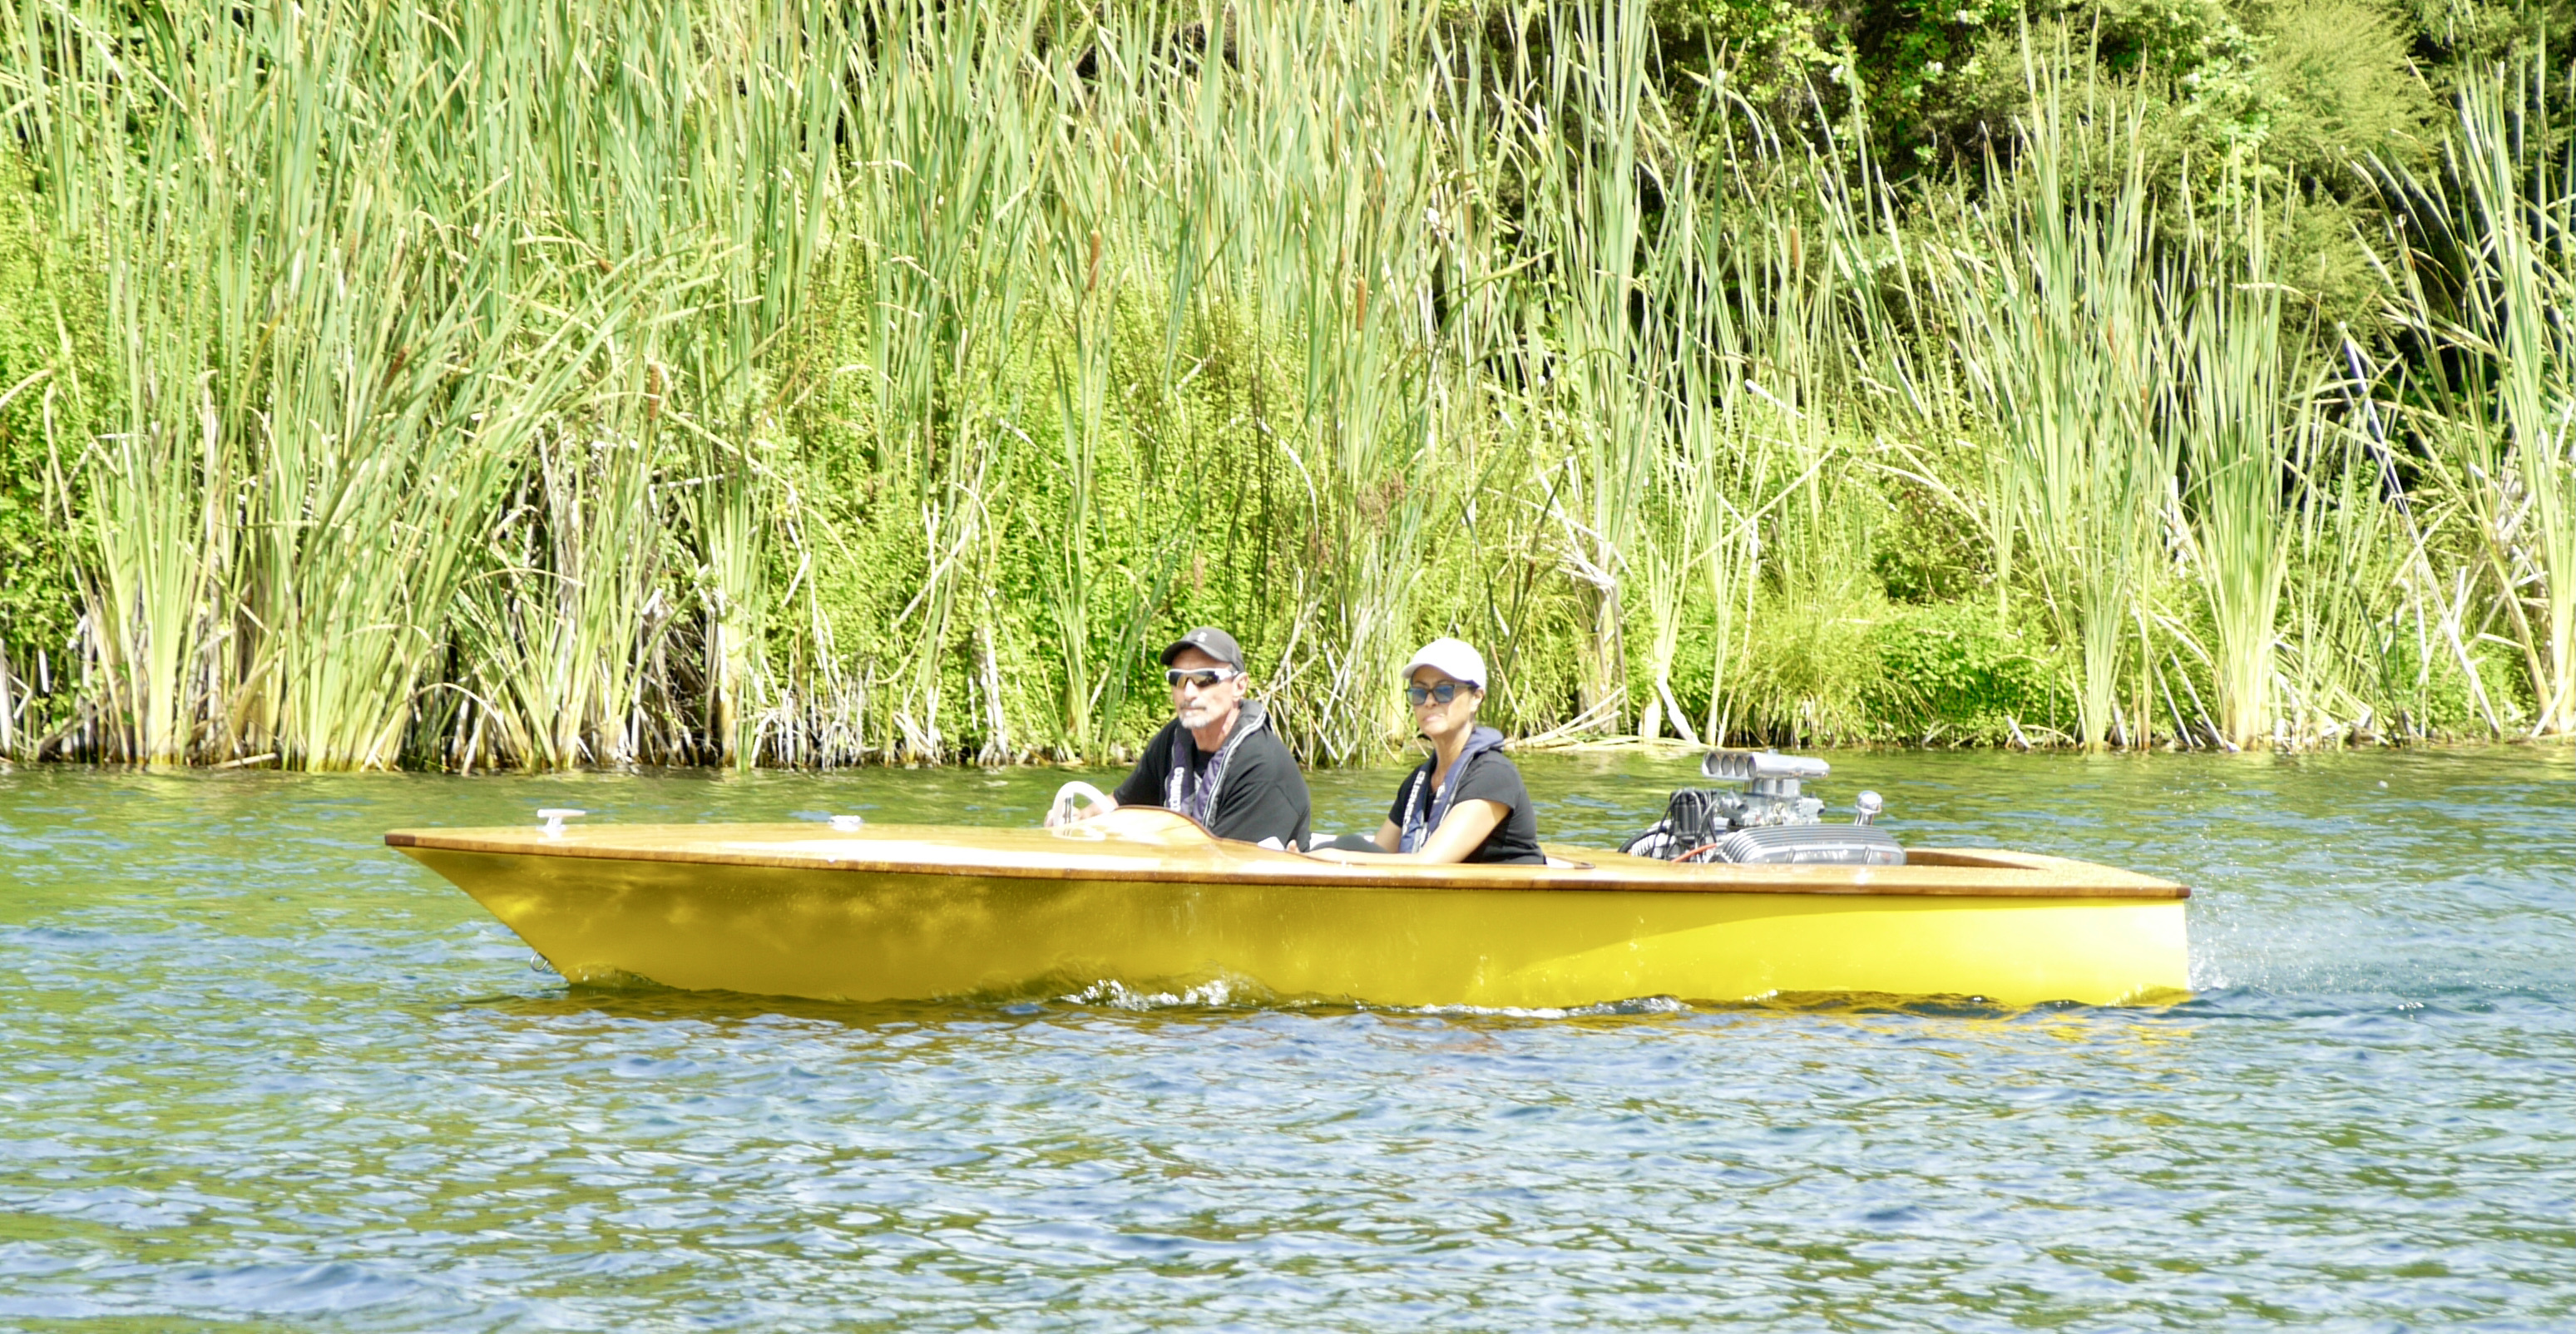
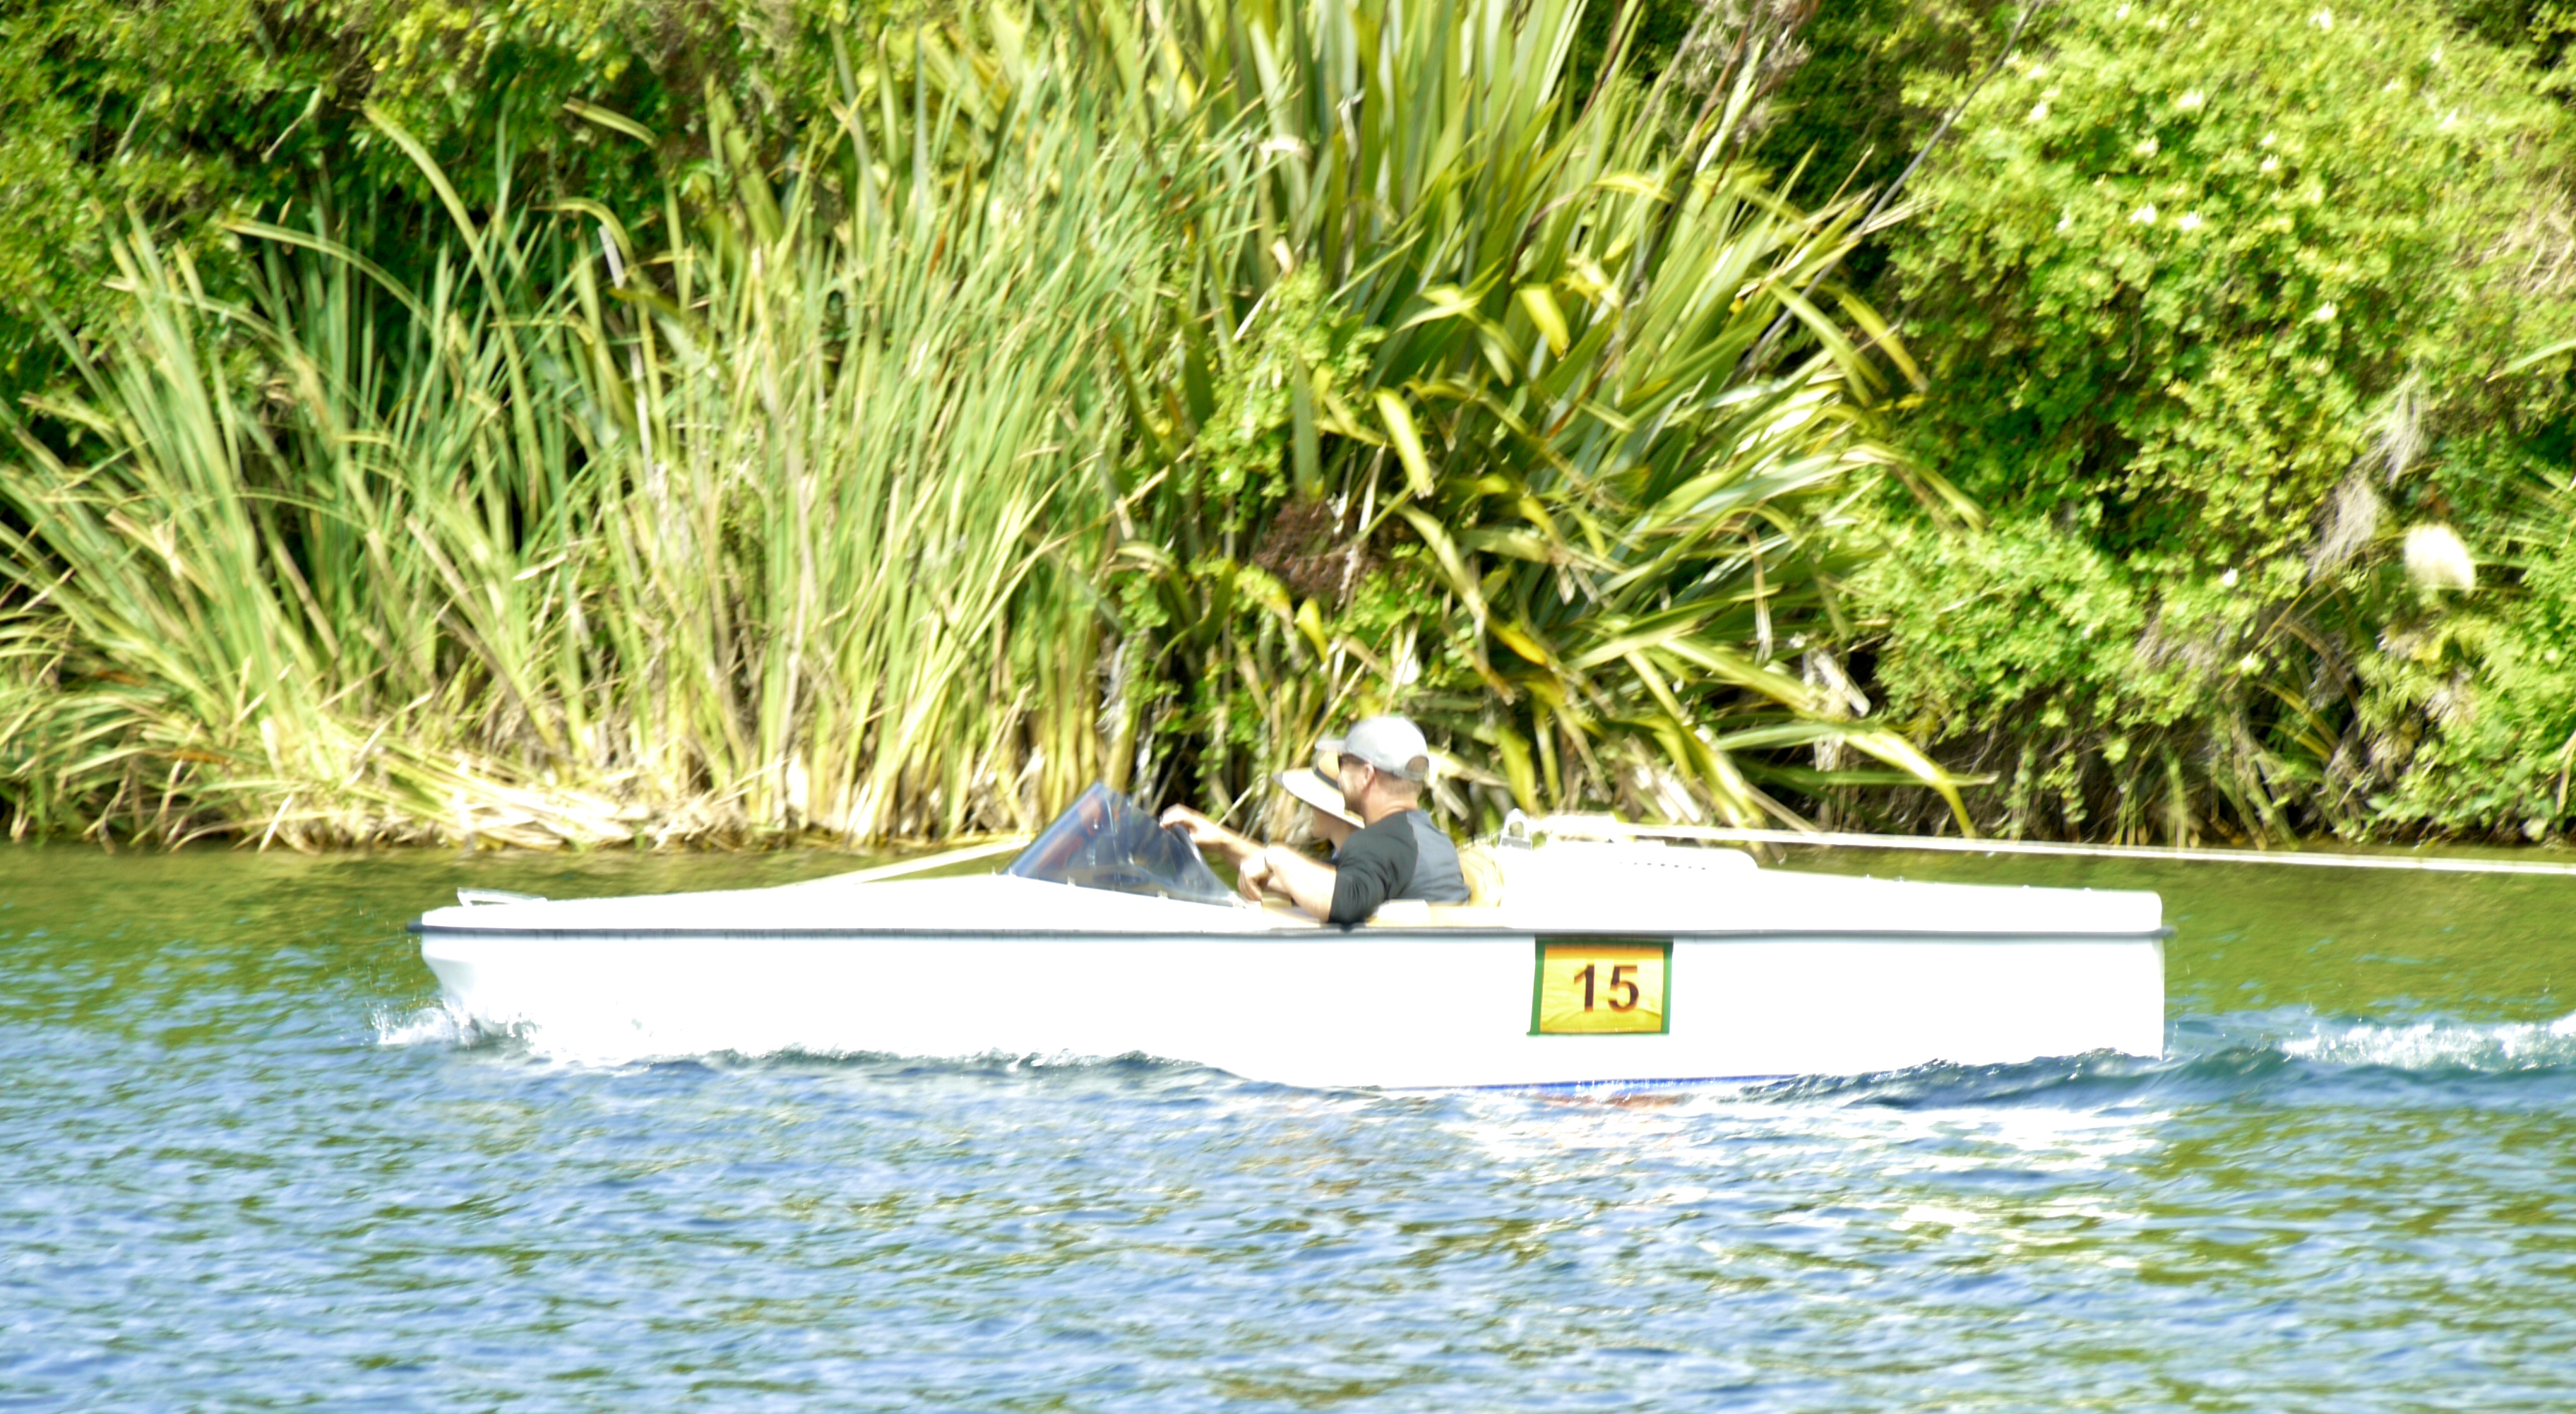
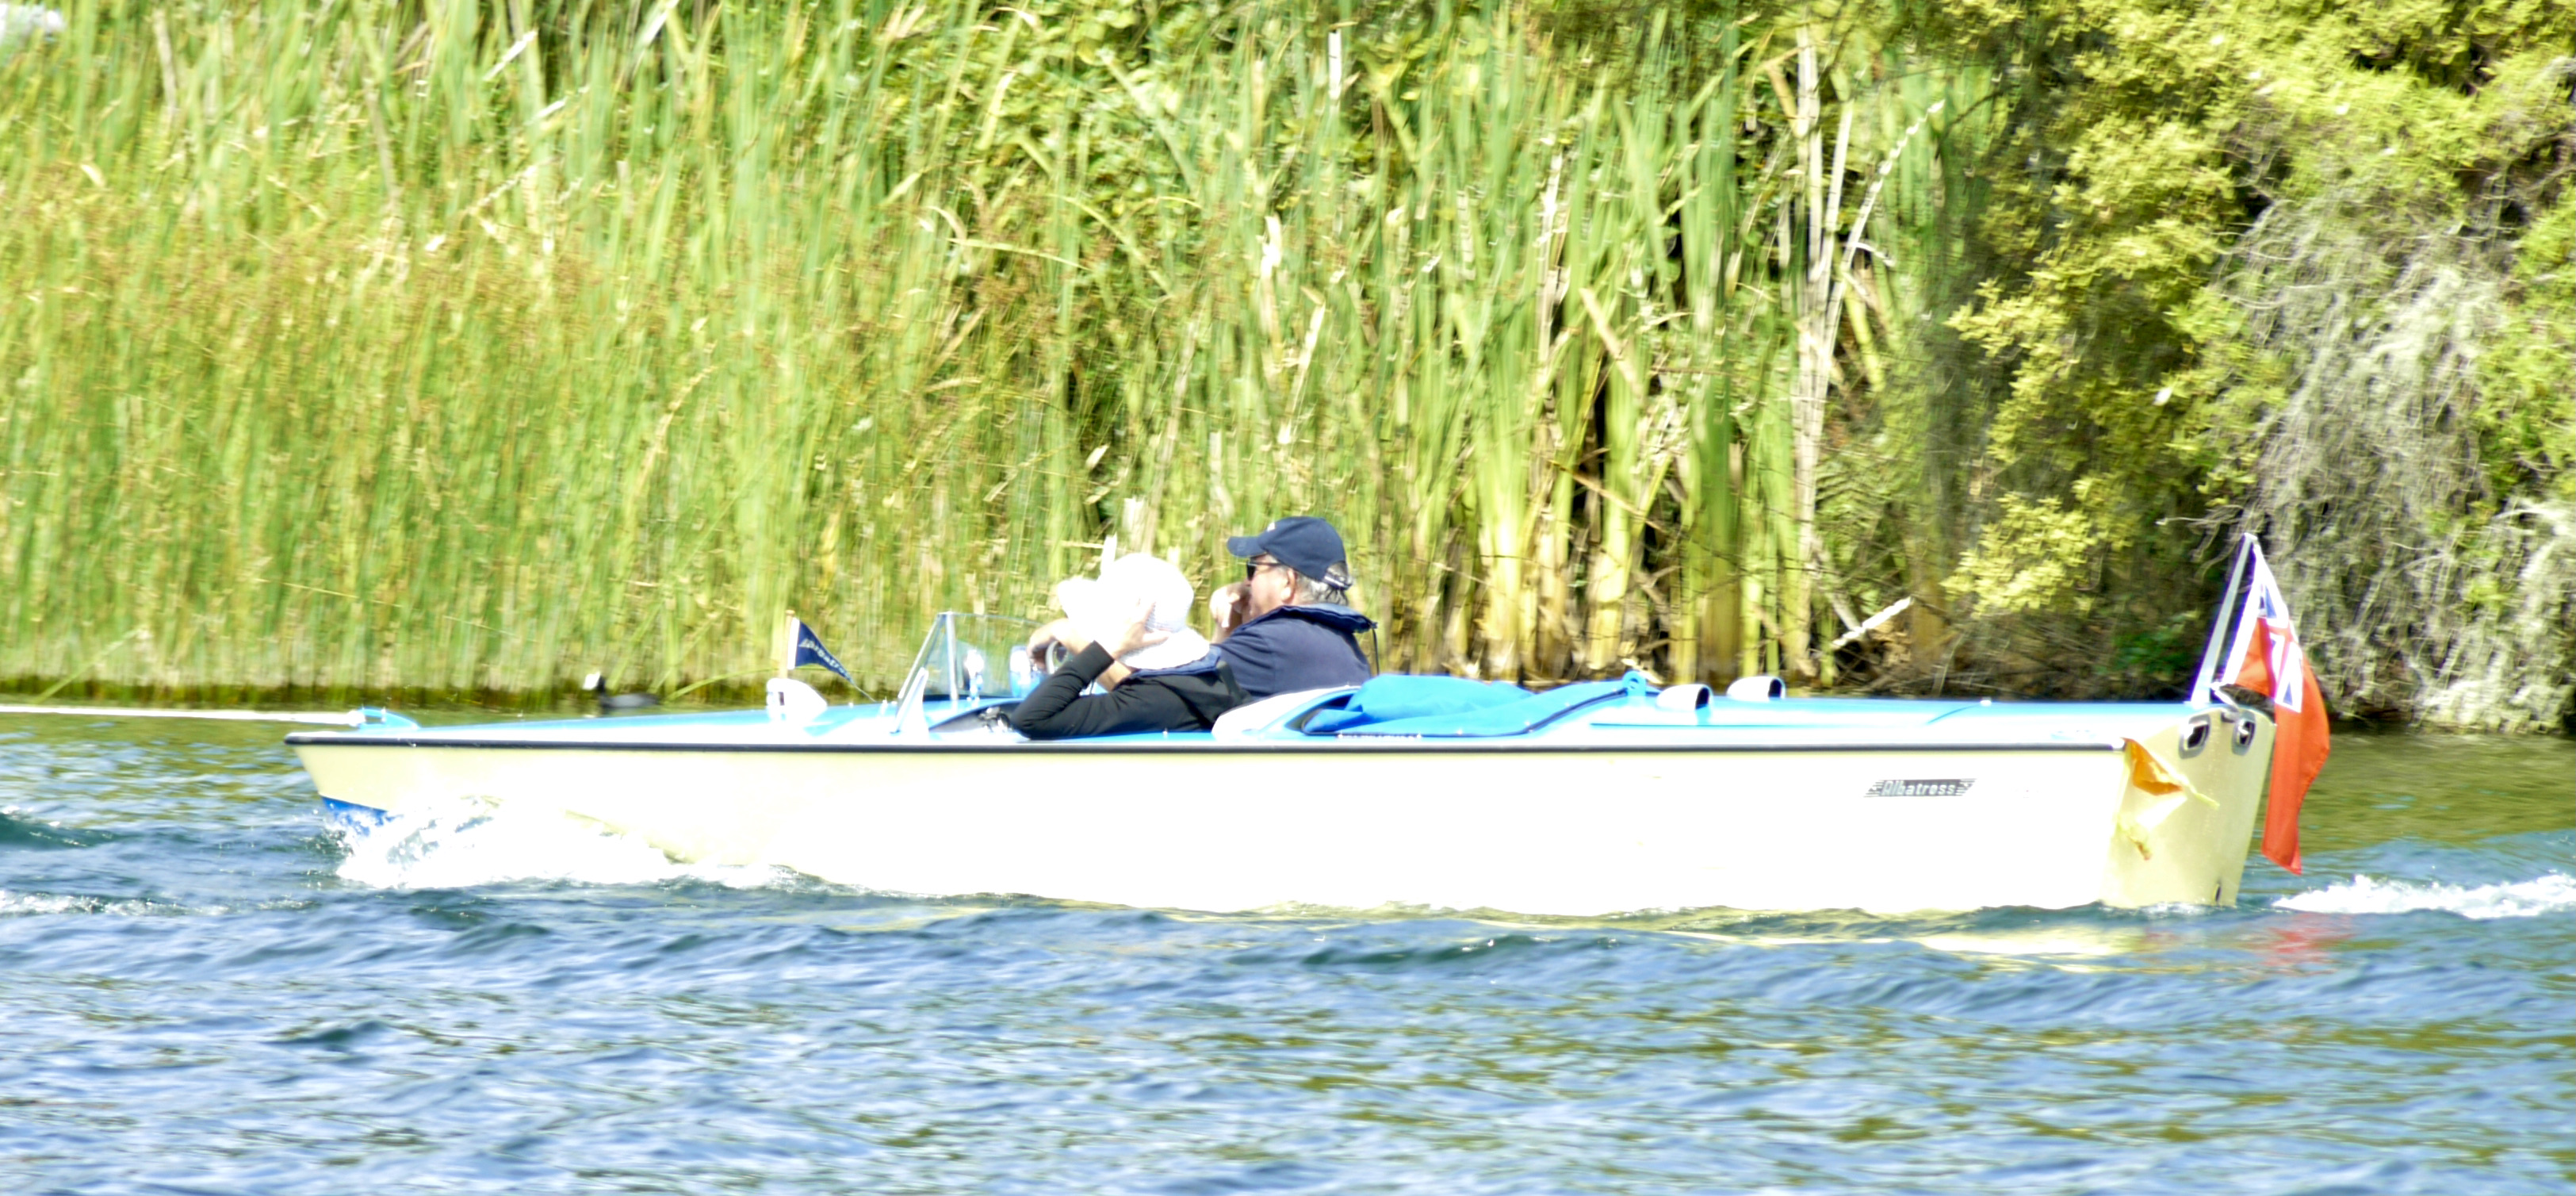
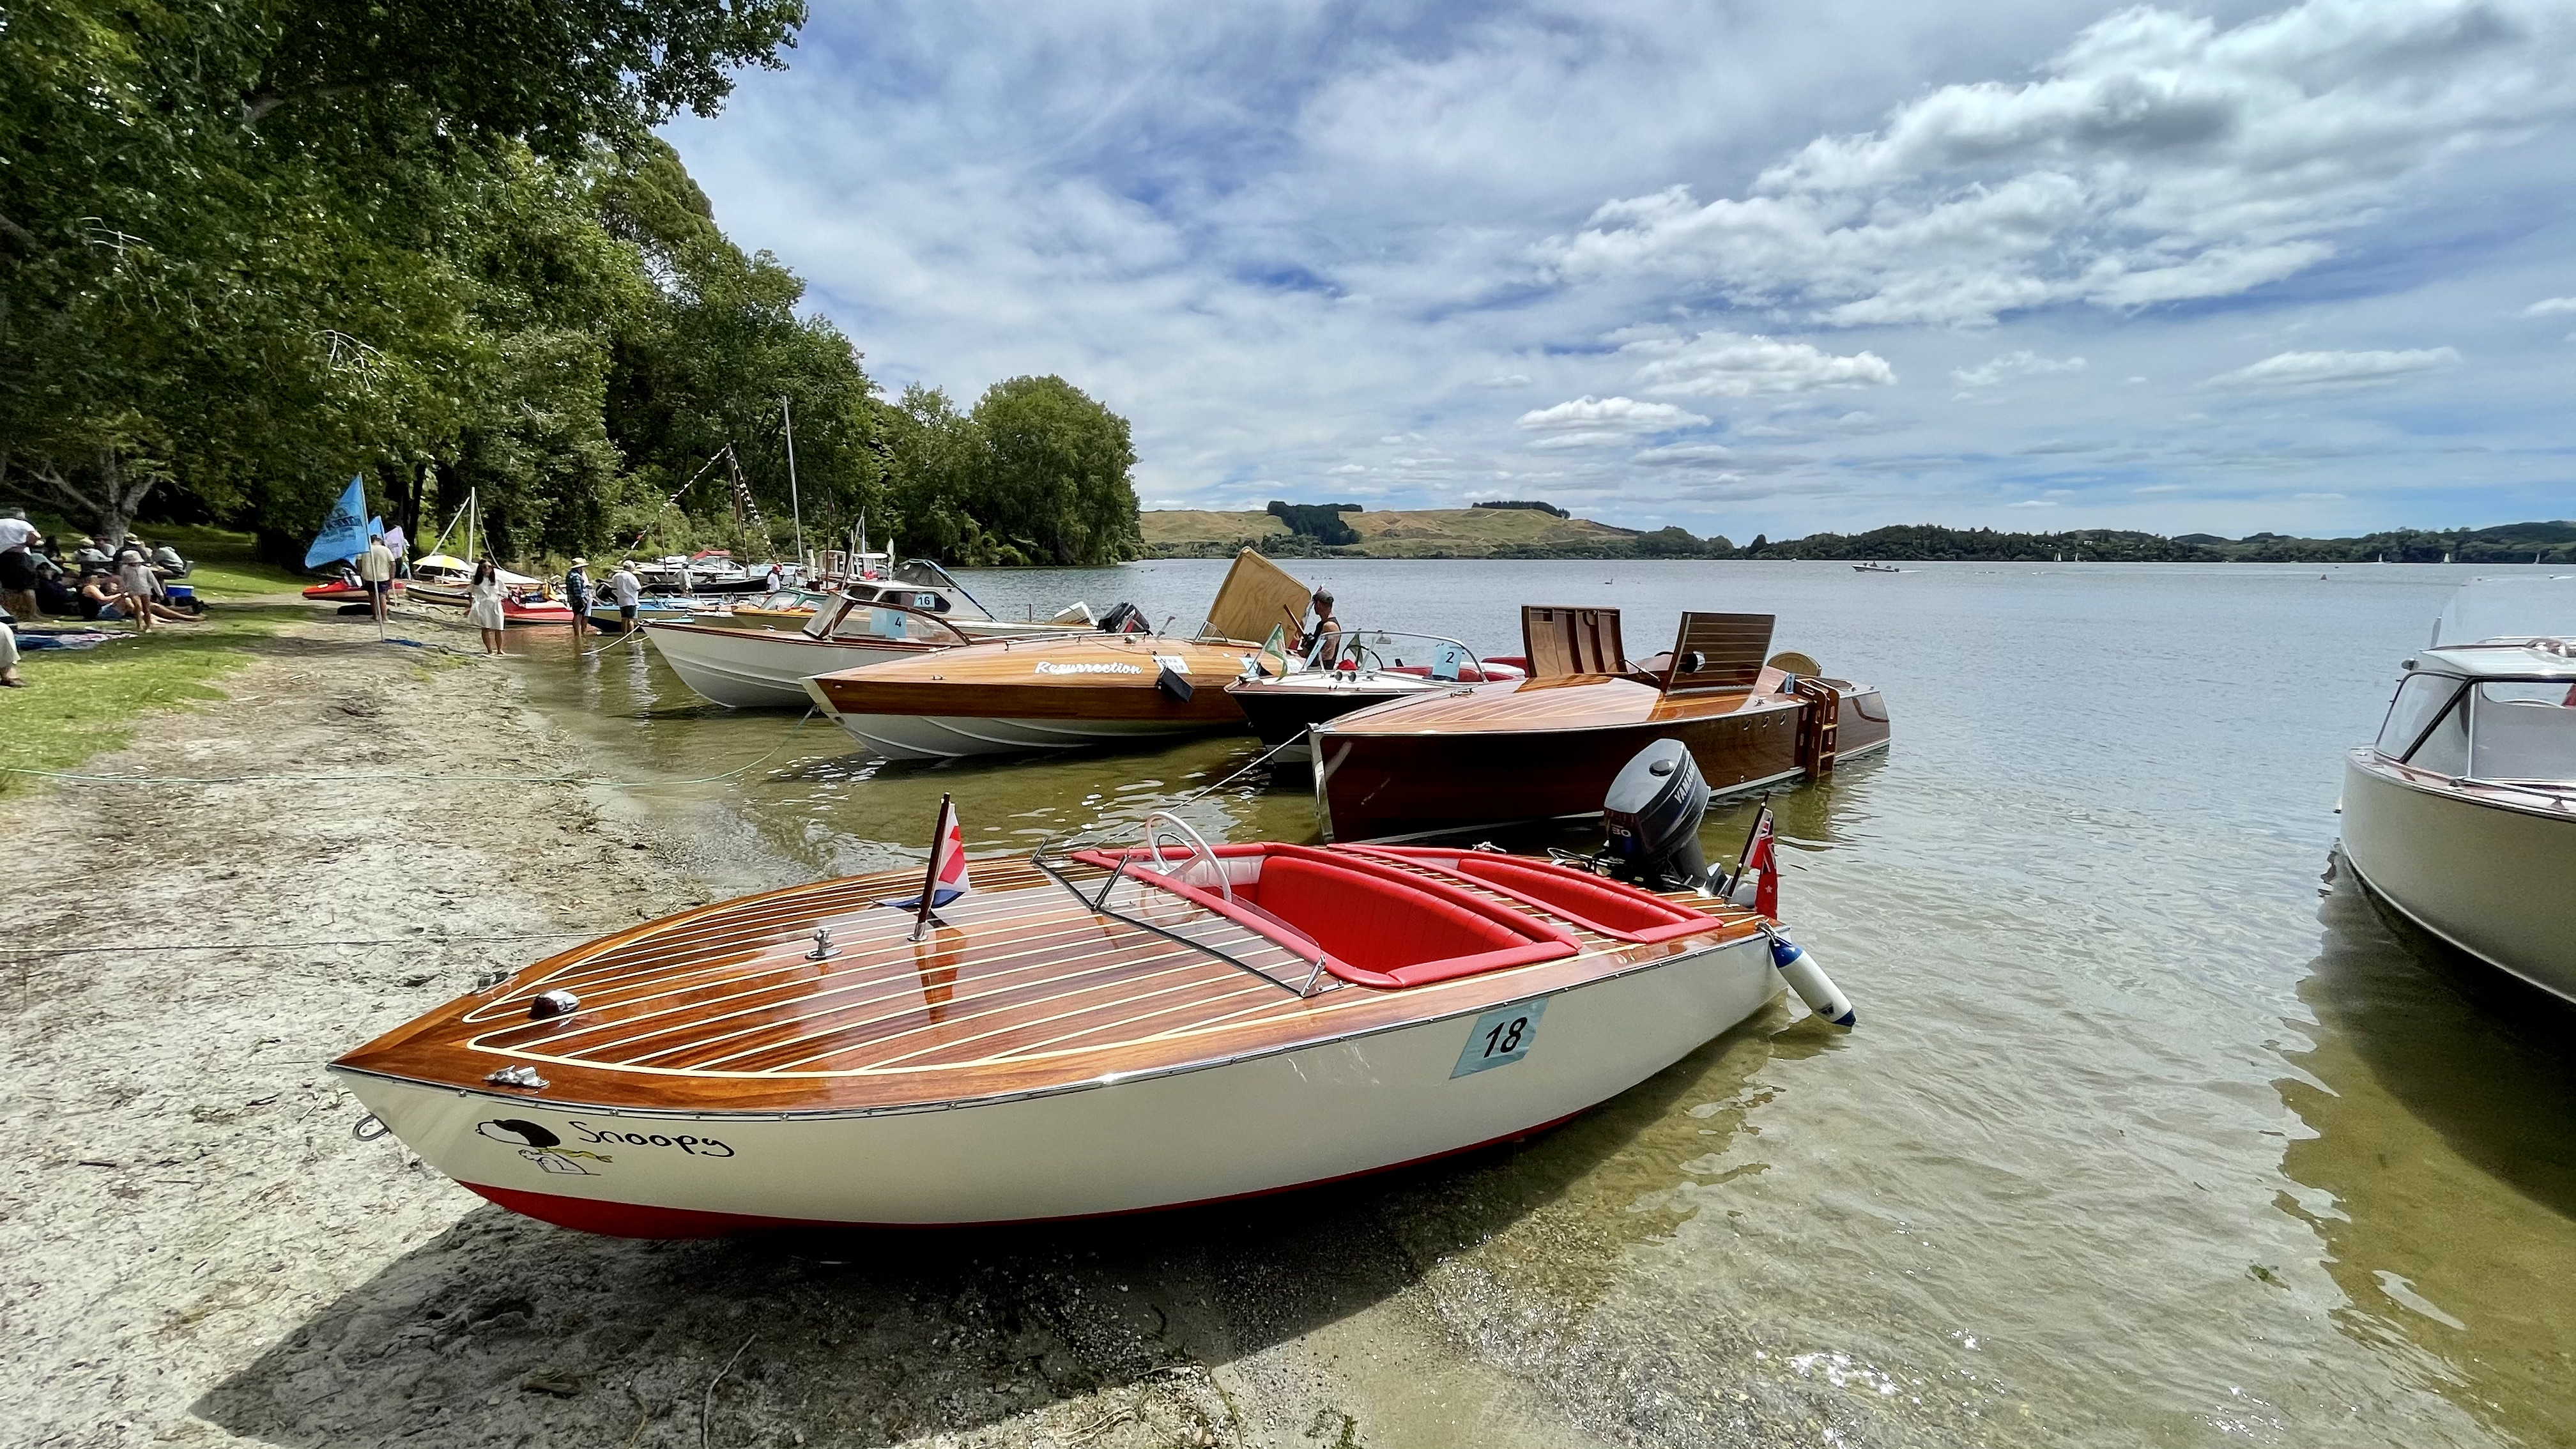
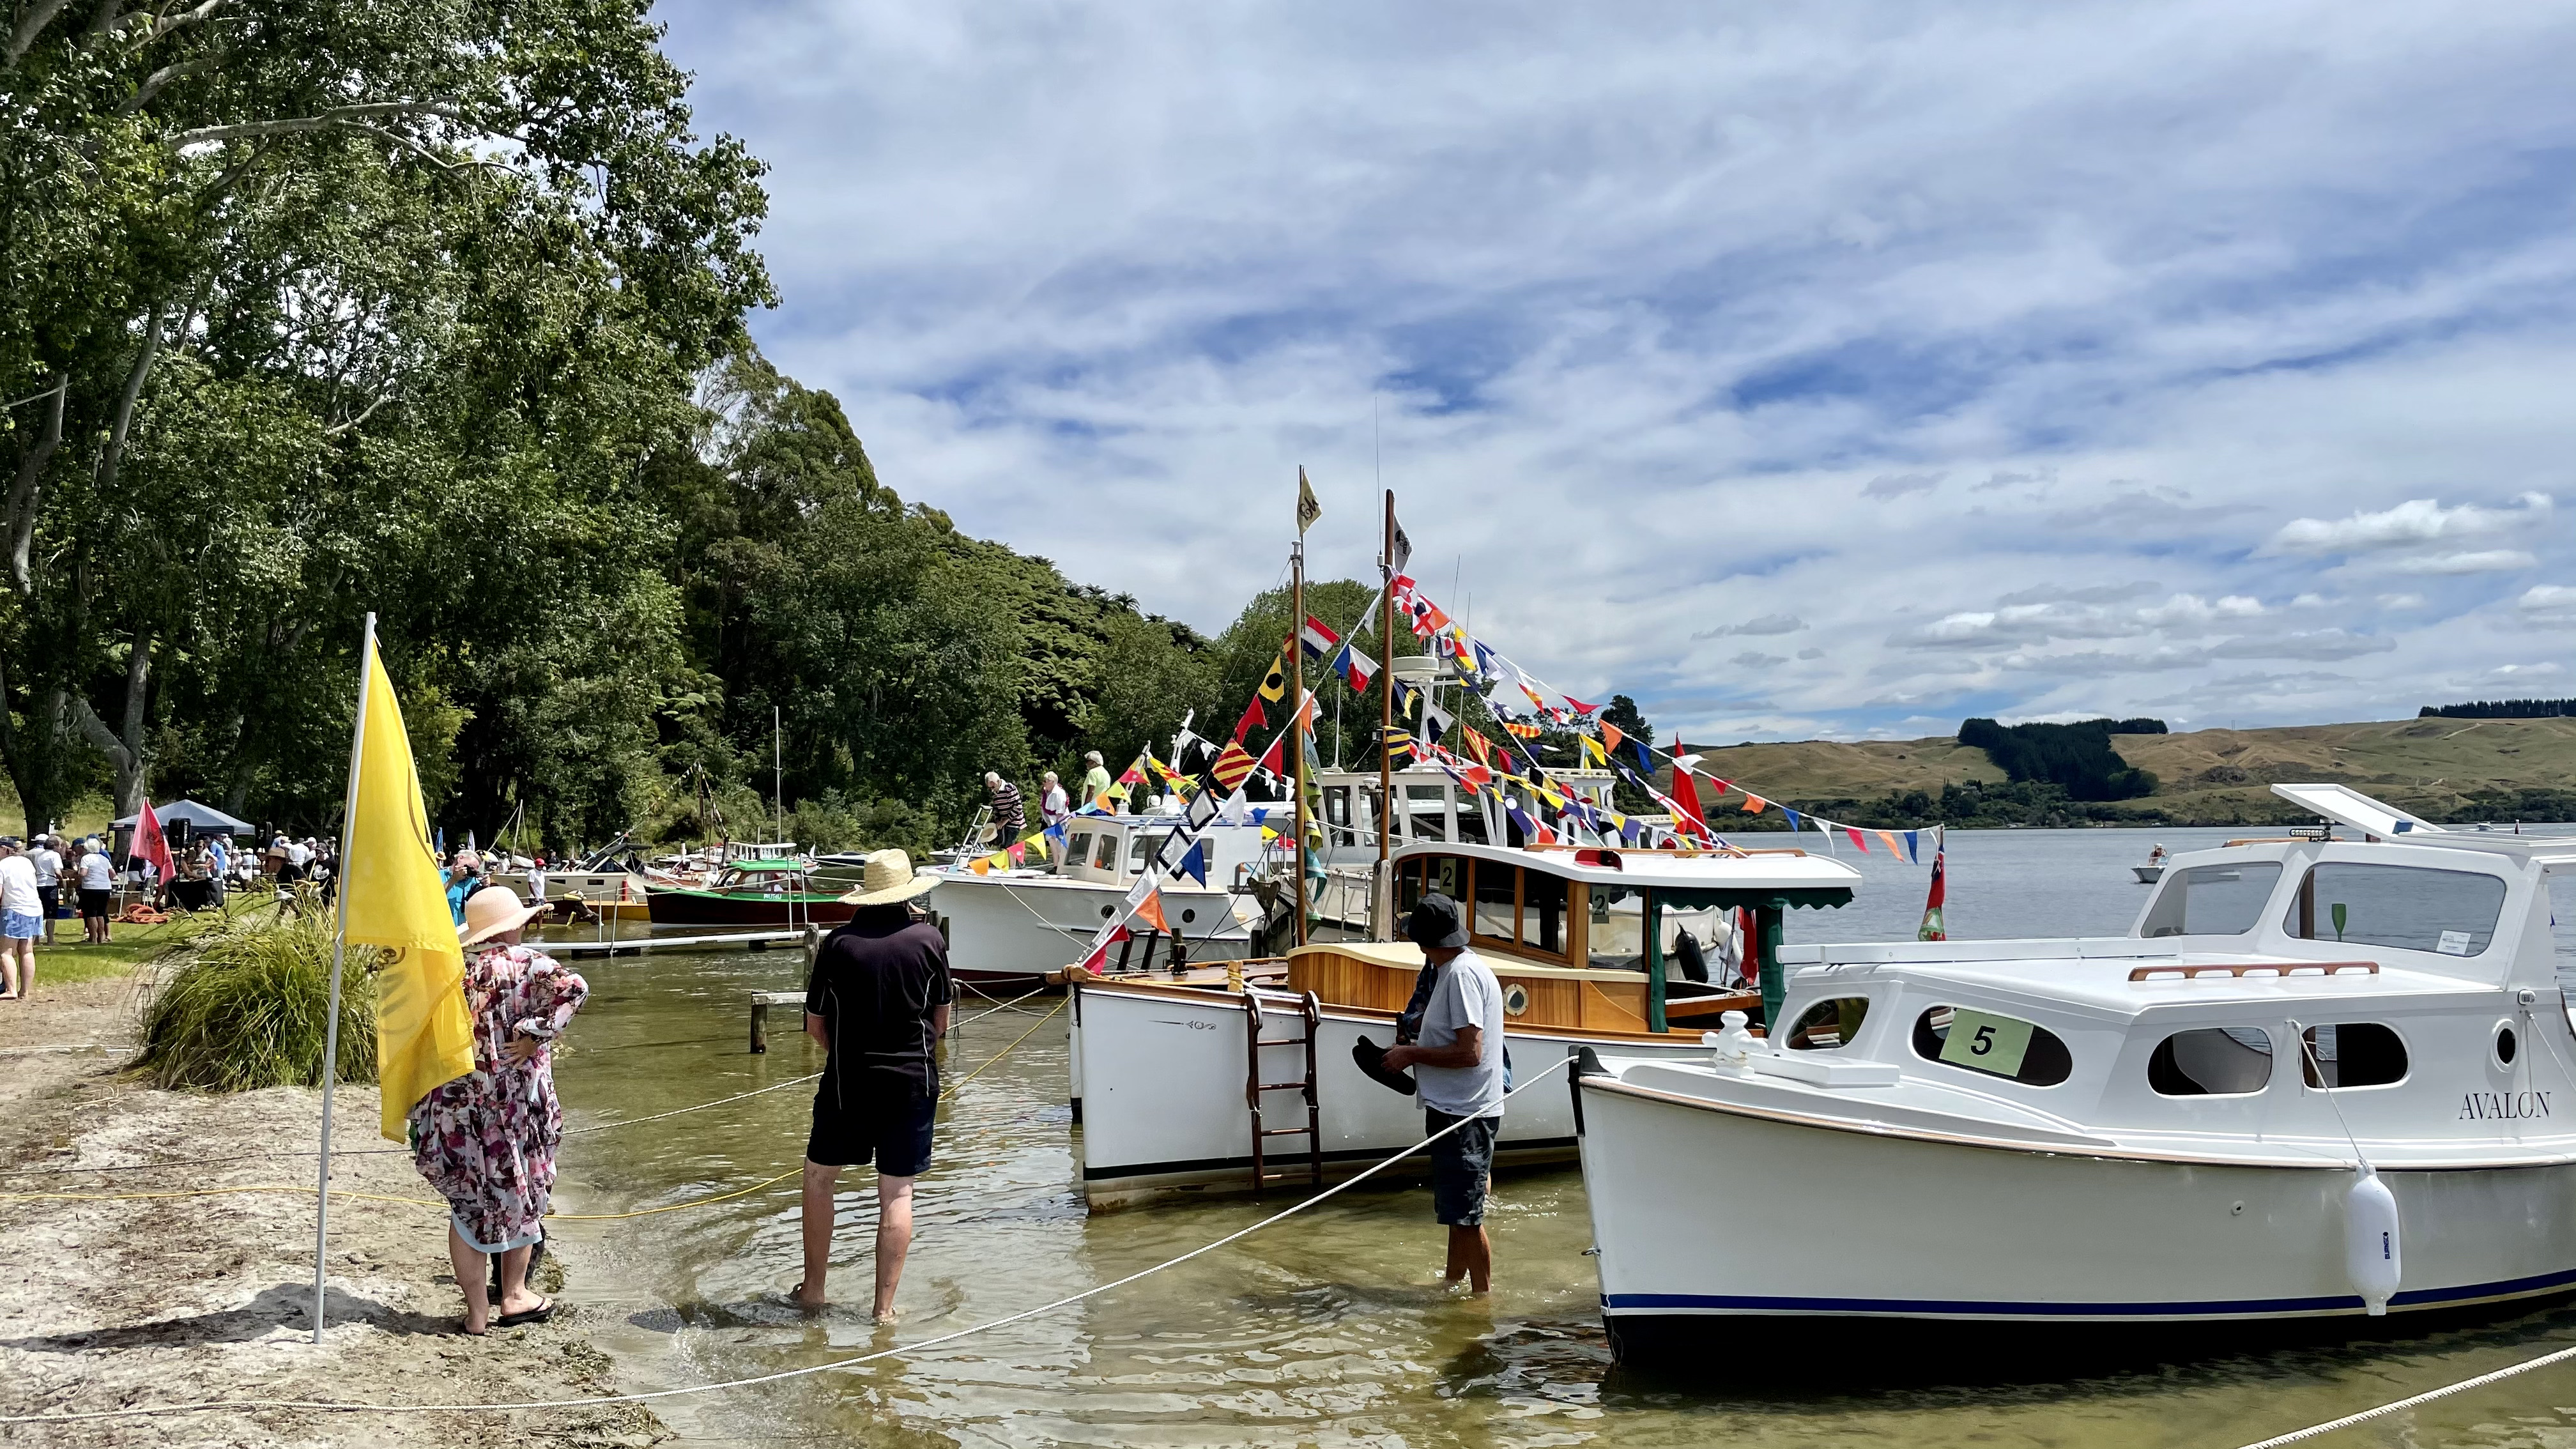
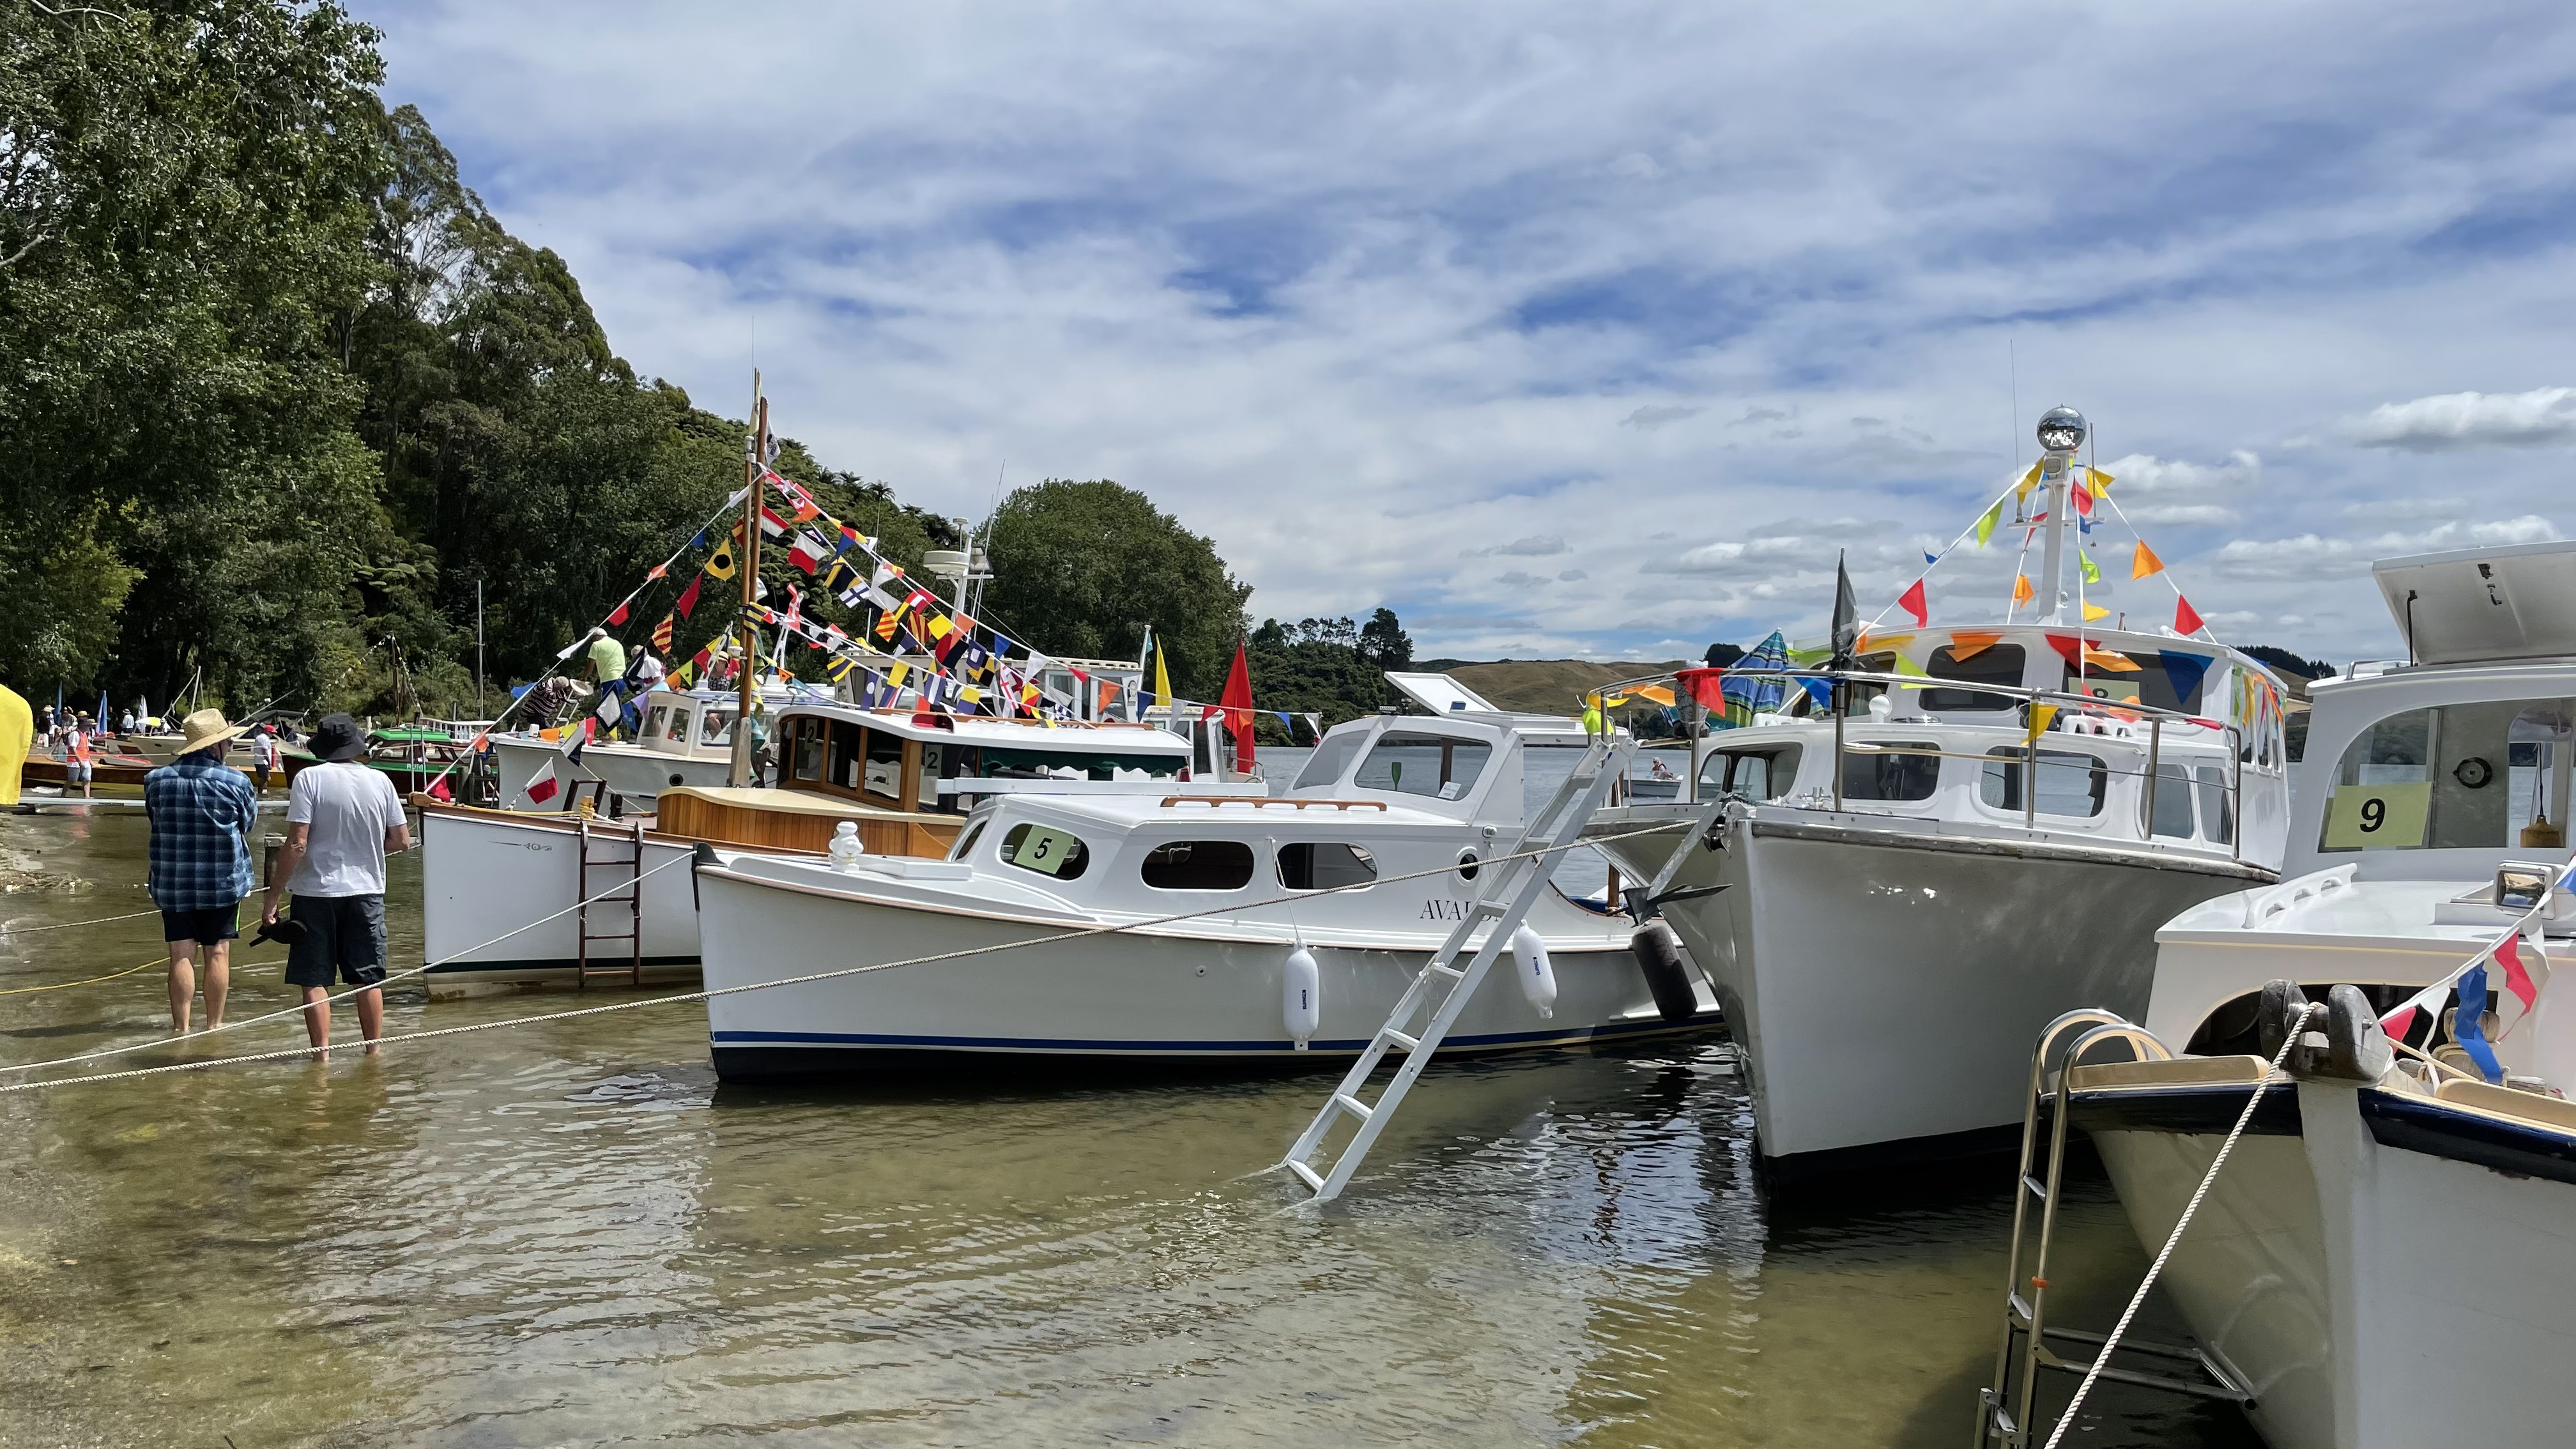
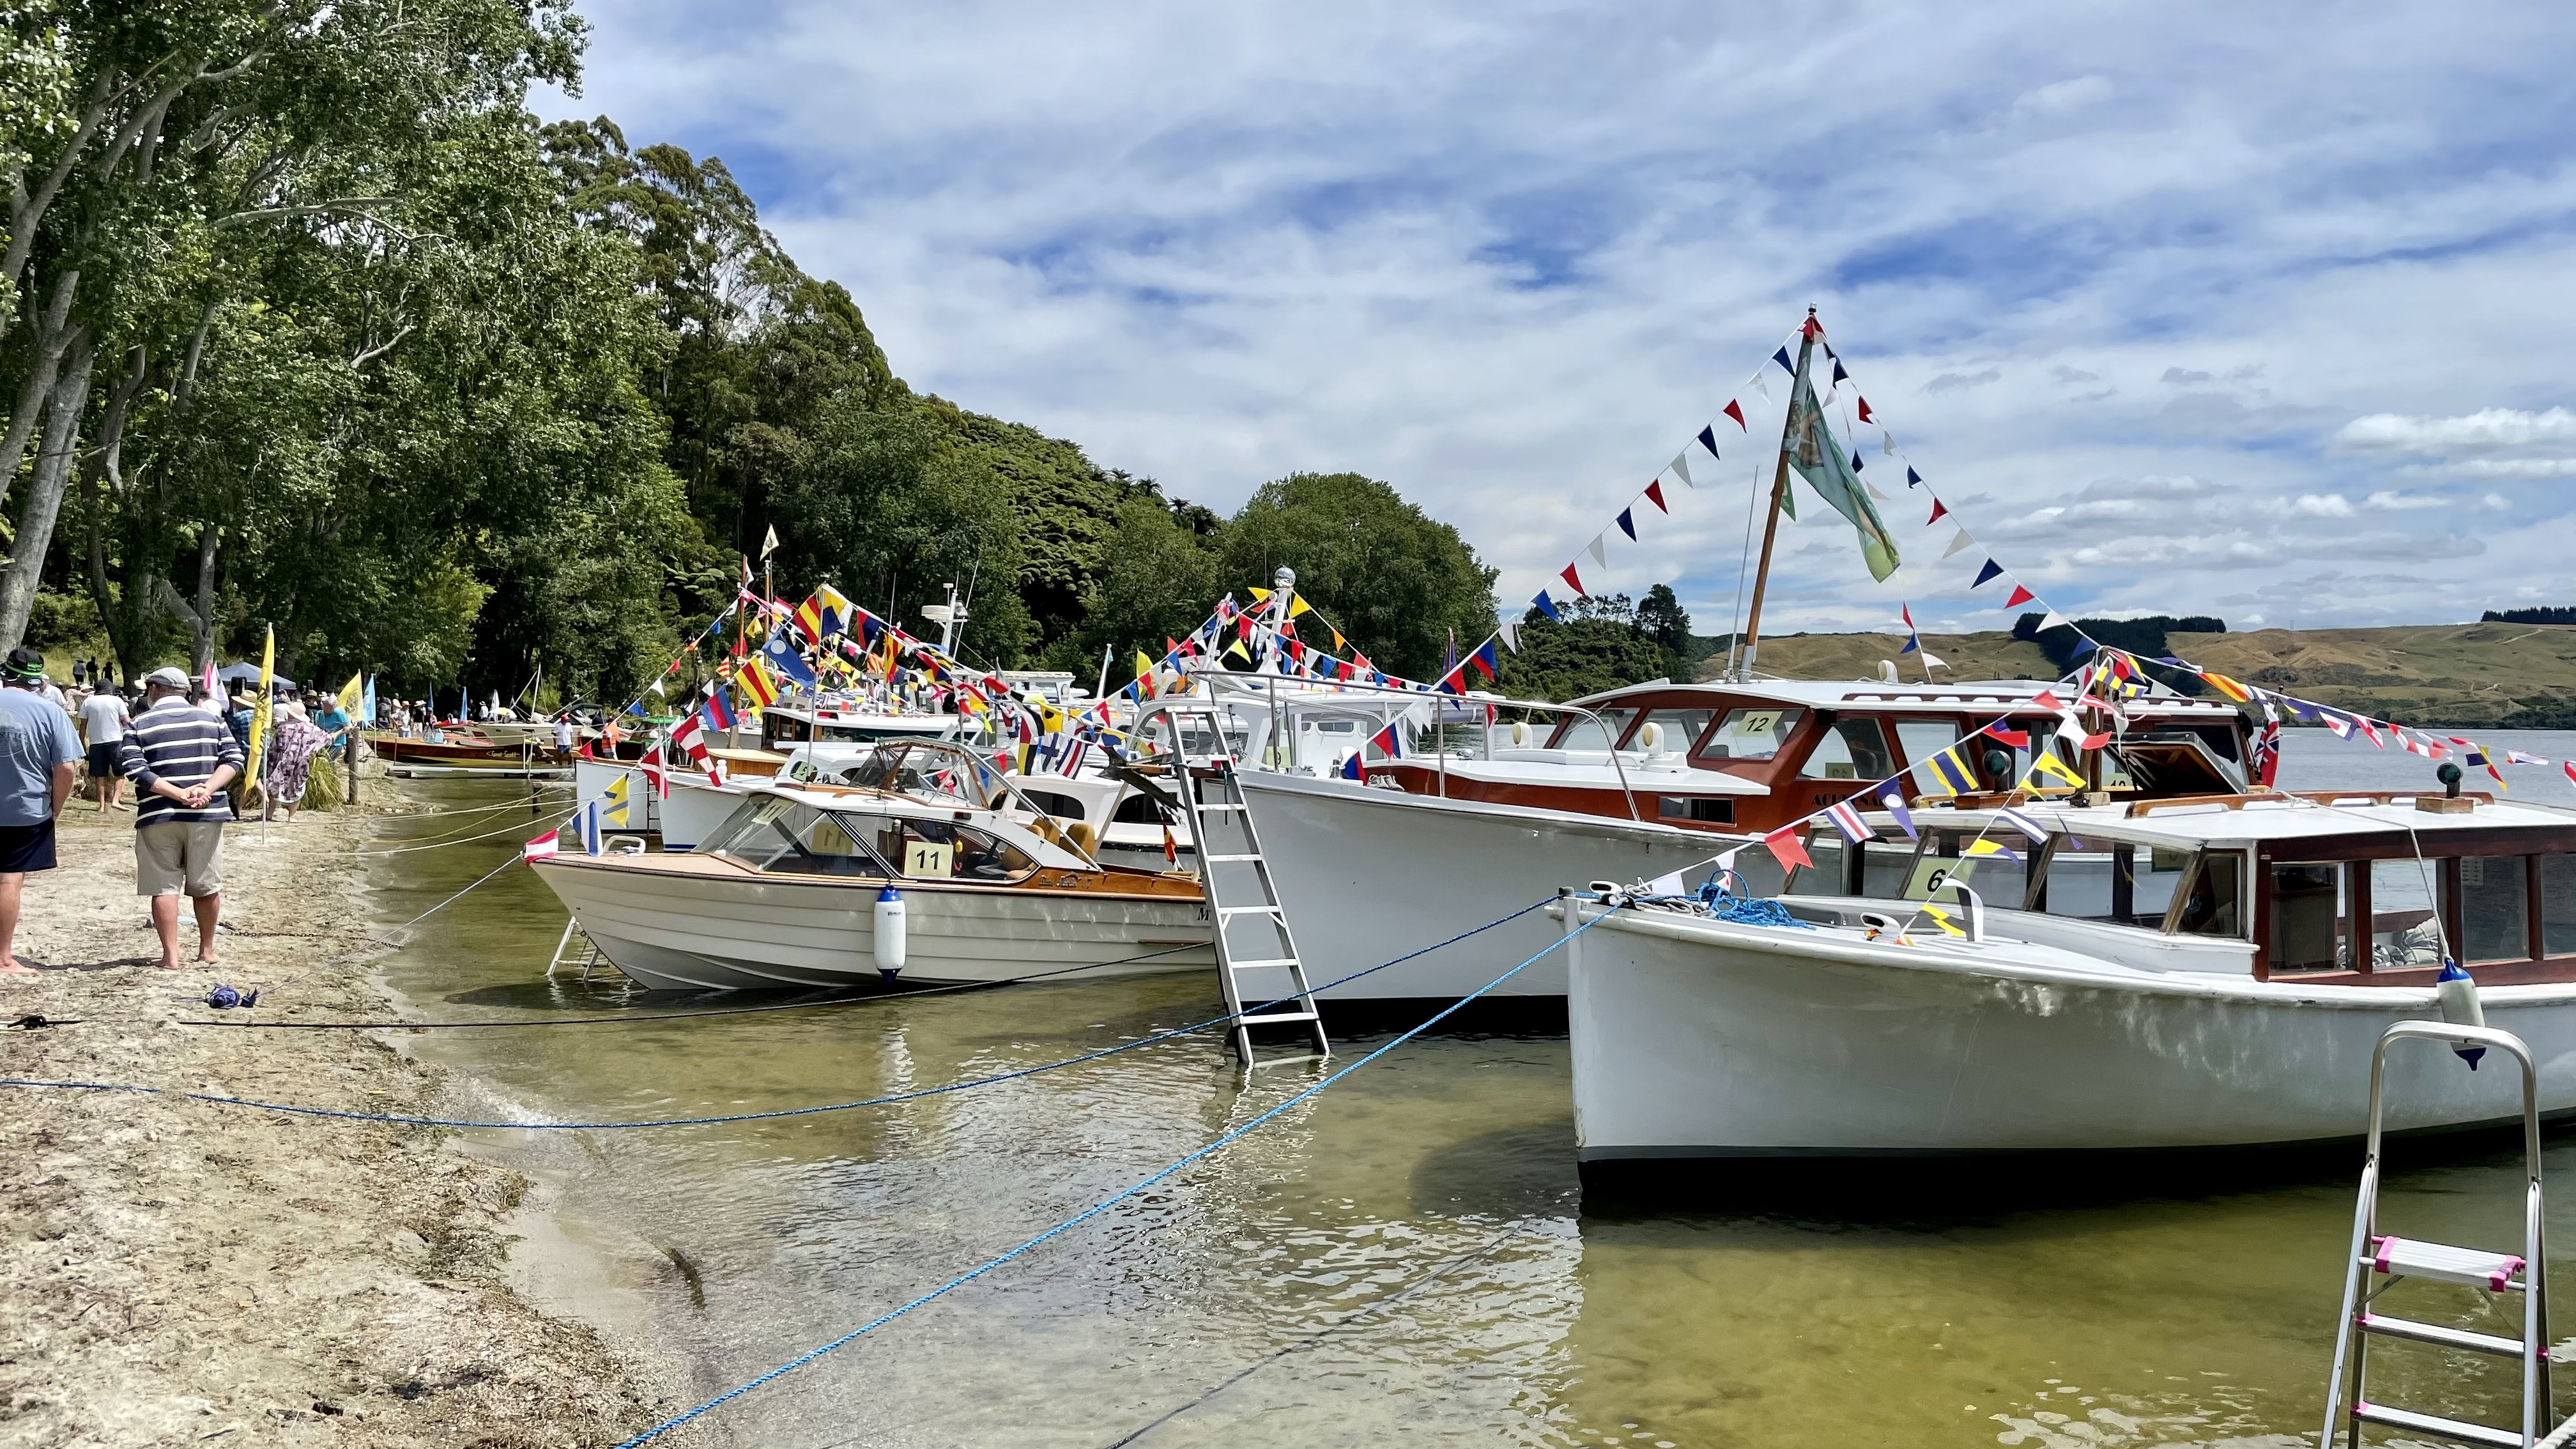
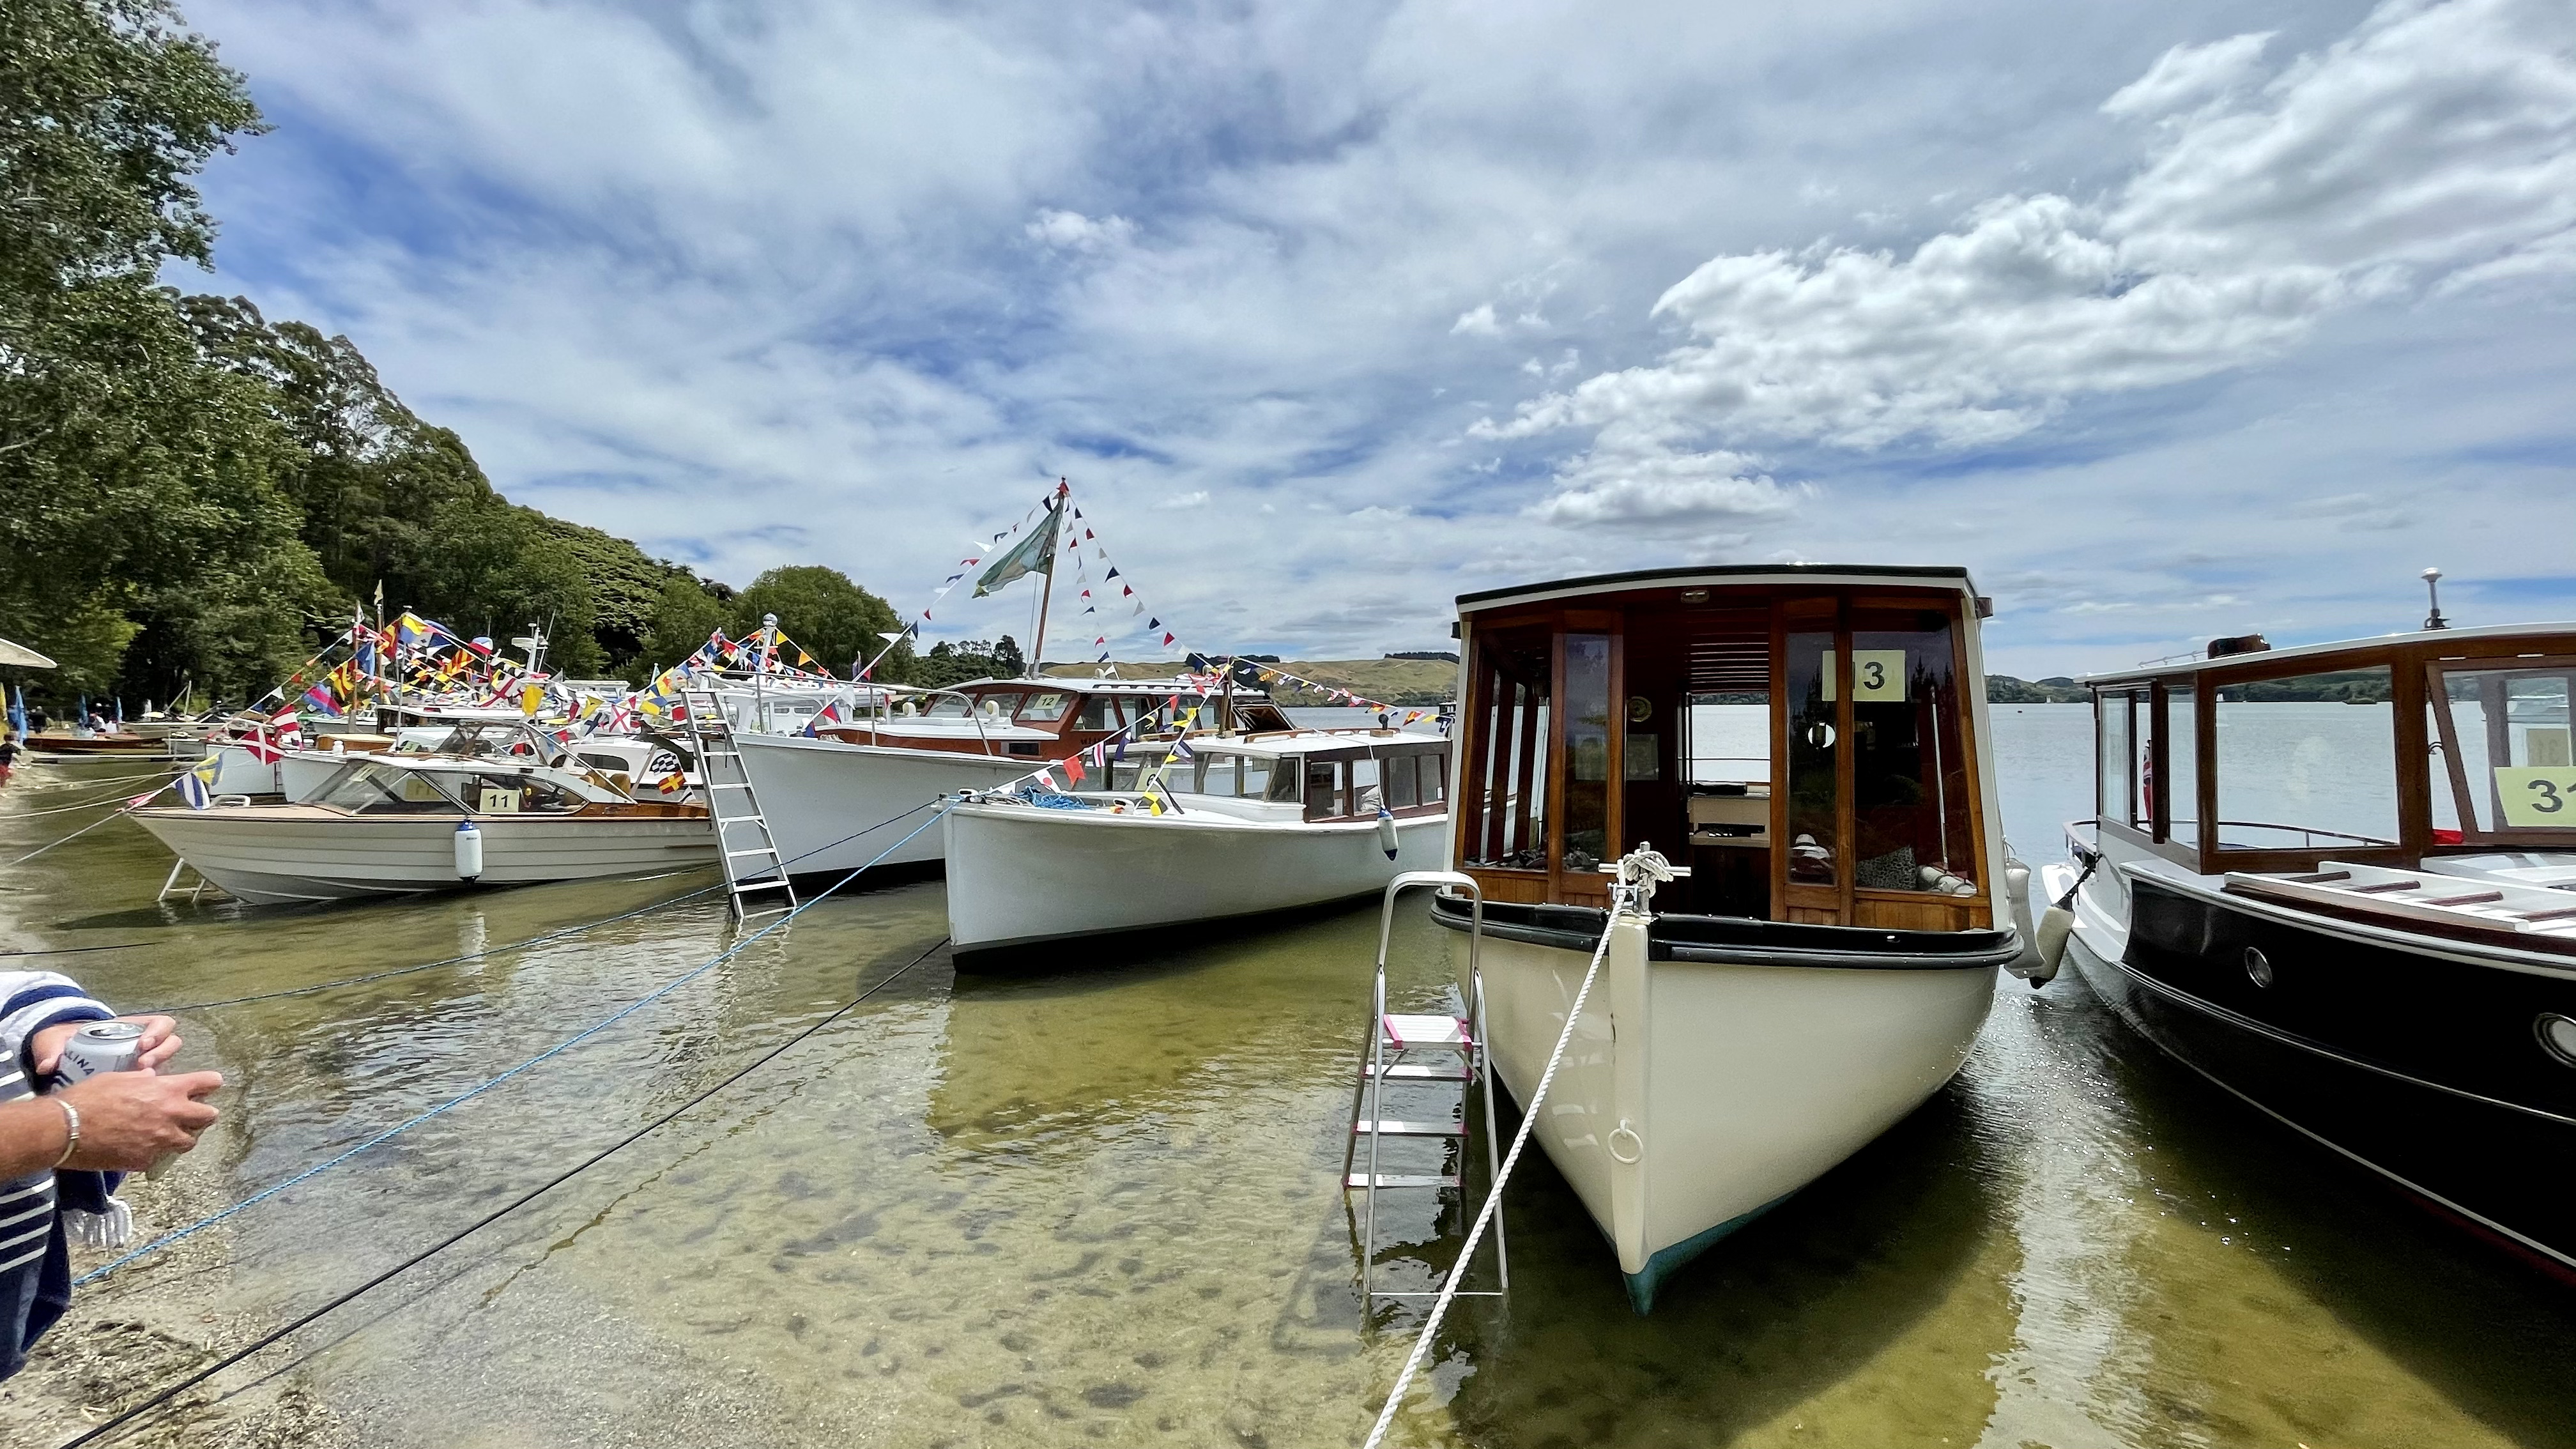
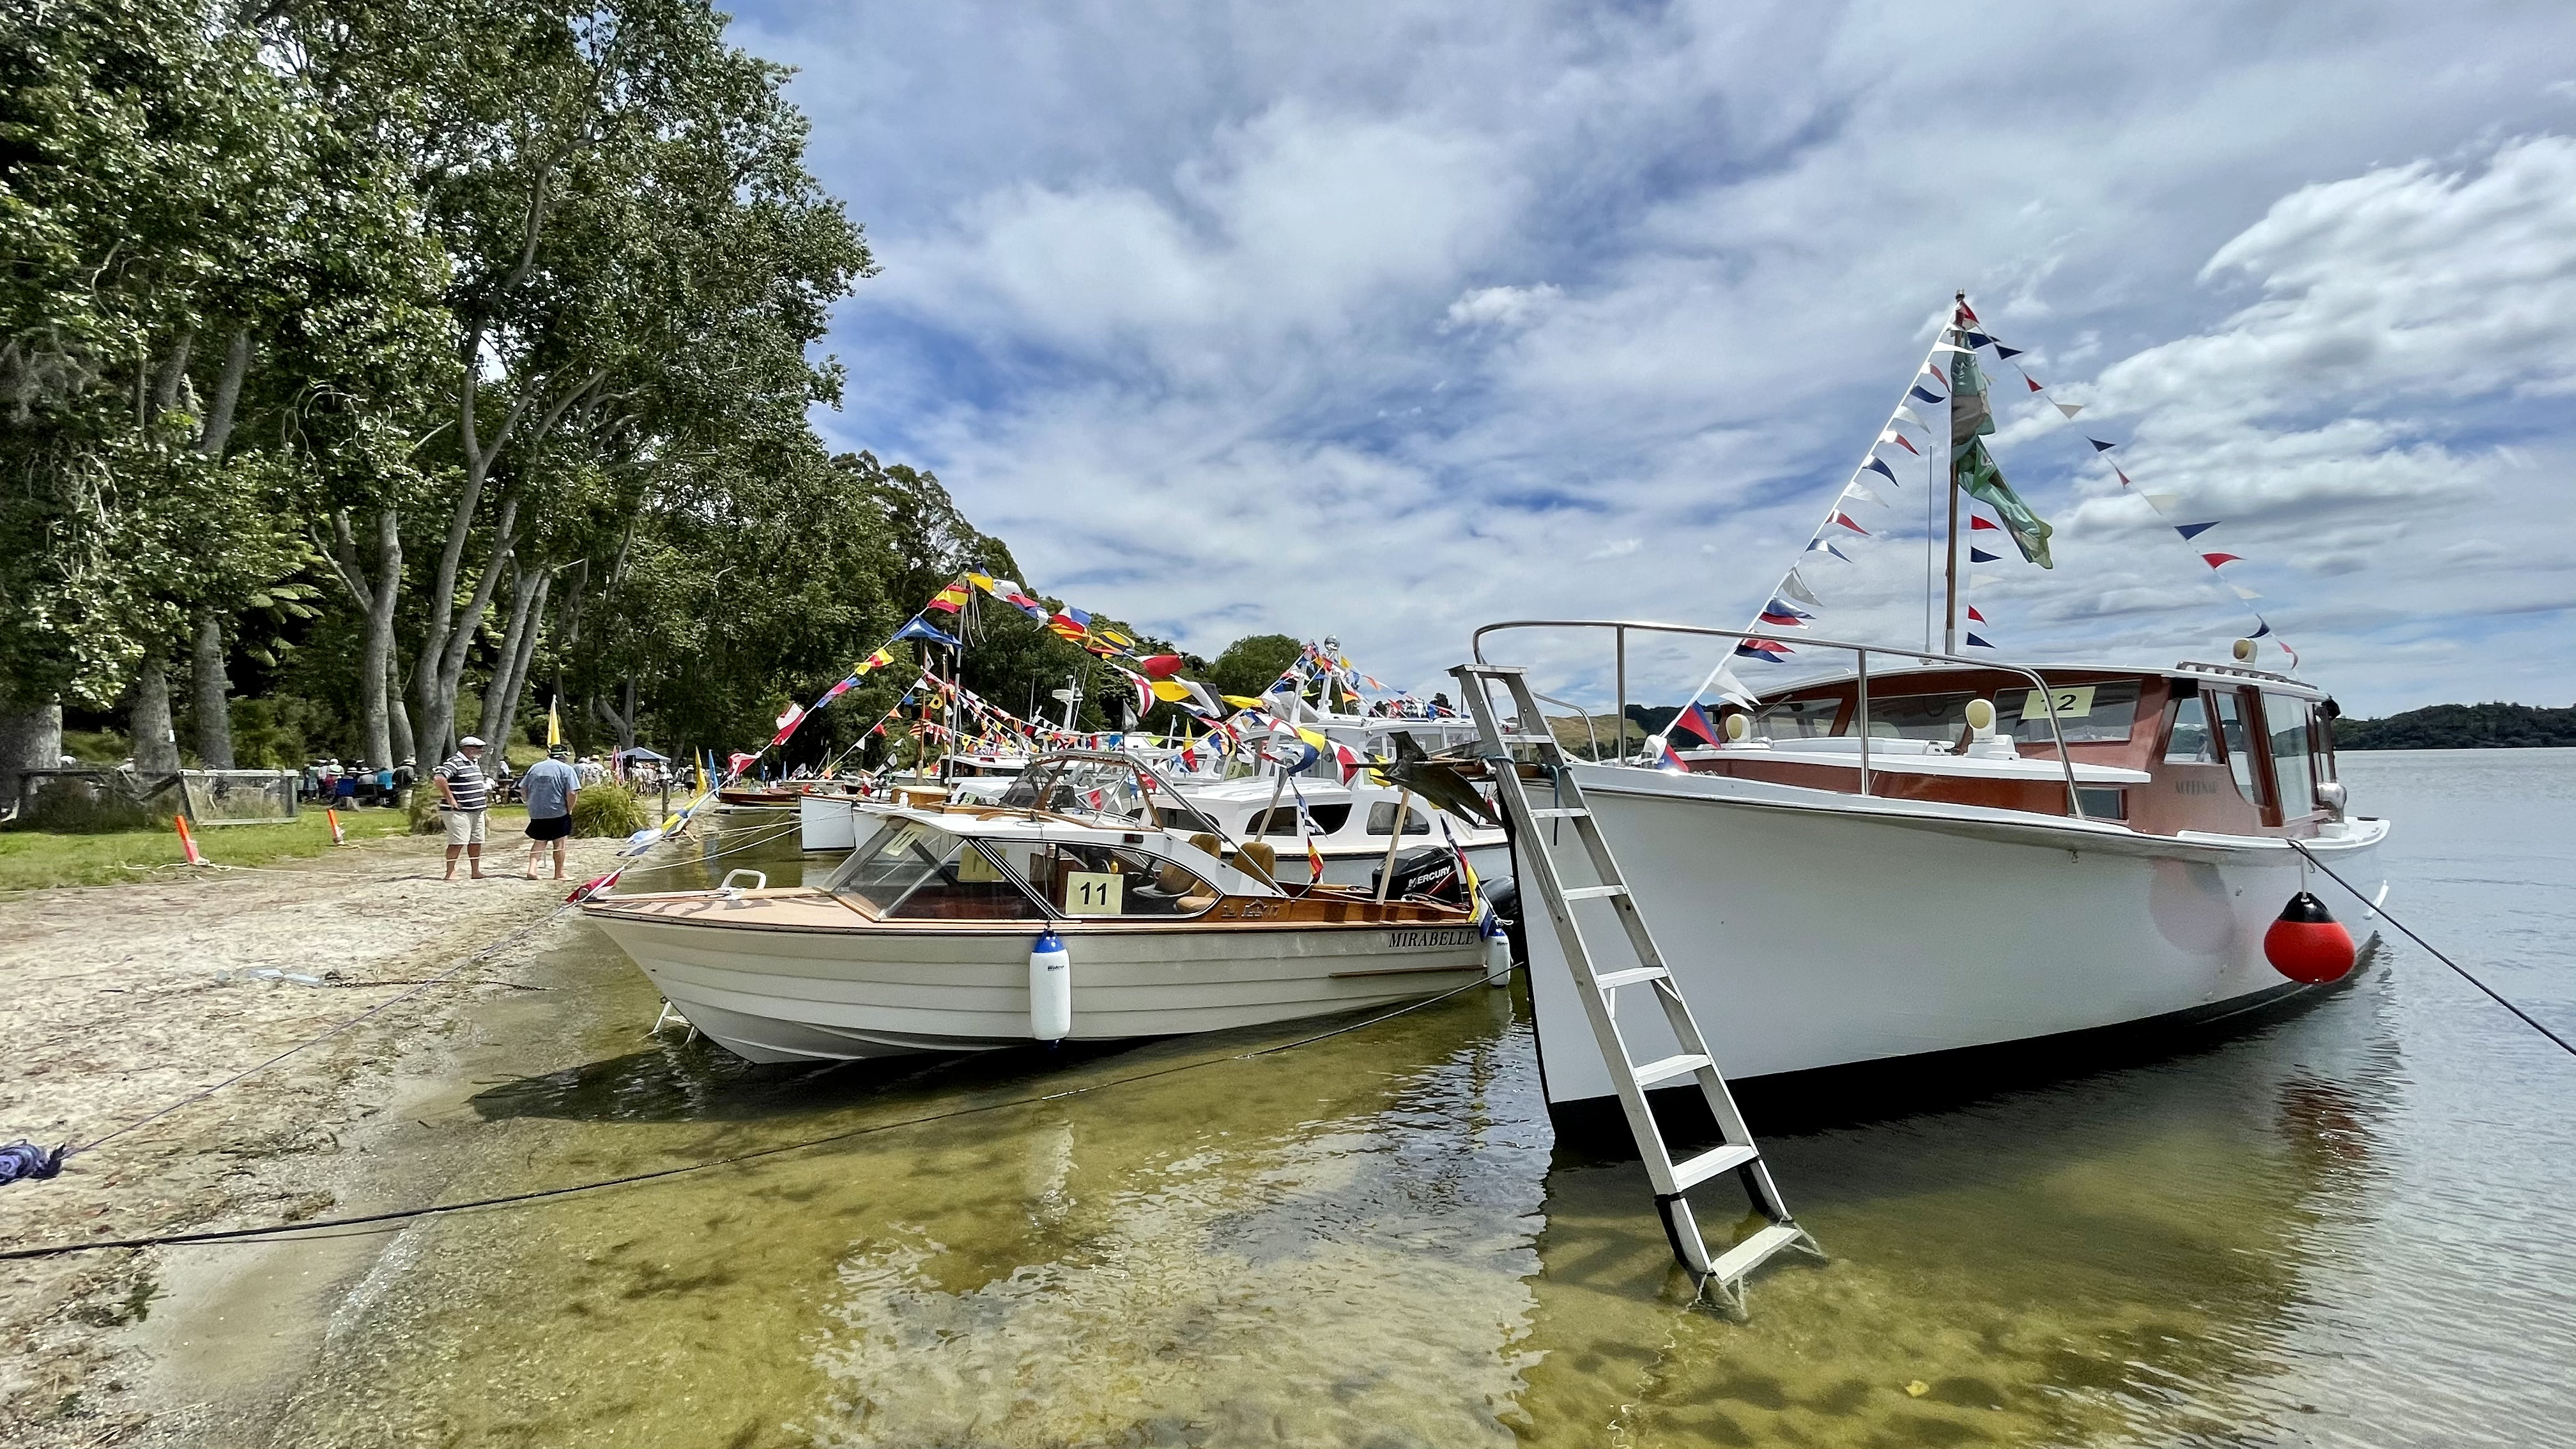
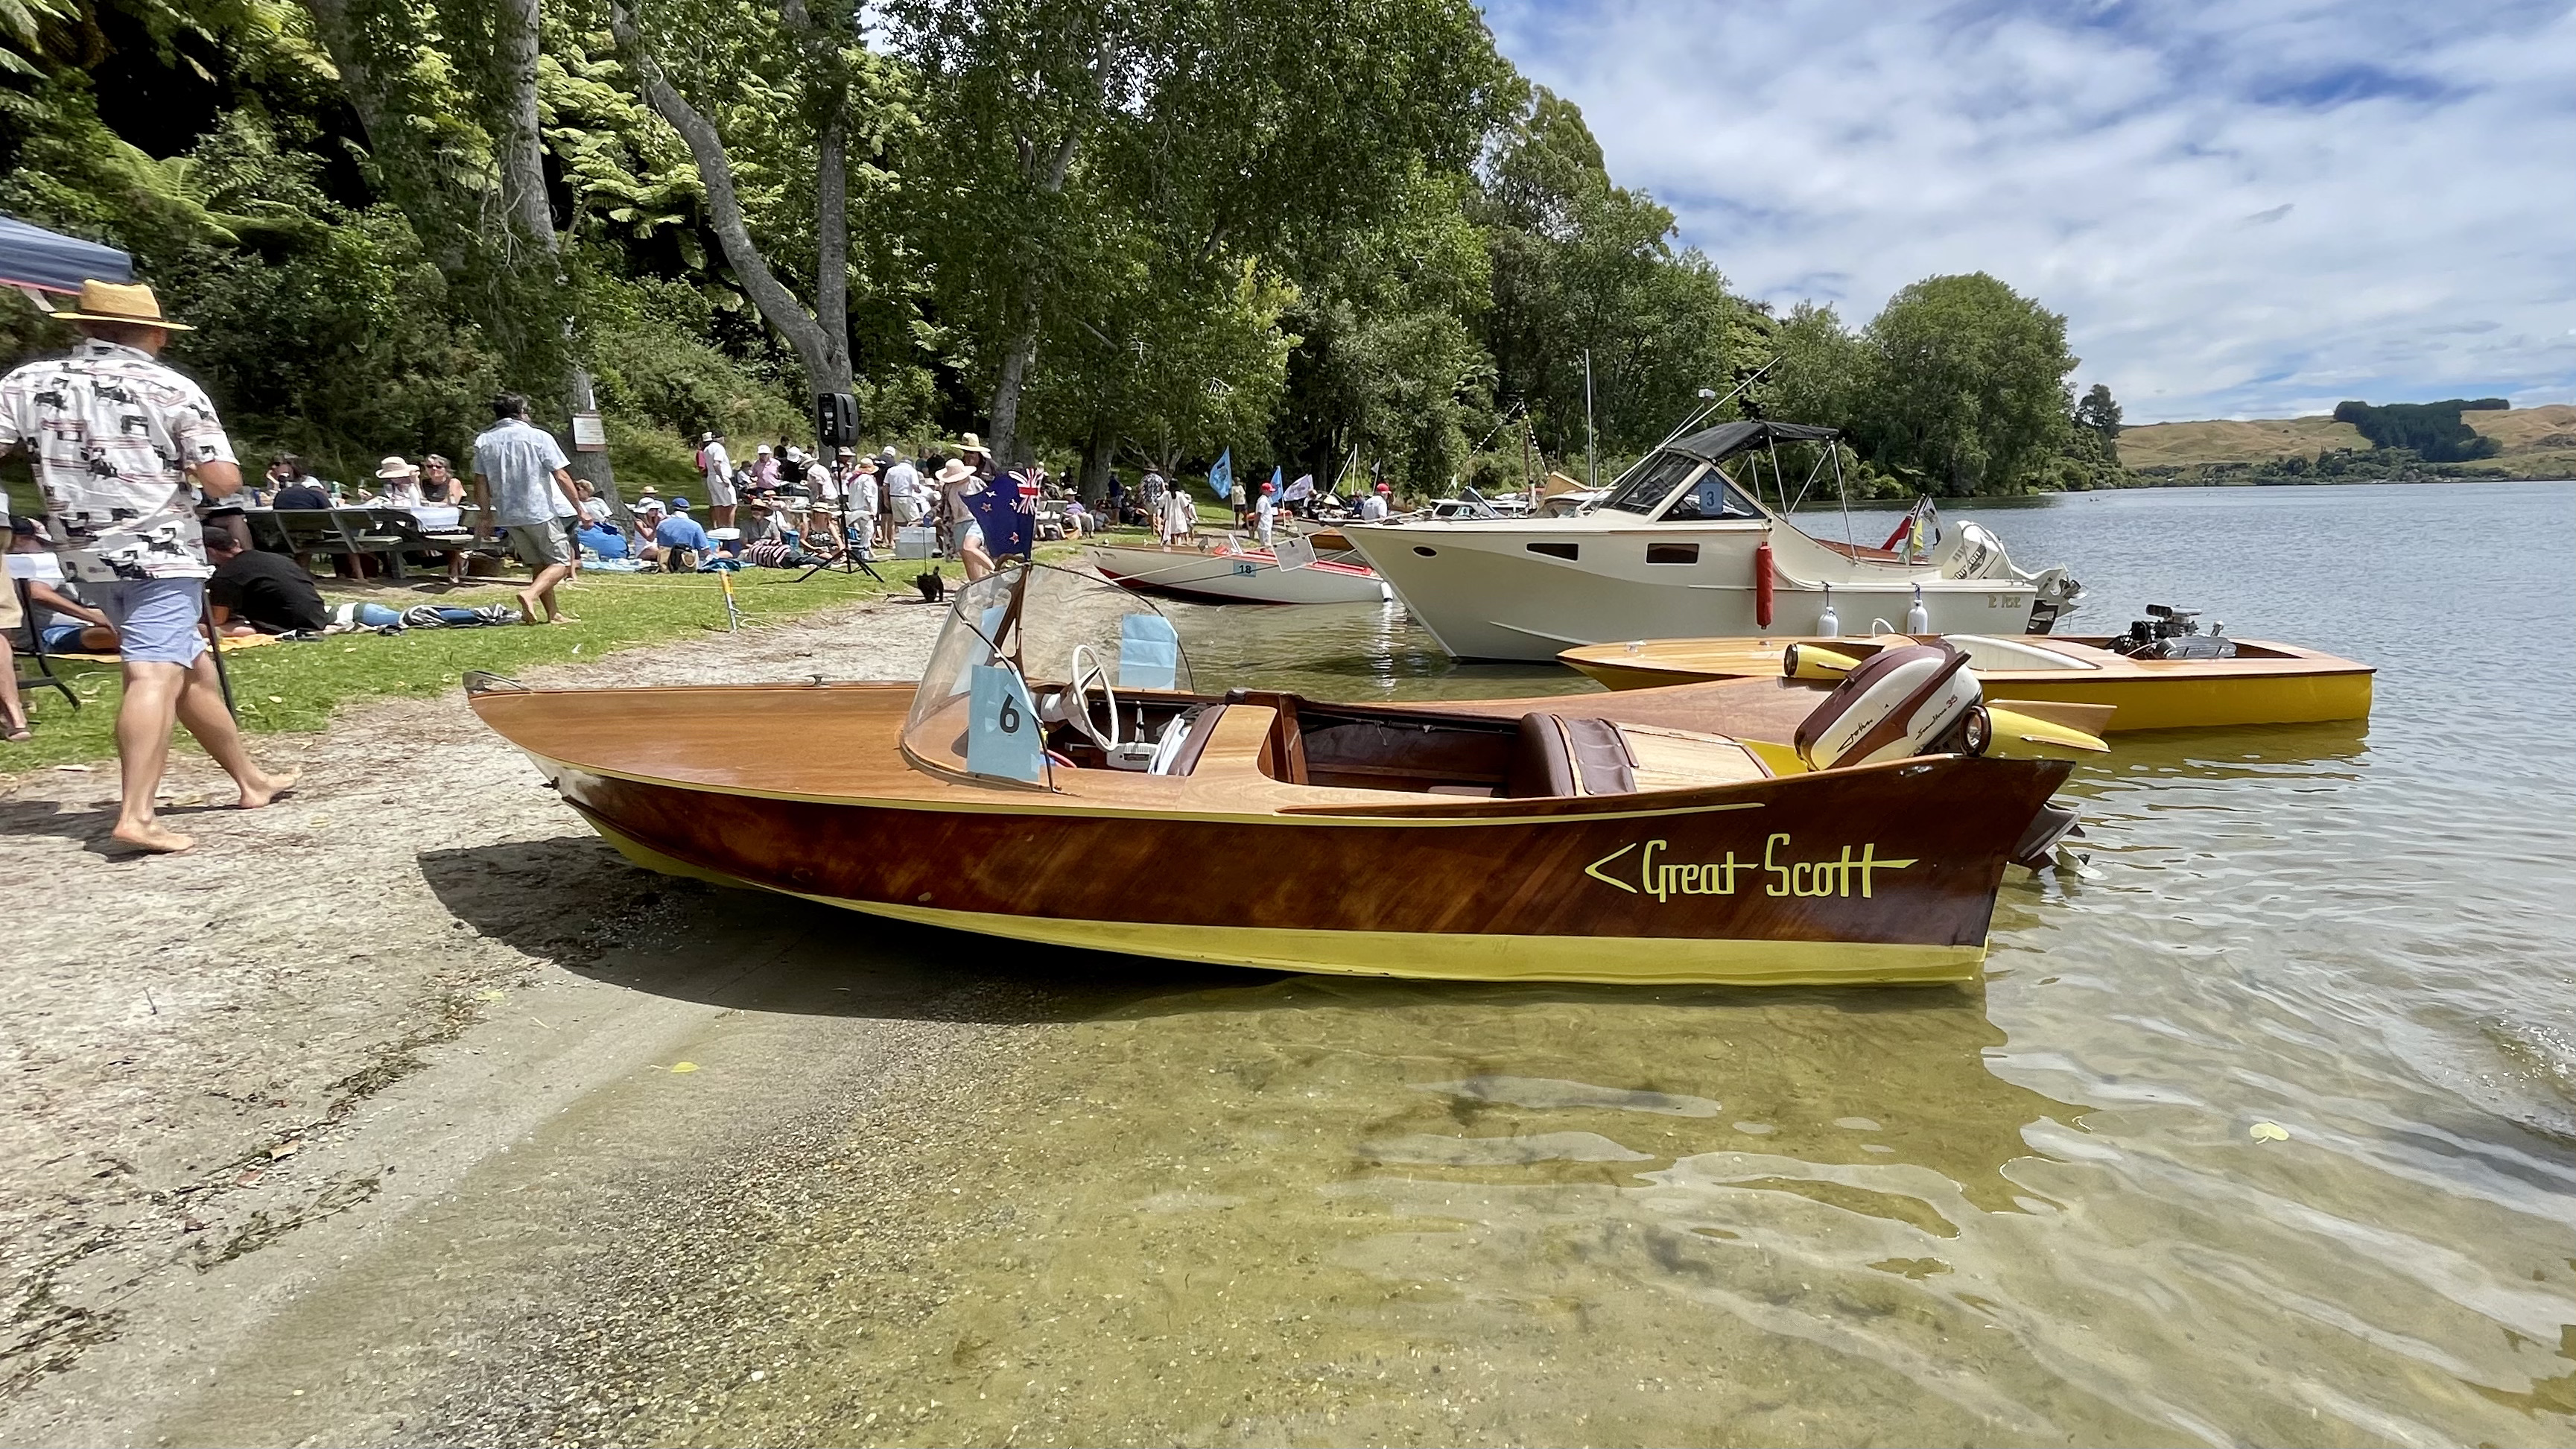
As the photos will quickly confirm, Saturday 7 February delivered near-perfect conditions for the Lake Rotoiti Classic & Wooden Boat Association’s annual gathering. While the event unfolds over four days, it’s the Saturday on-the-water get-together that remains the undisputed highlight.
From a photographer’s point of view, wall-to-wall sunshine and tricky angles don’t always play nicely with timber and varnish. So, if I’ve missed your boat or the images aren’t quite showroom-perfect, my apologies — I was doing my best to keep up with a lot of very good-looking boats.
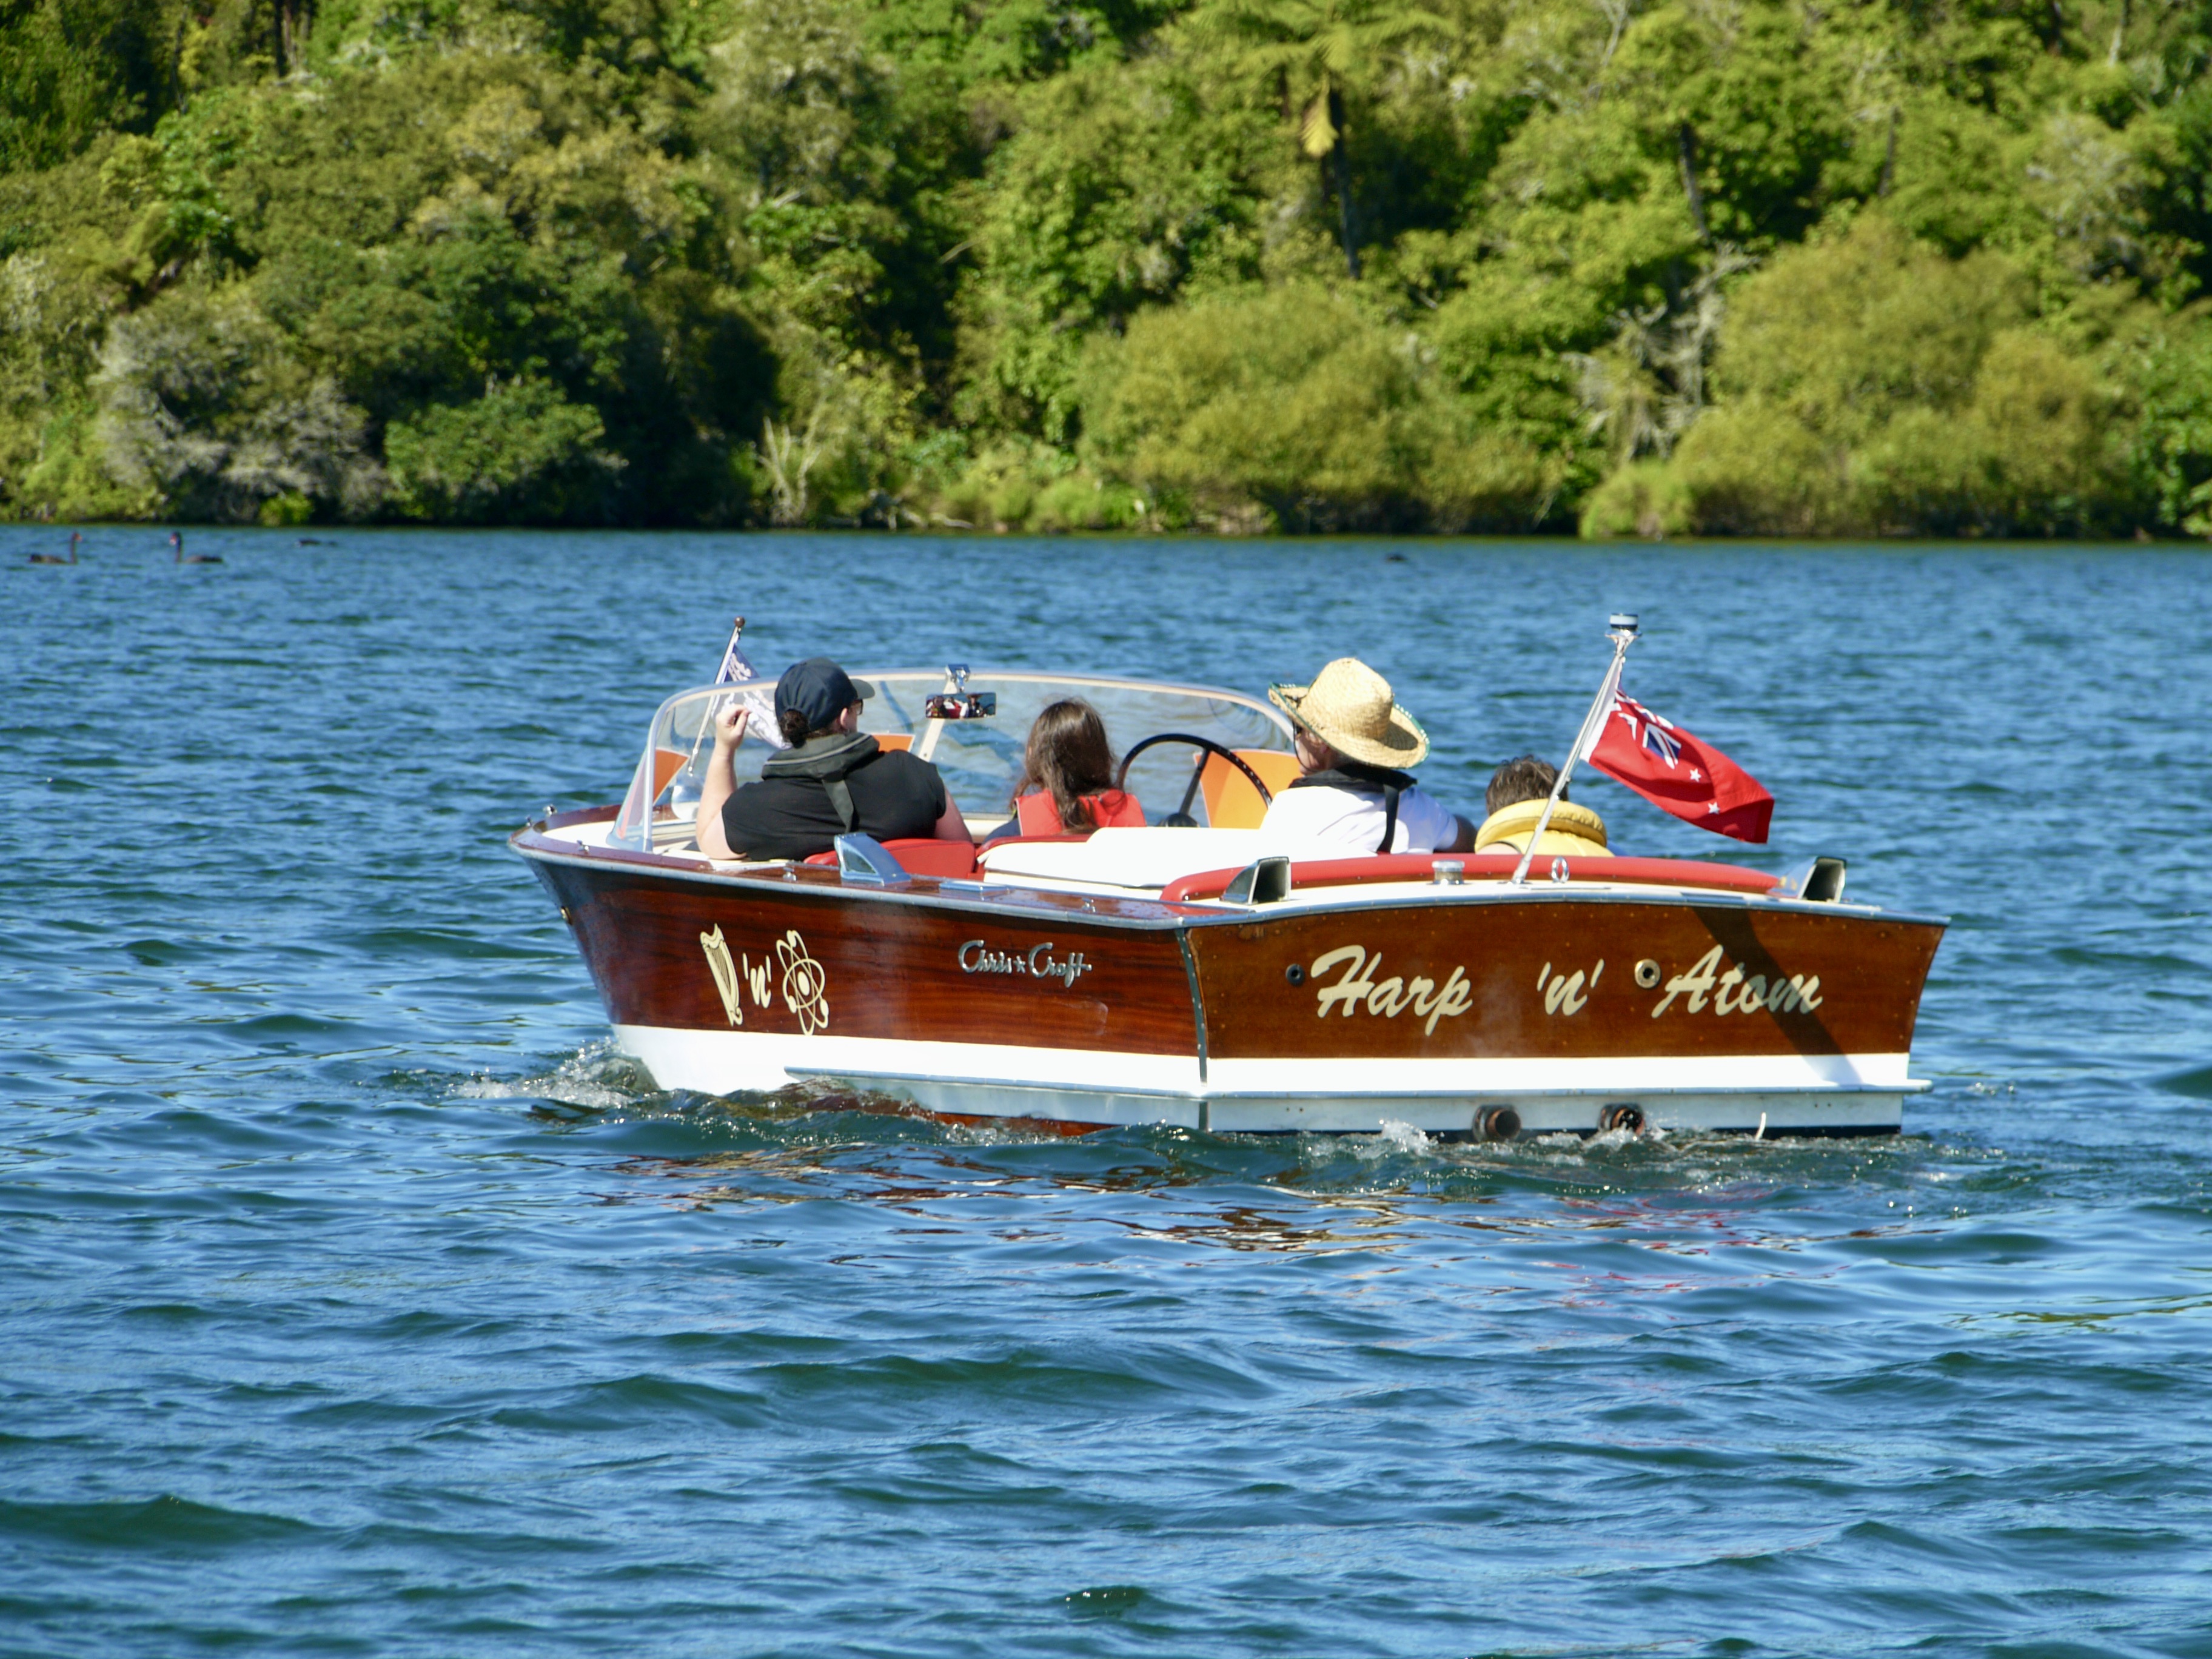
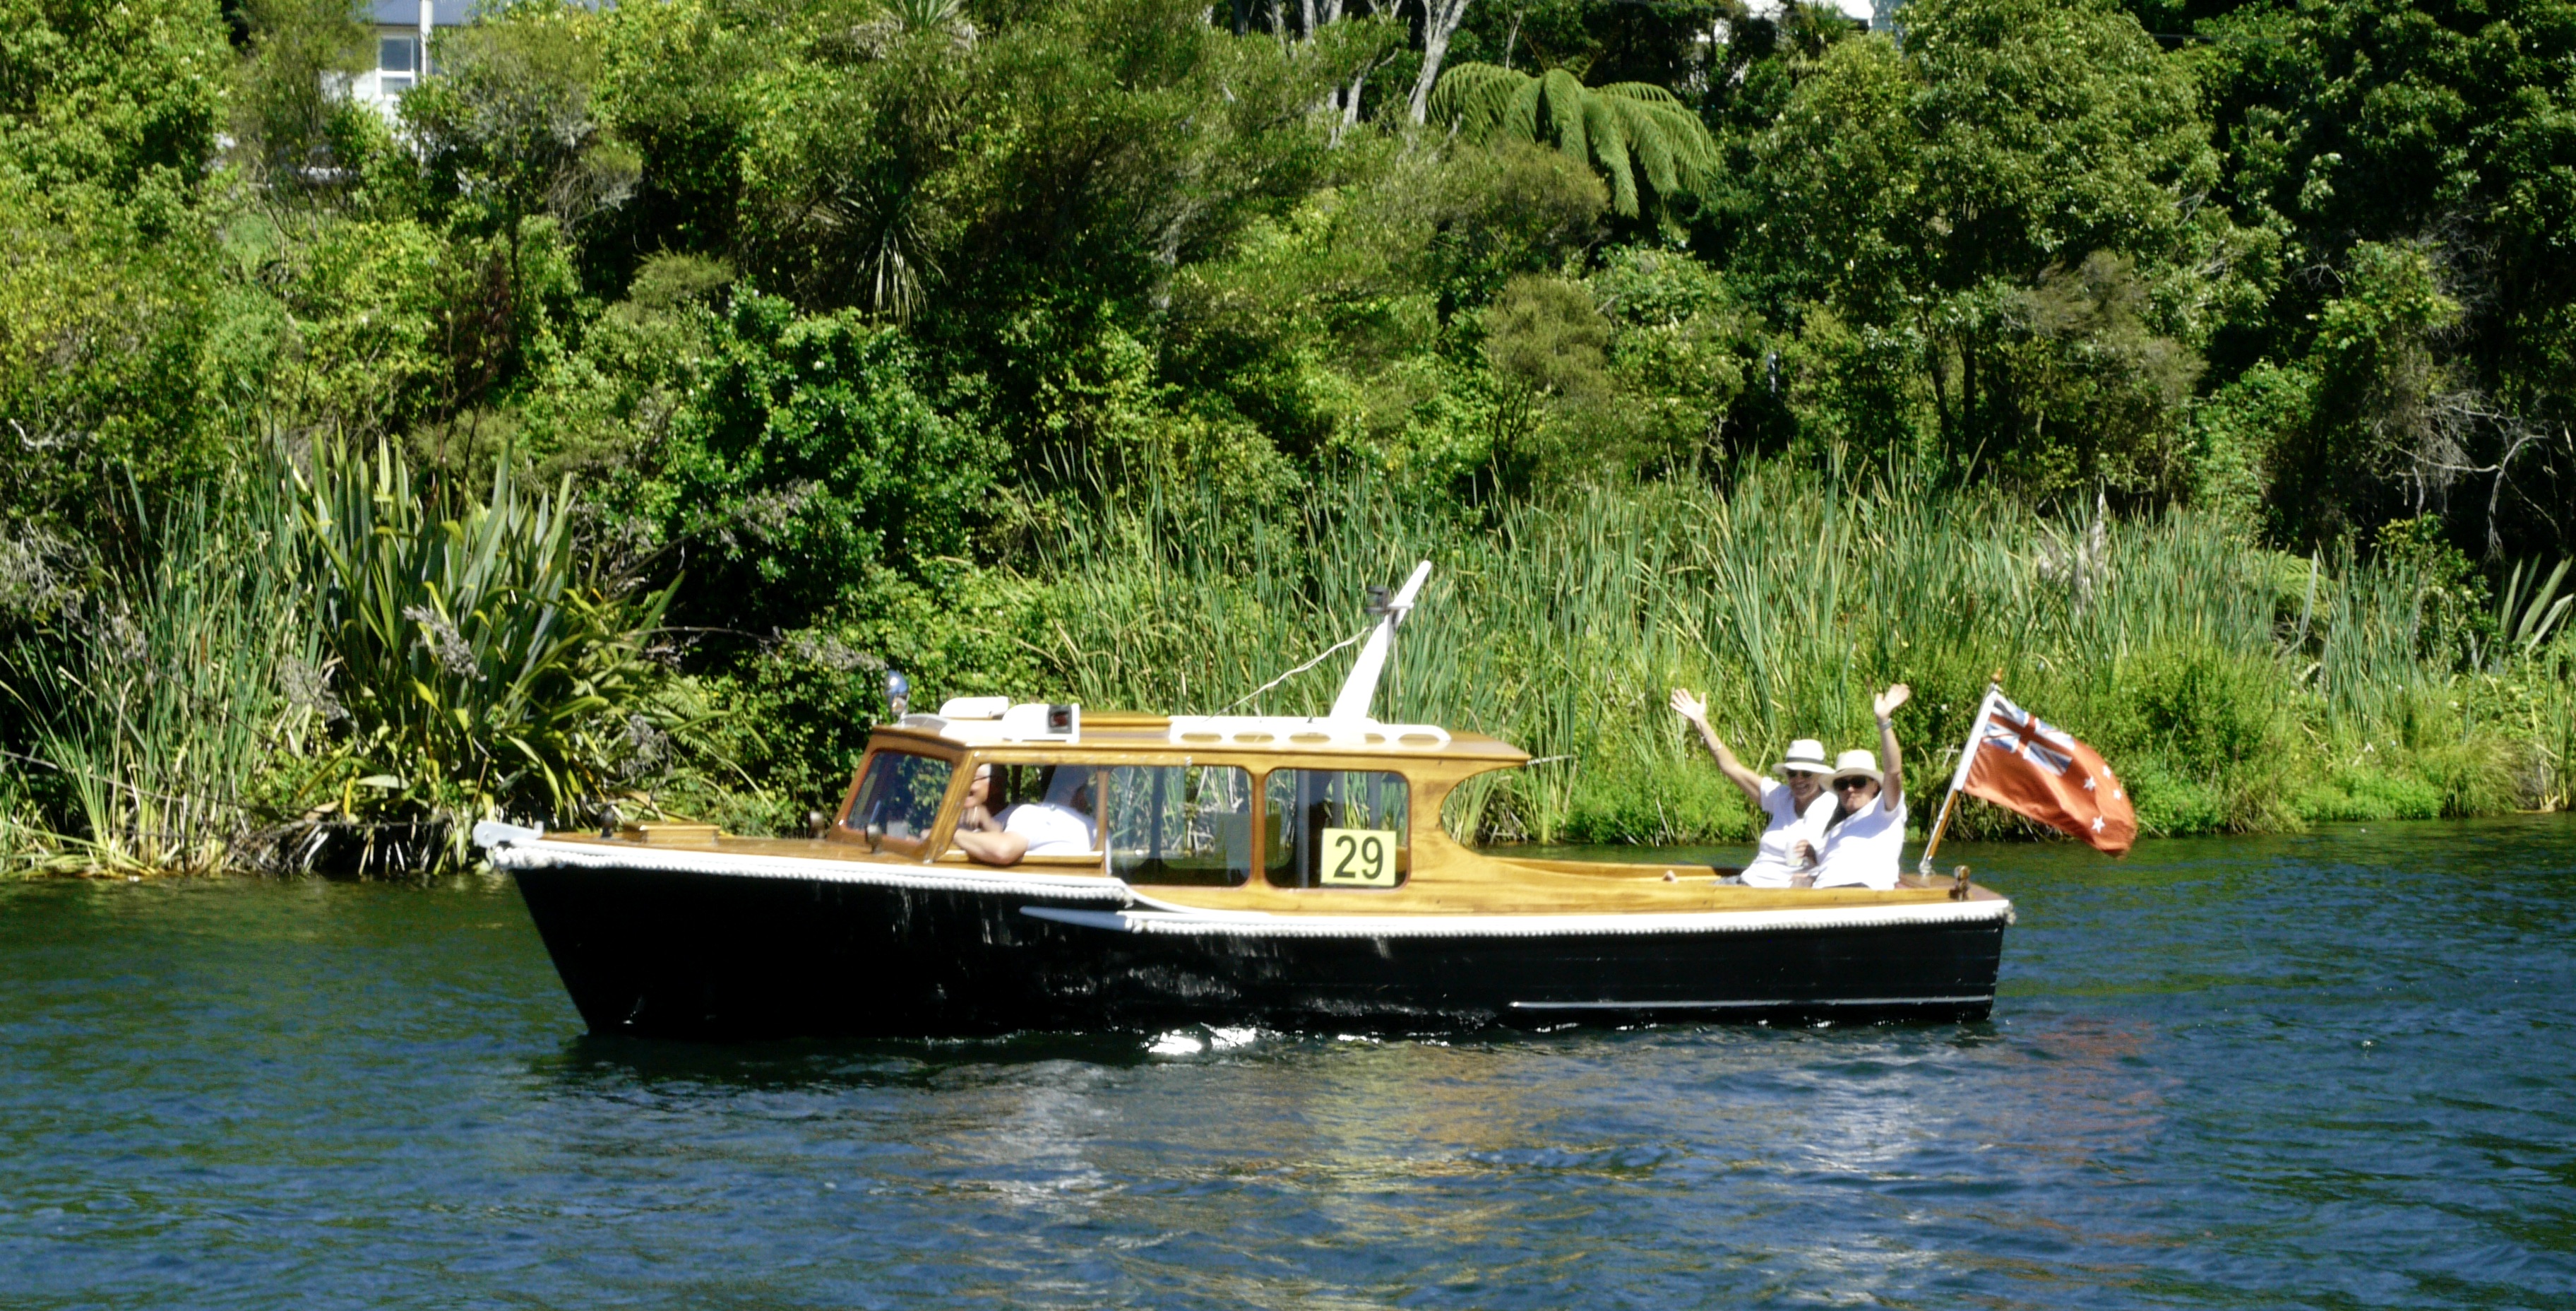
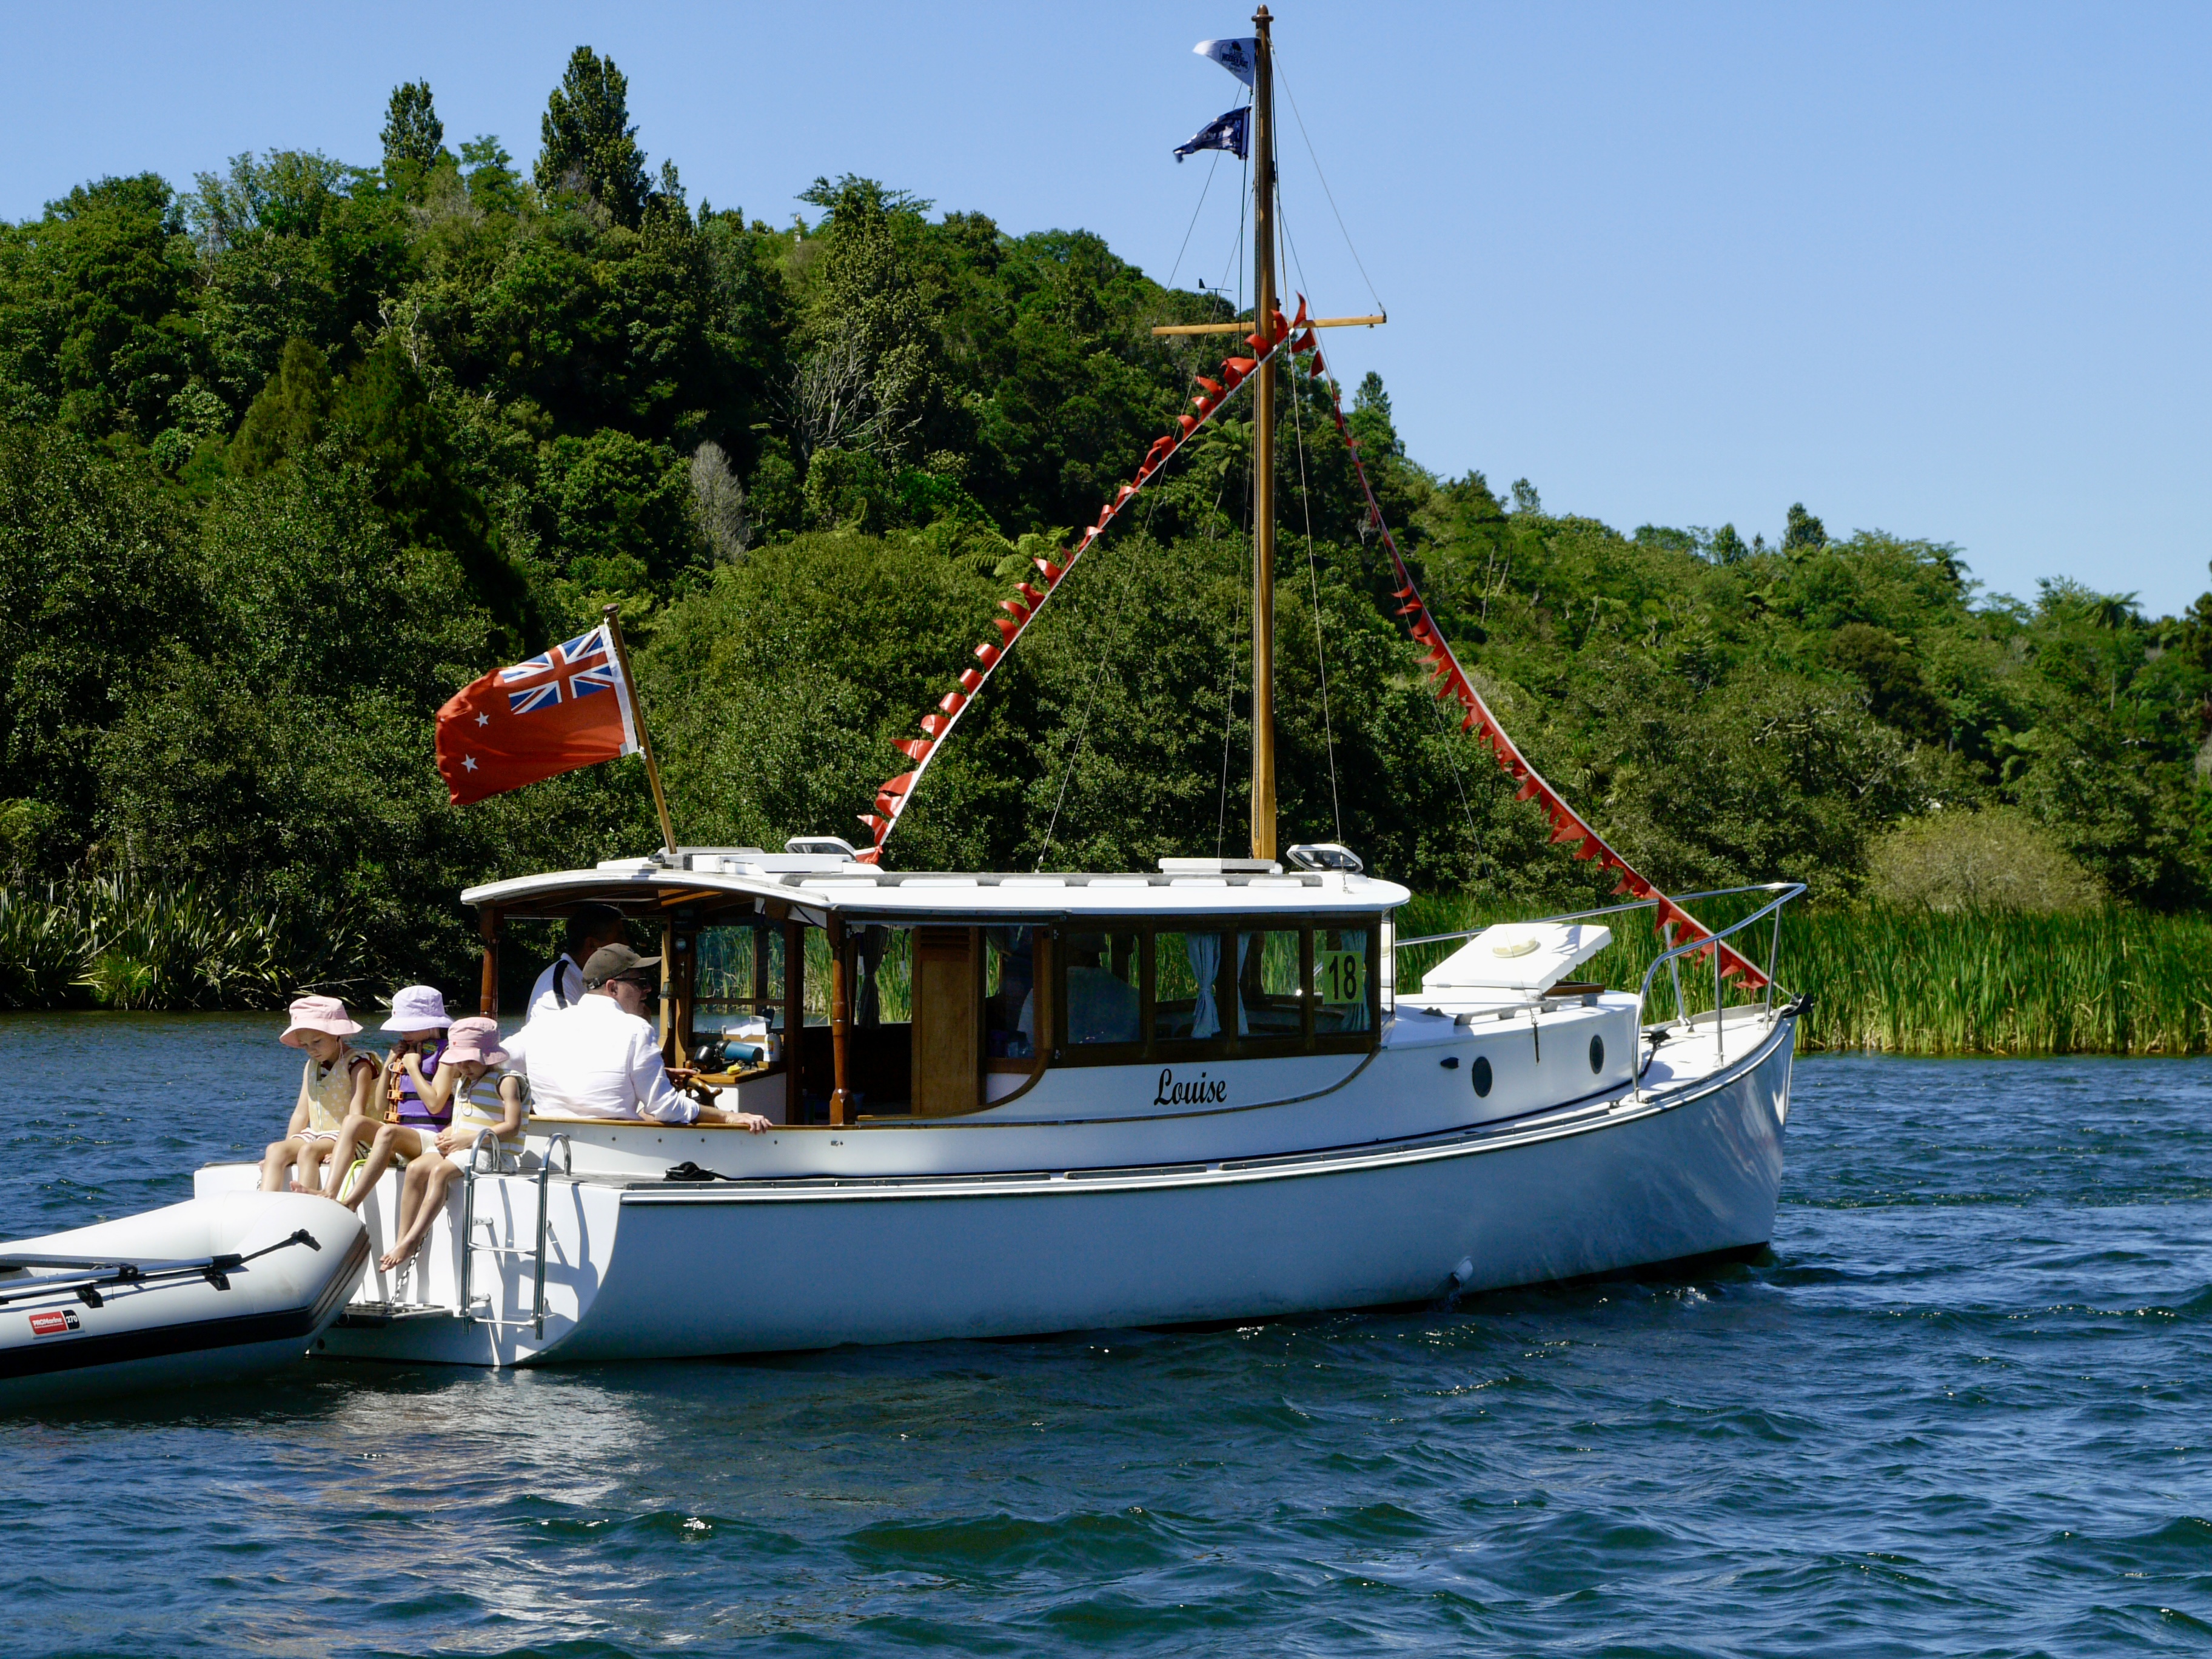
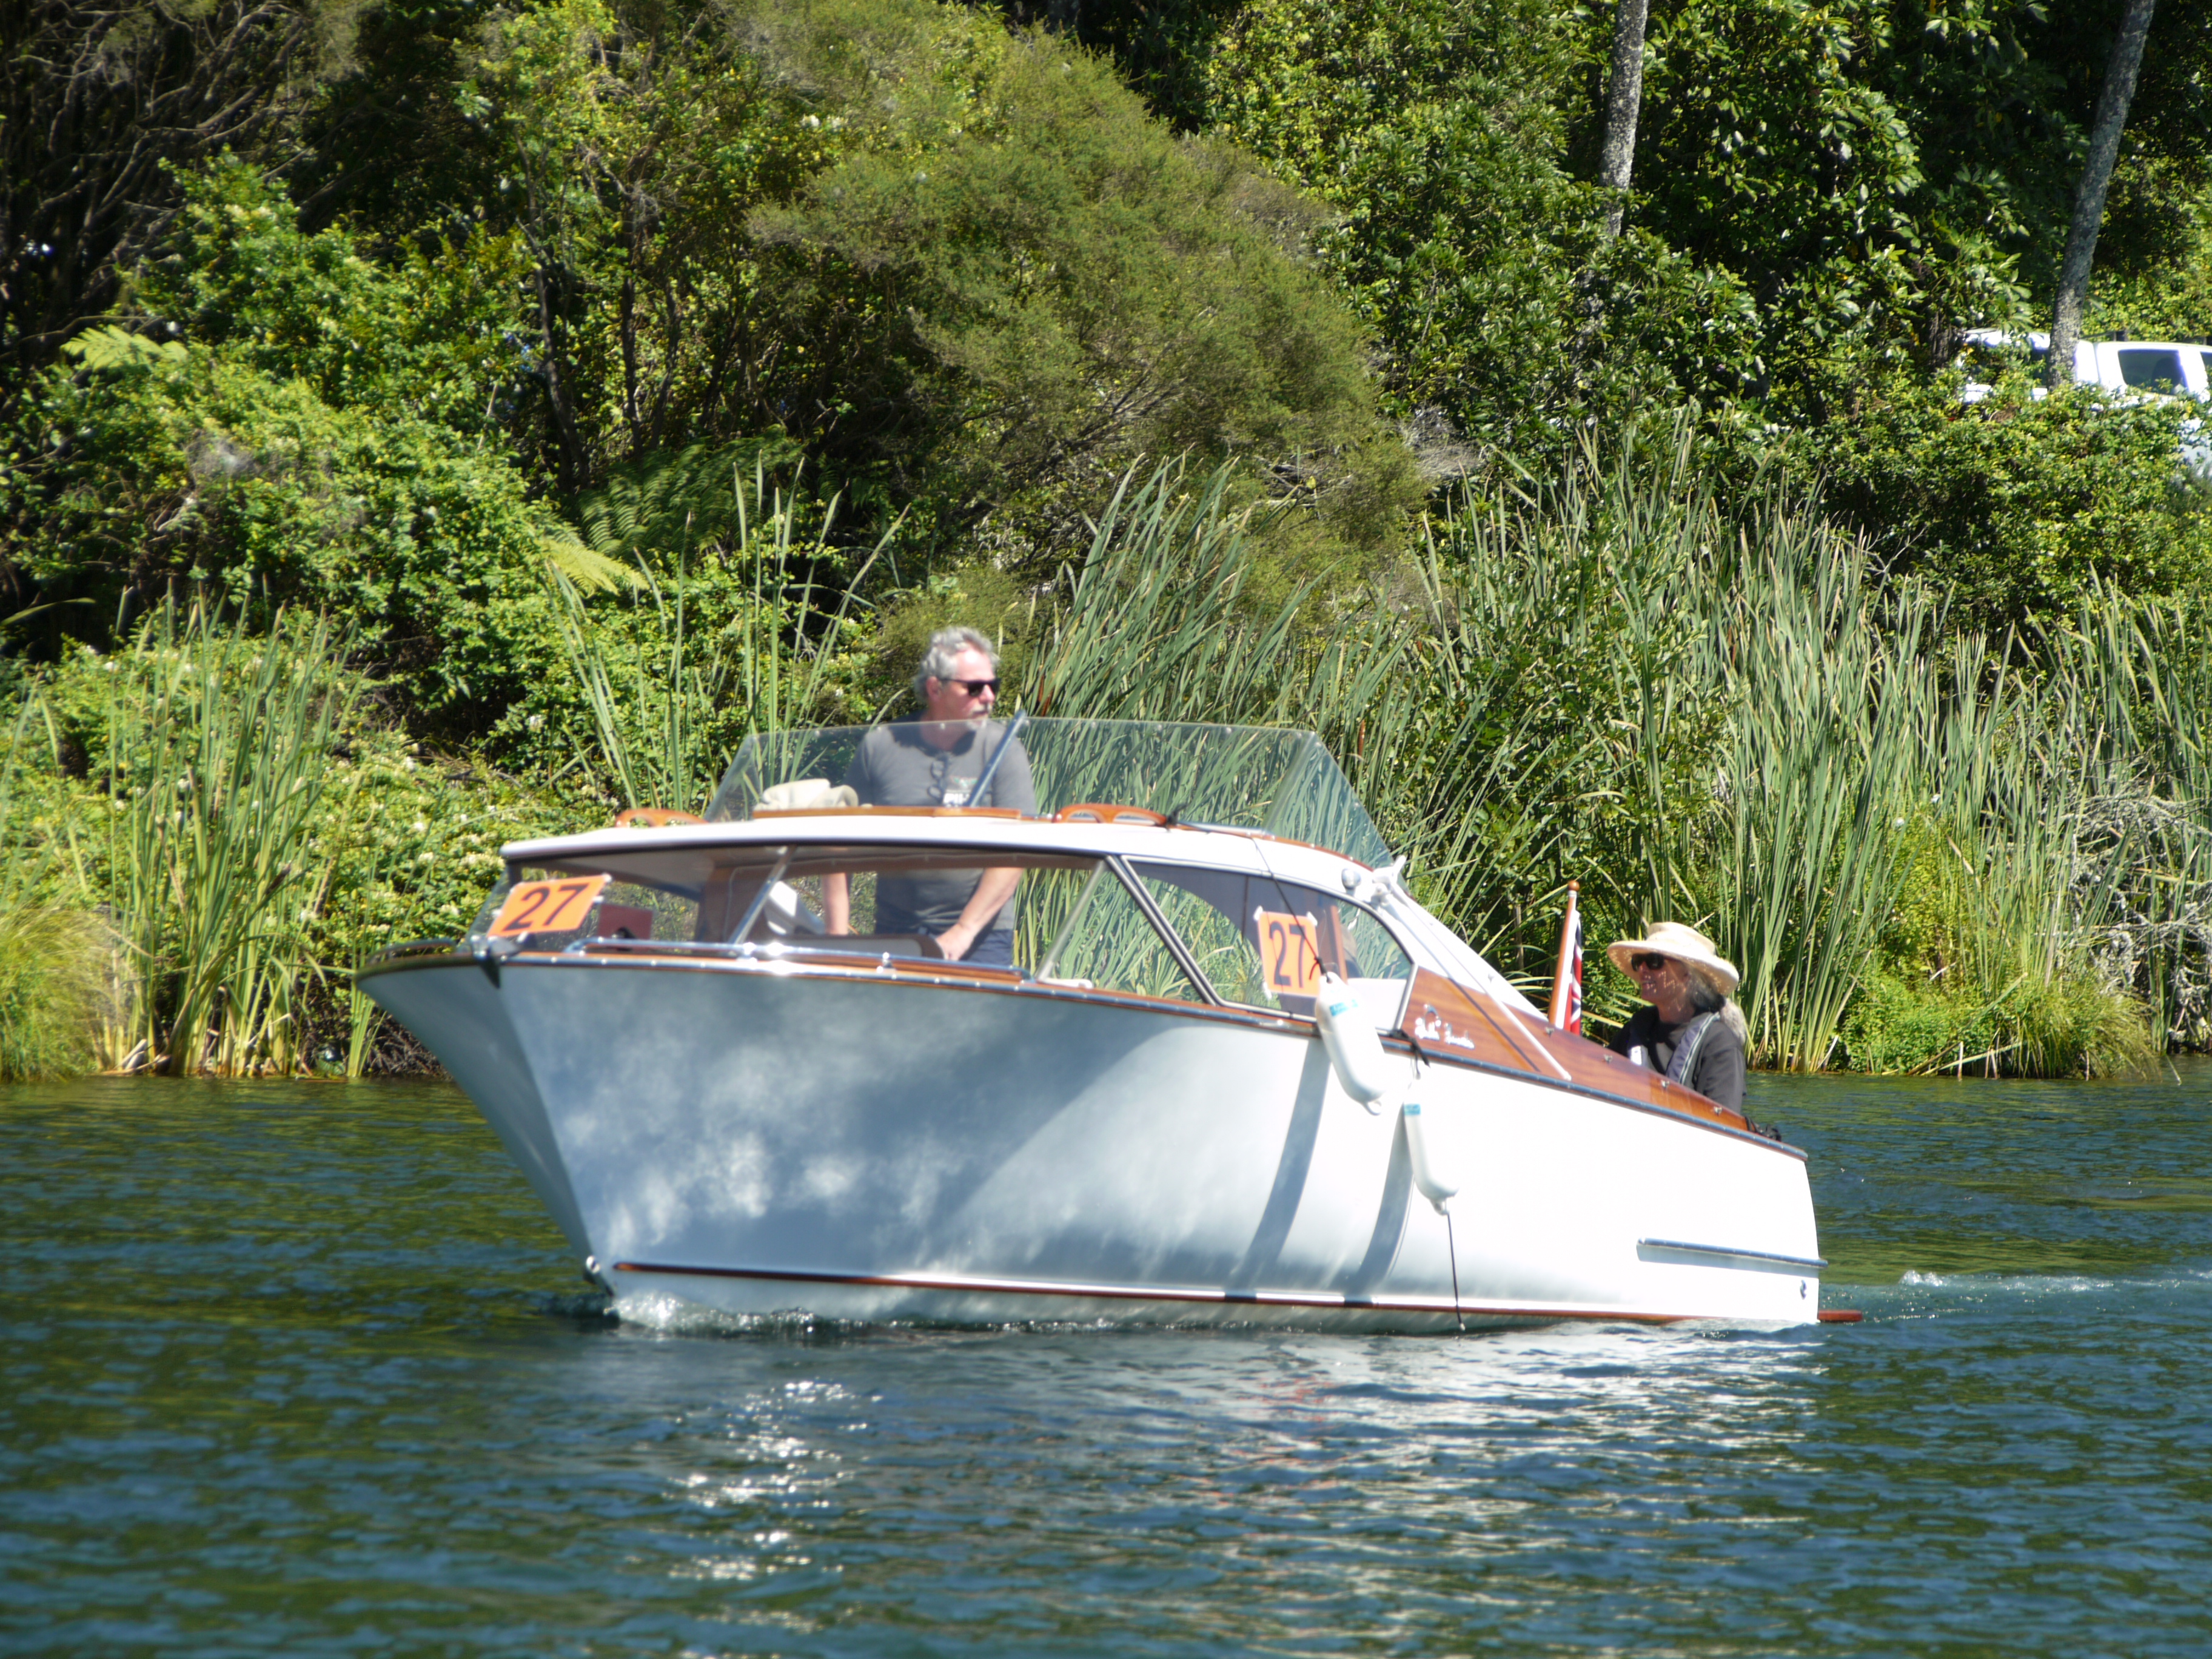
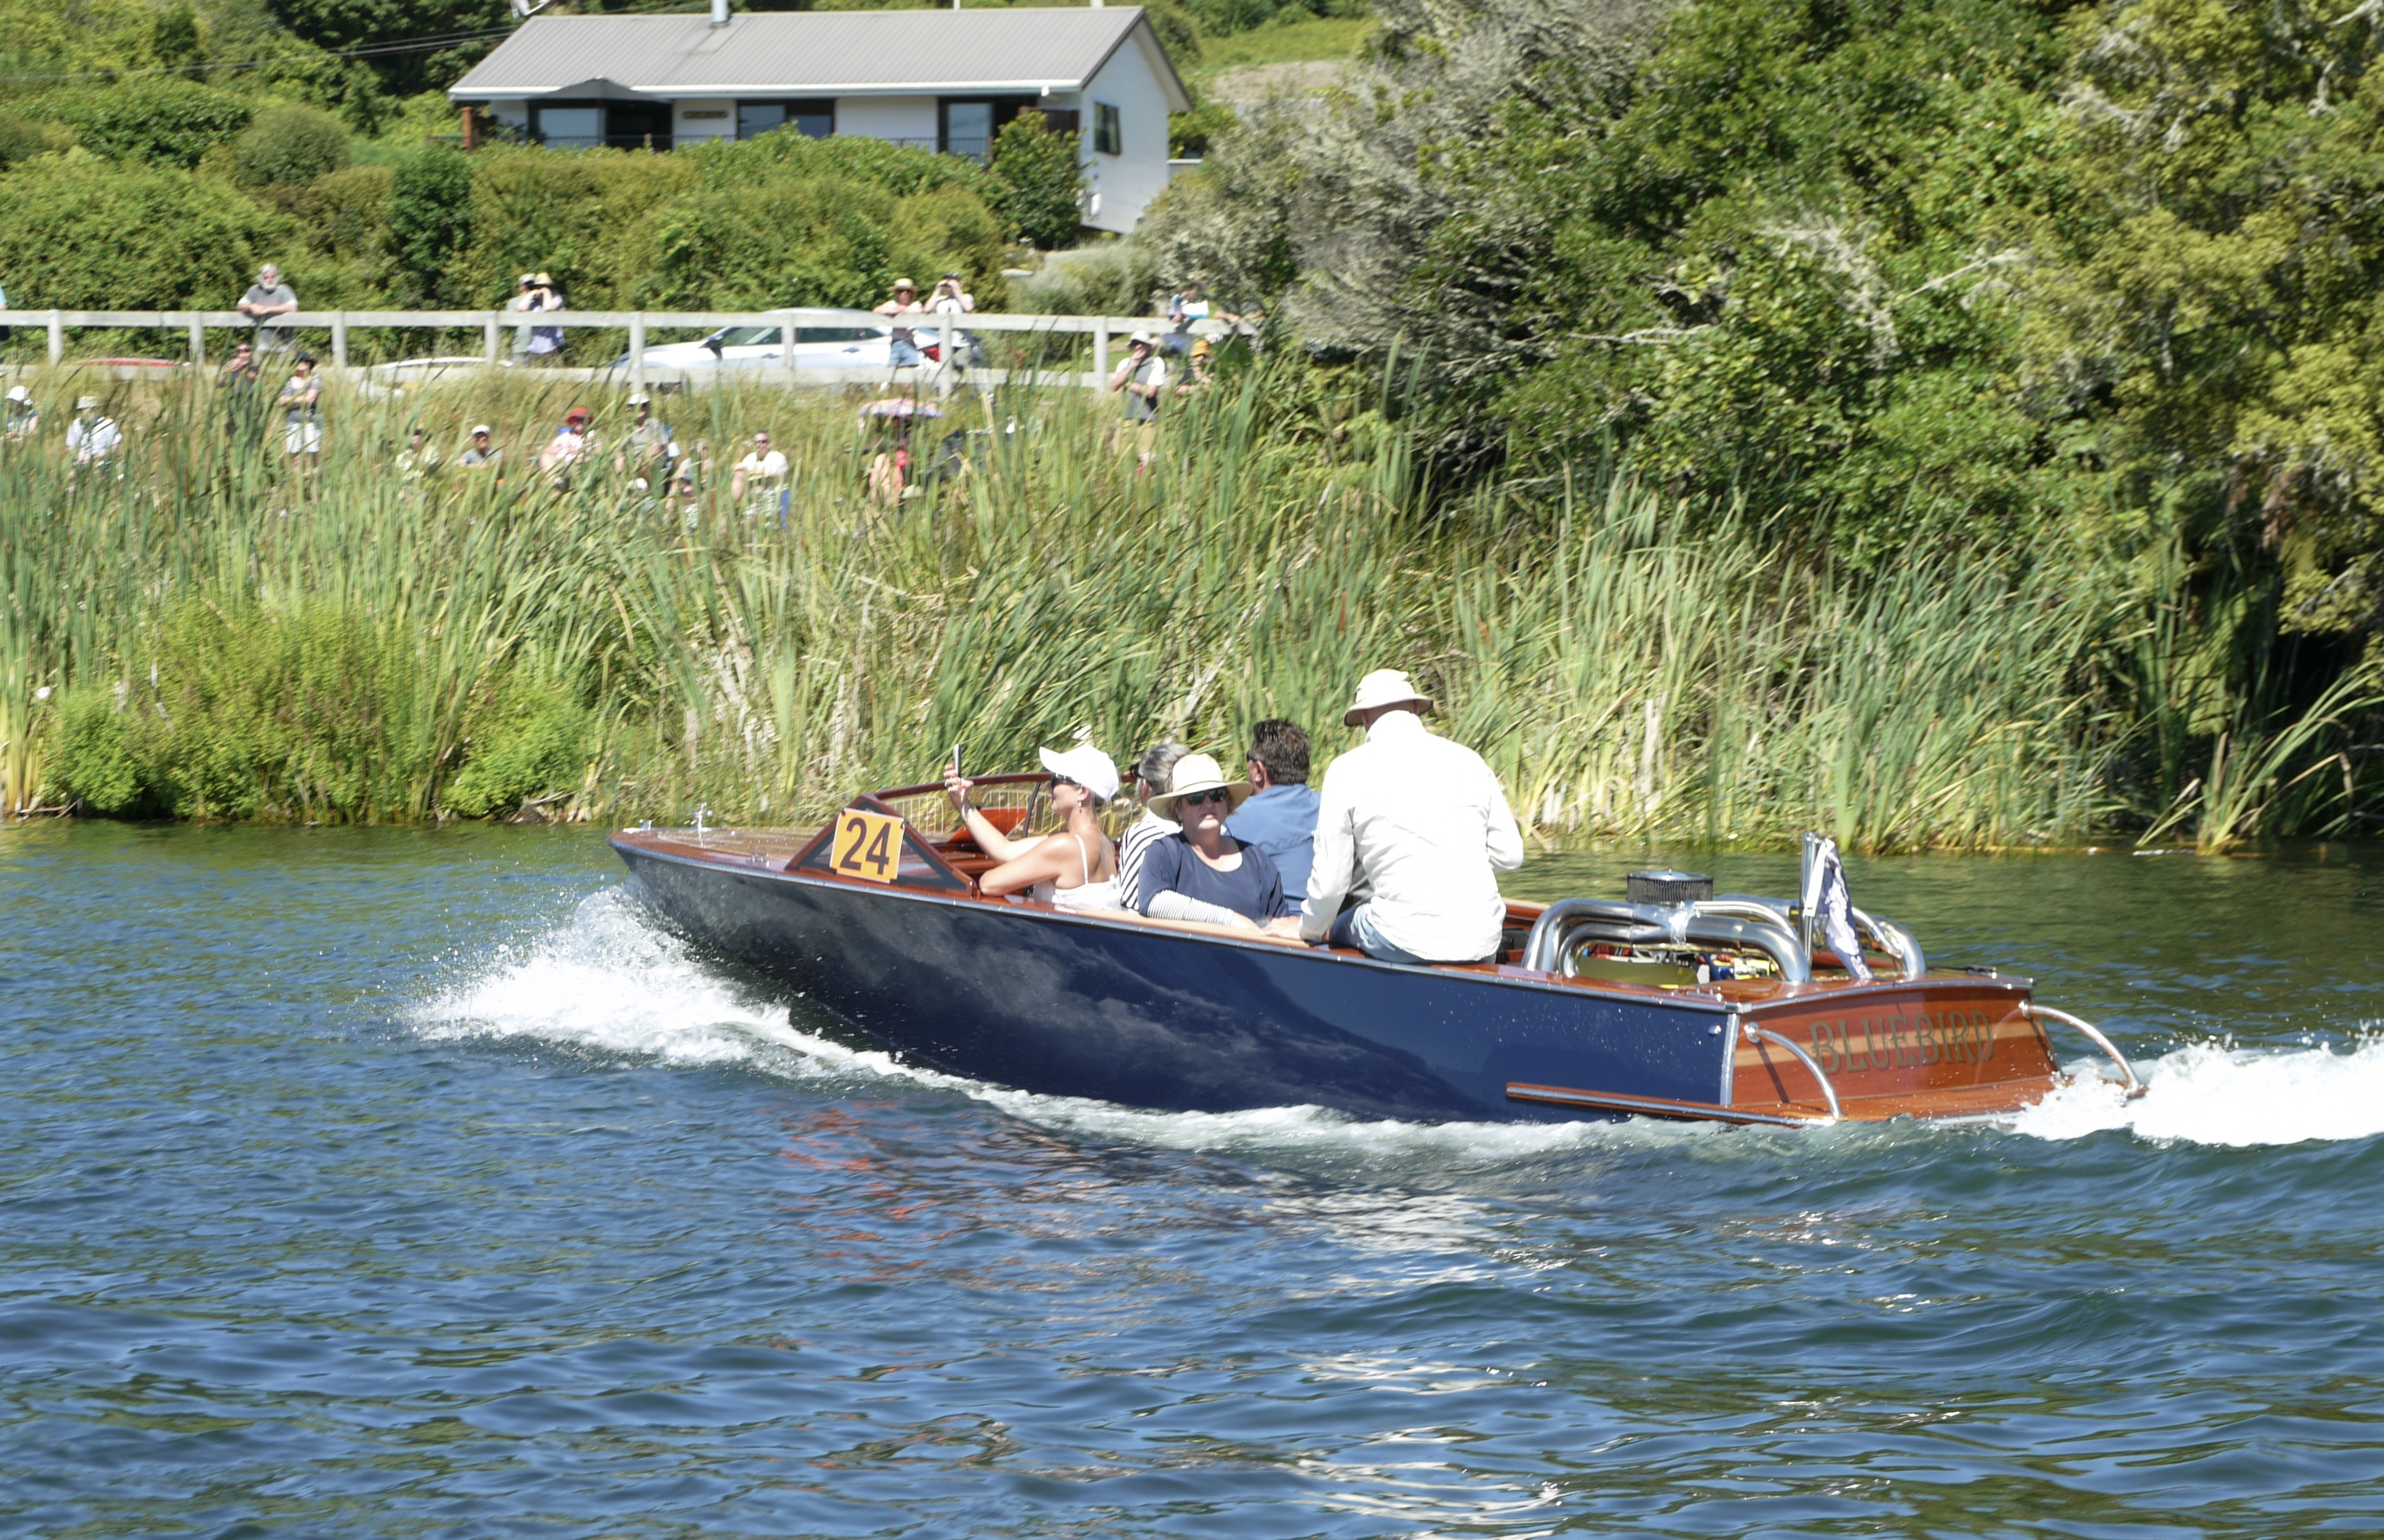
The day naturally divides into two acts: the Parade, followed by the Picnic. A few familiar regulars were absent this year, but they were more than ably replaced by some truly stunning “new” additions to the fleet, making for an impressive and varied lineup on the water.
Sit back, enjoy the gallery, and soak up a little Lake Rotoiti magic. As always click photos to enlarge.
Special thanks to David & Glenys Wilson for the generous loan of a boat for the day 🙂
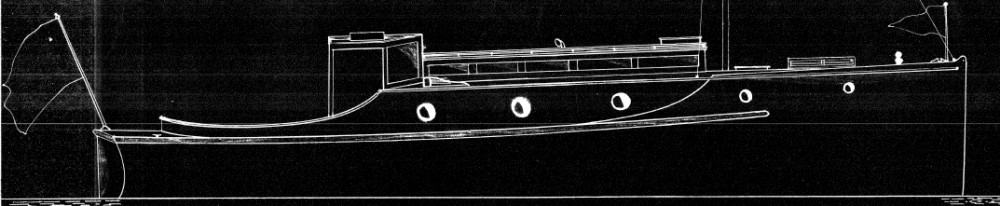
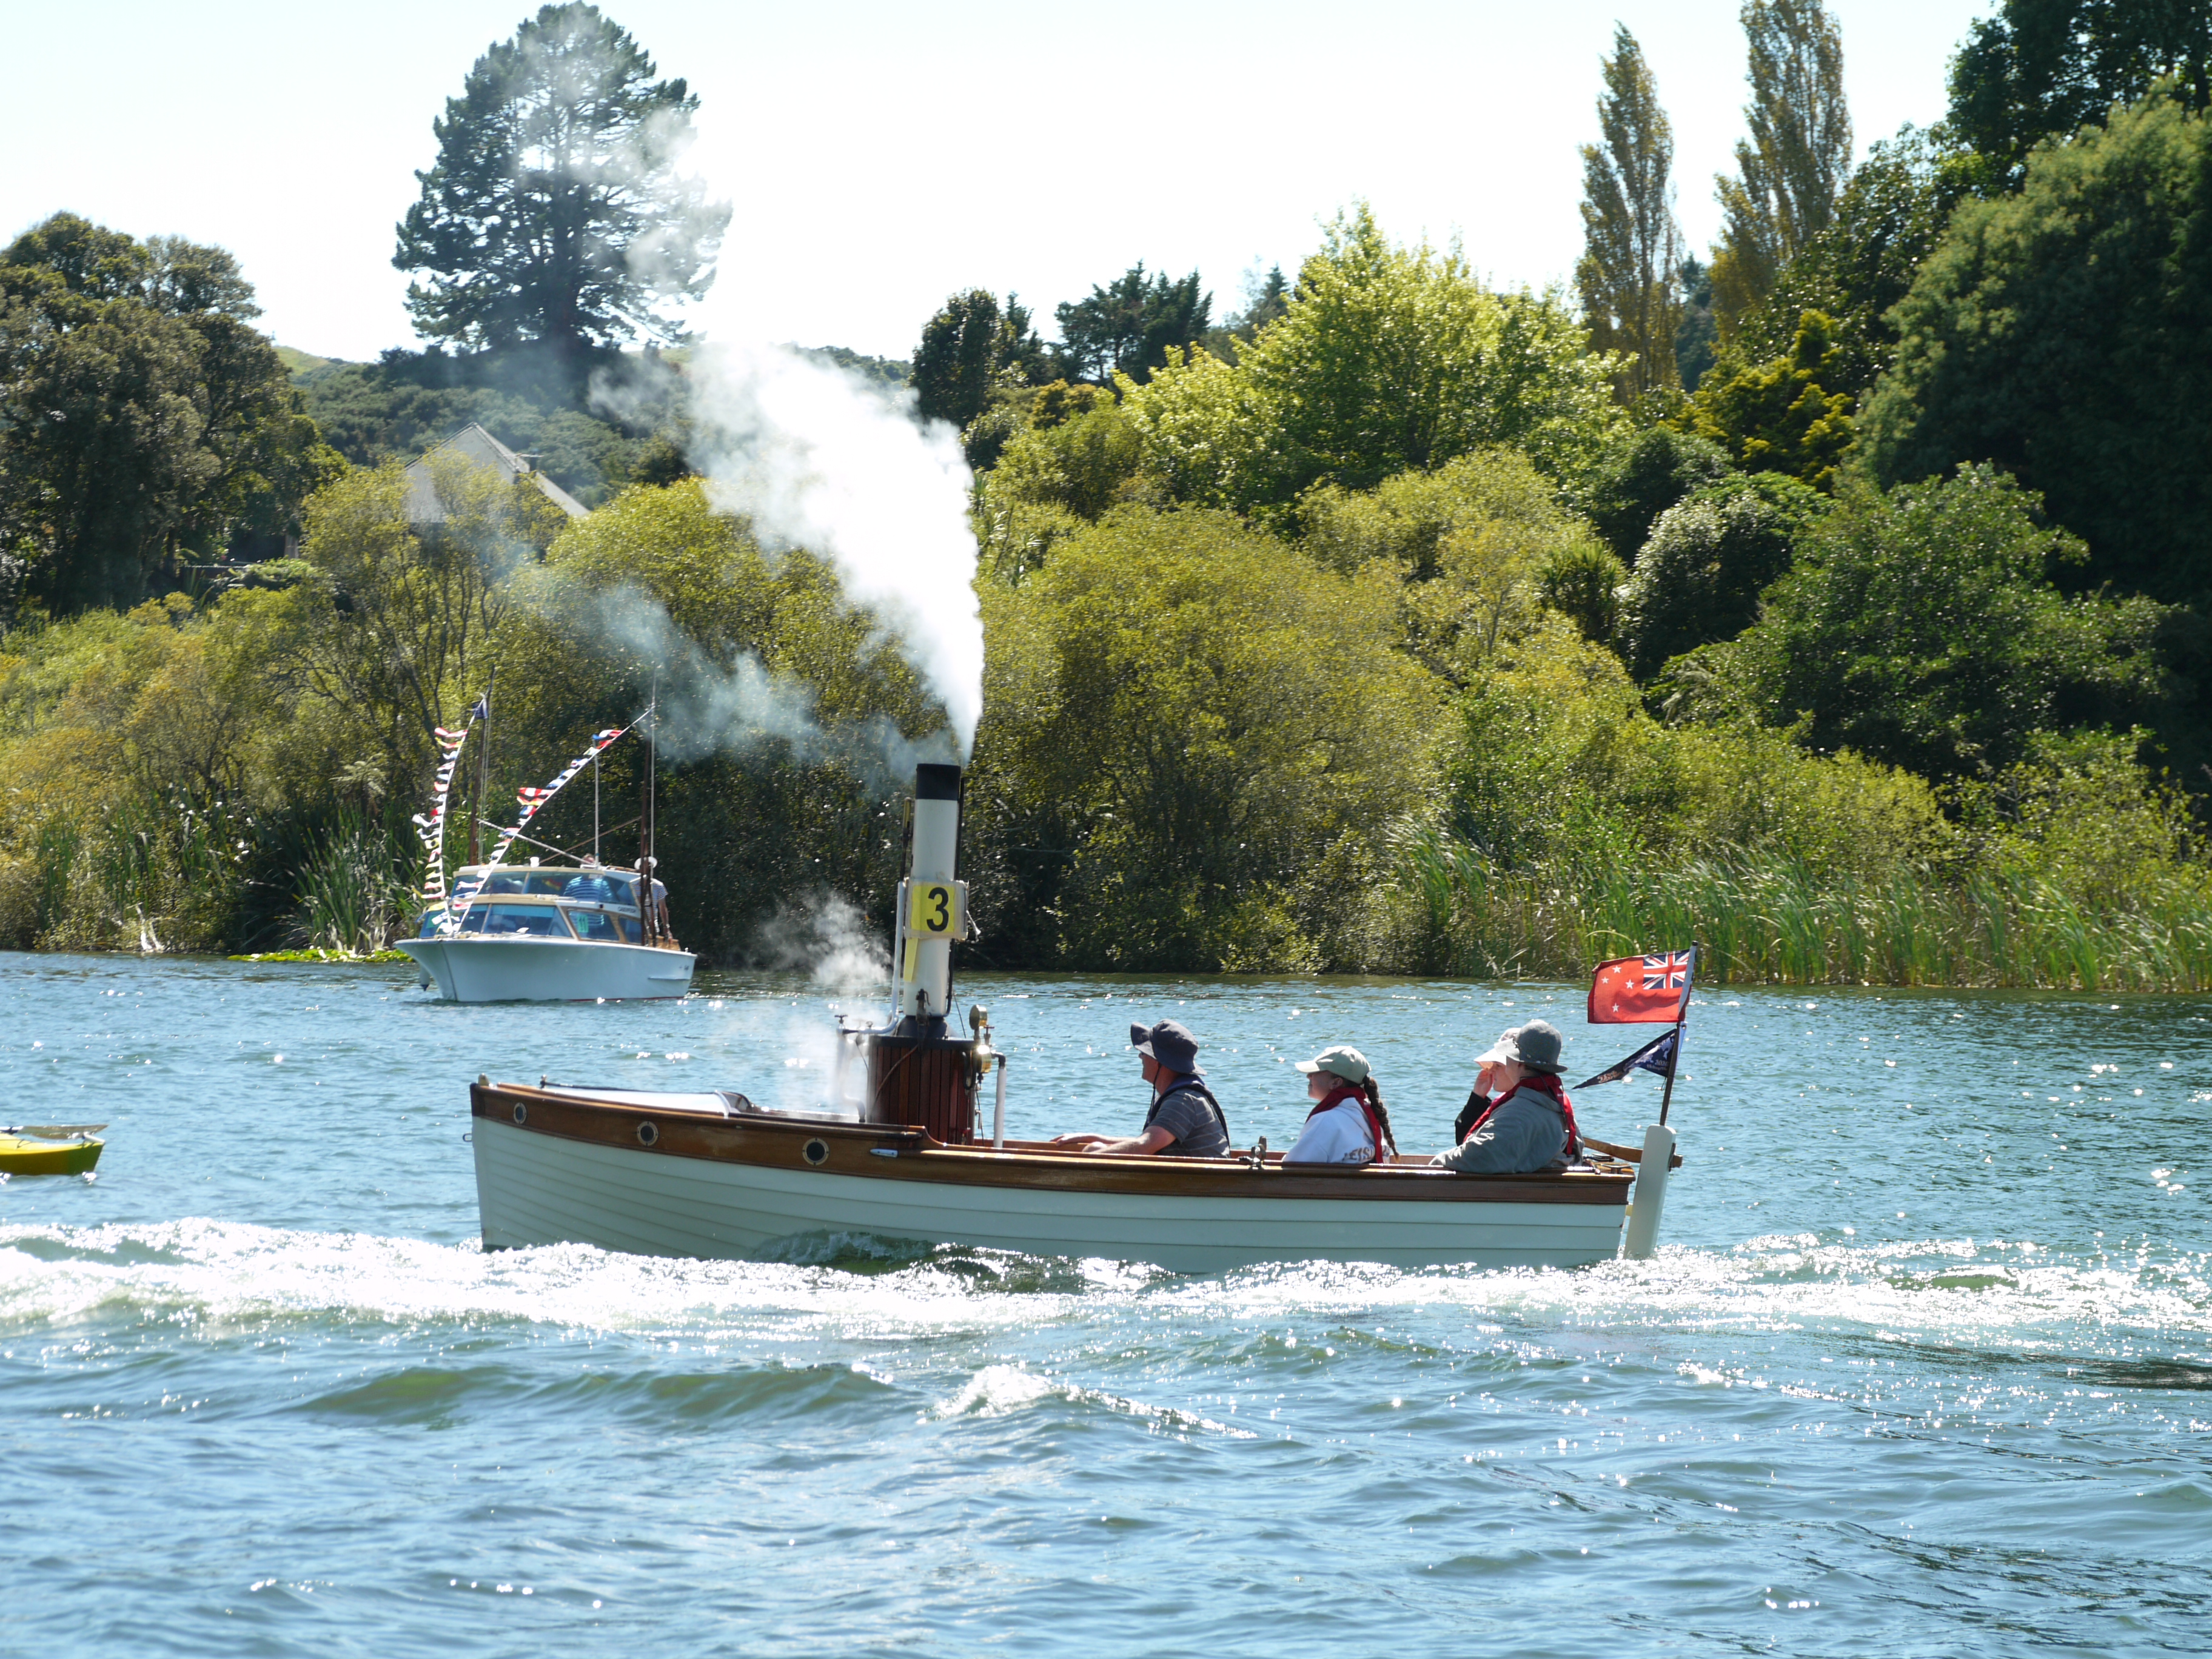
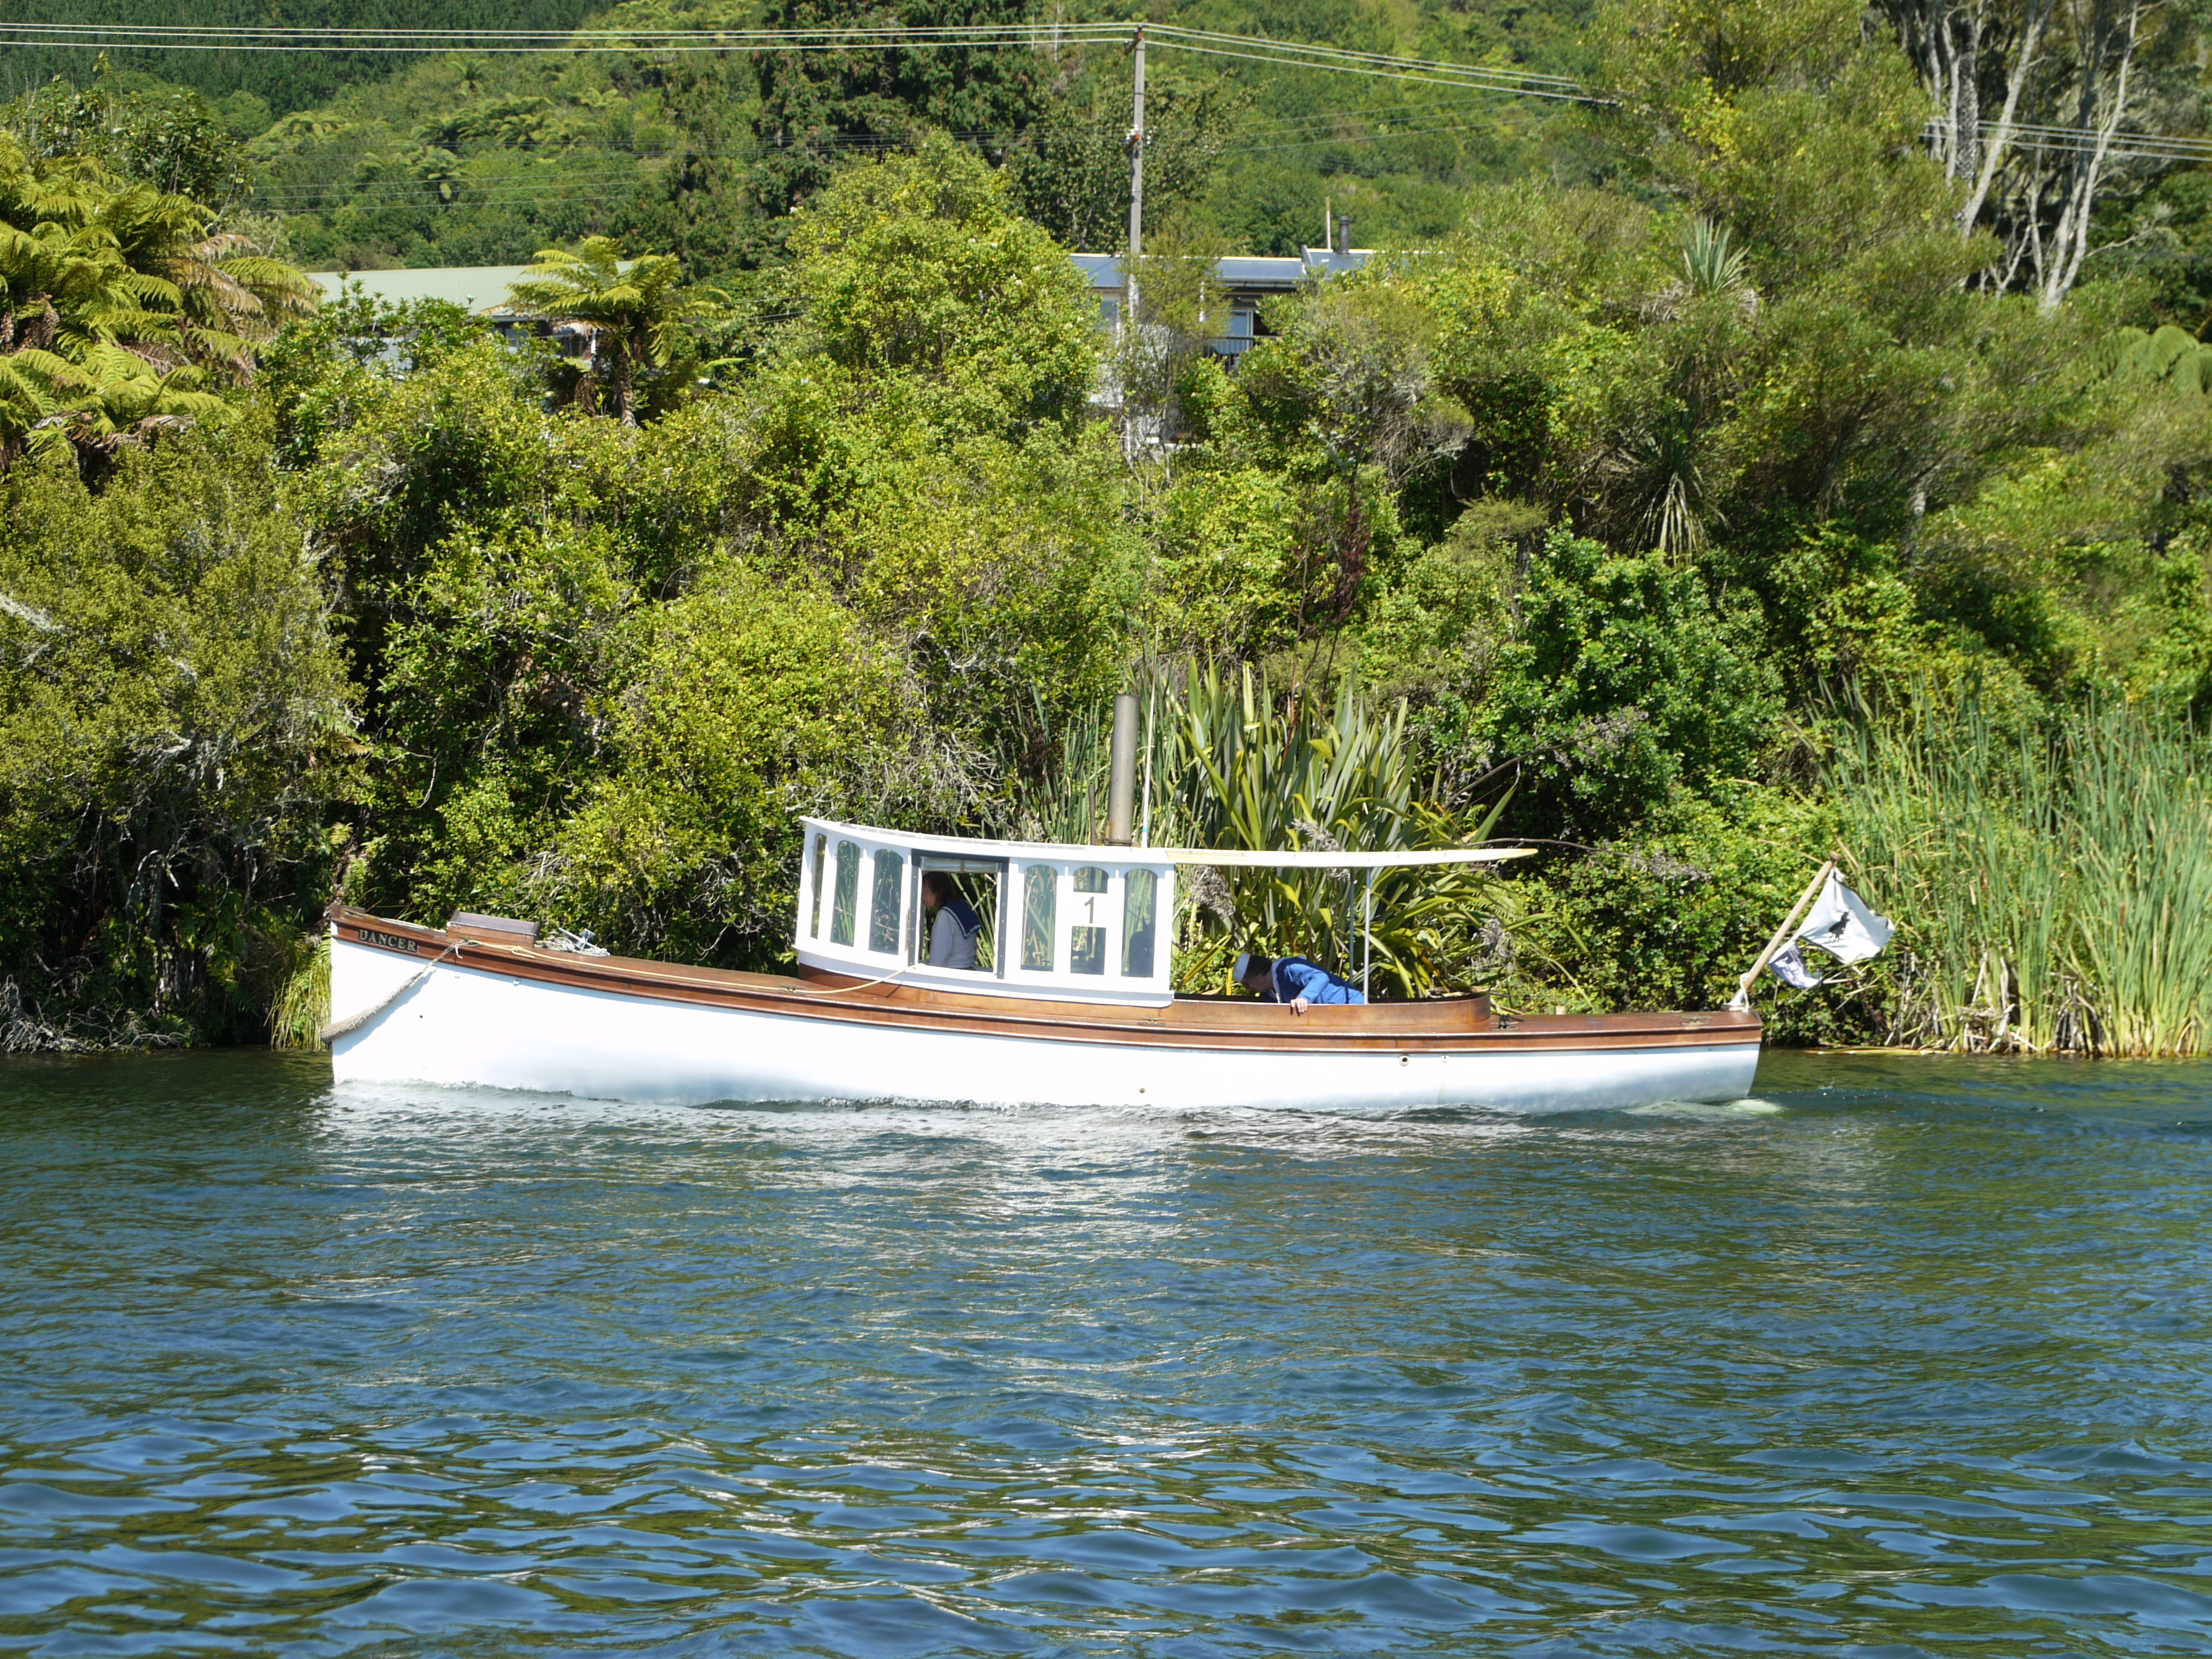
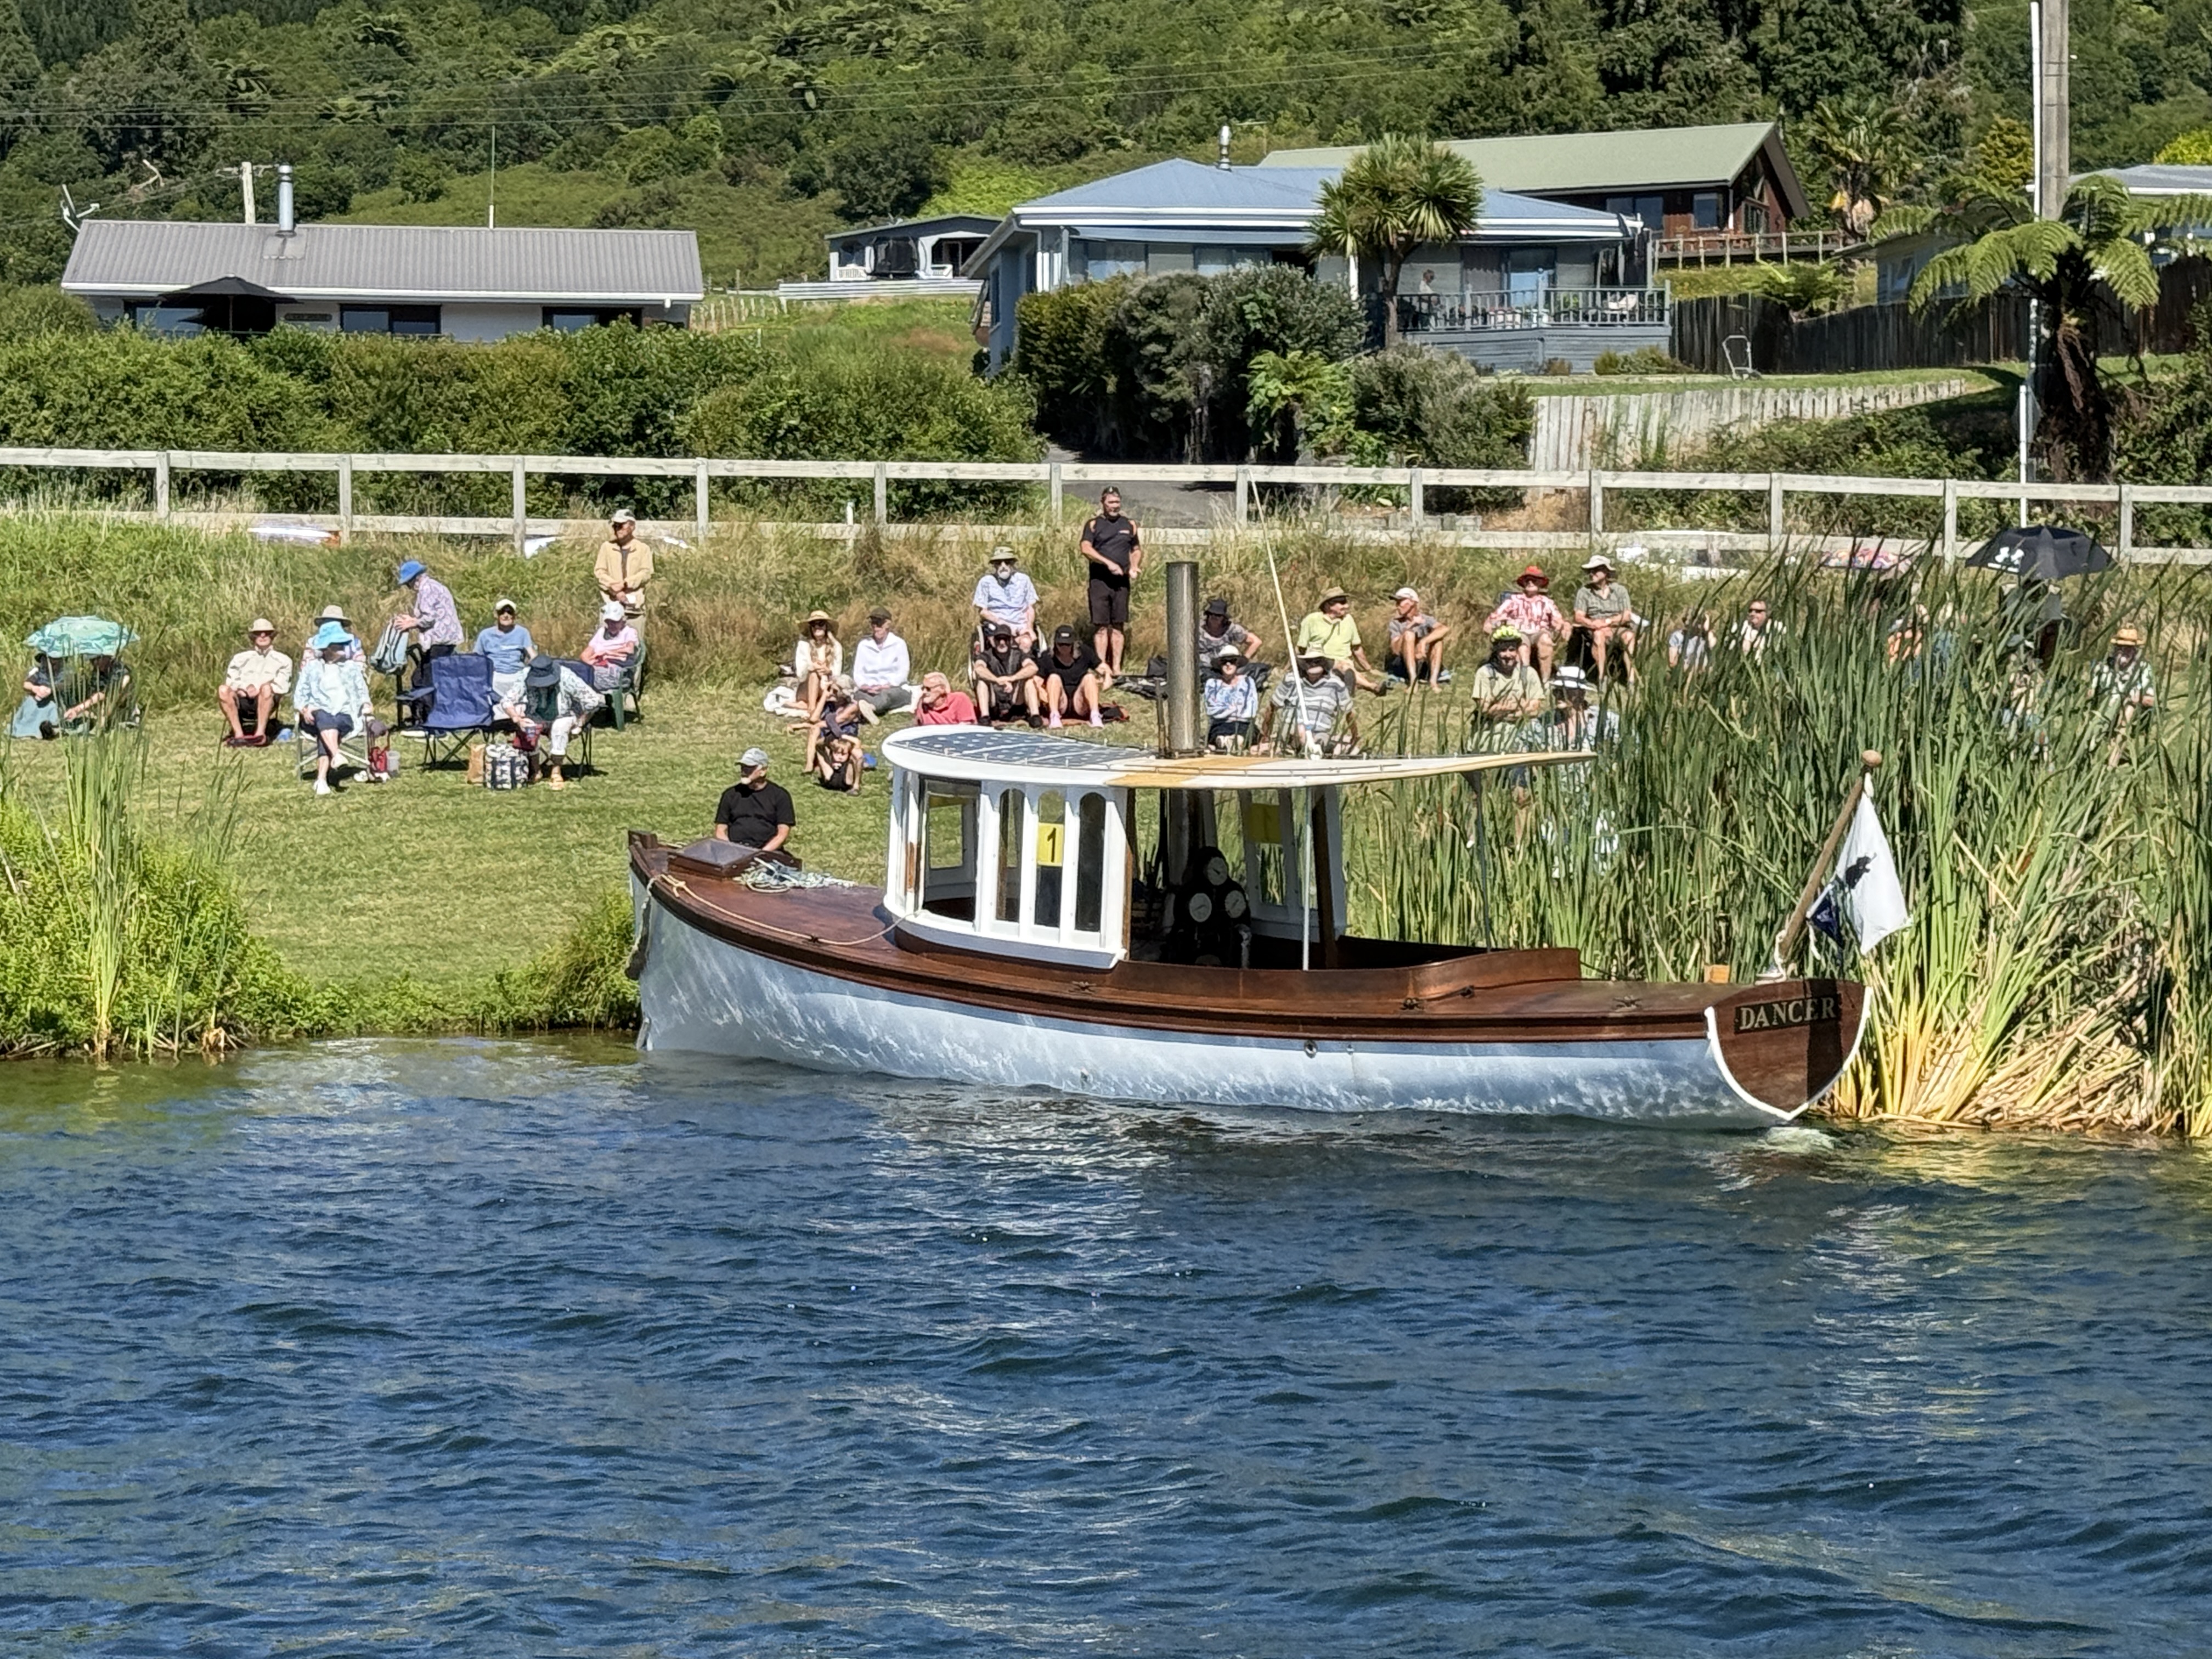
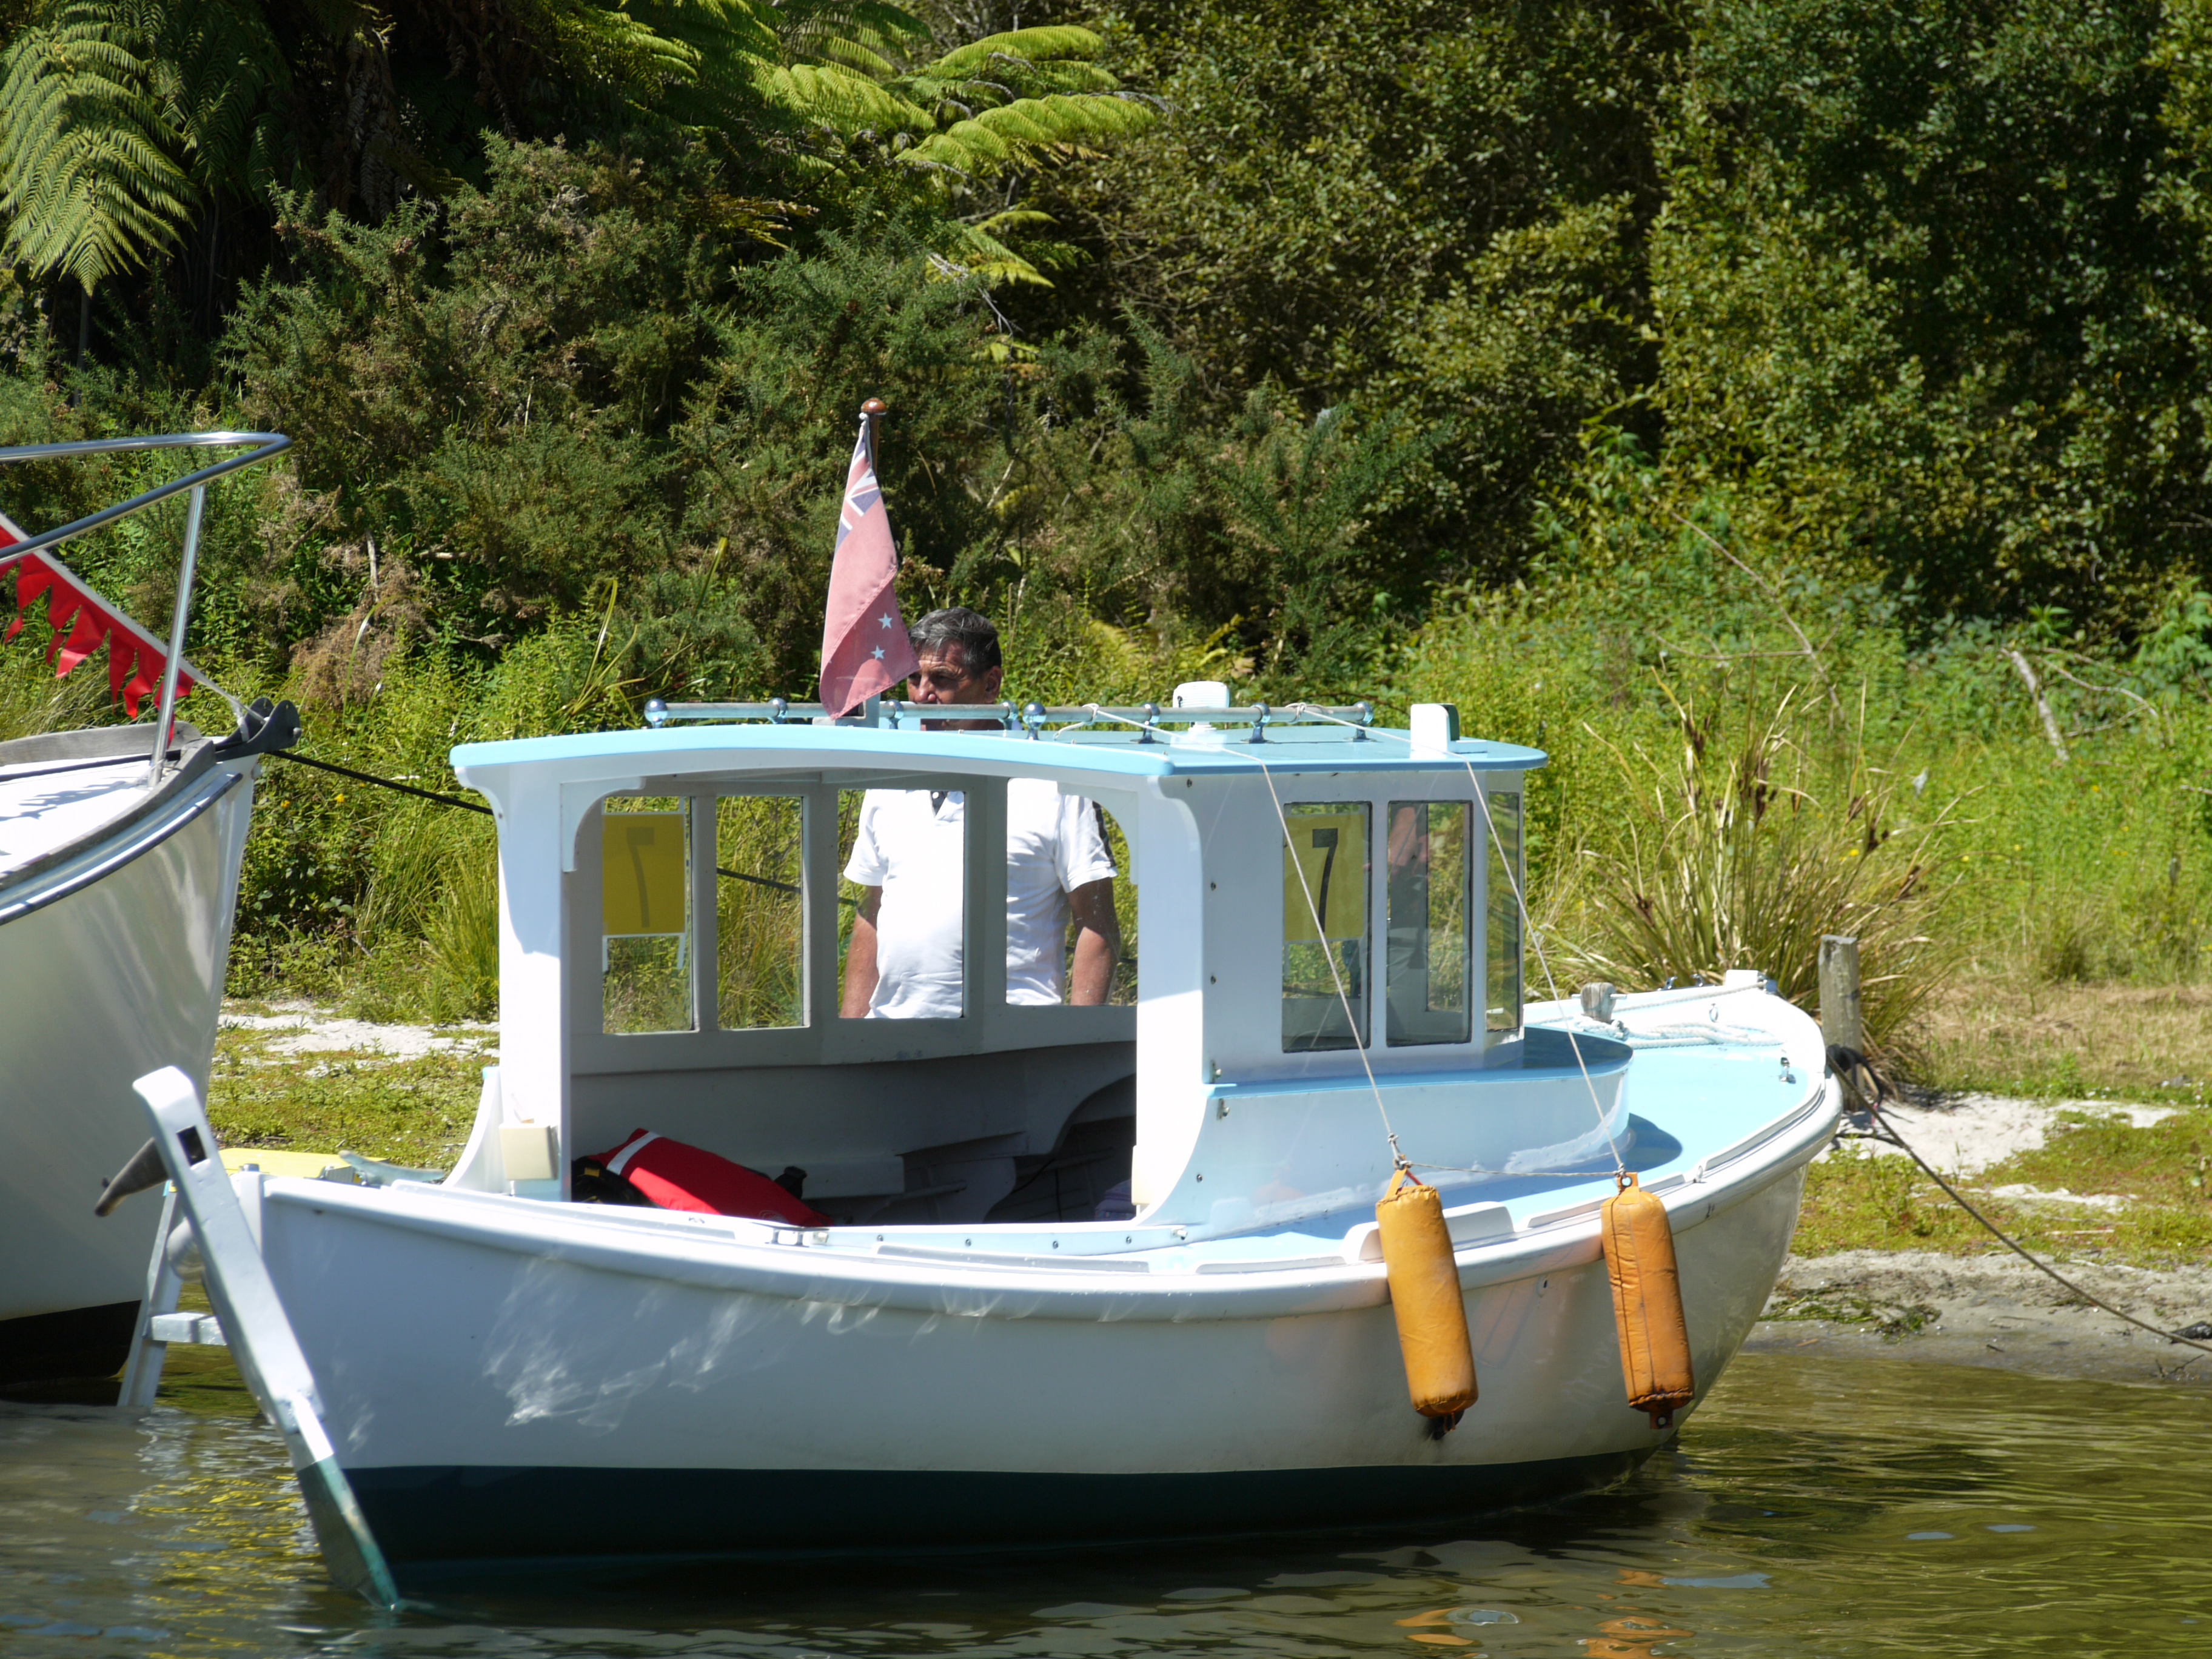
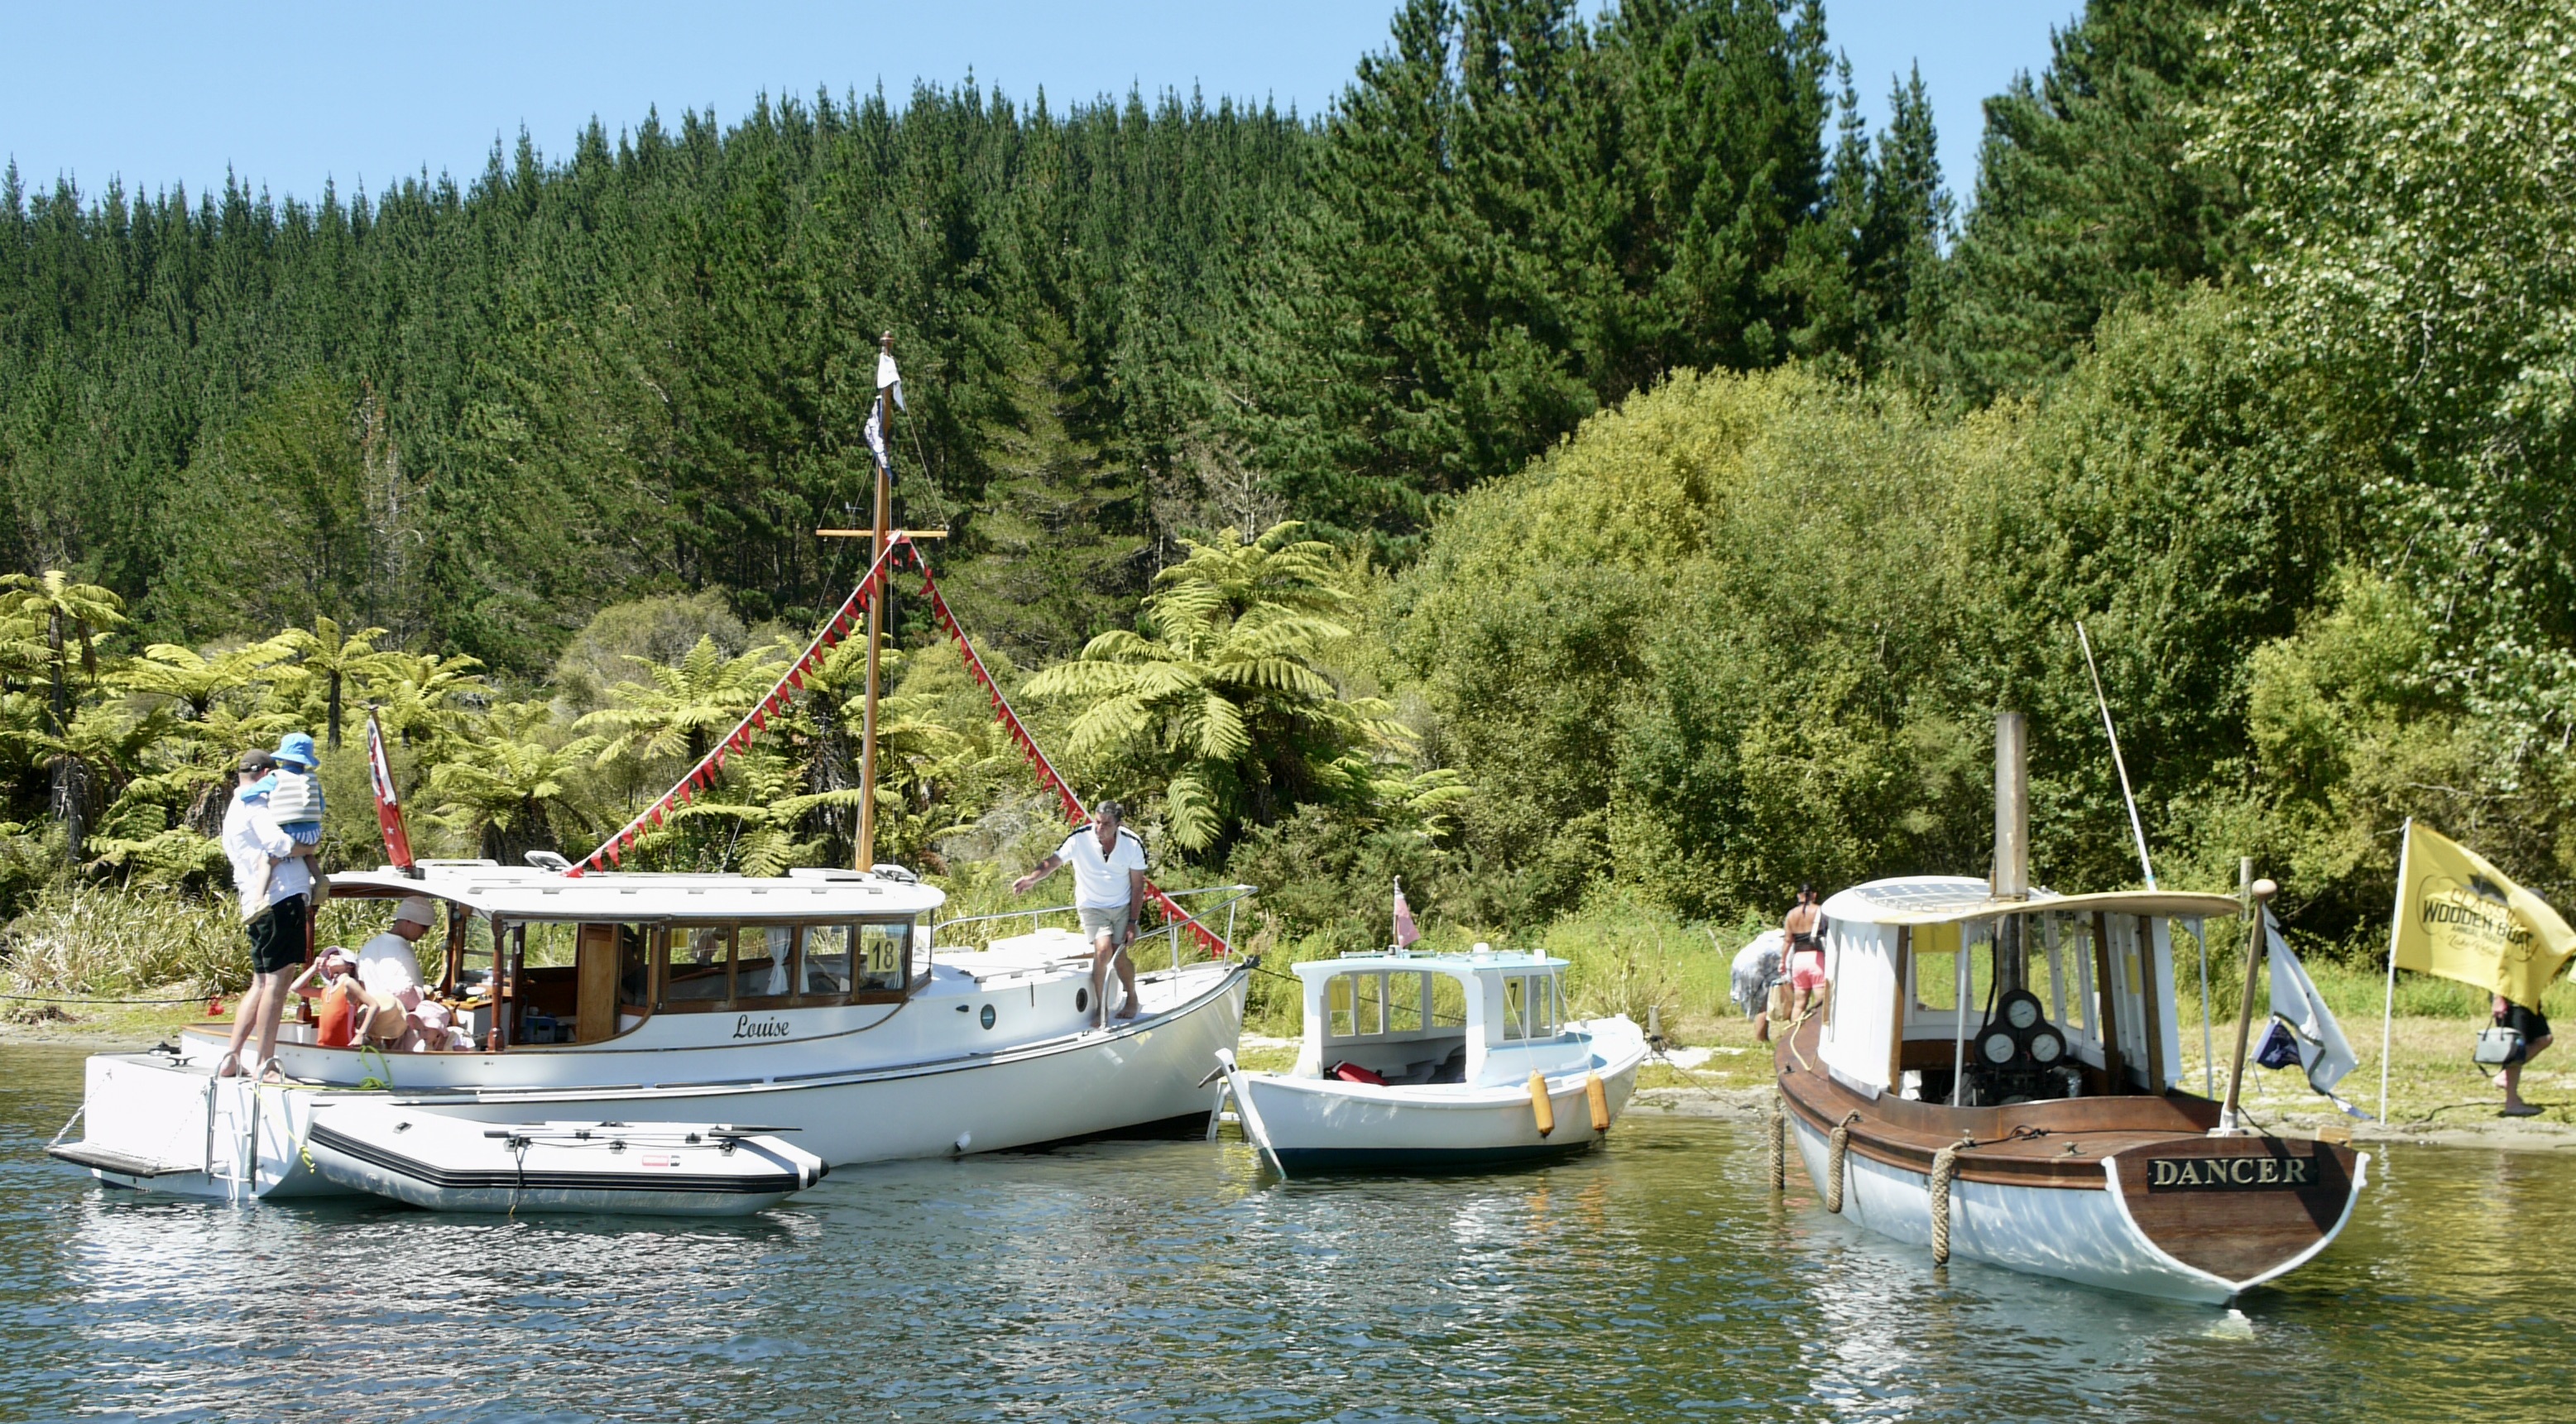
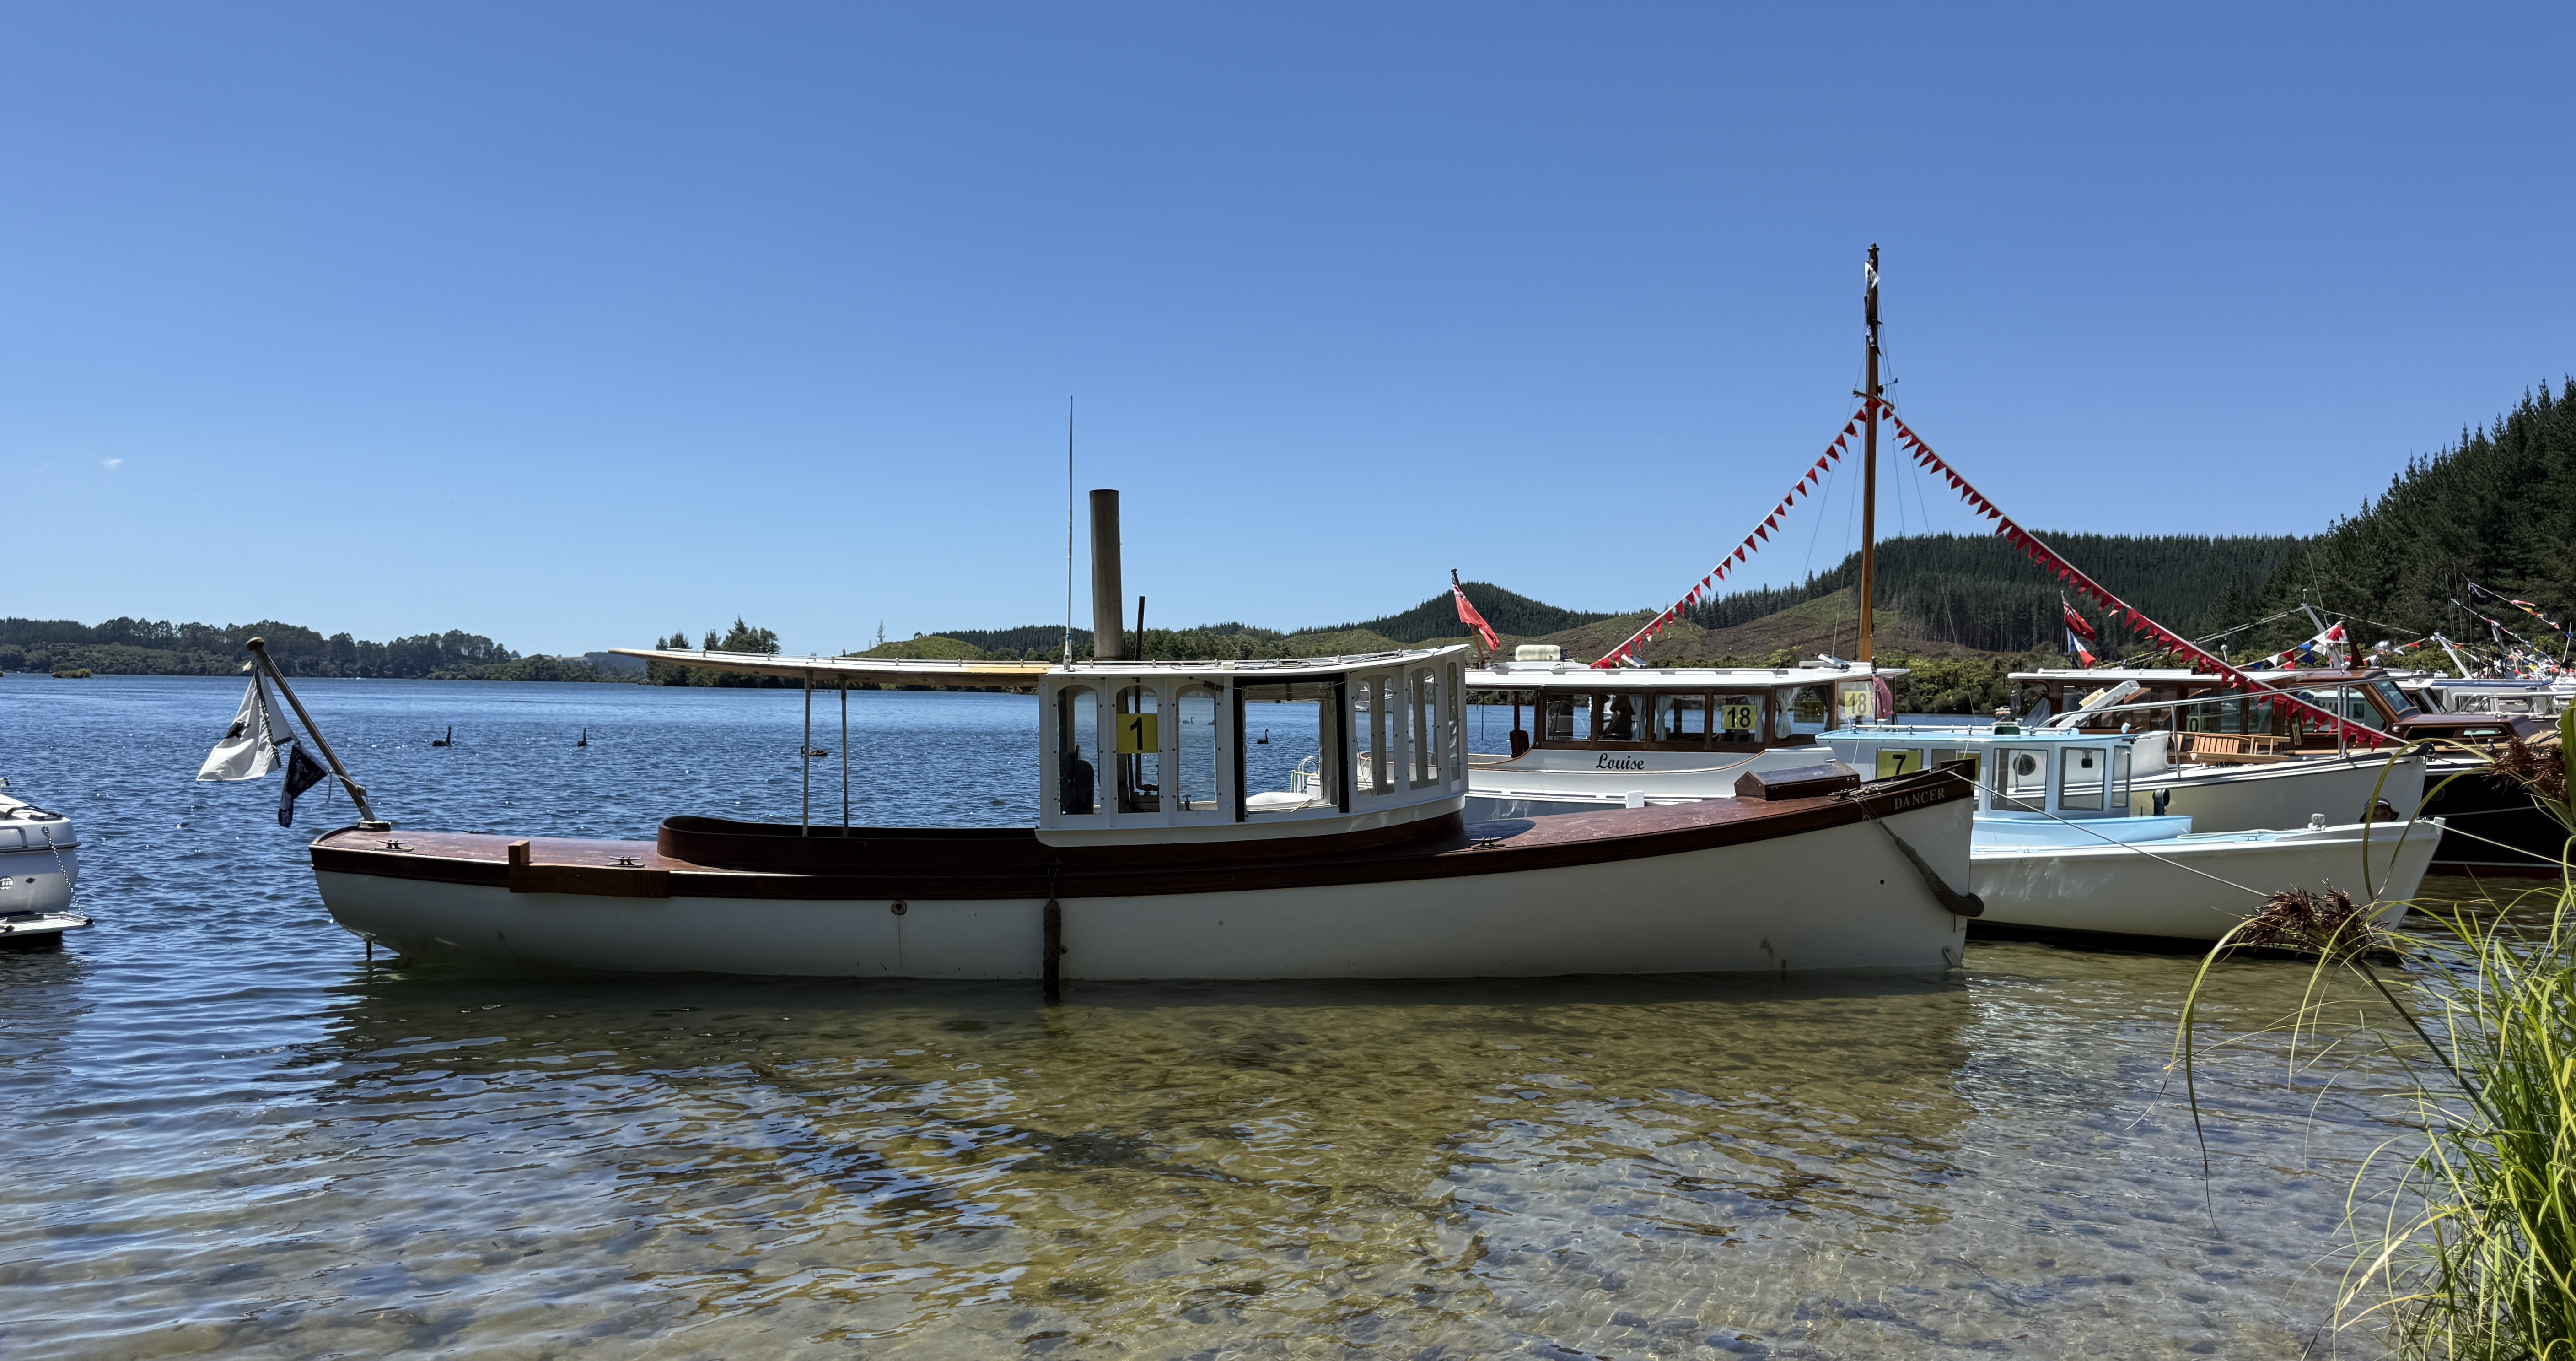
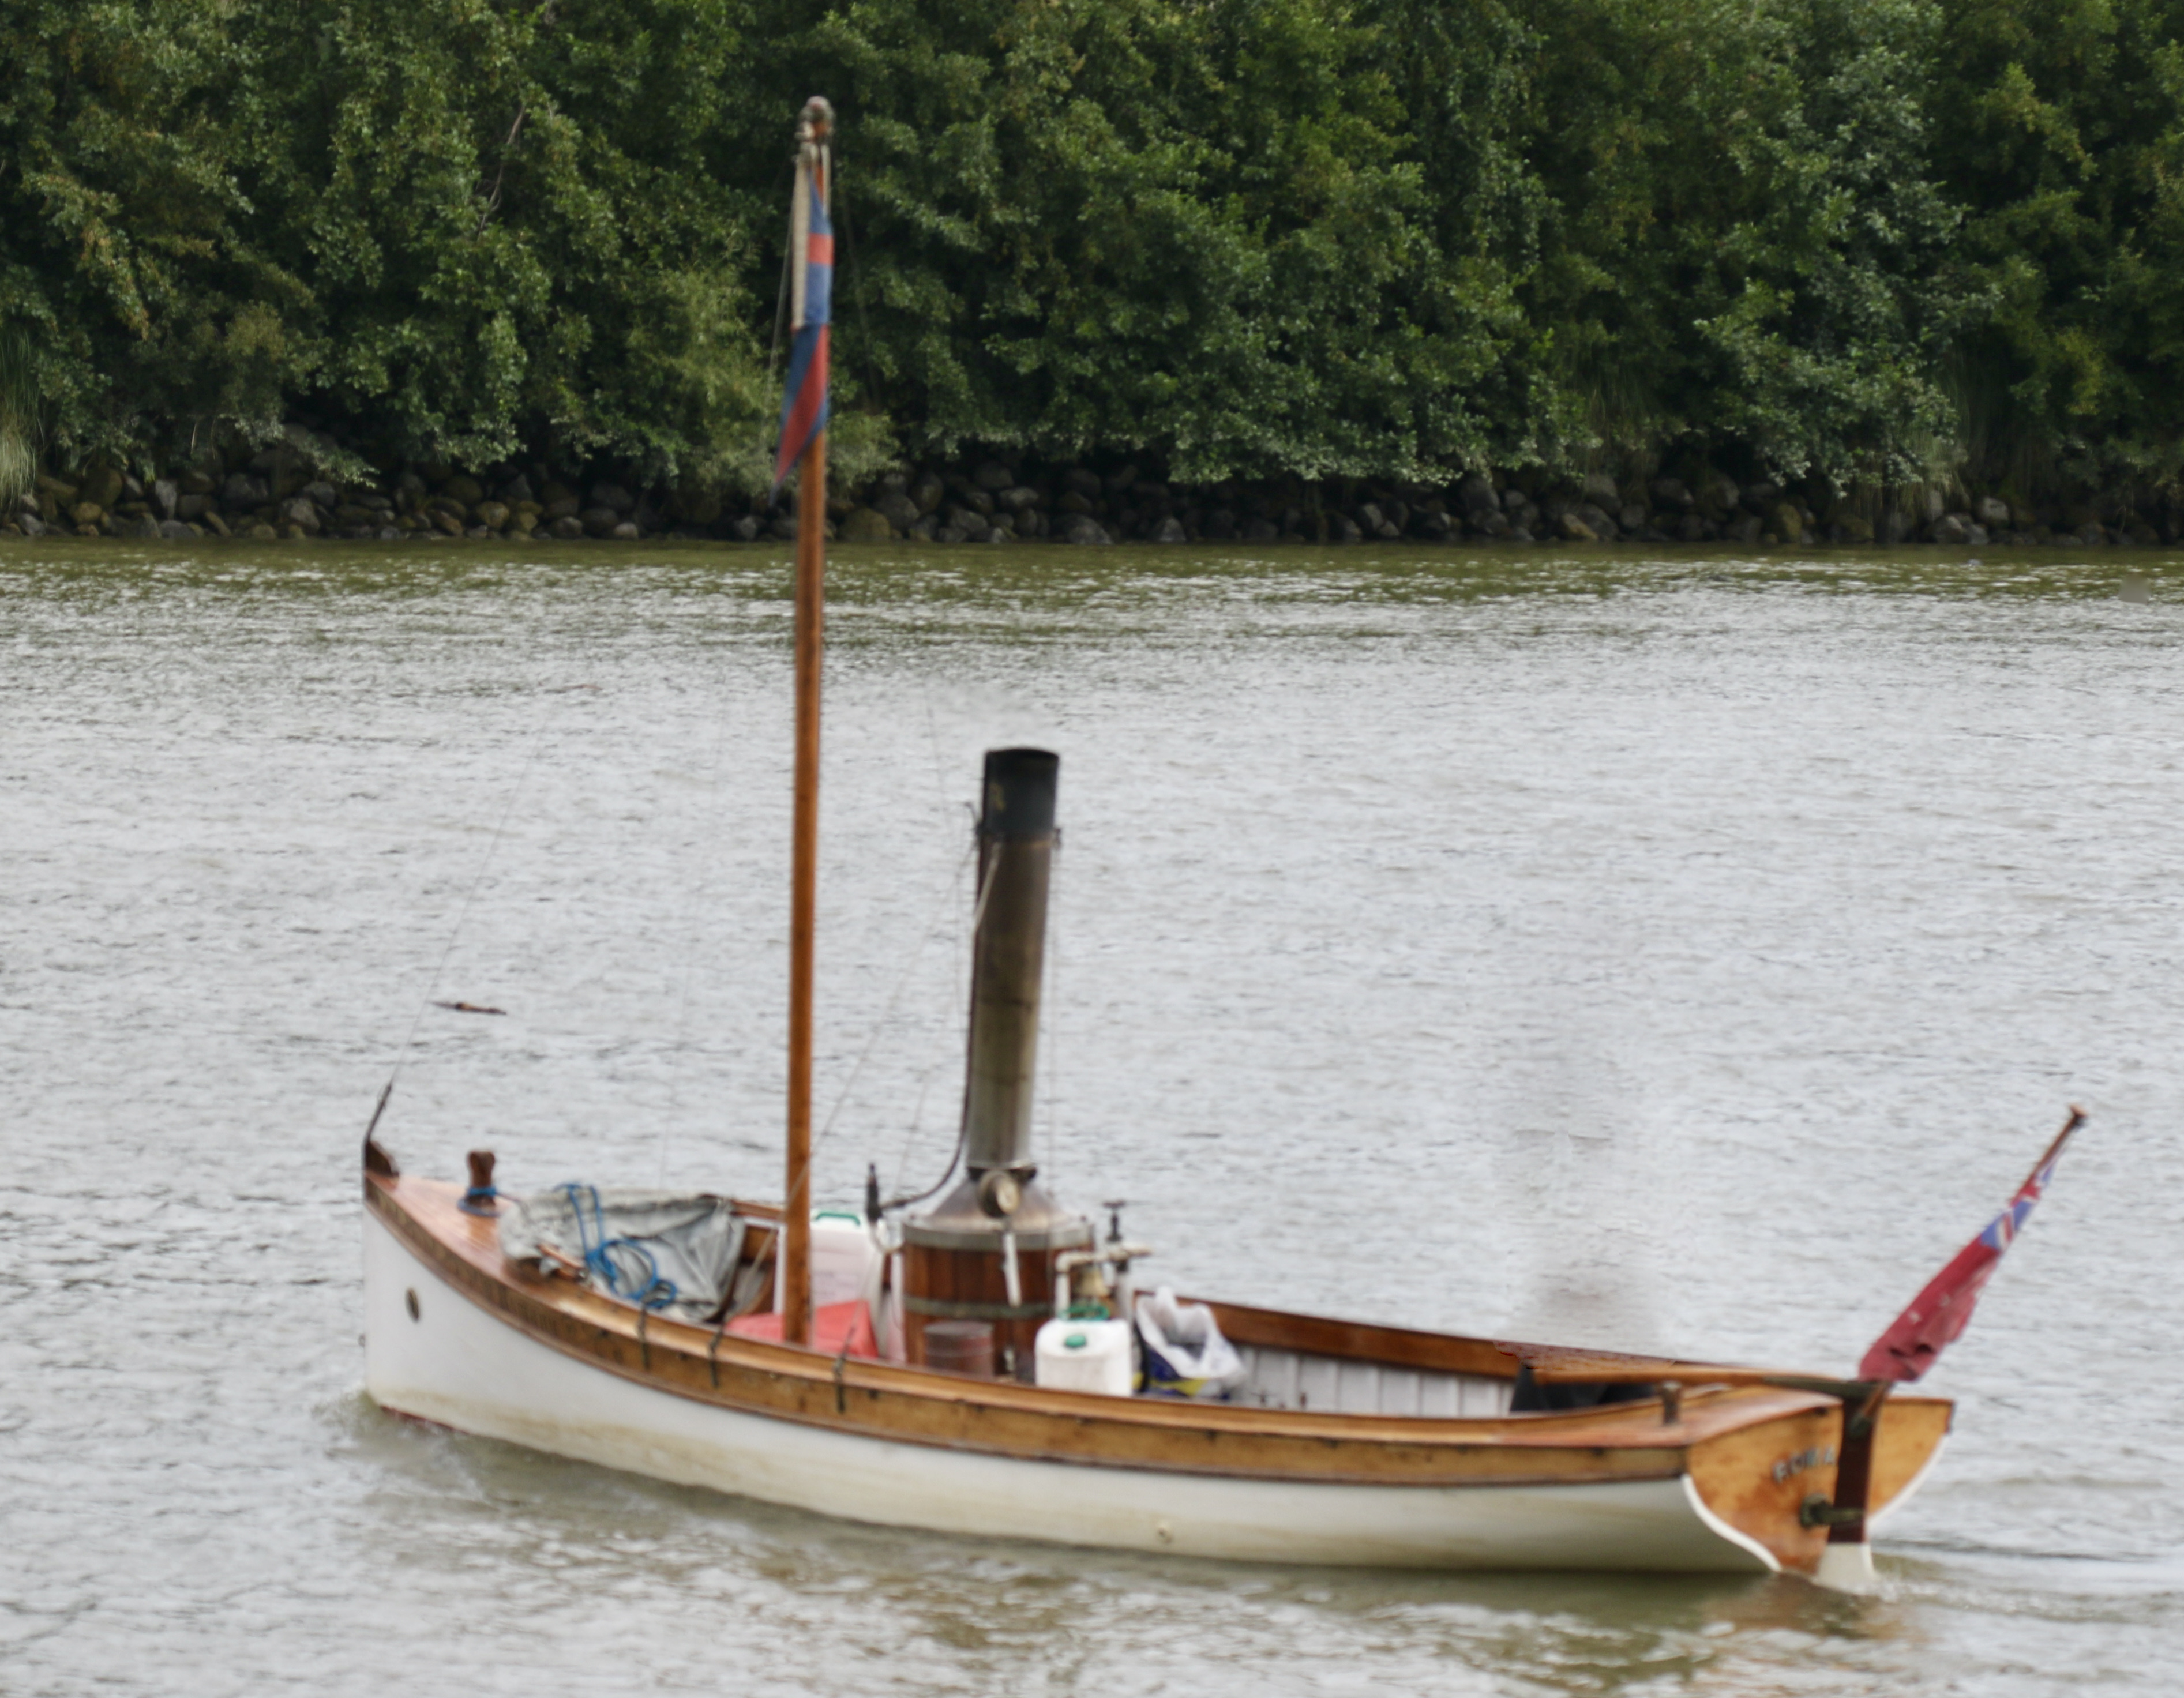
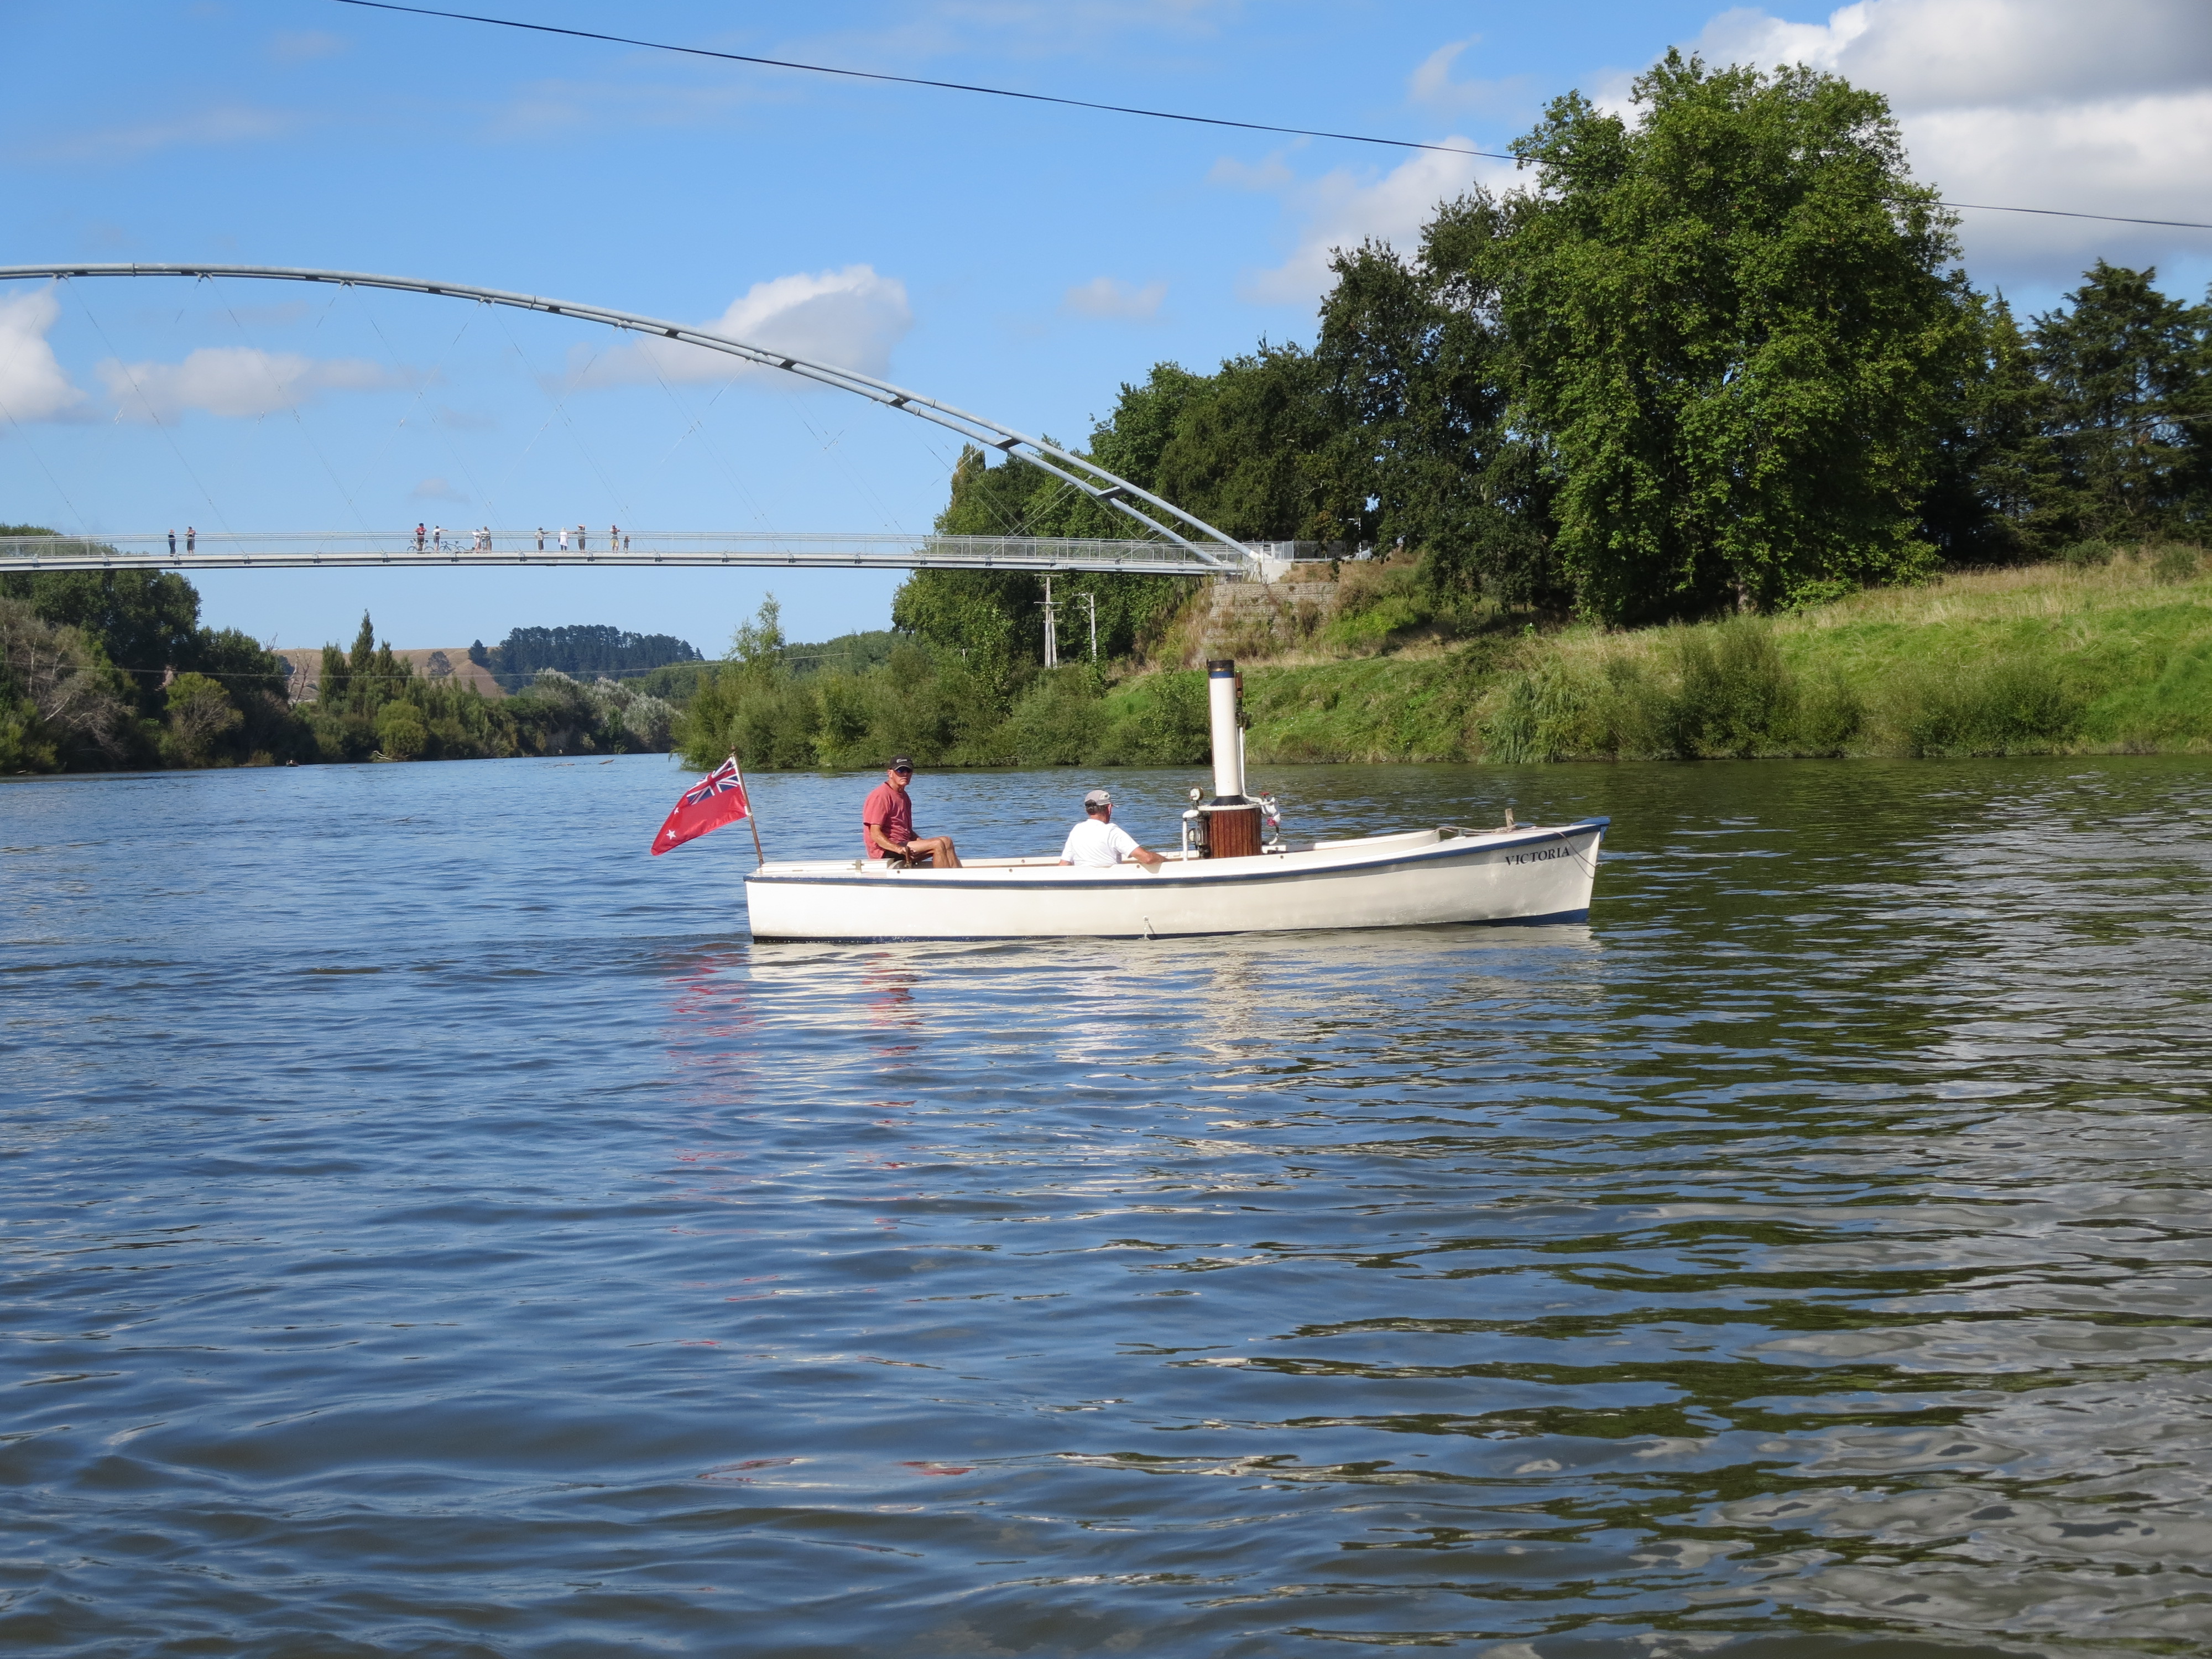
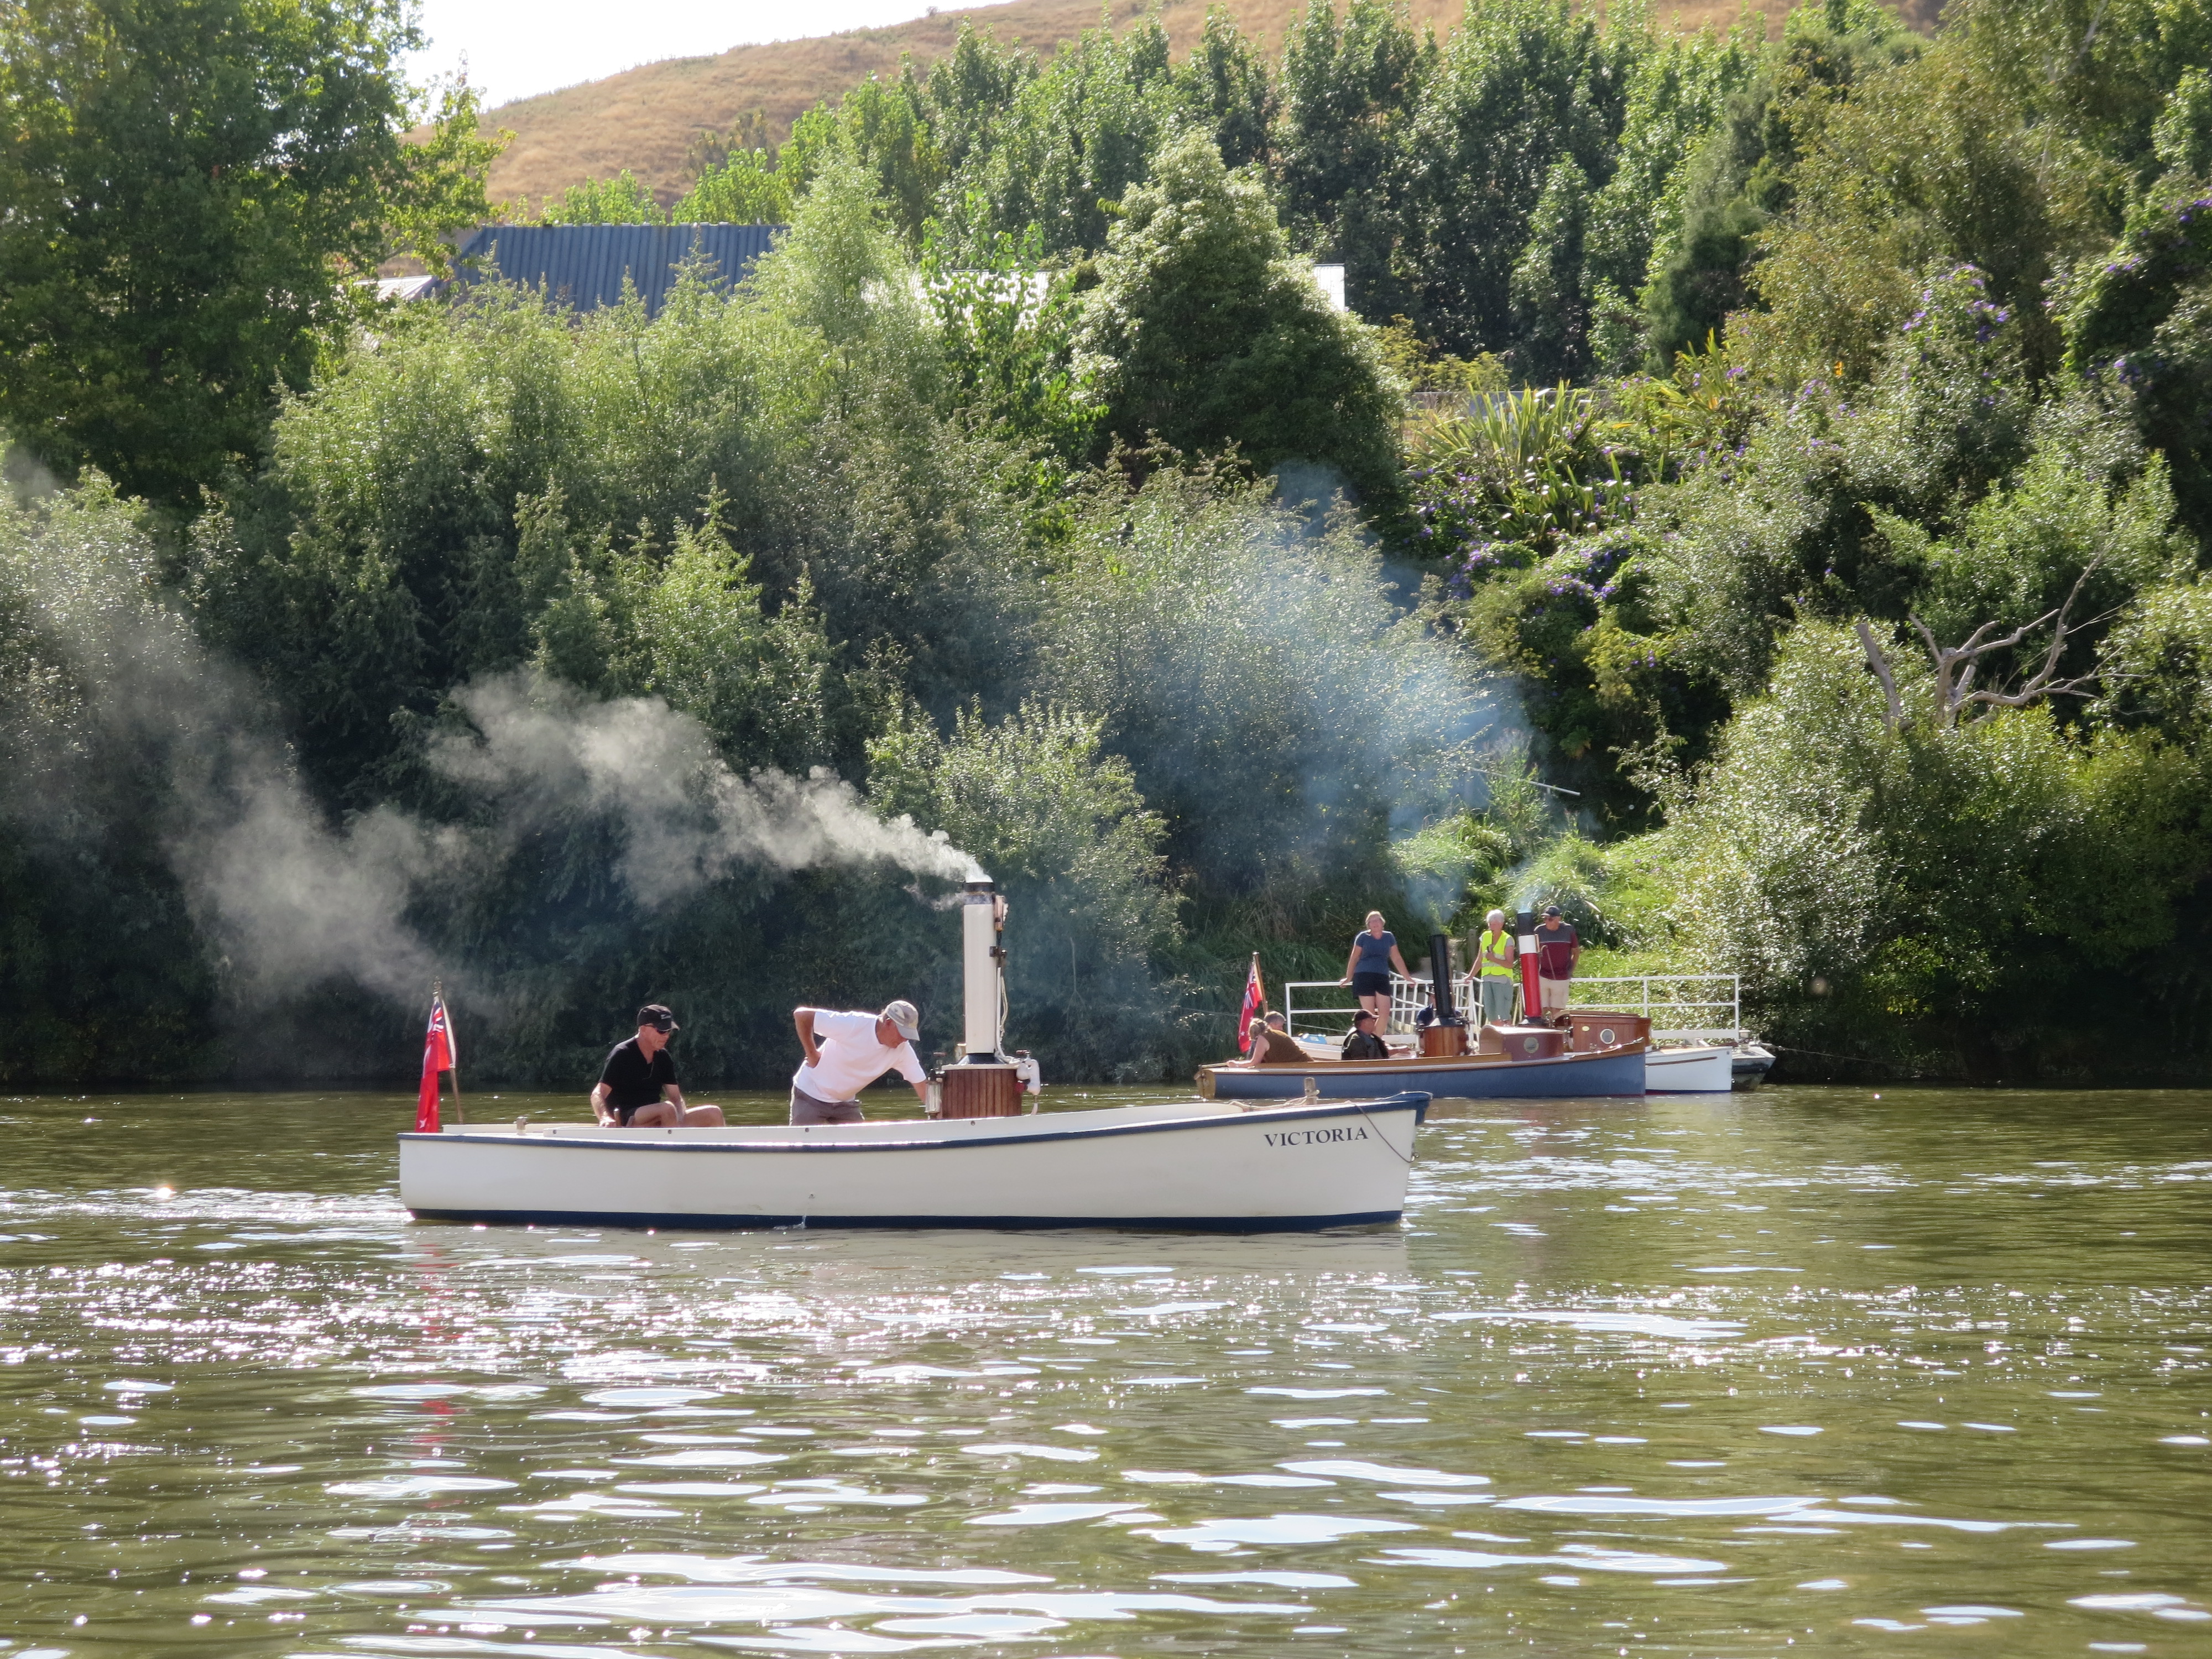
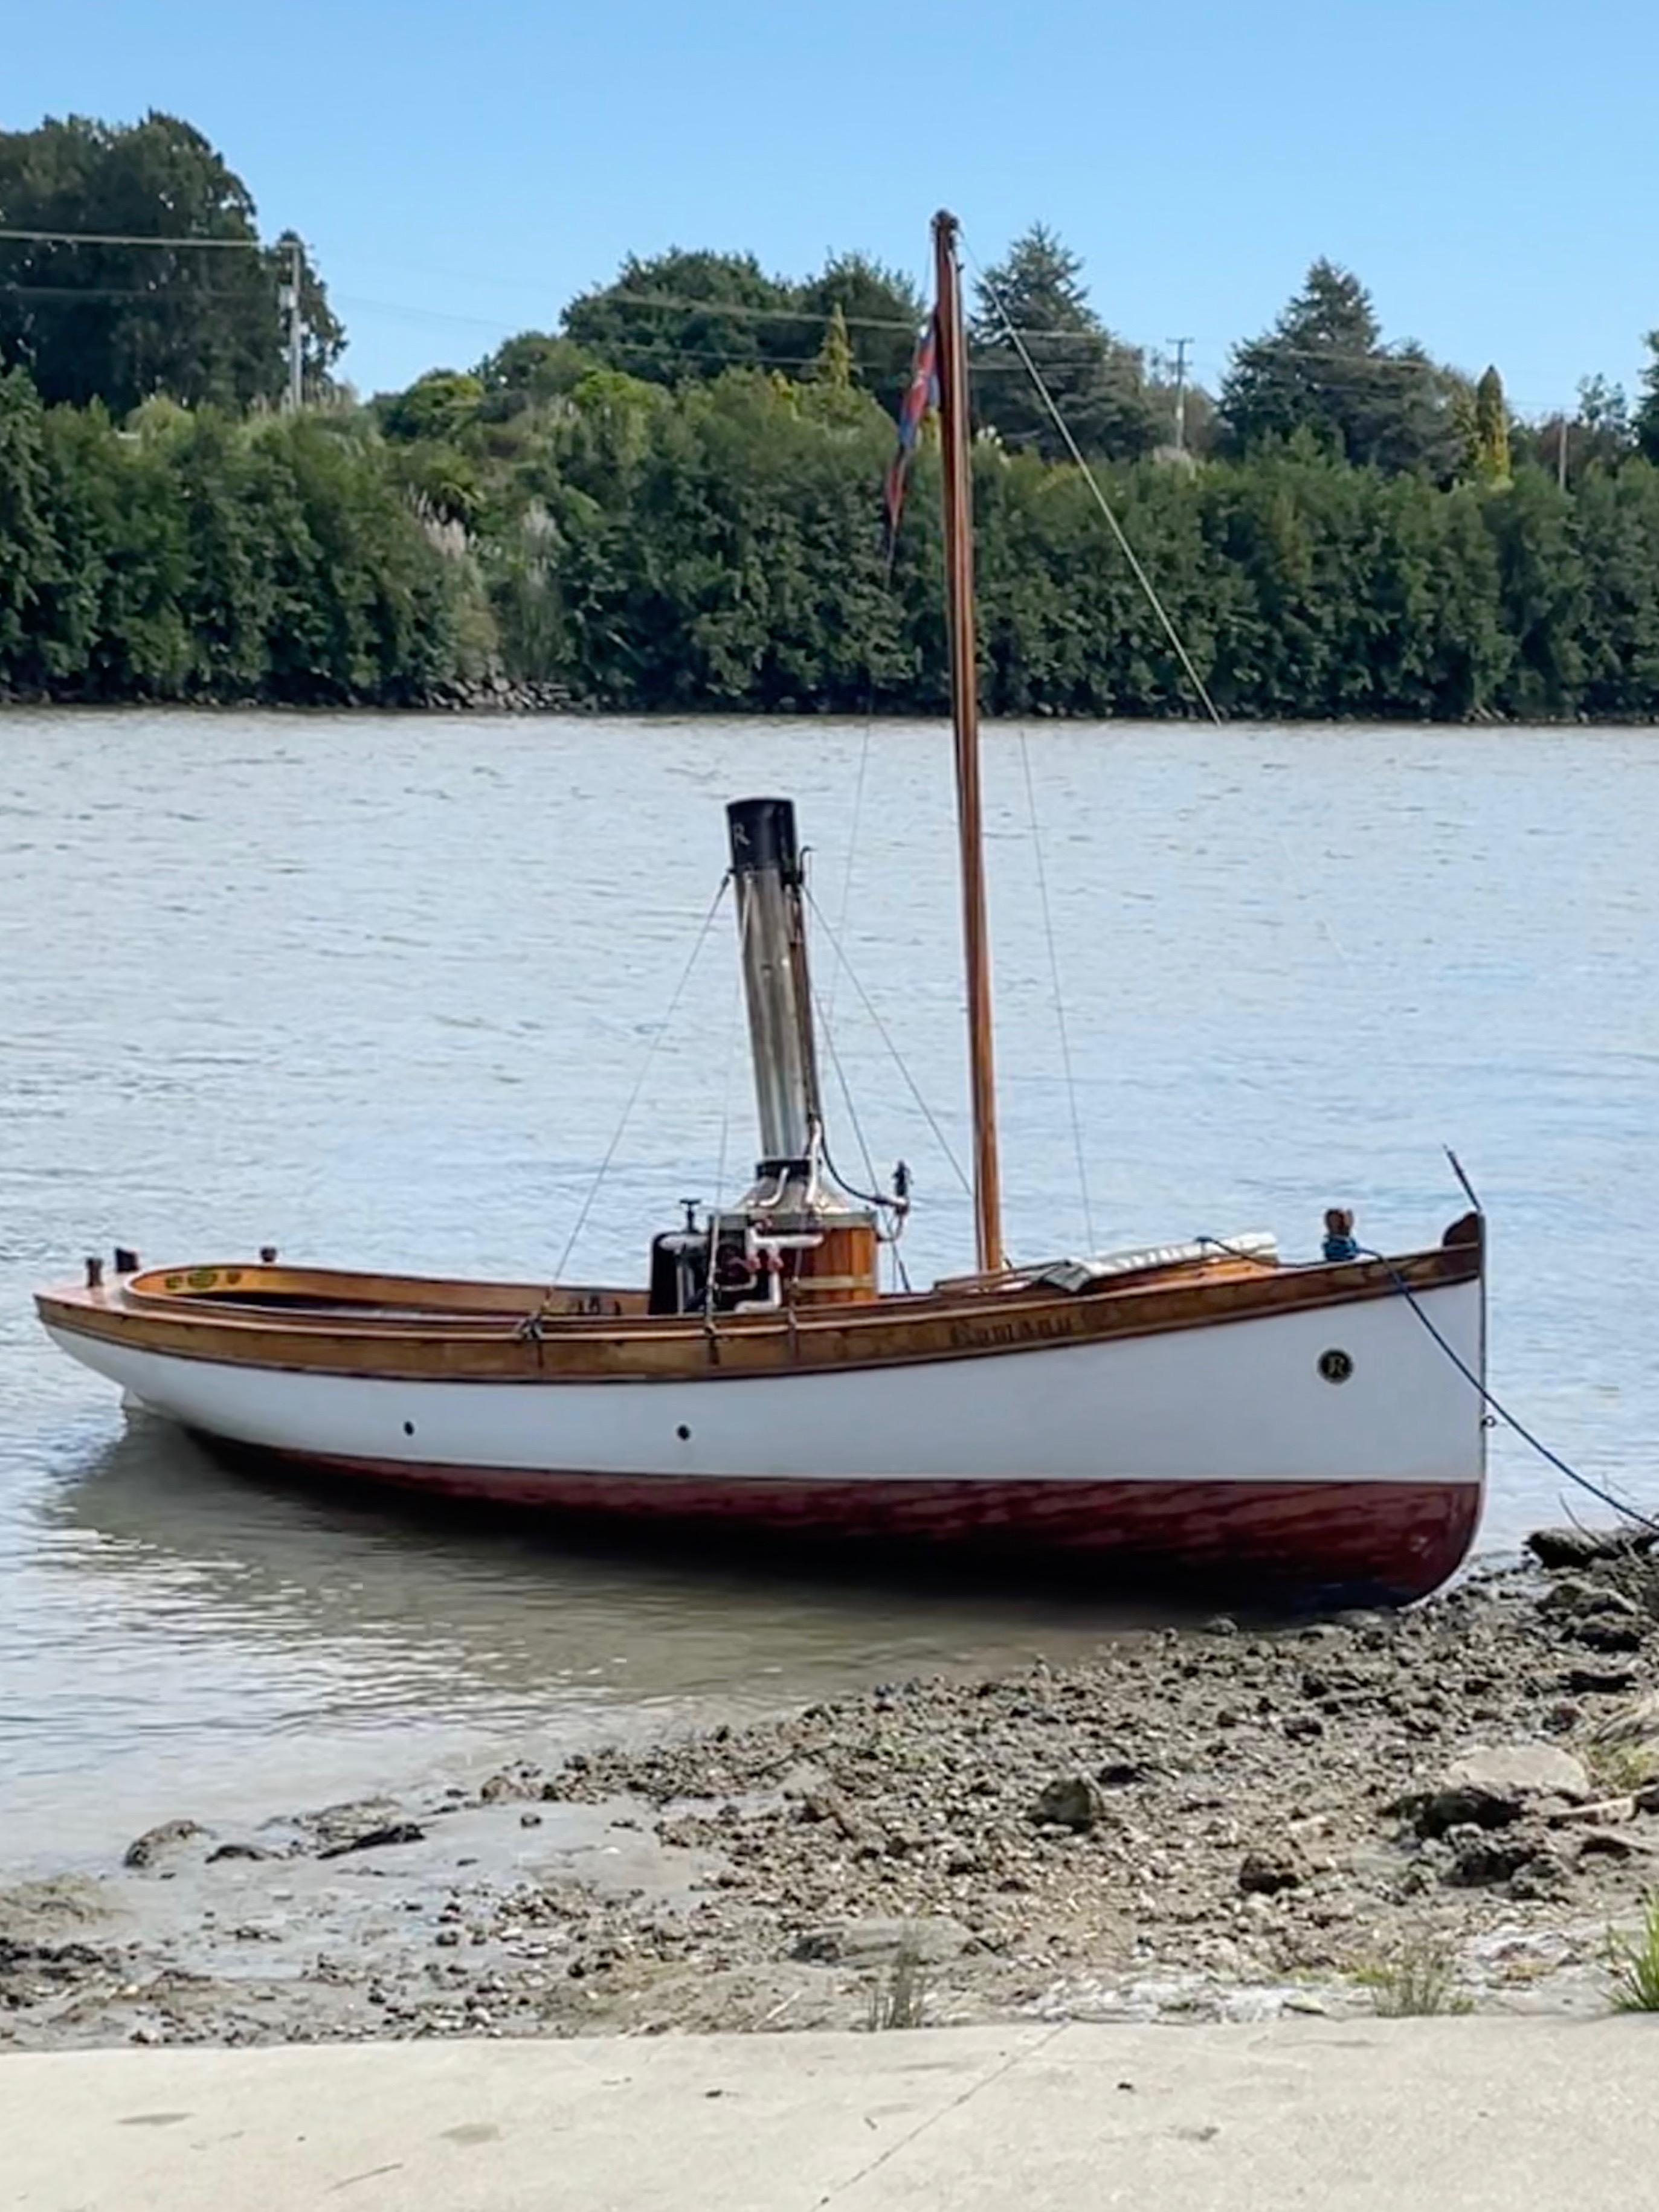
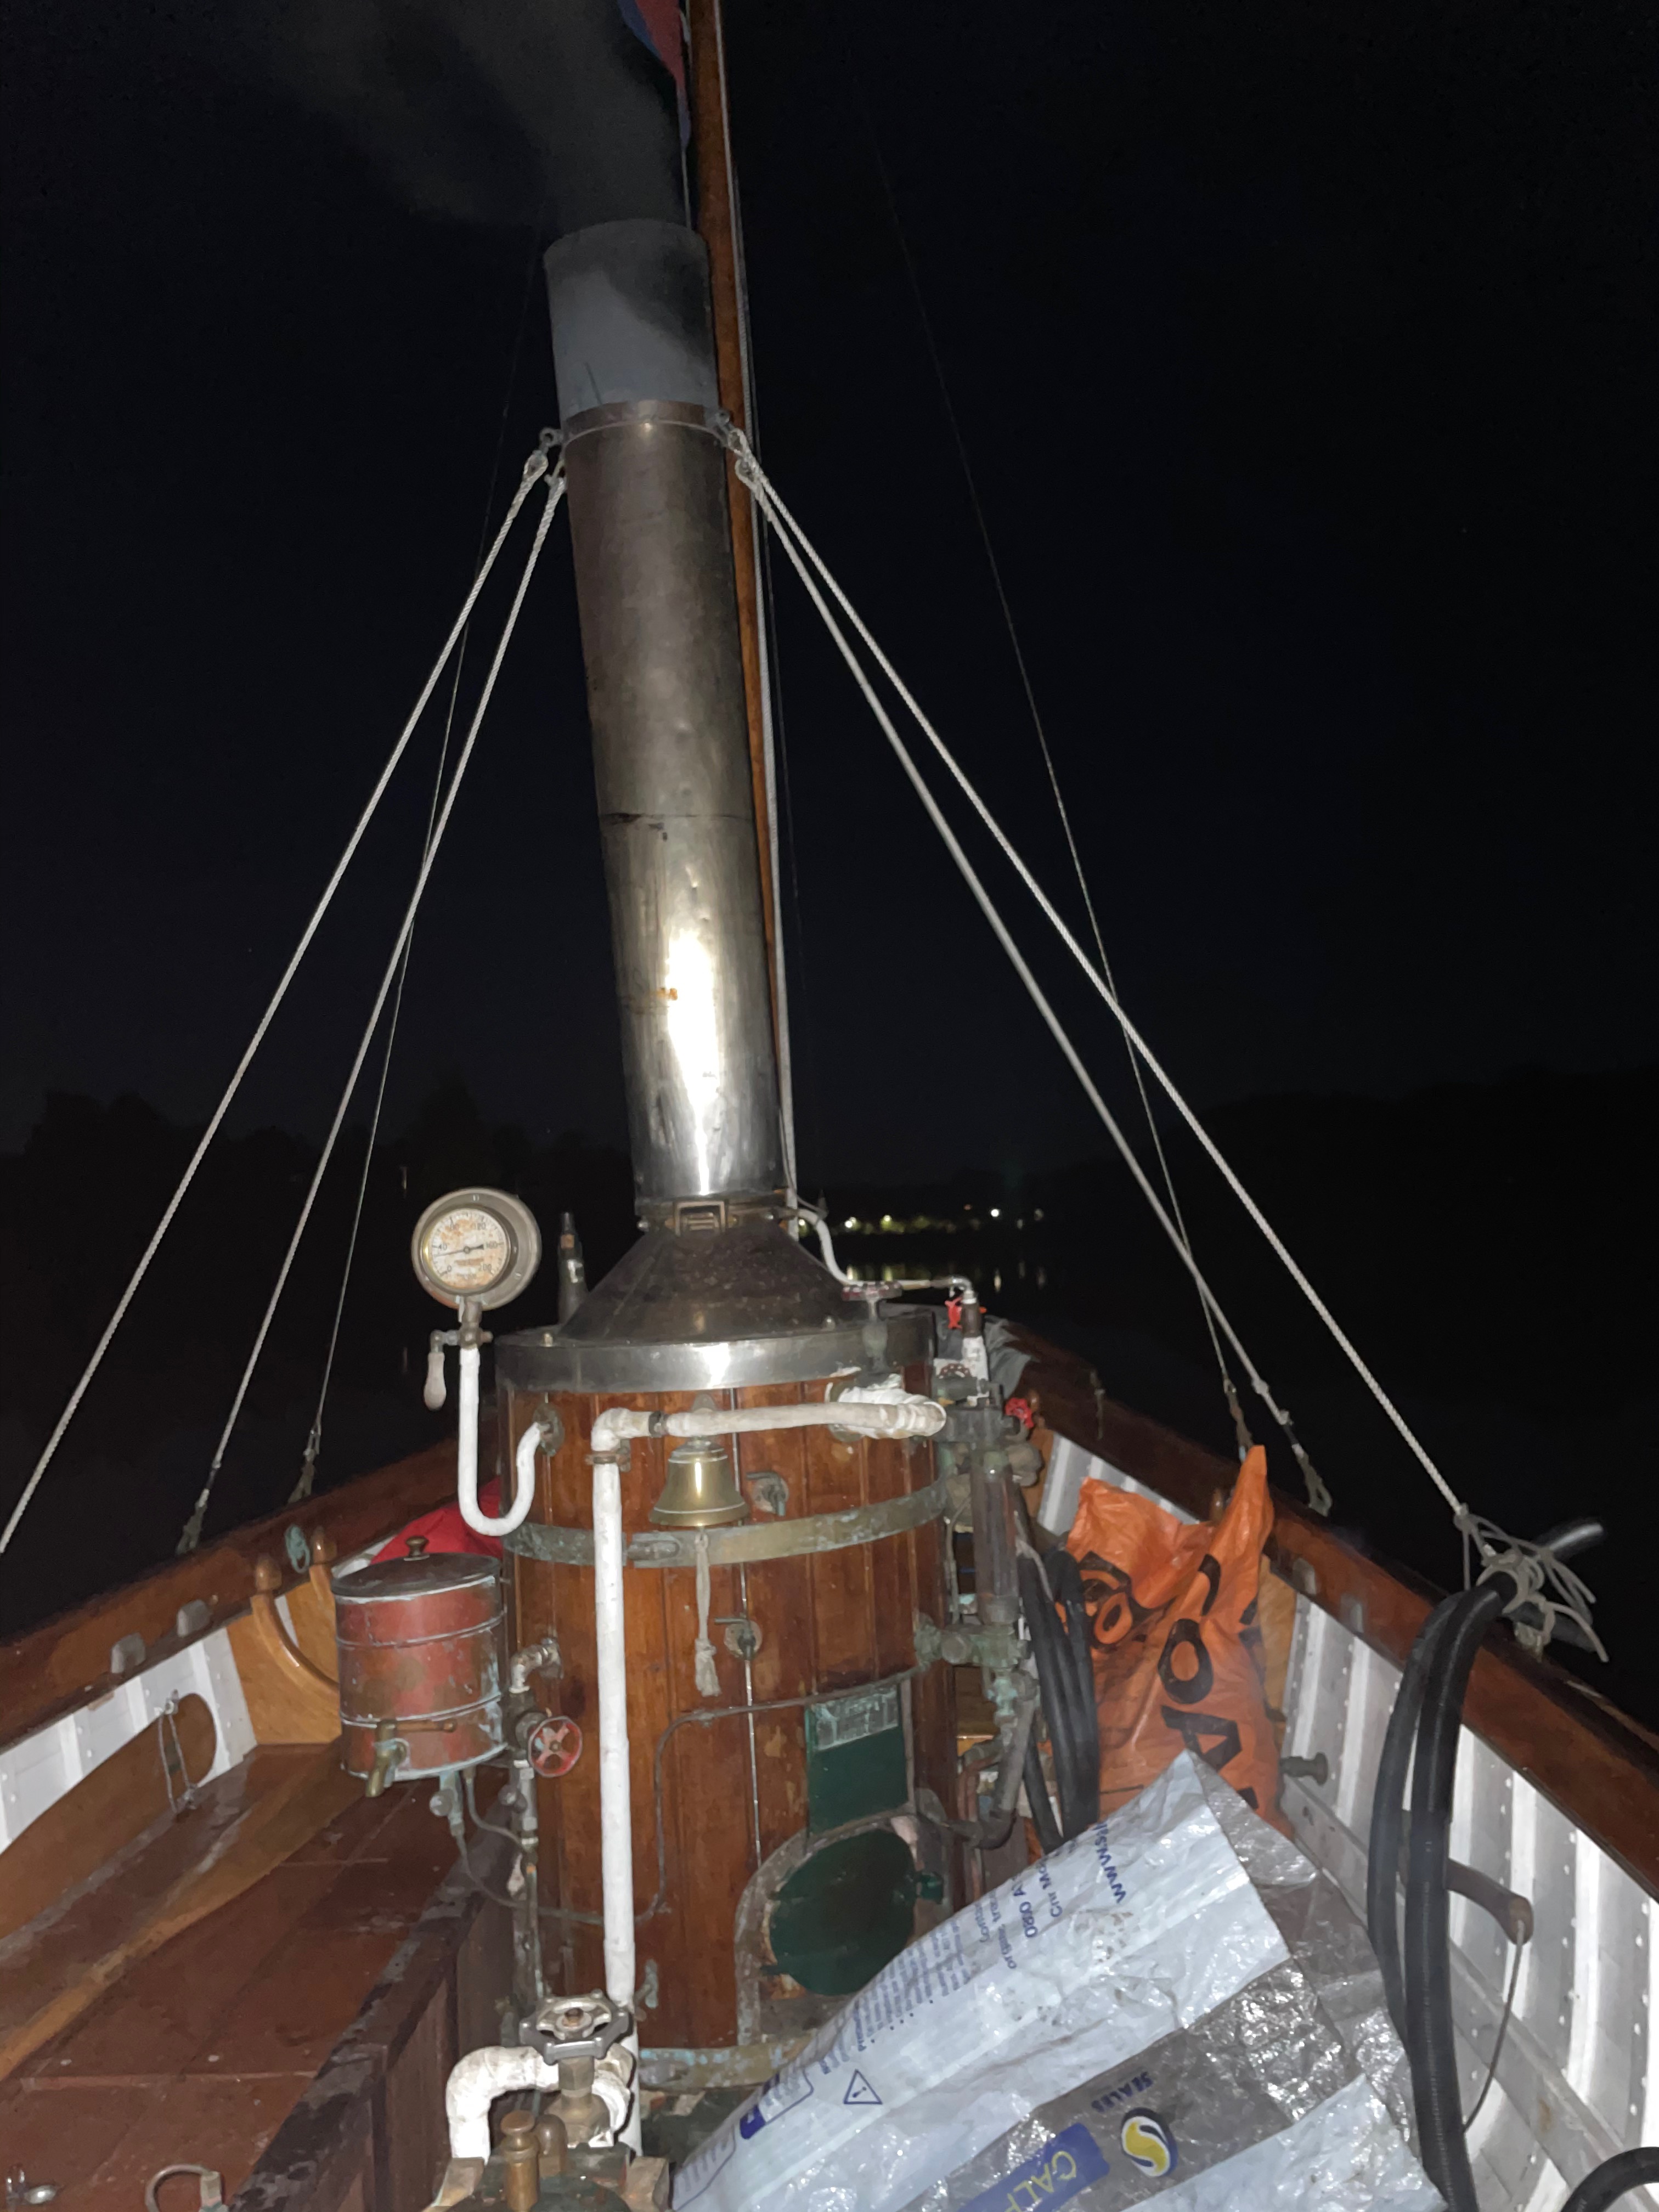
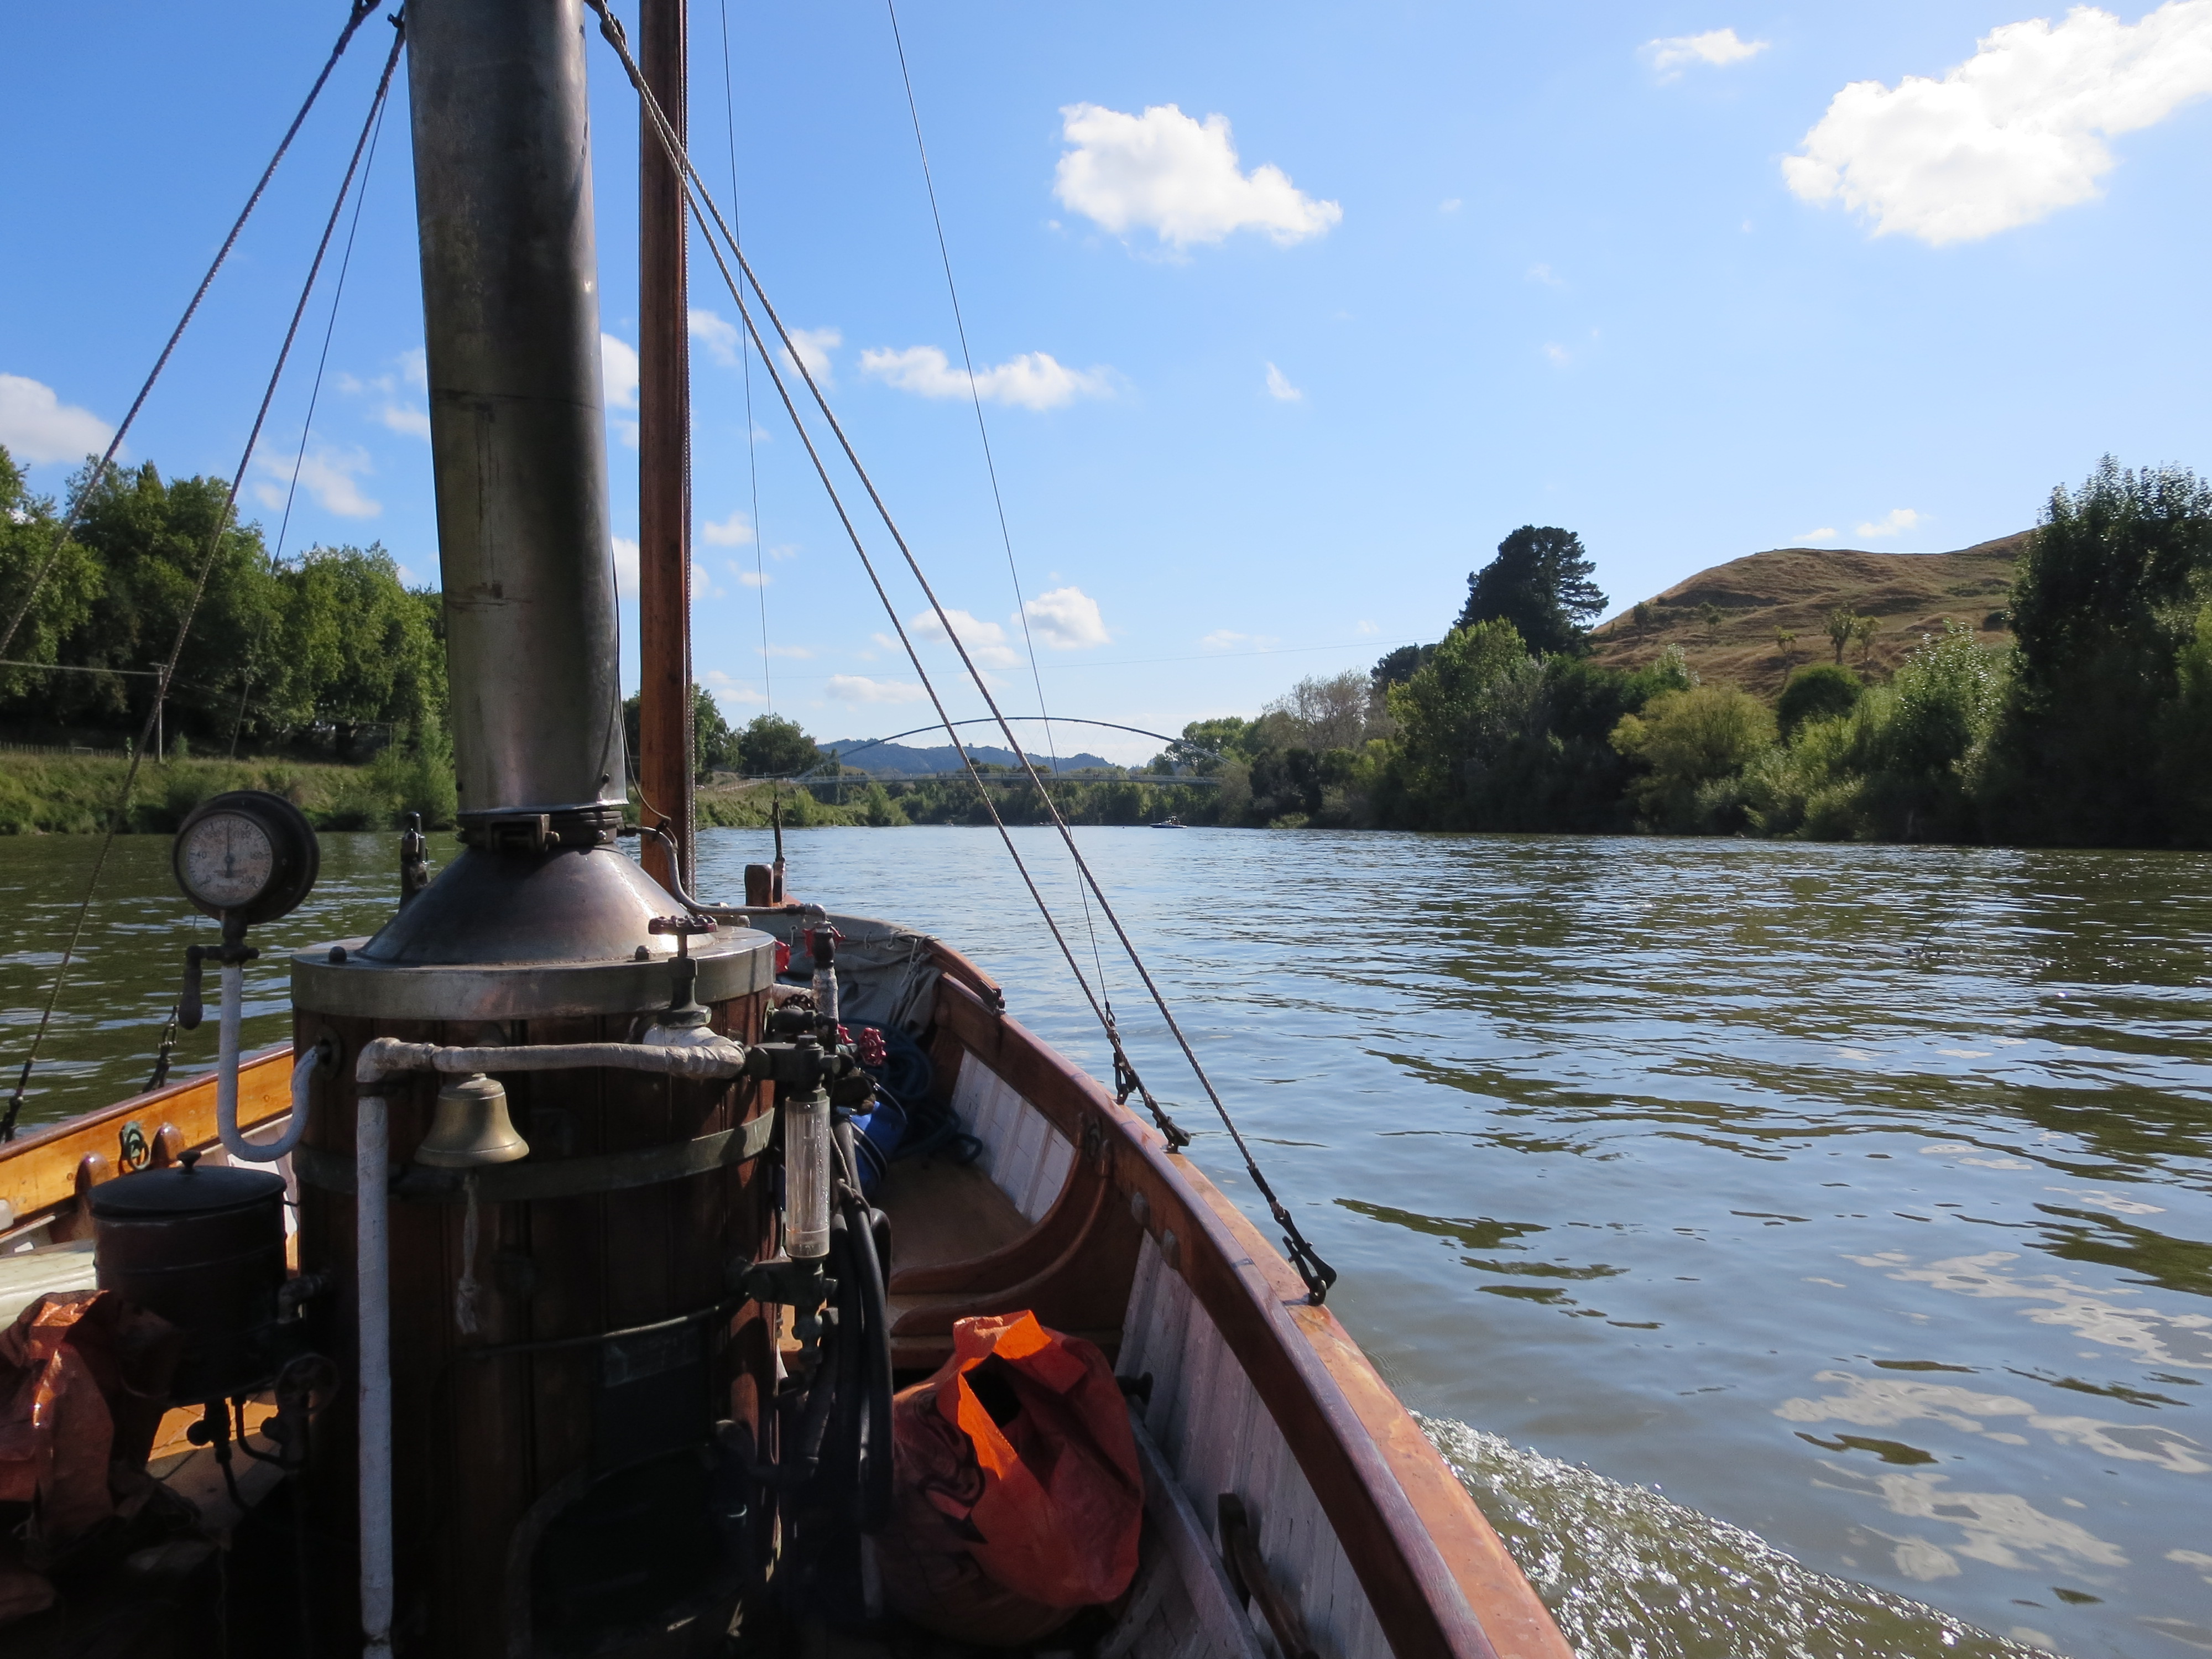
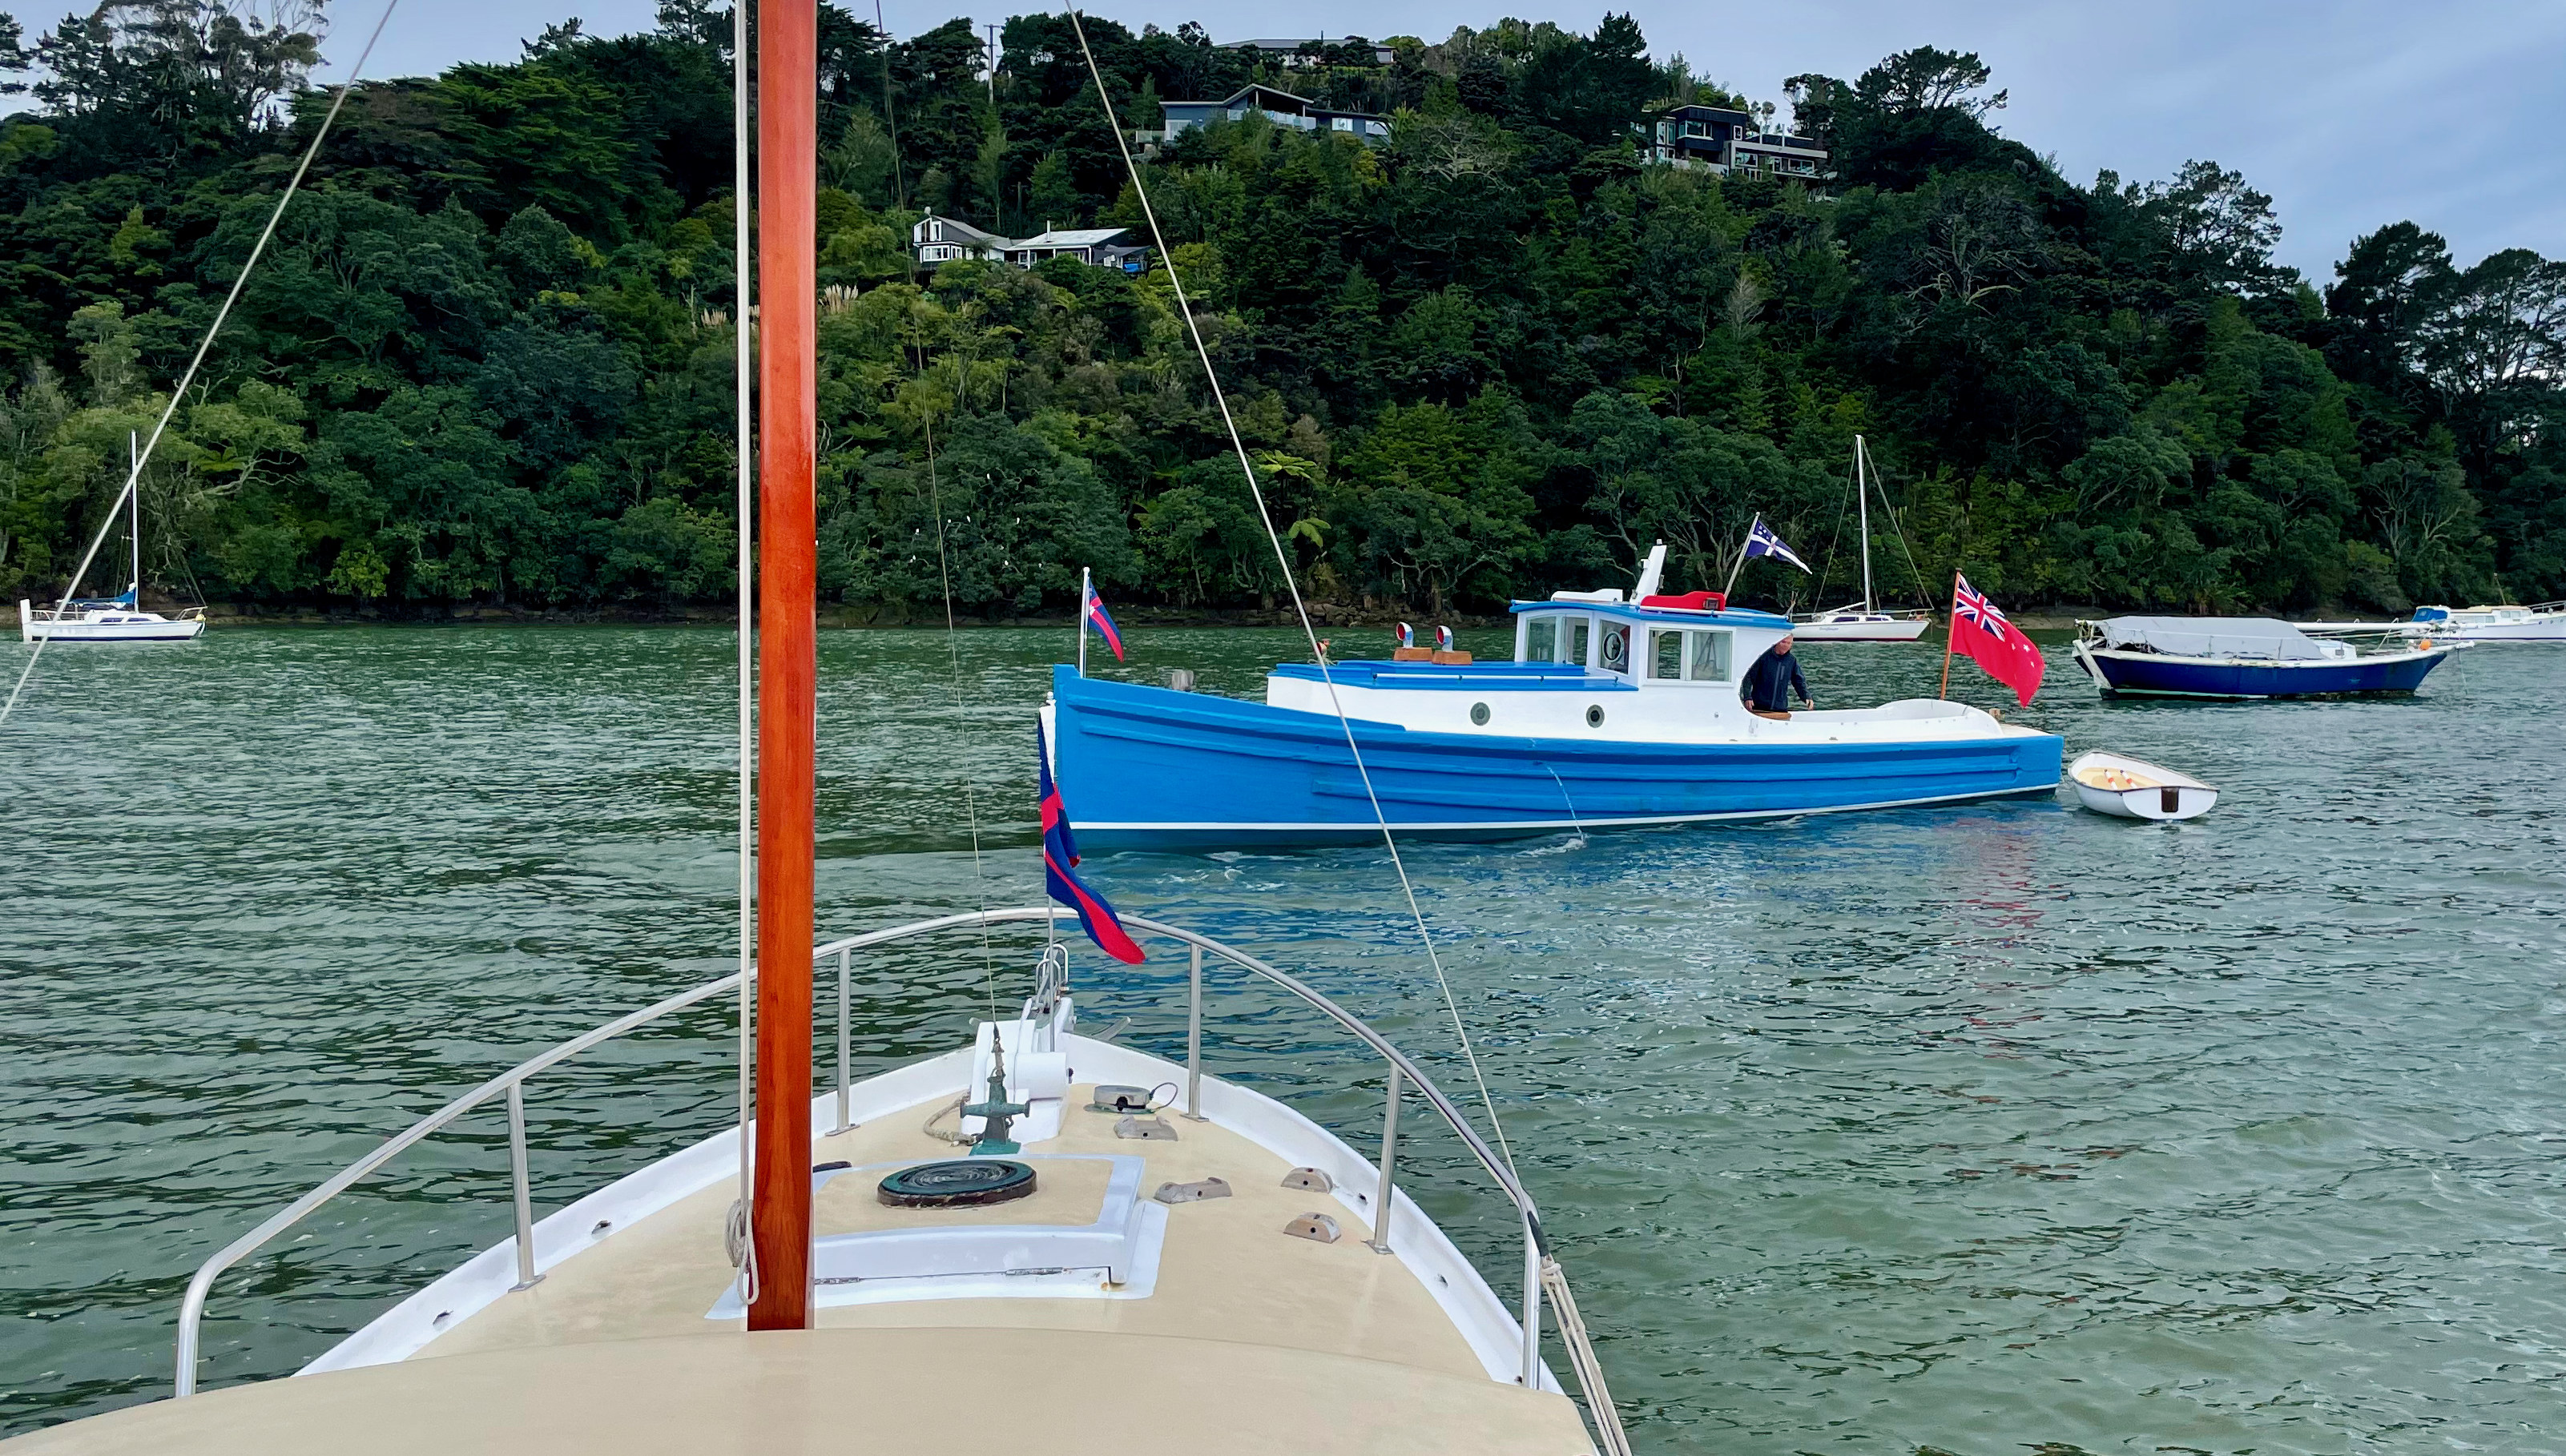
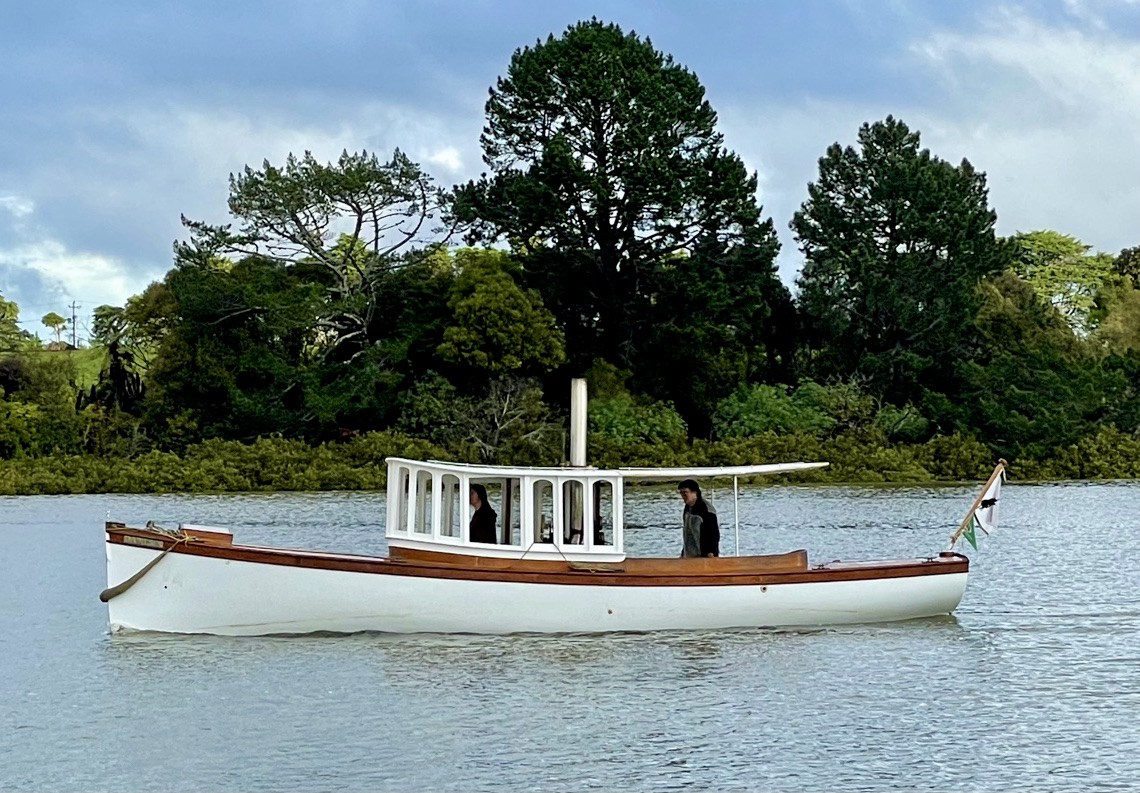
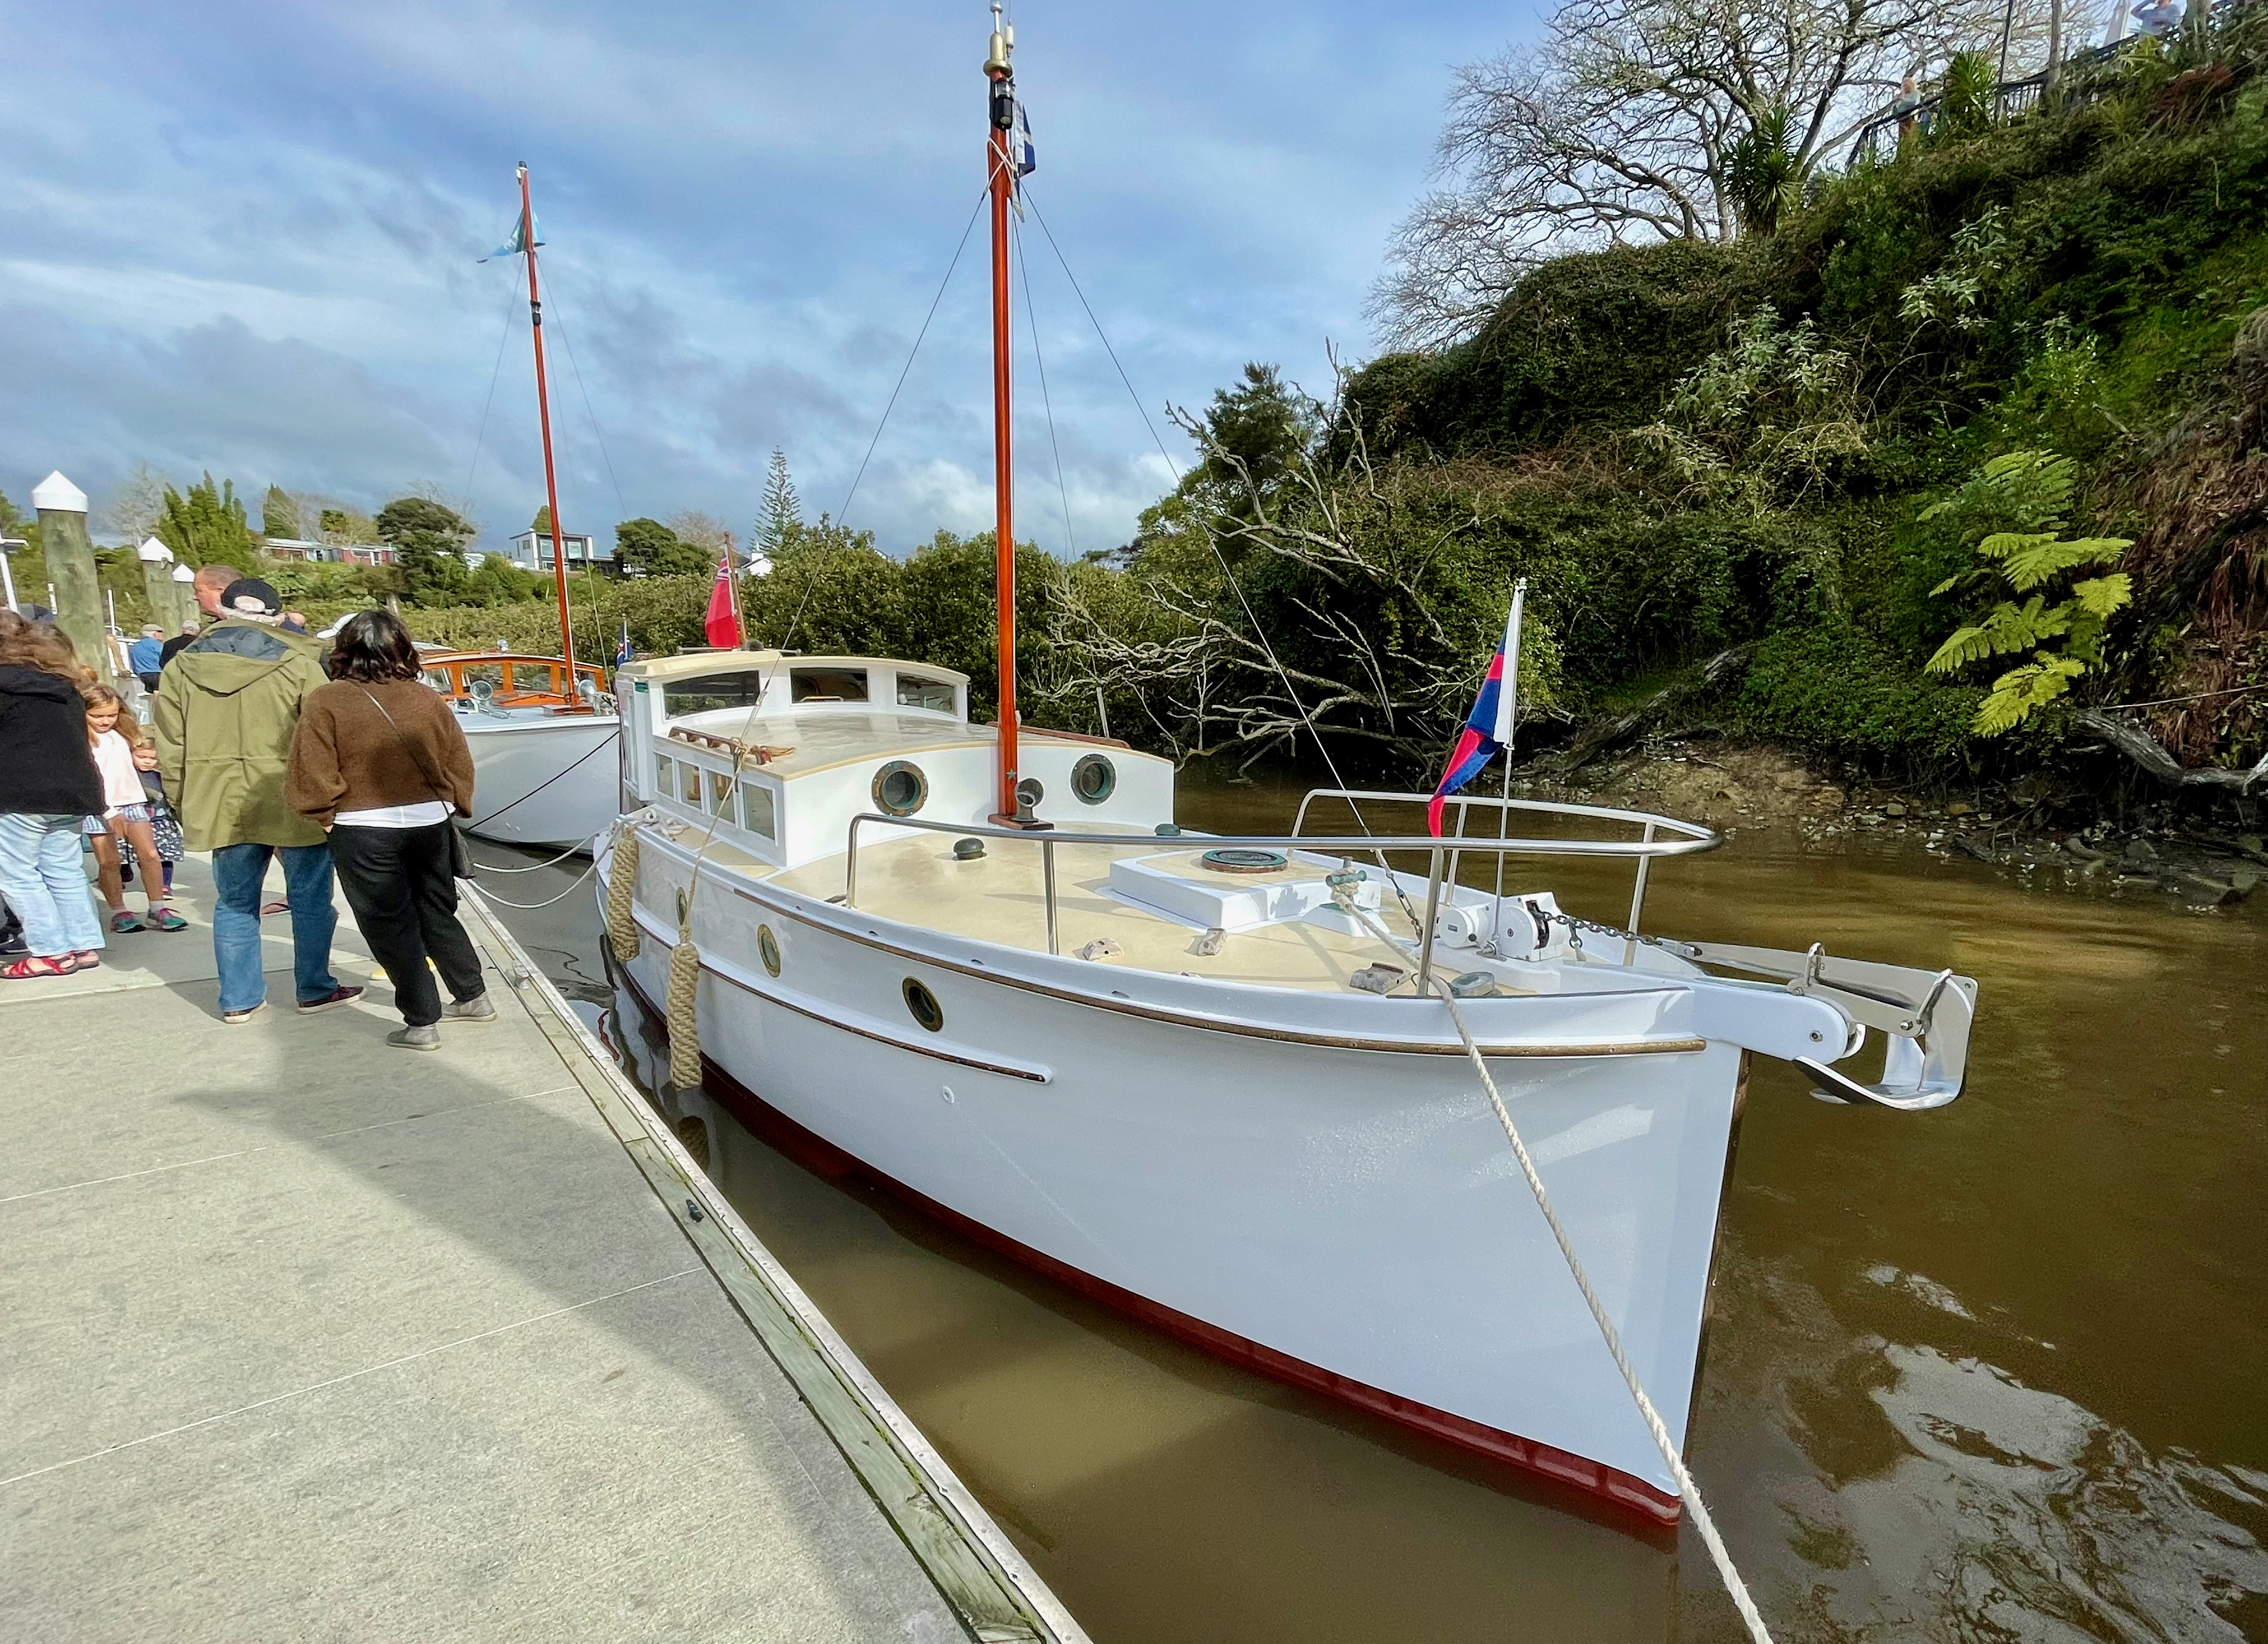
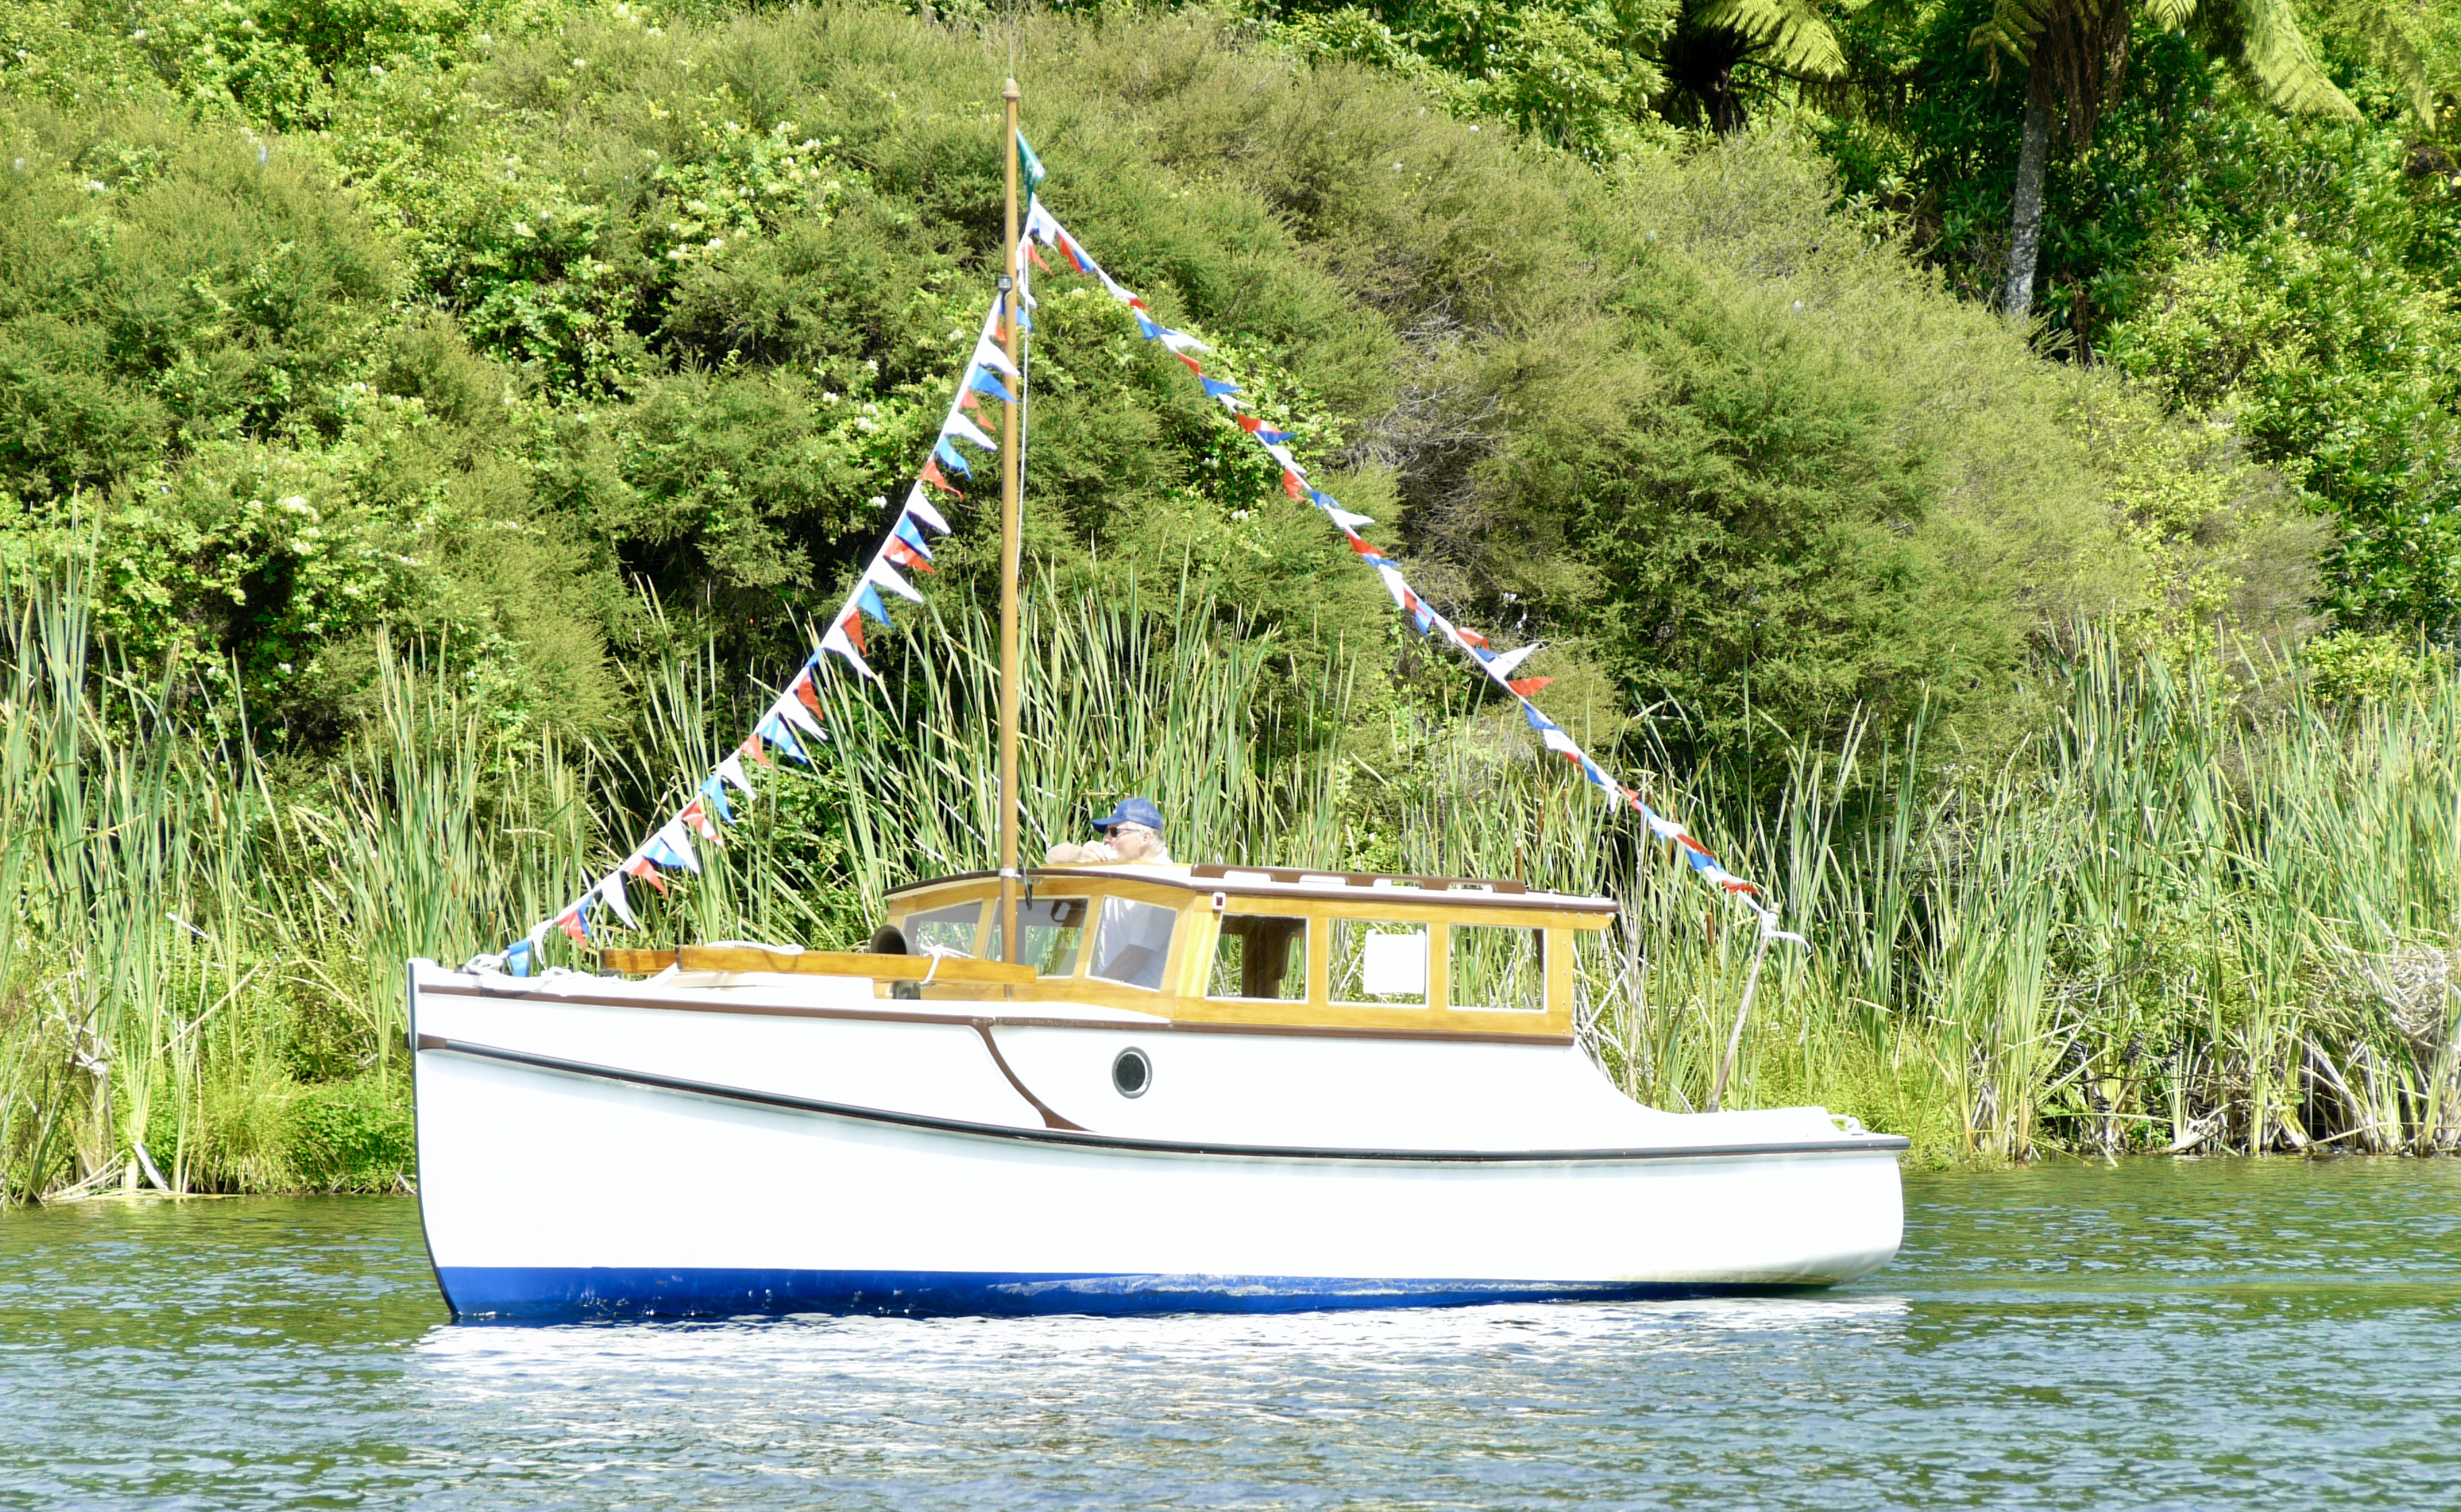
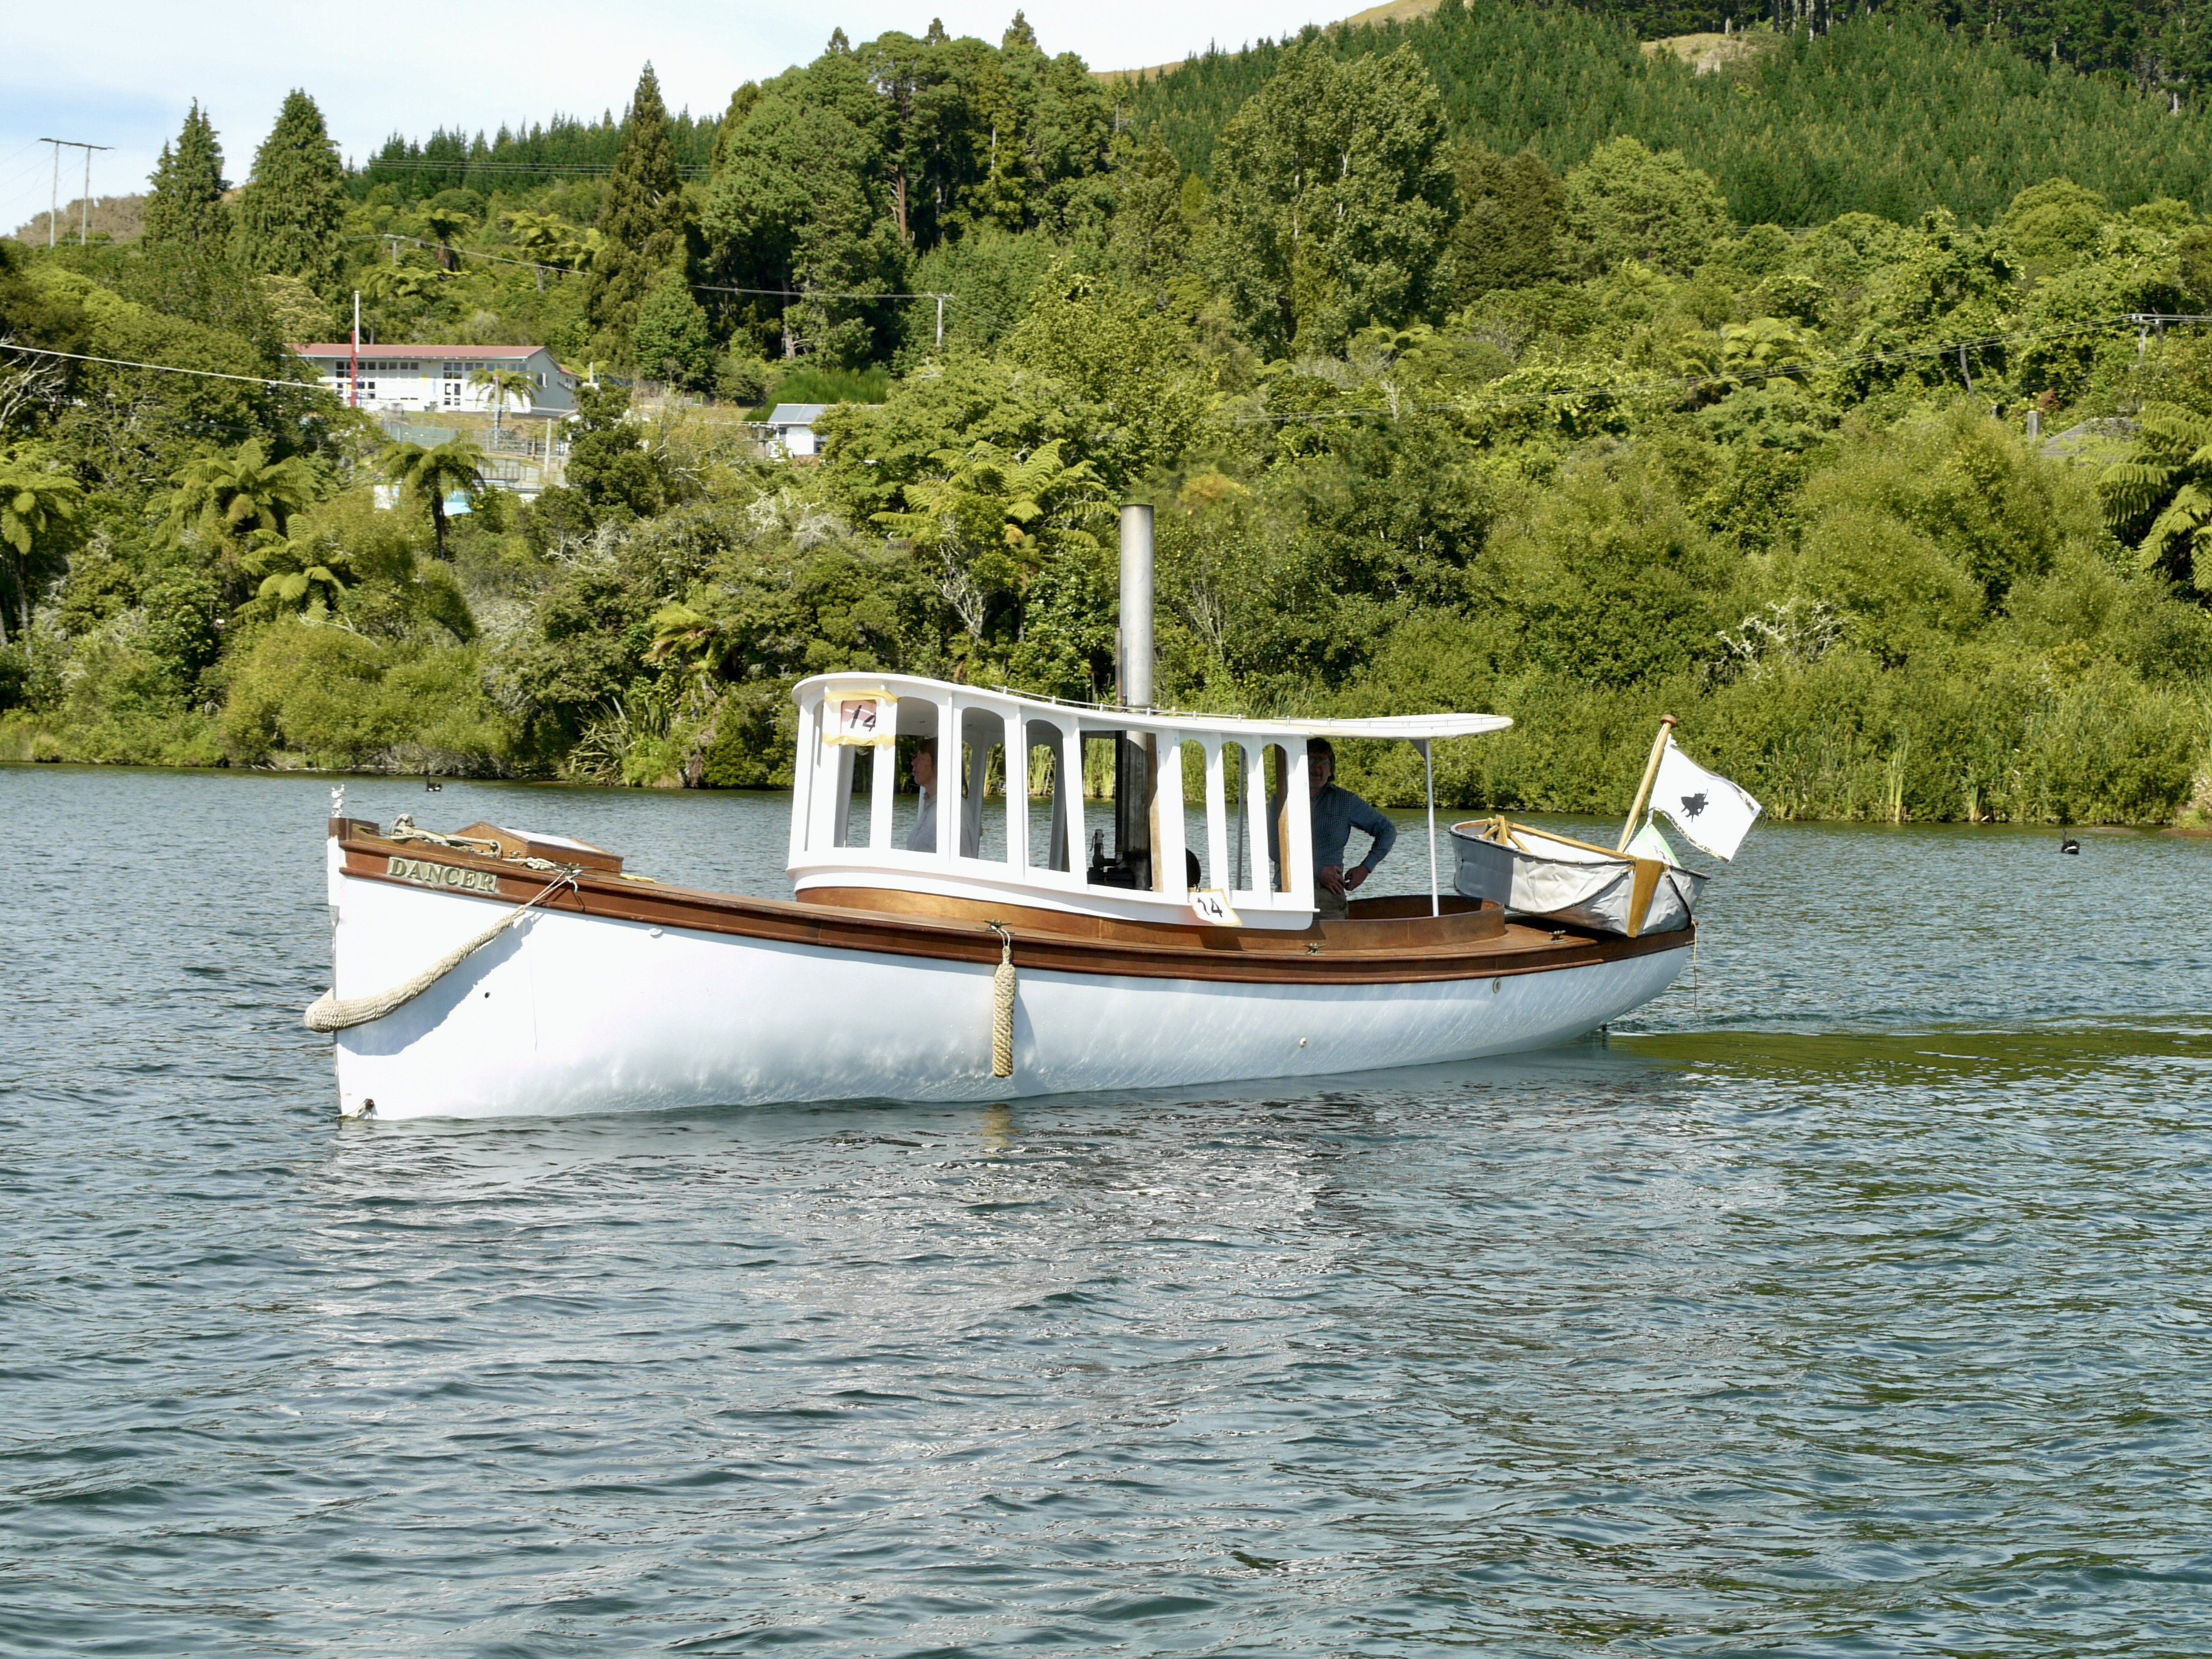
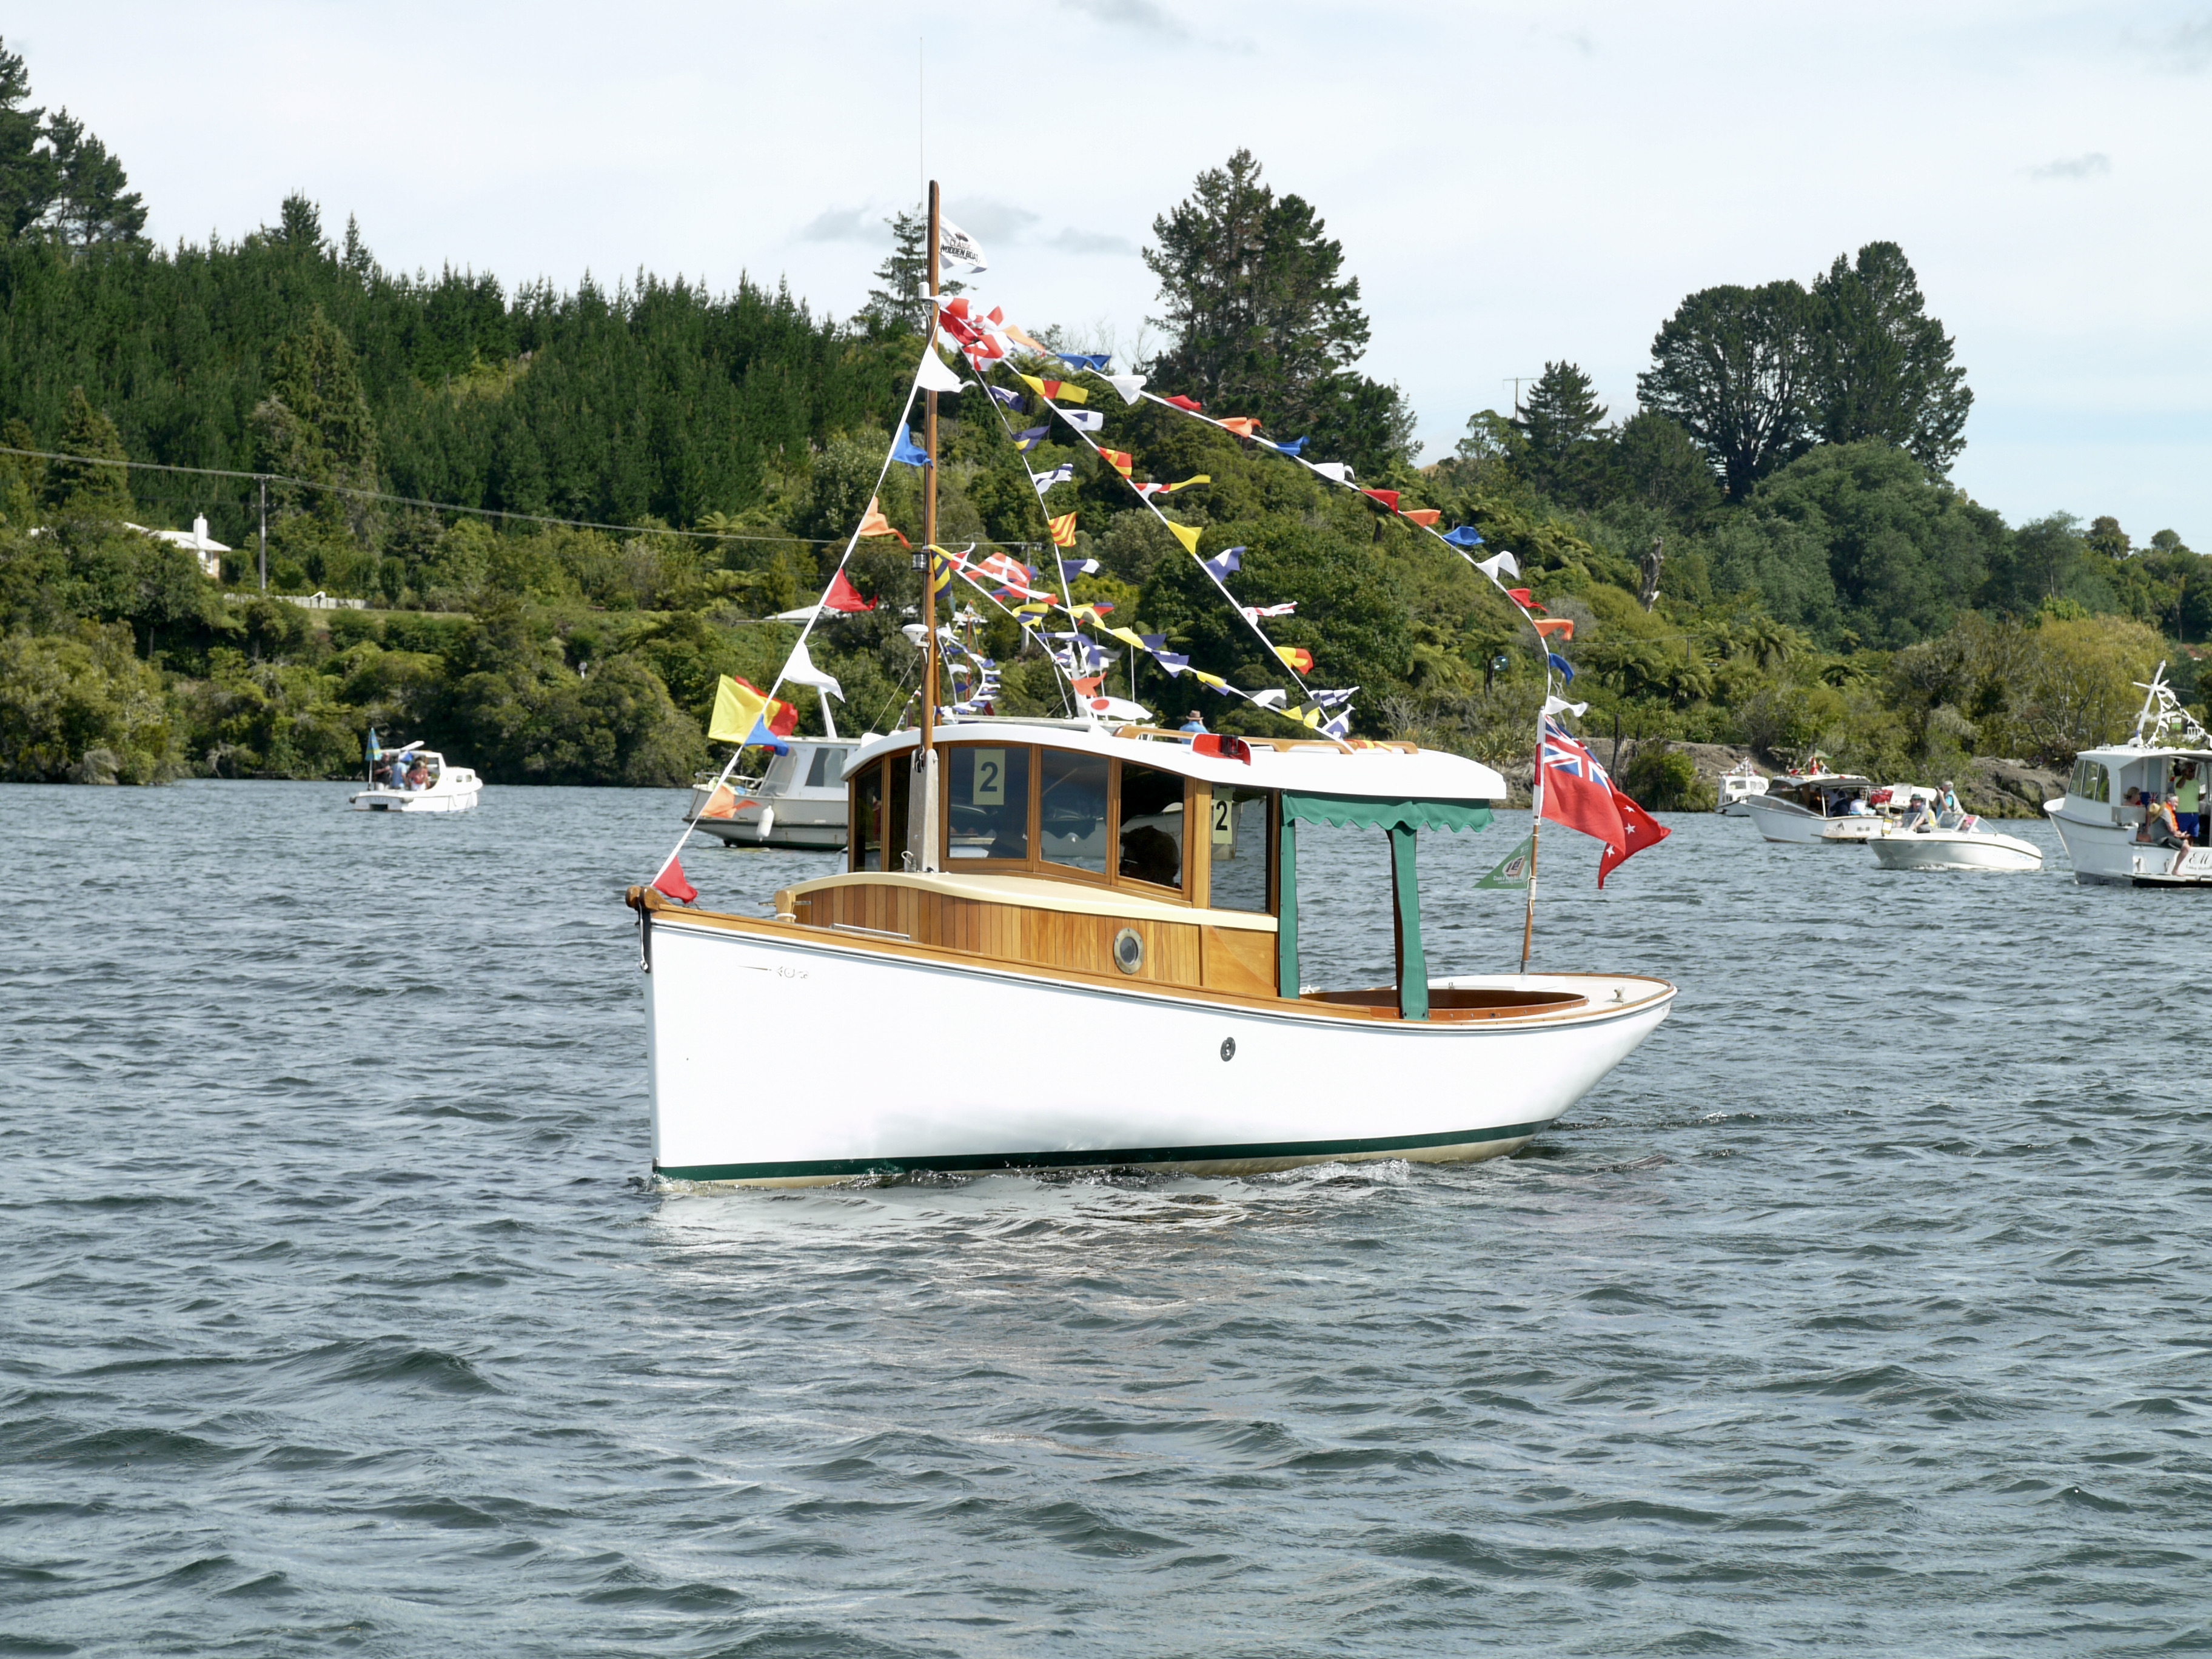
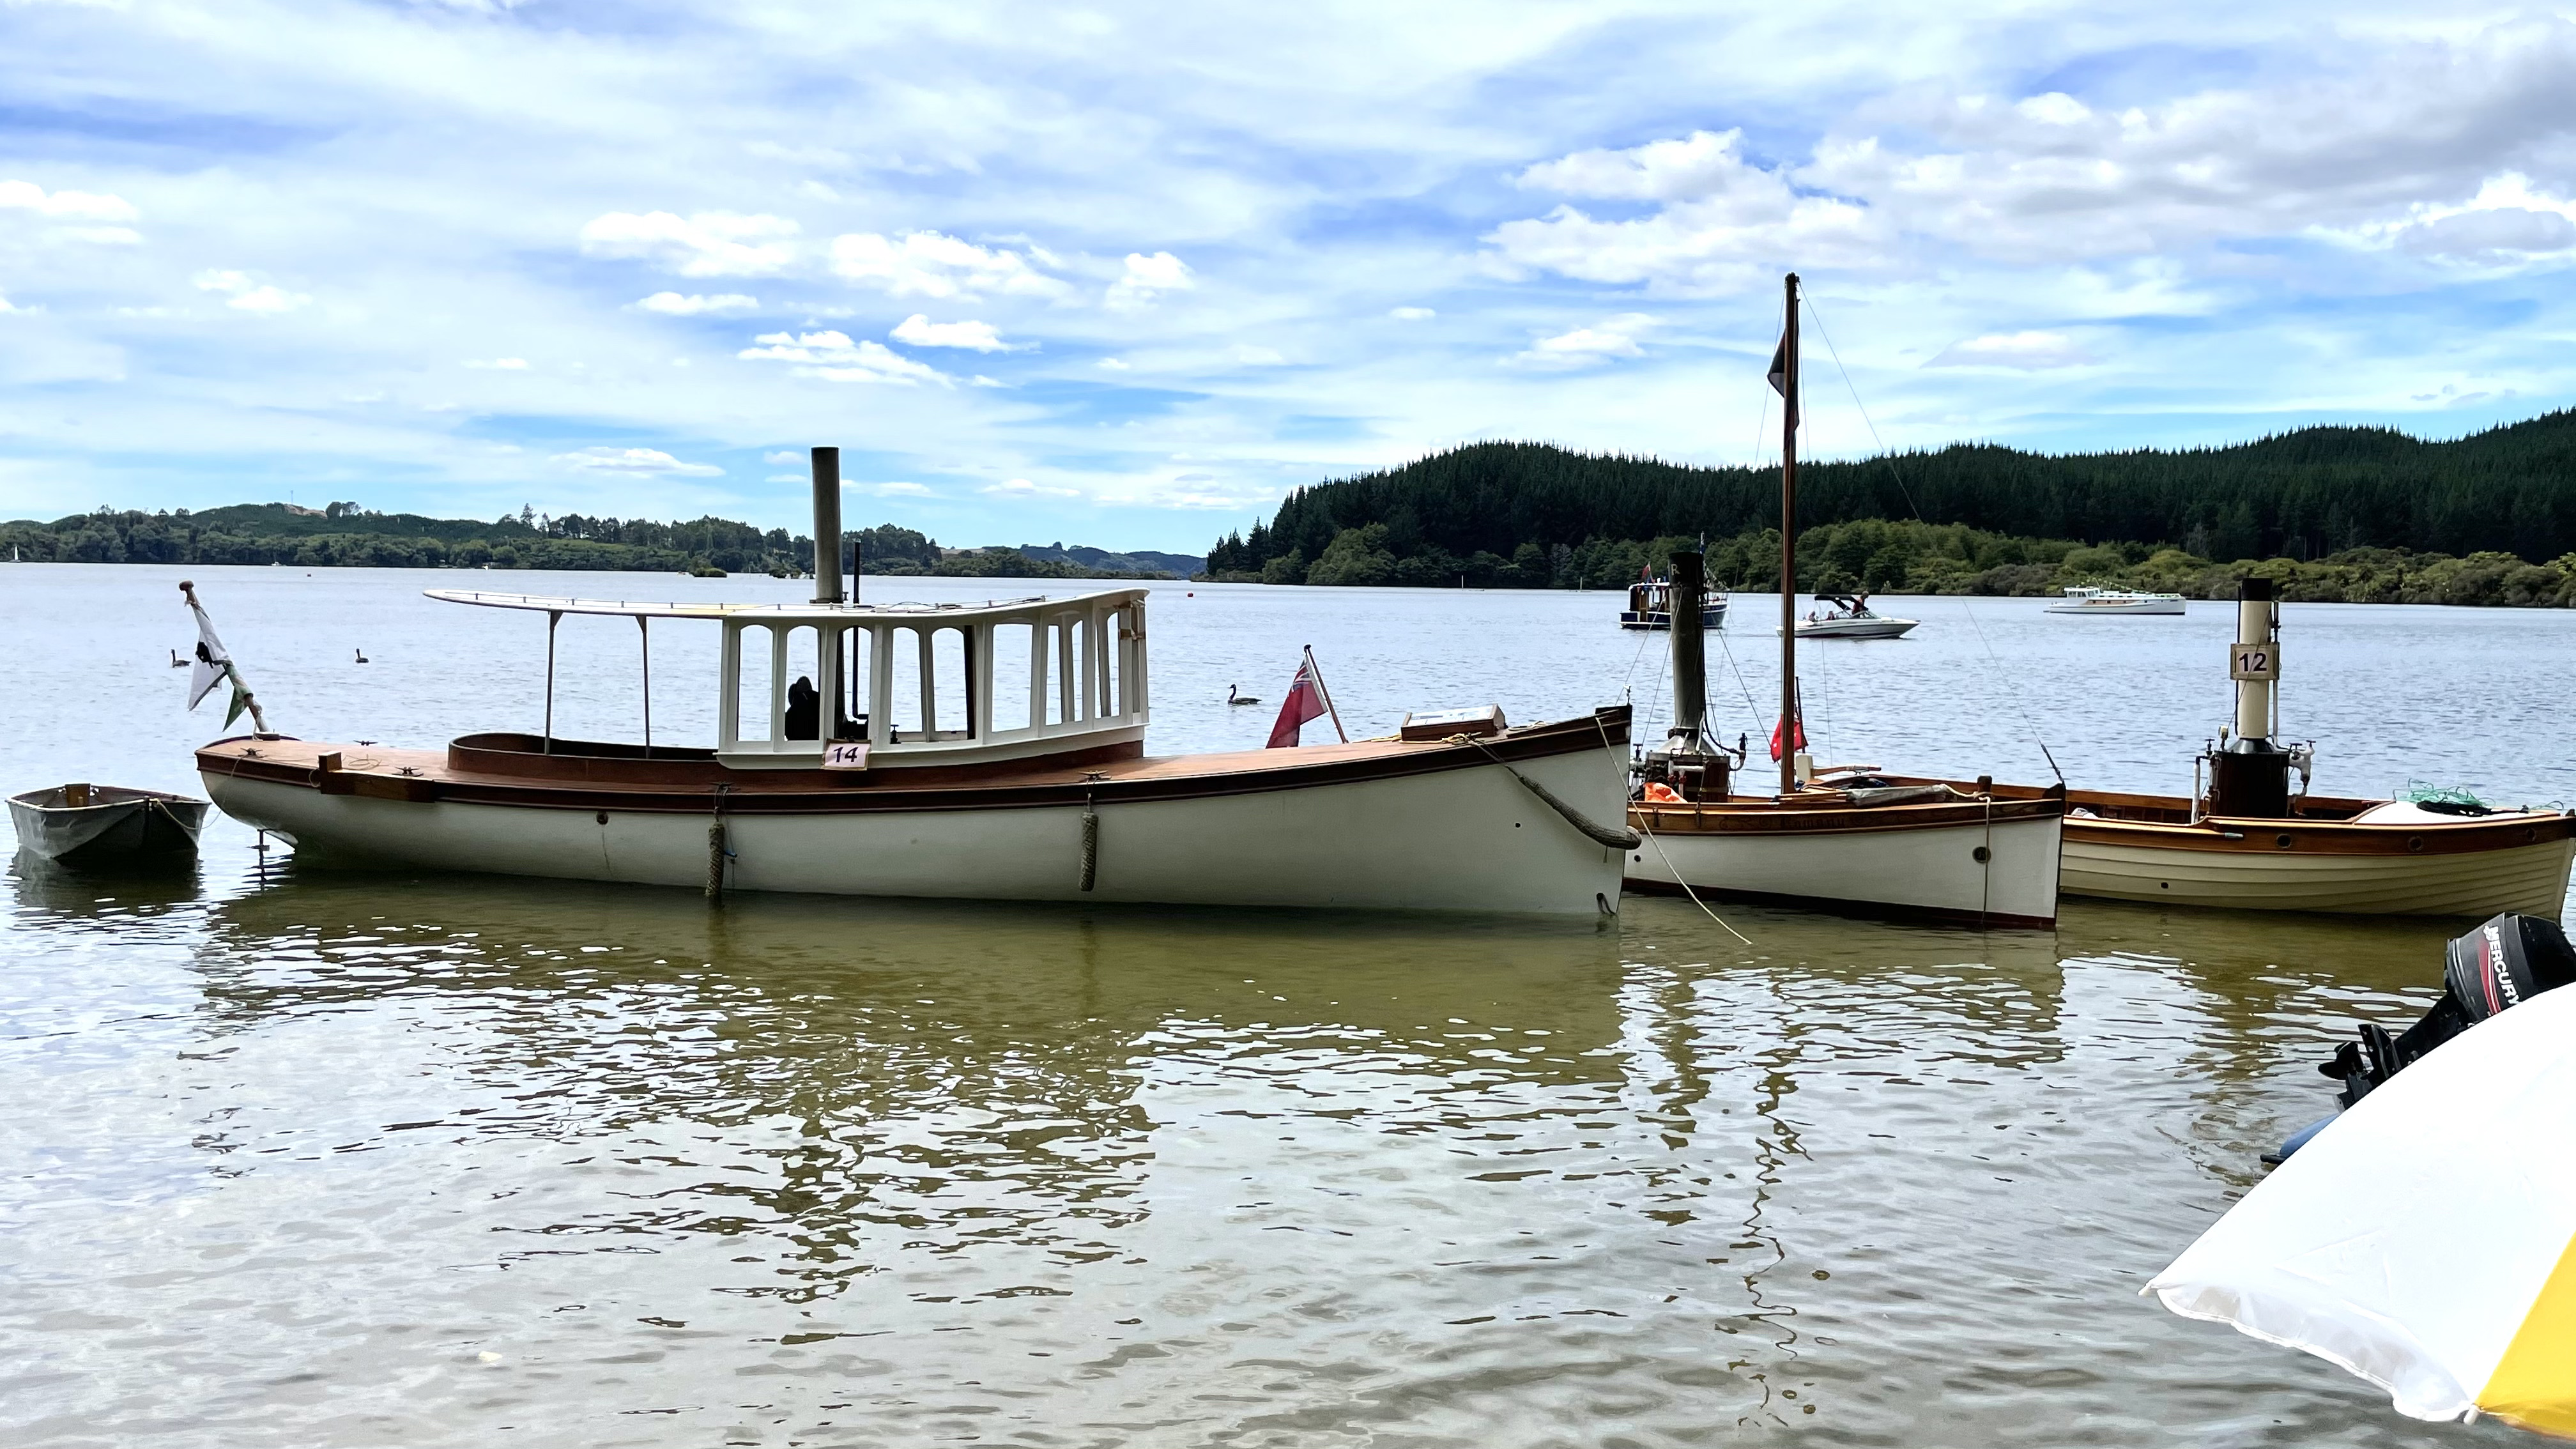
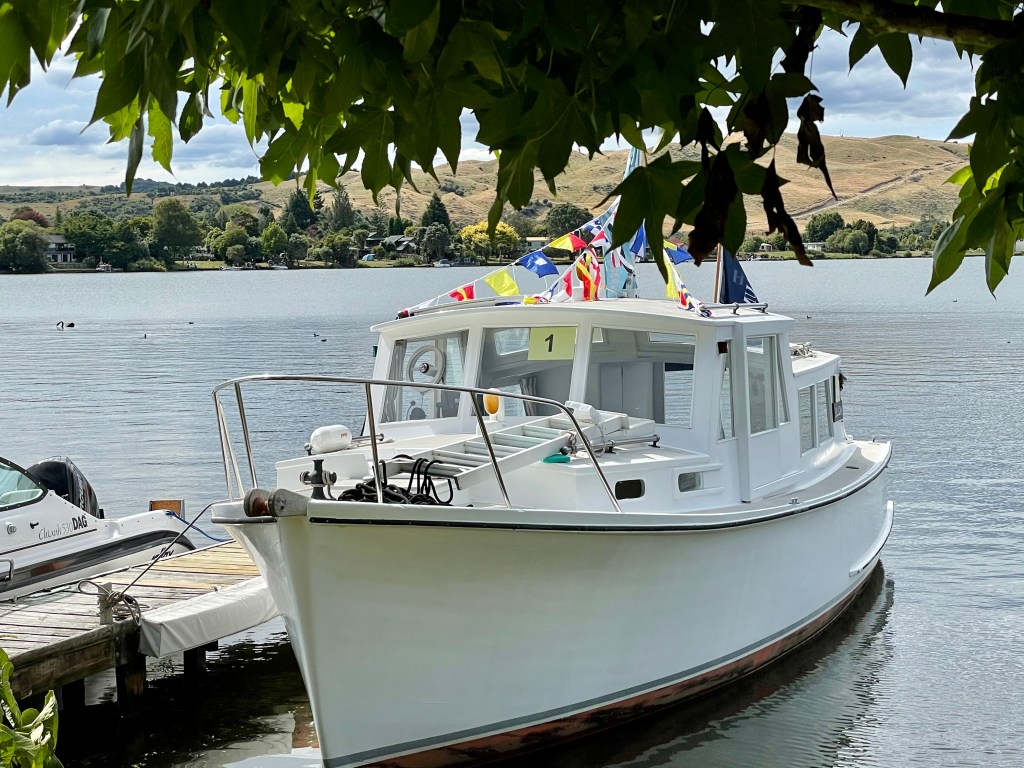
Todays wooden is the 30’ steam powered launch – DANCER, designed by Peter Sewell and built by owner John Olsen. DANCER is strip planked cedar (+ f/glass) and has a beam of 6’ and draws 2’6”.
The short video of DANCER on the Waikato River was filmed (drone) by Wesley Harcourt. The steam engine is diesel powered – more details in the video narrative.
DANCER is a frequent visitor to the Lake Rotoiti Classic & Wooden Boat Parade and appearance in a lot of my post event coverage on WW.
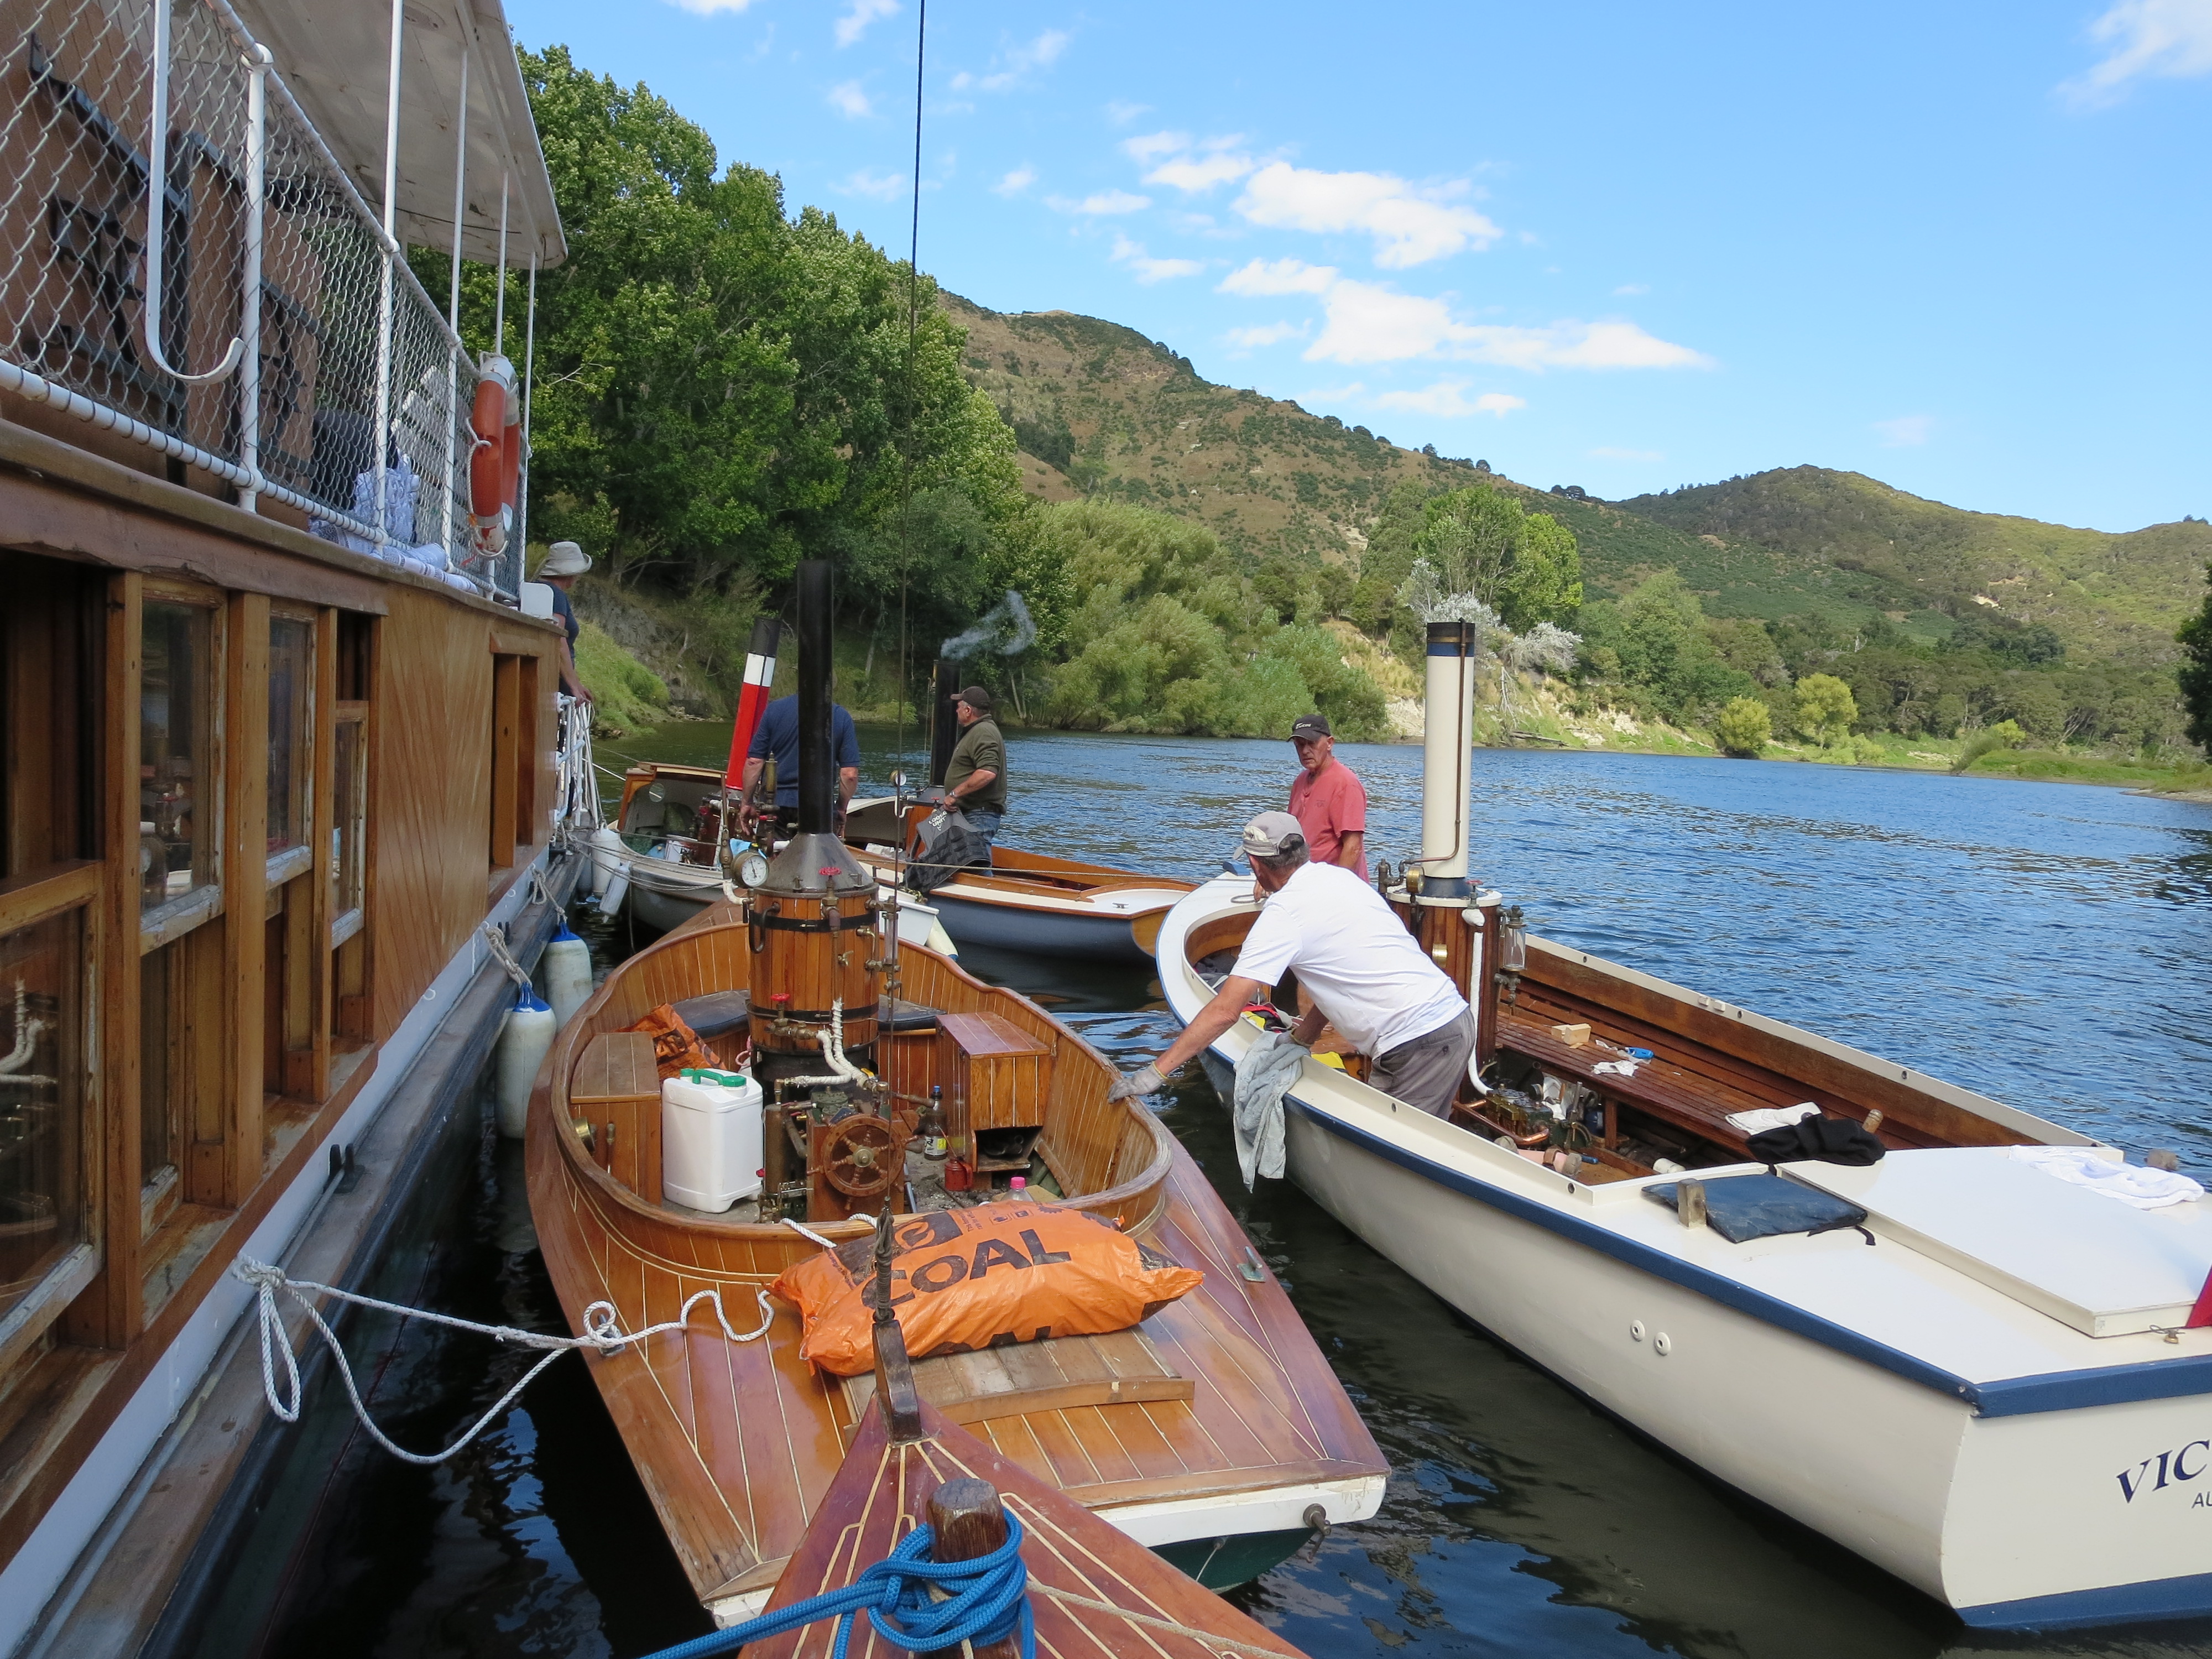
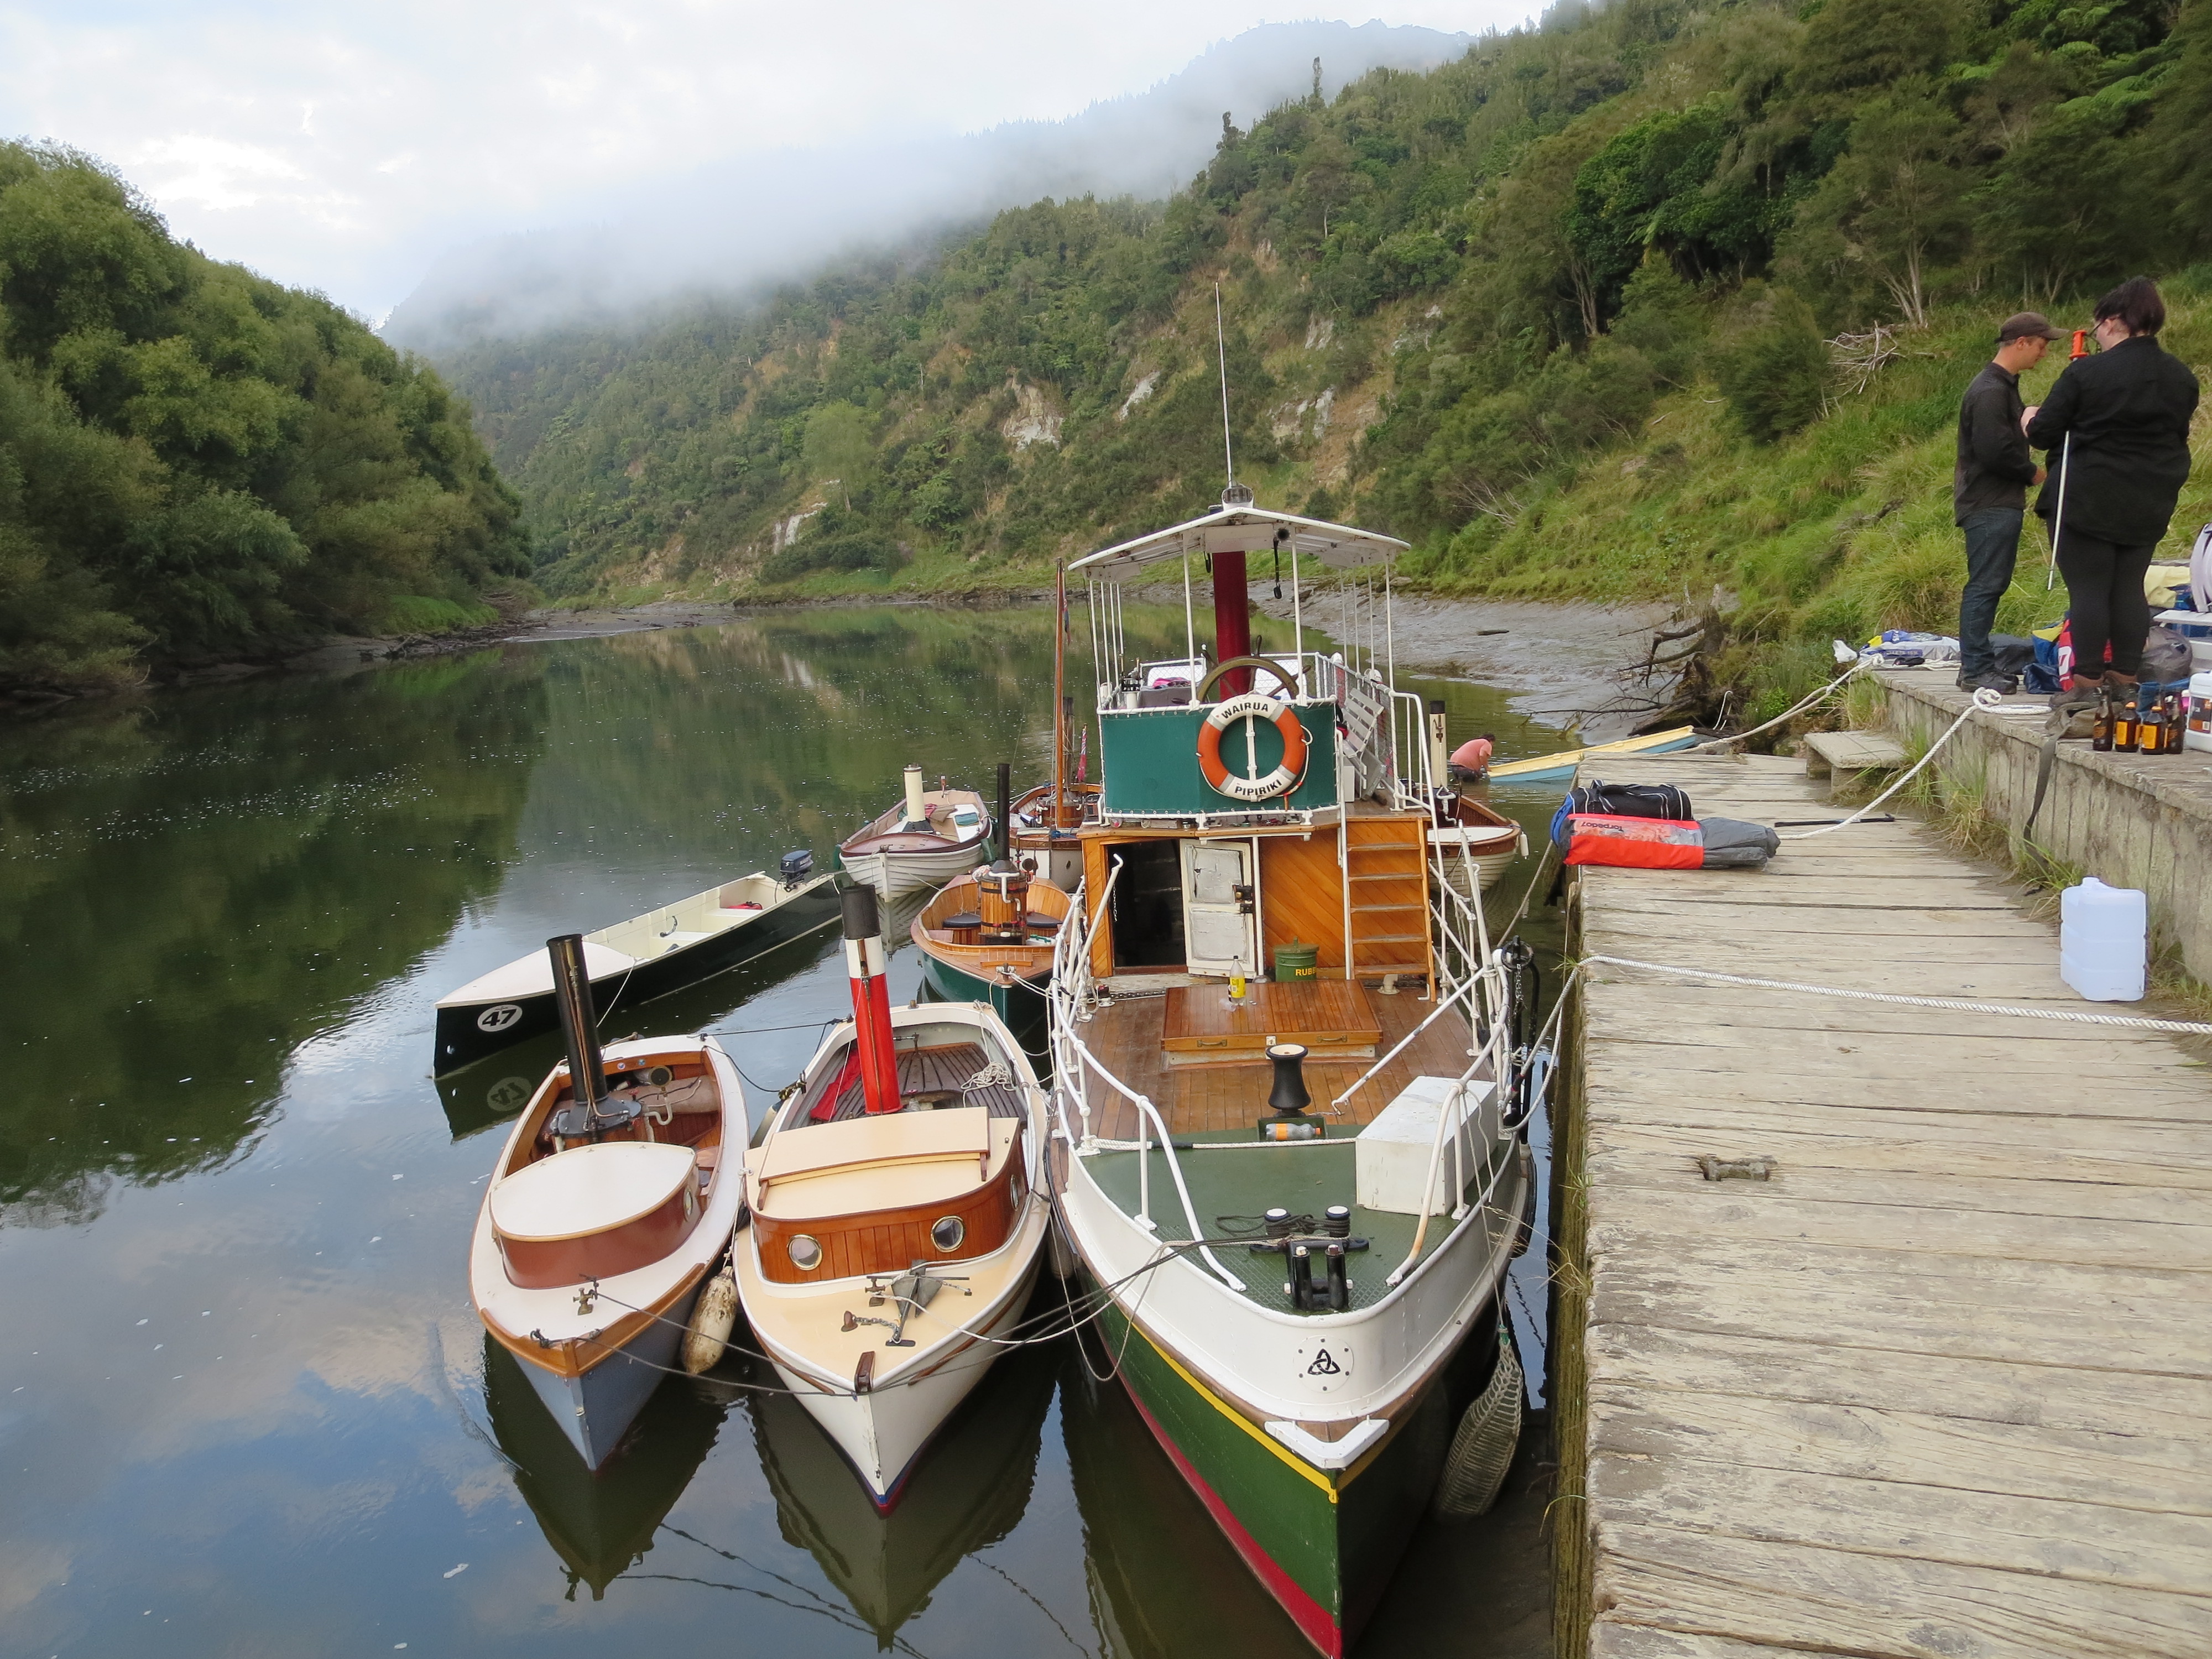
Steamboats at Hipango Park Back in February Russell Ward was twisting my arm to join him and a group of steamboat enthusiasts on a trip on the Wanganui River for a meet up at Hipango Park. The park is only accessible by boat, and is a tranquil rest point for kayakers and people making a day trip in a boat up the Wanganui River. I can’t remember my excuse but I missed a great weekend in early March.
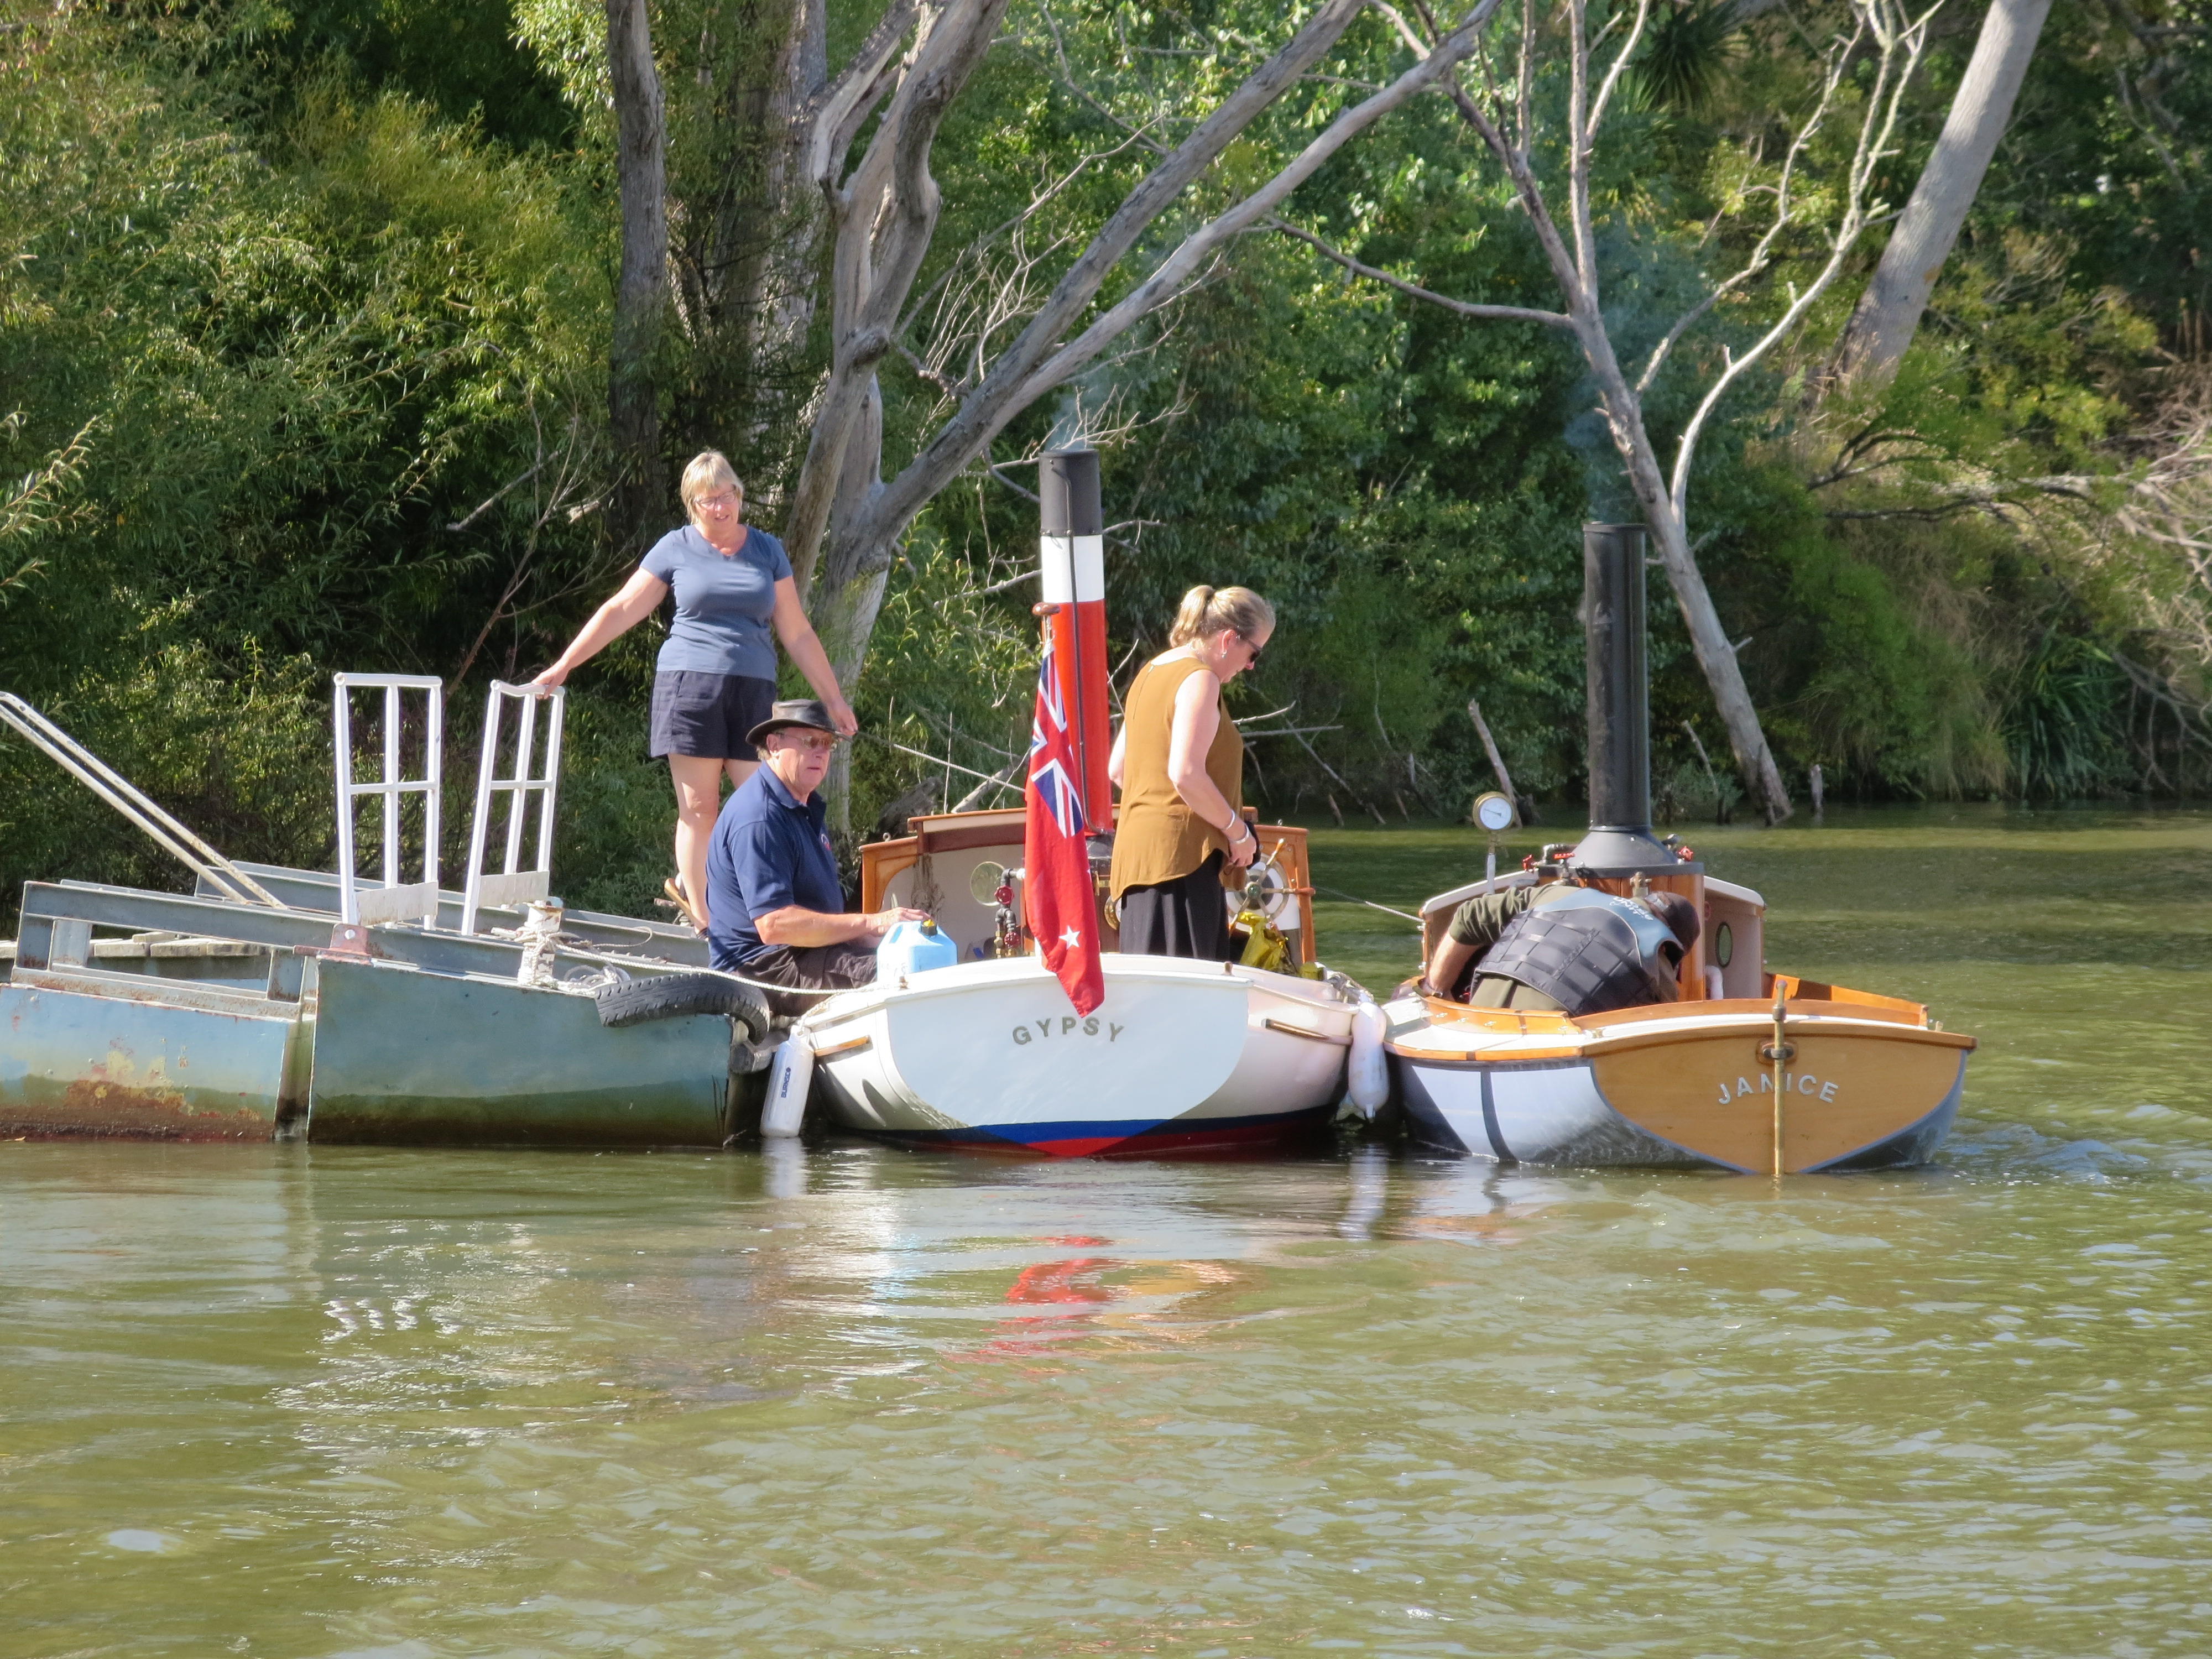
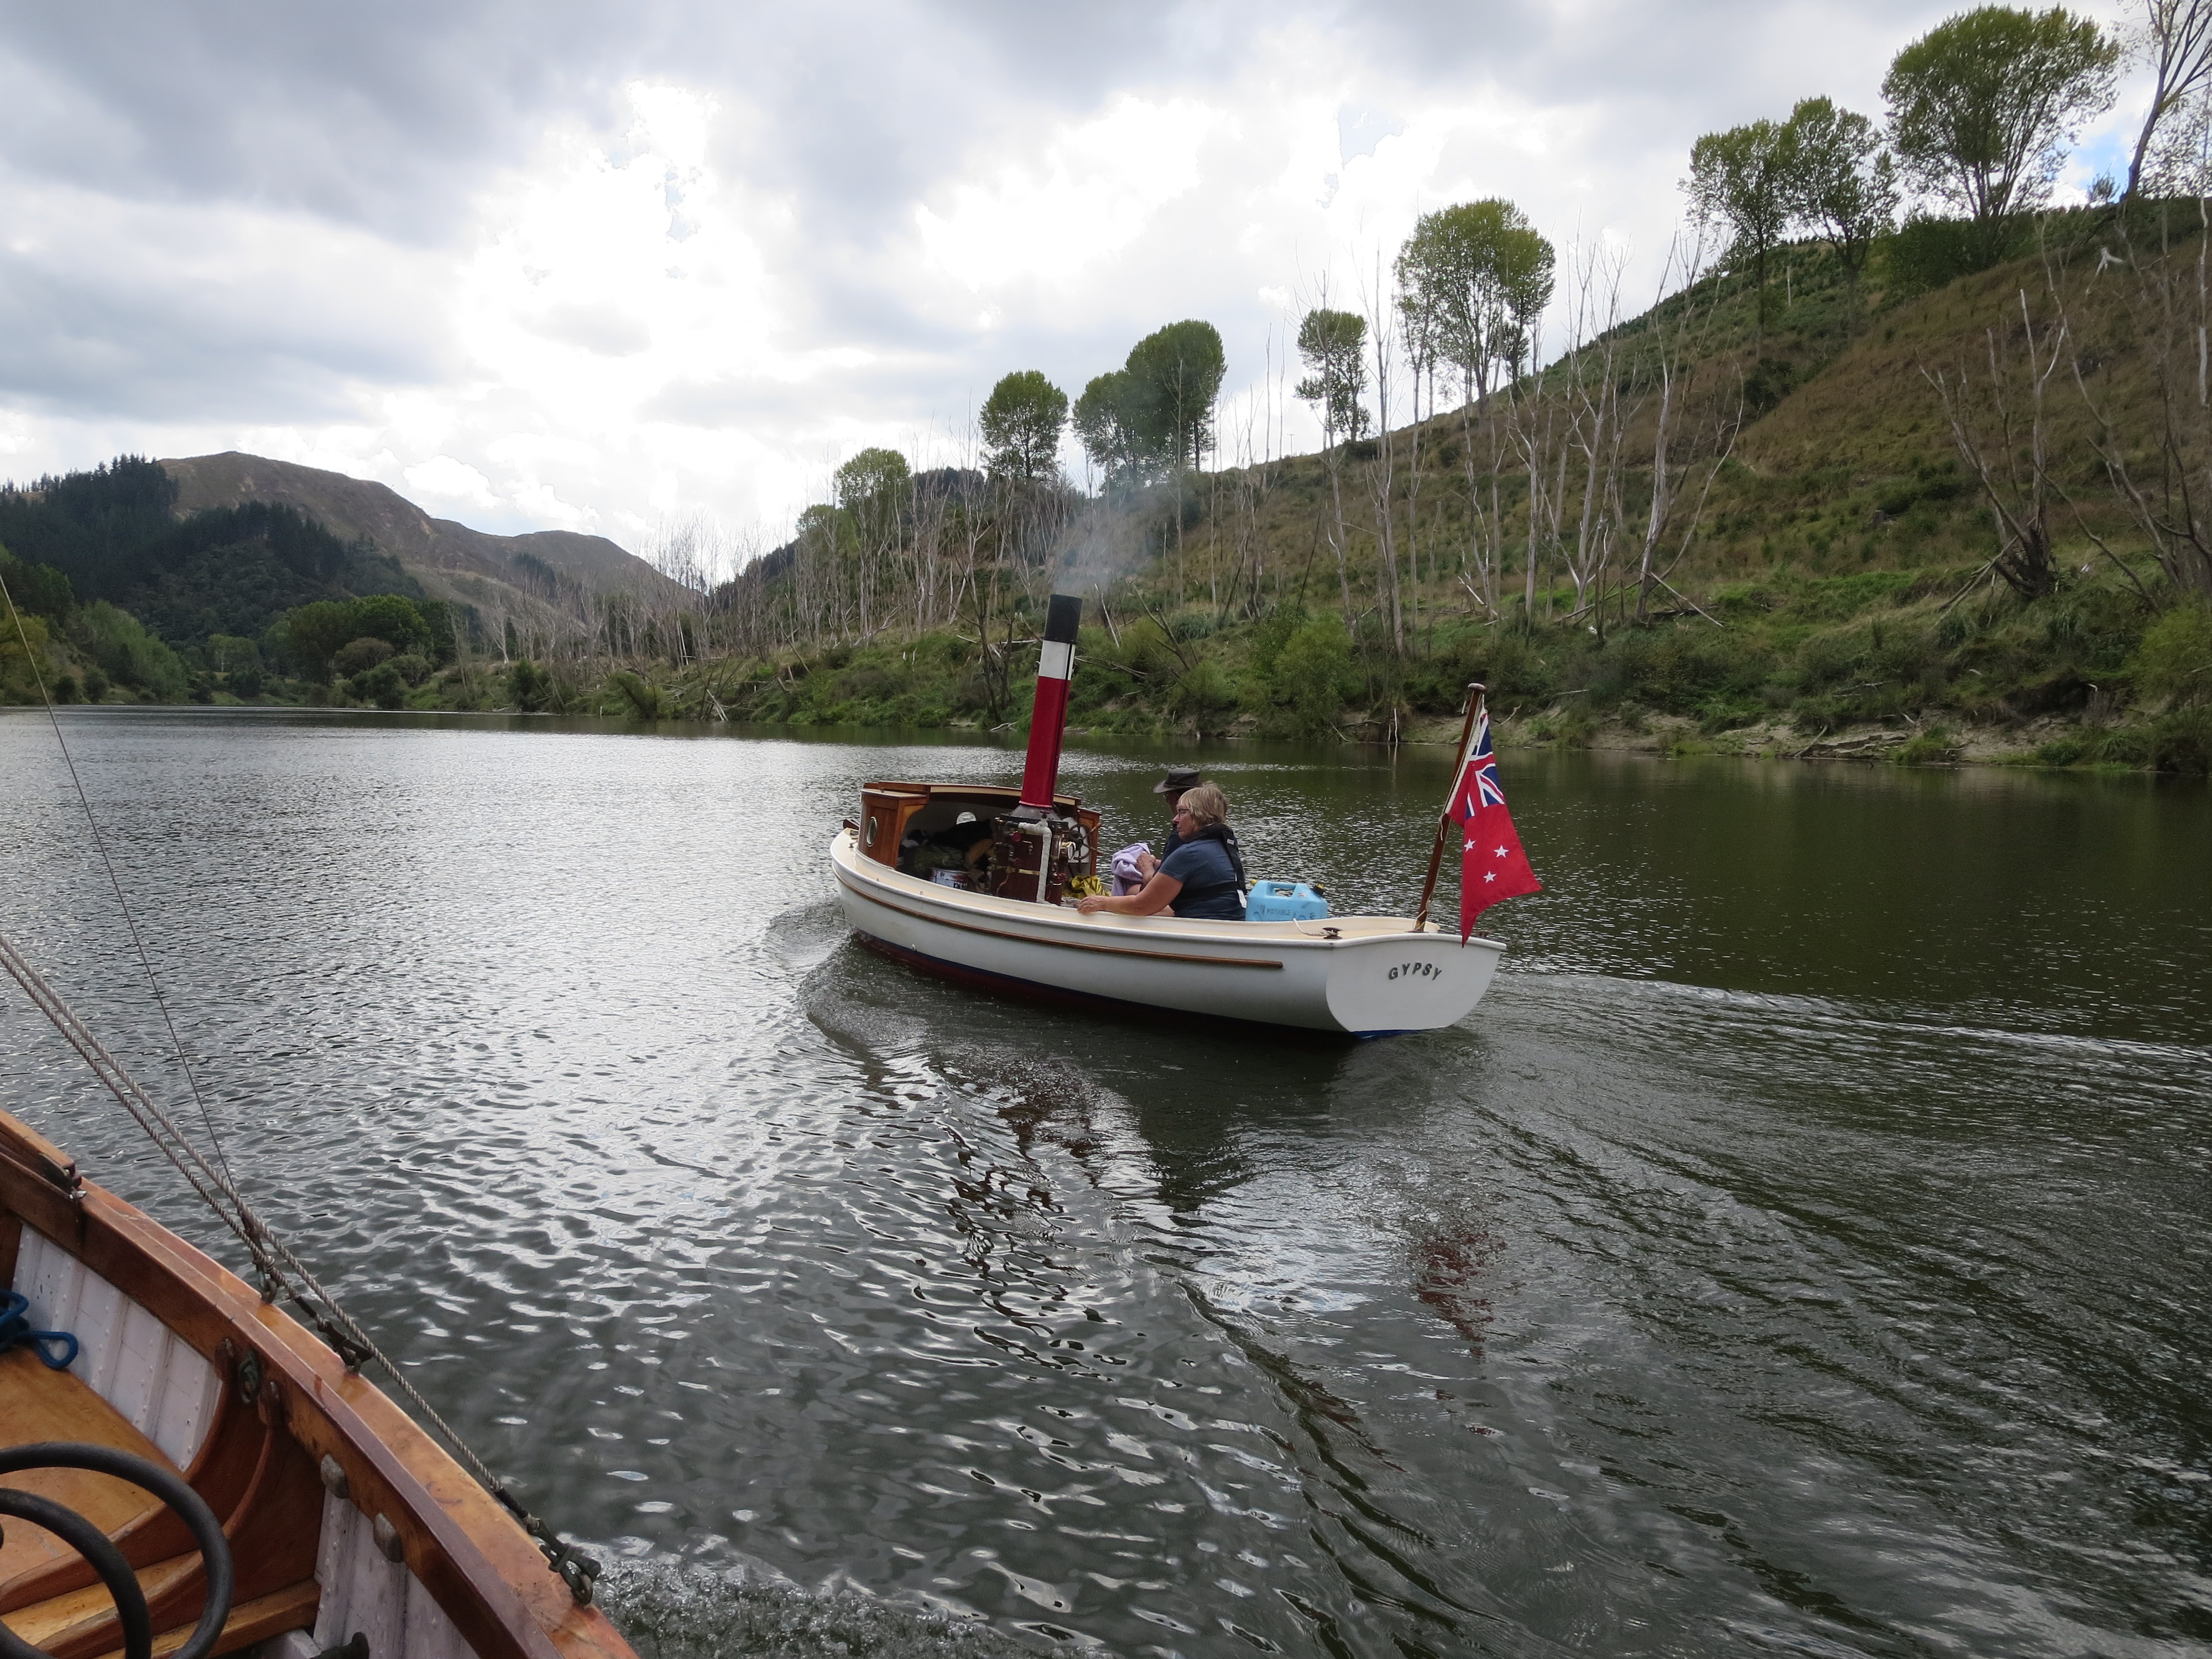
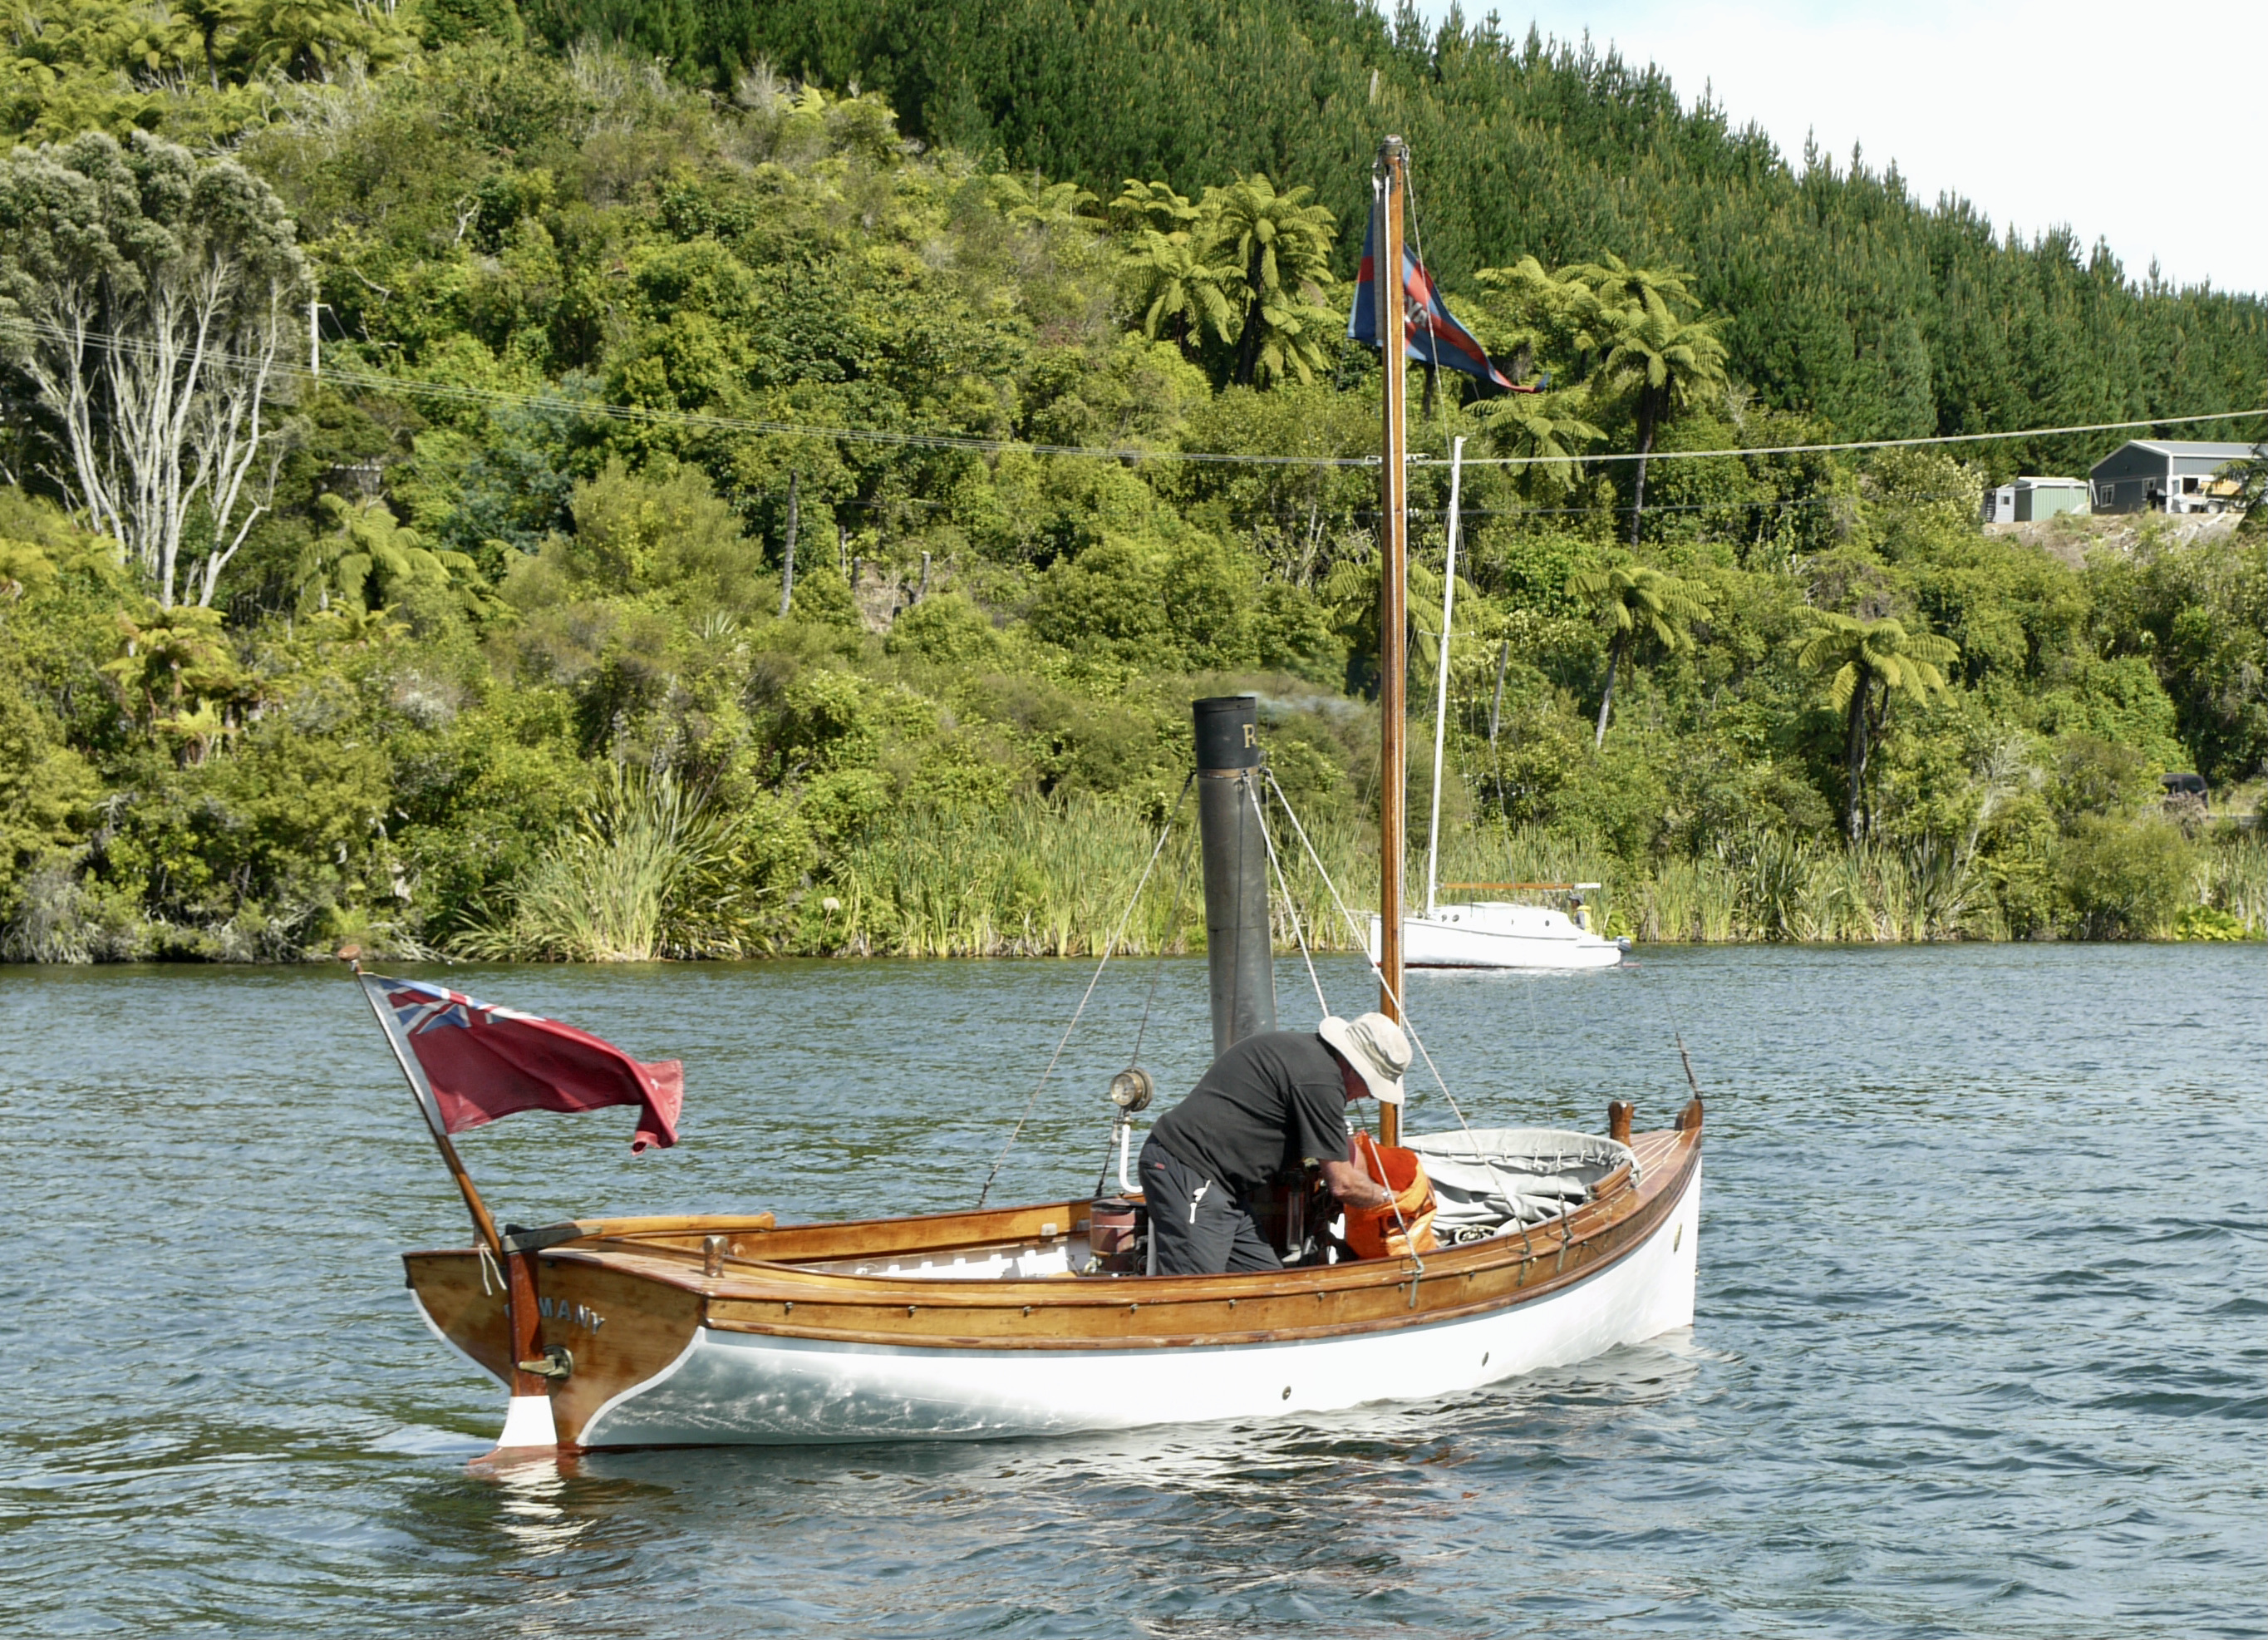
In the 2nd photo above we see three steamboats rafted up at the upper part just below the steamer Dancer, They are Romany, Janice and Gypsy –all 3 boats once owned or owned by Russell. Russell reports that Janice and Gypsy are now in the hands of devoted owners who obviously enjoy polishing brass and copper. Gypsy has infected more people with steam enginitas (as Pete Culler said “don’t go near it or you’re hooked” than any other boat 🙂
Russell had promised to pen some copy around the weekend, but life got in the way – so today is a photo essay. Photos ex: Russell Ward, Phil Pollero and Chris Rabey
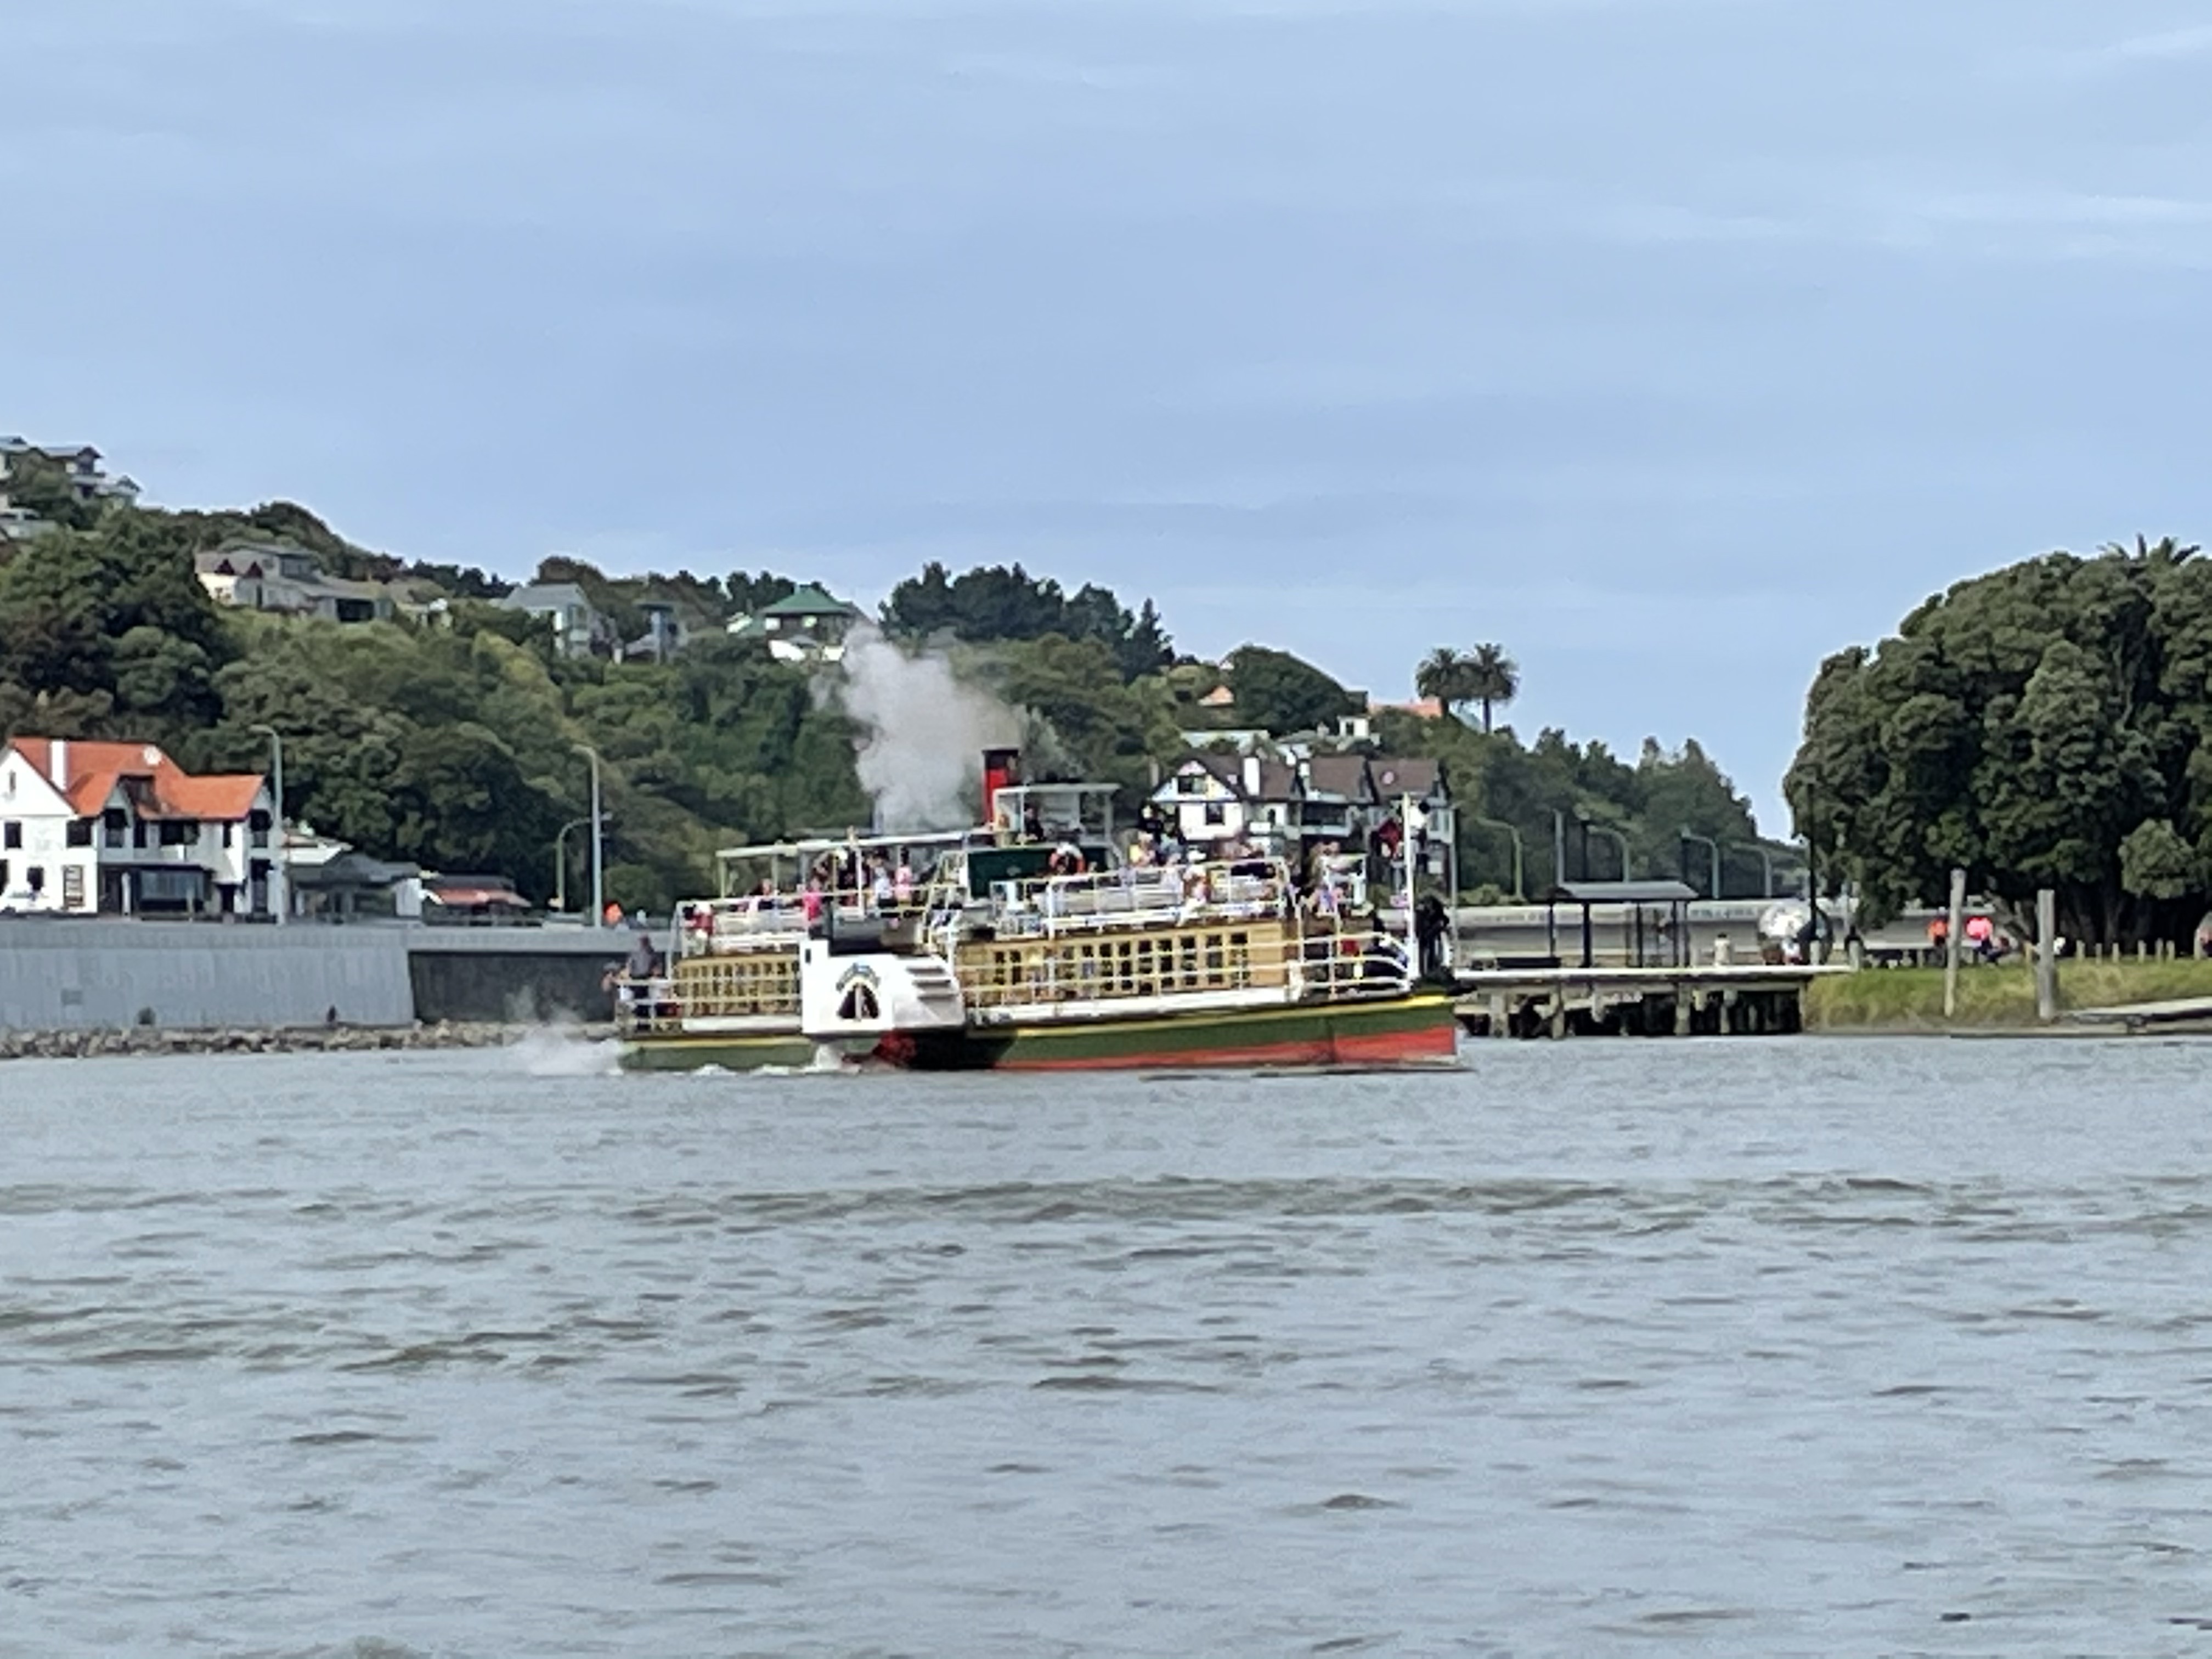
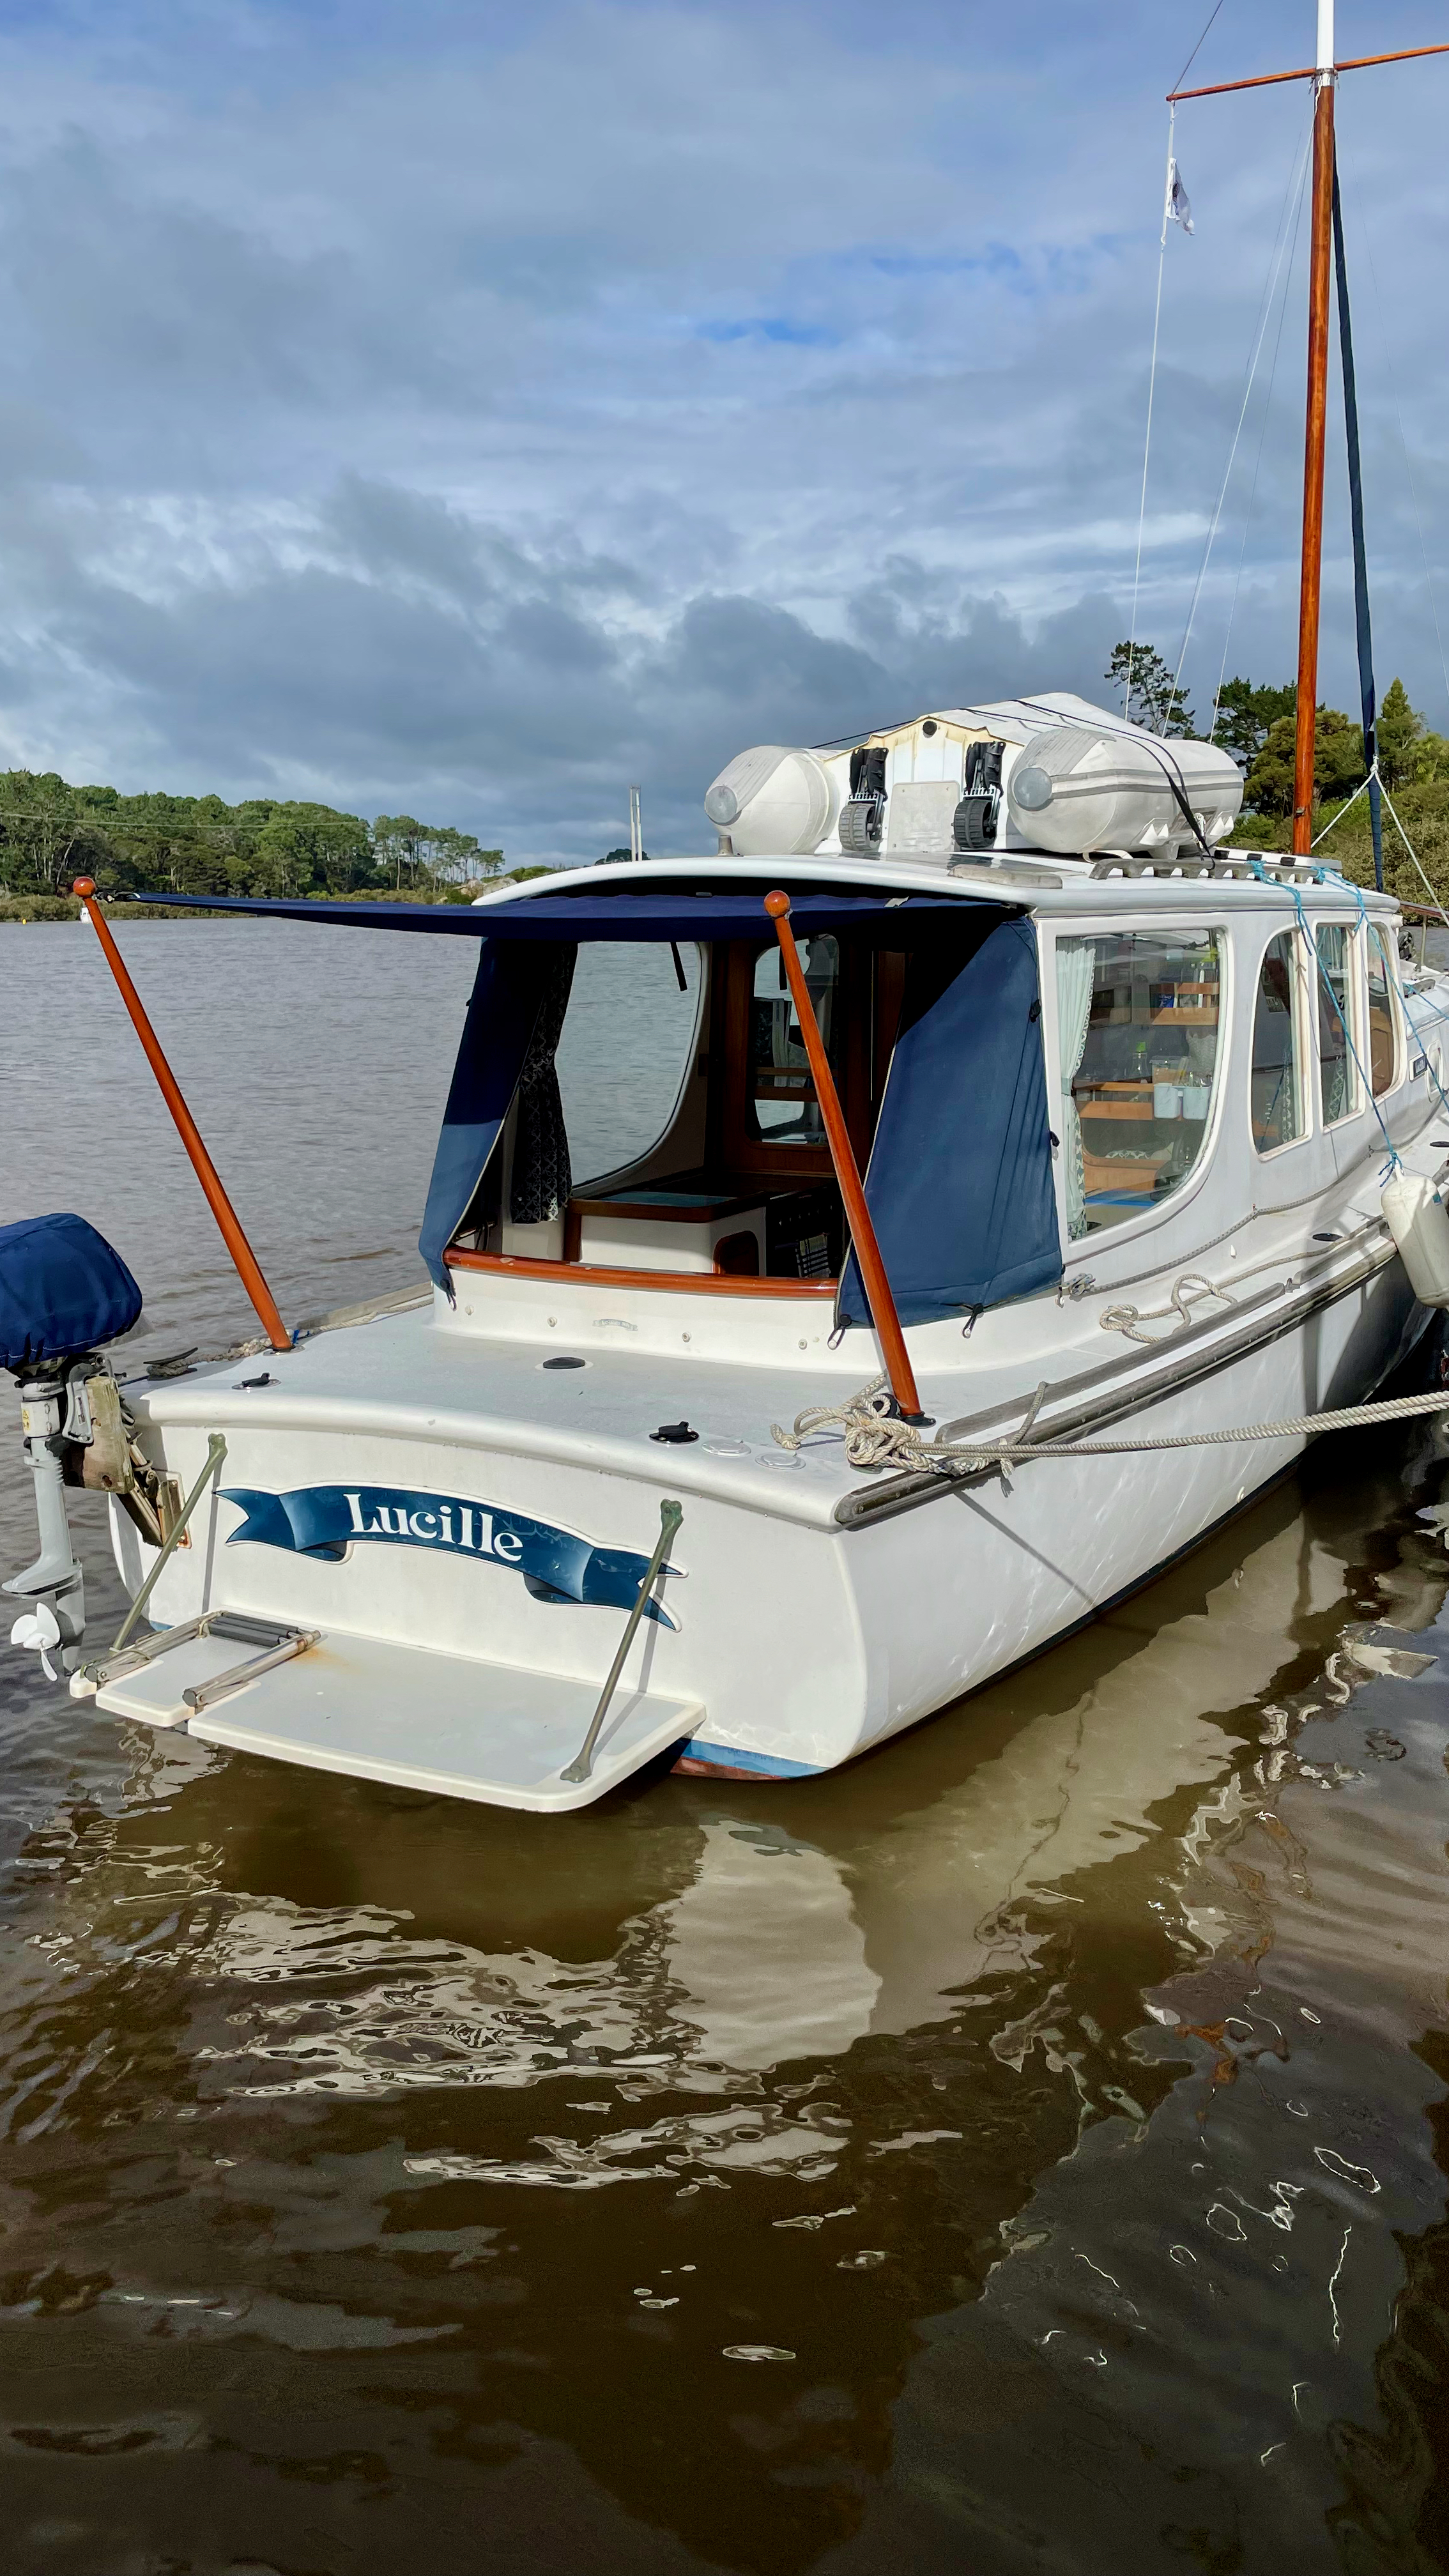
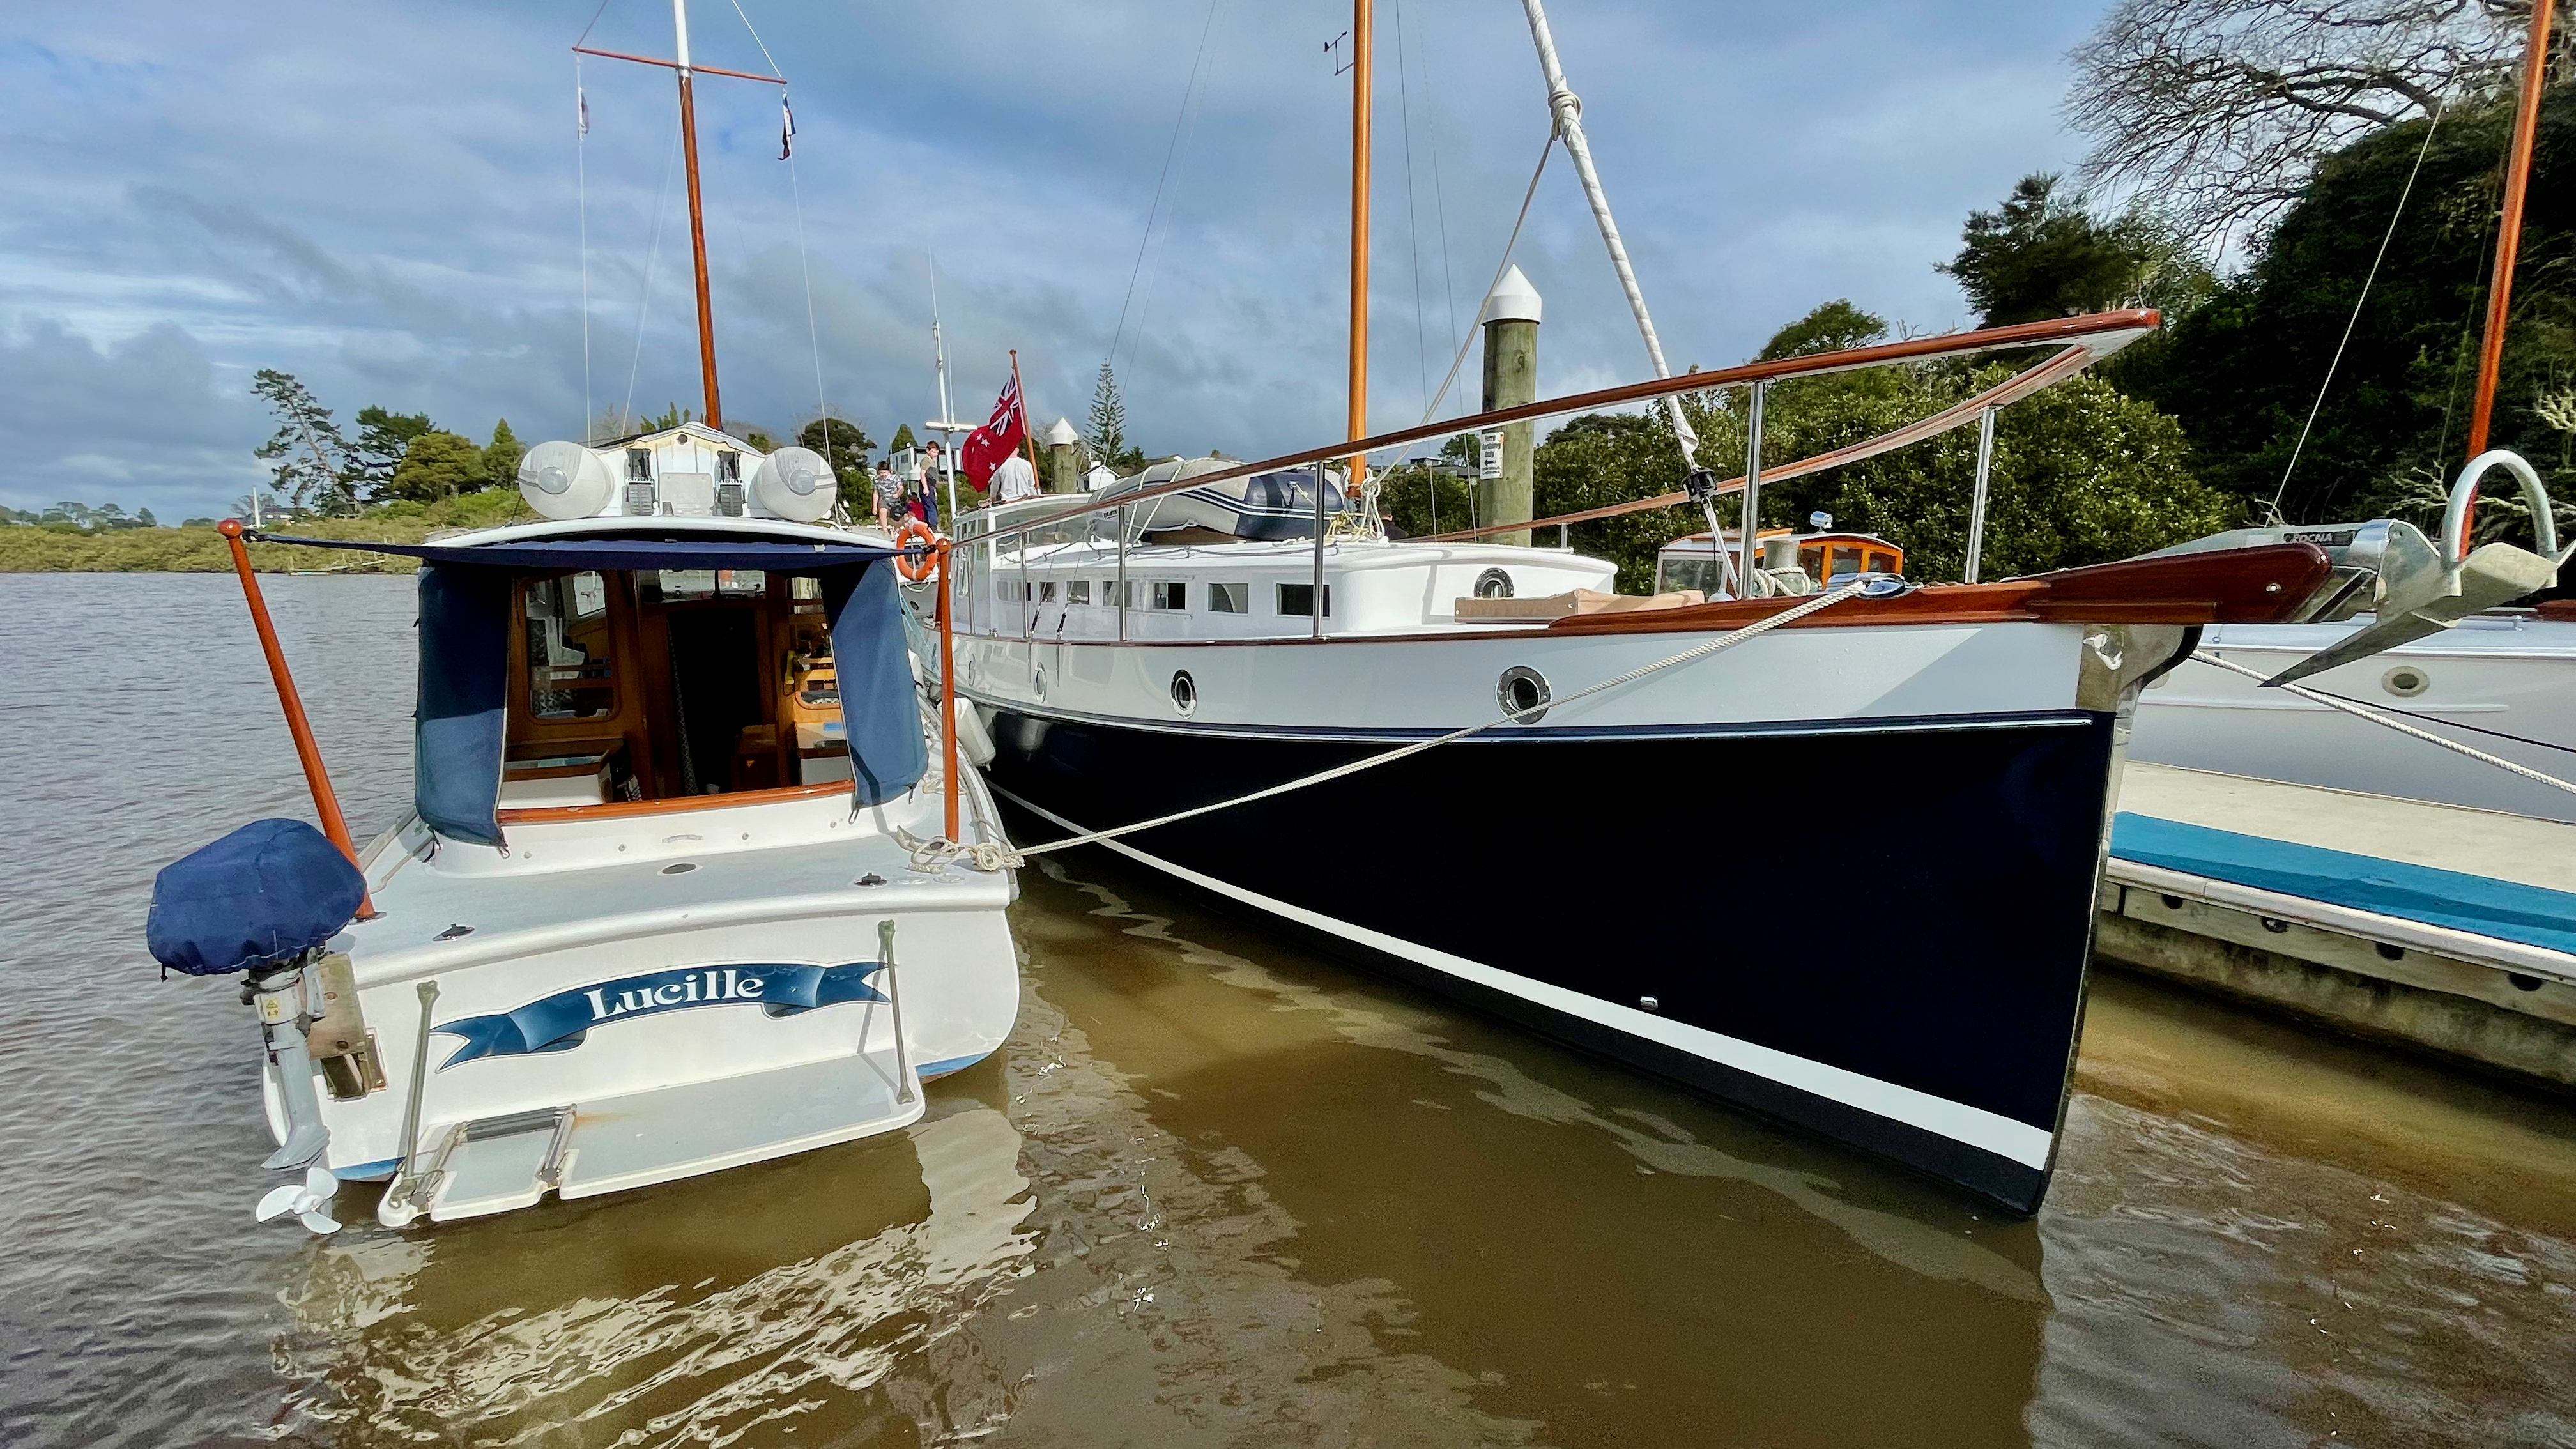
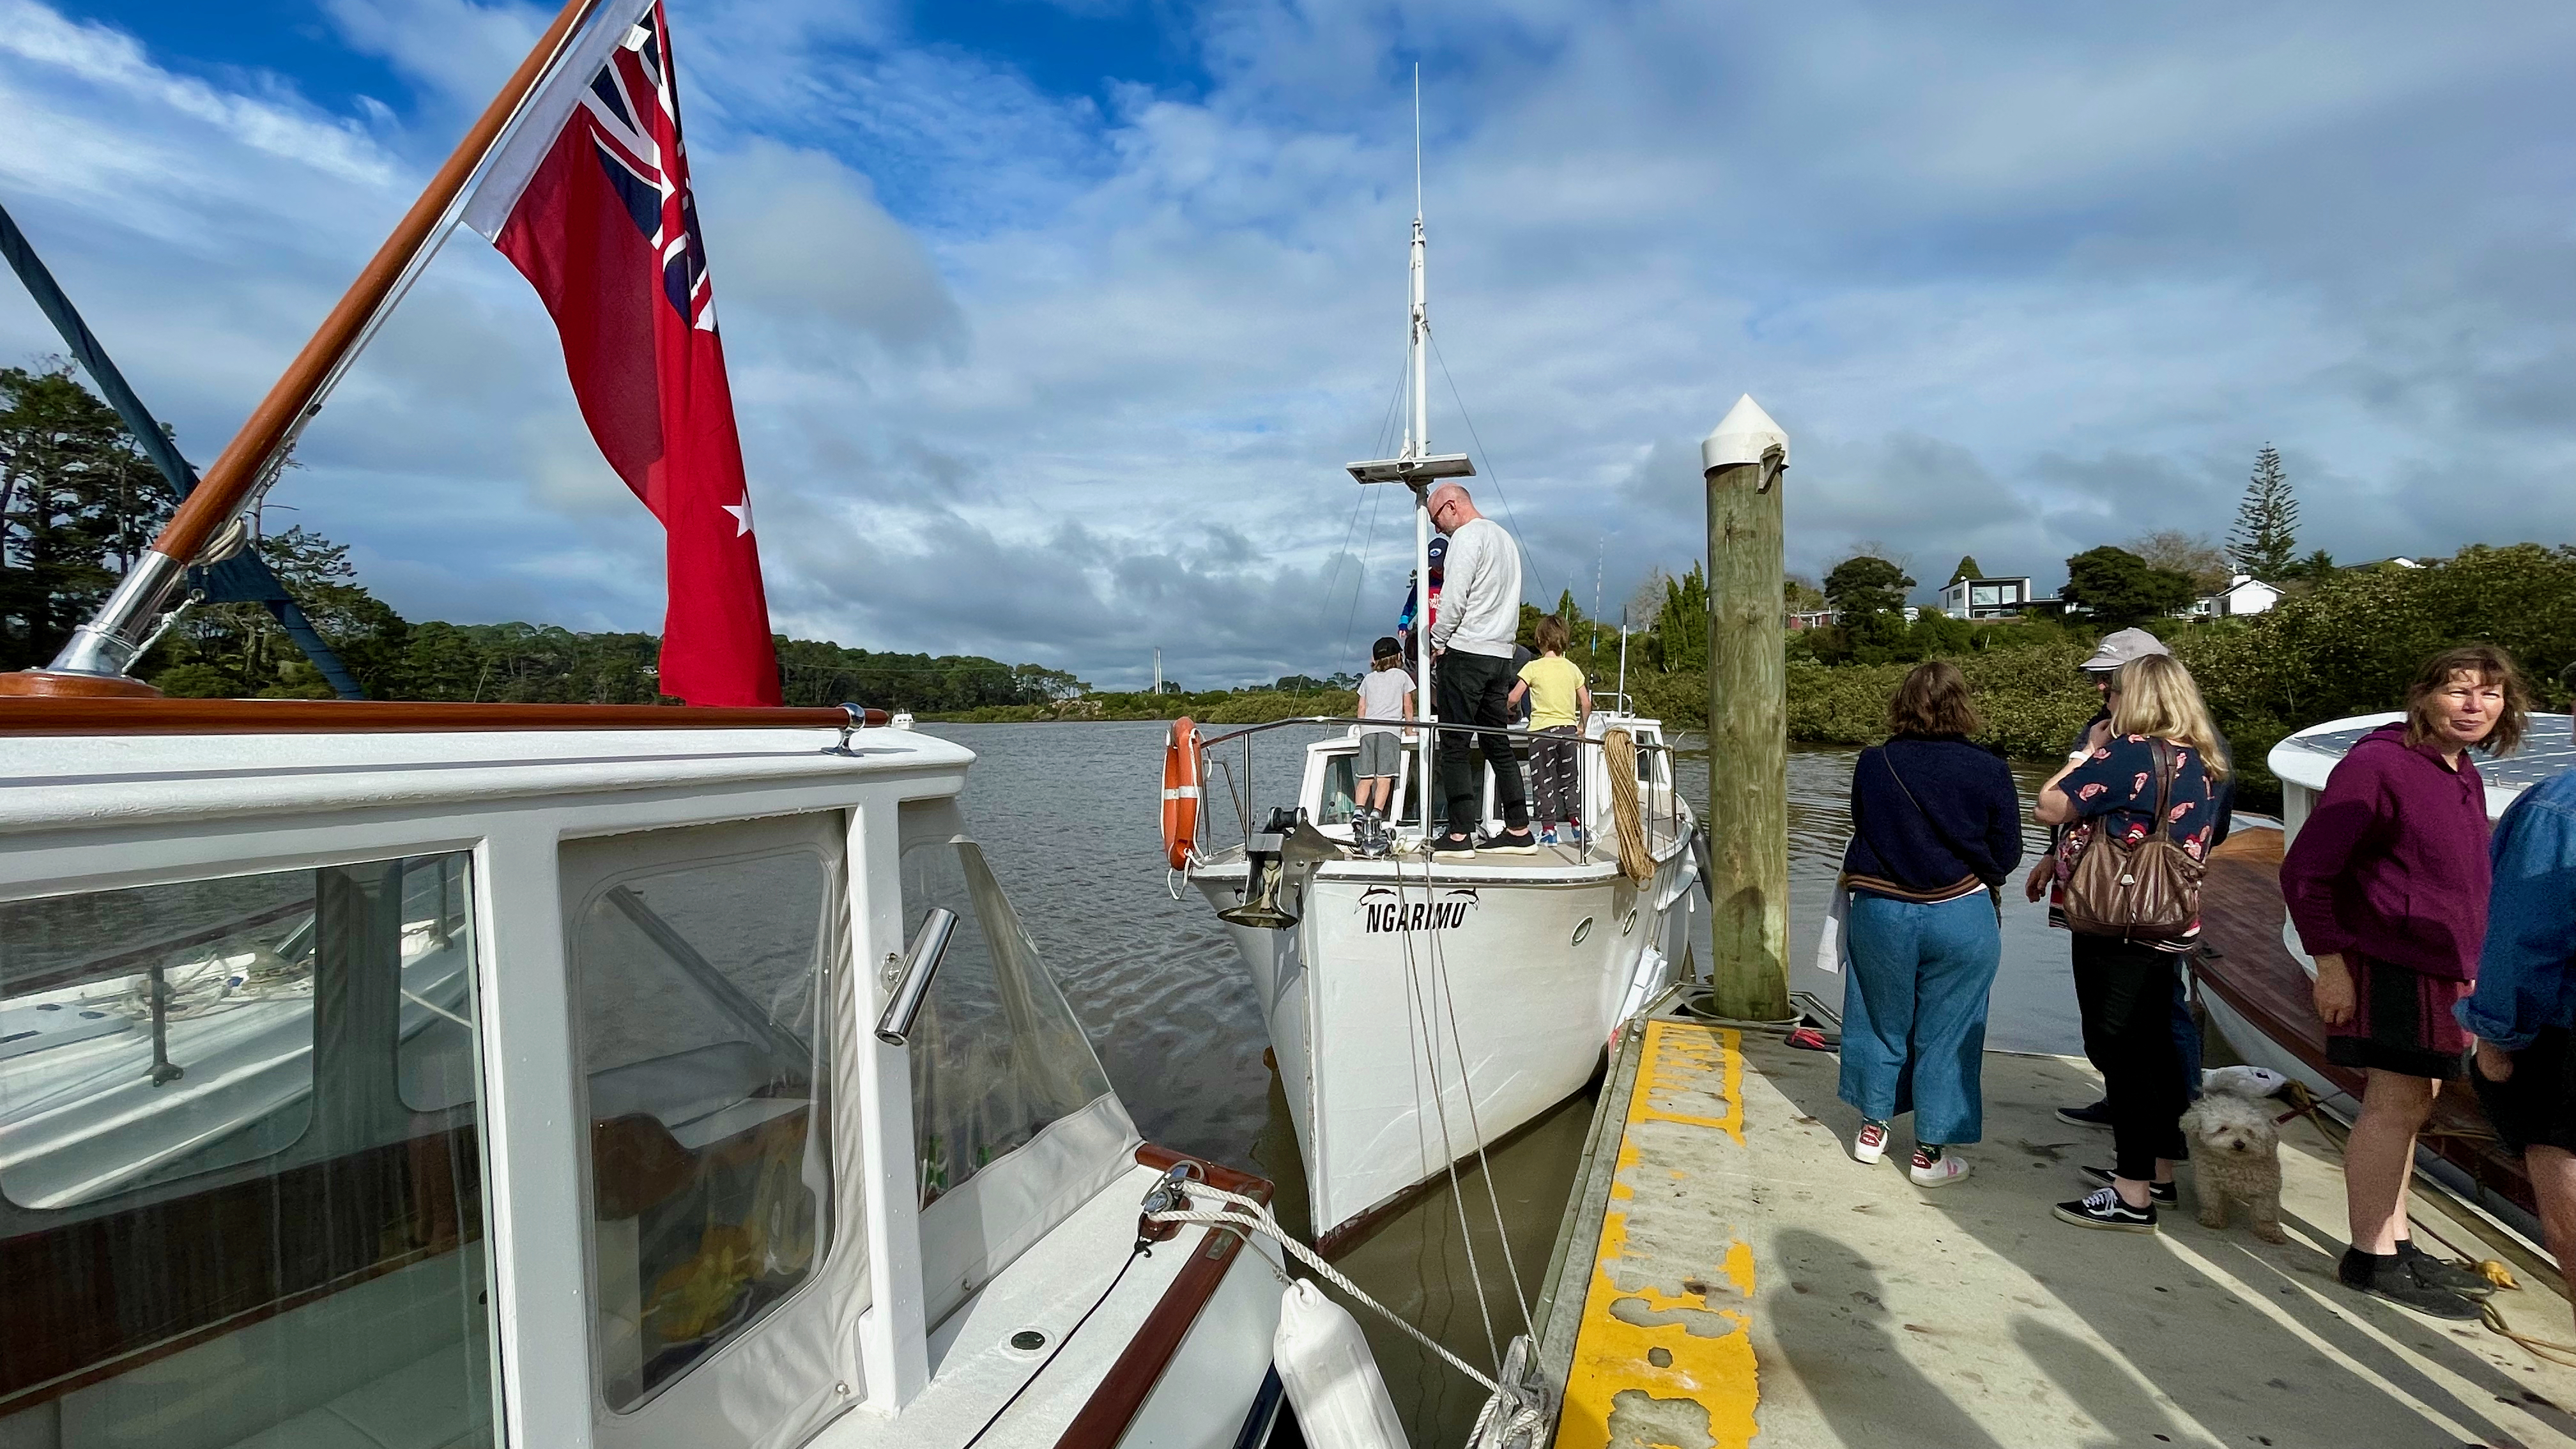
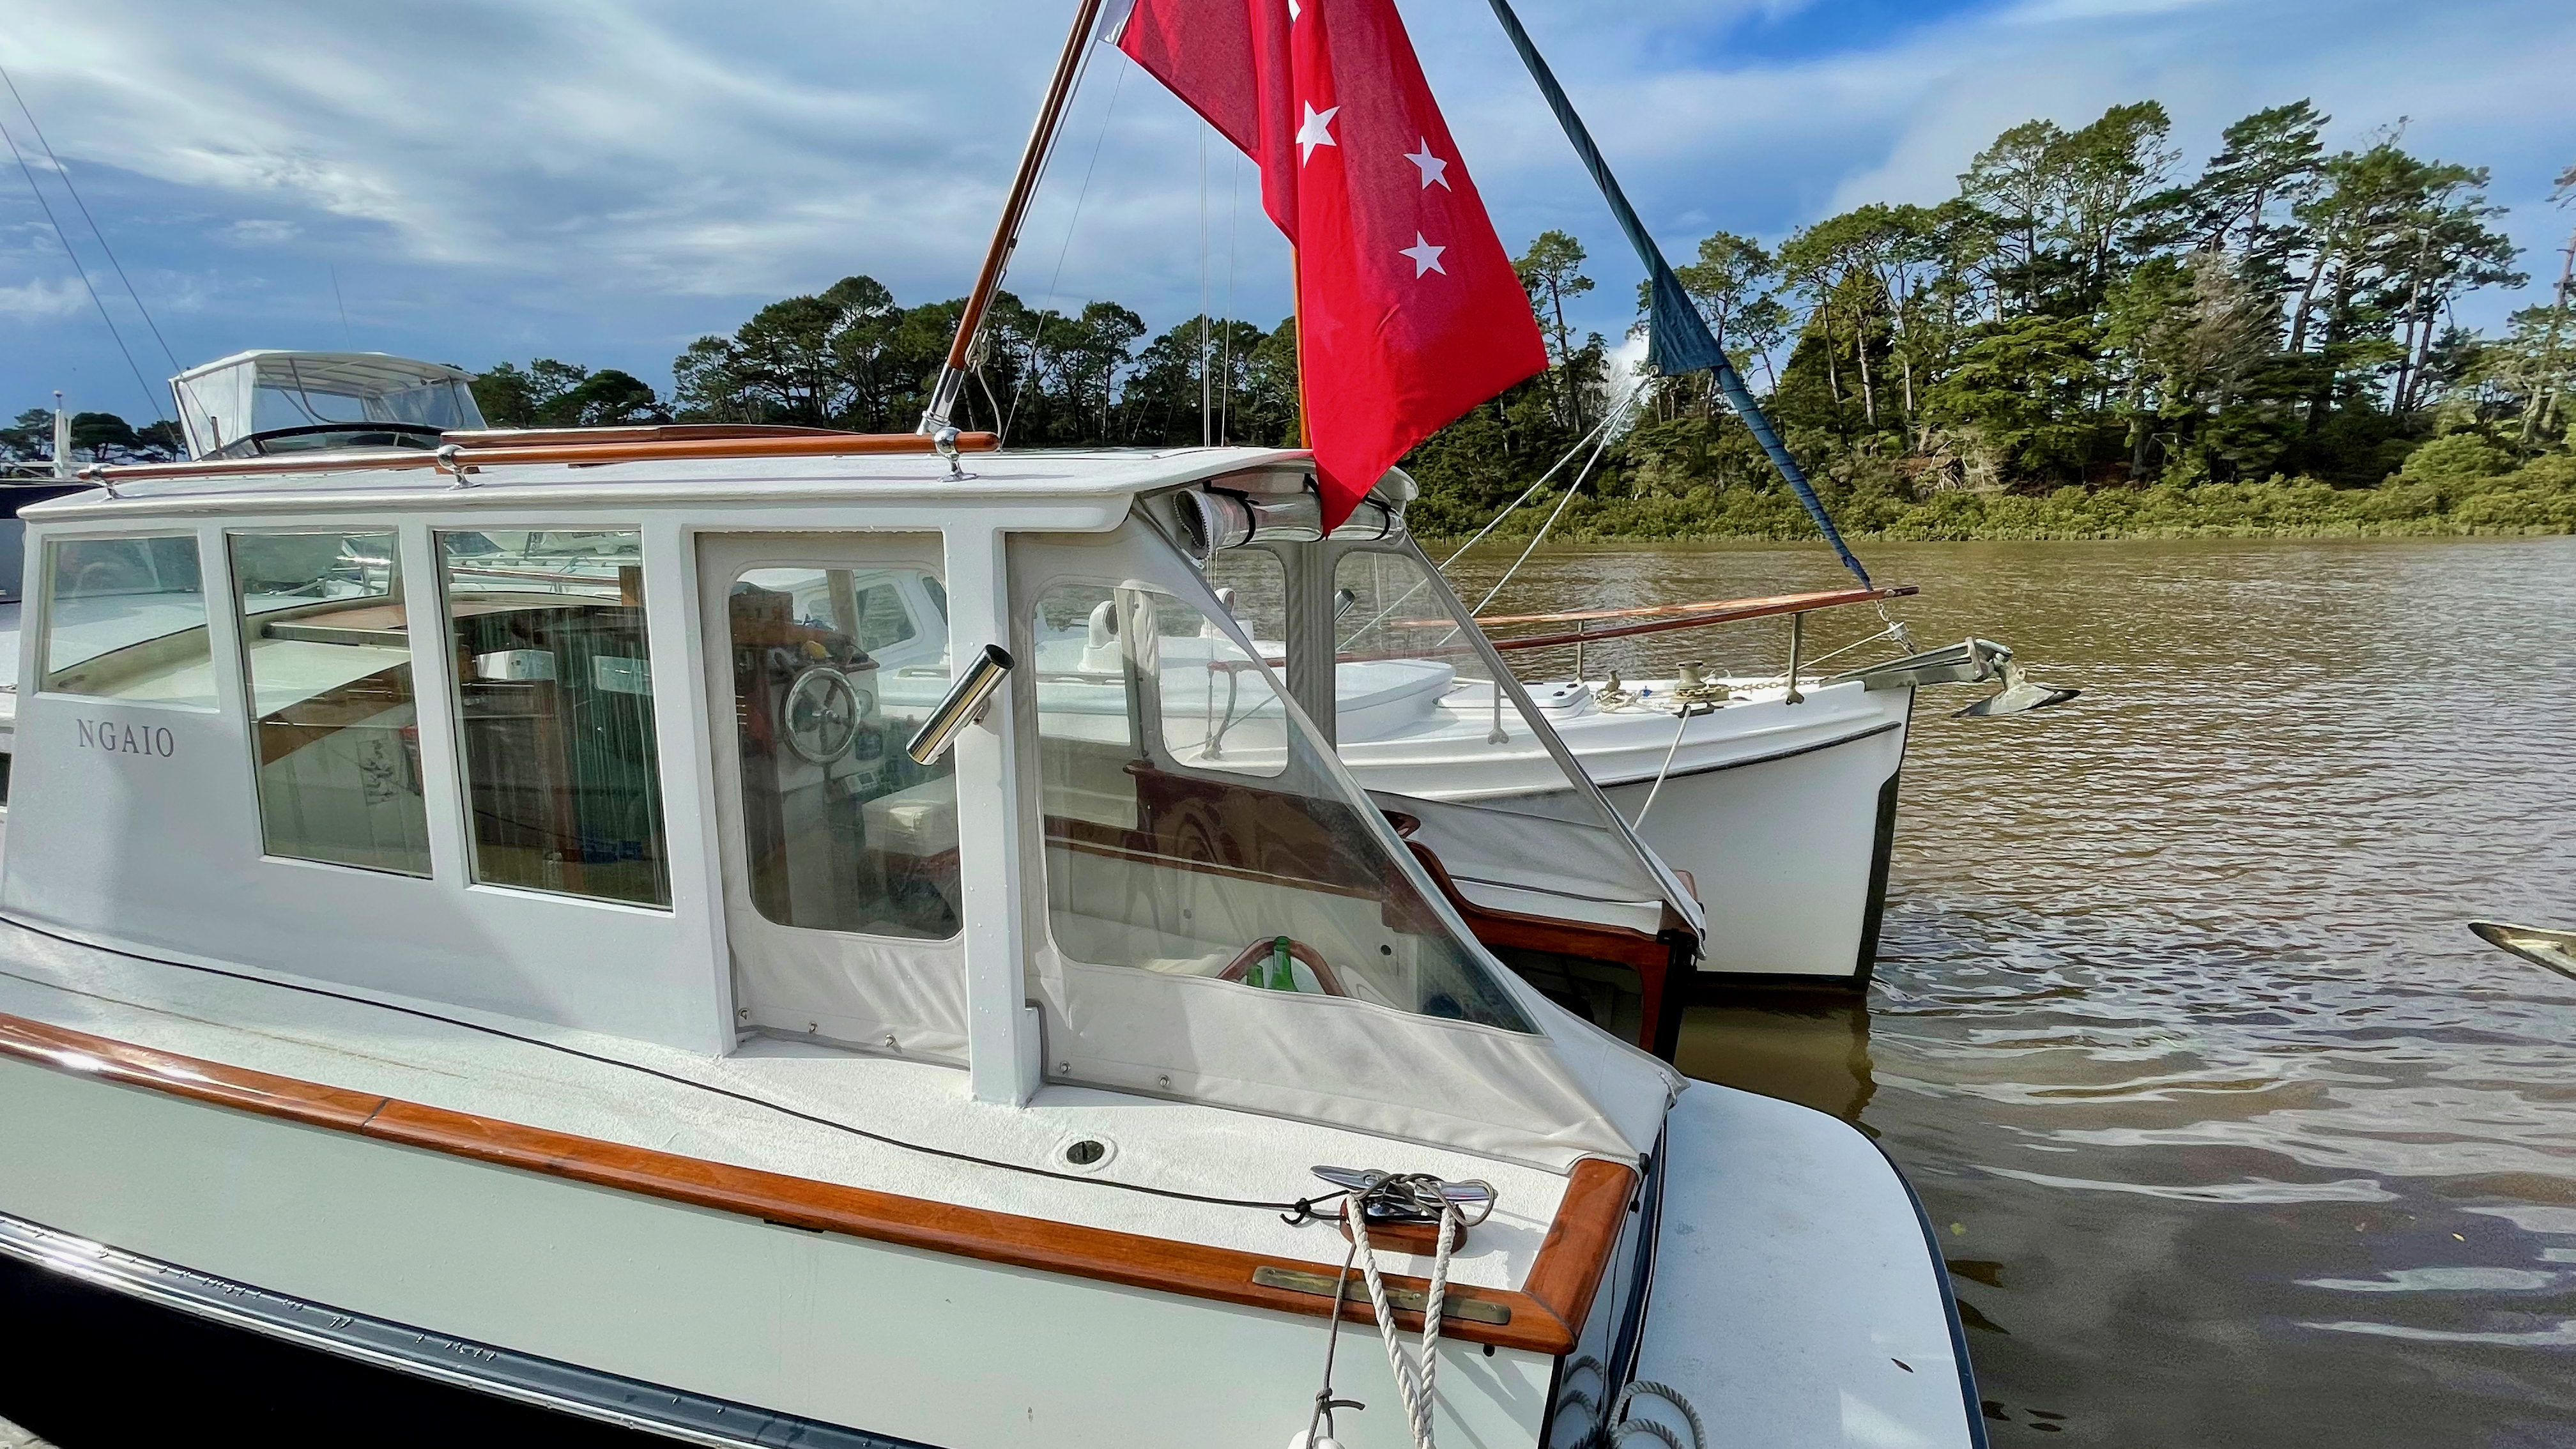
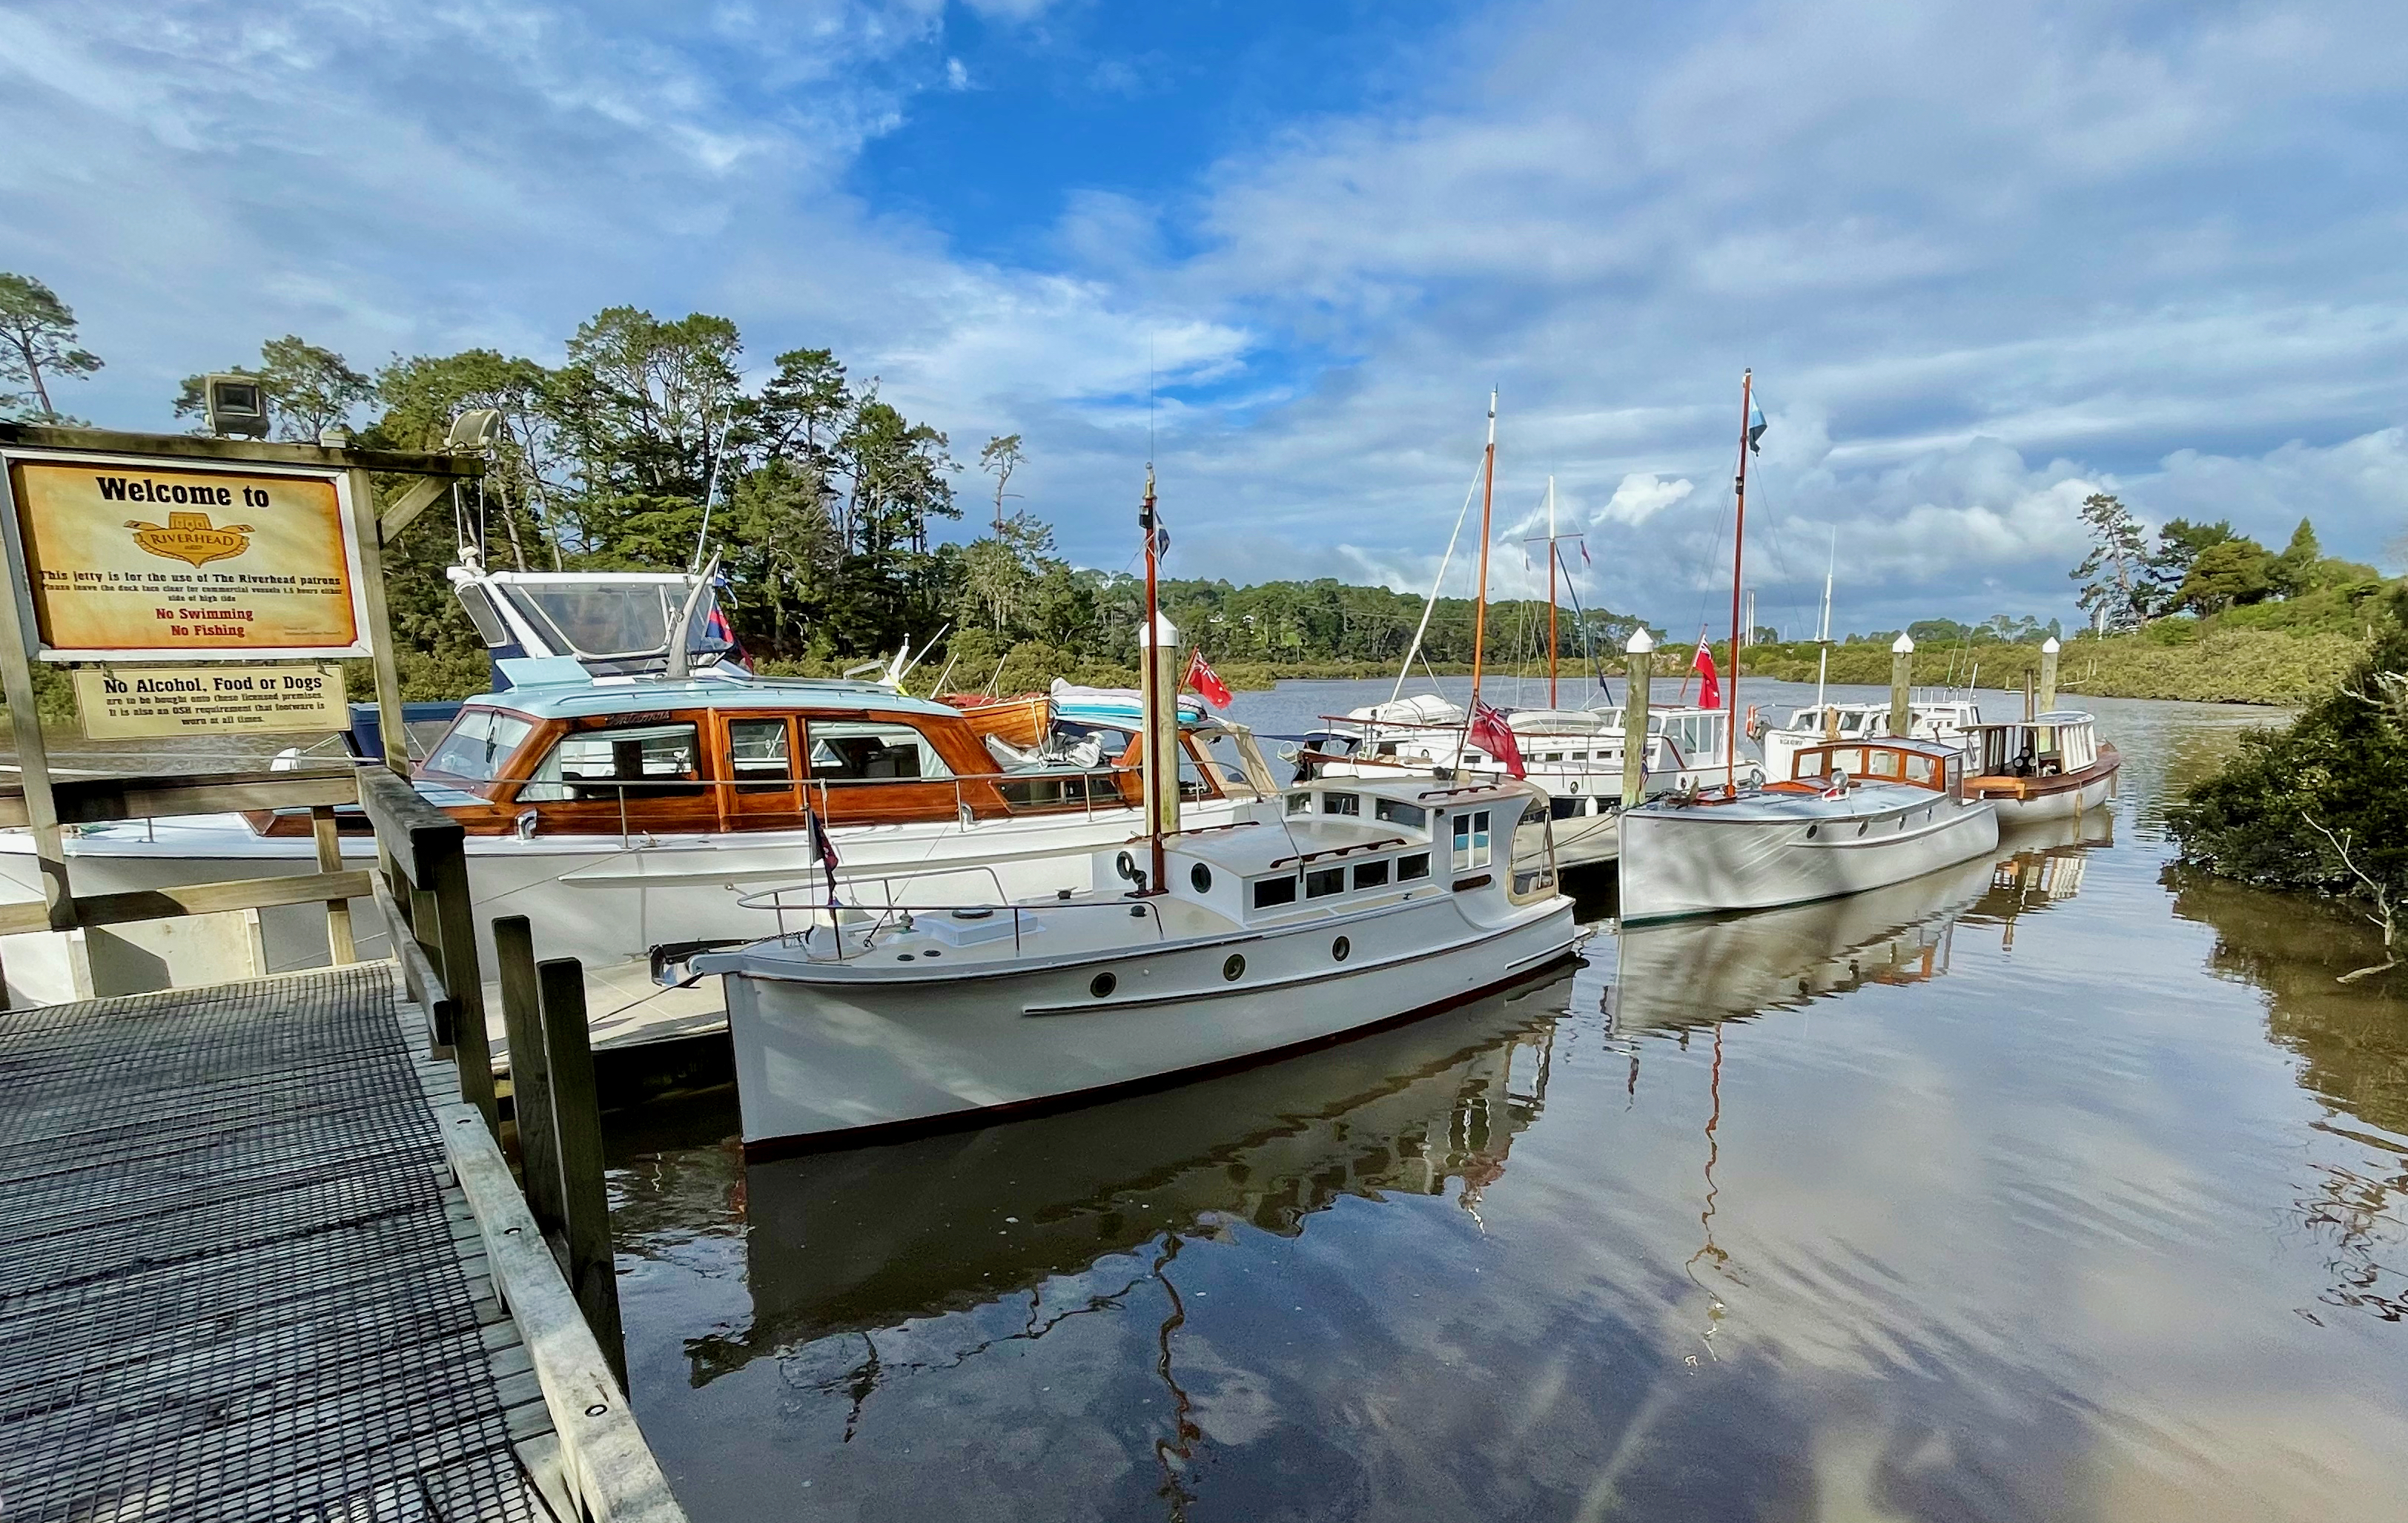
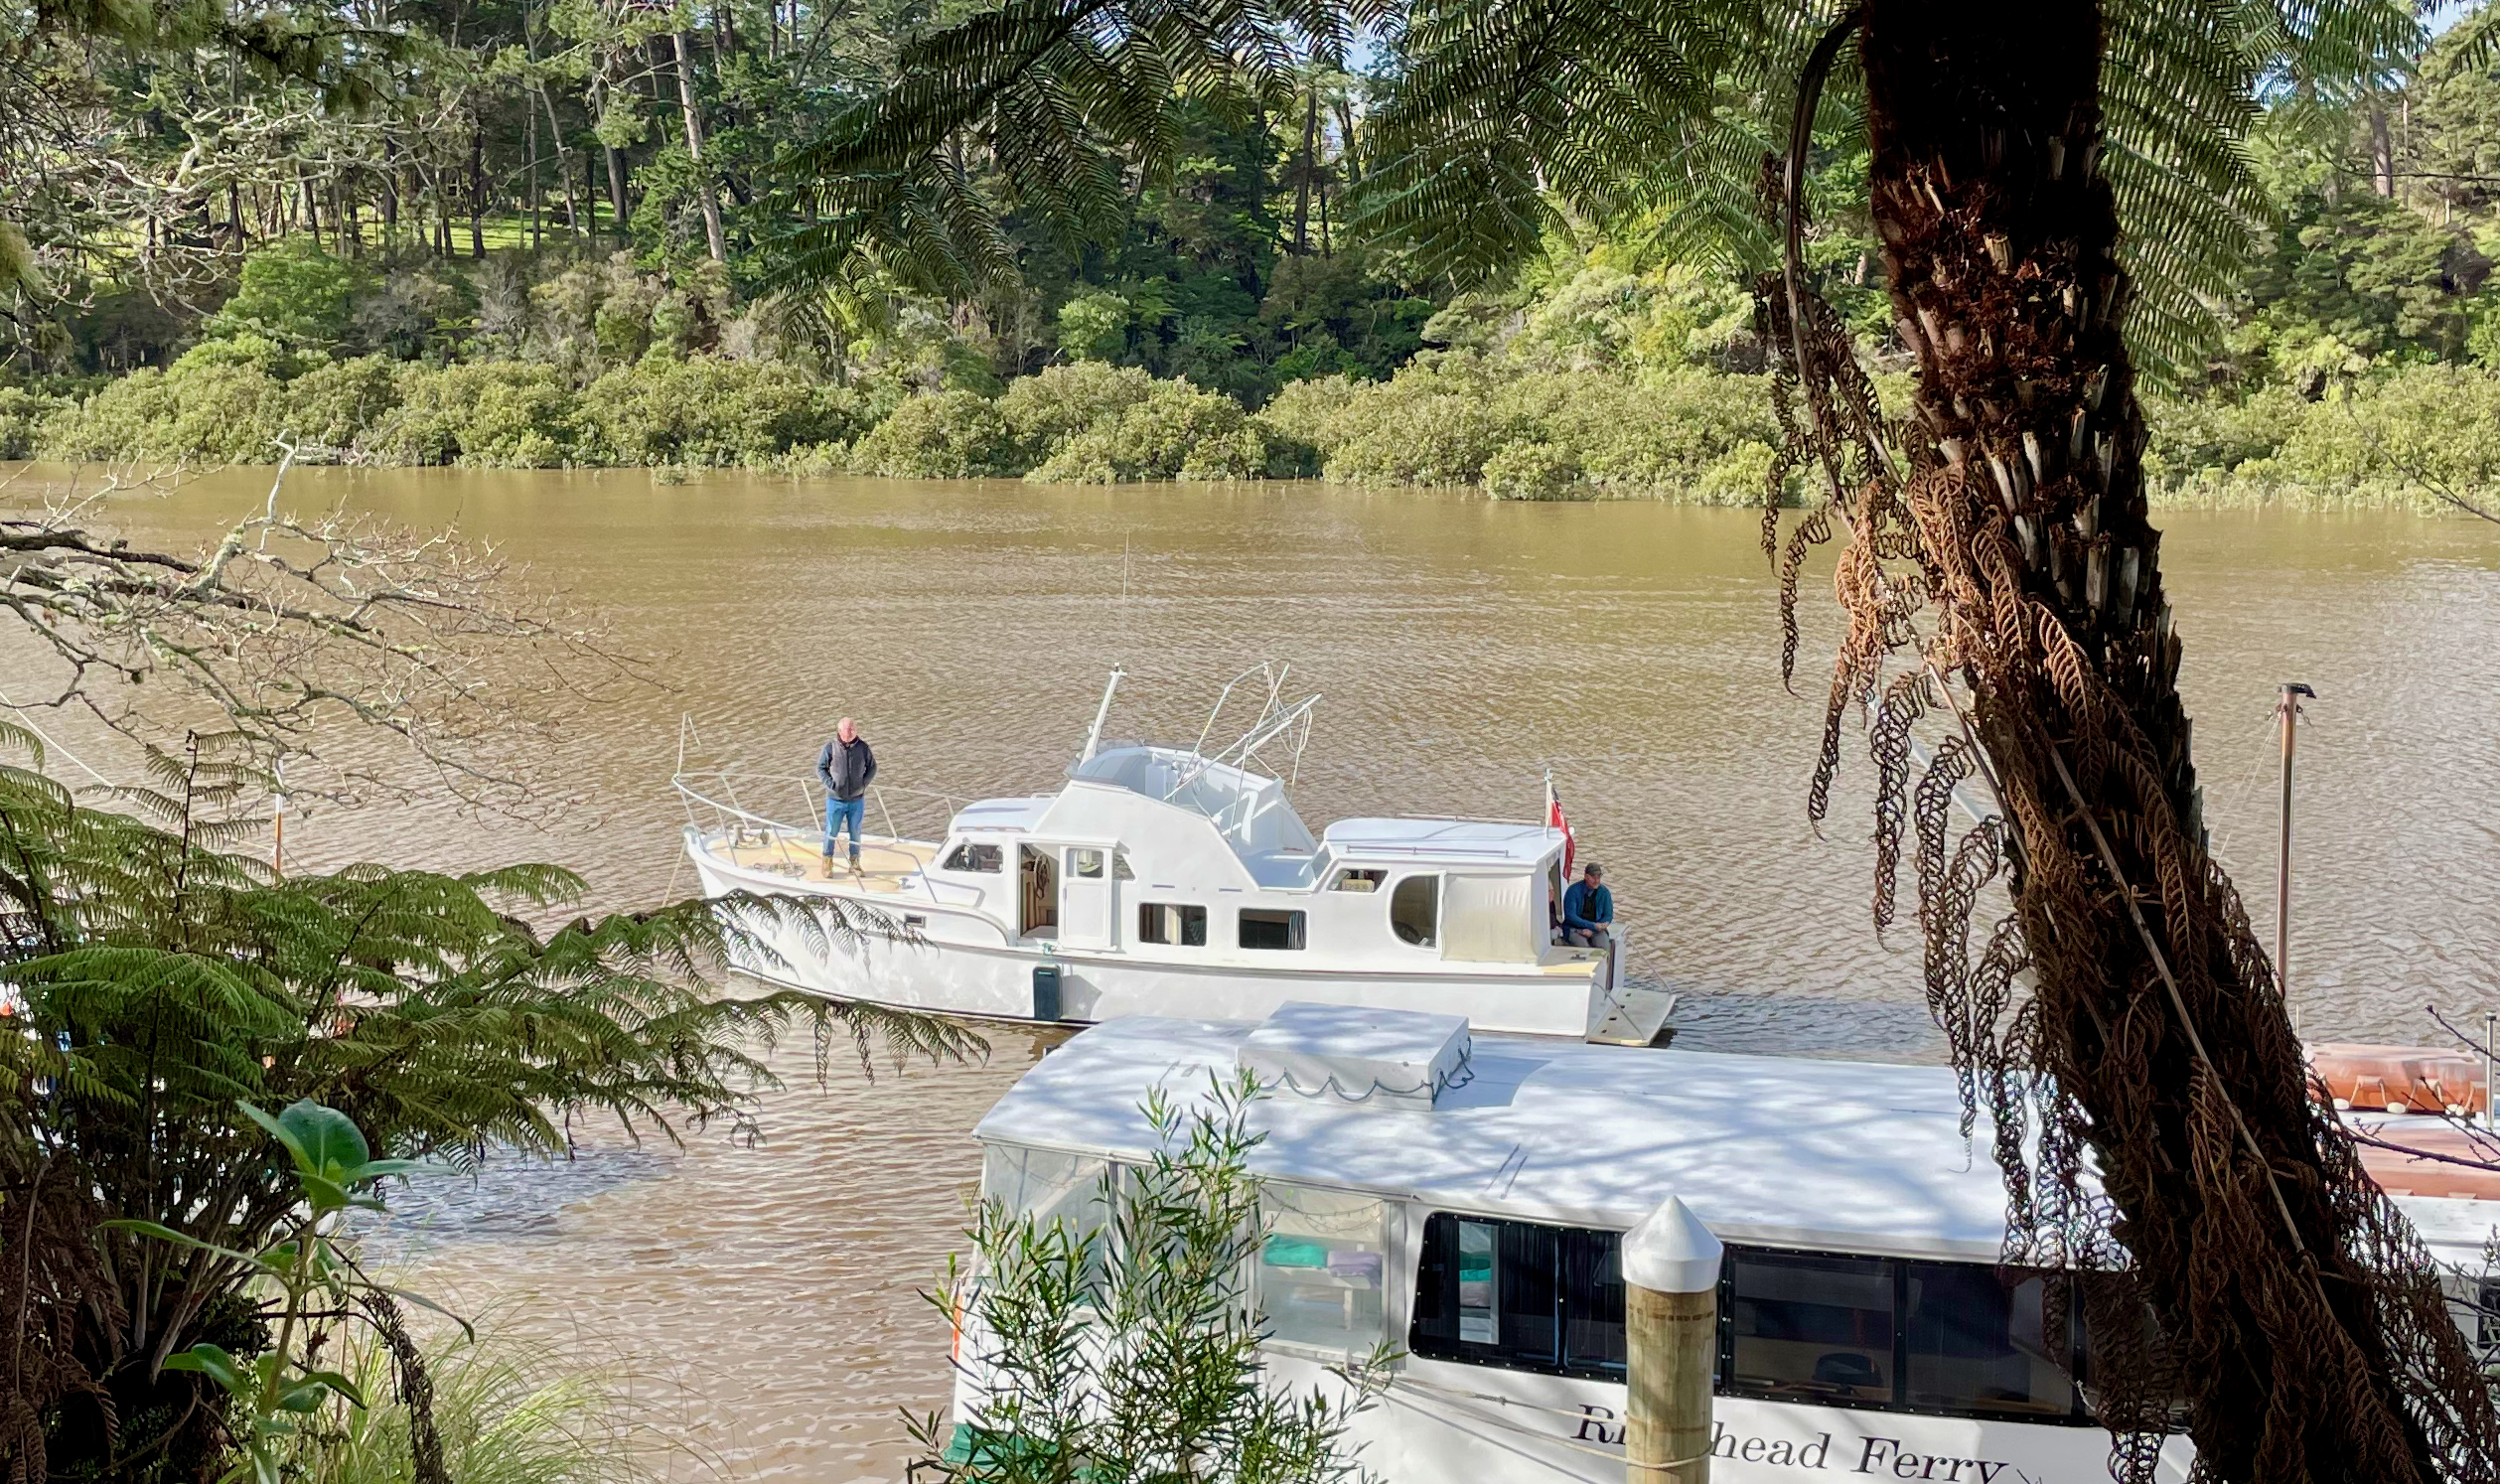
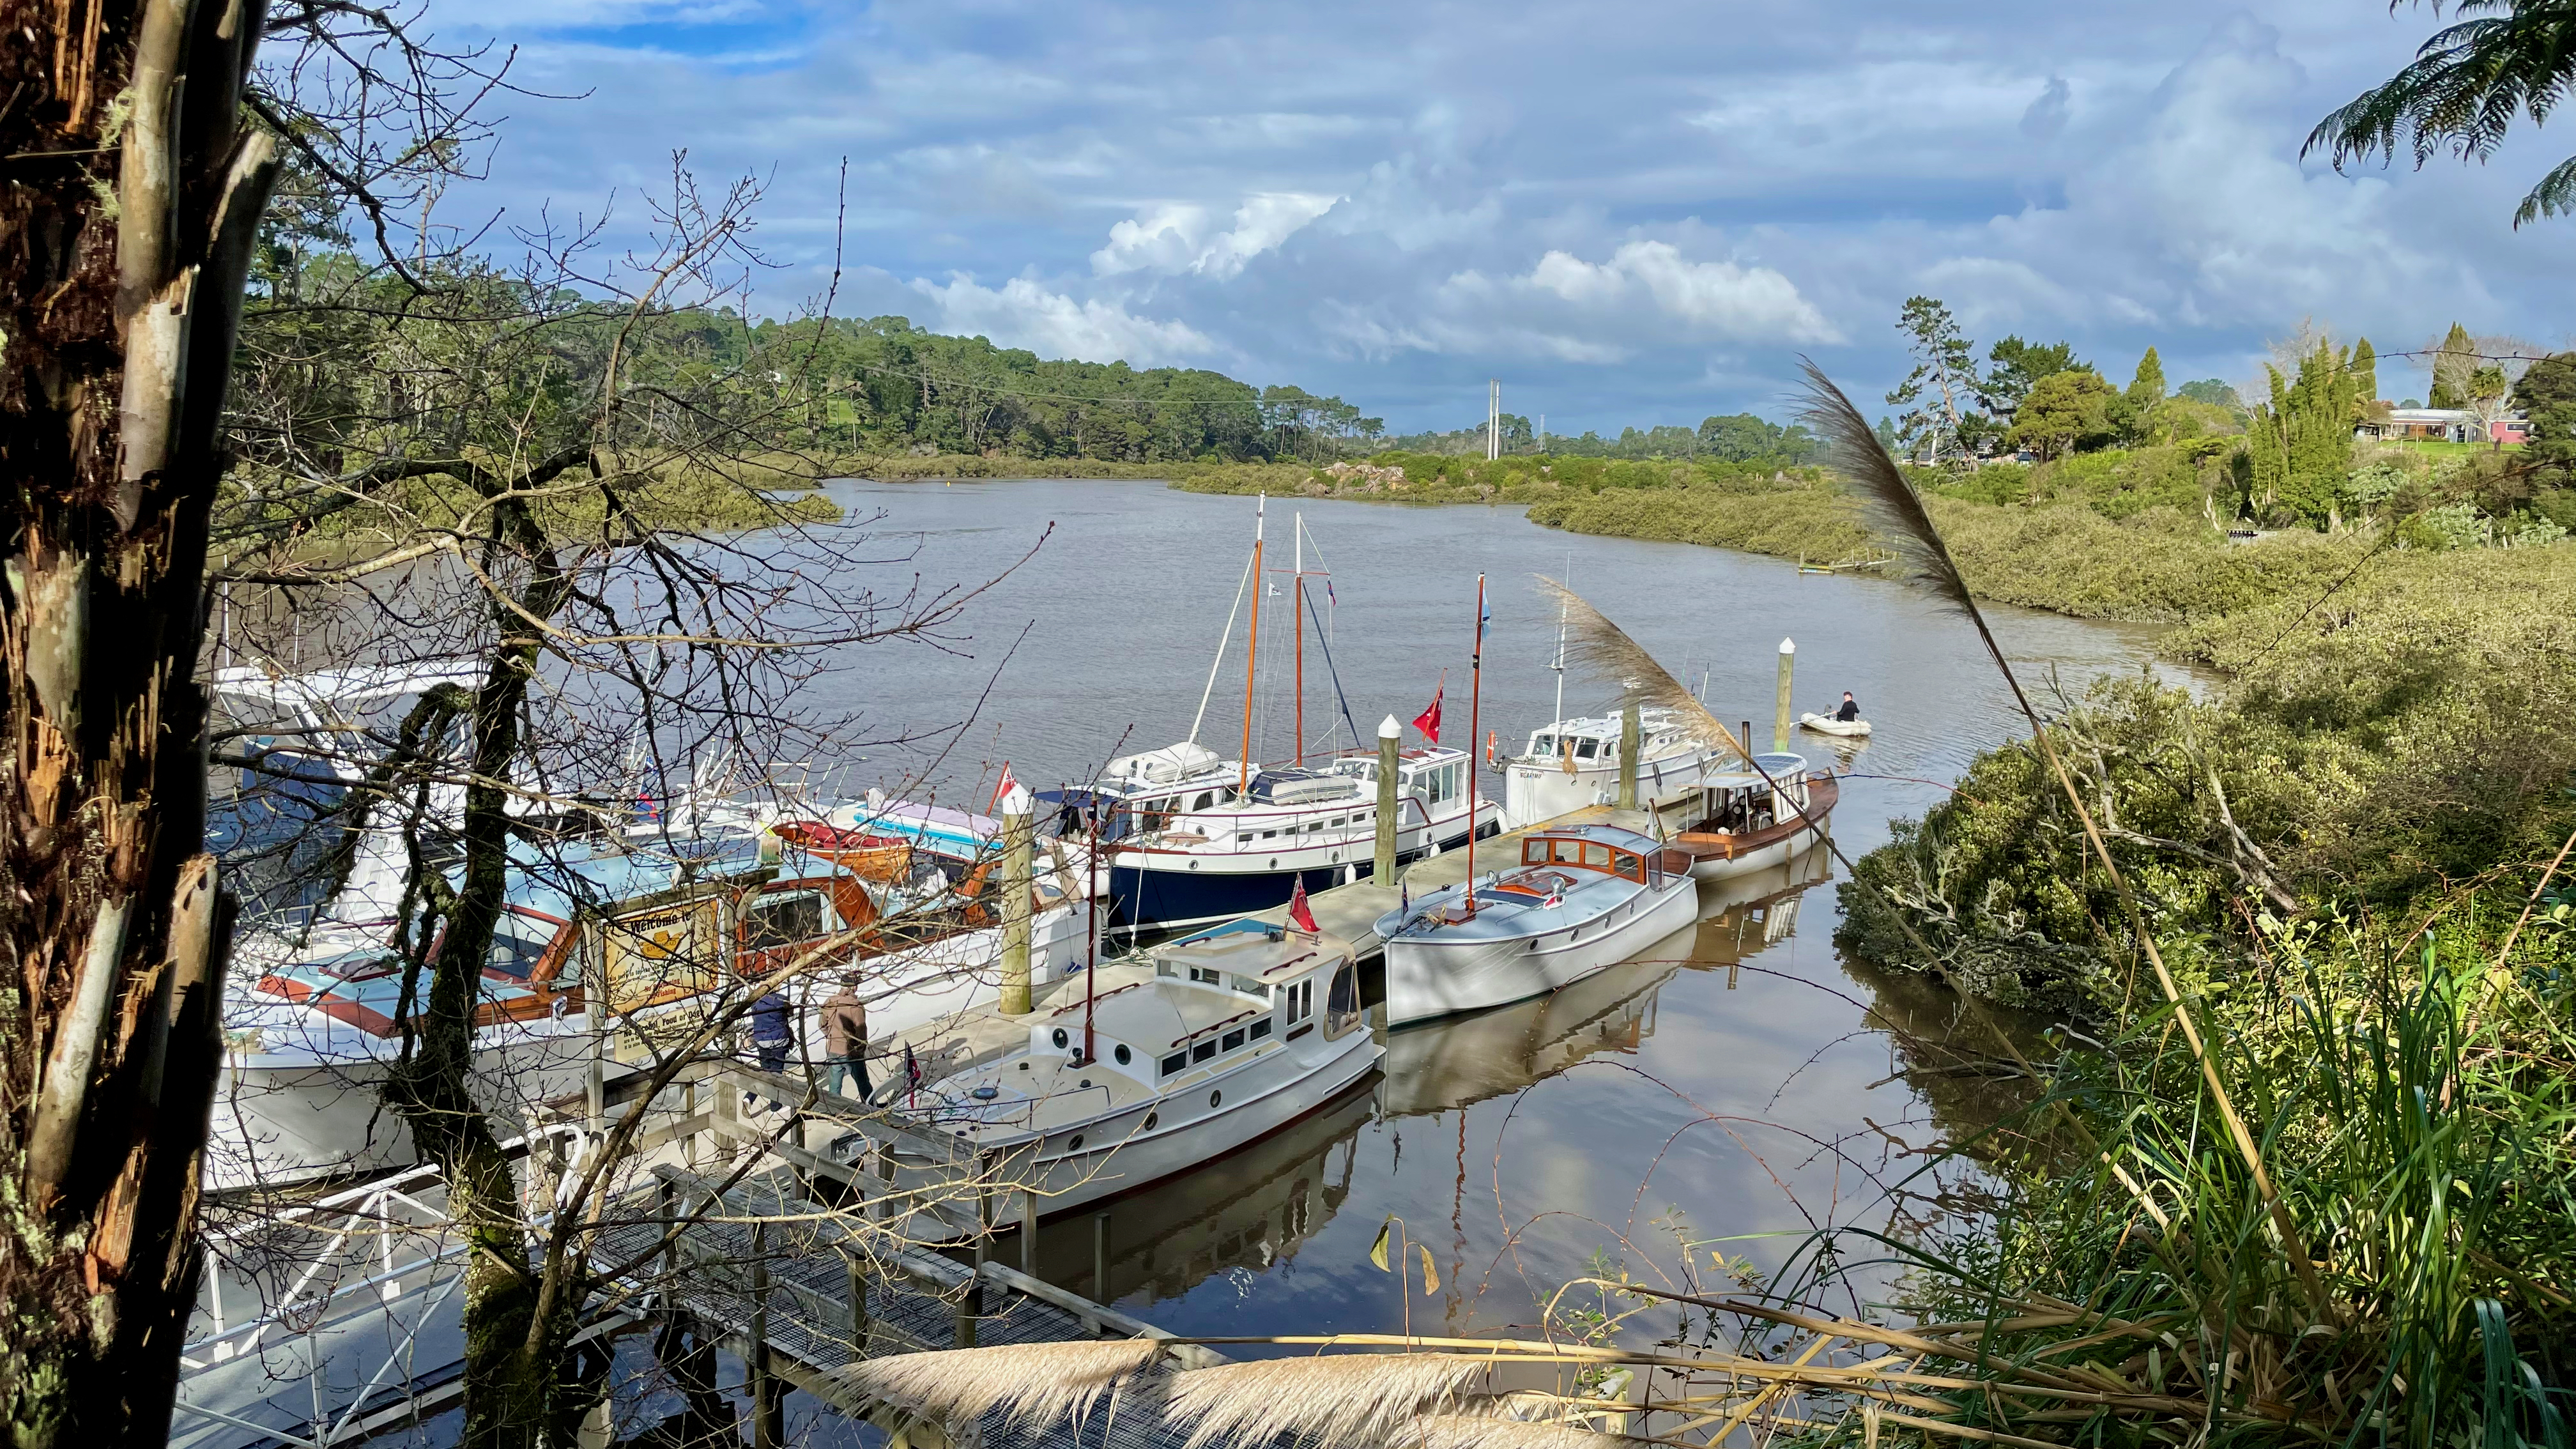
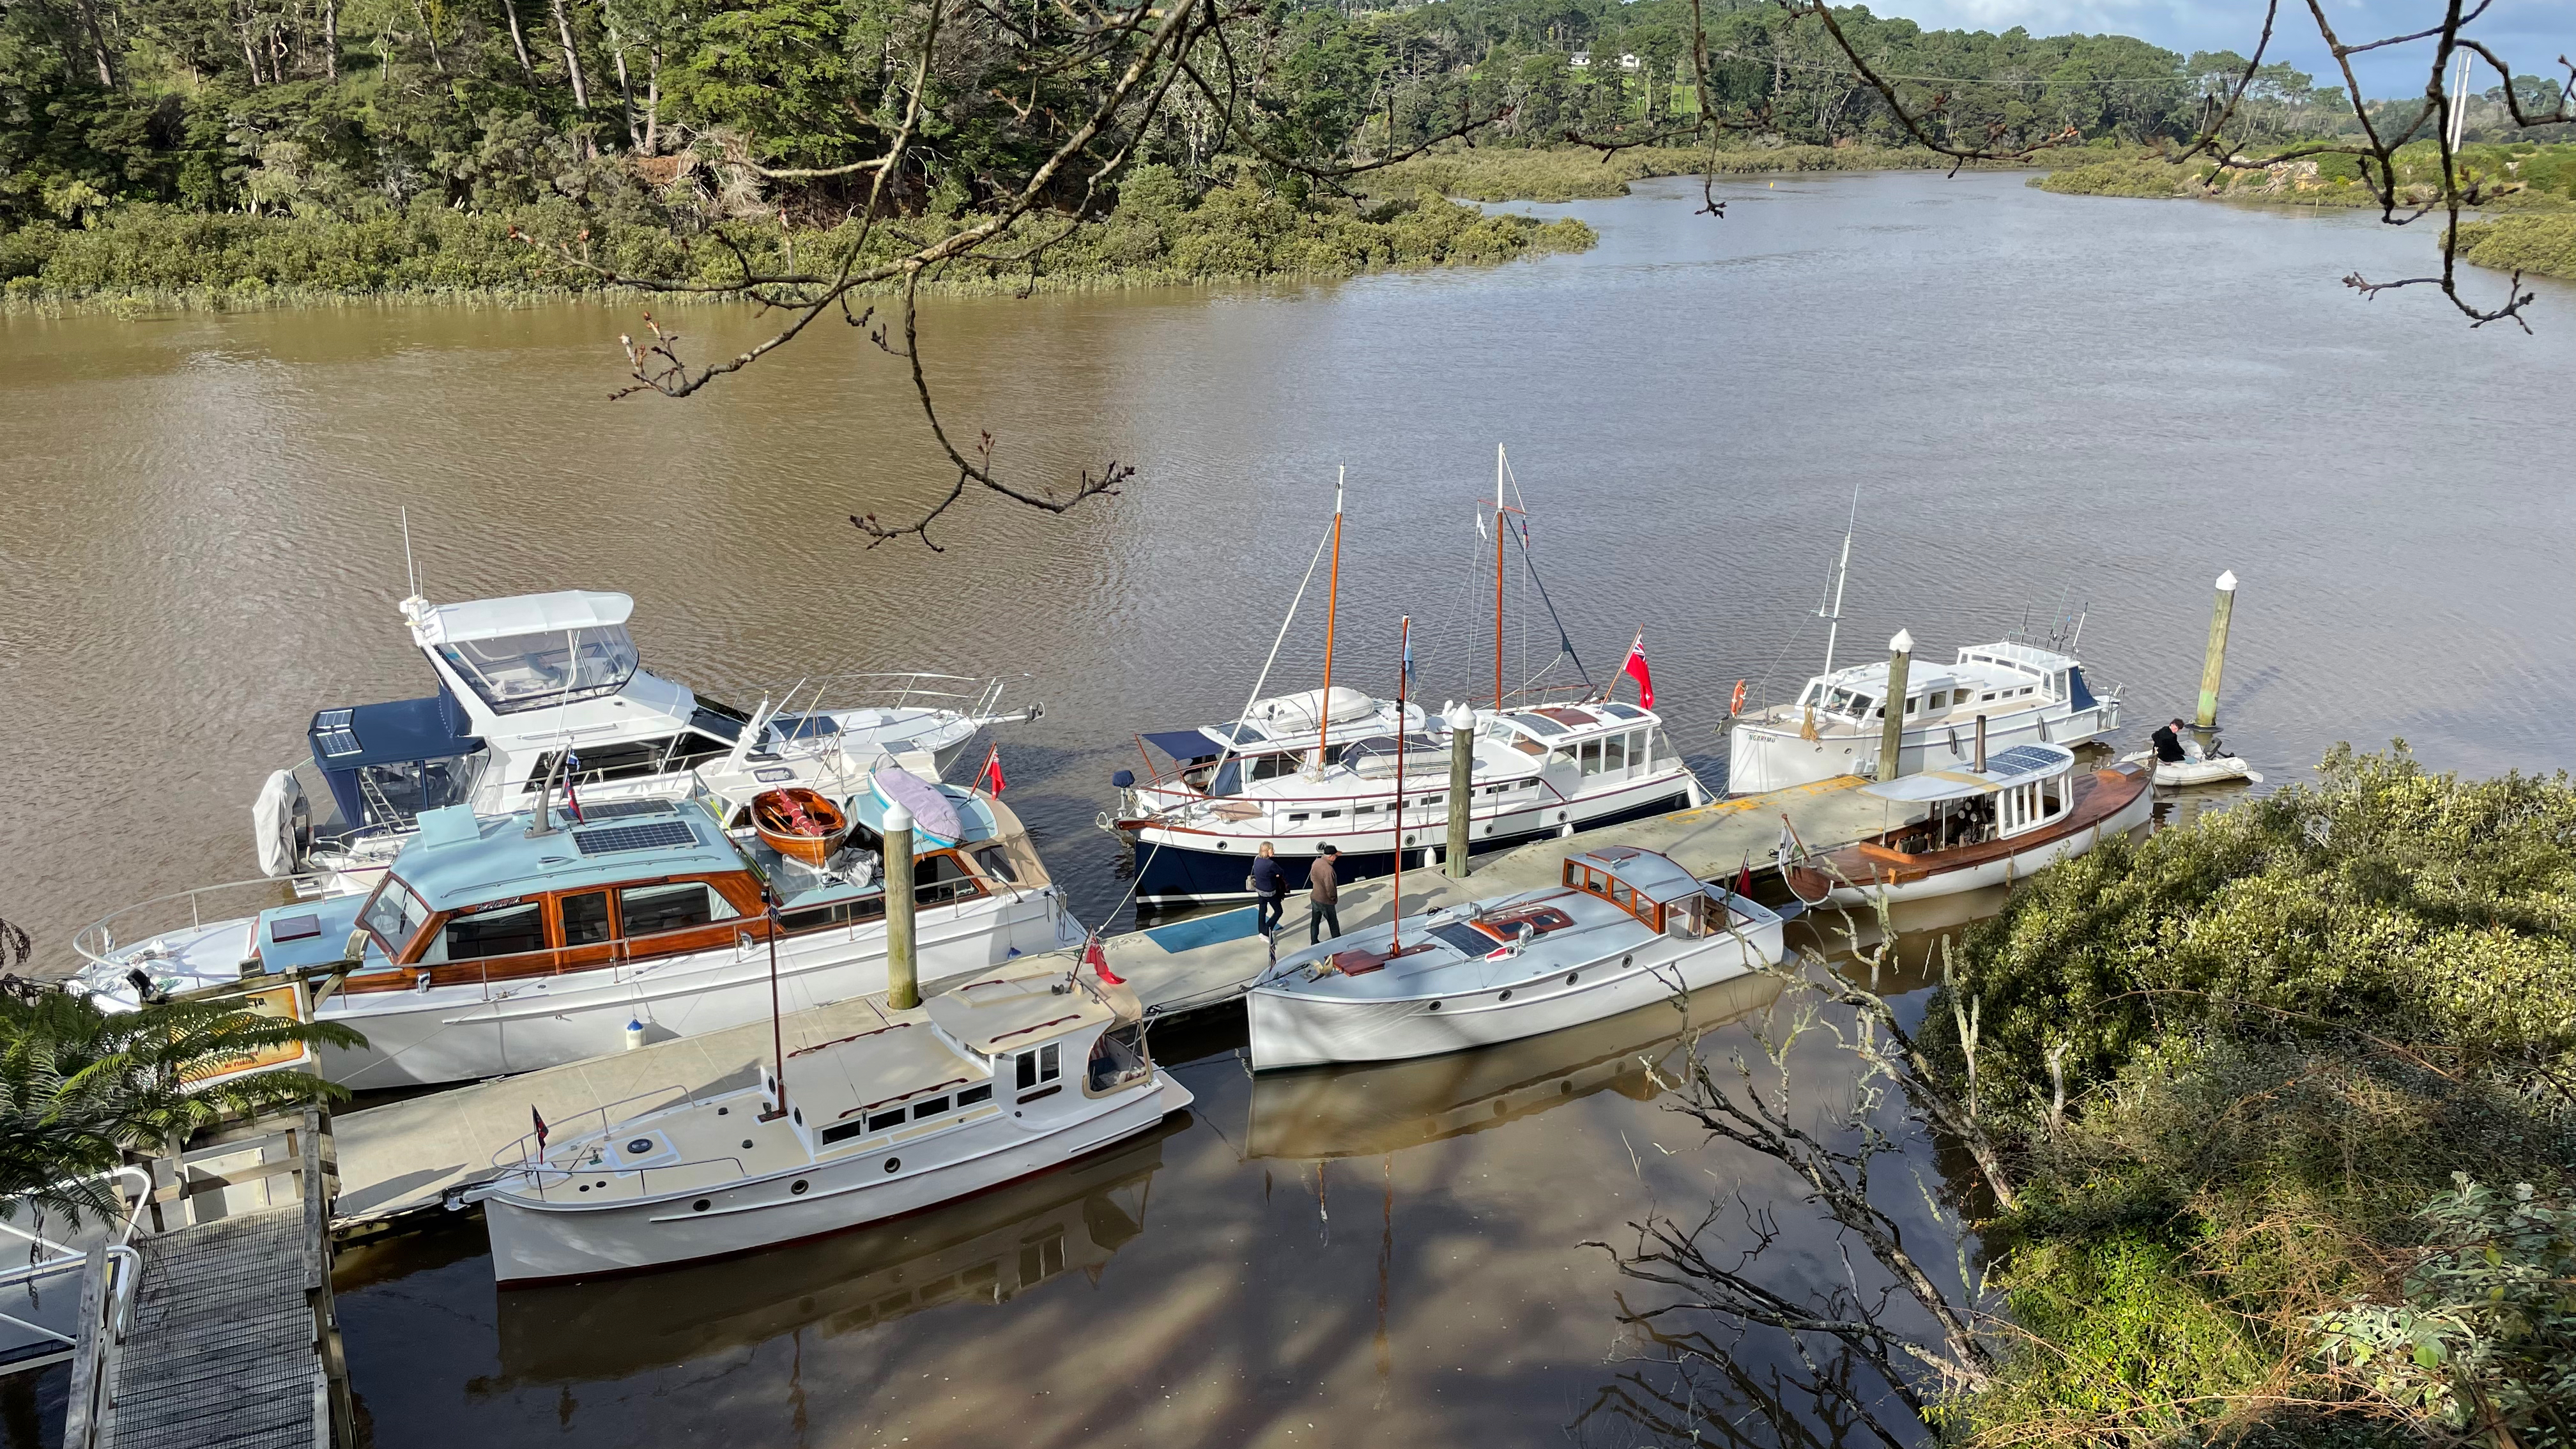
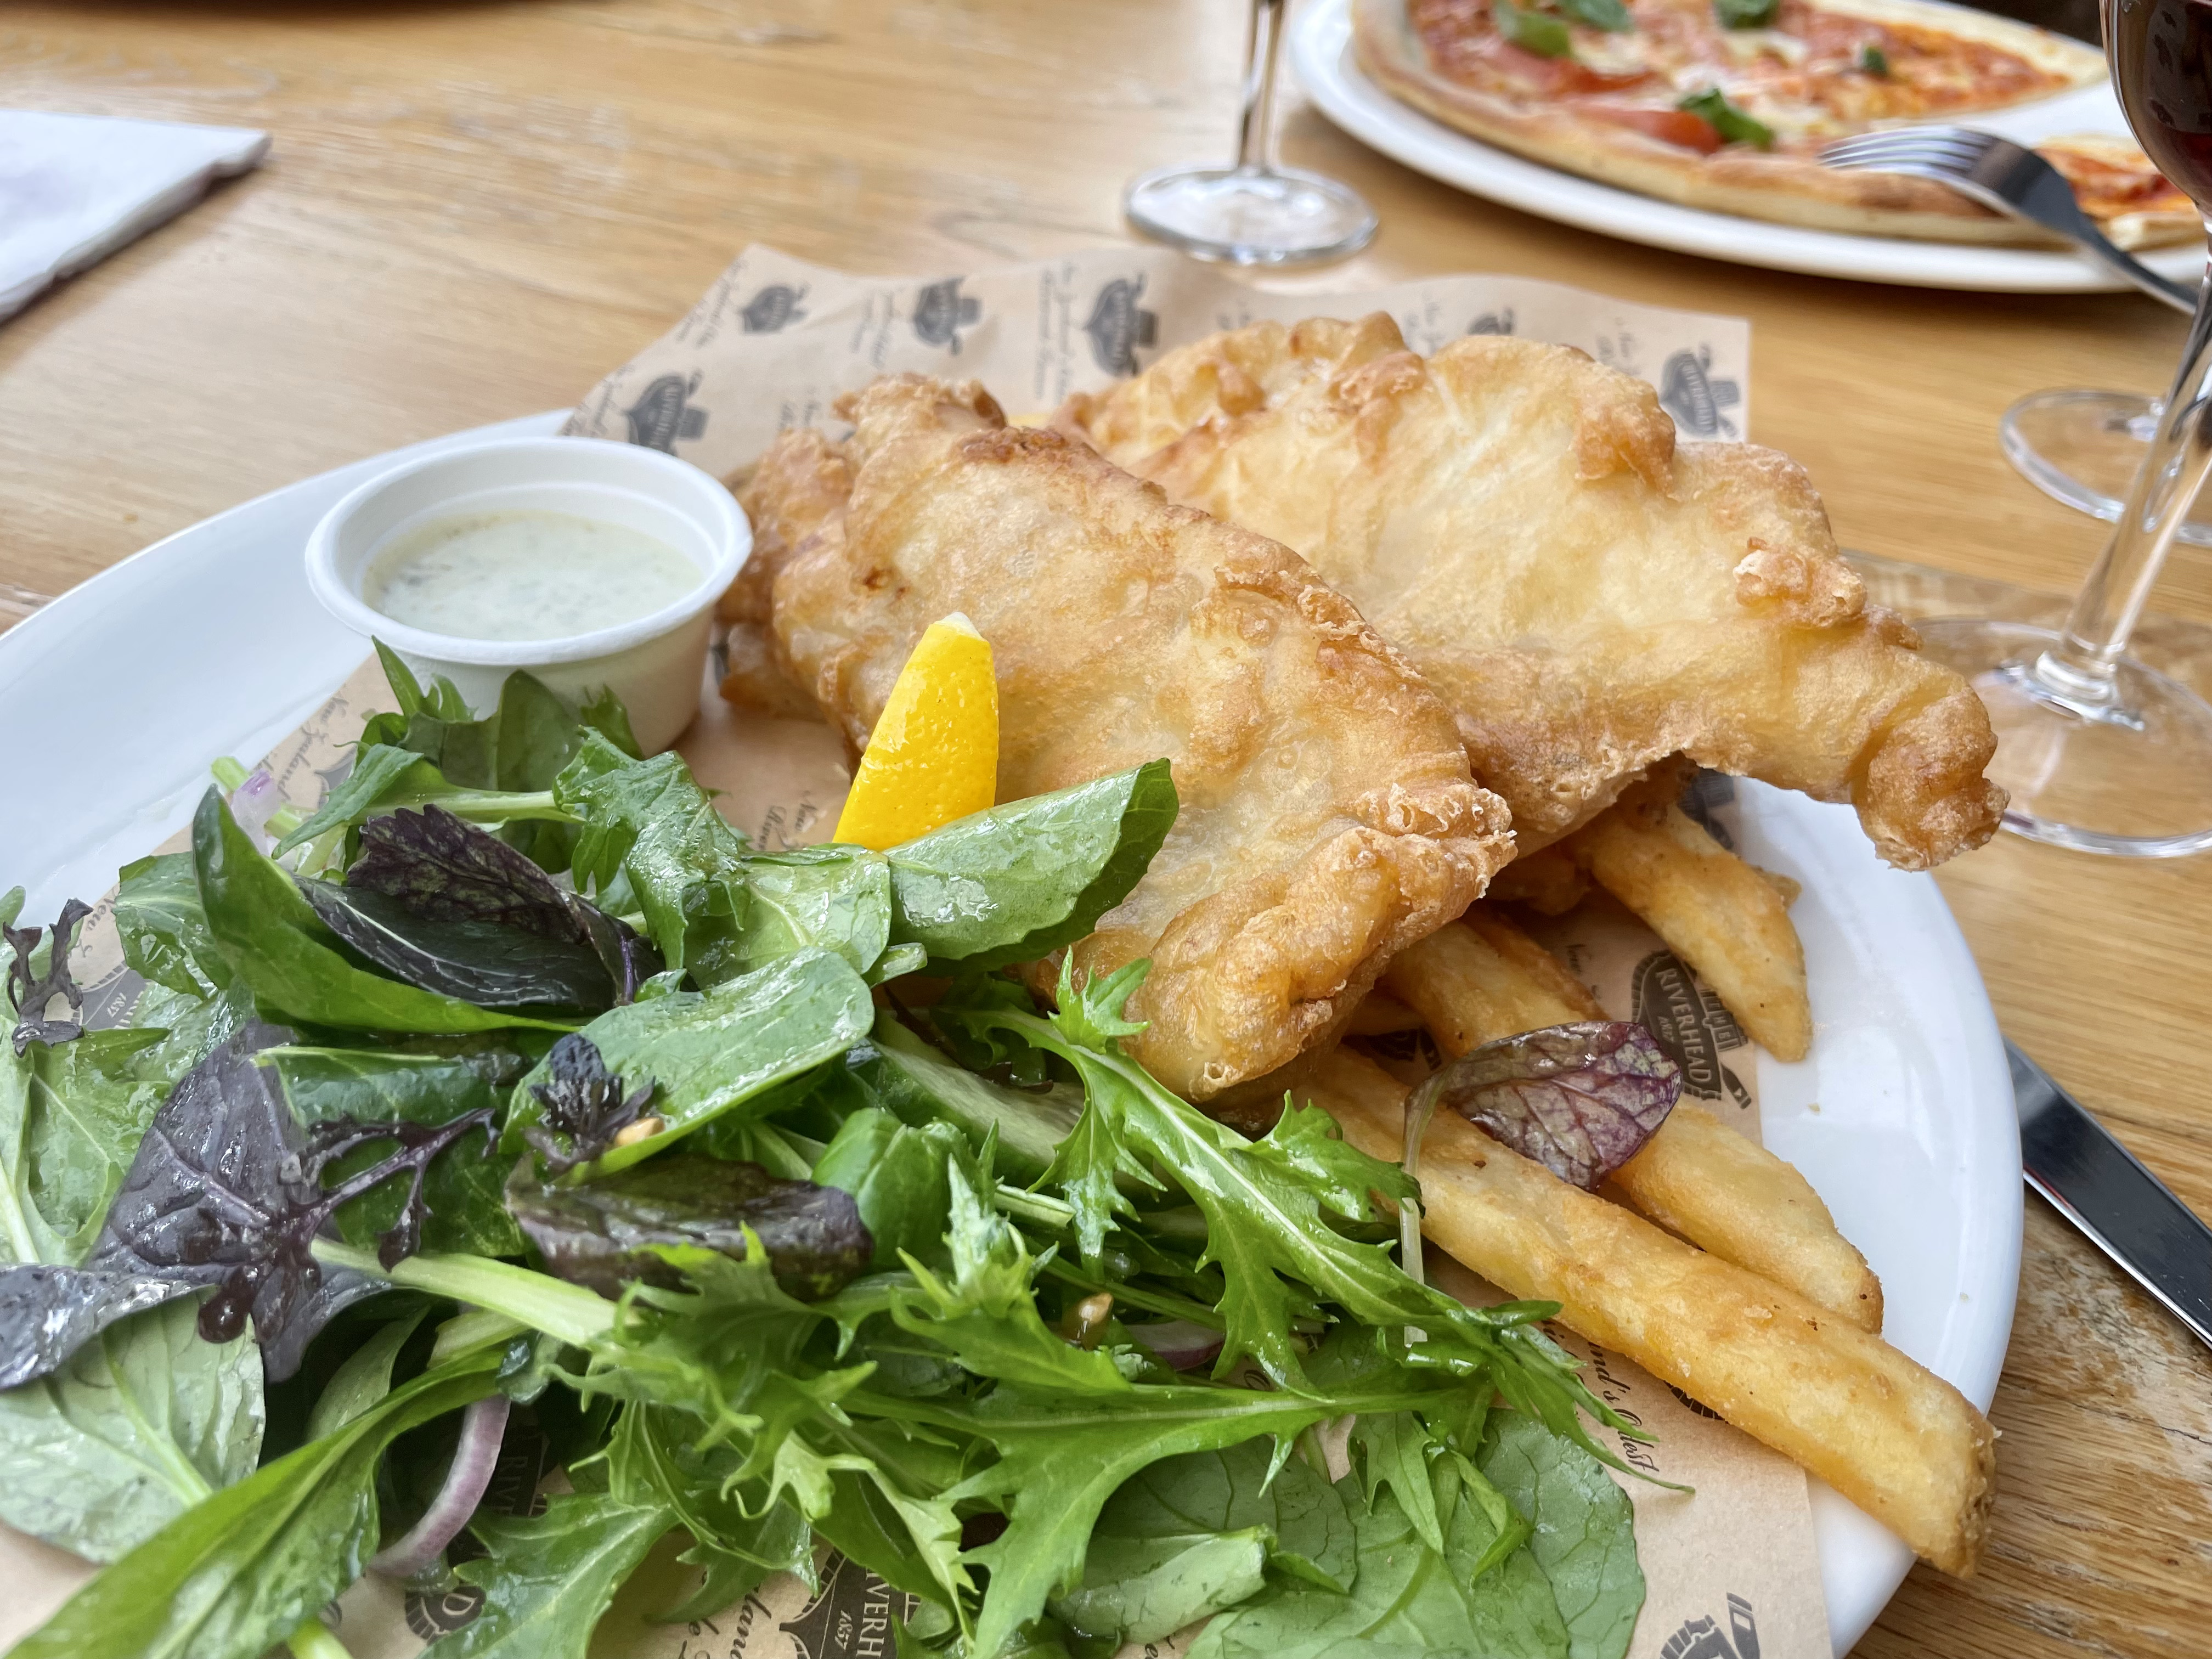
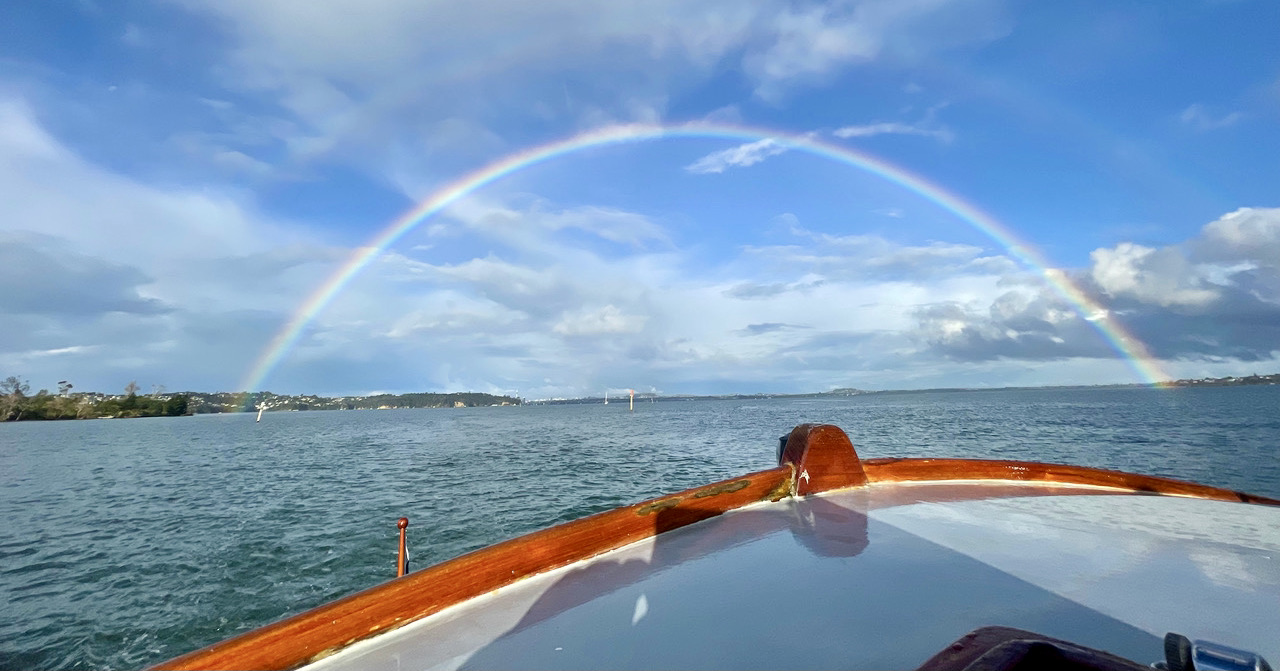
Woodys Riverhead Tavern – Winter Cruise Yesterday was one of those days where the weather forecasters got it wrong -big time. Took the dog for an early morning waterfront walk between the showers and the ferries on the harbour were sounding their fog horns – fast forward 2 hours and the suns out, water glassy flat and we are going boating. Quick side trip to collect our quests – Margo & Jamie (MV Lady Crossley) from Westhaven and we are off.
A great turn out for mid-winter, saw 60+ woodys gathering at the historic waterside Riverhead Tavern for lunch – special thanks to those that came by car and helped with berthing the boats at the wharf. As always – click on photos to enlarge 😉
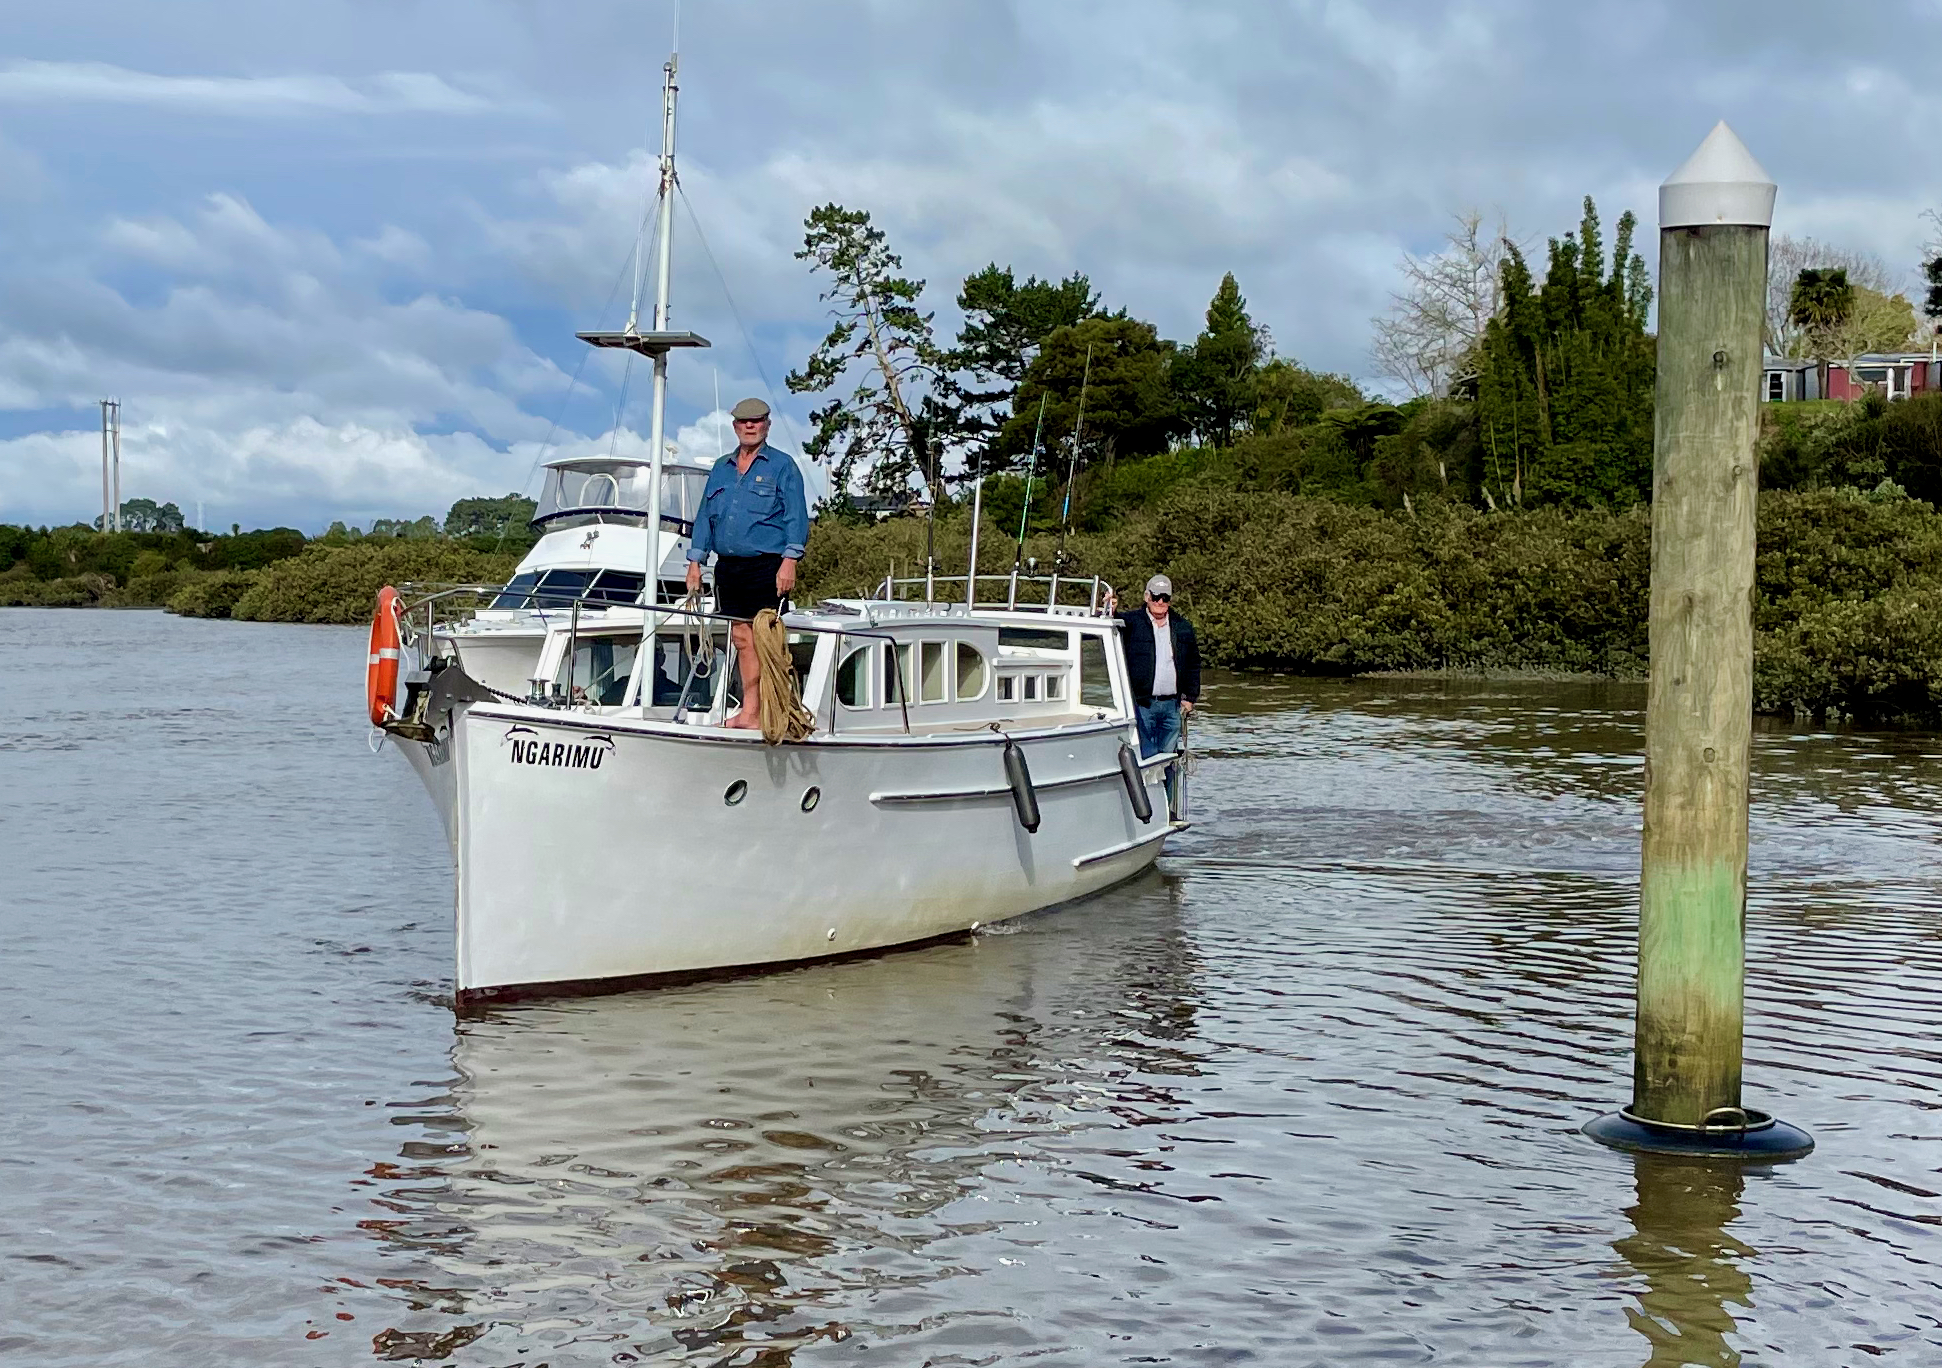
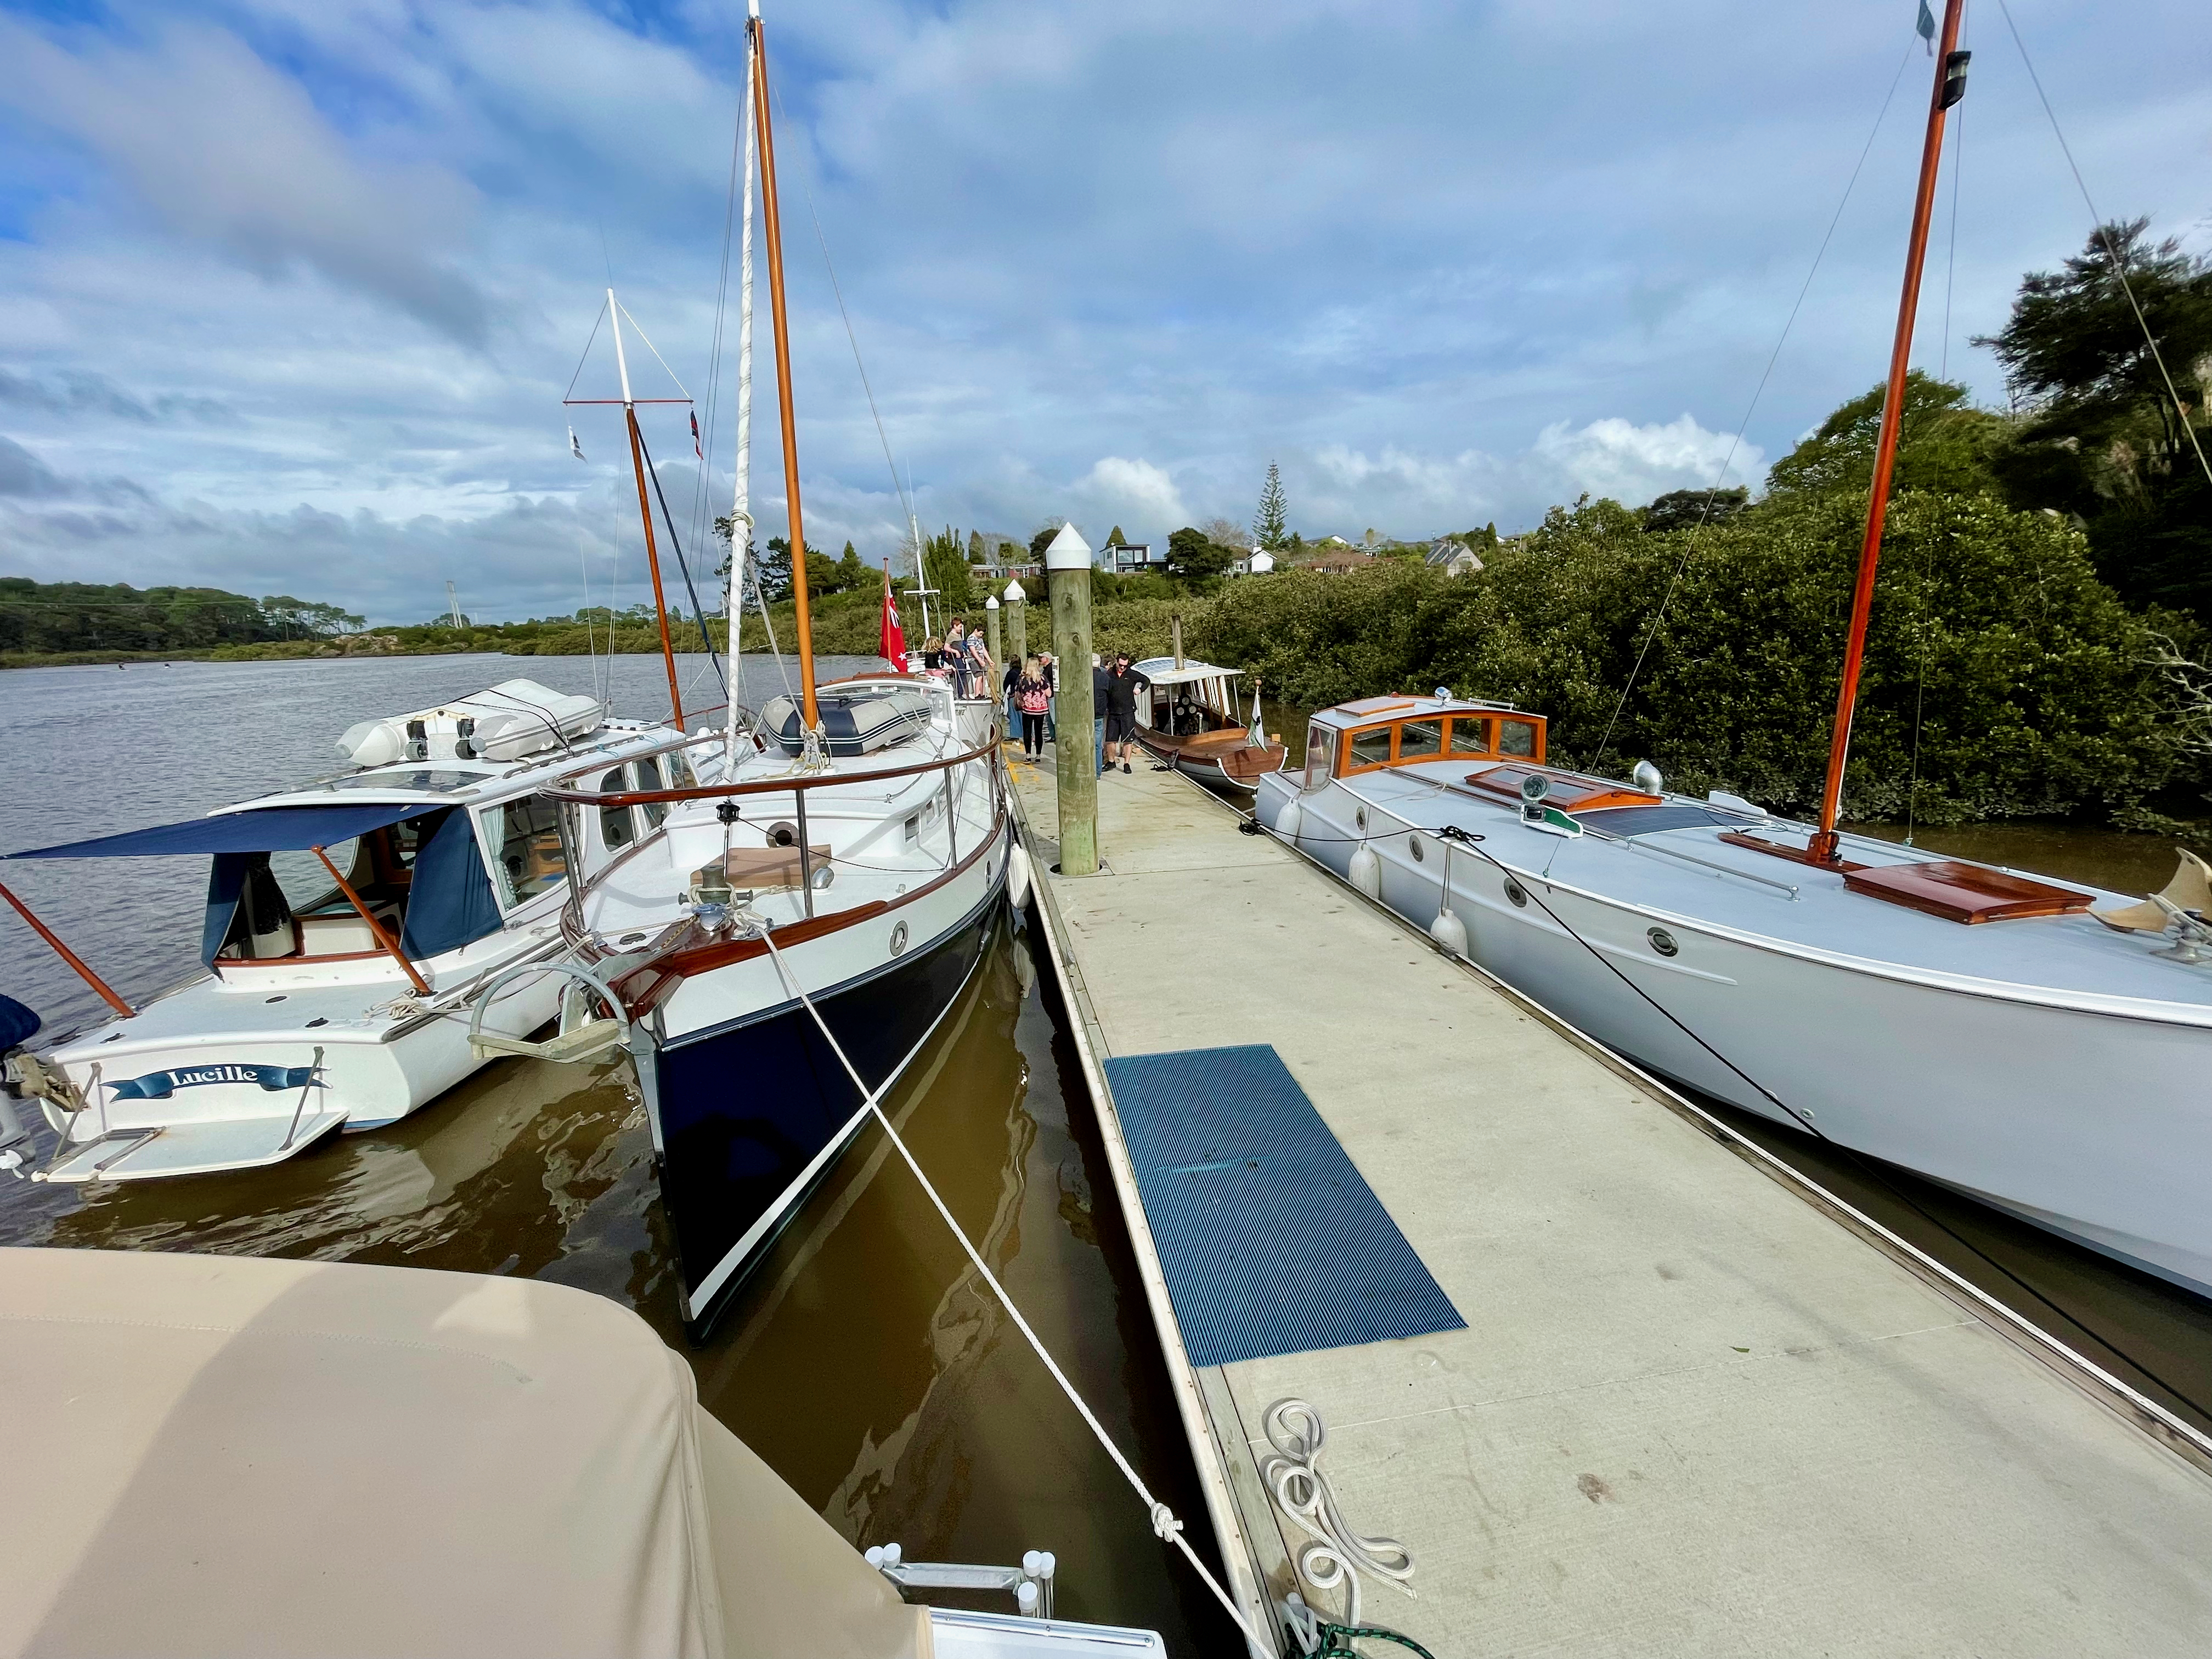
Nice to meet some new faces and if there was an award for most travelled attendee, woody Bruce Rowe on board – Ngarimu would be the winner. Bruce and his ‘decky’ mate – travelled from Thames to attend. The boys left Thames on Friday, stayed at bottom end of Waiheke, then off Stanly Point / Bayswater on Saturday night and will be heading home today. Talking to Bruce, Saturday night sounded heaven – tucked up in their warm bunks, rain on the cabin top, listening to the Auckland Blues rugby game, then the NZ v India cricket test – not a lot of sleep was had 🙂
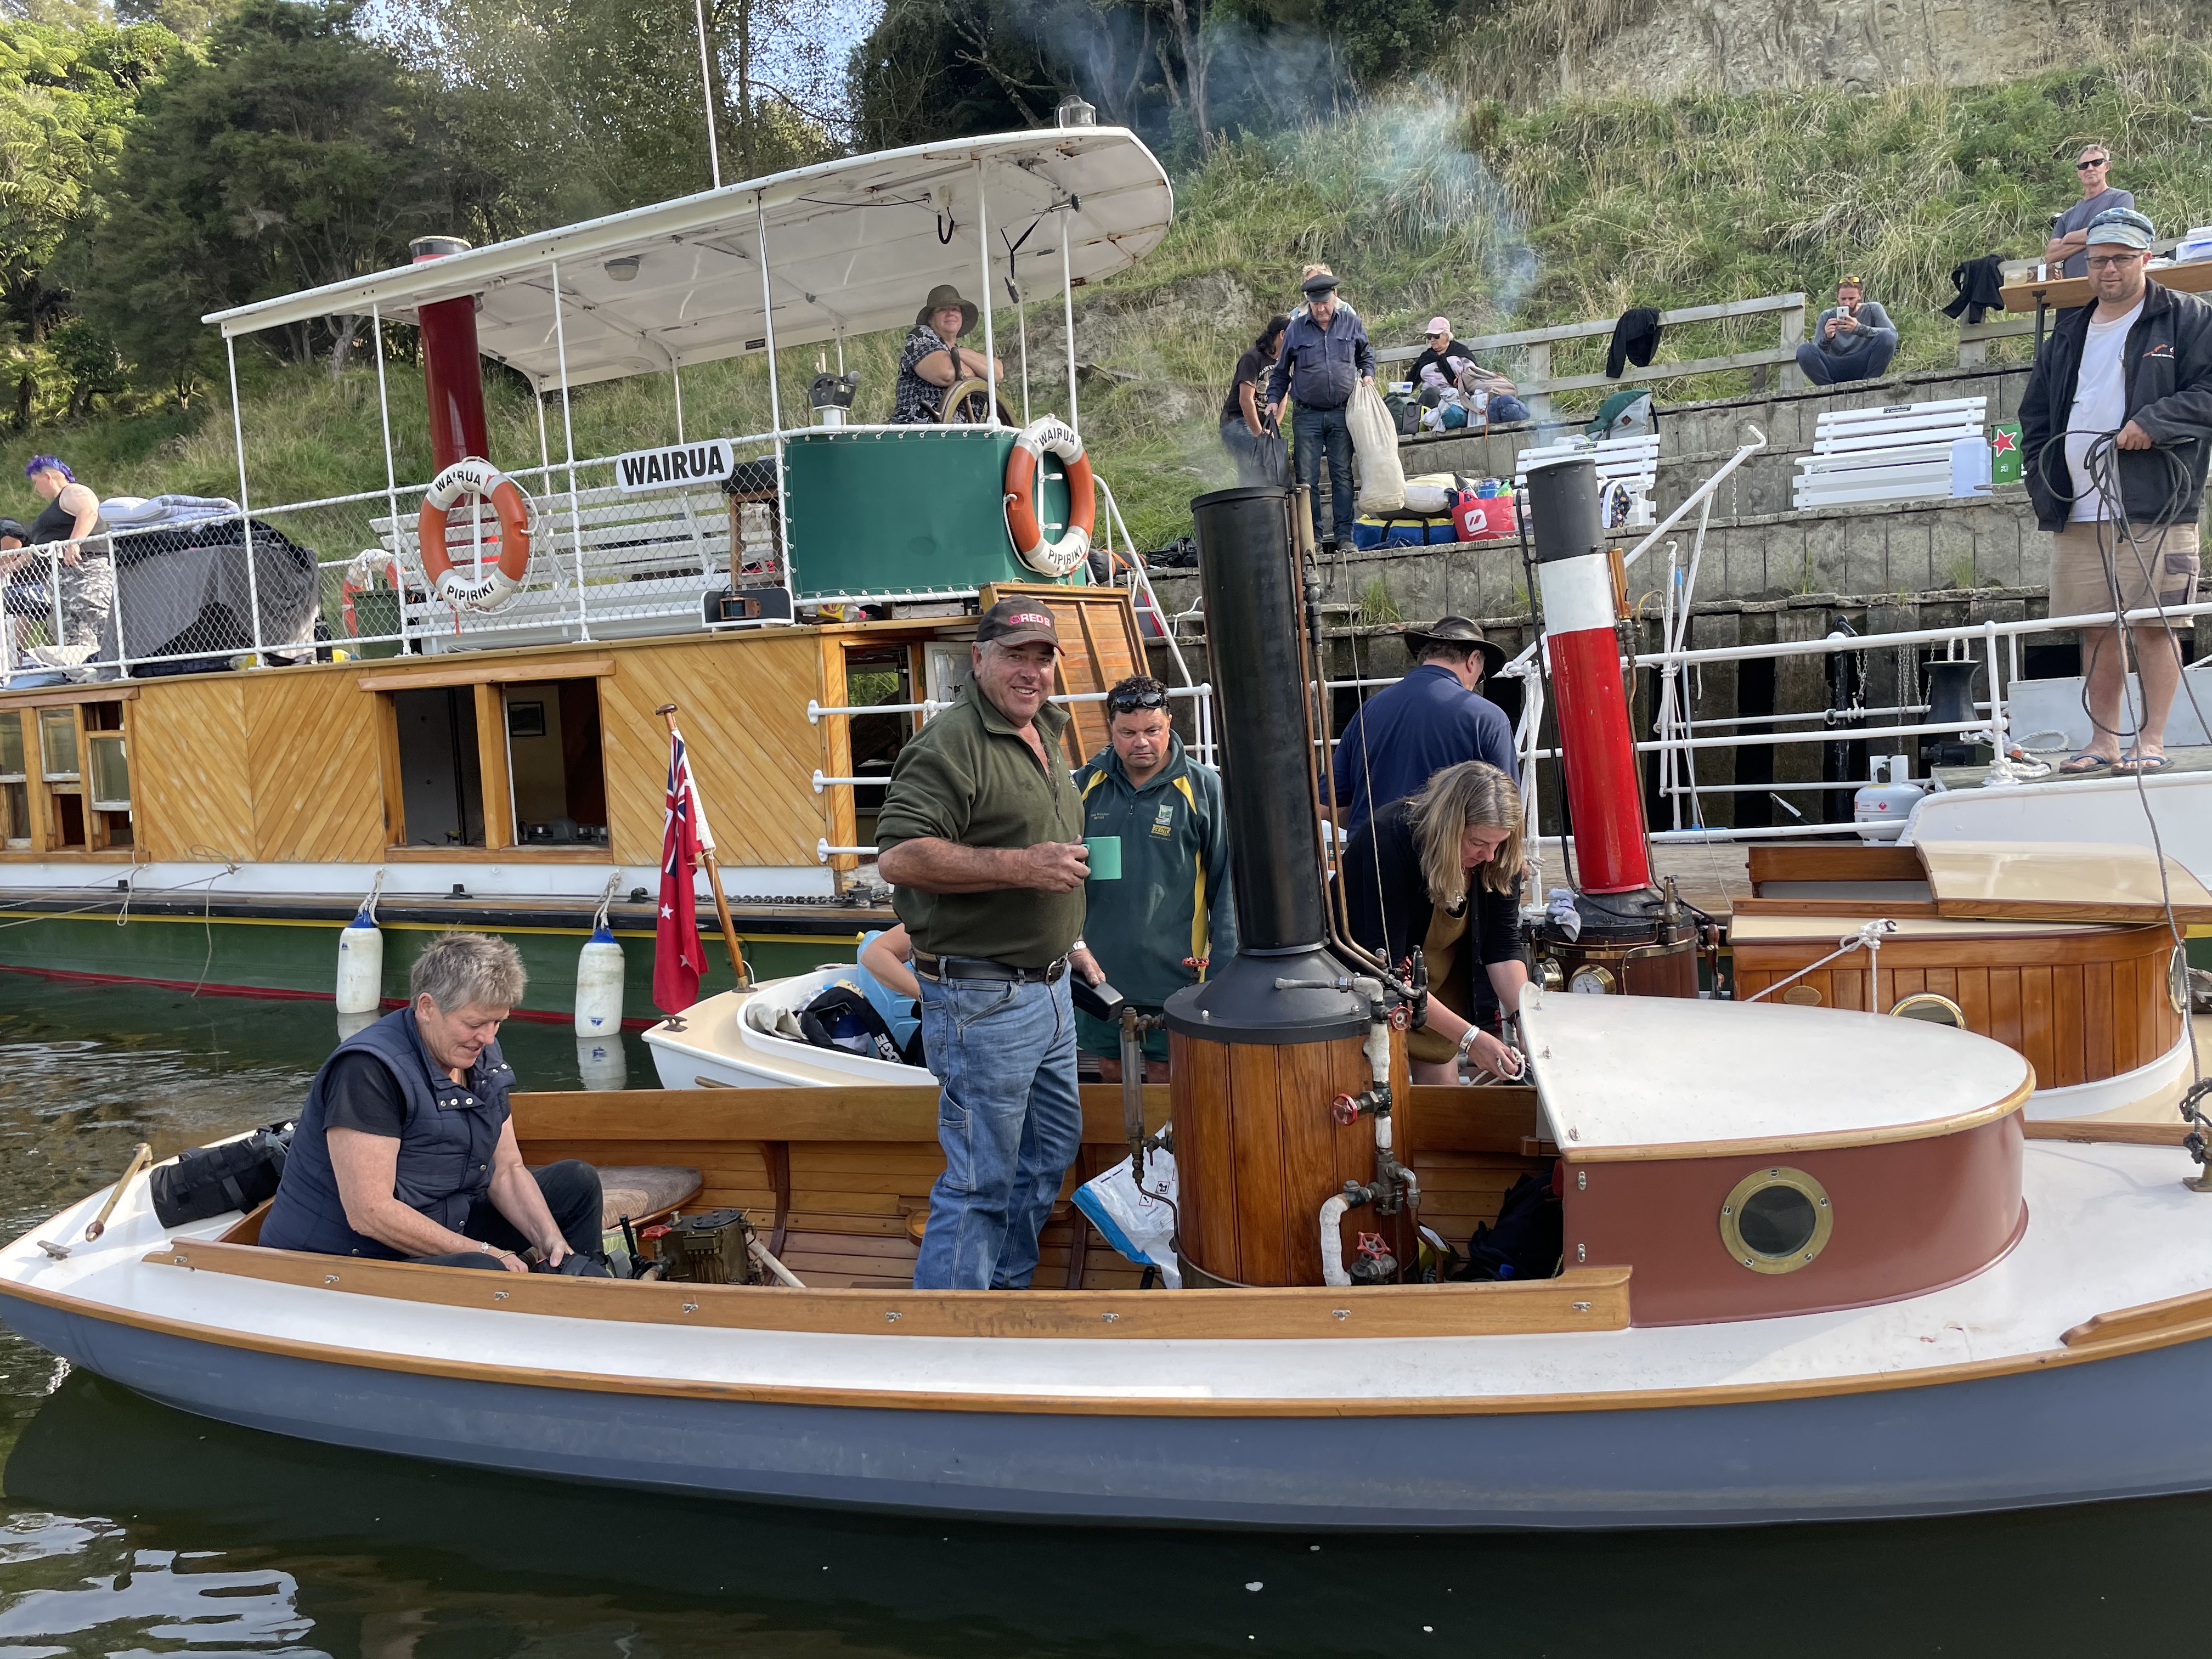
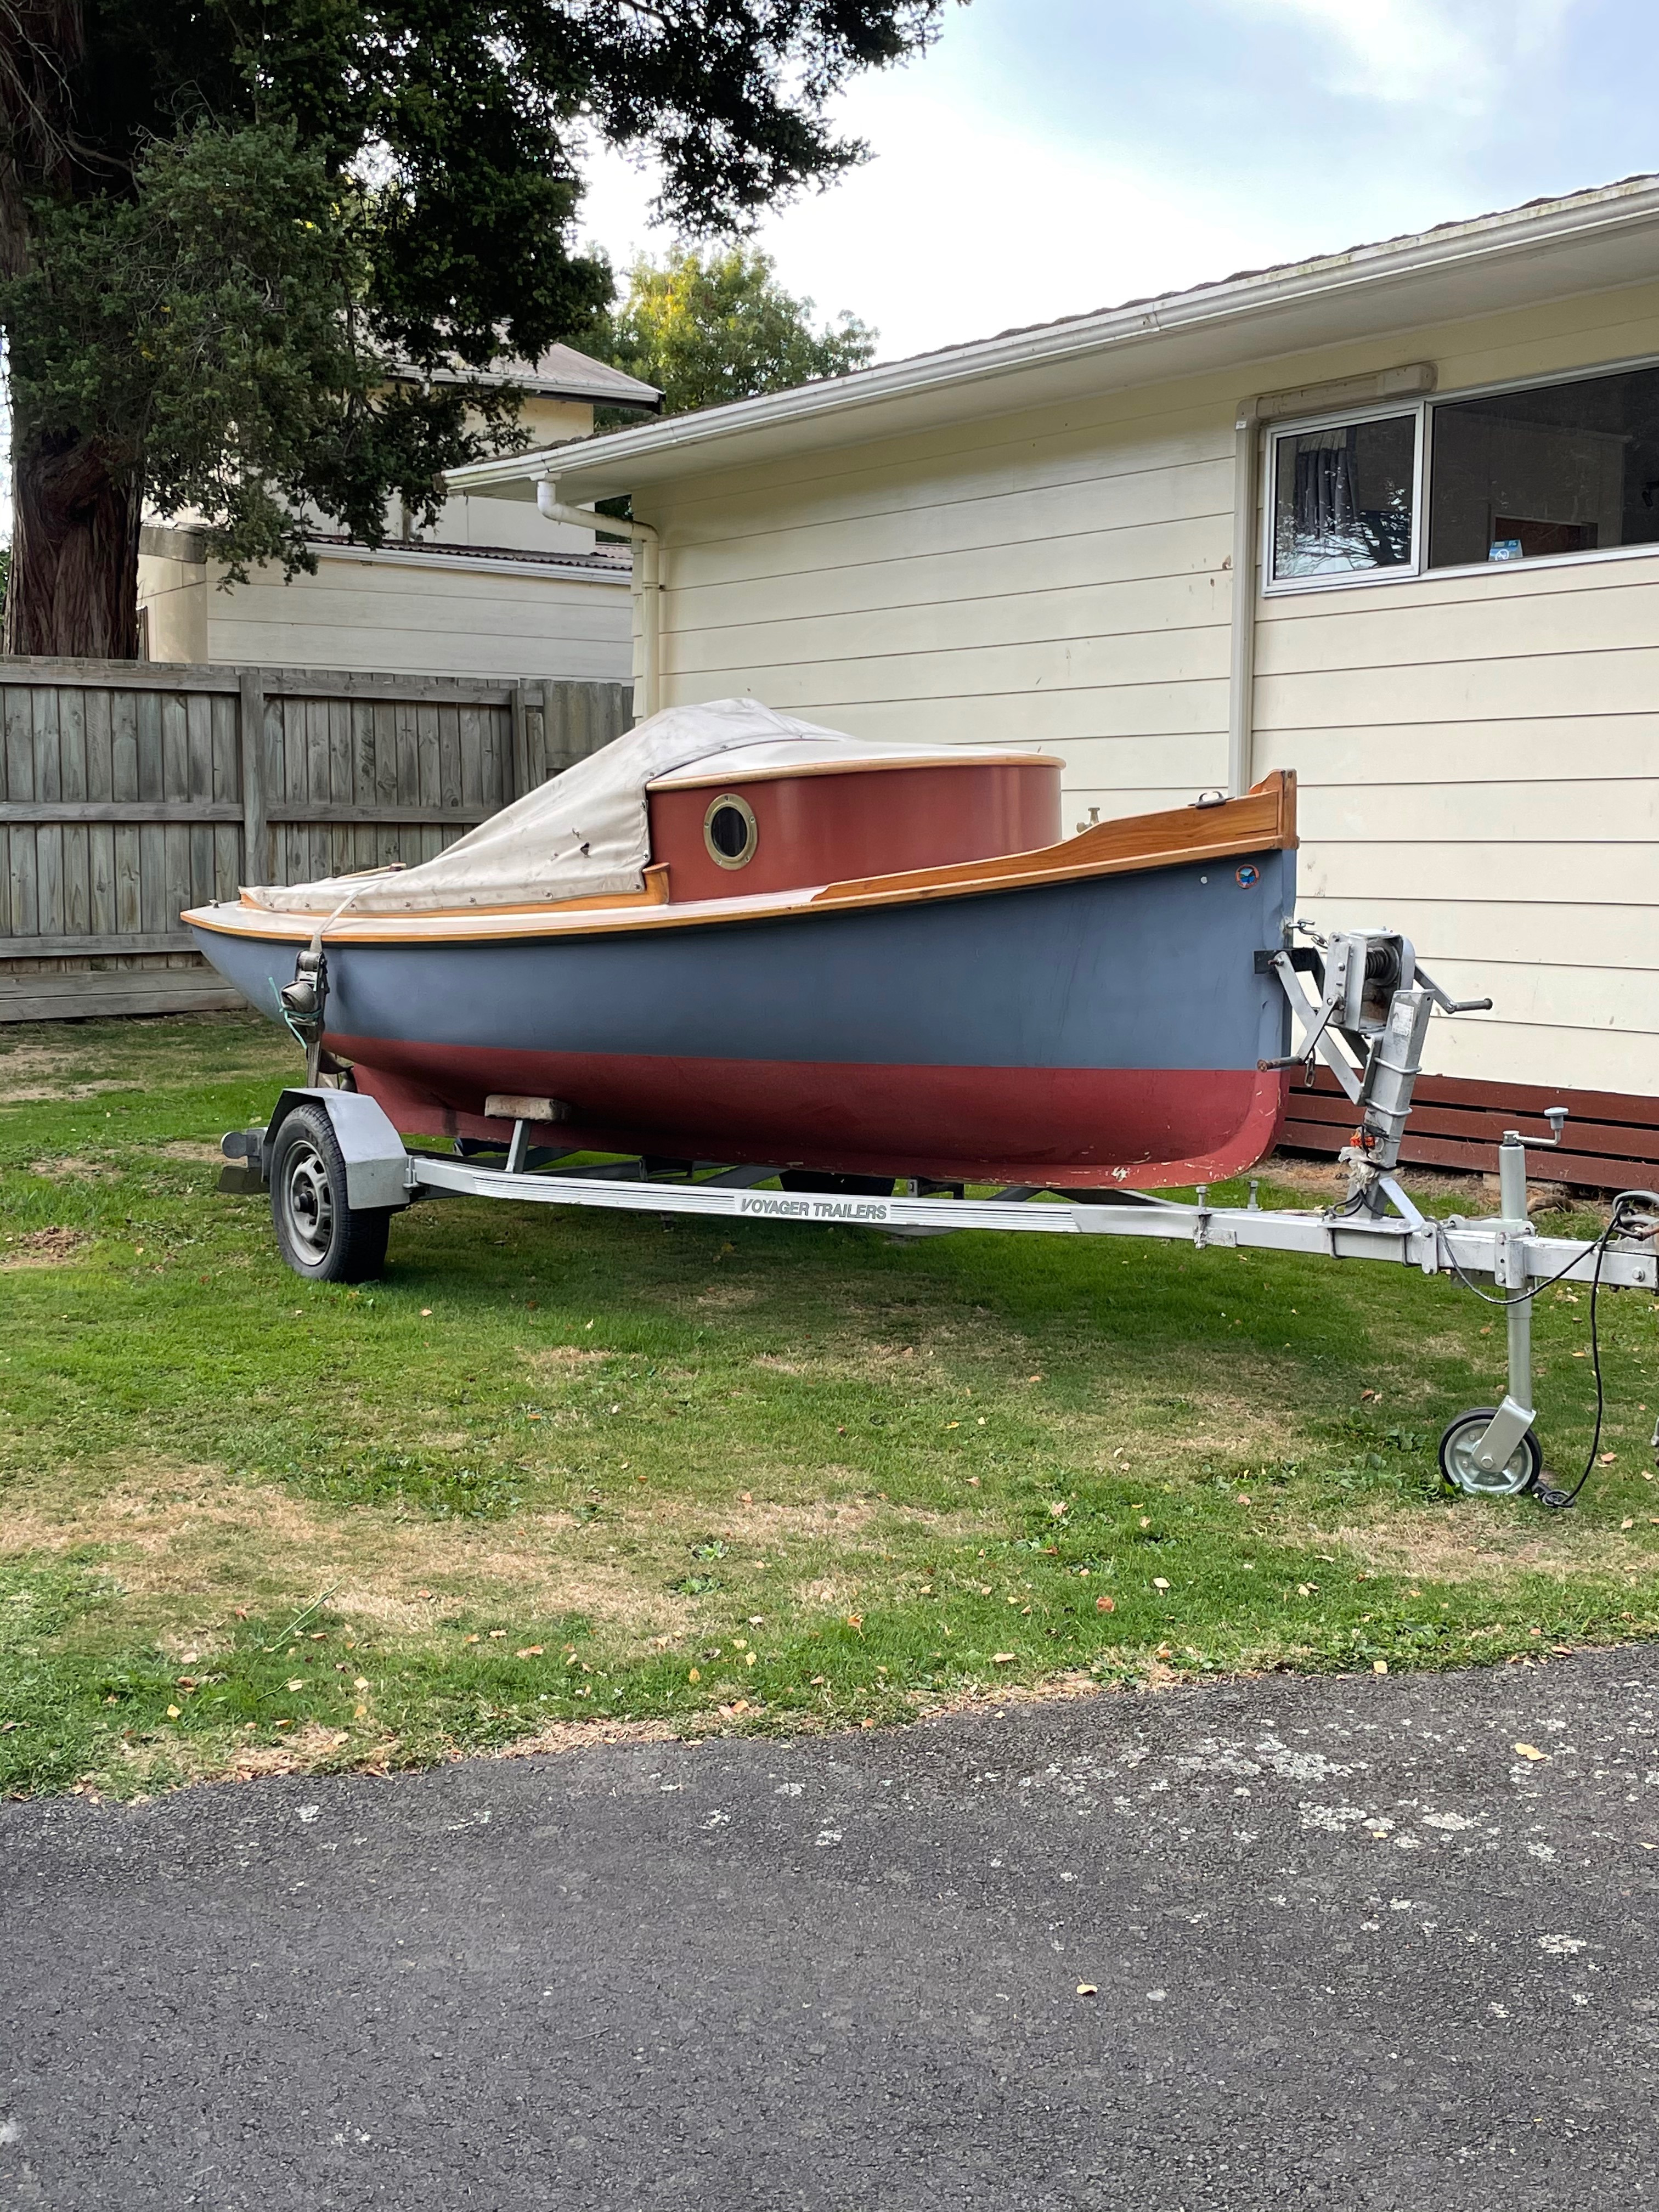
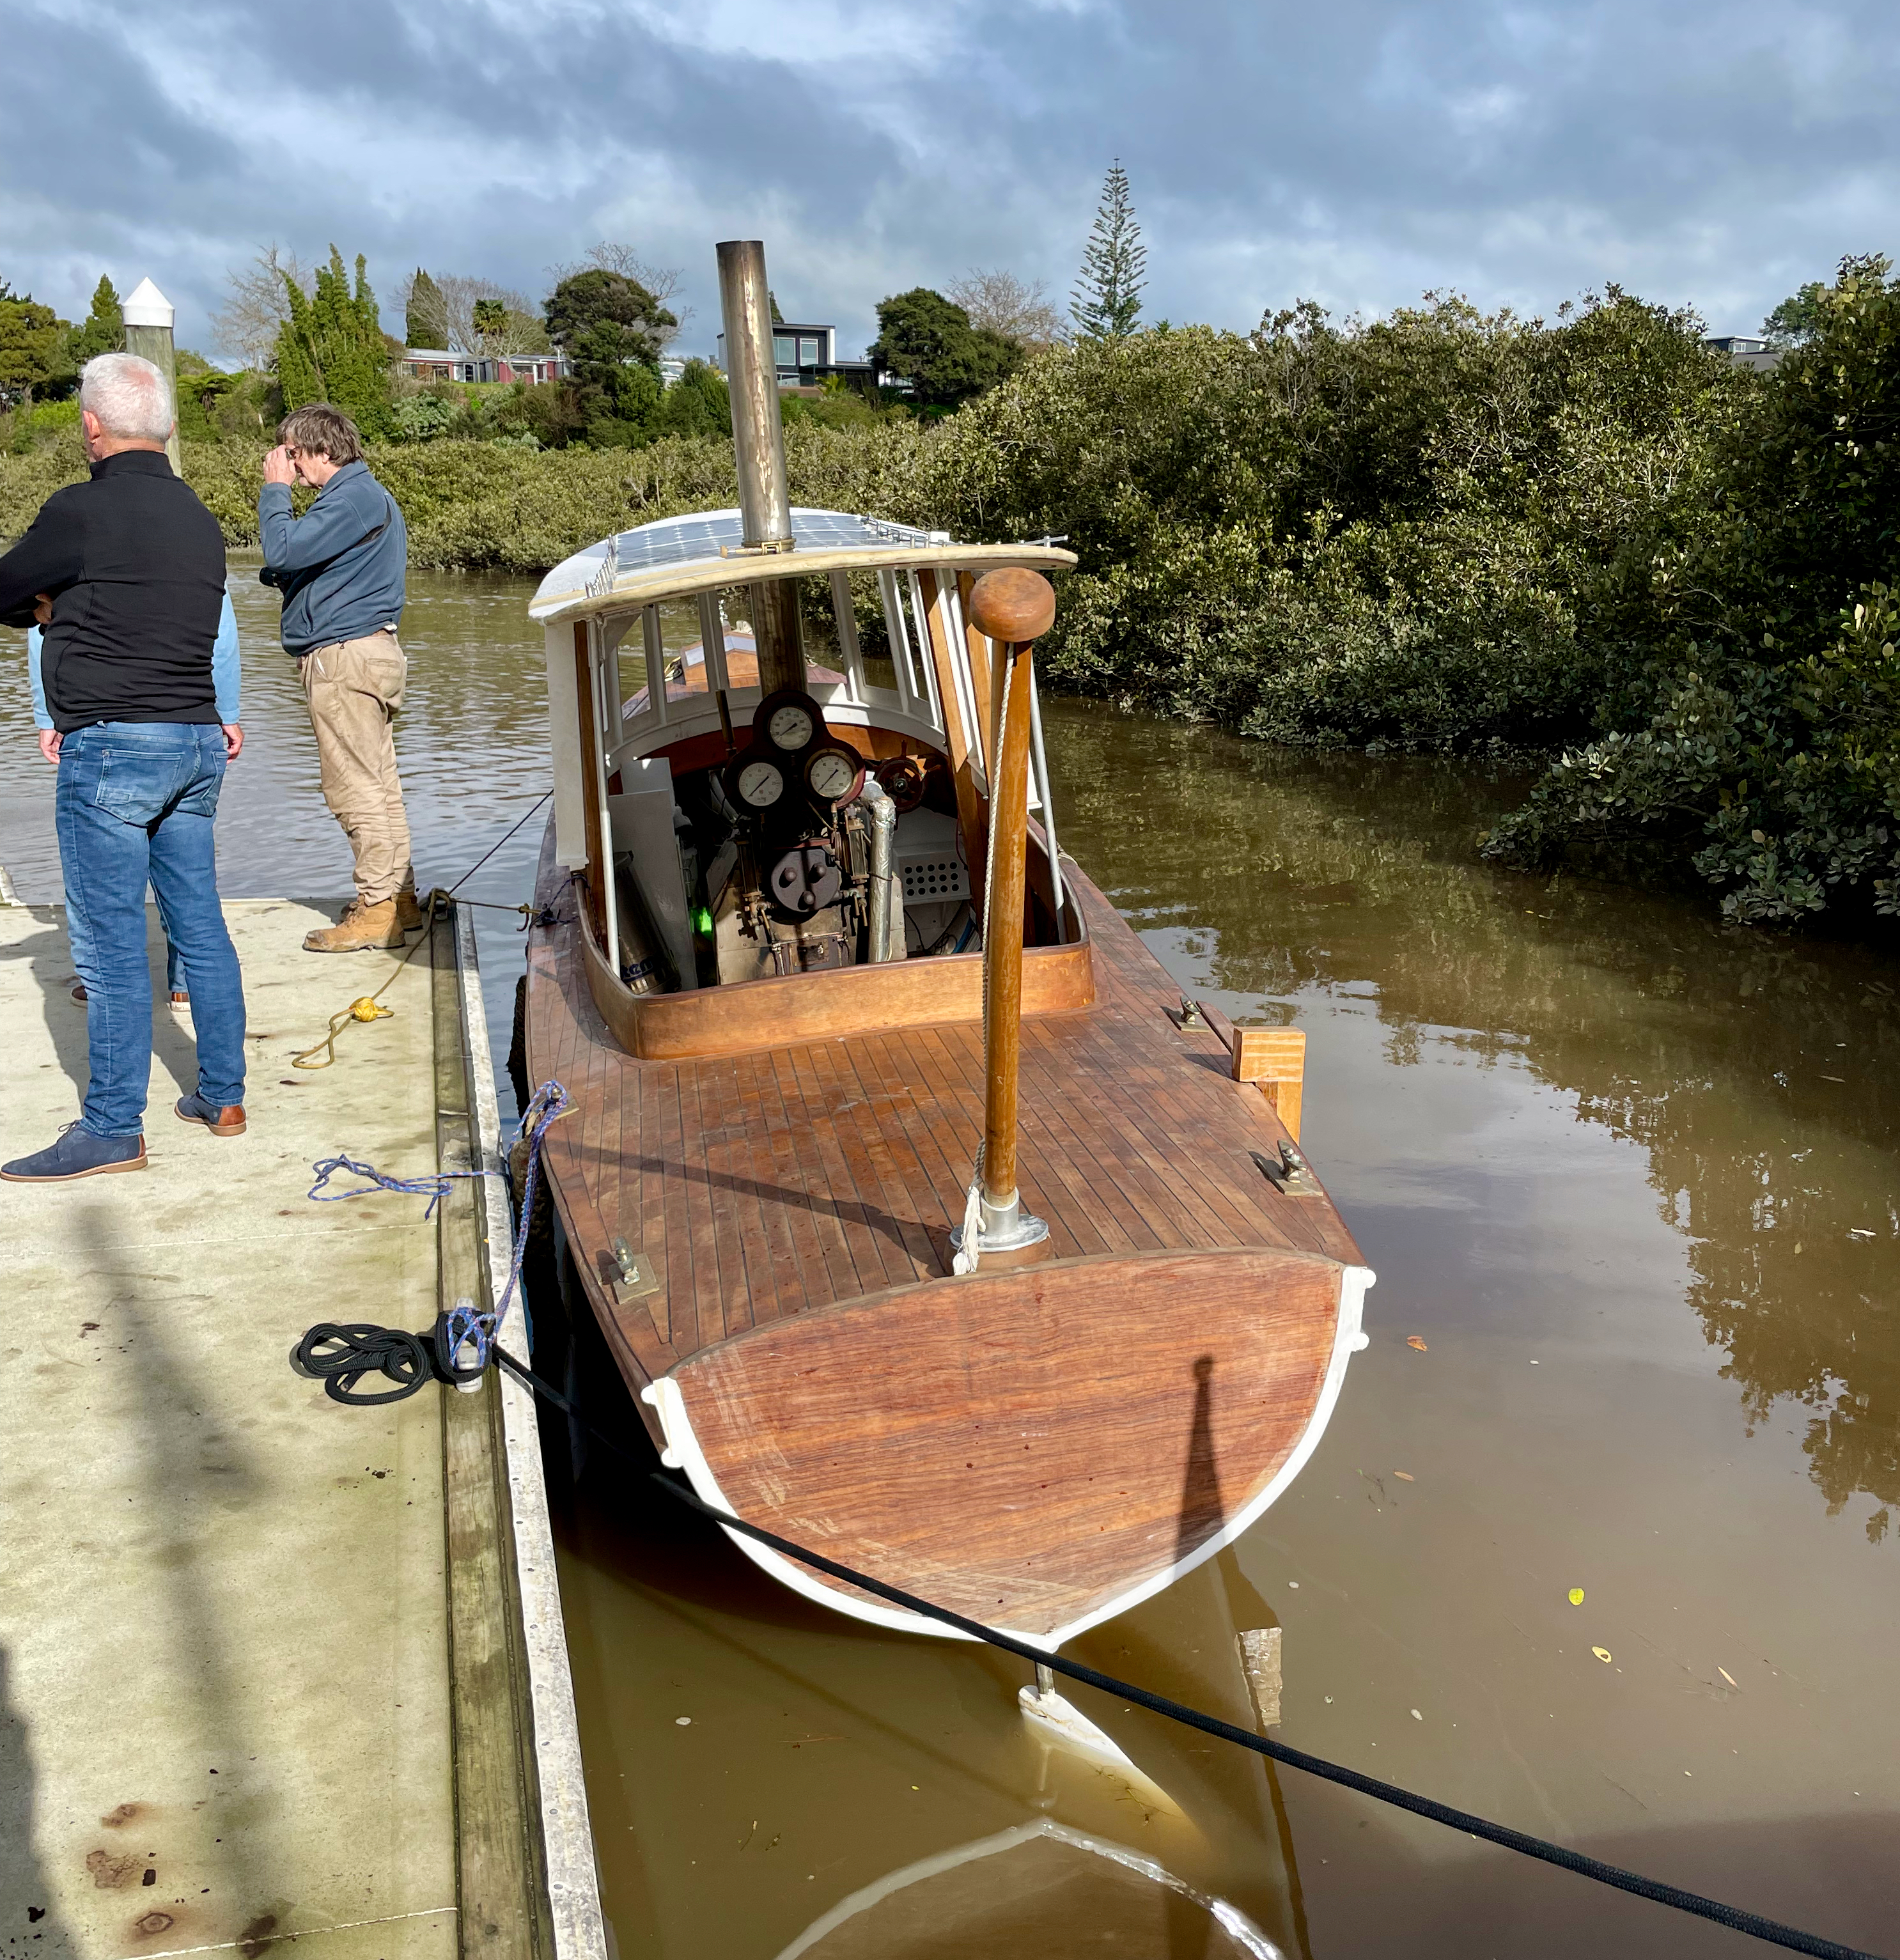
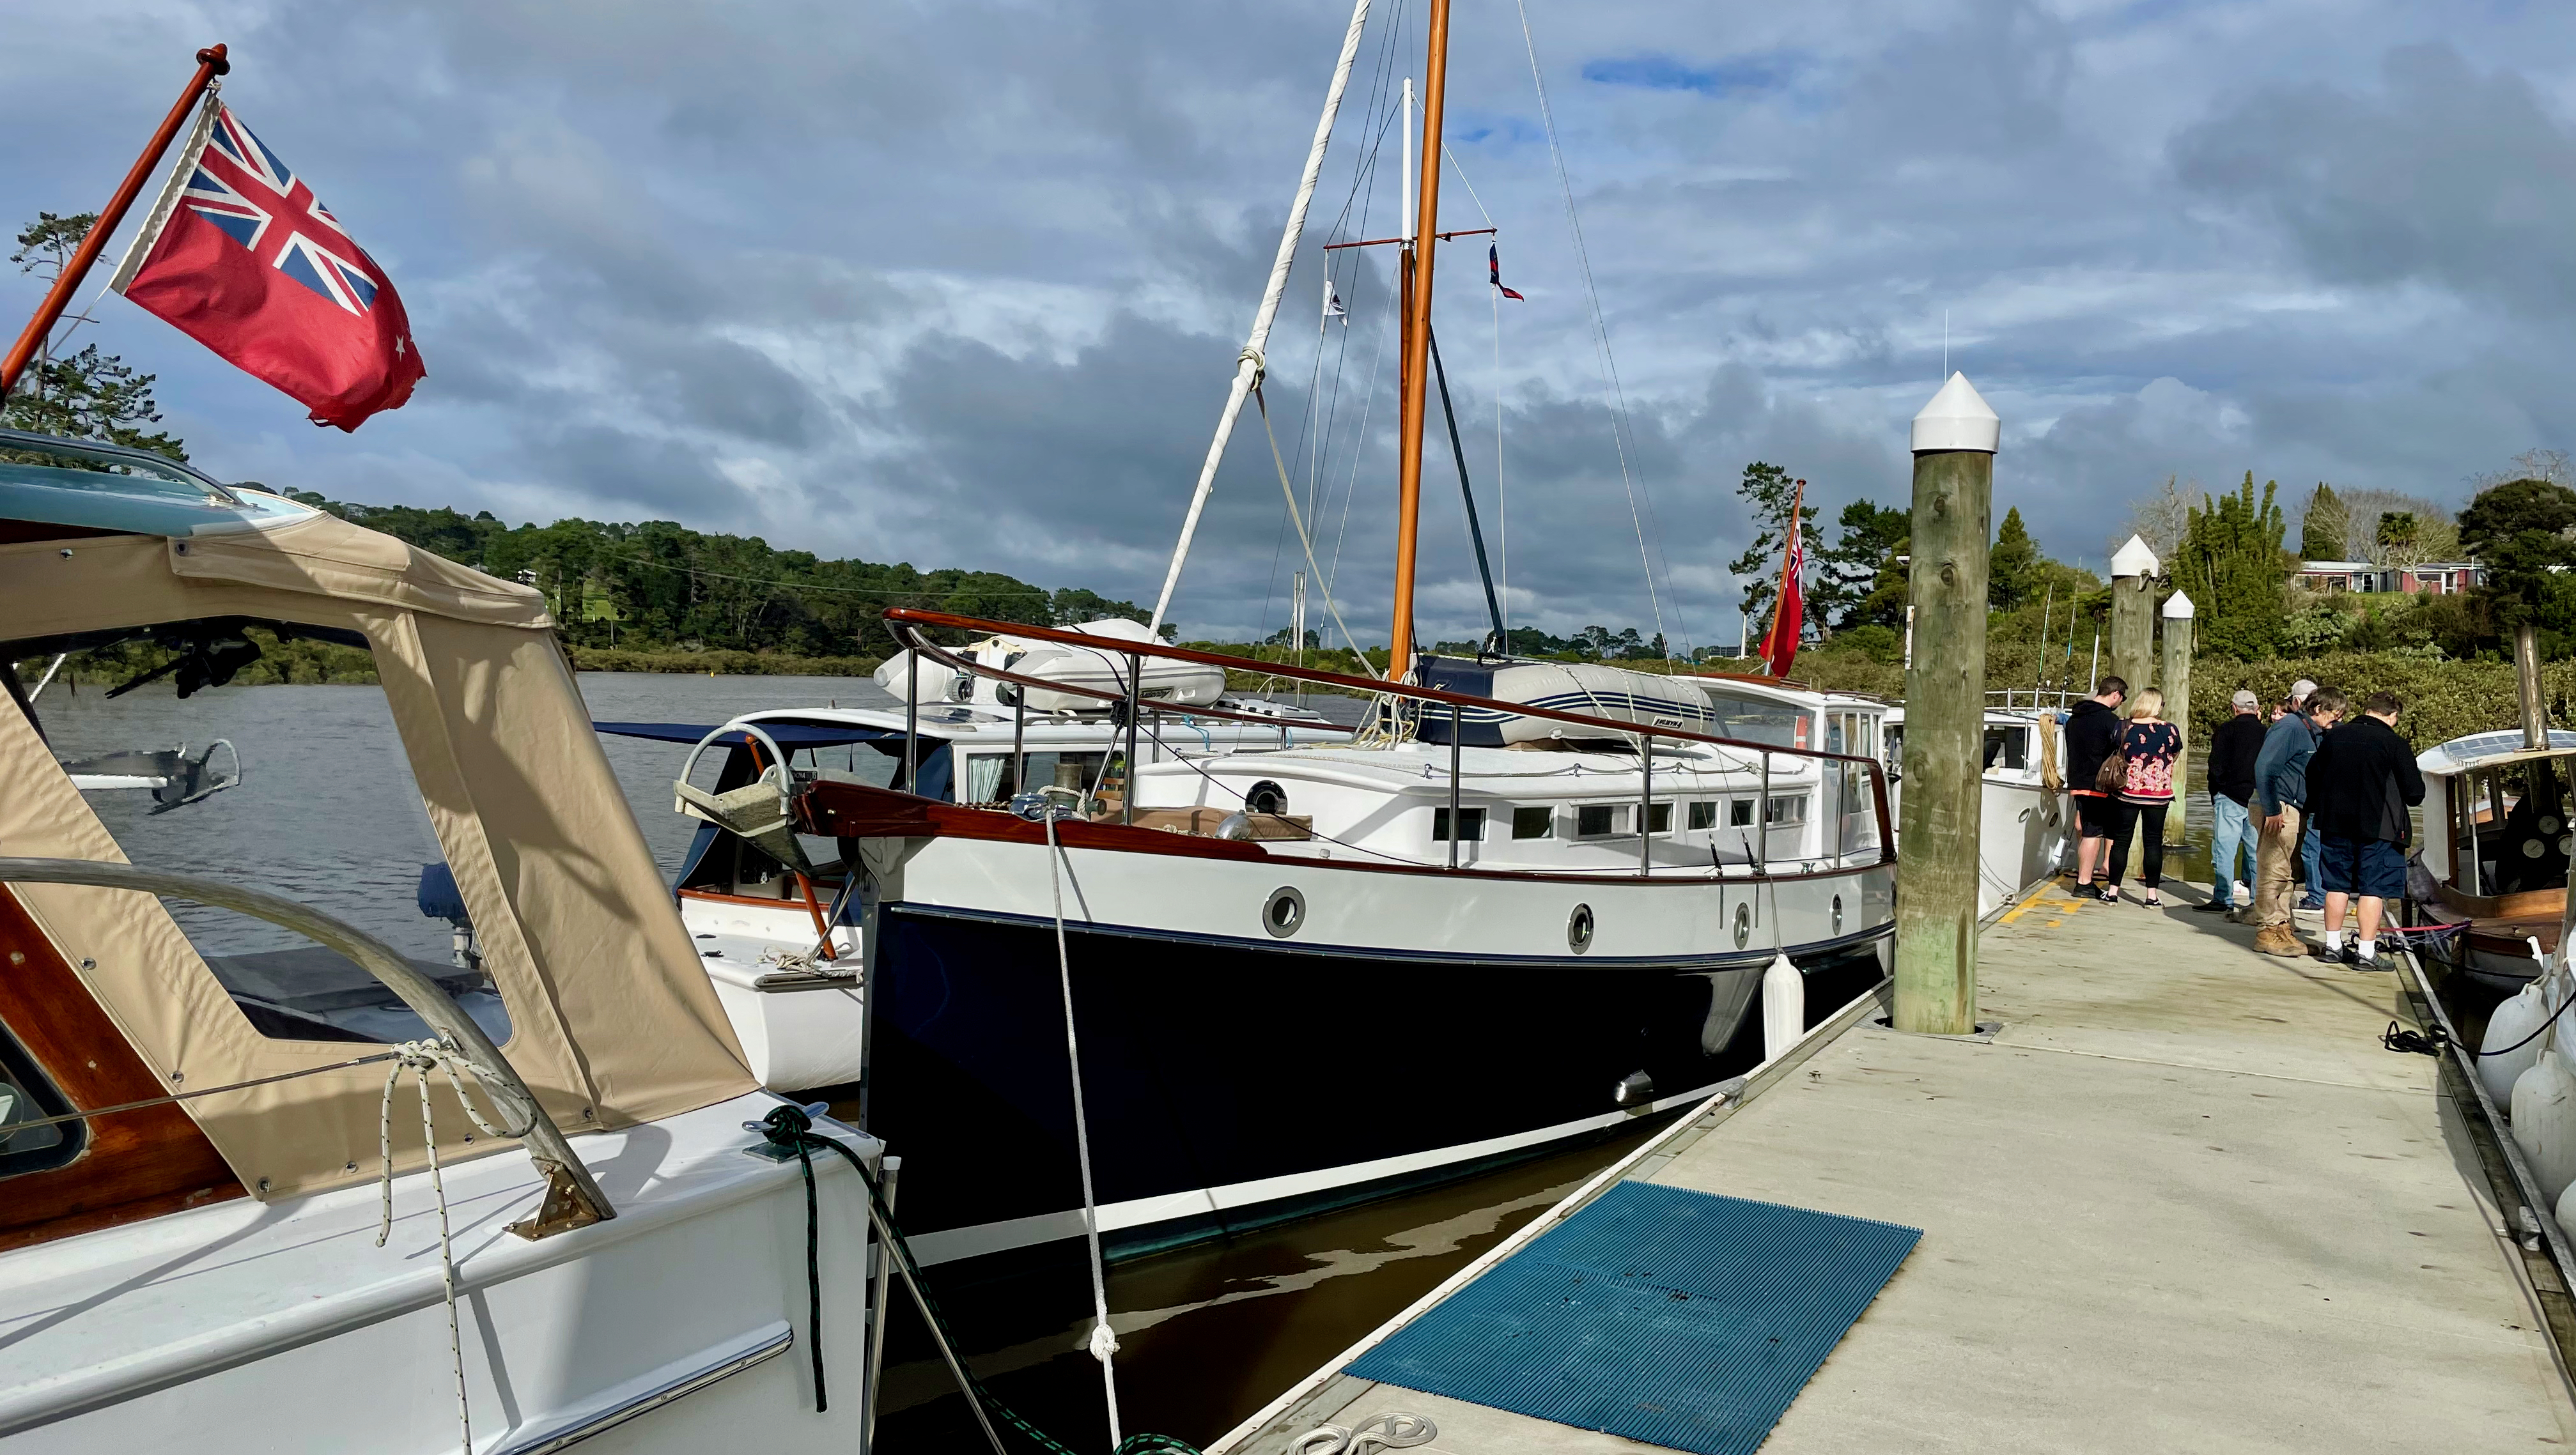
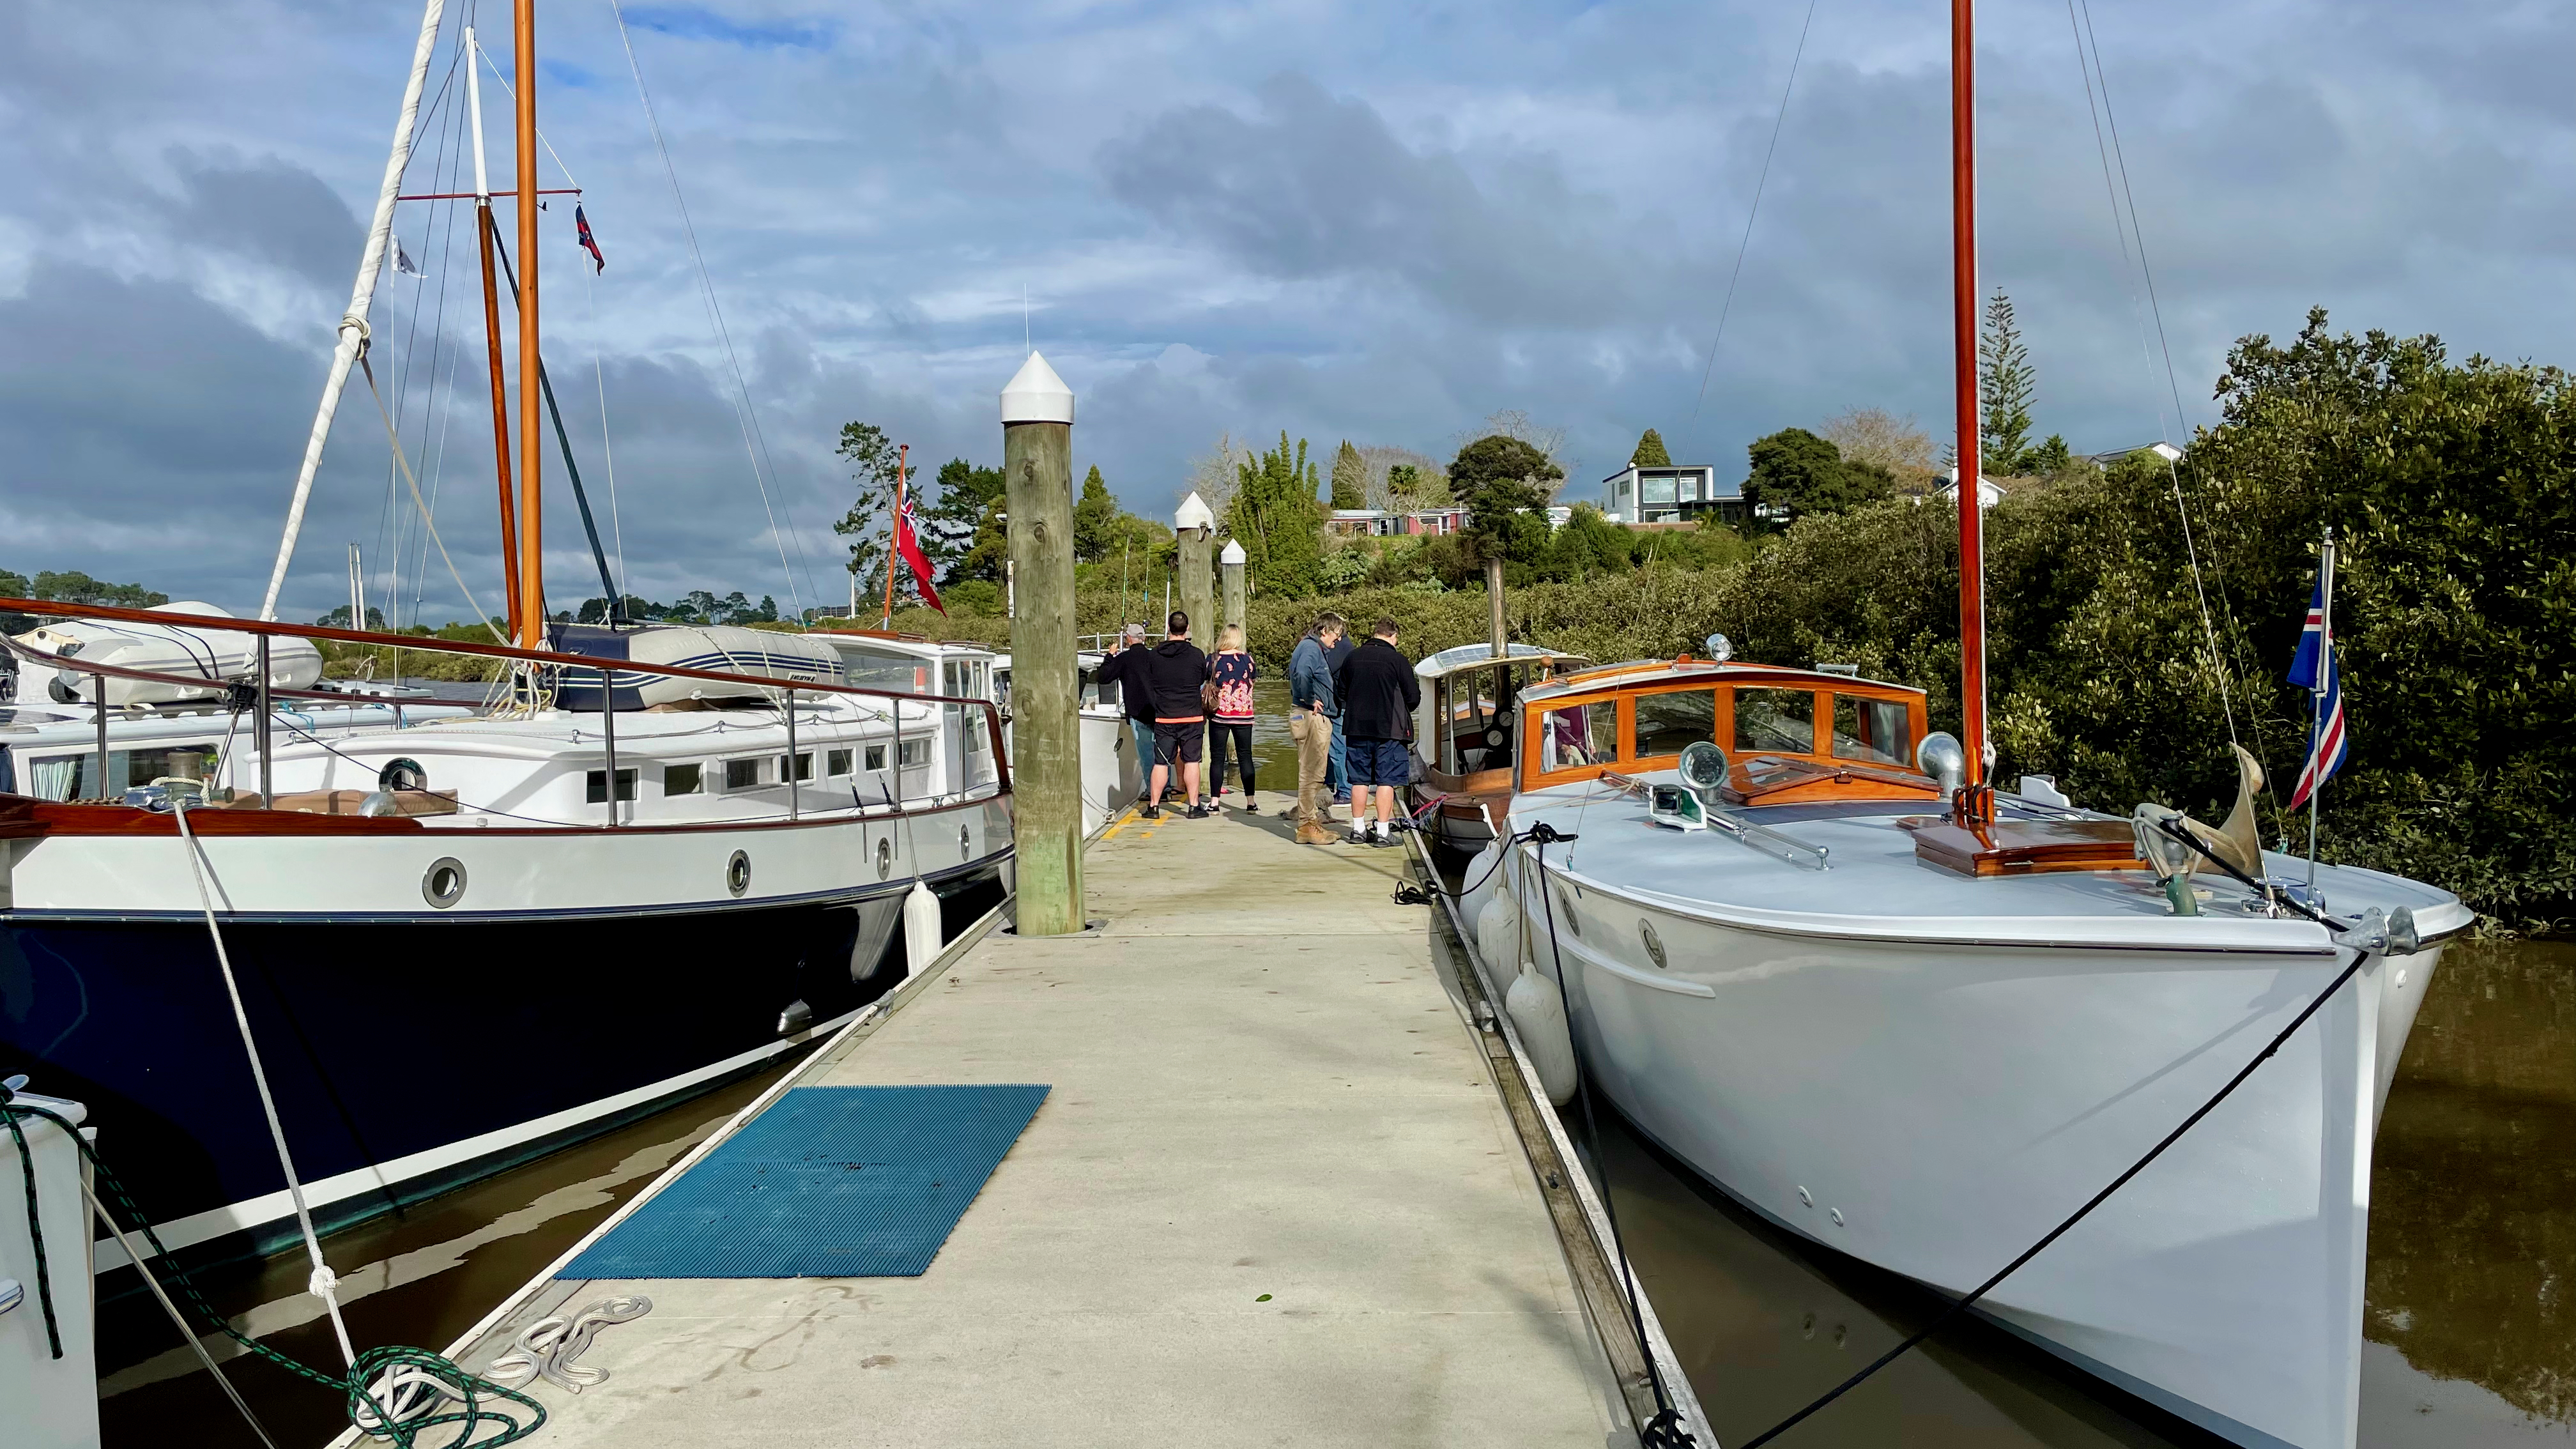
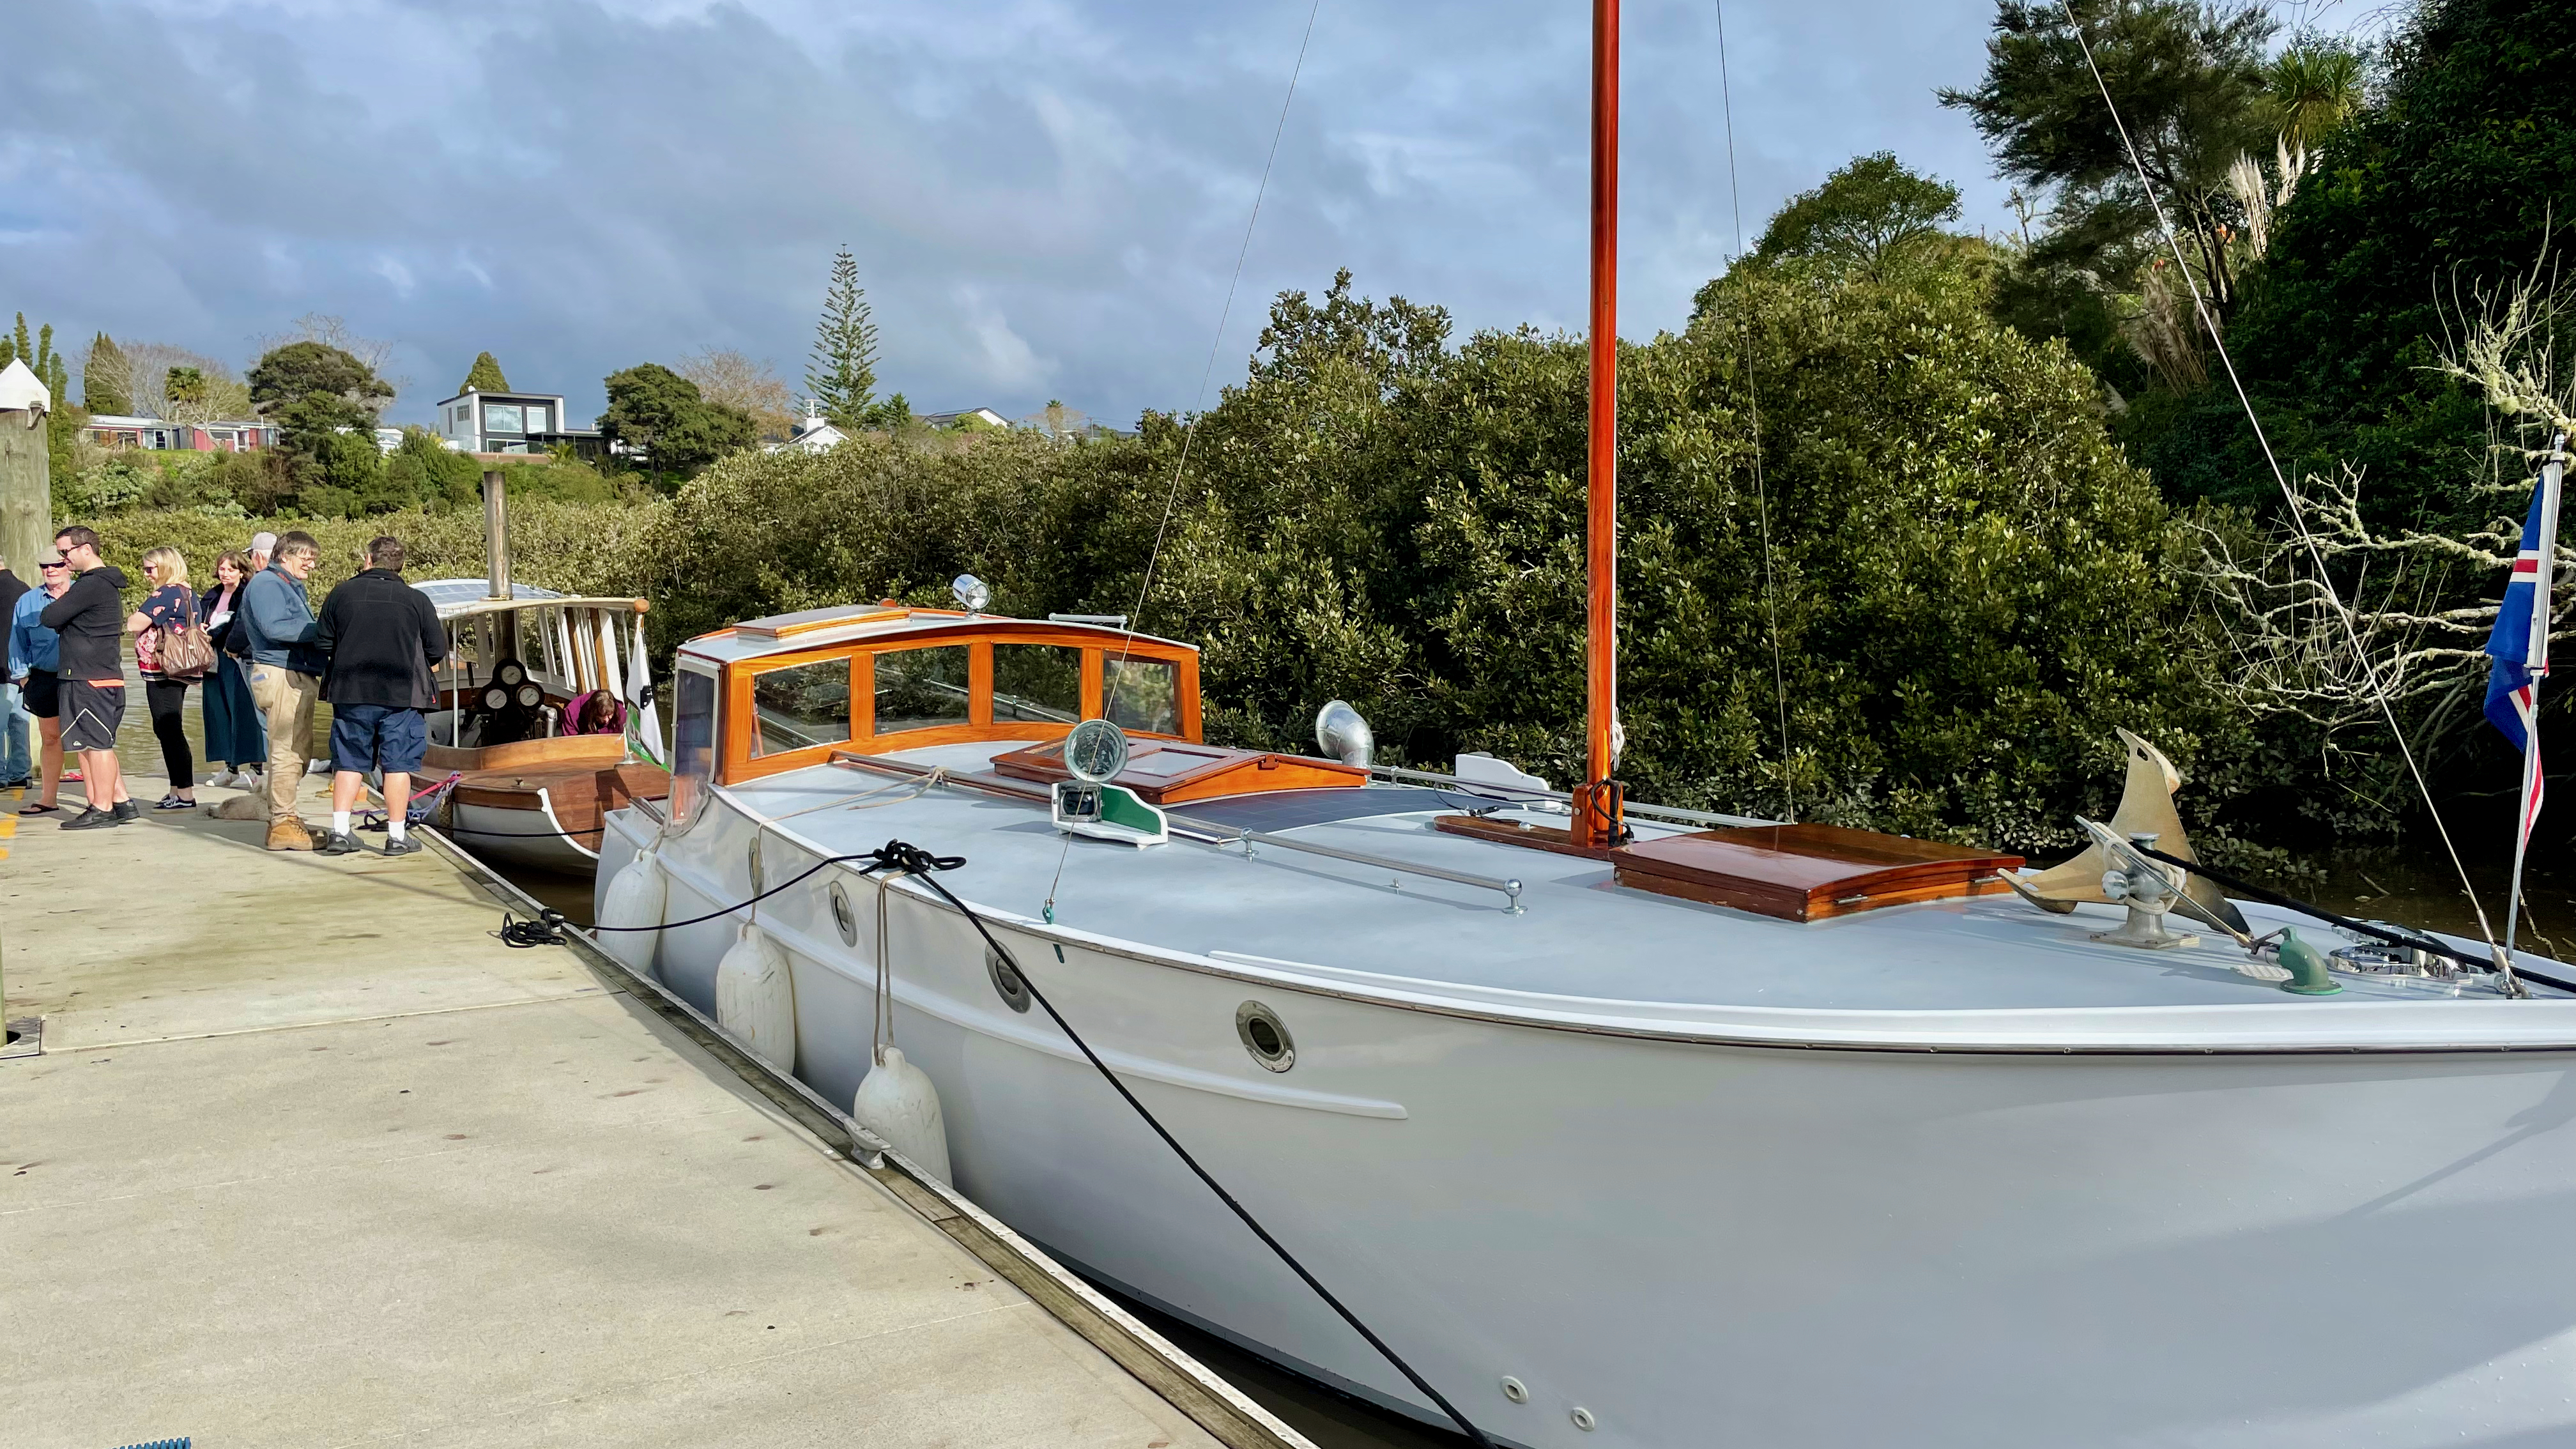
We were also graced with the company of John and Diana Olsen on their steam boat – Dancer, The Olsen’s towed Dancer from Cambridge and launched her at the old Salthouse yard to make the trip up the creek.
Check out the Woodys Classic Weekends Event Calendar at the link below, for upcoming outings – our next one is an overnight BBQ cruise up the Clevedon River on the weekend of 14 > 15th August – a heads up – numbers will be restricted due to berthing / anchoring limits -so RSVP early.
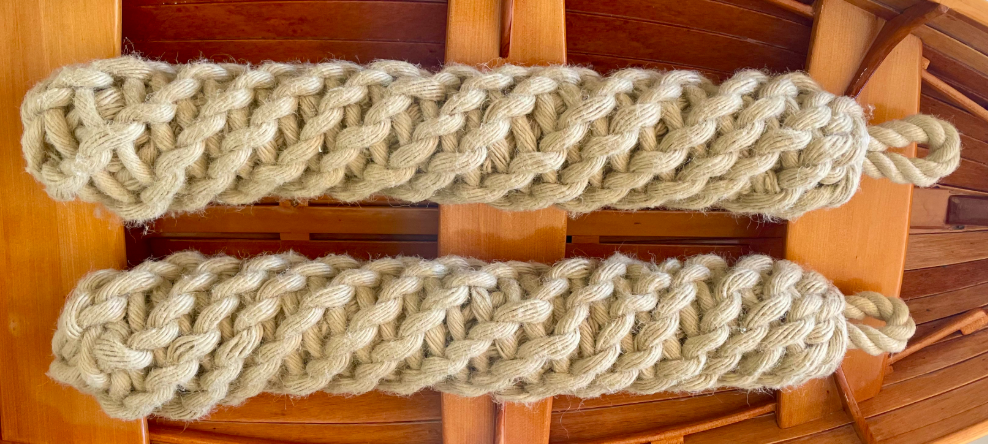
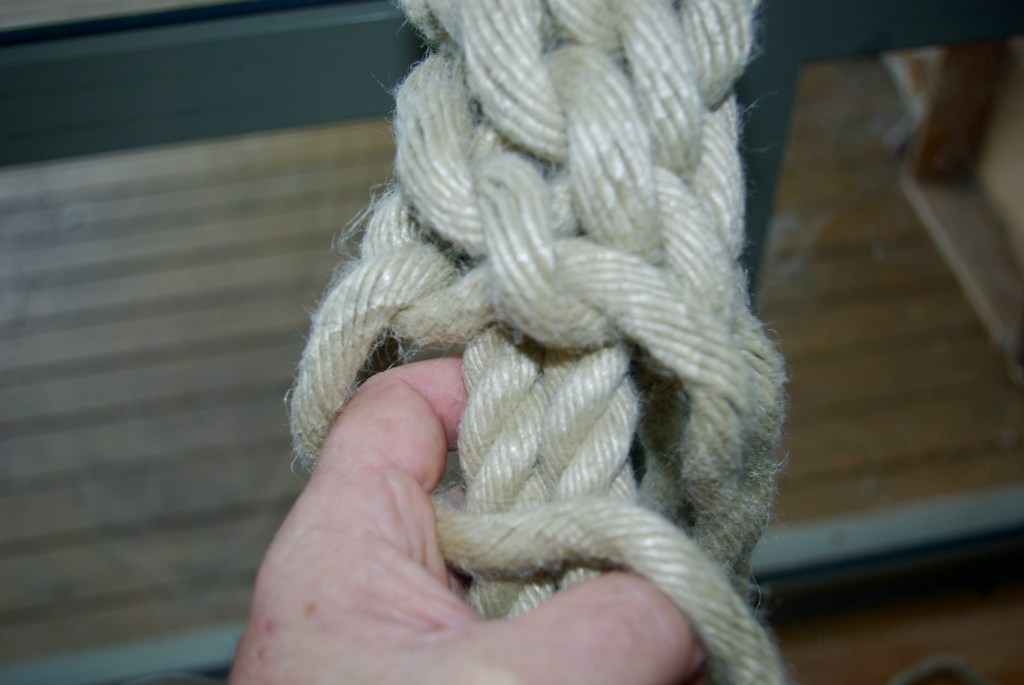
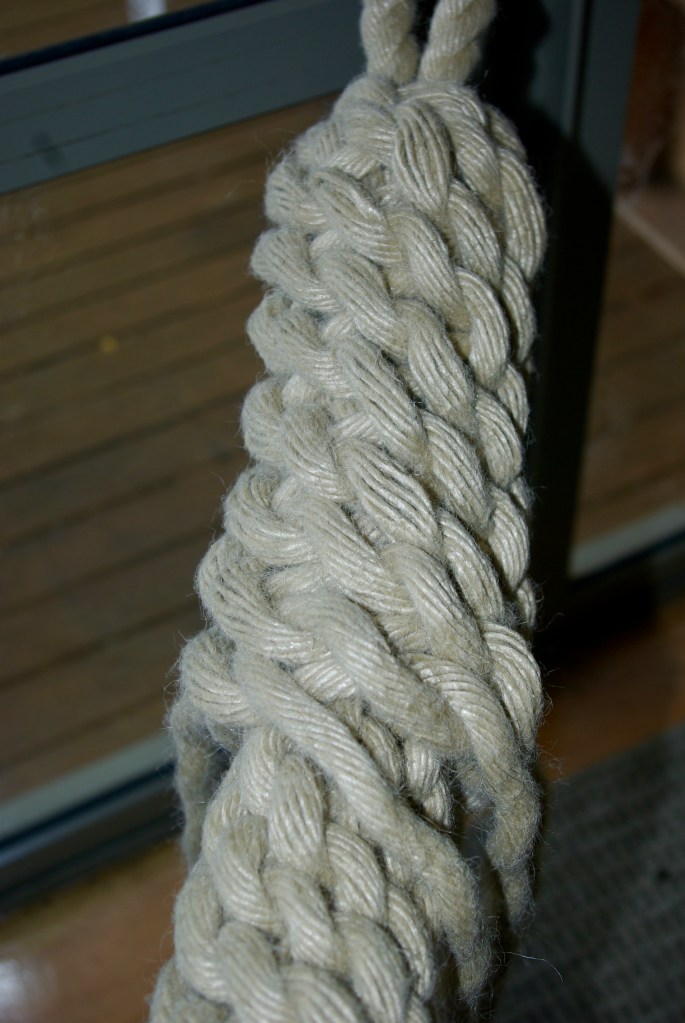
Early in the year while attending the Lake Rotoiti Classic & Wooden Boat Parade, I spotted and admired the magnificent fenders on the steam boat – Dancer. In a later conversation with her owner John, he told me he had made them and very generously offered to make me a pair for Raindance. I provided the rope and John crafted them. I meet up with John at the RNZYS during the week and we exchanged goods – WW merchandise and my famous tomato sauce for the fenders. John did comment that anyone who wants some the same is going to have to make them themselves J. Luckily John documented the process and took supporting photos – so woodys, whose brave enough to give it a go?
During the process I was reminded of a reason to pay your Classic Yacht Association subs – Fosters Chandlers offer a very attractive discount to CYA members – a nice saving when you are buying 23m of expensive rope.
I’ll let John talk you through the process. Remember click on photos to enlarge 😉
“The rope used is a synthetic that looks like an old style manila rope. It is available from Fosters, and probably other suppliers too. Note that I have given sizes here, they work with the rope Alan bought at Fosters, but are not necessarily going to work with other types. The diameter of the rope is 18mm, and Alan bought 23 metres. I halved that exactly, then made a bit of a guess as to what length of fender that would make, since the rope is slightly different to the size of my own. The problem being that you have to commit to the finished length at the very start. I settled on 600 mm which turned out to be exactly right. If necessary, extra rope can be added in, or excess can be cut off, but the first is a bit fiddly and the last is wasteful. You will also need a splicing fid, available from the same places that have the rope, and the means to cut and heat seal the end of the rope.
So, cut your length of 11.5 metres and fold it in half. Lash a small rope to the halfway point and attach it to some convenient item, in my case a door handle. Make a whipping around just below the loop at the top, and another one 600 mm (2 feet in old units) down. This can be seen in photo 1. The whipping will not show on the finished job, so I use ordinary white braided cord for this, about 2mm diameter.
Now, start to unlay the three strands at each end. Before you go more than an inch or two, make sure the end of each strand is well heat welded to itself, using a lighter or a candle. Try to make sure that there are no jagged edges to the heat welded ends as they can be hard on your hands and on the rope itself, tending to make it go furry as you pull the ends through the loops as you work. You will see in Photo one that all six stands have been unlaid up to the lower whipping.
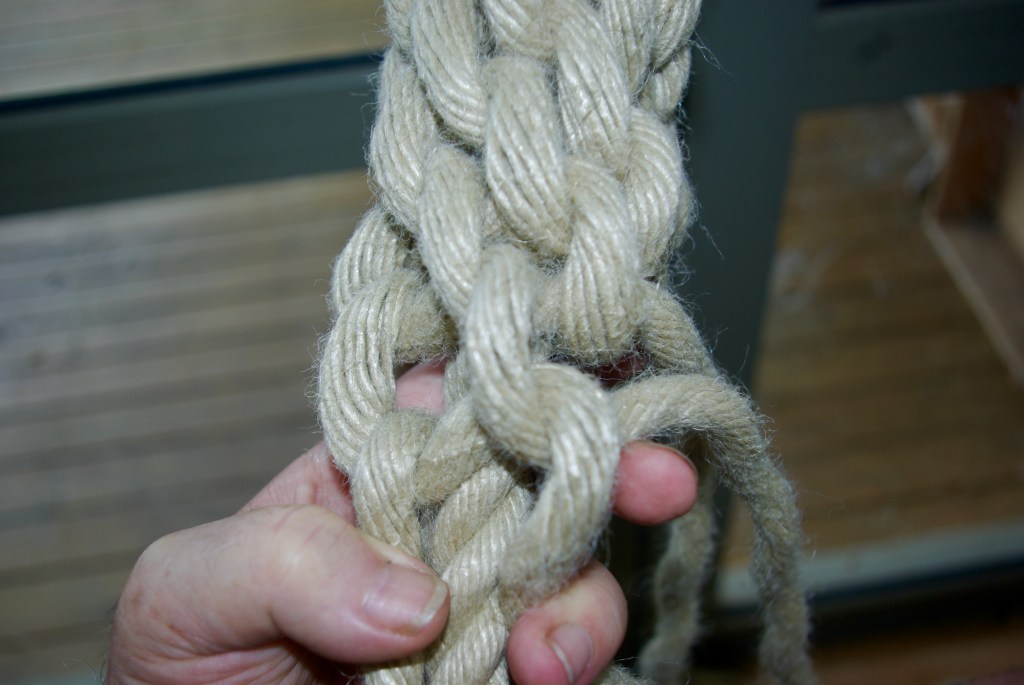
Now, we really want to start with the fender the other way up, so add a temporary loop of small cord through between the two sides of the rope just above the lower whipping, and use this to attach to your convenient door handle. I haven’t shown this in the photos. Now you have six strands of unlaid rope with the two ropes for the core emerging below them in the middle. Your task now is to tie a whole lot of crown knots. Now, the process I will describe suits me as a right handed person. If you are left handed, you will probably find it easier to reverse everything, and this will make no practical difference to the finished result.
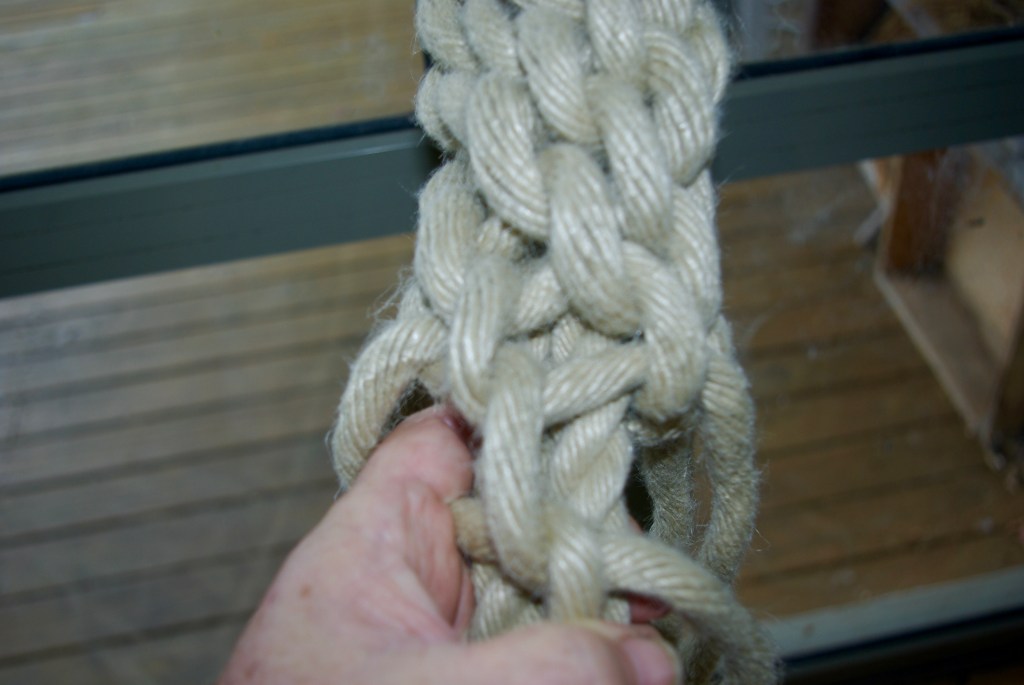
So, we take the first strand making it run downwards and to the right, putting the index finger of our left hand into the loop this makes. (Photo 3) Taking the next strand to the right, we put this over the top of the first strand where it is running horizontally to the right, and then bring it underneath and to the right. (Photo 4) This is repeated all the way around (photo 5) until we come to the sixth strand, which after it has gone under the fifth strand and then to the right, gets passed up through the loop that your index finger is hopefully still holding. (Photo 6 and 7) Once you have pulled all the slack through, you should have a nice crown knot. All you have to do is repeat this process about 35 times, give or take, and you will have done the first layer.
It is quite probable that you will make mistakes. One common one is to find that you have omitted one of the strands from the knot. Another possible one is to go through the first loop in the wrong direction. The best way to fix mistakes is to undo the knots all the way back to the mistake, even if it is quite a way back.
Every so often you should work some of the slack out of the worked part of the fender. Go to a point near the start and see if you can get a bit of slack in one of the strands. Work out where that strand next emerges further down, it will go under two strands before it does. (Photo 8) Work the slack down to there, then do the same at the next point where it emerges. Repeat until you reach the last knots, then choose another strand at random near the top and do the same again. Once you have done this to 3 or 4 of the strands it should all start to sit nicely. Photo 9 shows the first layer partly worked. When you reach the eye that you made at the start, make sure that your last crown knot will be enough to cover the whipping when it is all nicely tightened up. Then suspend from your door handle by the eye end and start working crown knots over the top of the existing layer. Photo 10 shows the second layer partly worked. This will be much the same as before, except that your hand with the index finger that is holding the loop will have further to reach. This layer is also more inclined to be a bit loose, especially as you reach the end. It will help here if you have made sure the first layer is tightened up reasonably well before you put the second layer on top. Photo 11 shows the last few knots being a bit unruly.
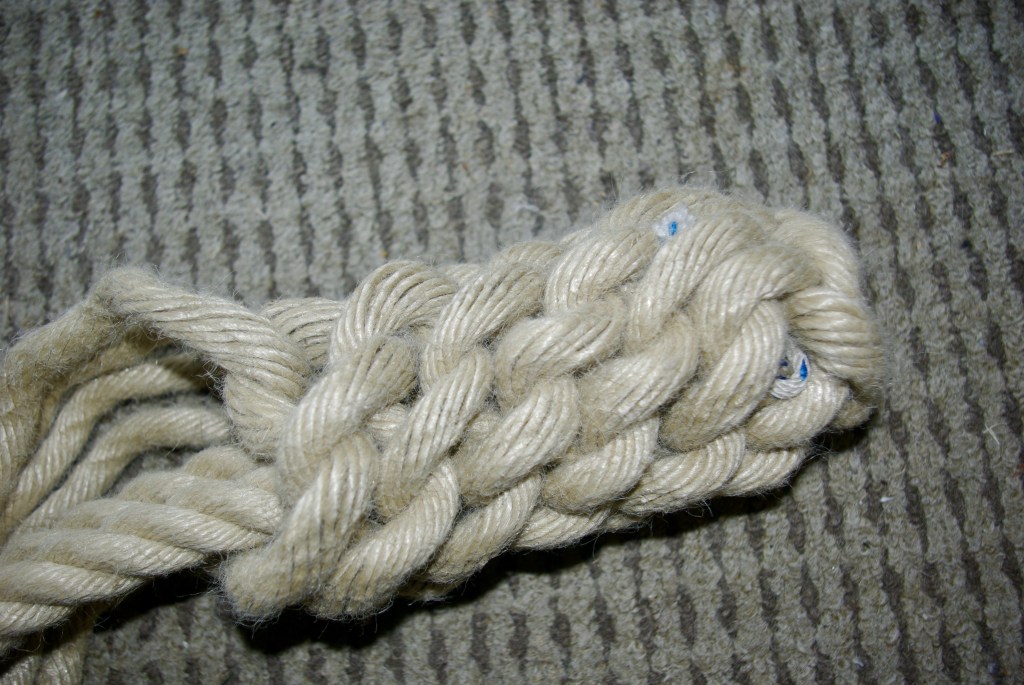
Now, hopefully when you reach the very end, each strand will be no longer than about the length of the fender. In order to make a tidy finish, we want to weave these ends under the existing work. This has two good effects, it tightens up the work, and it makes good use of the ends to add bulk to the fender. This is where your splicing fid will come in handy. Photo 12 shows the fid inserted under two strands ready to thread the loose end through. If you look at a finished fender, you will see that it has the appearance of having twisted pairs of strands spiraling around it, with short horizontal strands between them. The idea is to use the fid to work each strand under those horizontal strands, following up between the spirals, until the strand you are hiding runs out. The previously heat sealed end can then be worked under so it does not show. Photo 13 shows the appearance of the twists we are trying to hide the end of the strand between.
Now the size of rope and length specified above will make a fender about 100mm diameter by about 600 mm long. (4 inches by 2 feet for traditionalists.) Phot 14 shows a finished fender with a standard soccer ball for comparison. This is a good size for a boat maybe 10 to 15 metres long. If you want to make some a bit smaller, perhaps for a nice Whitehall rowing dinghy or similar, you can in theory scale all the sizes given and get a similar fender of a scaled length. So for instance if we halve the rope diameter to 9mm, and halve the length to 5.75 metres, we should get a fender 50mm diameter by 300mm long, or two inches by 1 foot. However I cannot guarantee that this will work for you, so you should regard the first one you make as a trial. This brings us to what to do if things are not working out for you at the end. If you find you don’t have enough length of strand left to finish the second layer and weave the ends in, the best way to salvage the job is to undo it all and move the lower whipping up by a small amount, then redo the whole thing as a slightly shorter fender. You could instead in theory add in some extra strand by using the fid to weave in the last few inches of the old strand, then adding in a new piece in the same way that you hope will be sufficient to finish the job.
Conversely, if the strands are too long as you reach the last knot, you have the choice of:
* weaving them in until you reach the top end, and then cutting off the excess.
*Figuring out how to weave in the excess coming back the other way after you reach the top.
I mentioned earlier that the crown knot can be tied either left hand or right hand. If you are really a tiger for punishment, you could try making a fender where each crown knot is the reverse of the previous. This will give a different appearance to the end result, but may also affect the amount of rope needed, and will certainly make the job much harder. I find that once I am going well, my hands get in the habit of doing the right thing, but I suspect that reversing the knot each time would lead to confusion.”
Photo 1 Starting point
Photo 2 Crown knot seen from end
Photo 3 Starting a knot
Photo 4 Put the next strand over the top then under to the right
Photo 5 Repeat with each strand
Photo 6 The last strand will go through where the index finger is.
Photo 7 put a loop through then pull through the rest of the strand
Photo 8 Working out the slack
Photo 9 Working the first layer
Photo 10 Working the second layer
Photo 11 Reaching the end
Photo 12 Using the fid to thread in the excess length
Photo 13 Note the twists each side of the fid
Photo 14 The finished article with a soccer ball for scale.
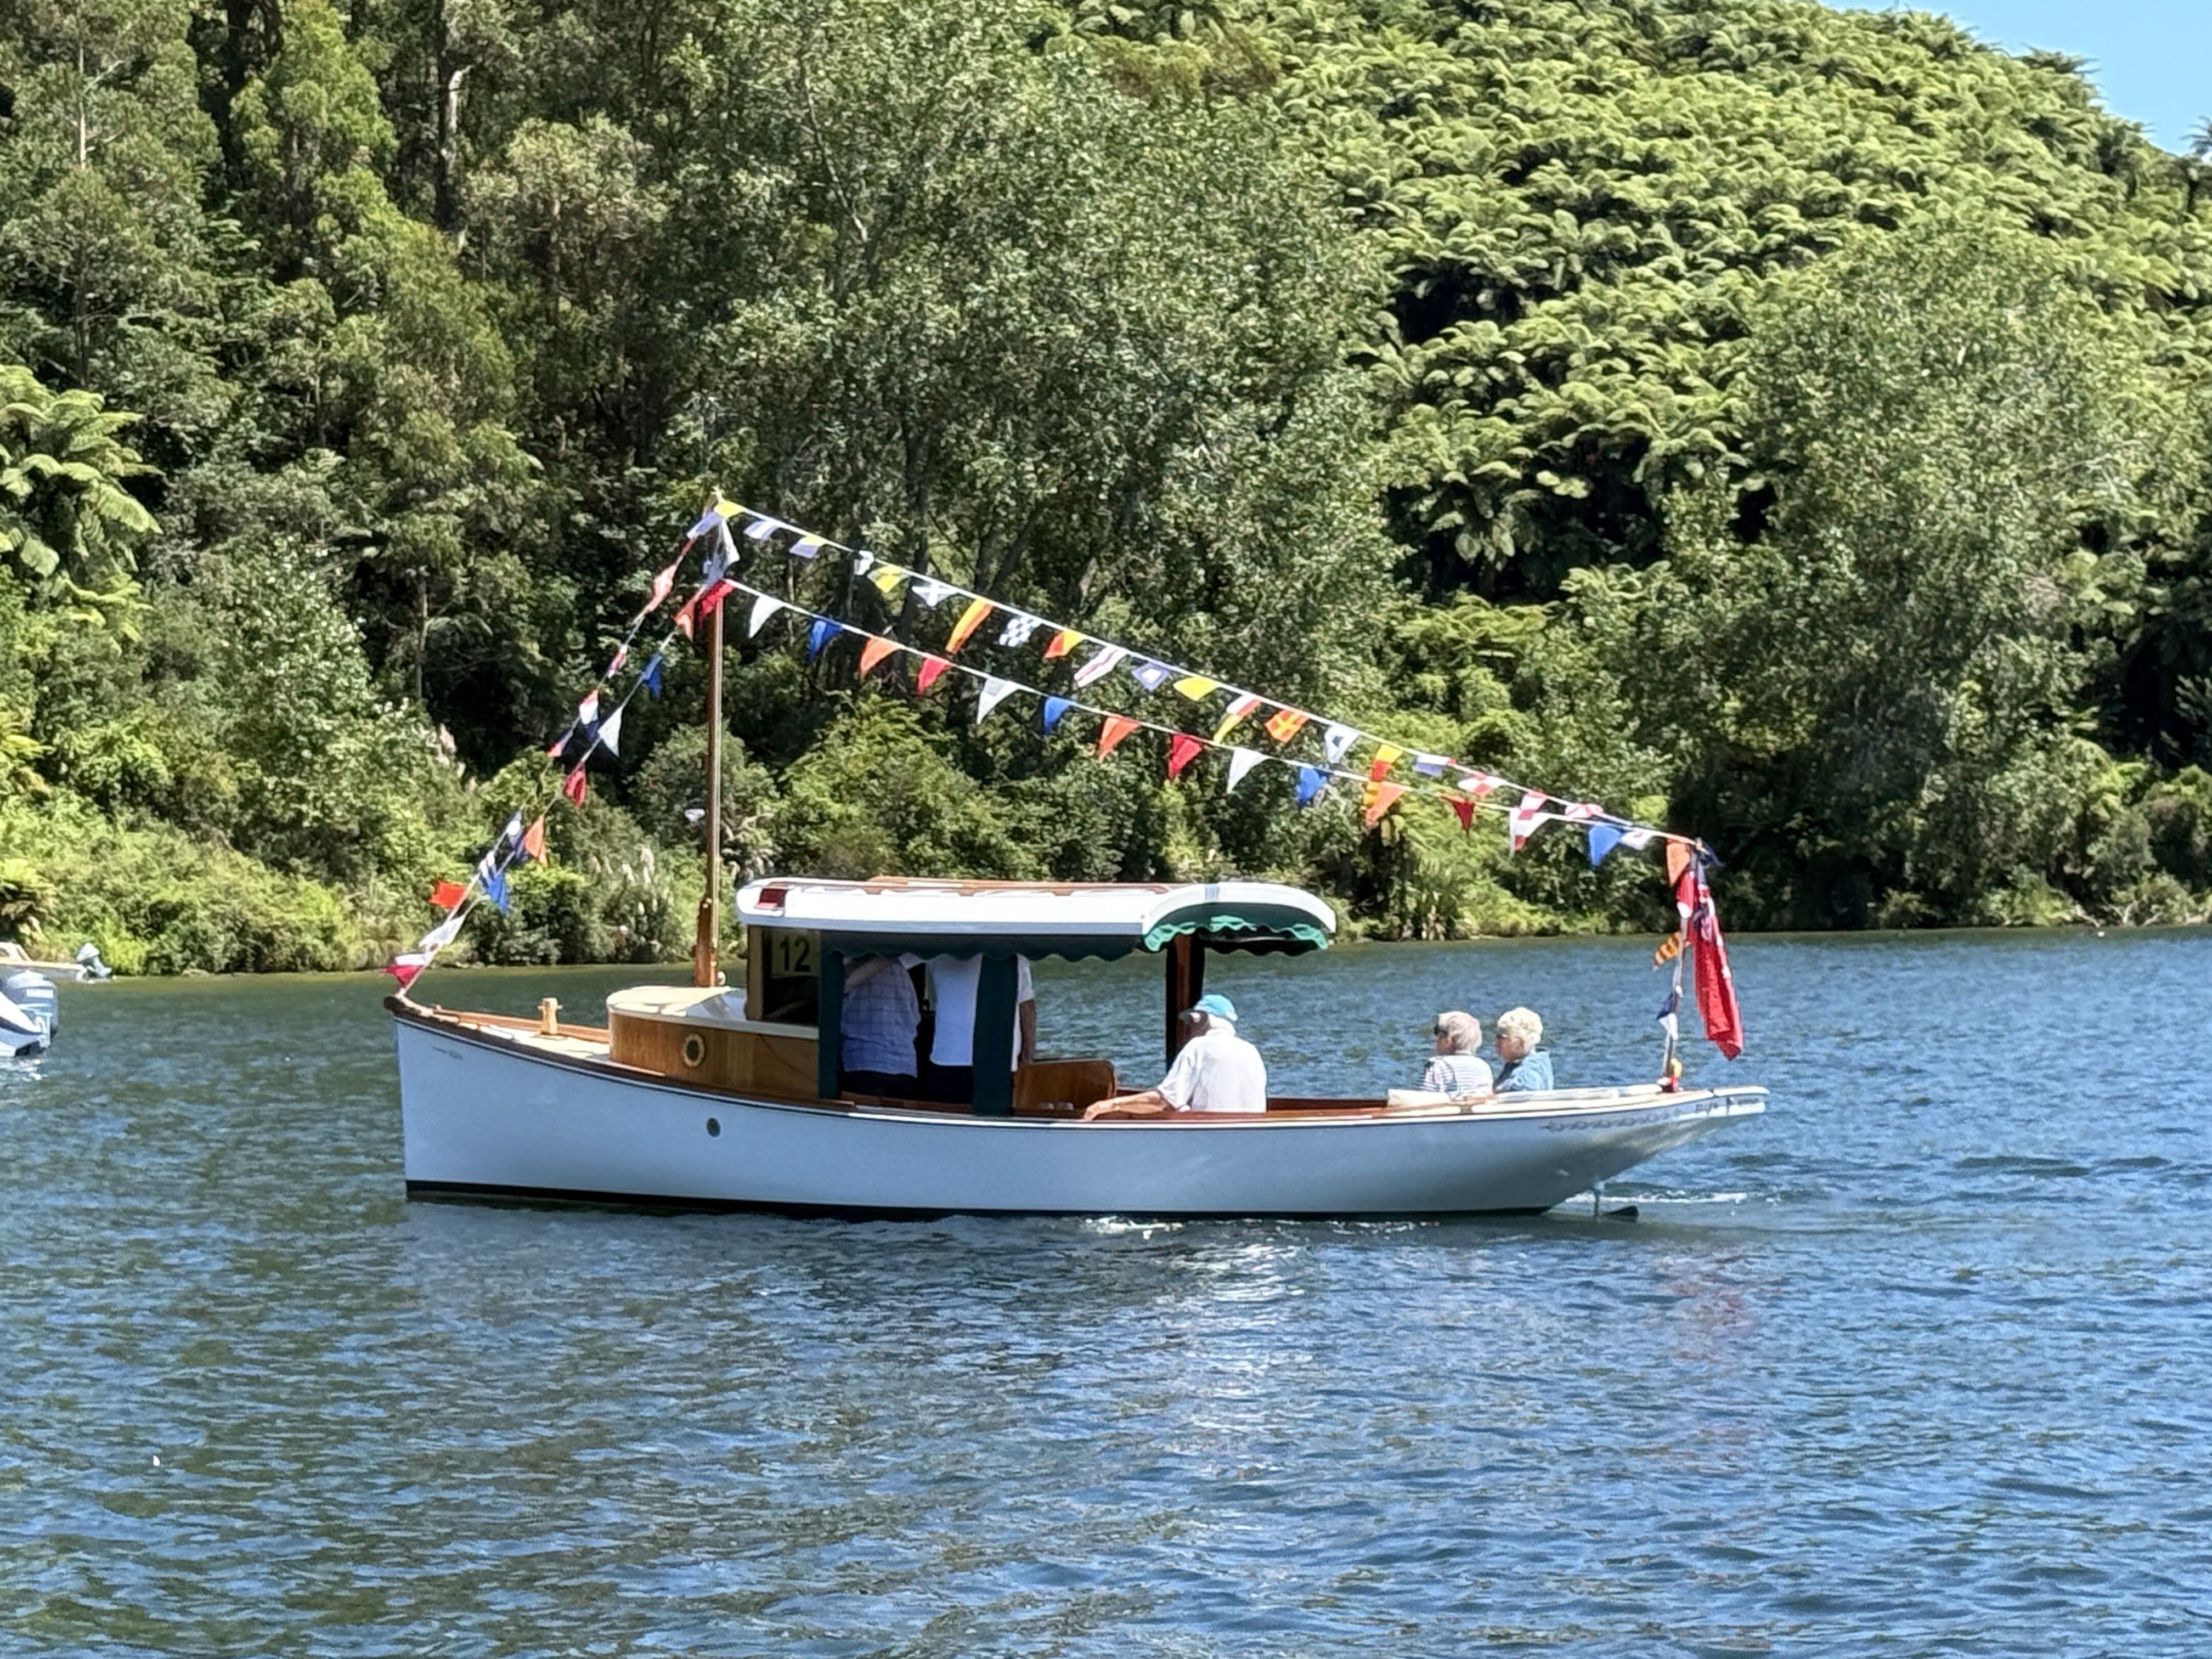
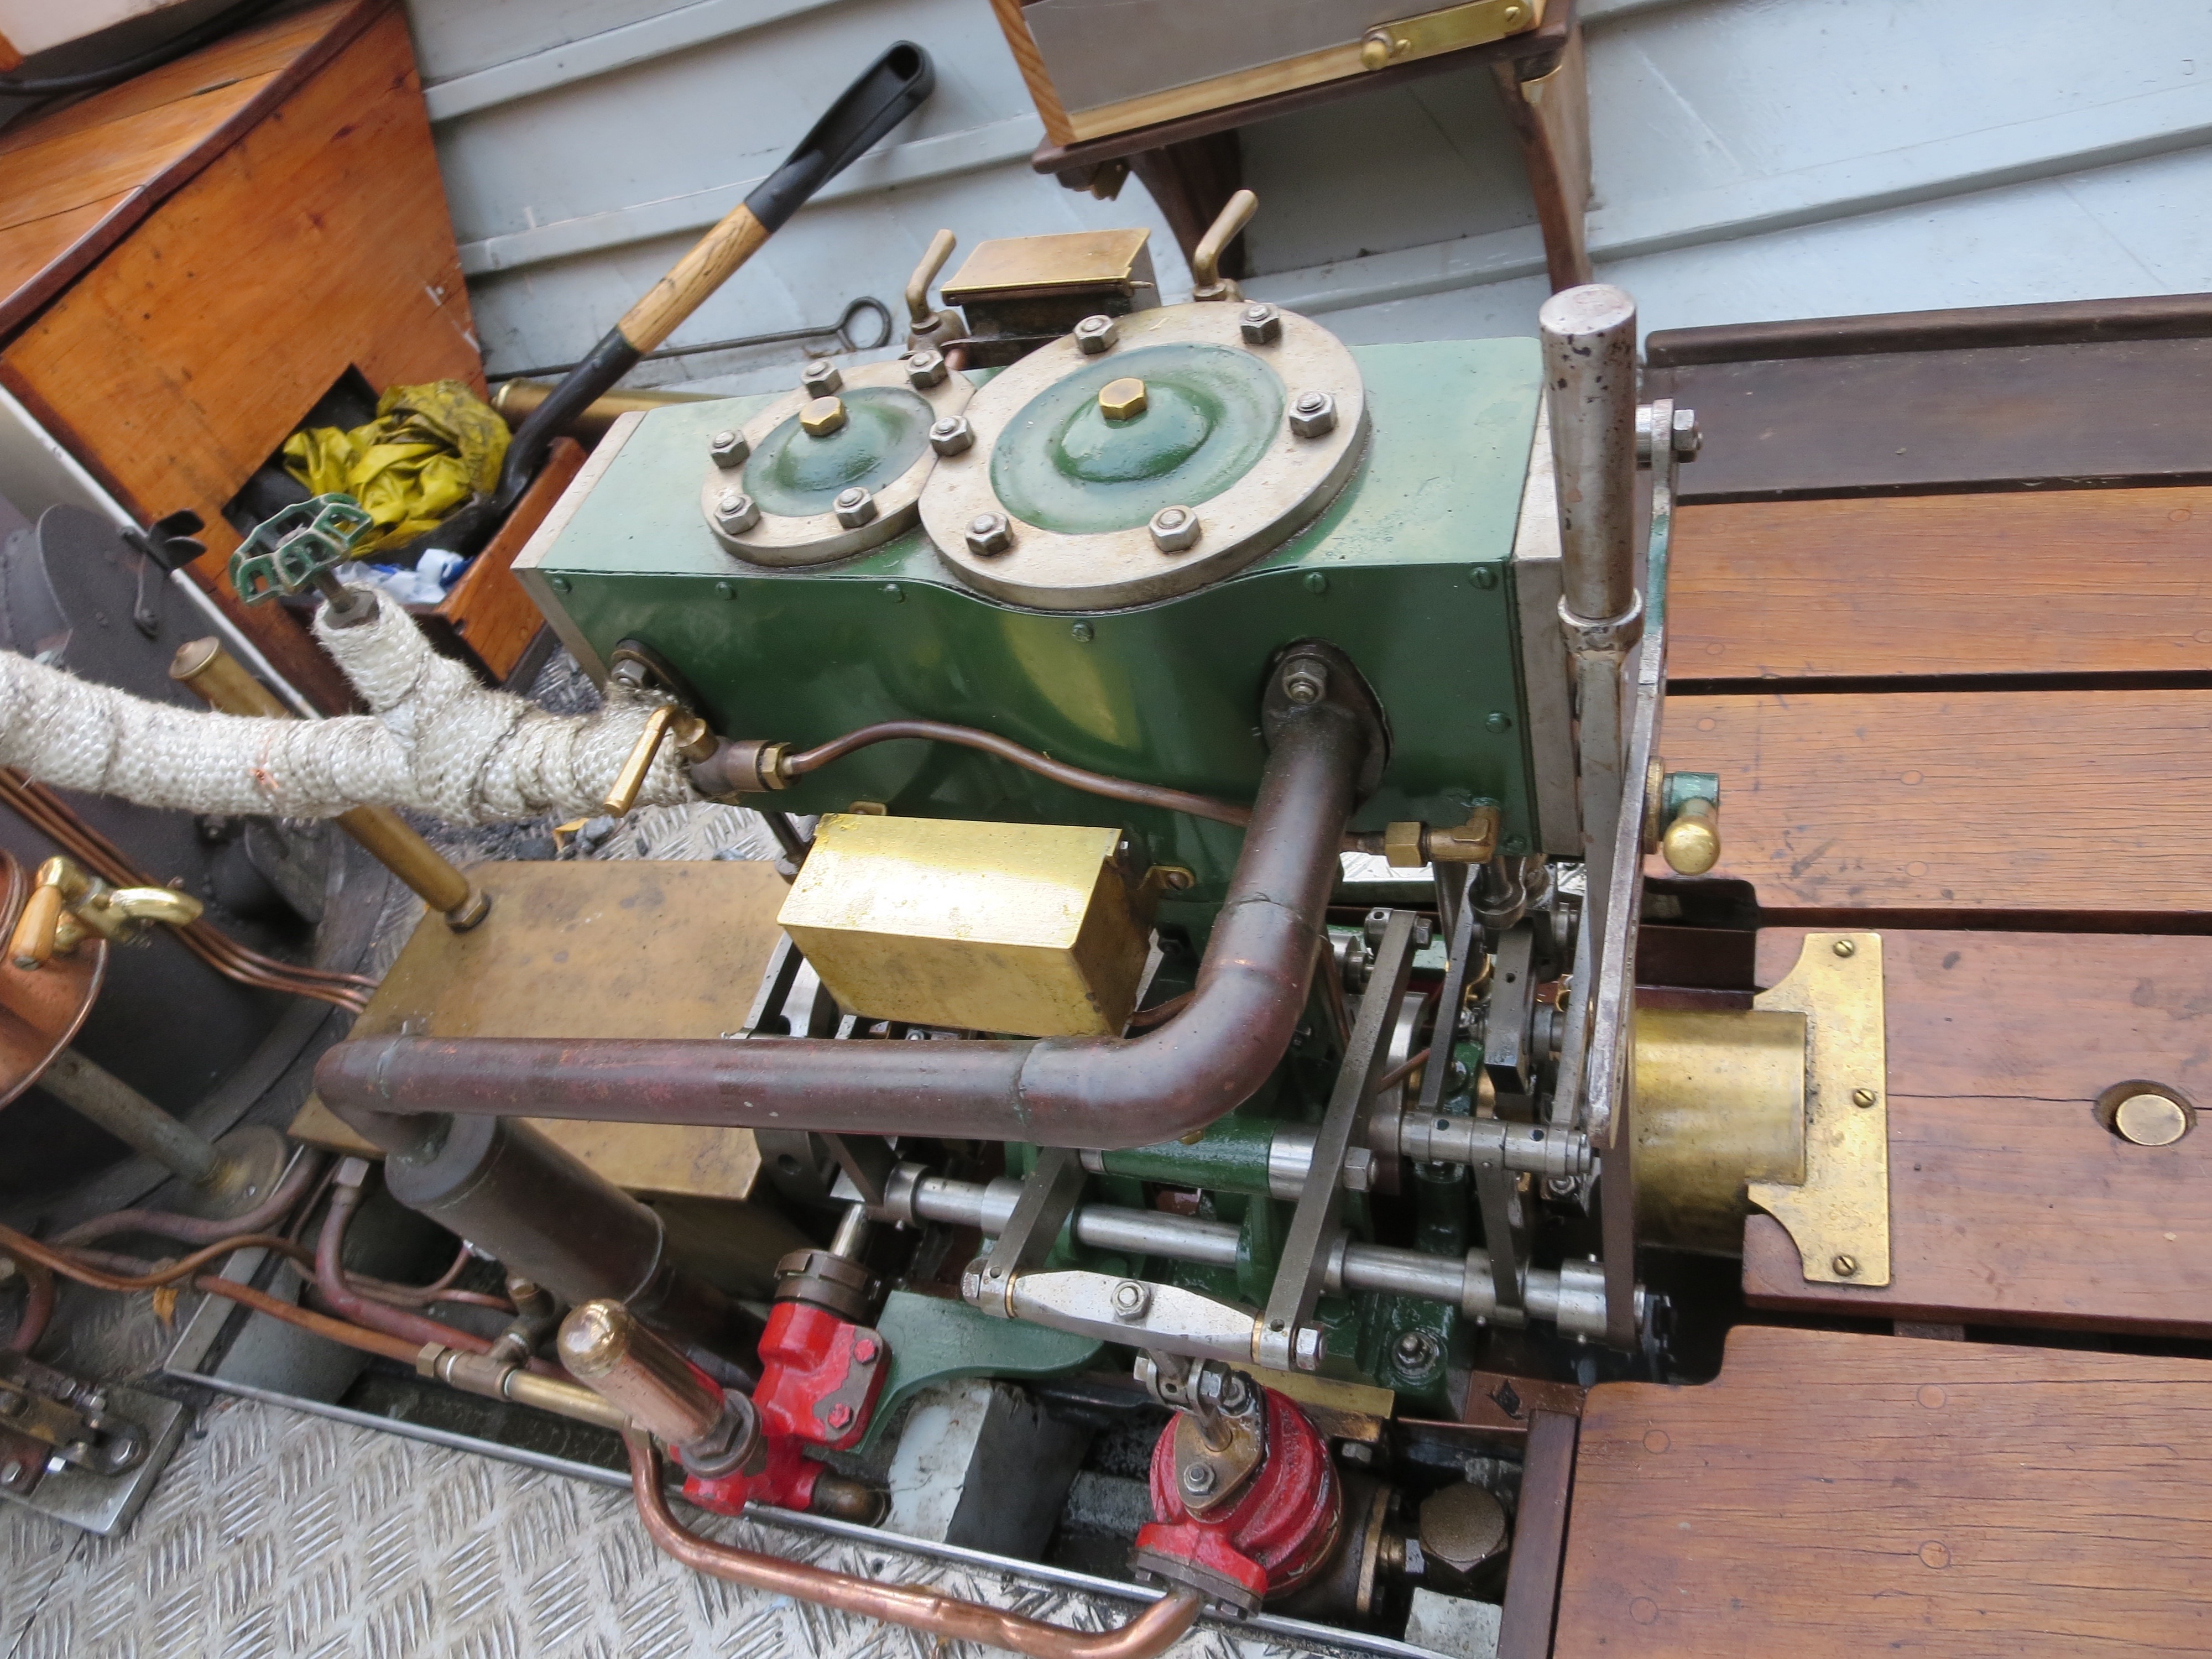
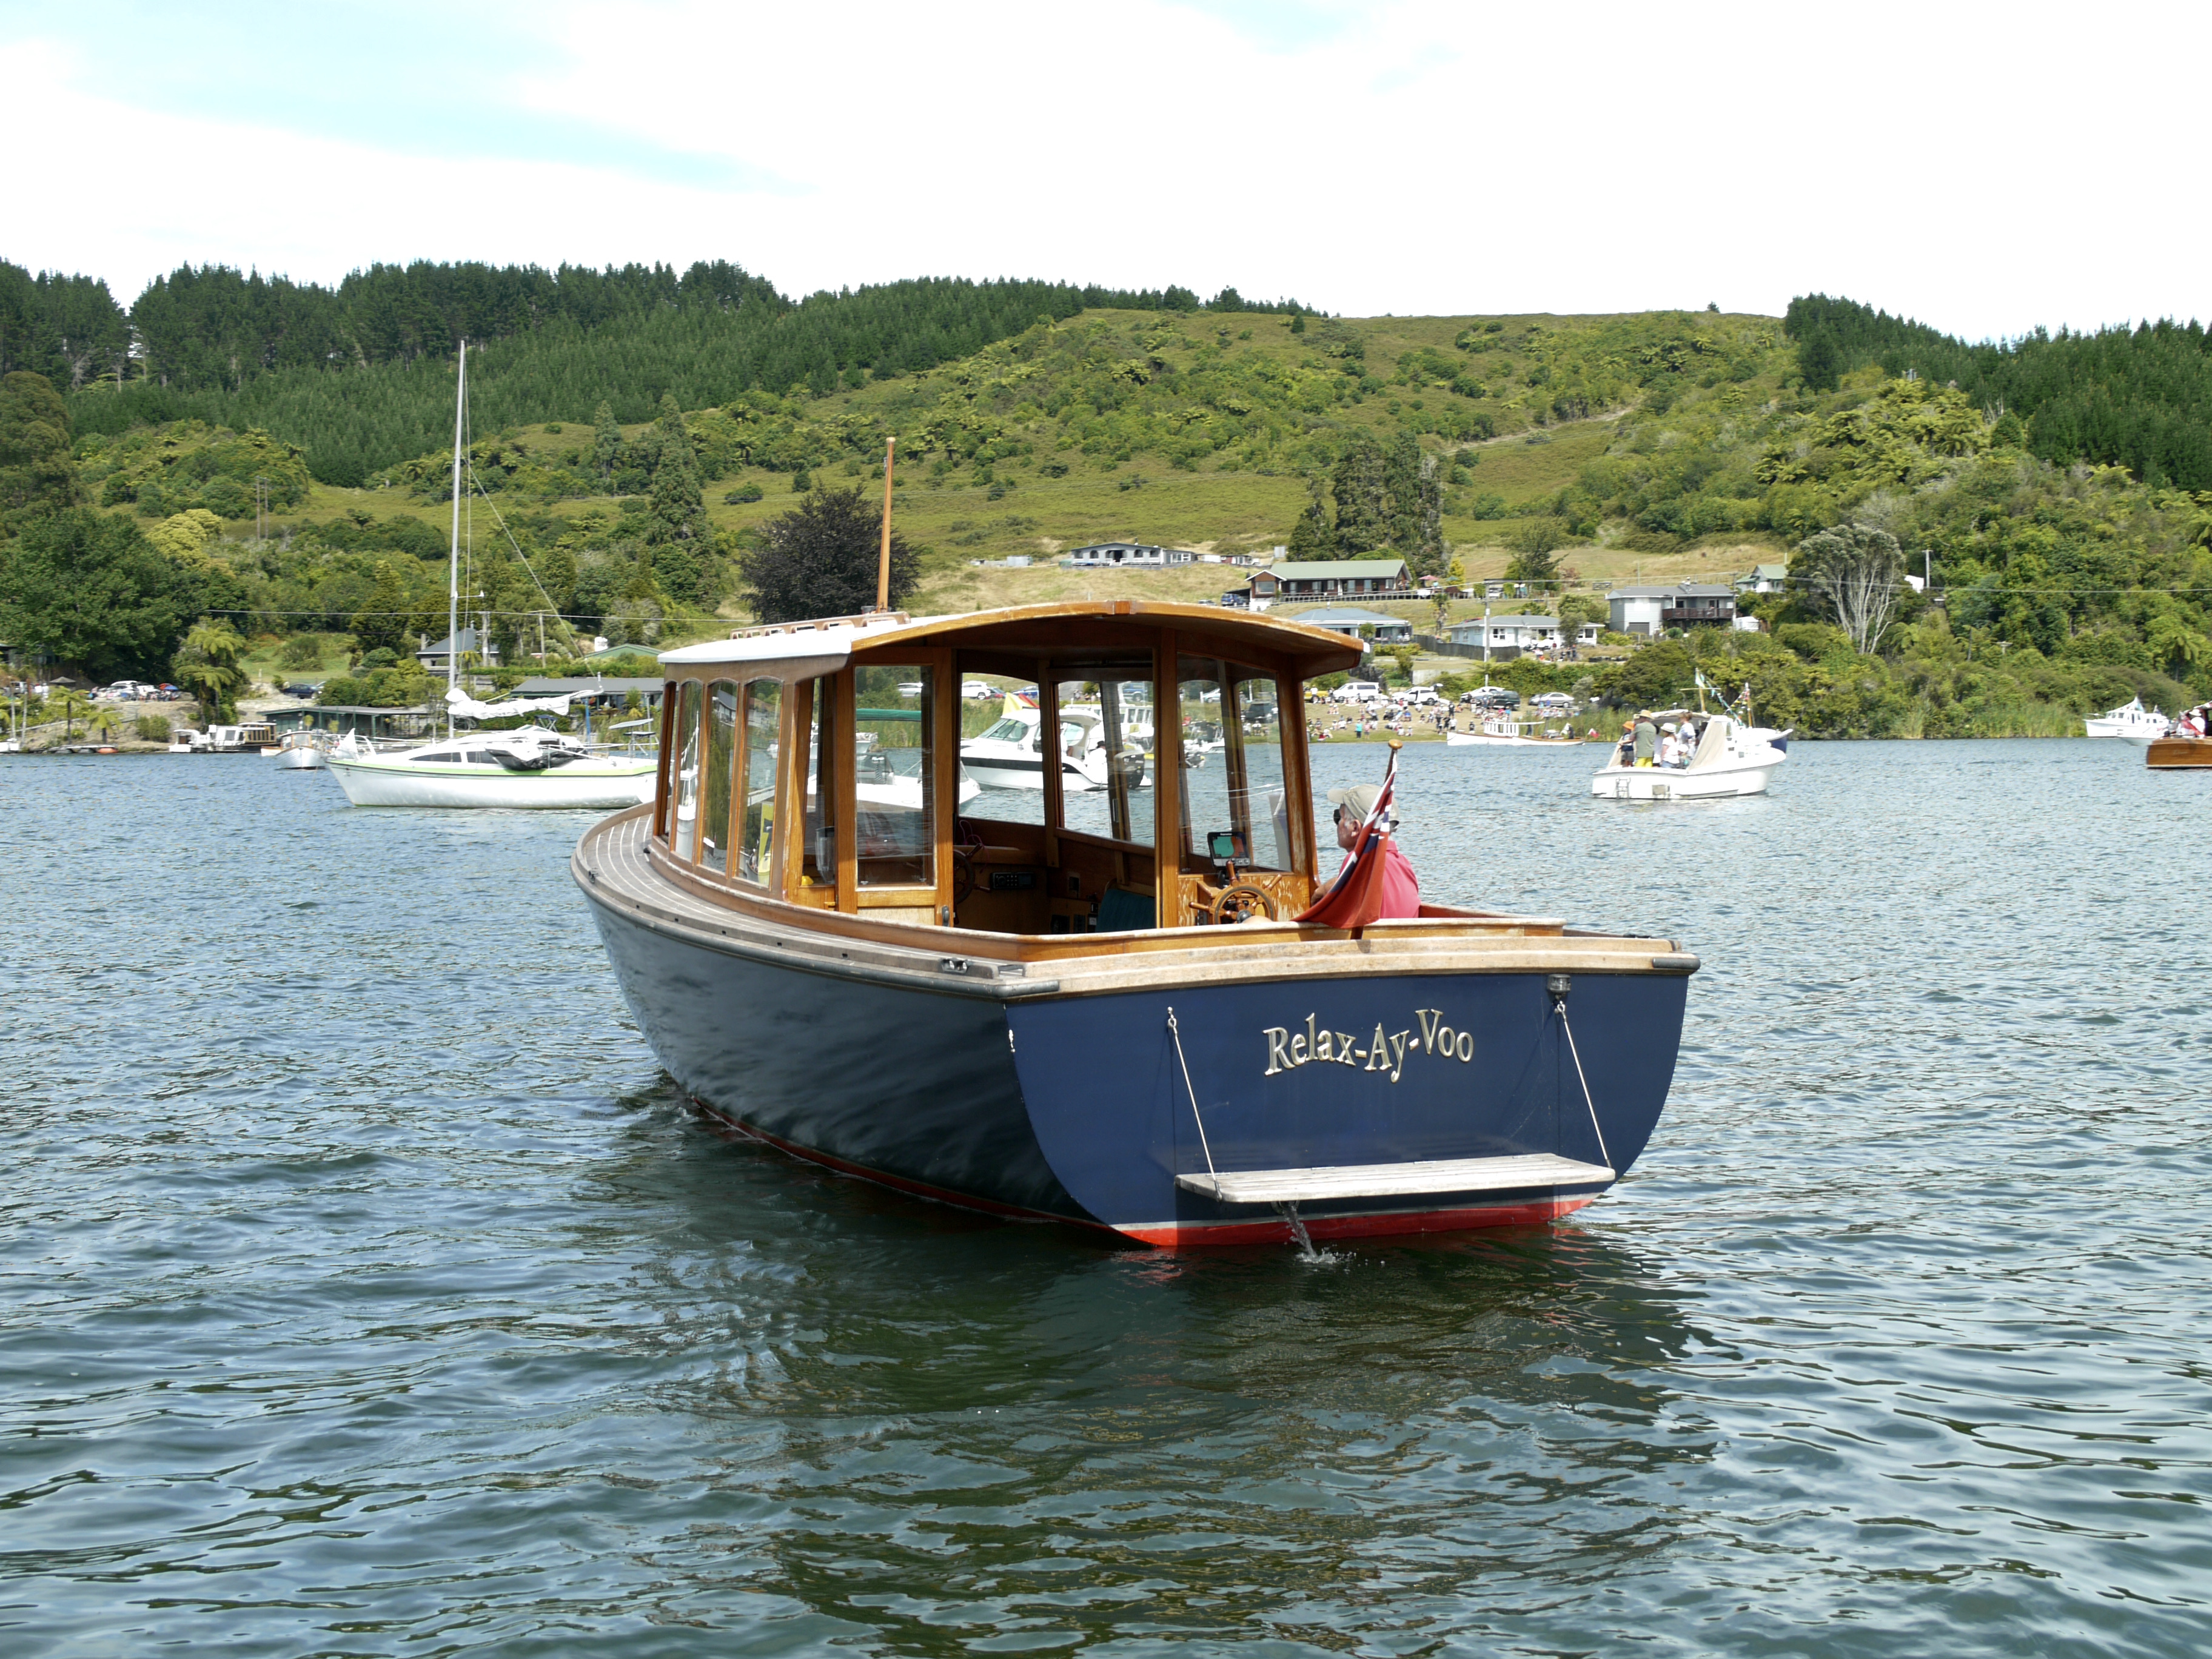
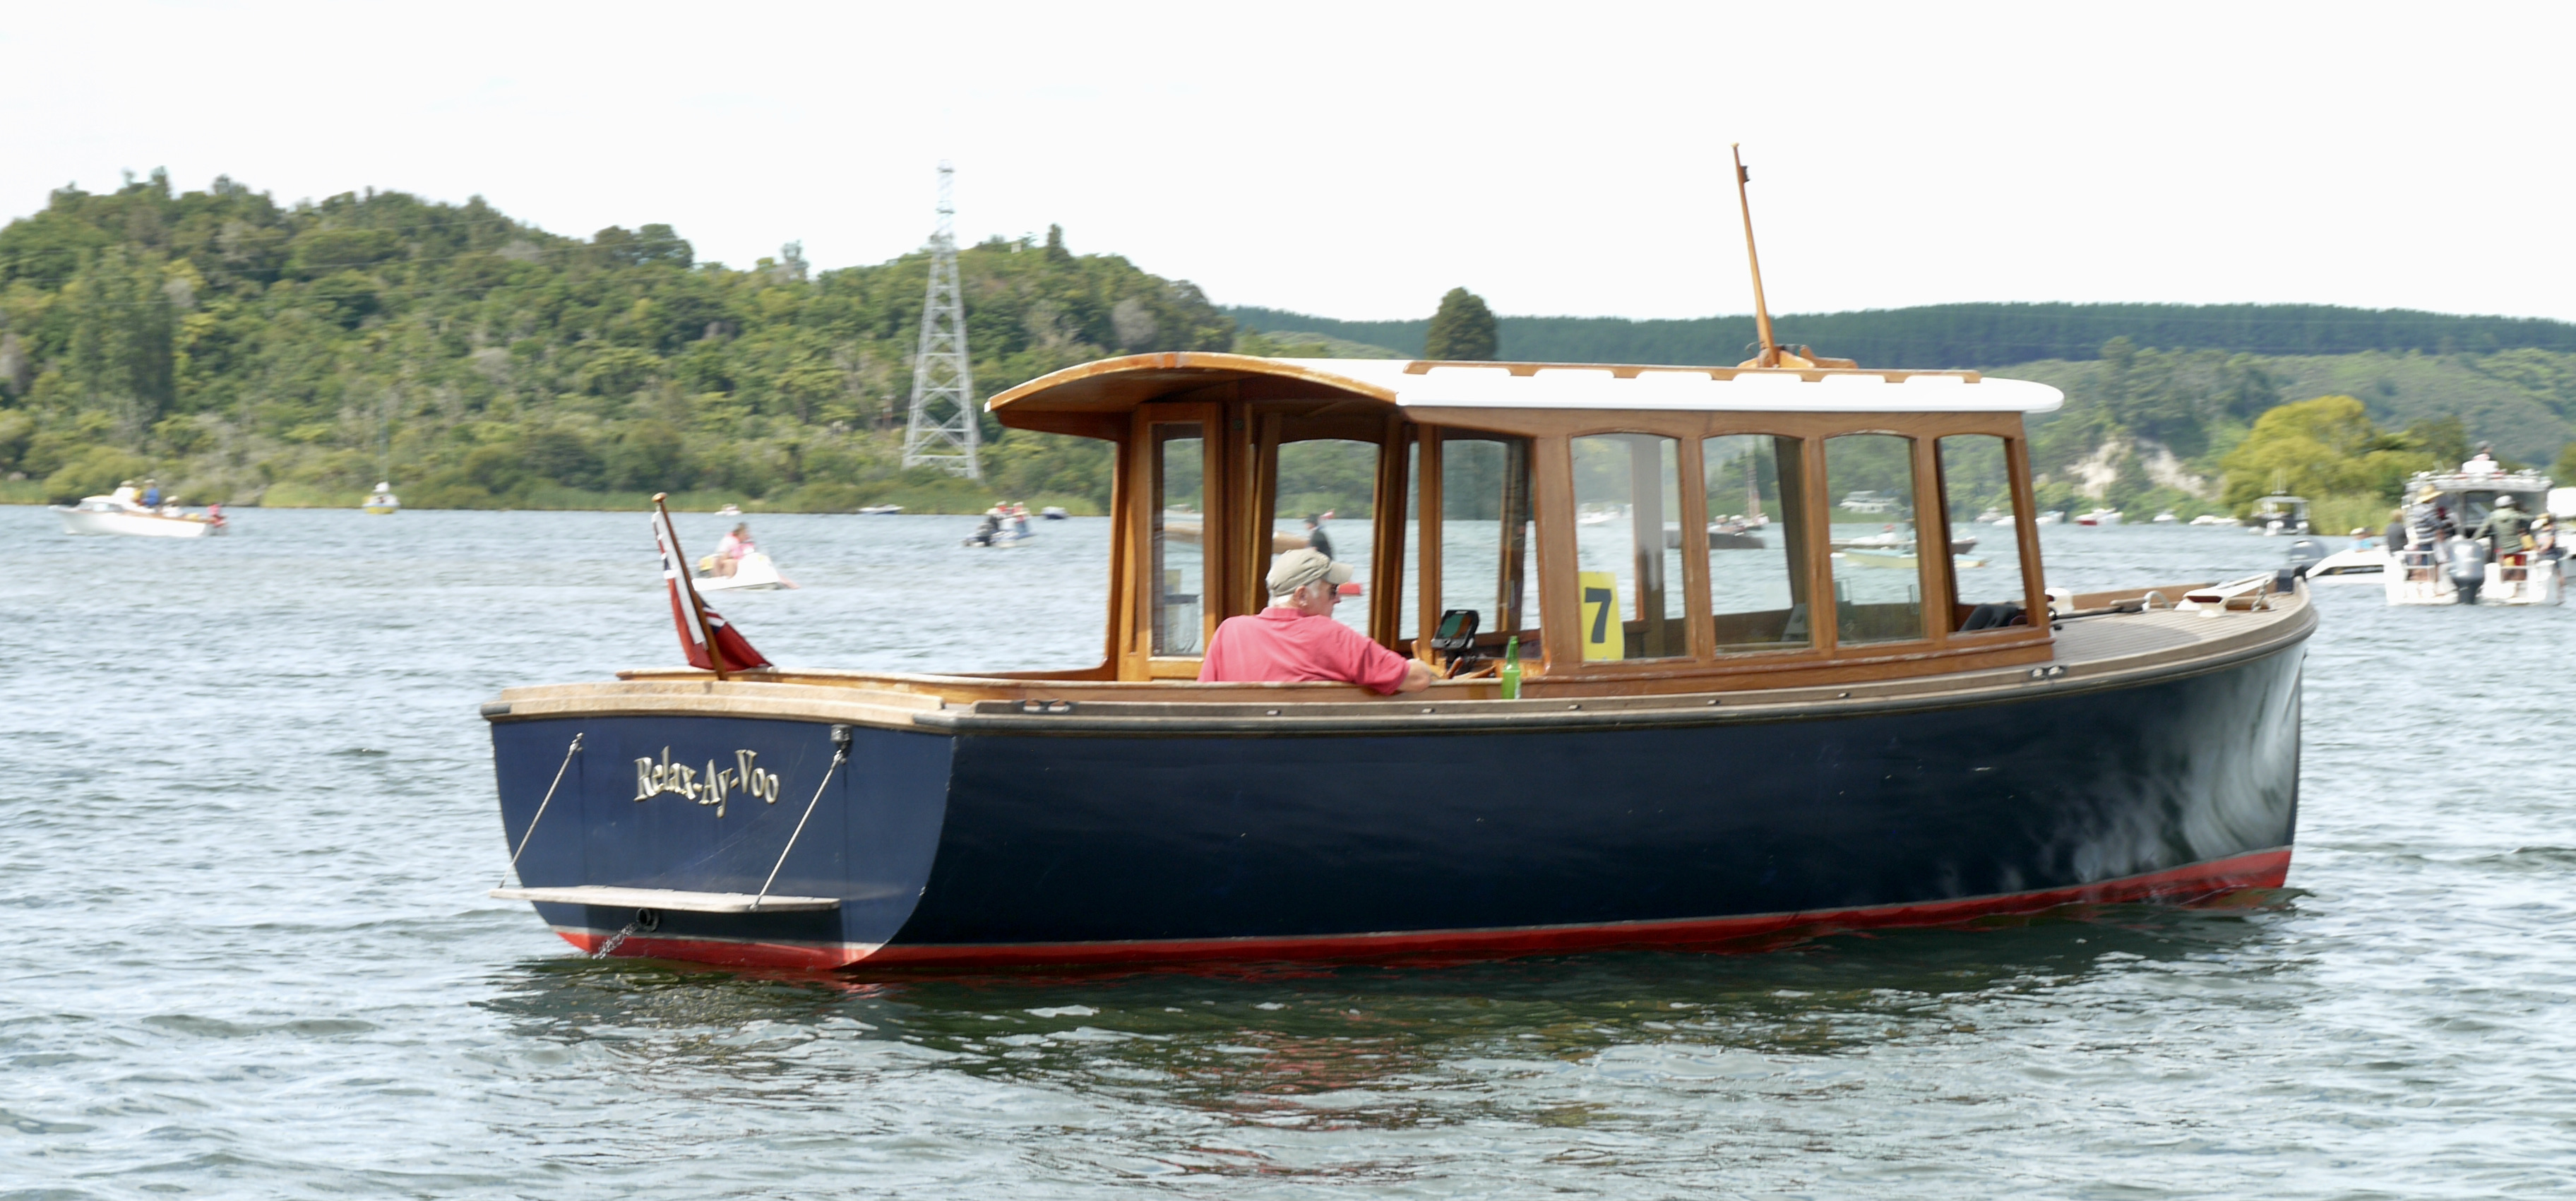
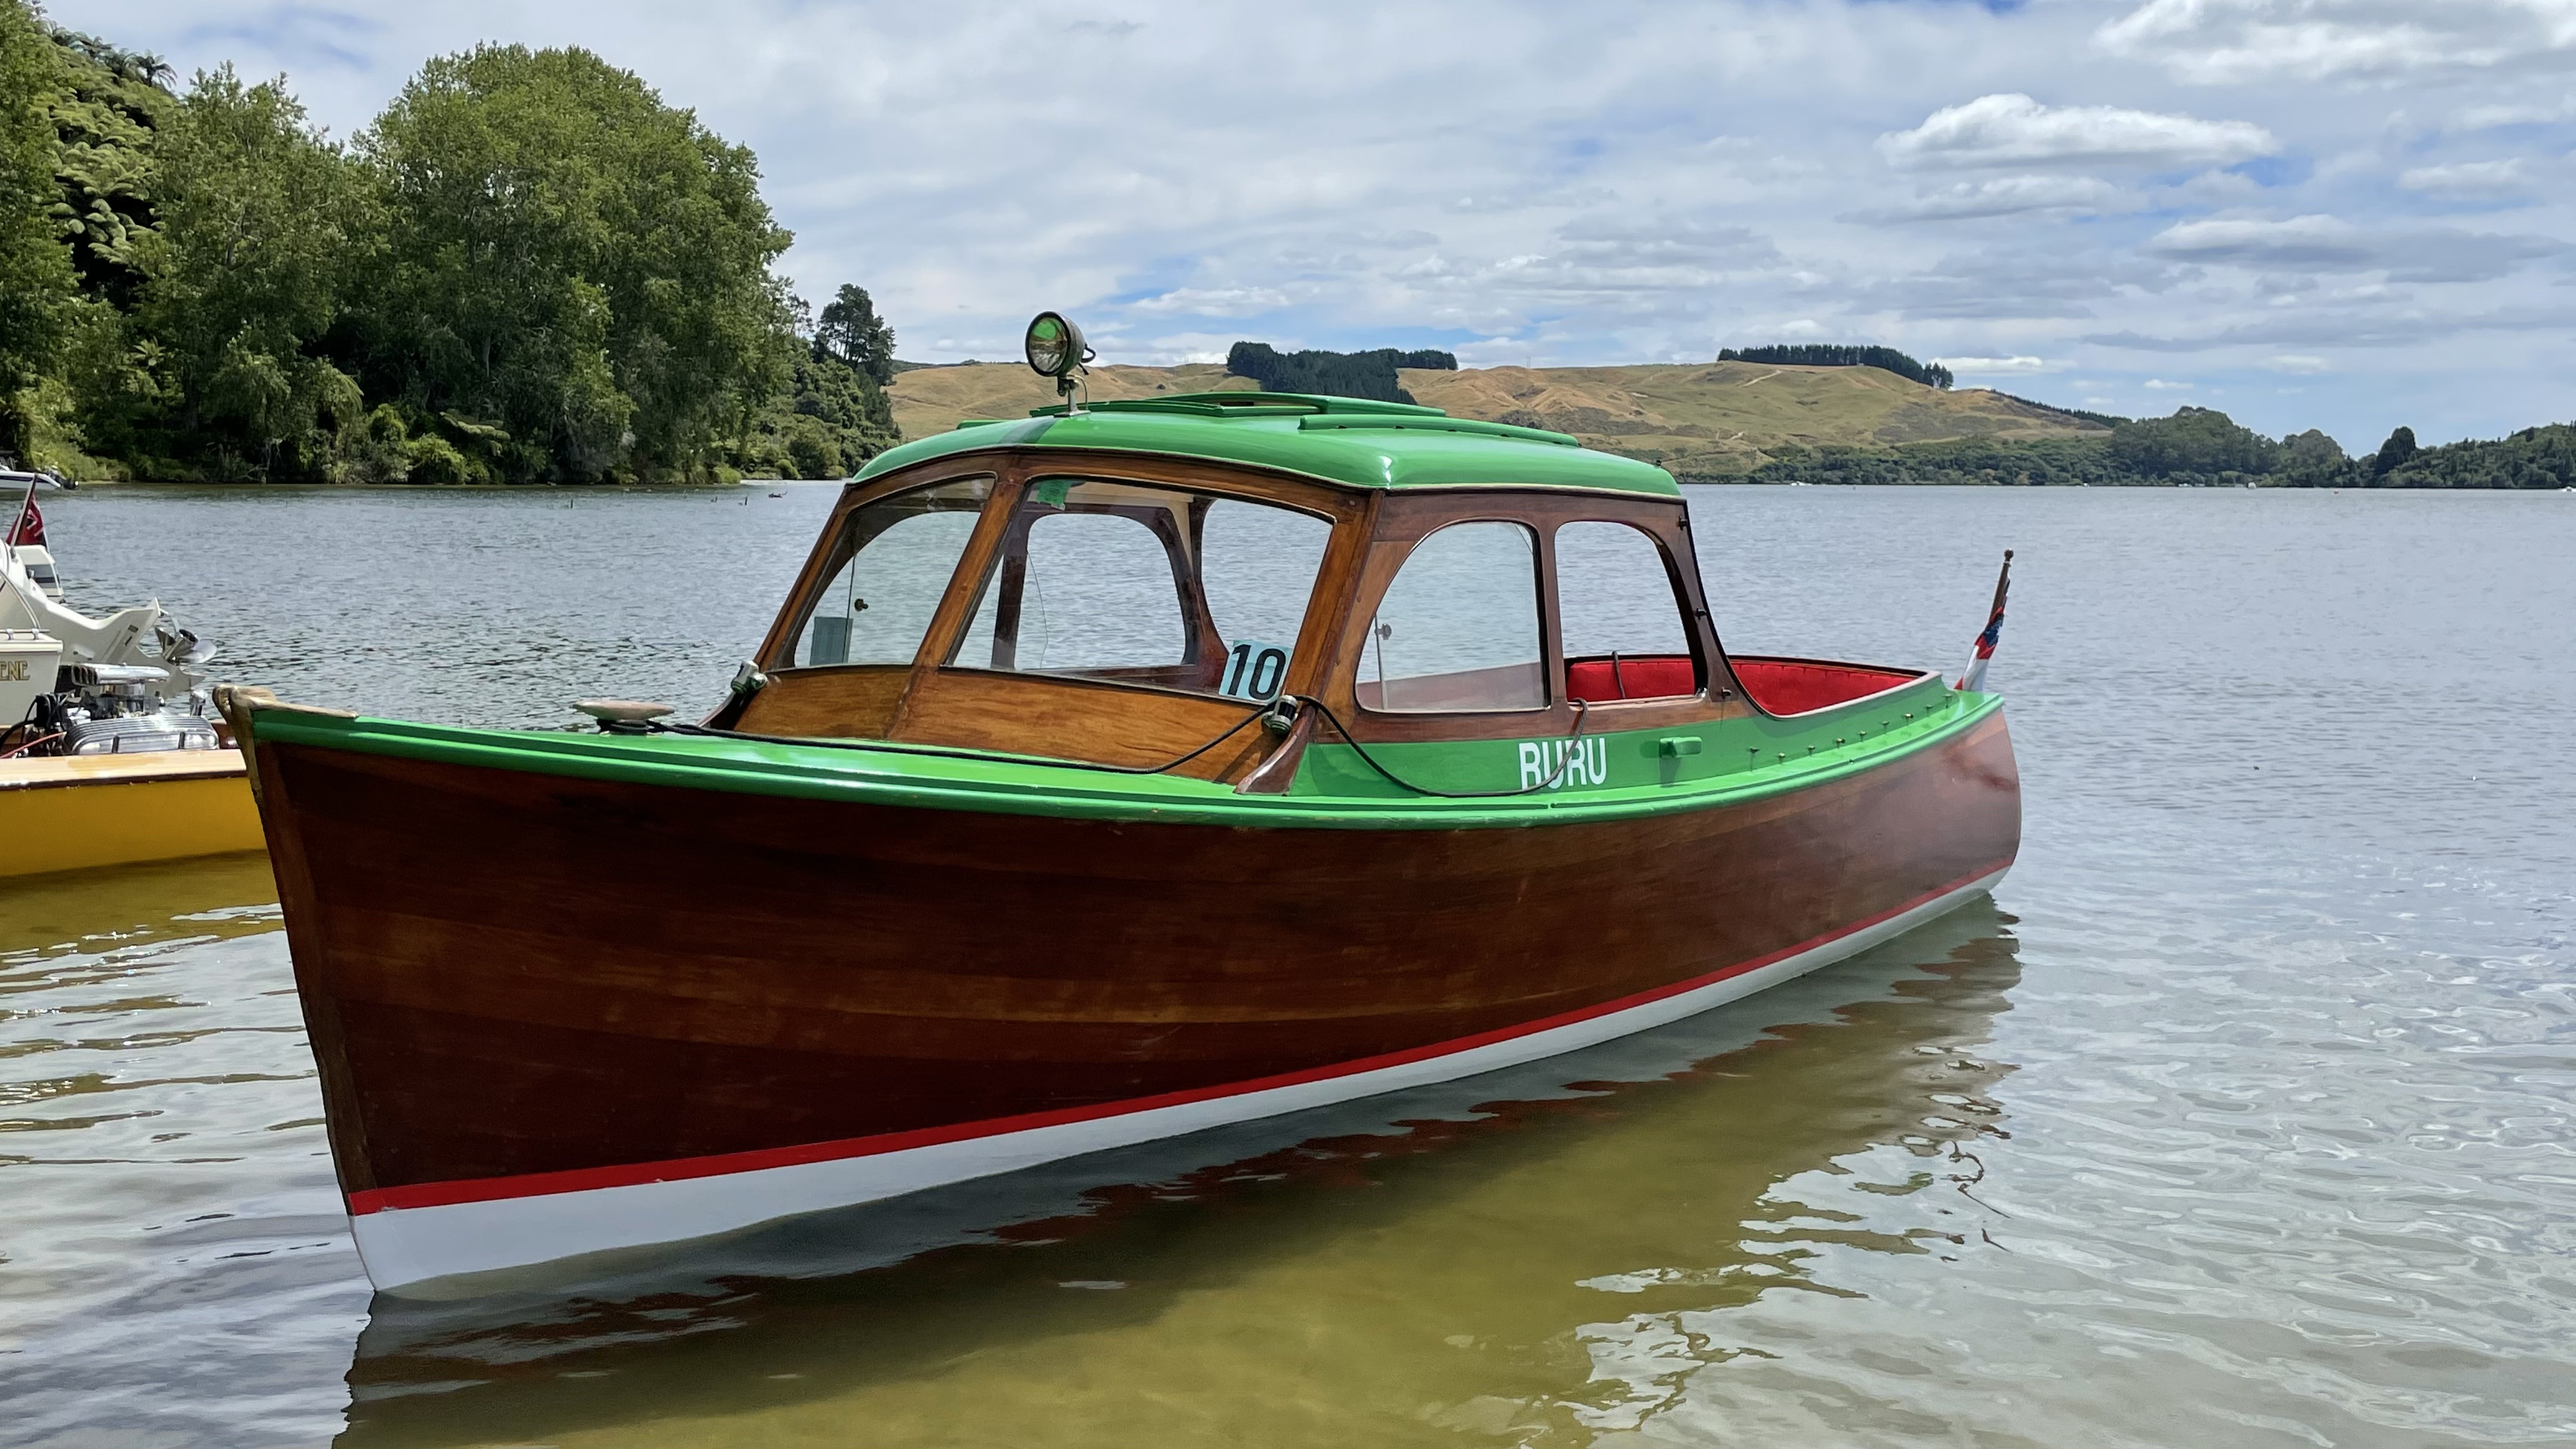
SS DANCER During the recent Lake Rotoiti Classic and Wooden Boat show I spotted the steam boat – Dancer, her owner and builder John Olsen supplied the following details.
Dancer is a 30 foot long steam launch, designed by Peter Sewell and built by John and his wife Diana. The engine is a compound twin, designed by A.A Leak and built by John. The boiler is a 3 drum type.designed by Andre Pointon. (Colonial Iron Works) and also built by John apart from welding by a certified welder. In the top photo, the tender on the Aft deck is a folding dinghy, called Kahikitea and mostly built from that timber.
Dancer is equipped for sleeping aboard, with a head compartment and blackwater tank, a small galley with gas cooker, sink, and fridge, and solar panels on the cabin top to provide electric power. The boiler is fired with diesel. Myself I like wood/coal fired but her diesel set up must make life a lot simpler, and we like that 🙂
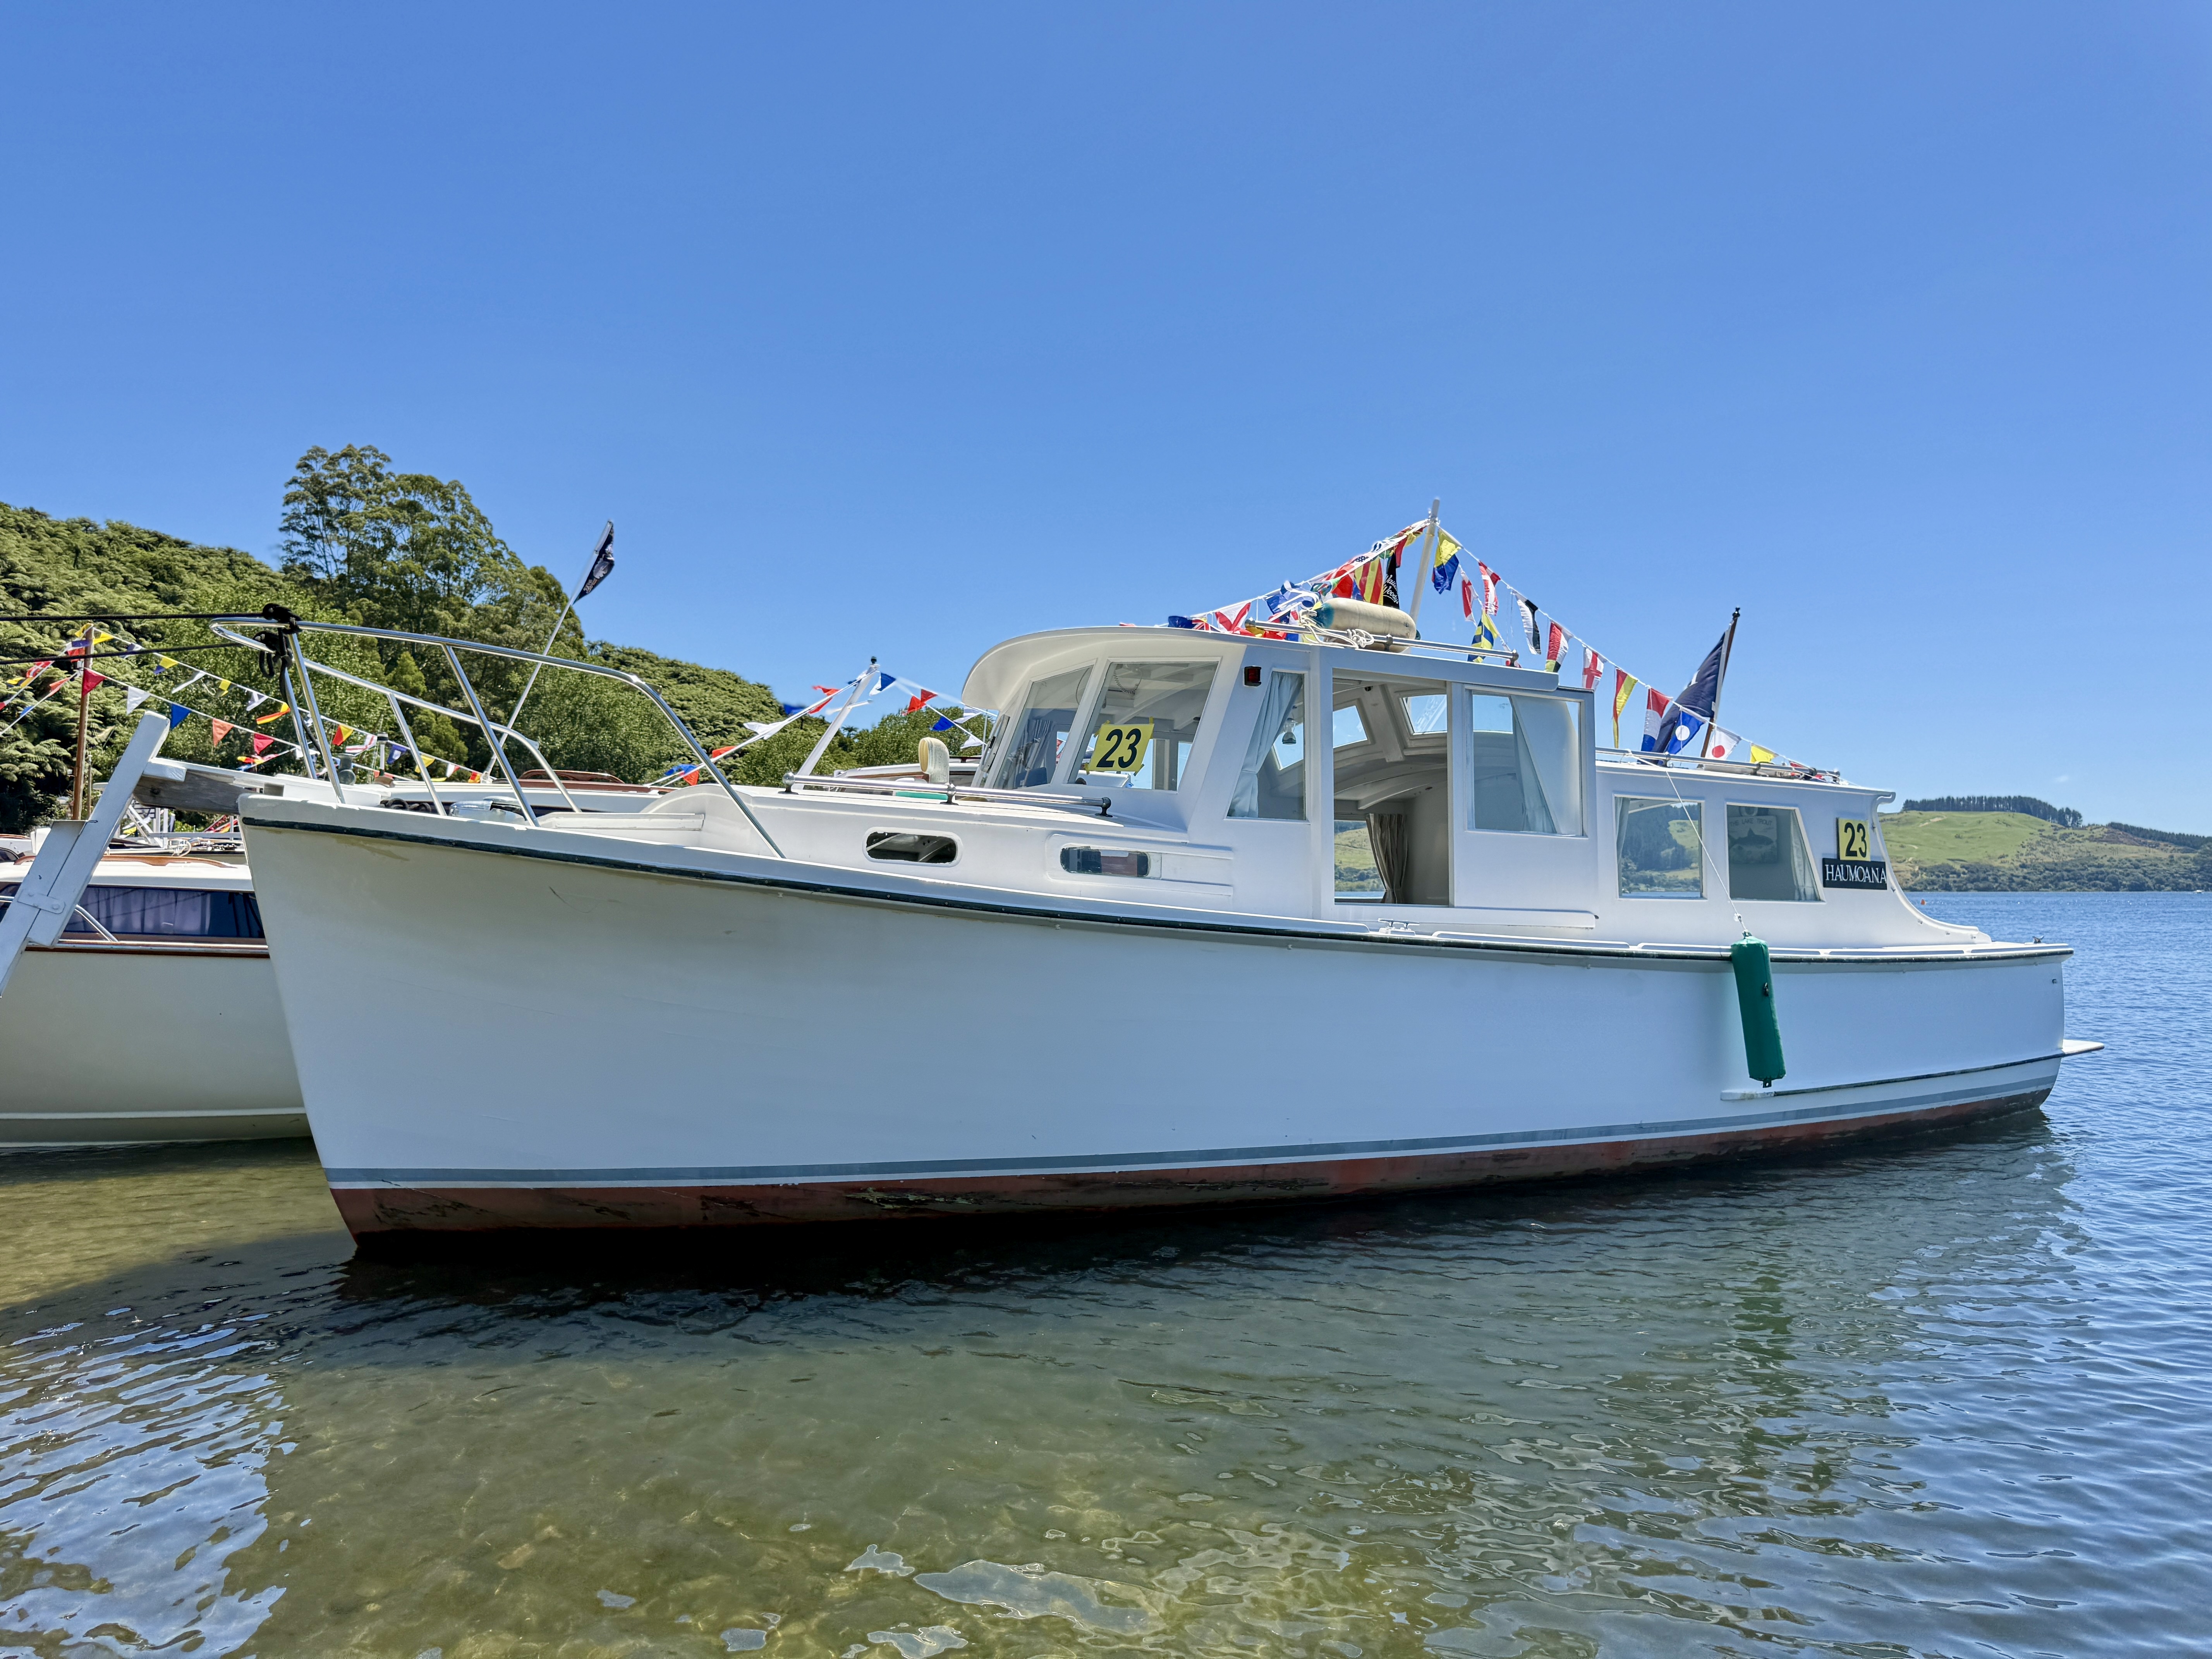
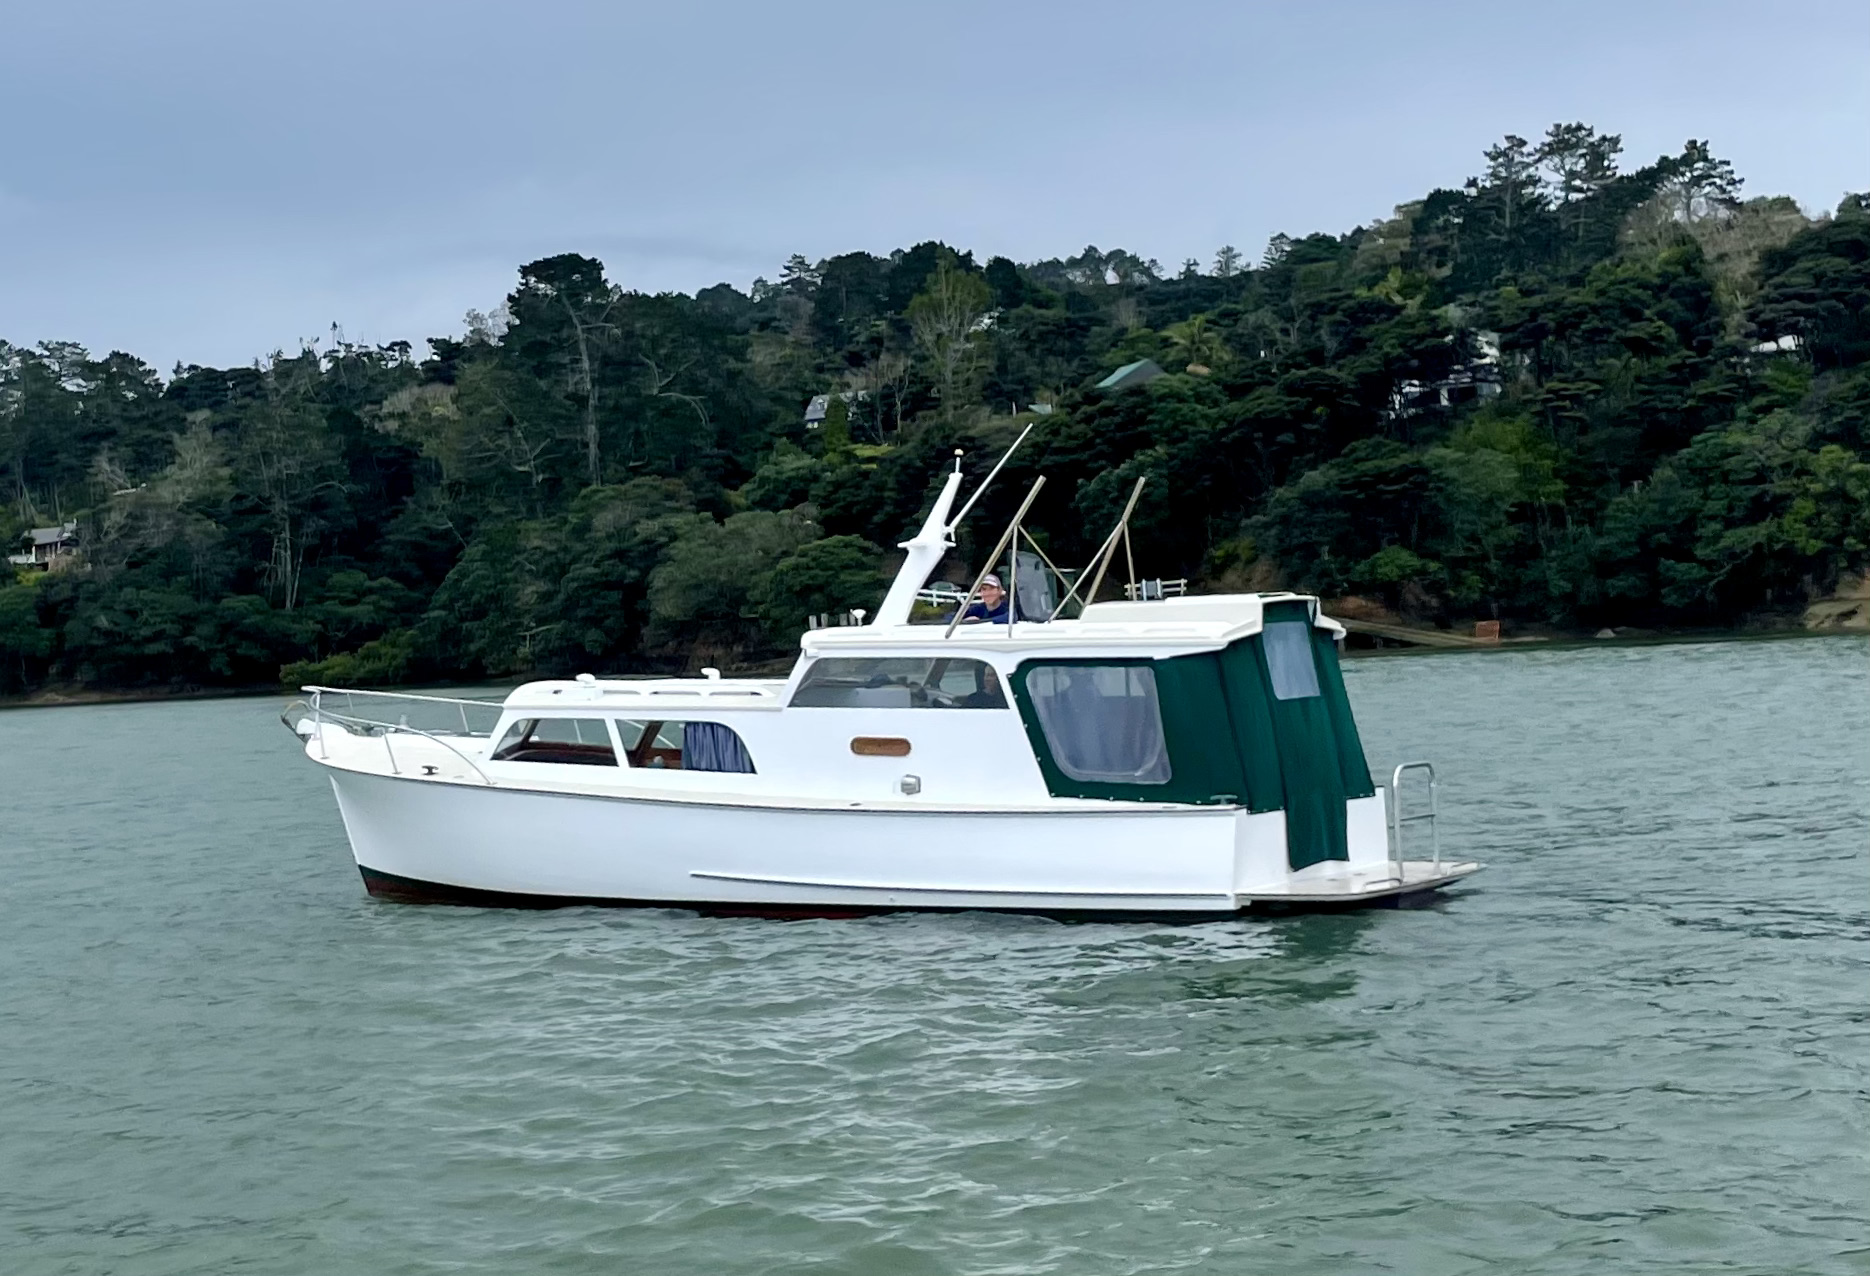
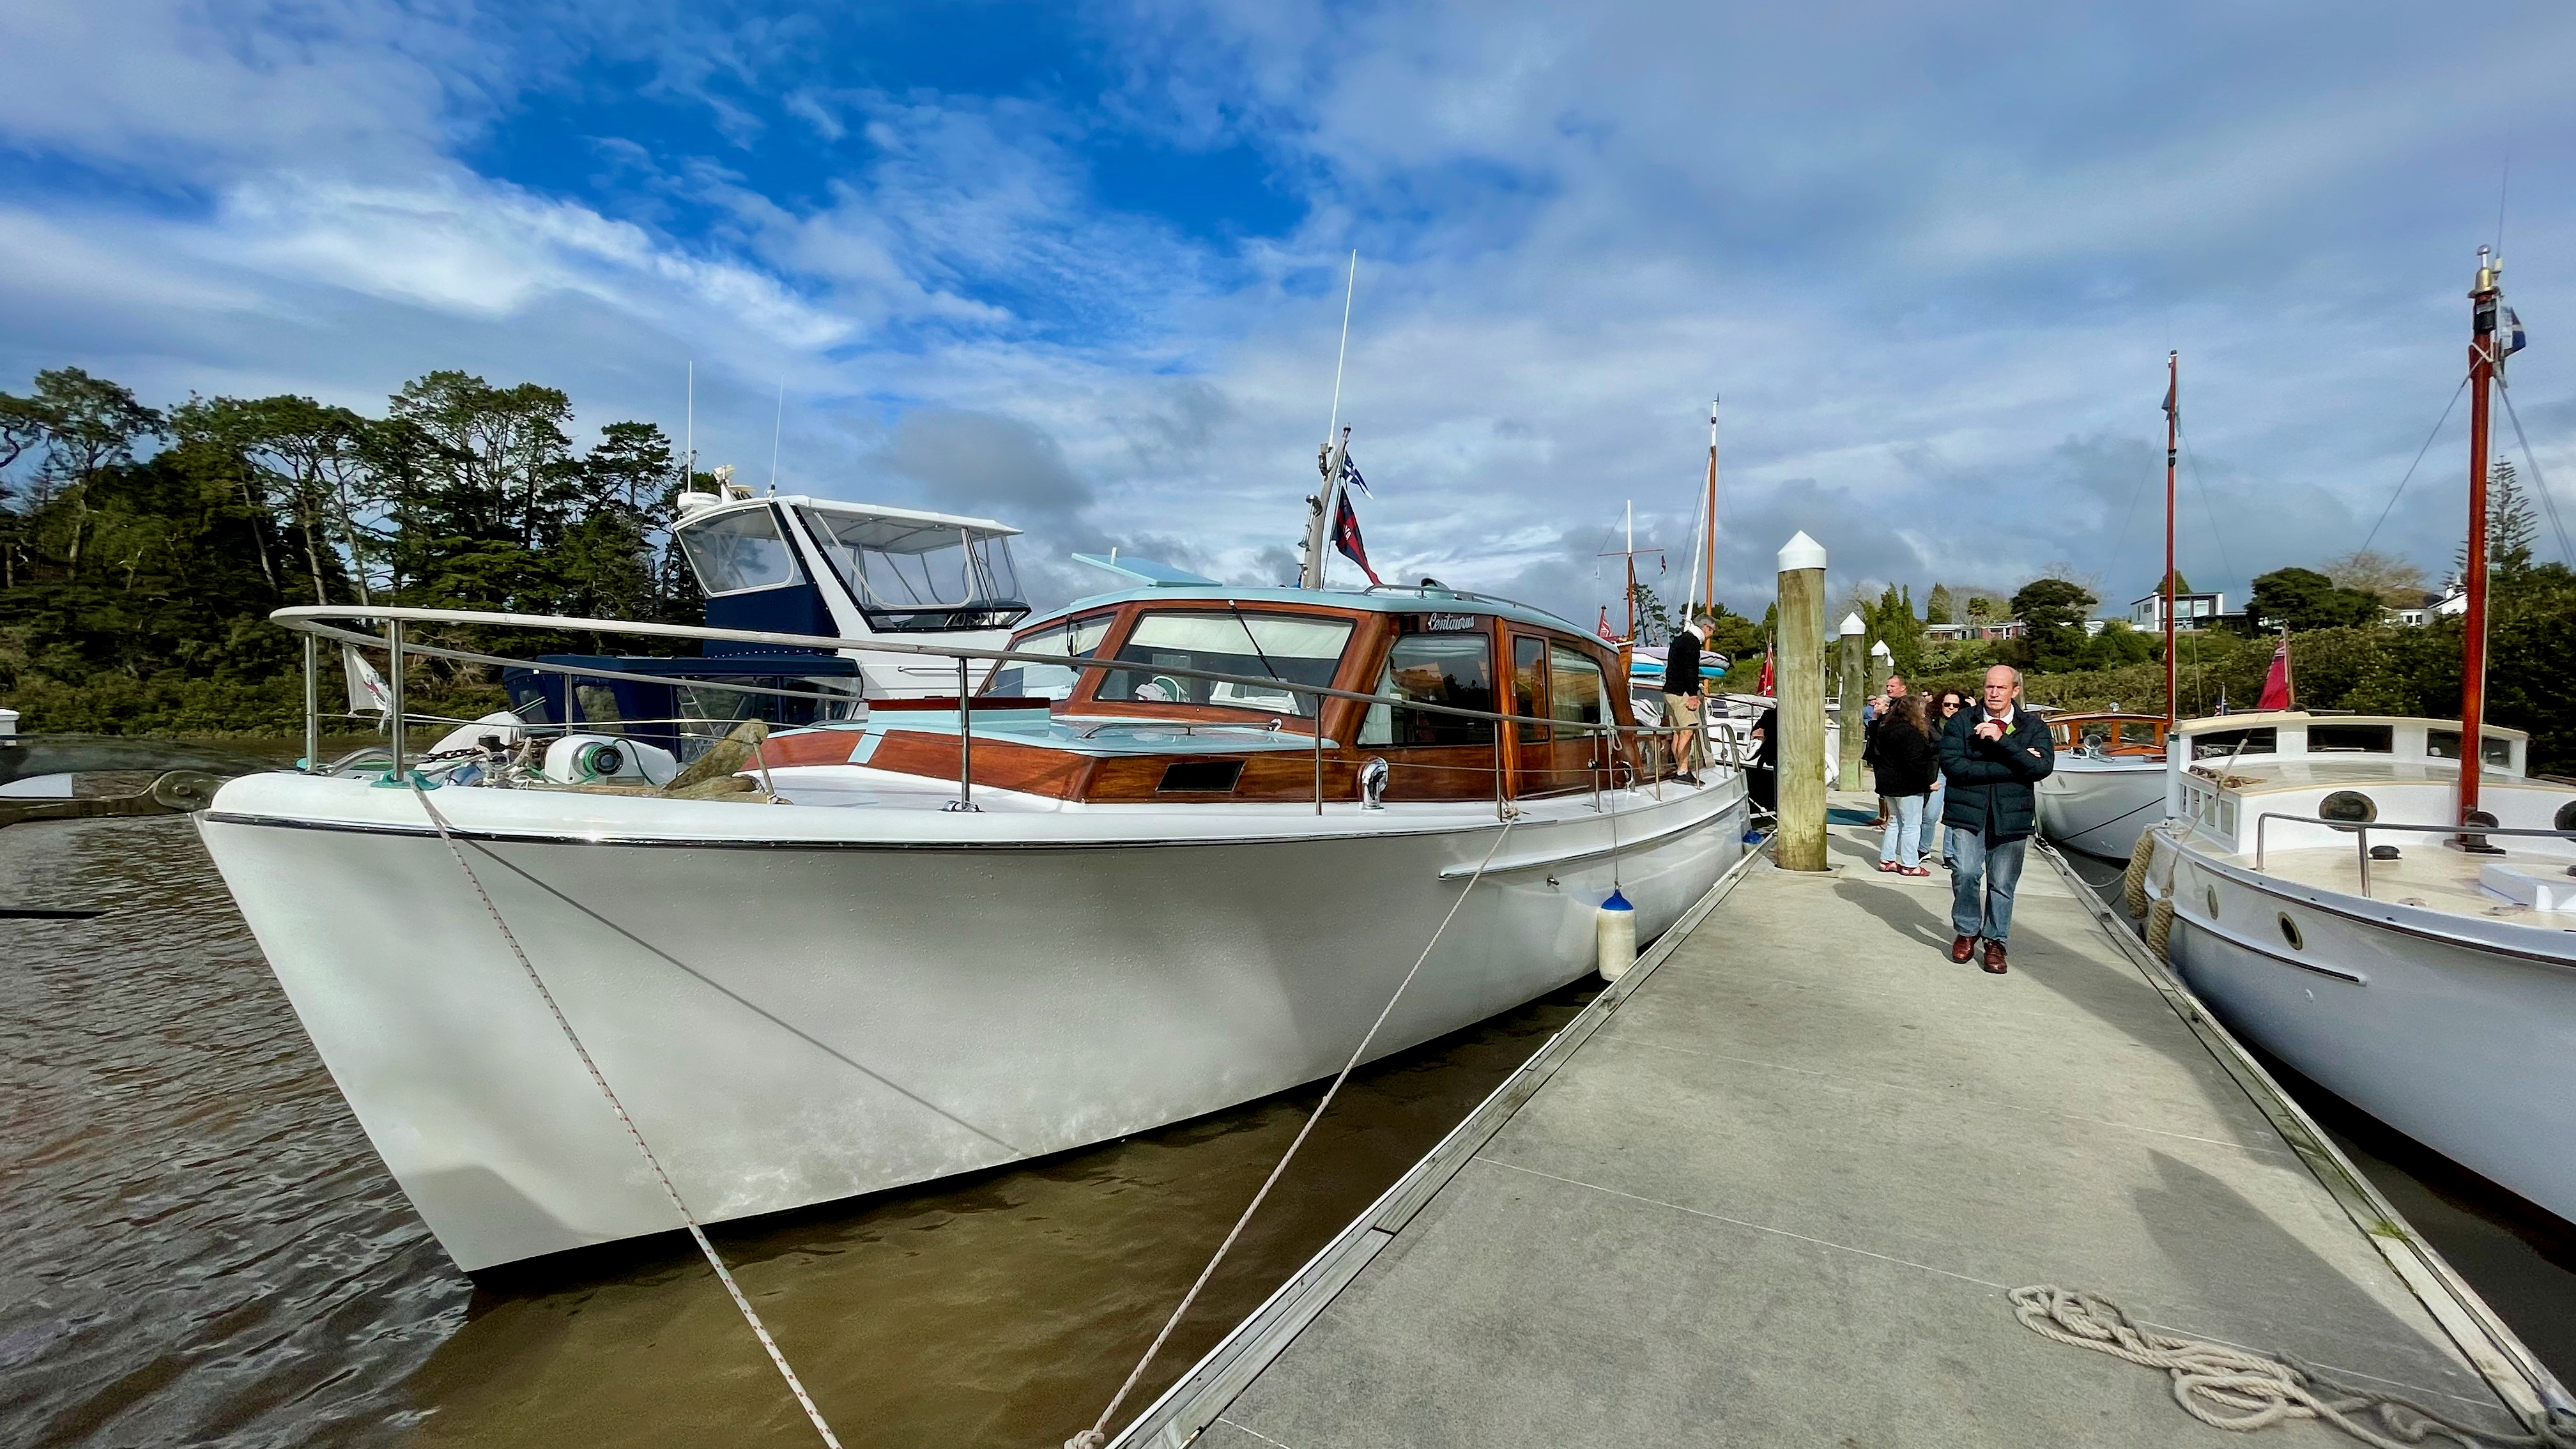
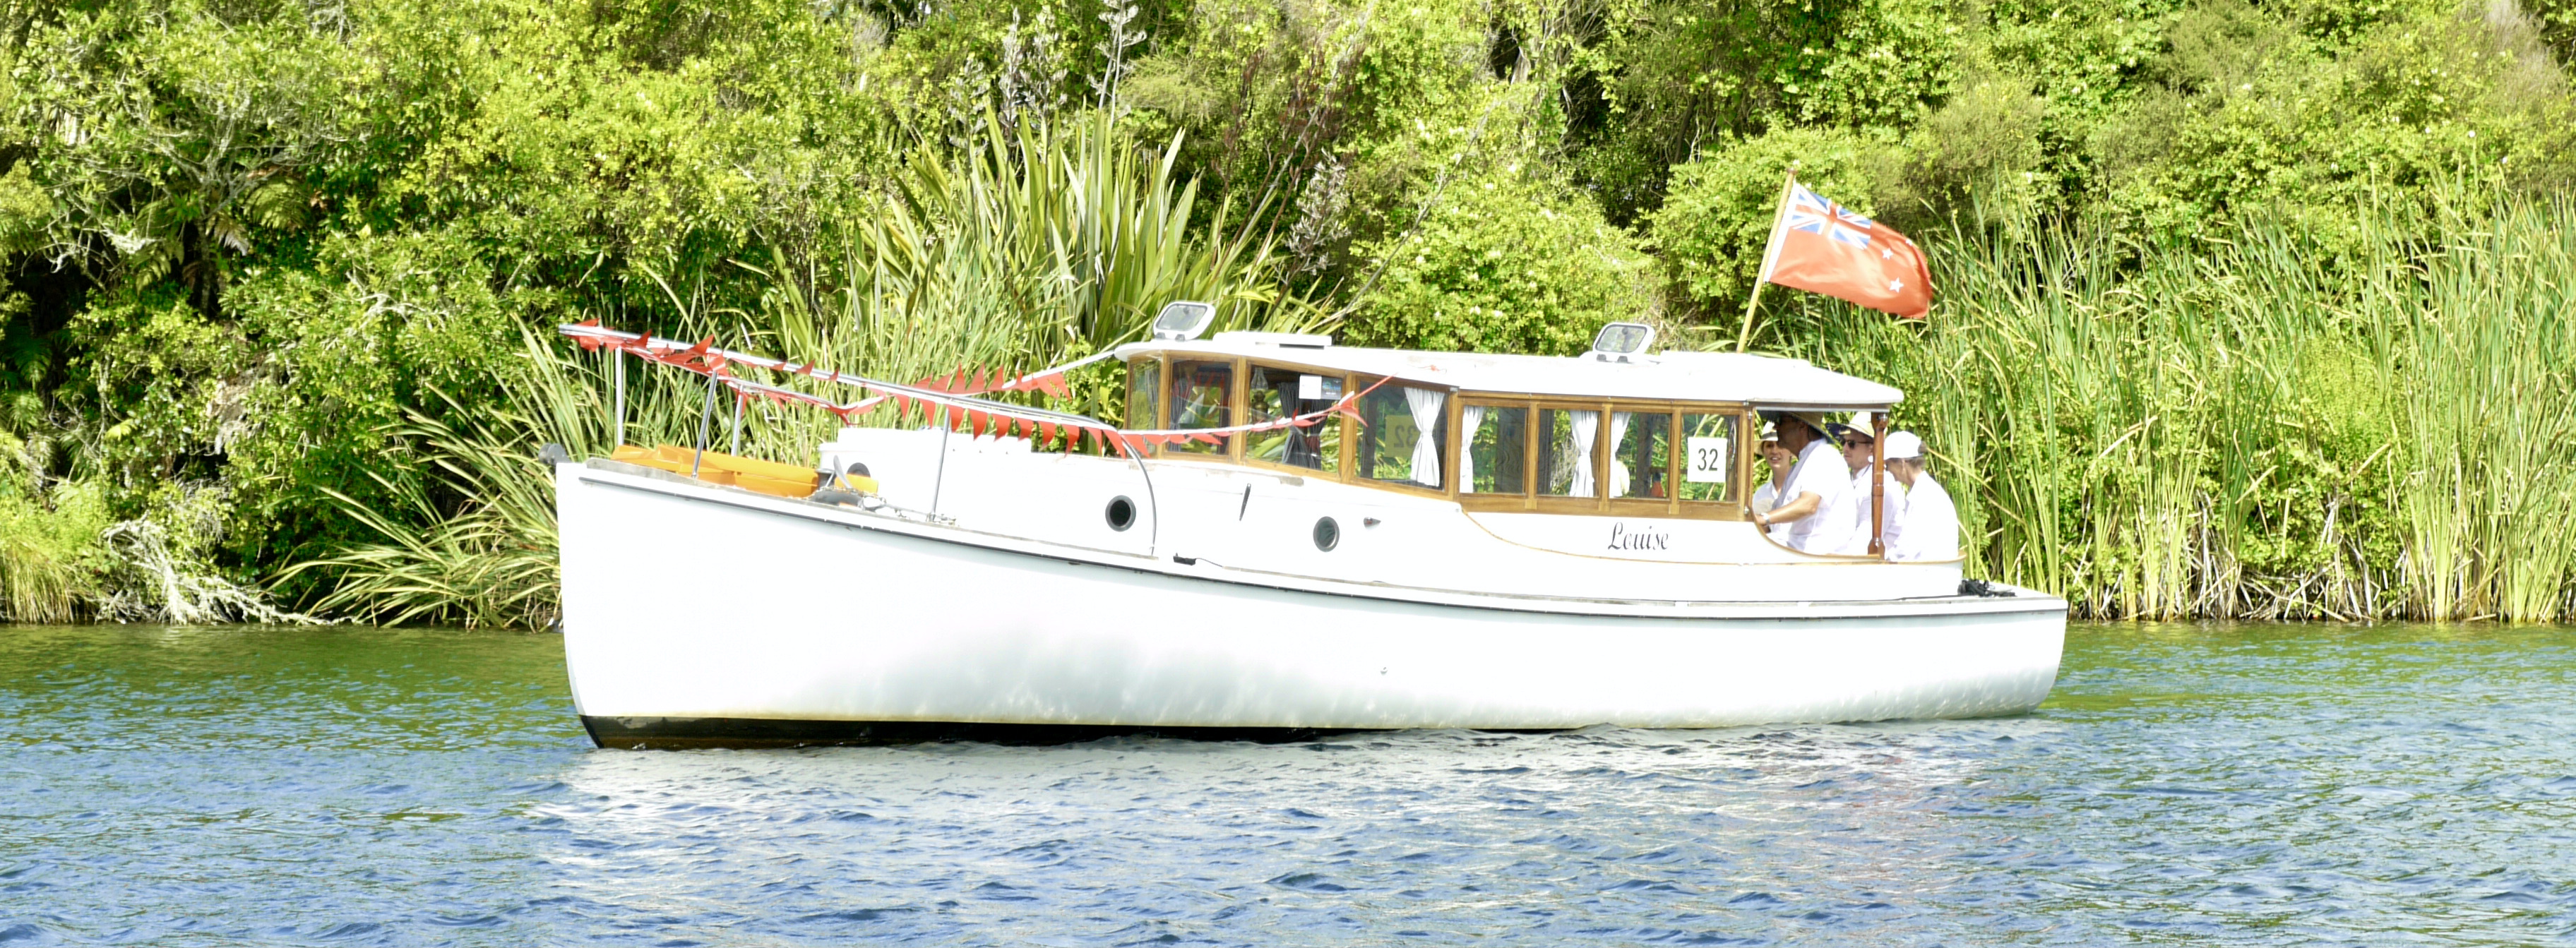
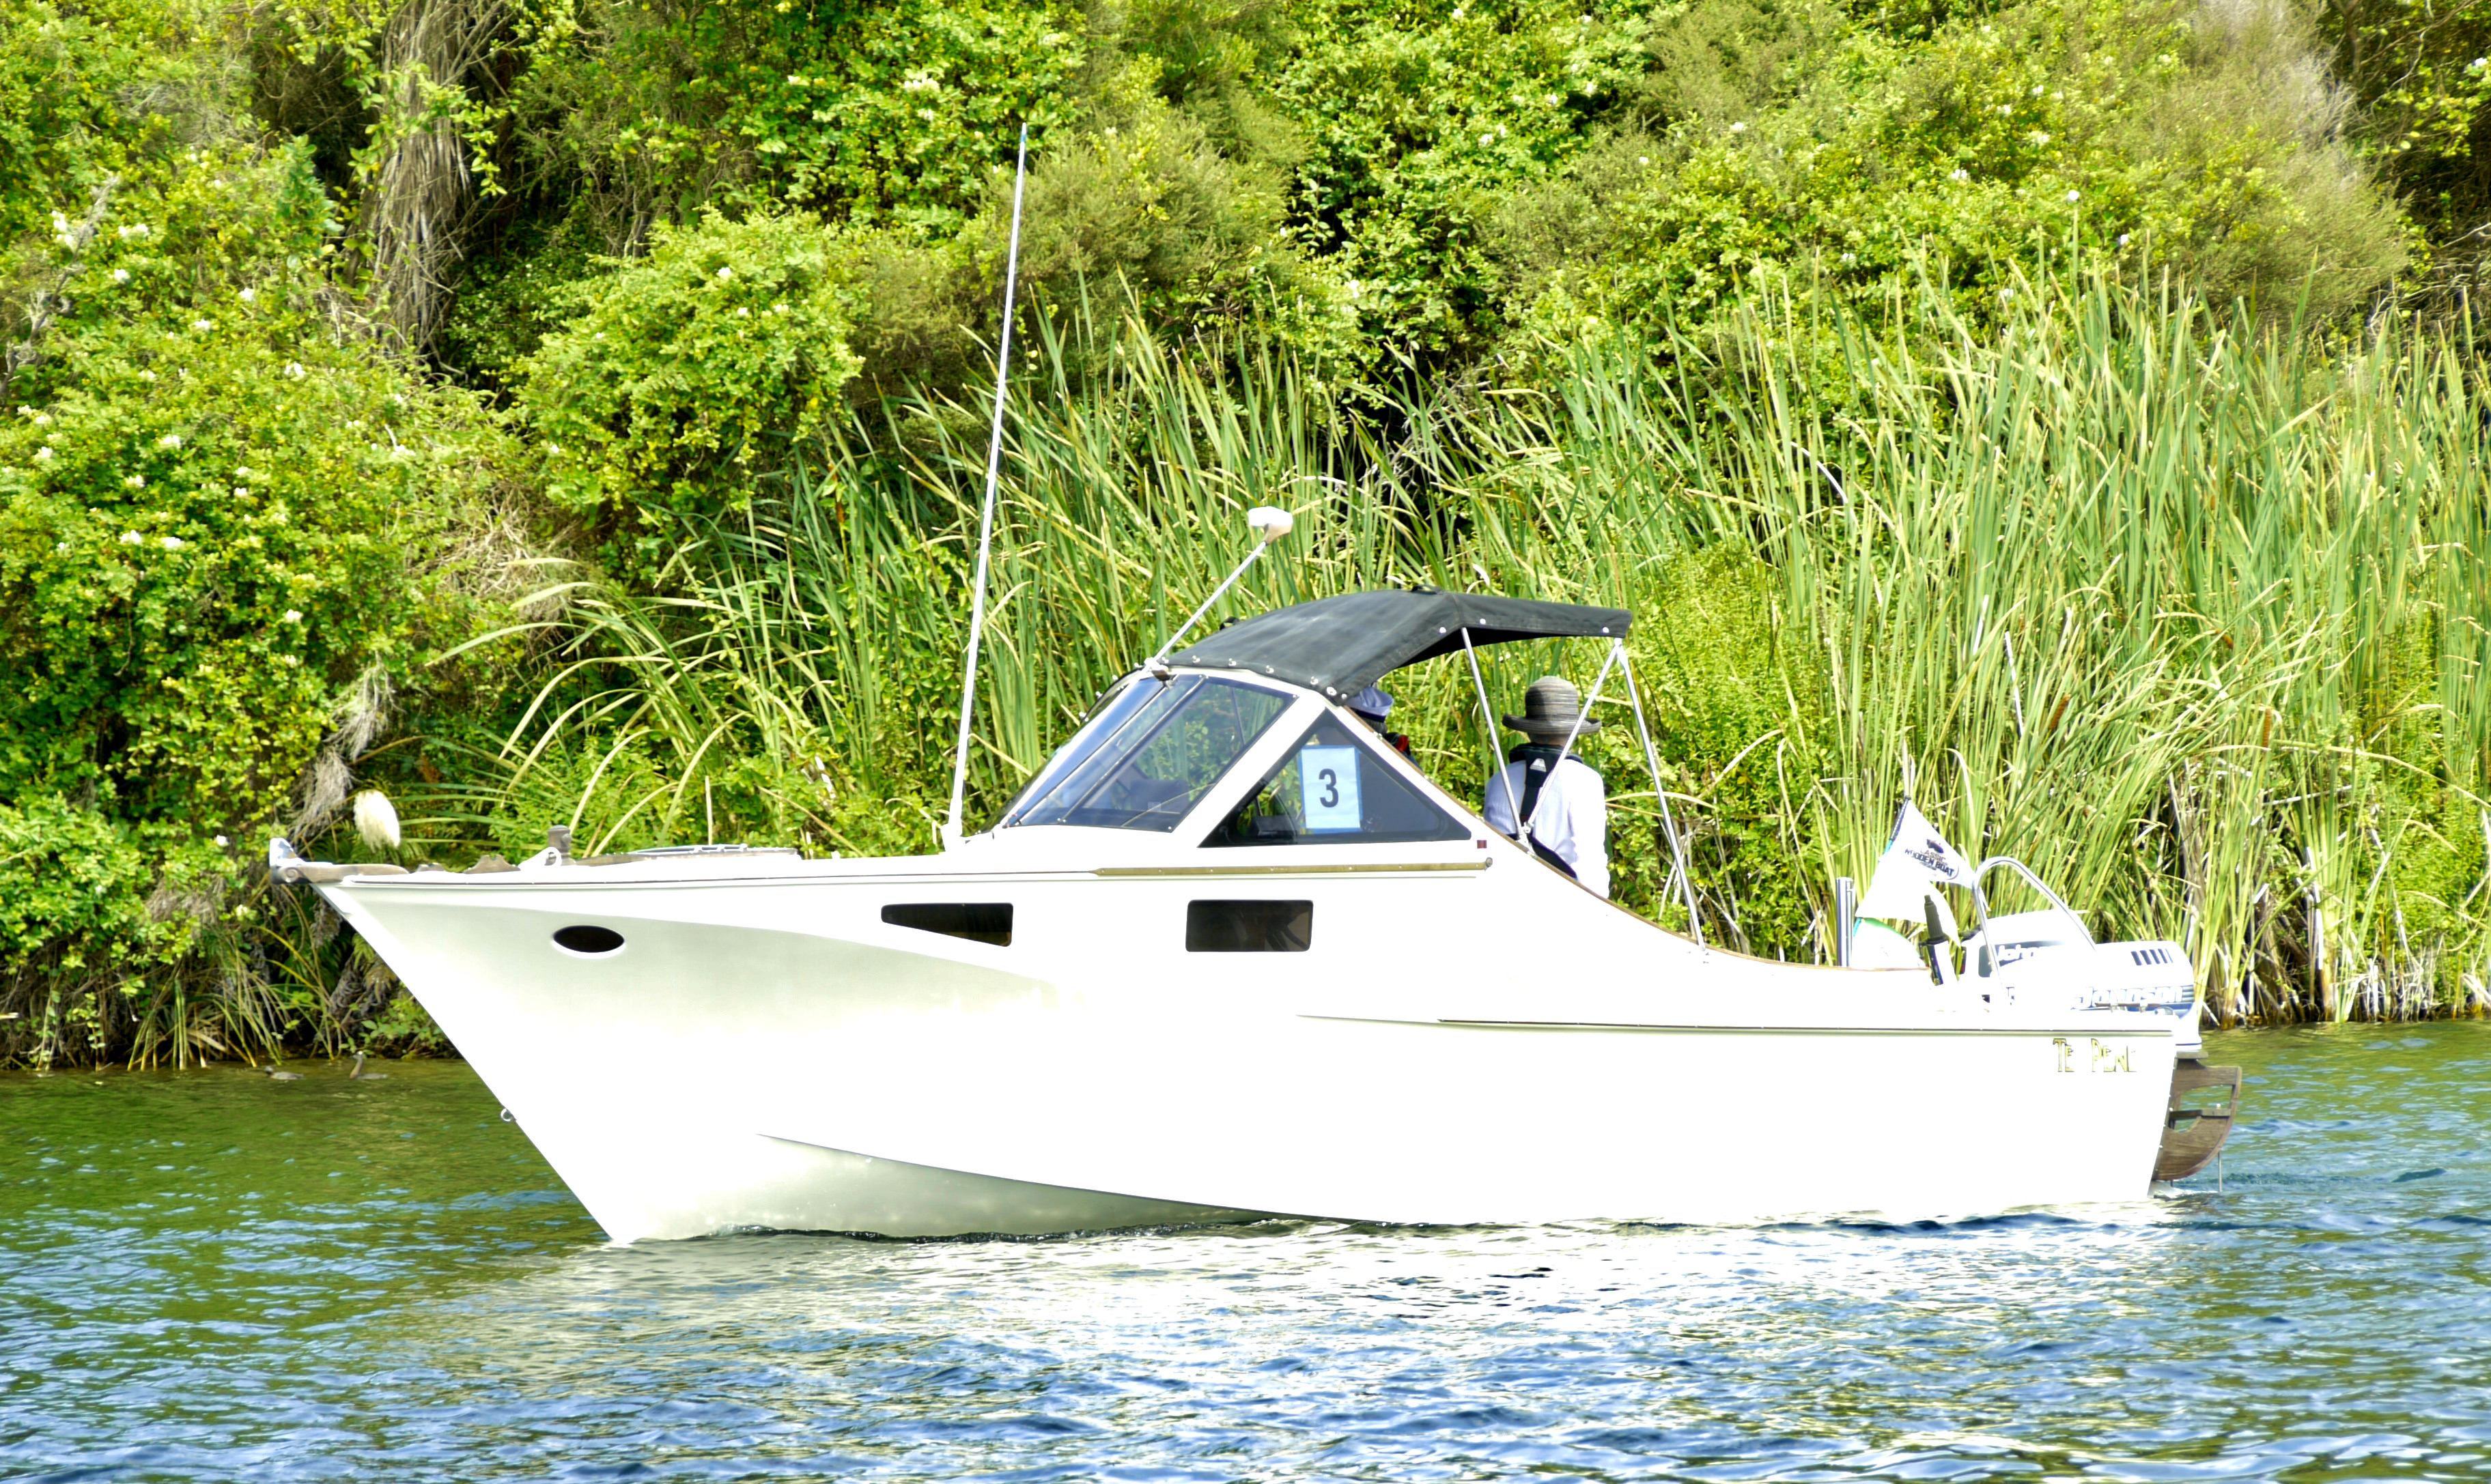
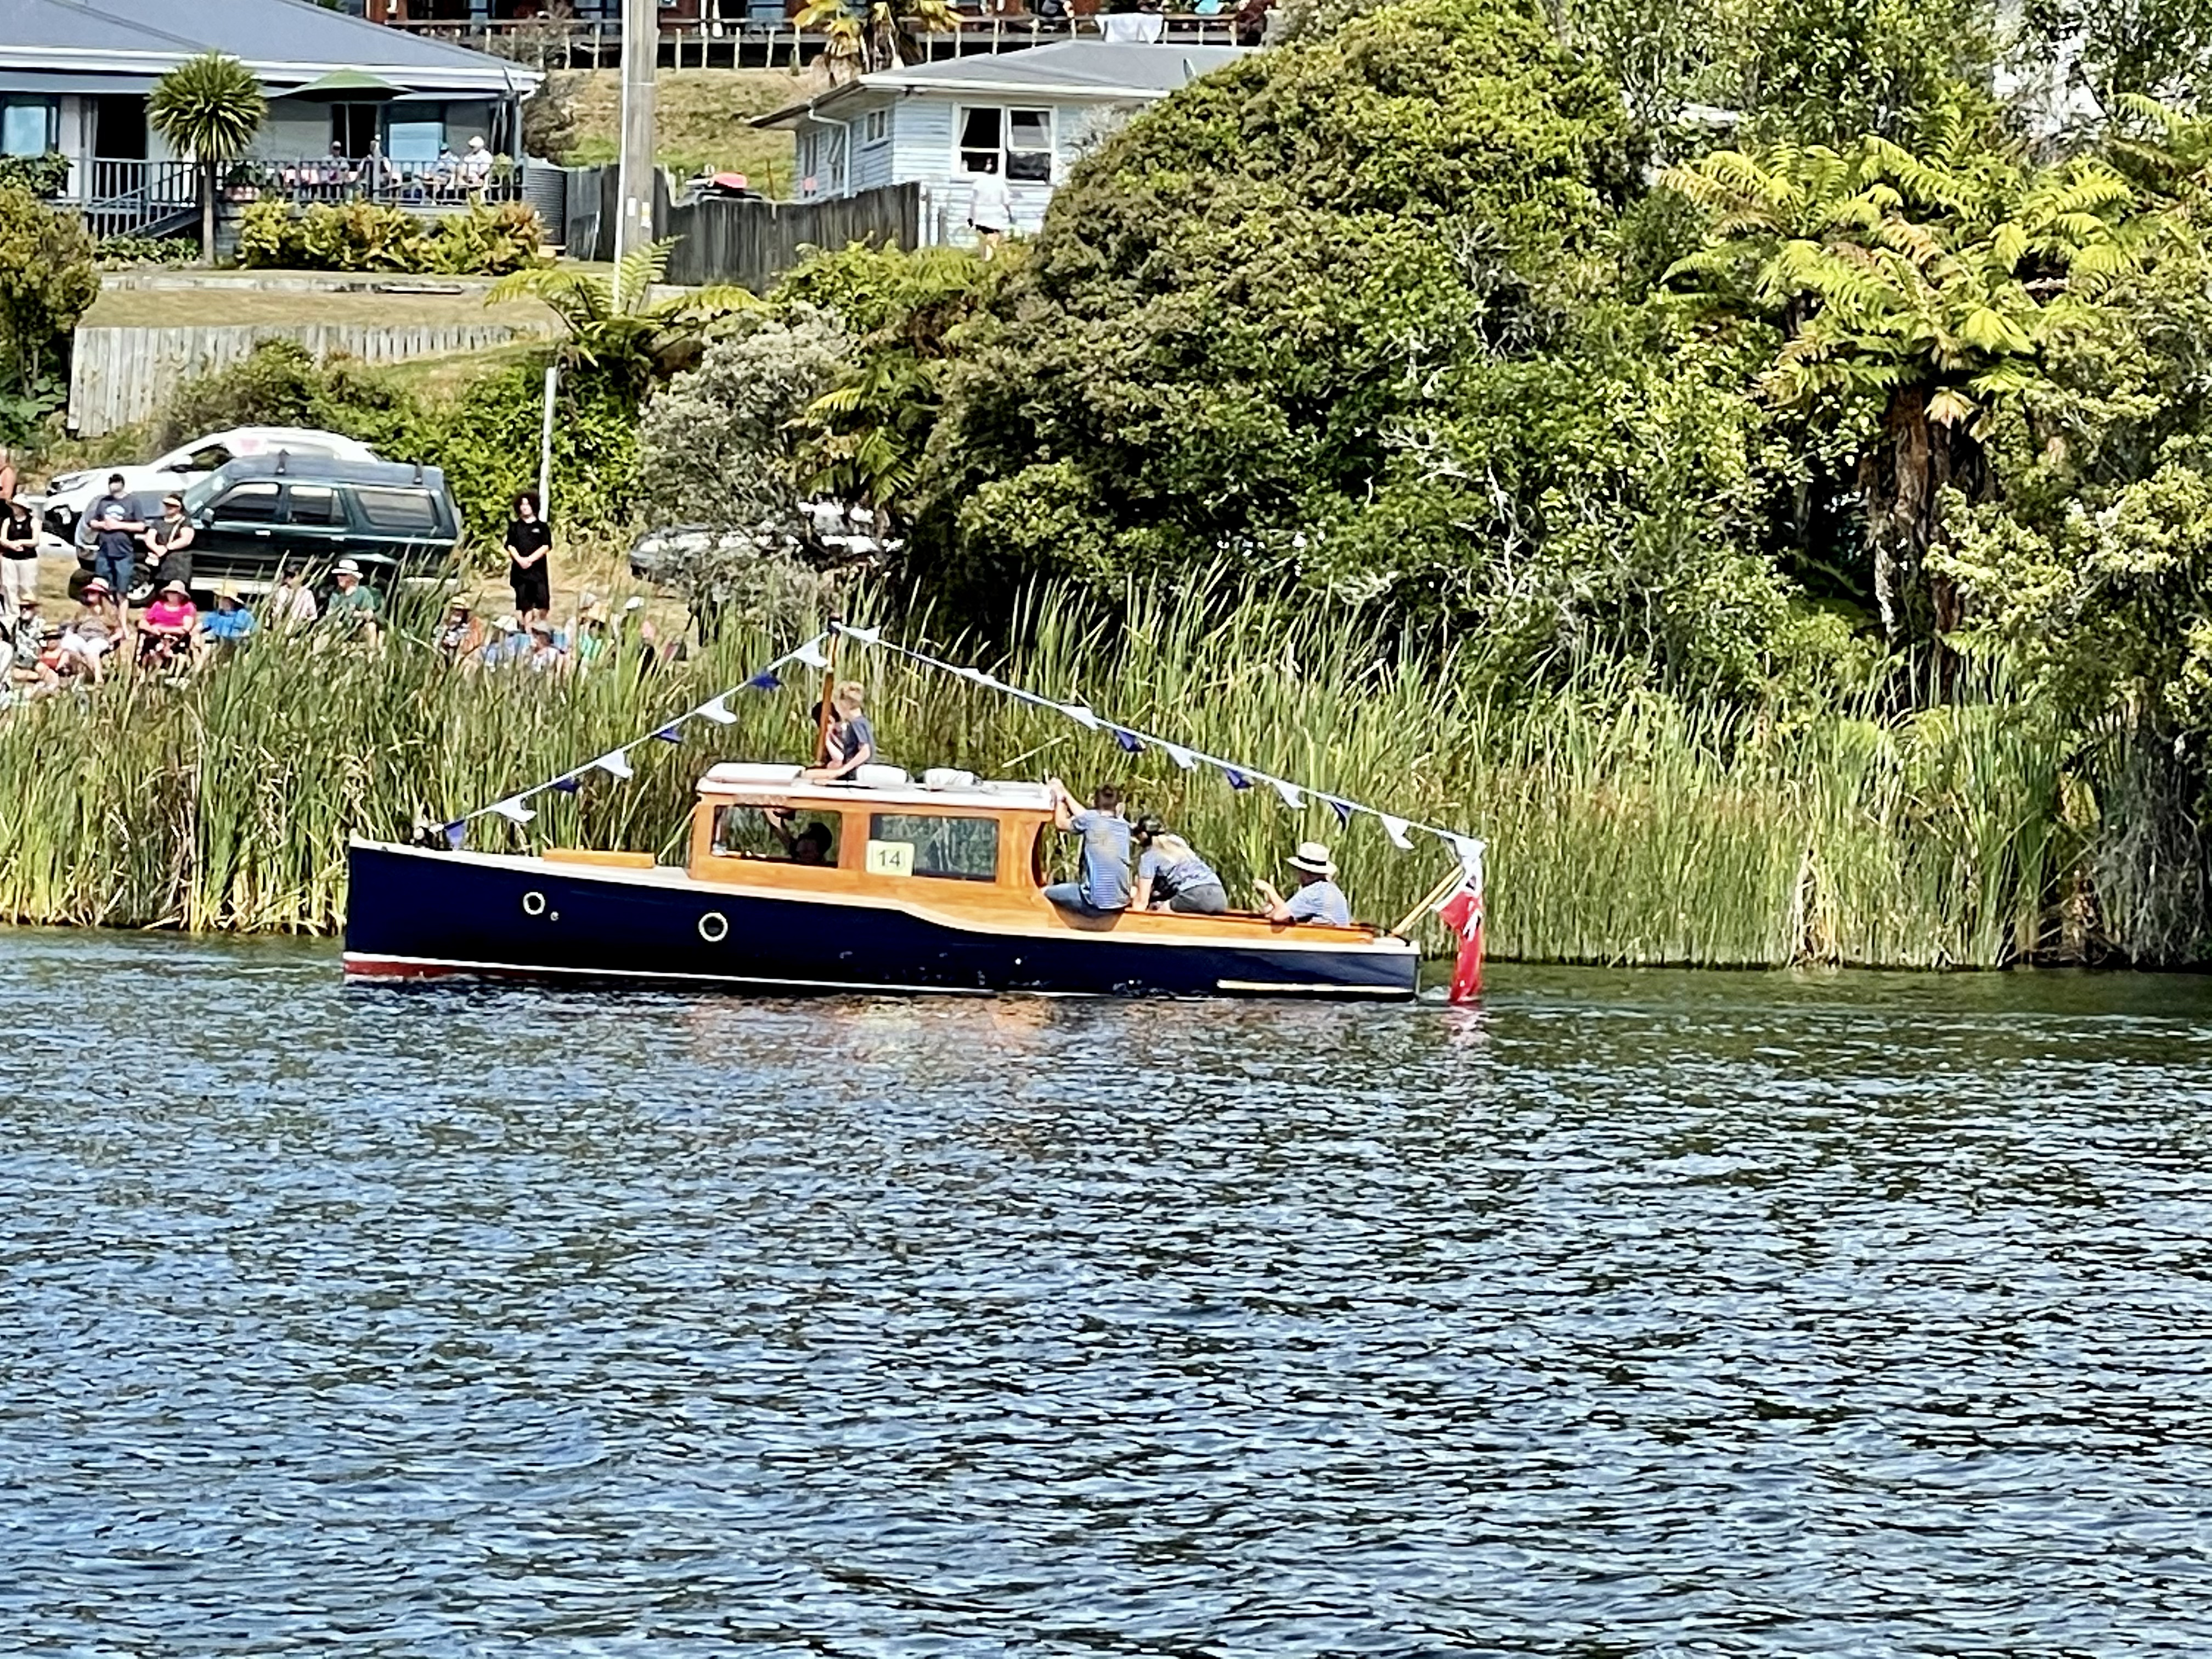
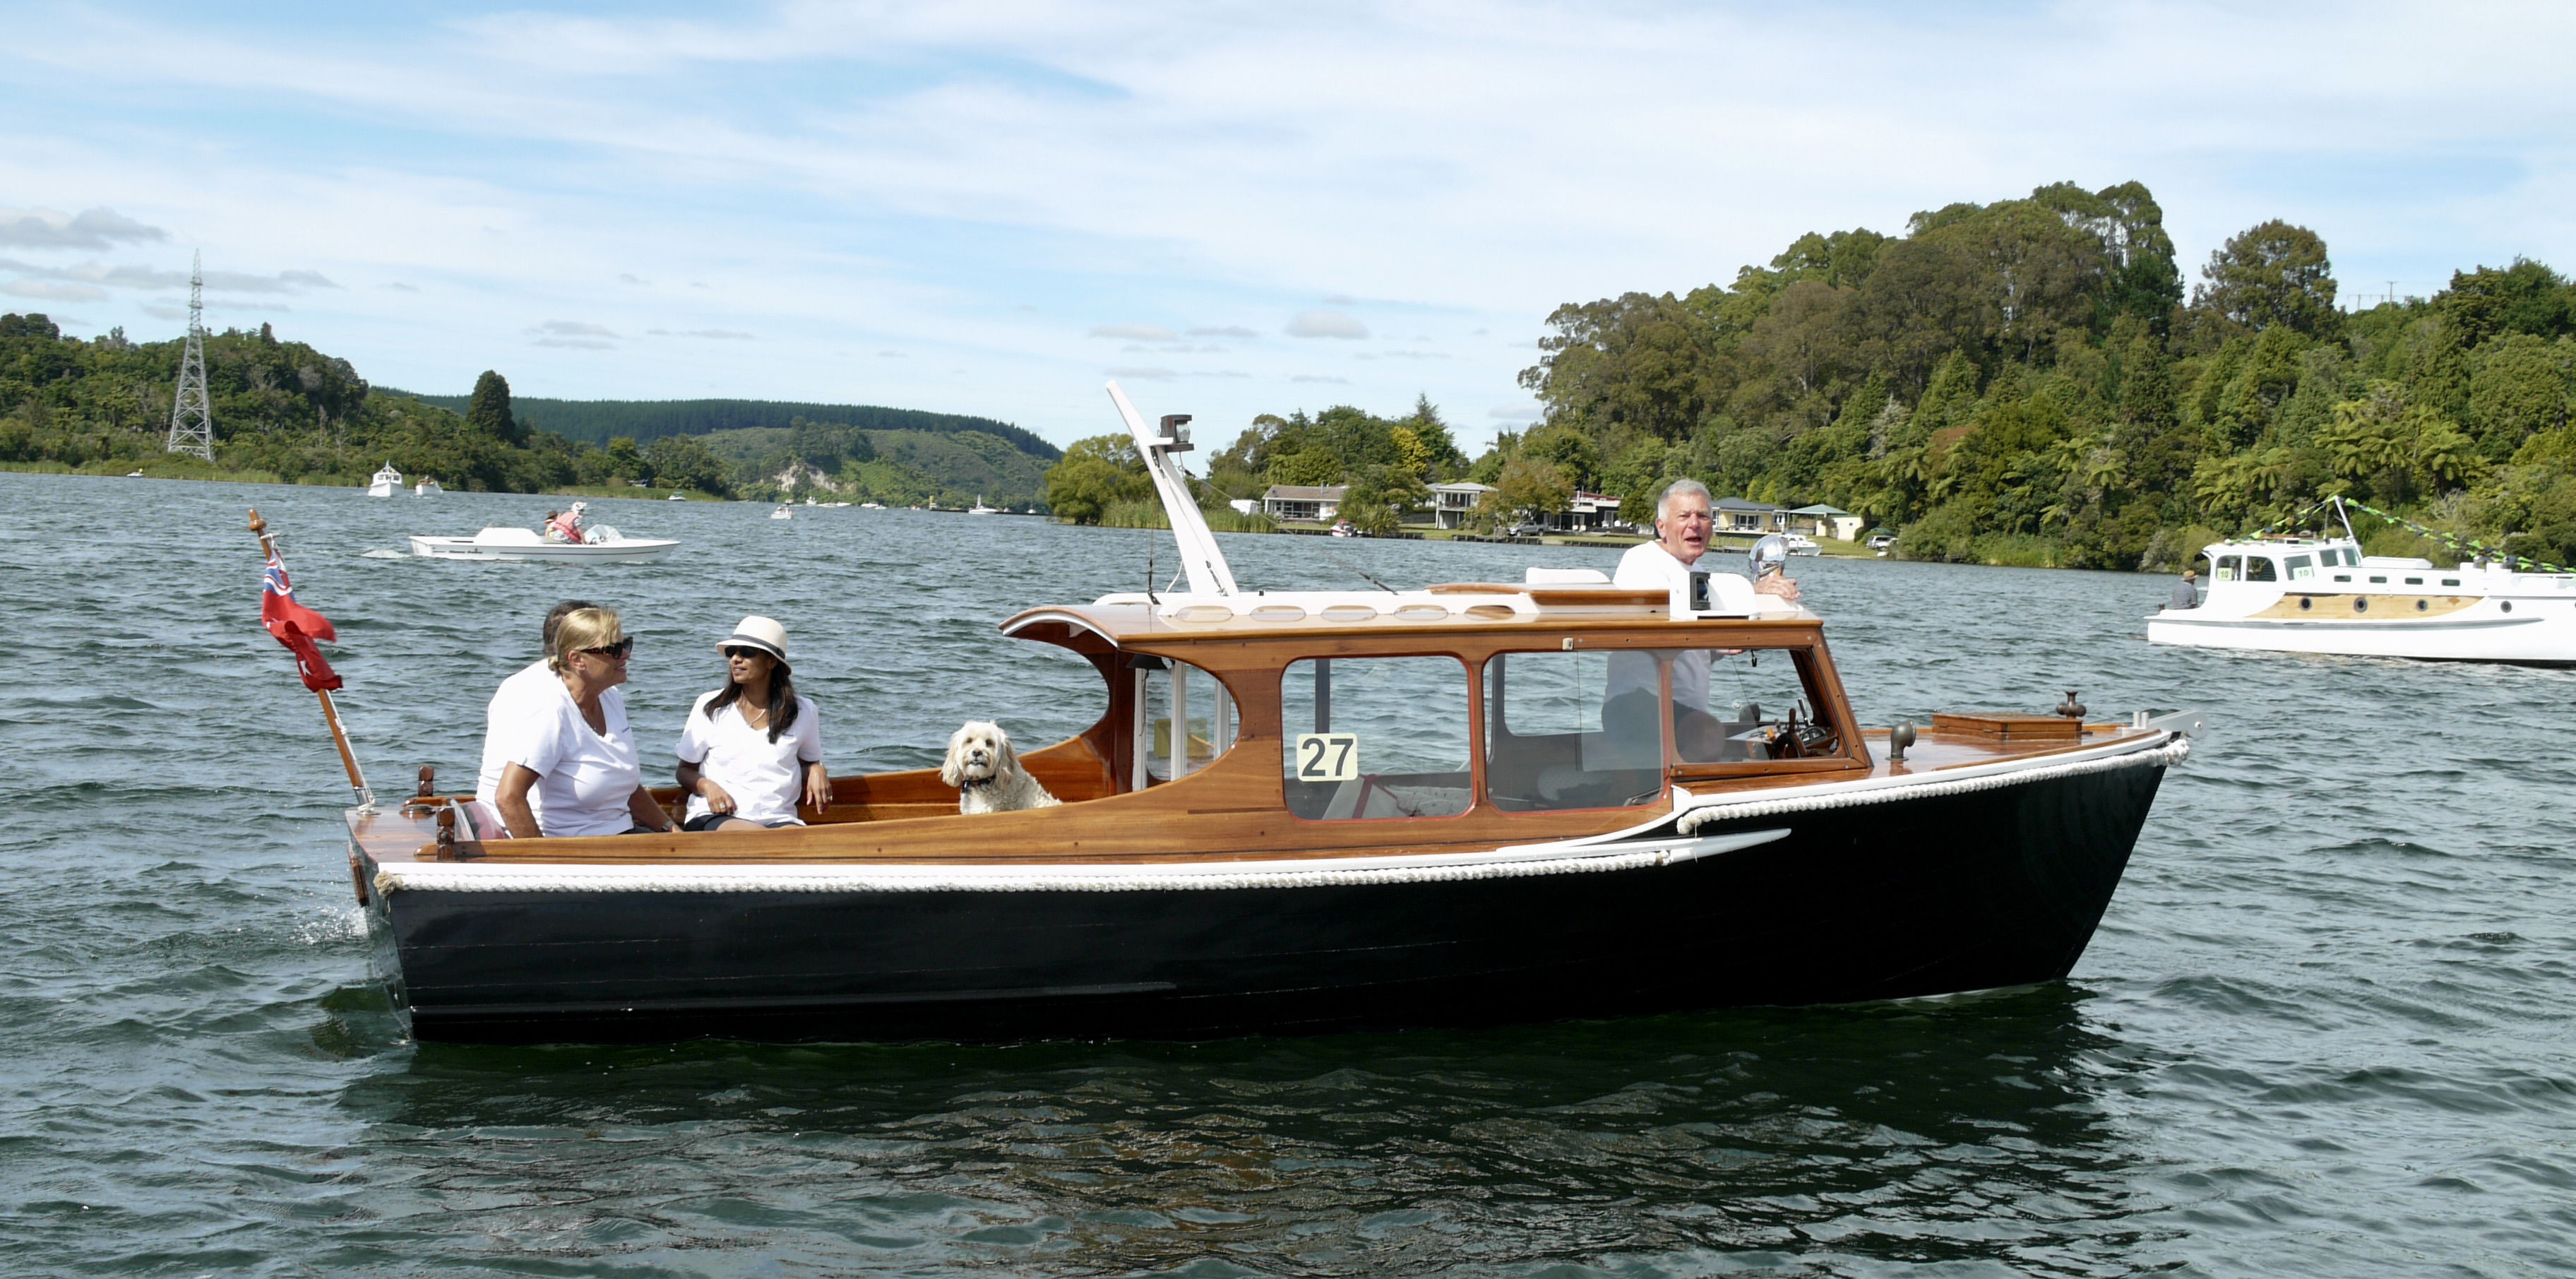
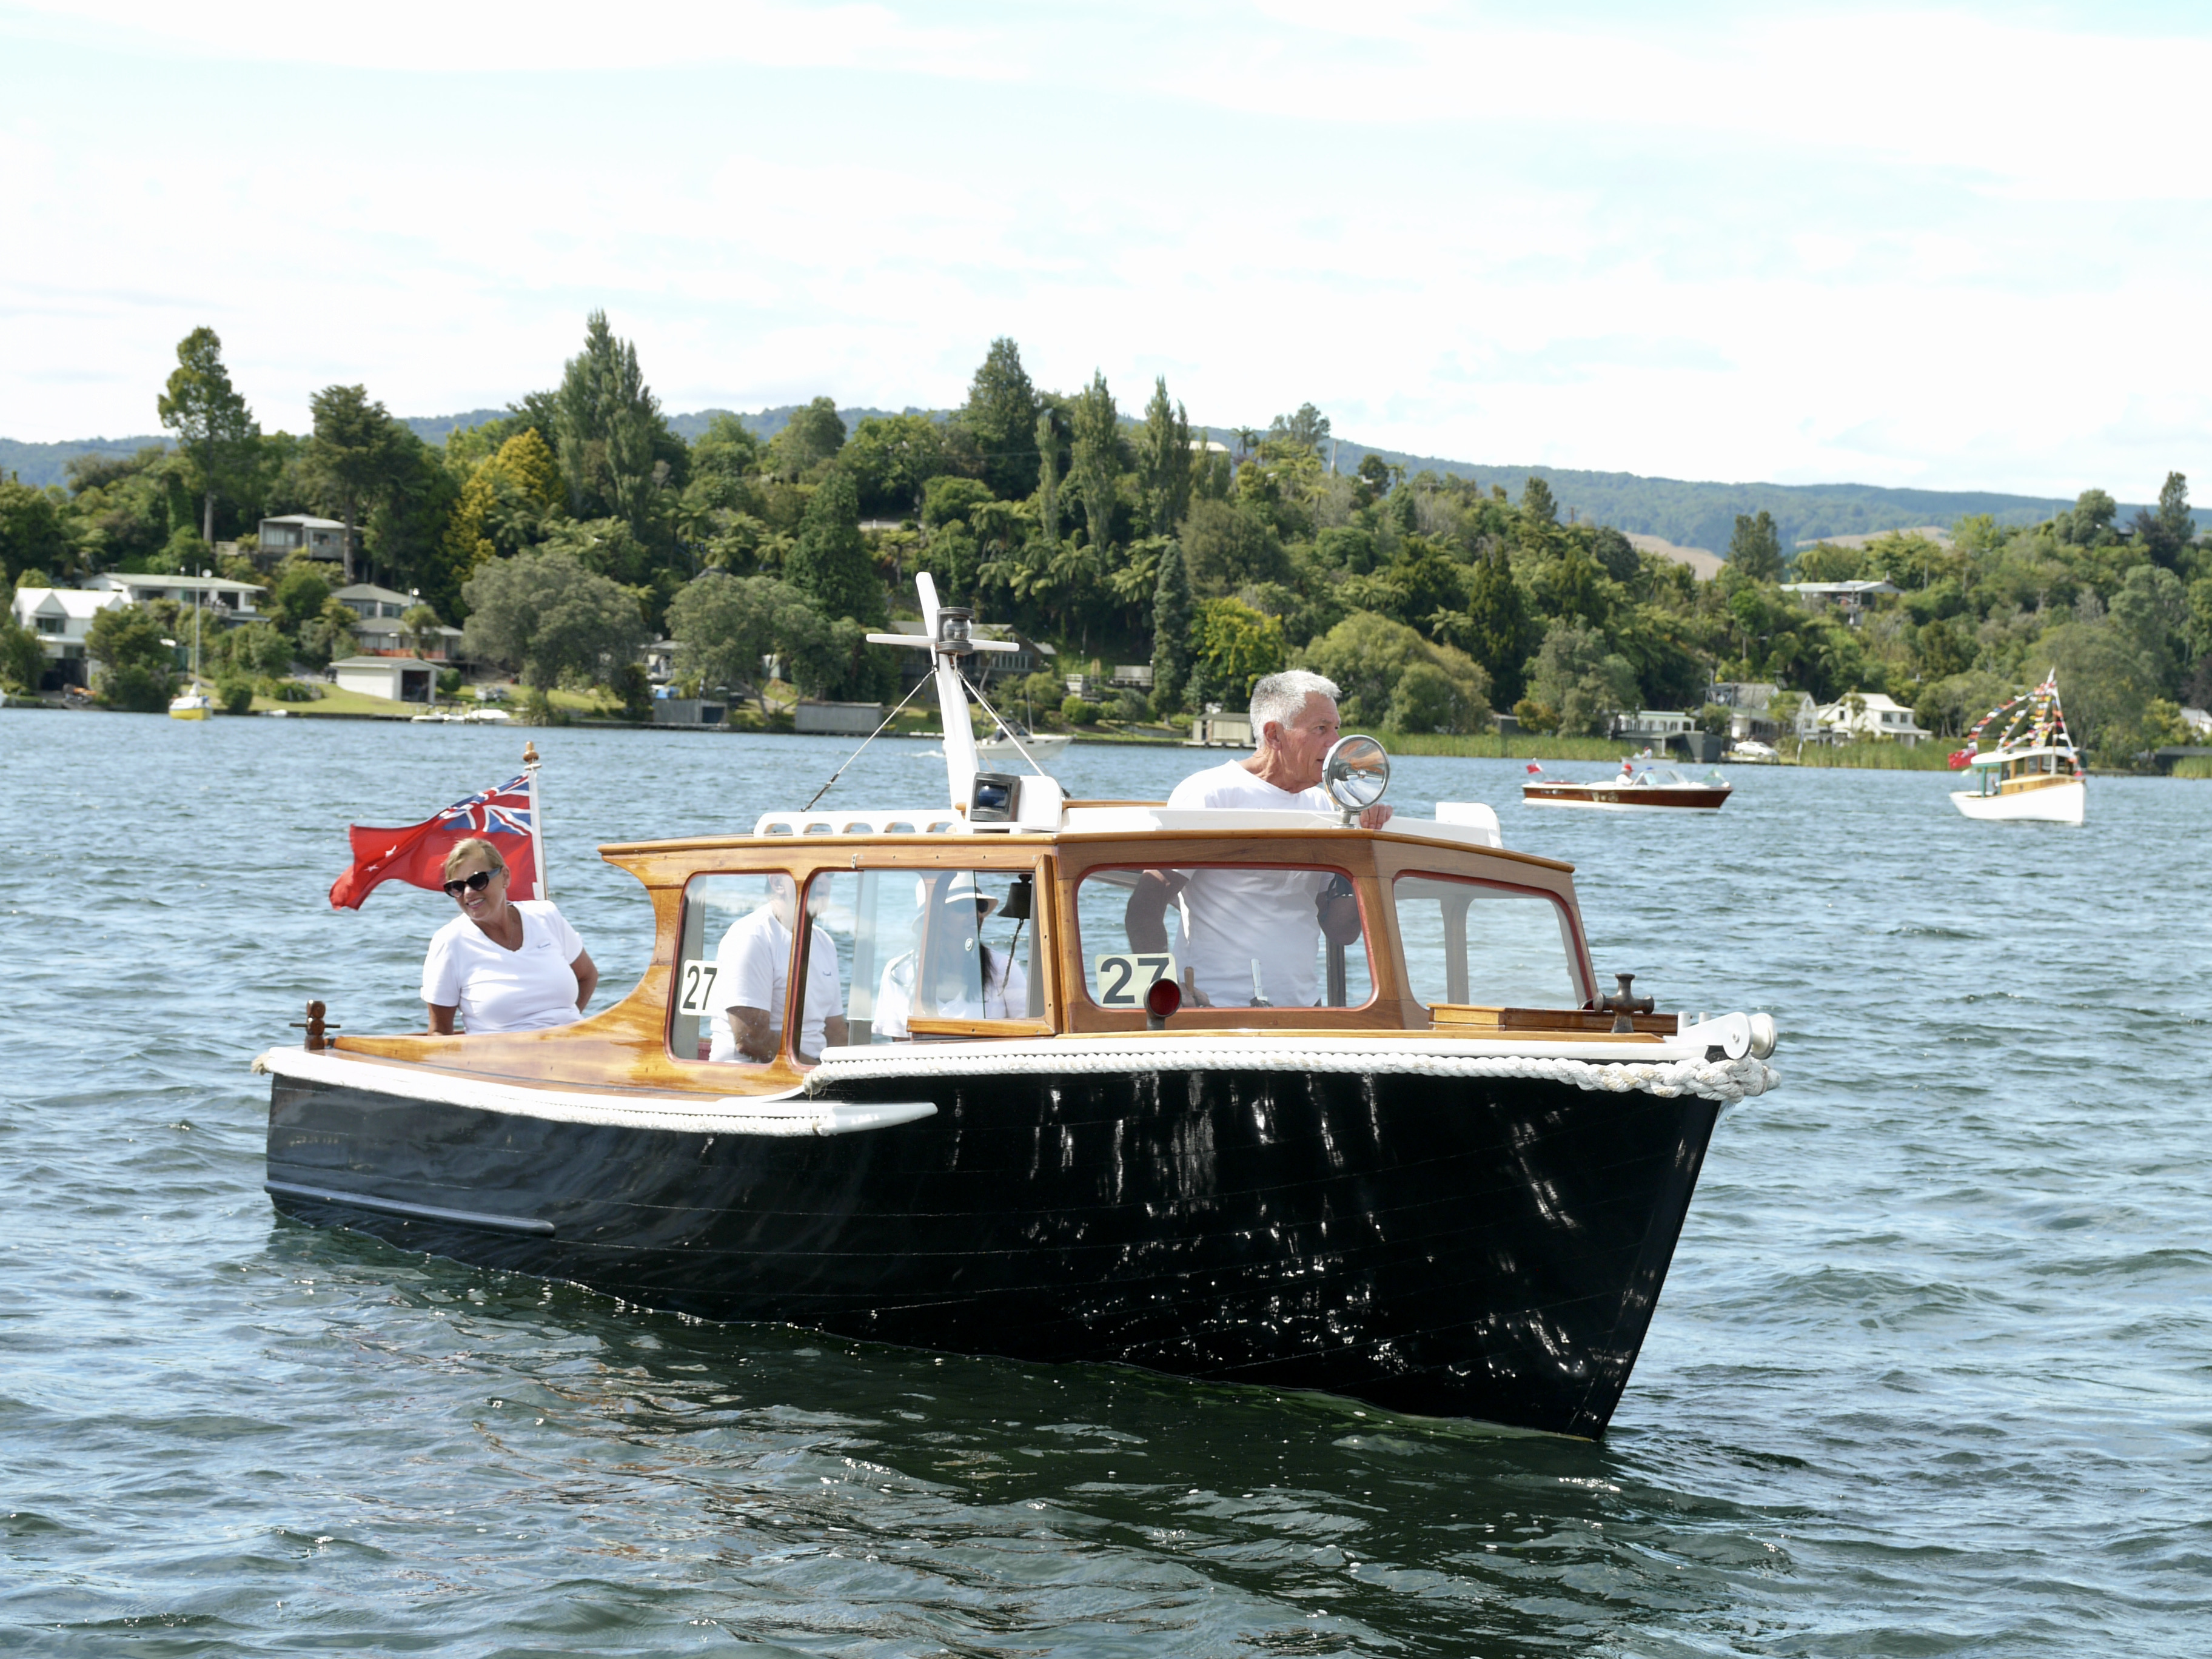
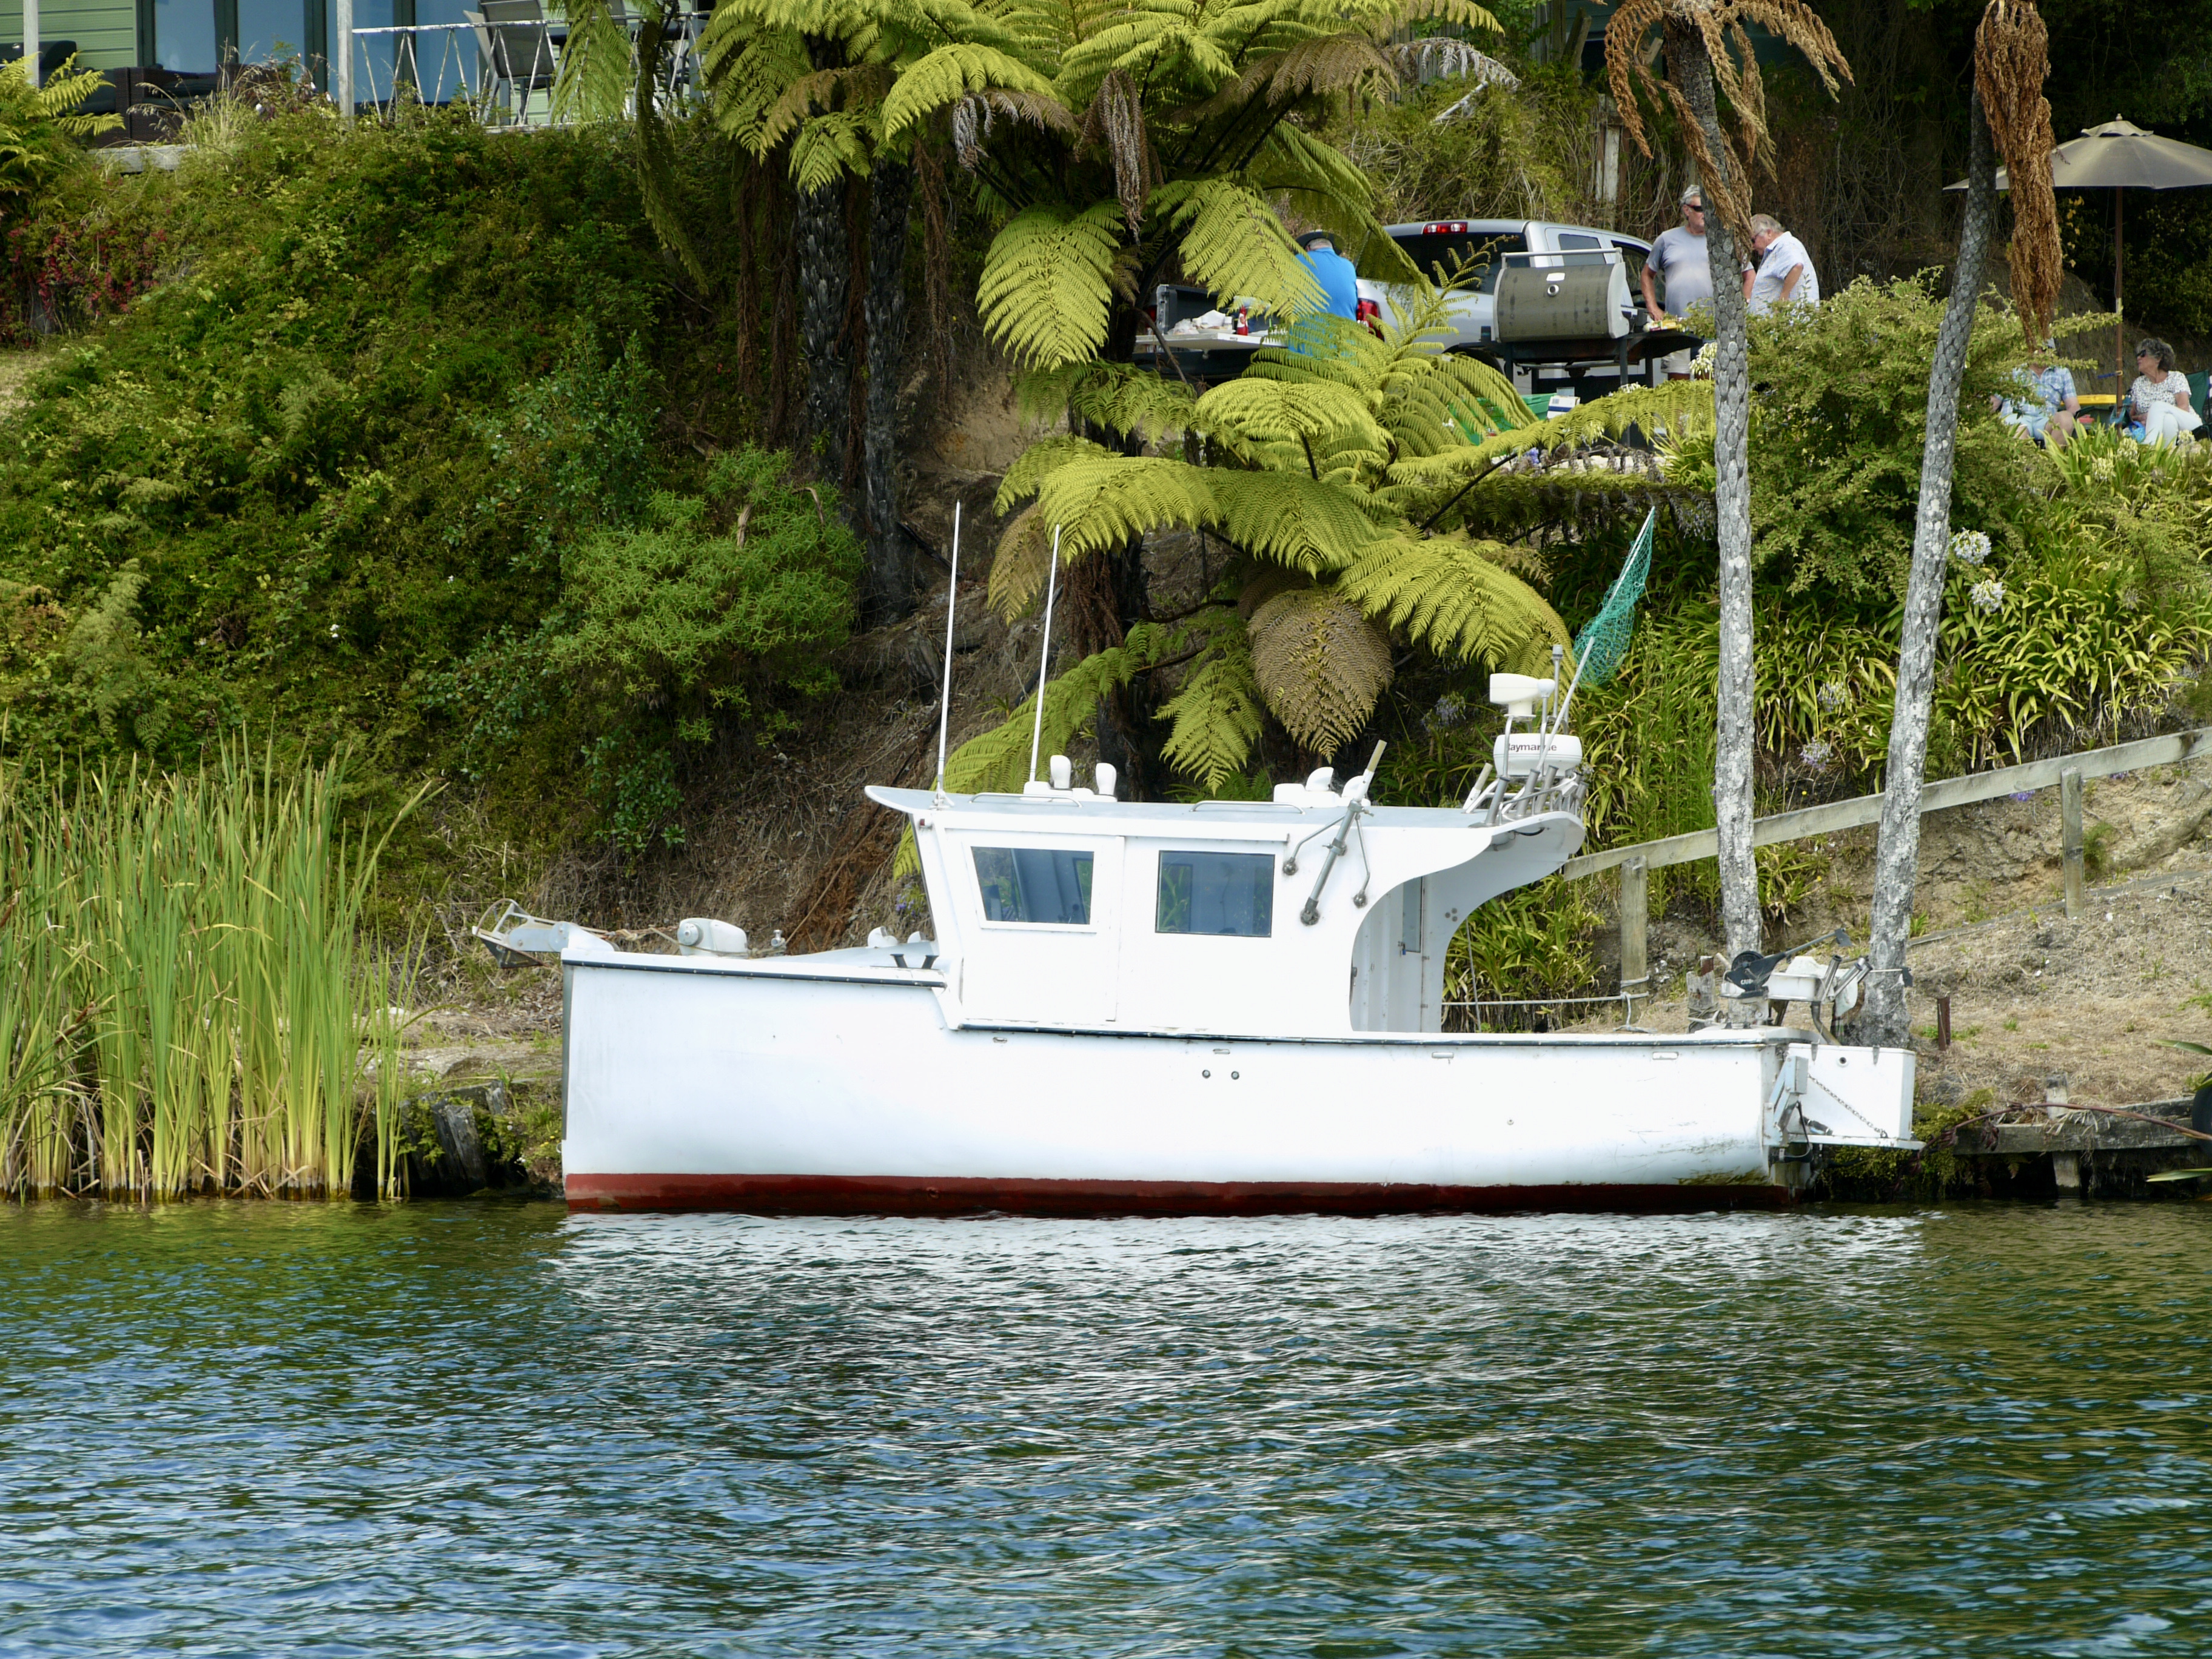
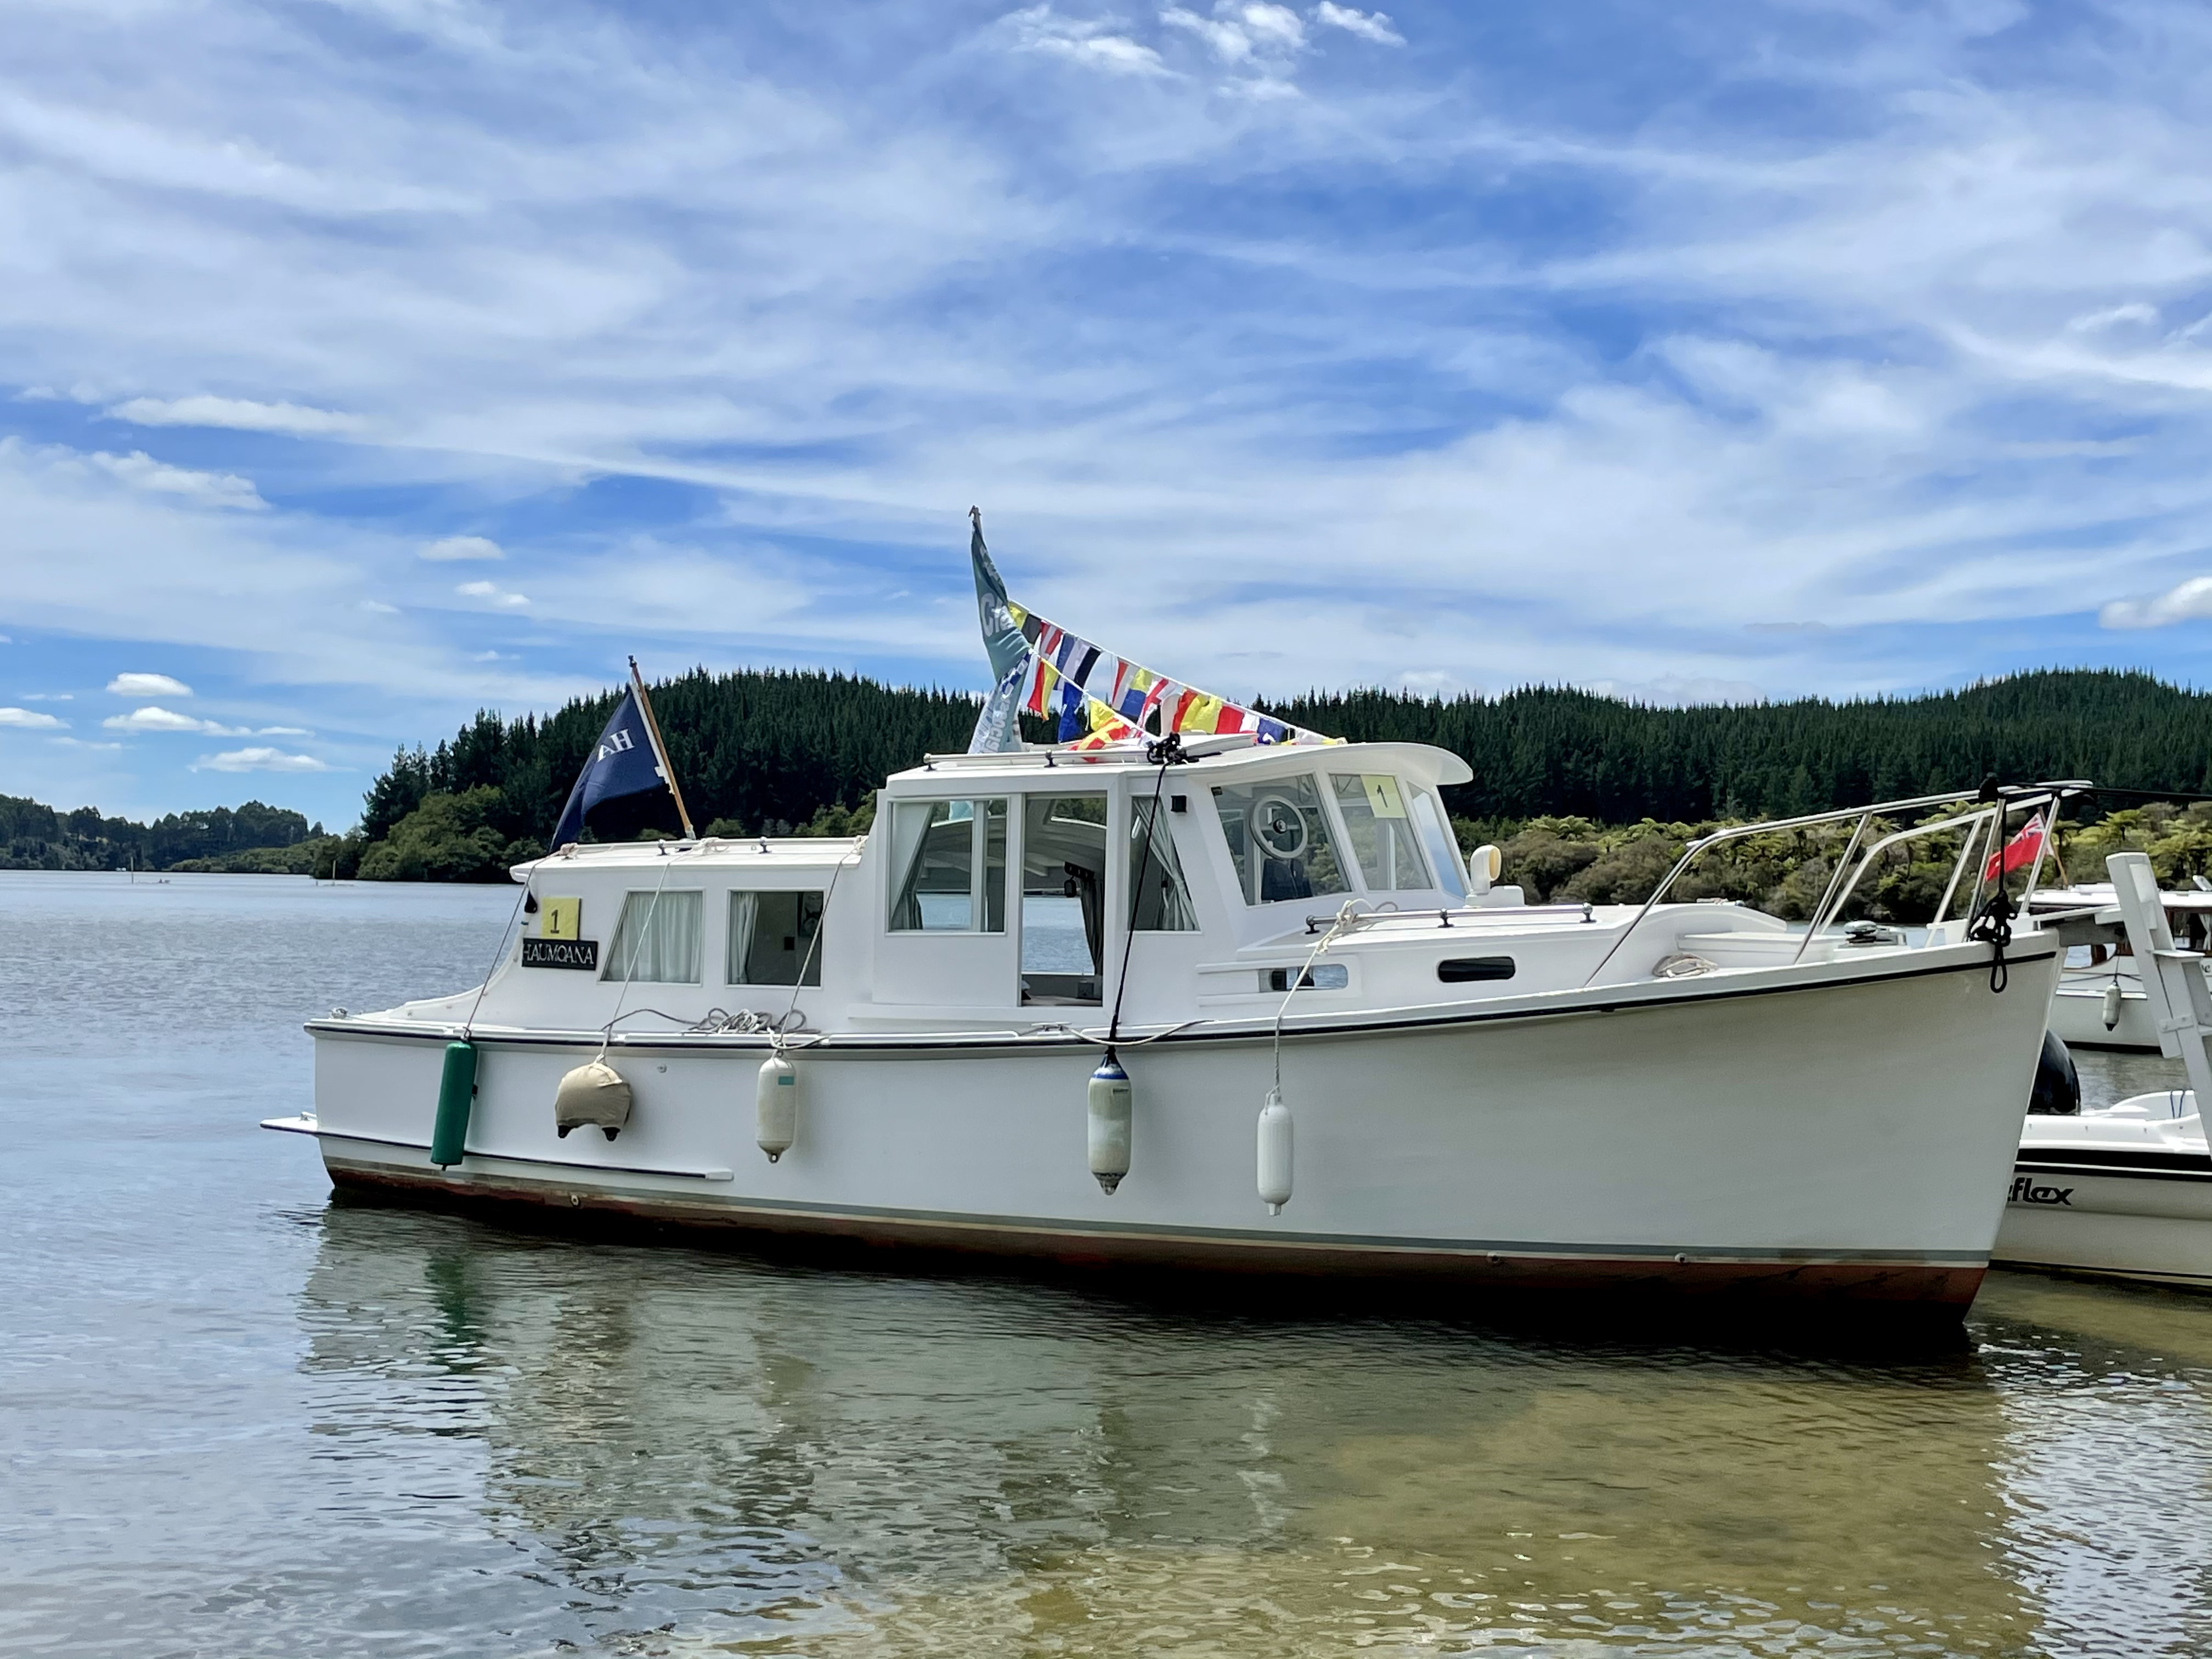
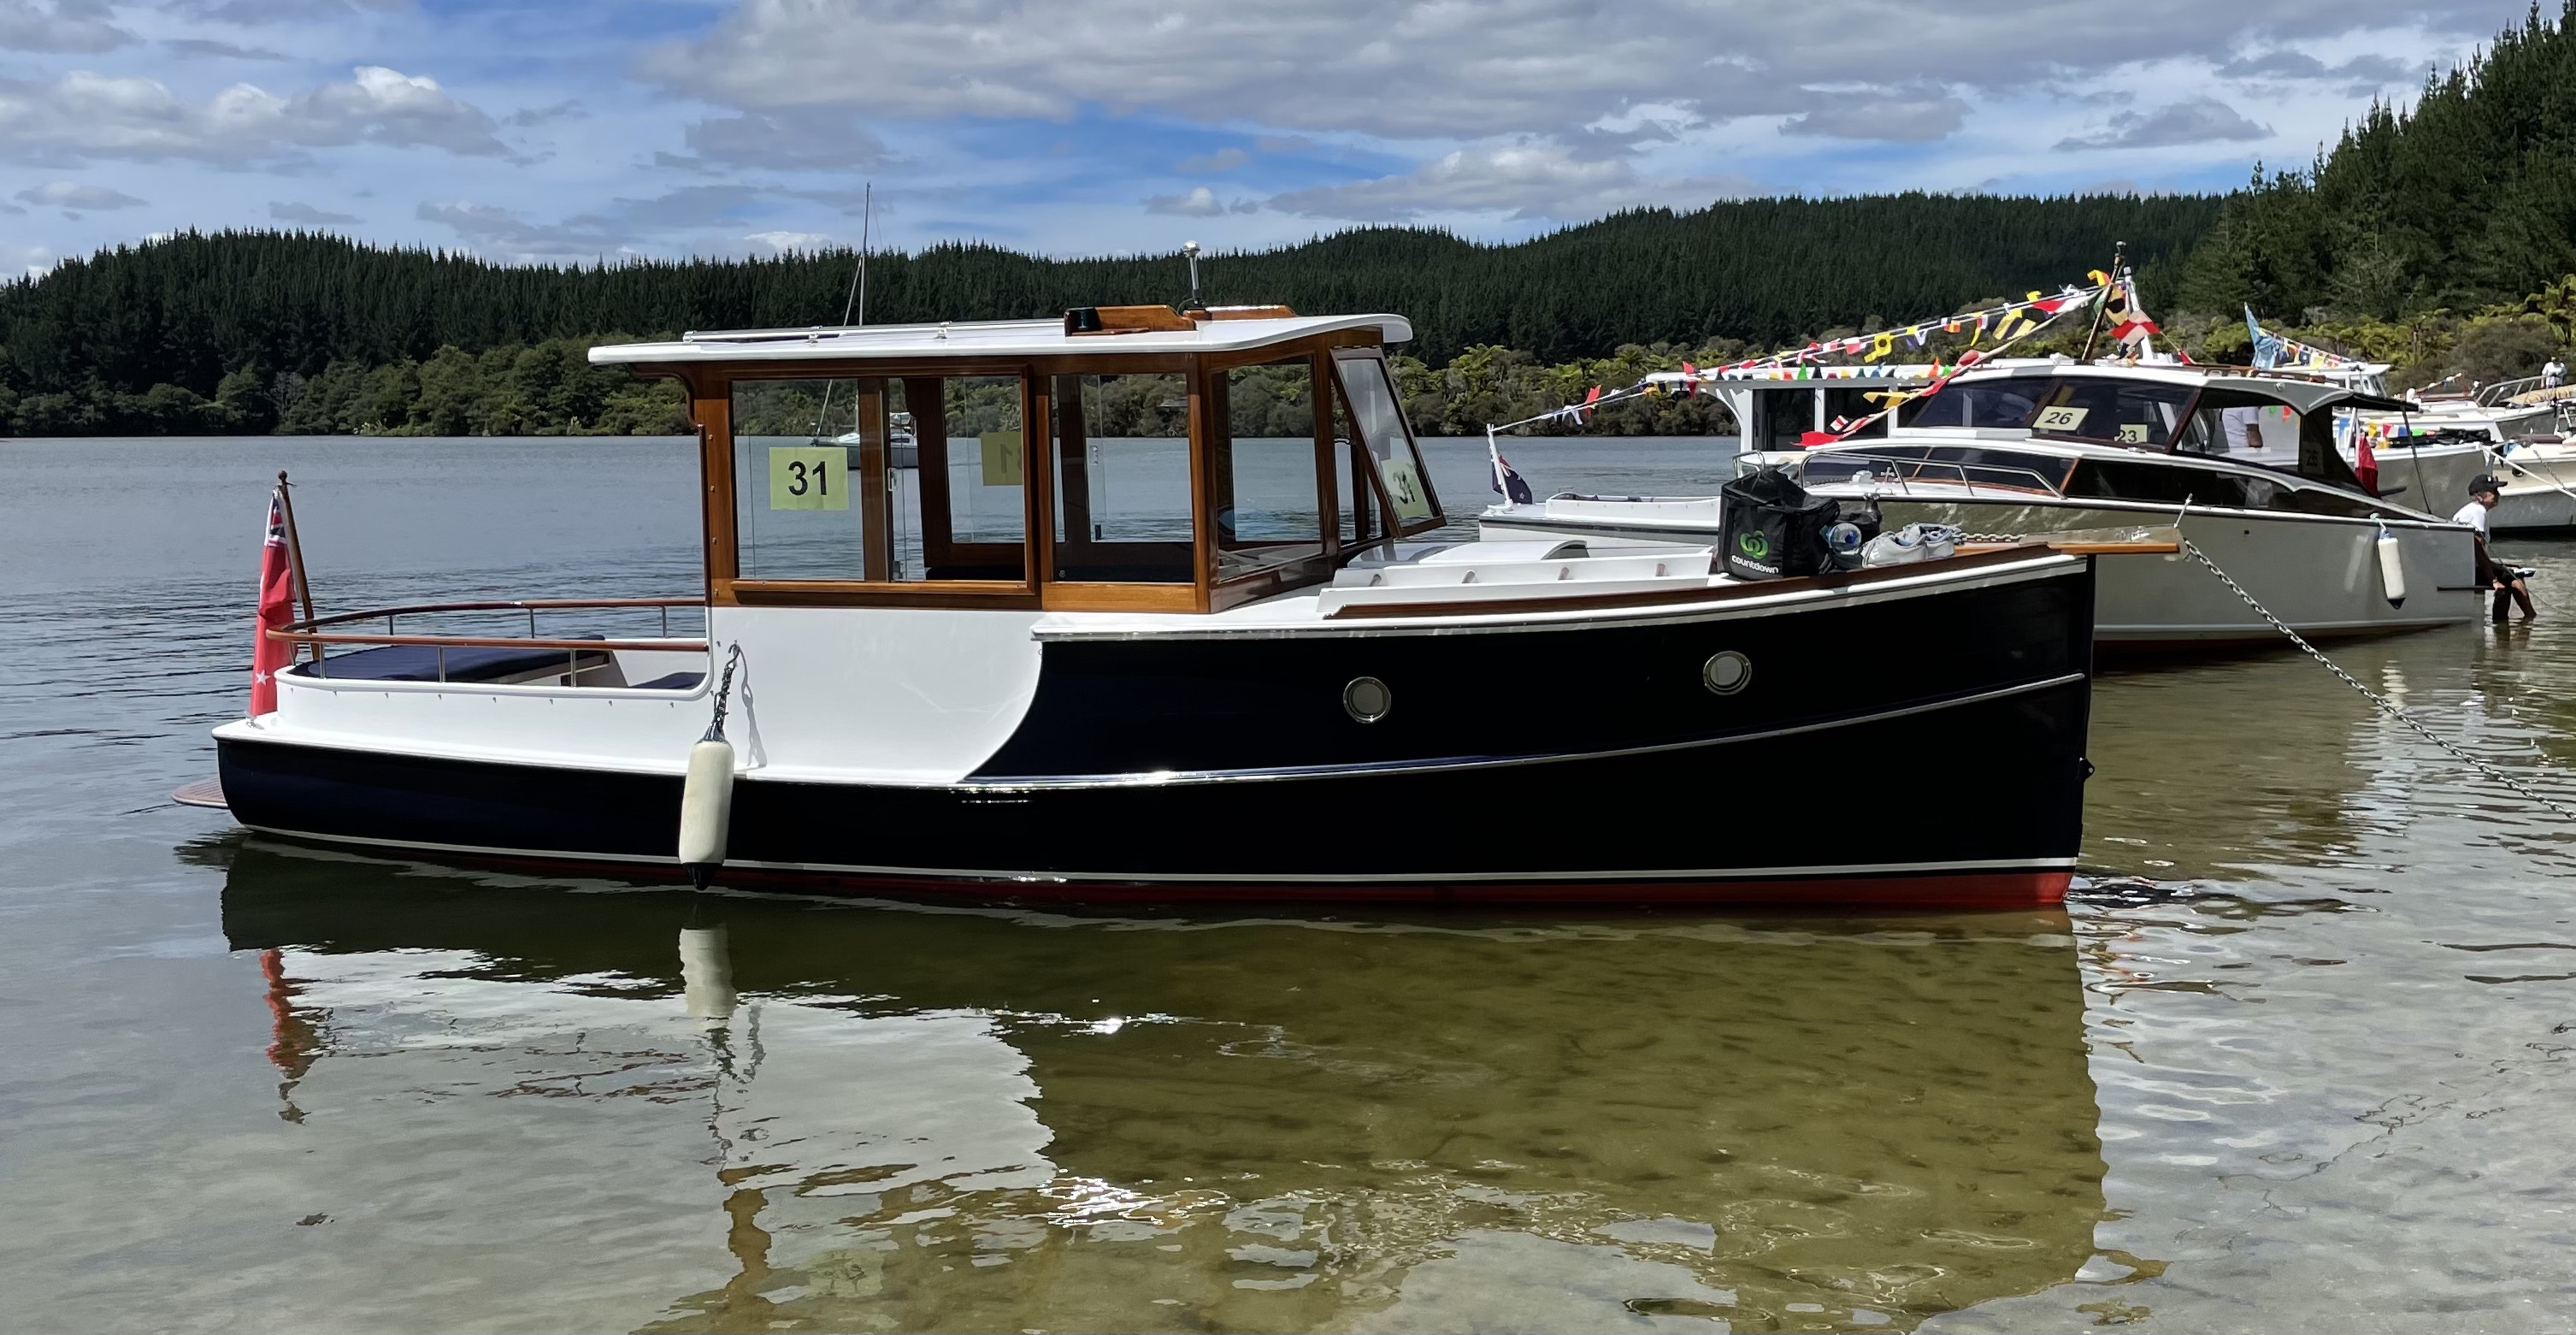
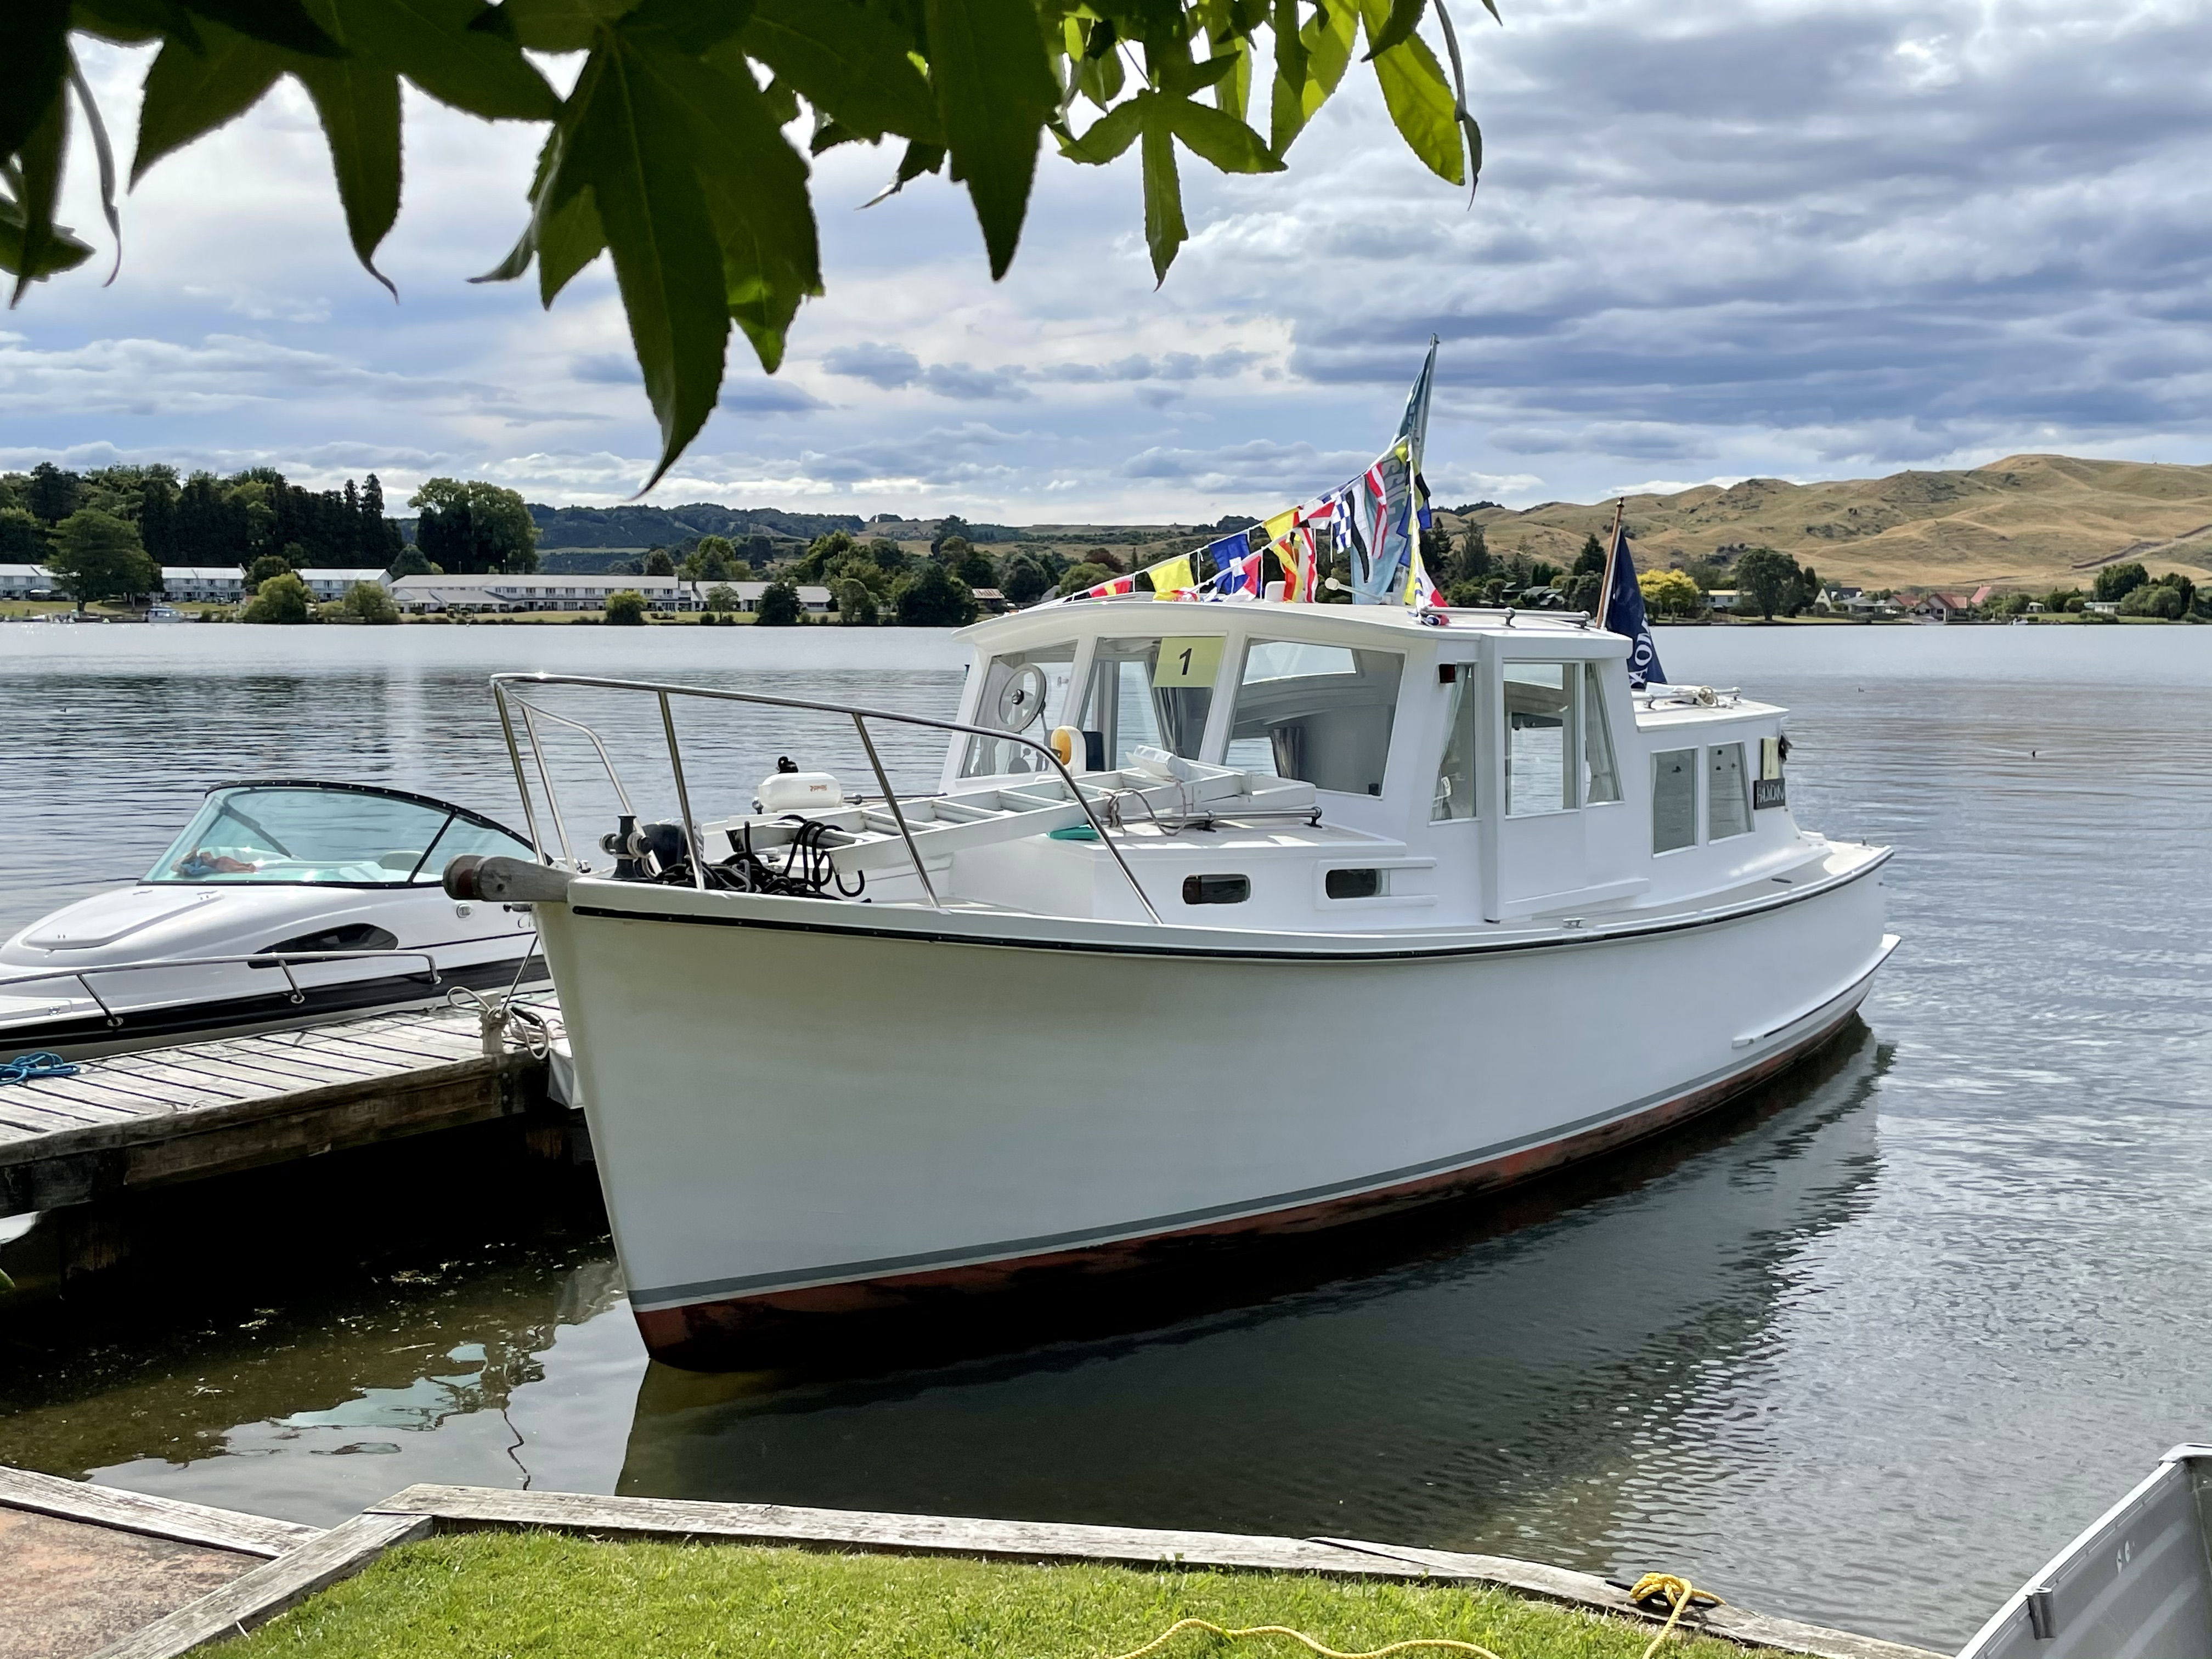
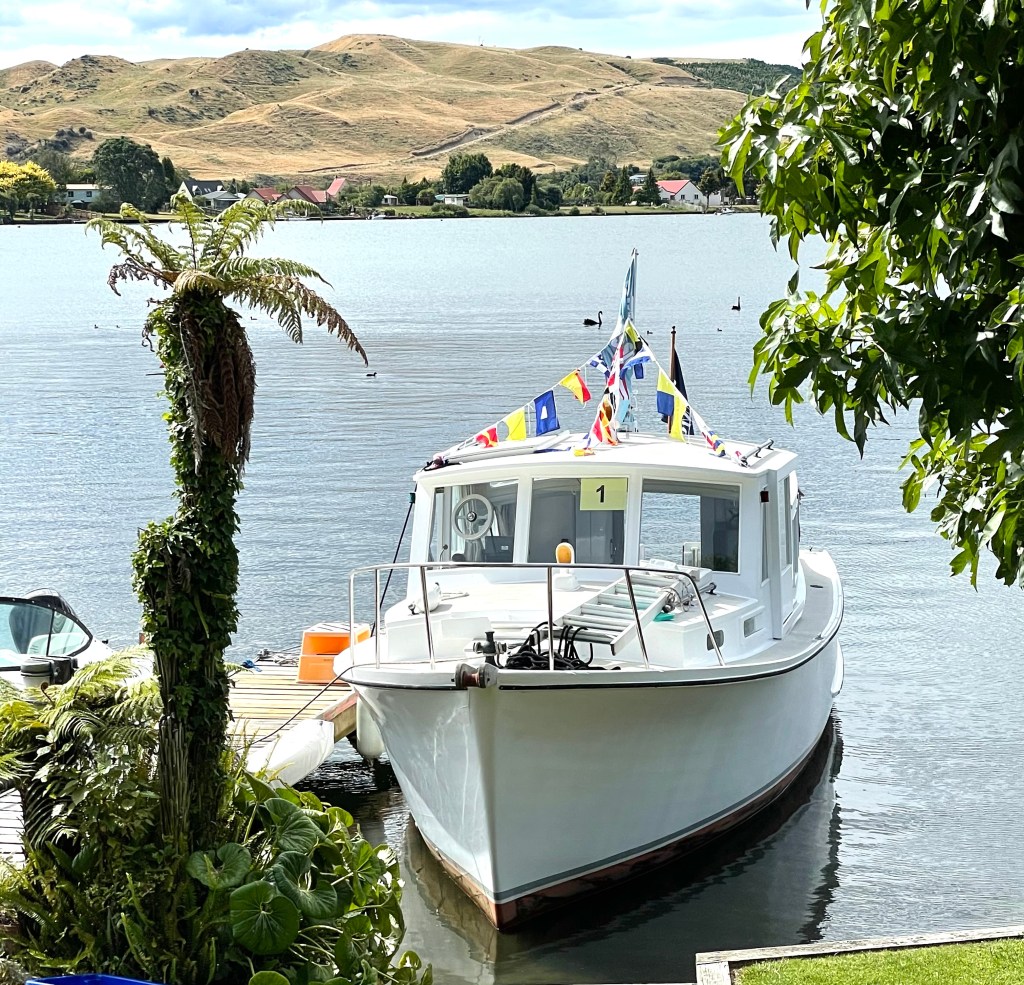
As promised todays WW story is a doozy, we travelled down to the lake very early on Saturday morning and were hosted by the clubs commodore Dave Wilson and wife Glenys, who own the magnificent 1947 Colin Wild built bridge-decker – Haumoana. The launch is kept at the end of the lawn at their lakeside property (photos below) – More details on Haumoana here https://waitematawoodys.com/2014/06/05/haumoana/
Dave lent me is ‘fishing boat’ – the f/glass runabout seen the photo below, to use as a photo boat for the parade – fingers crossed no one got a photo of me at the helm 😉
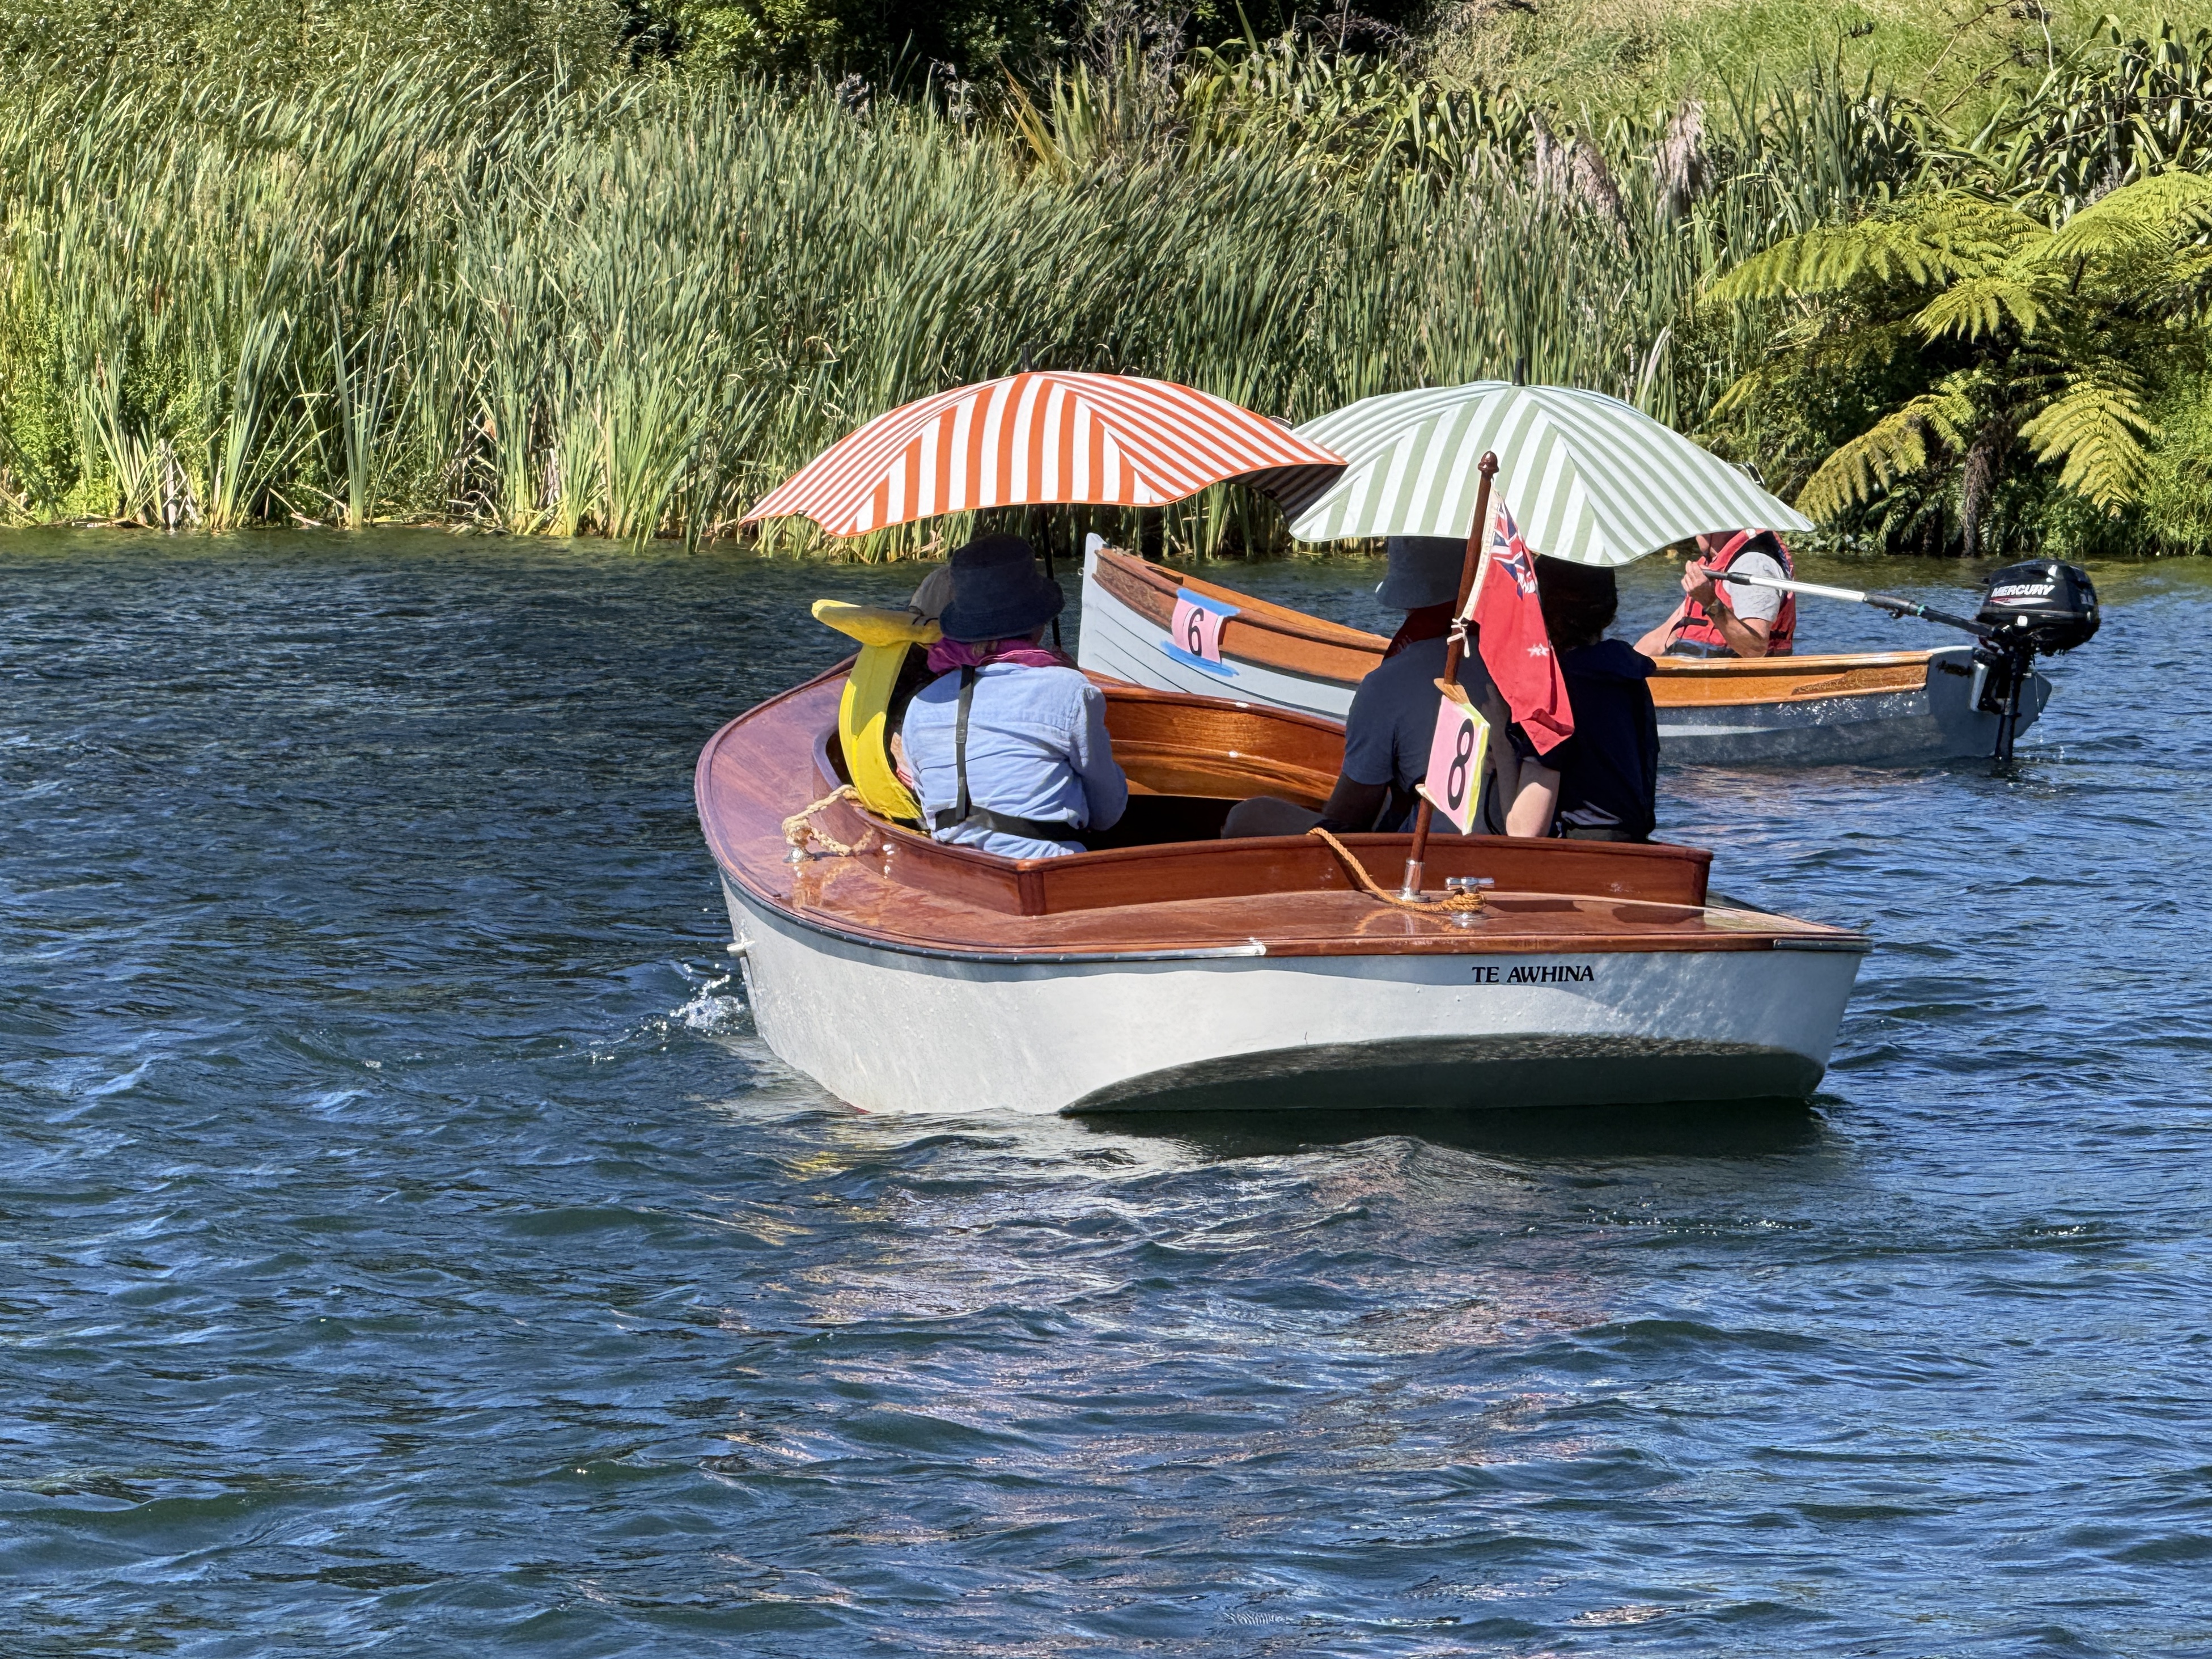
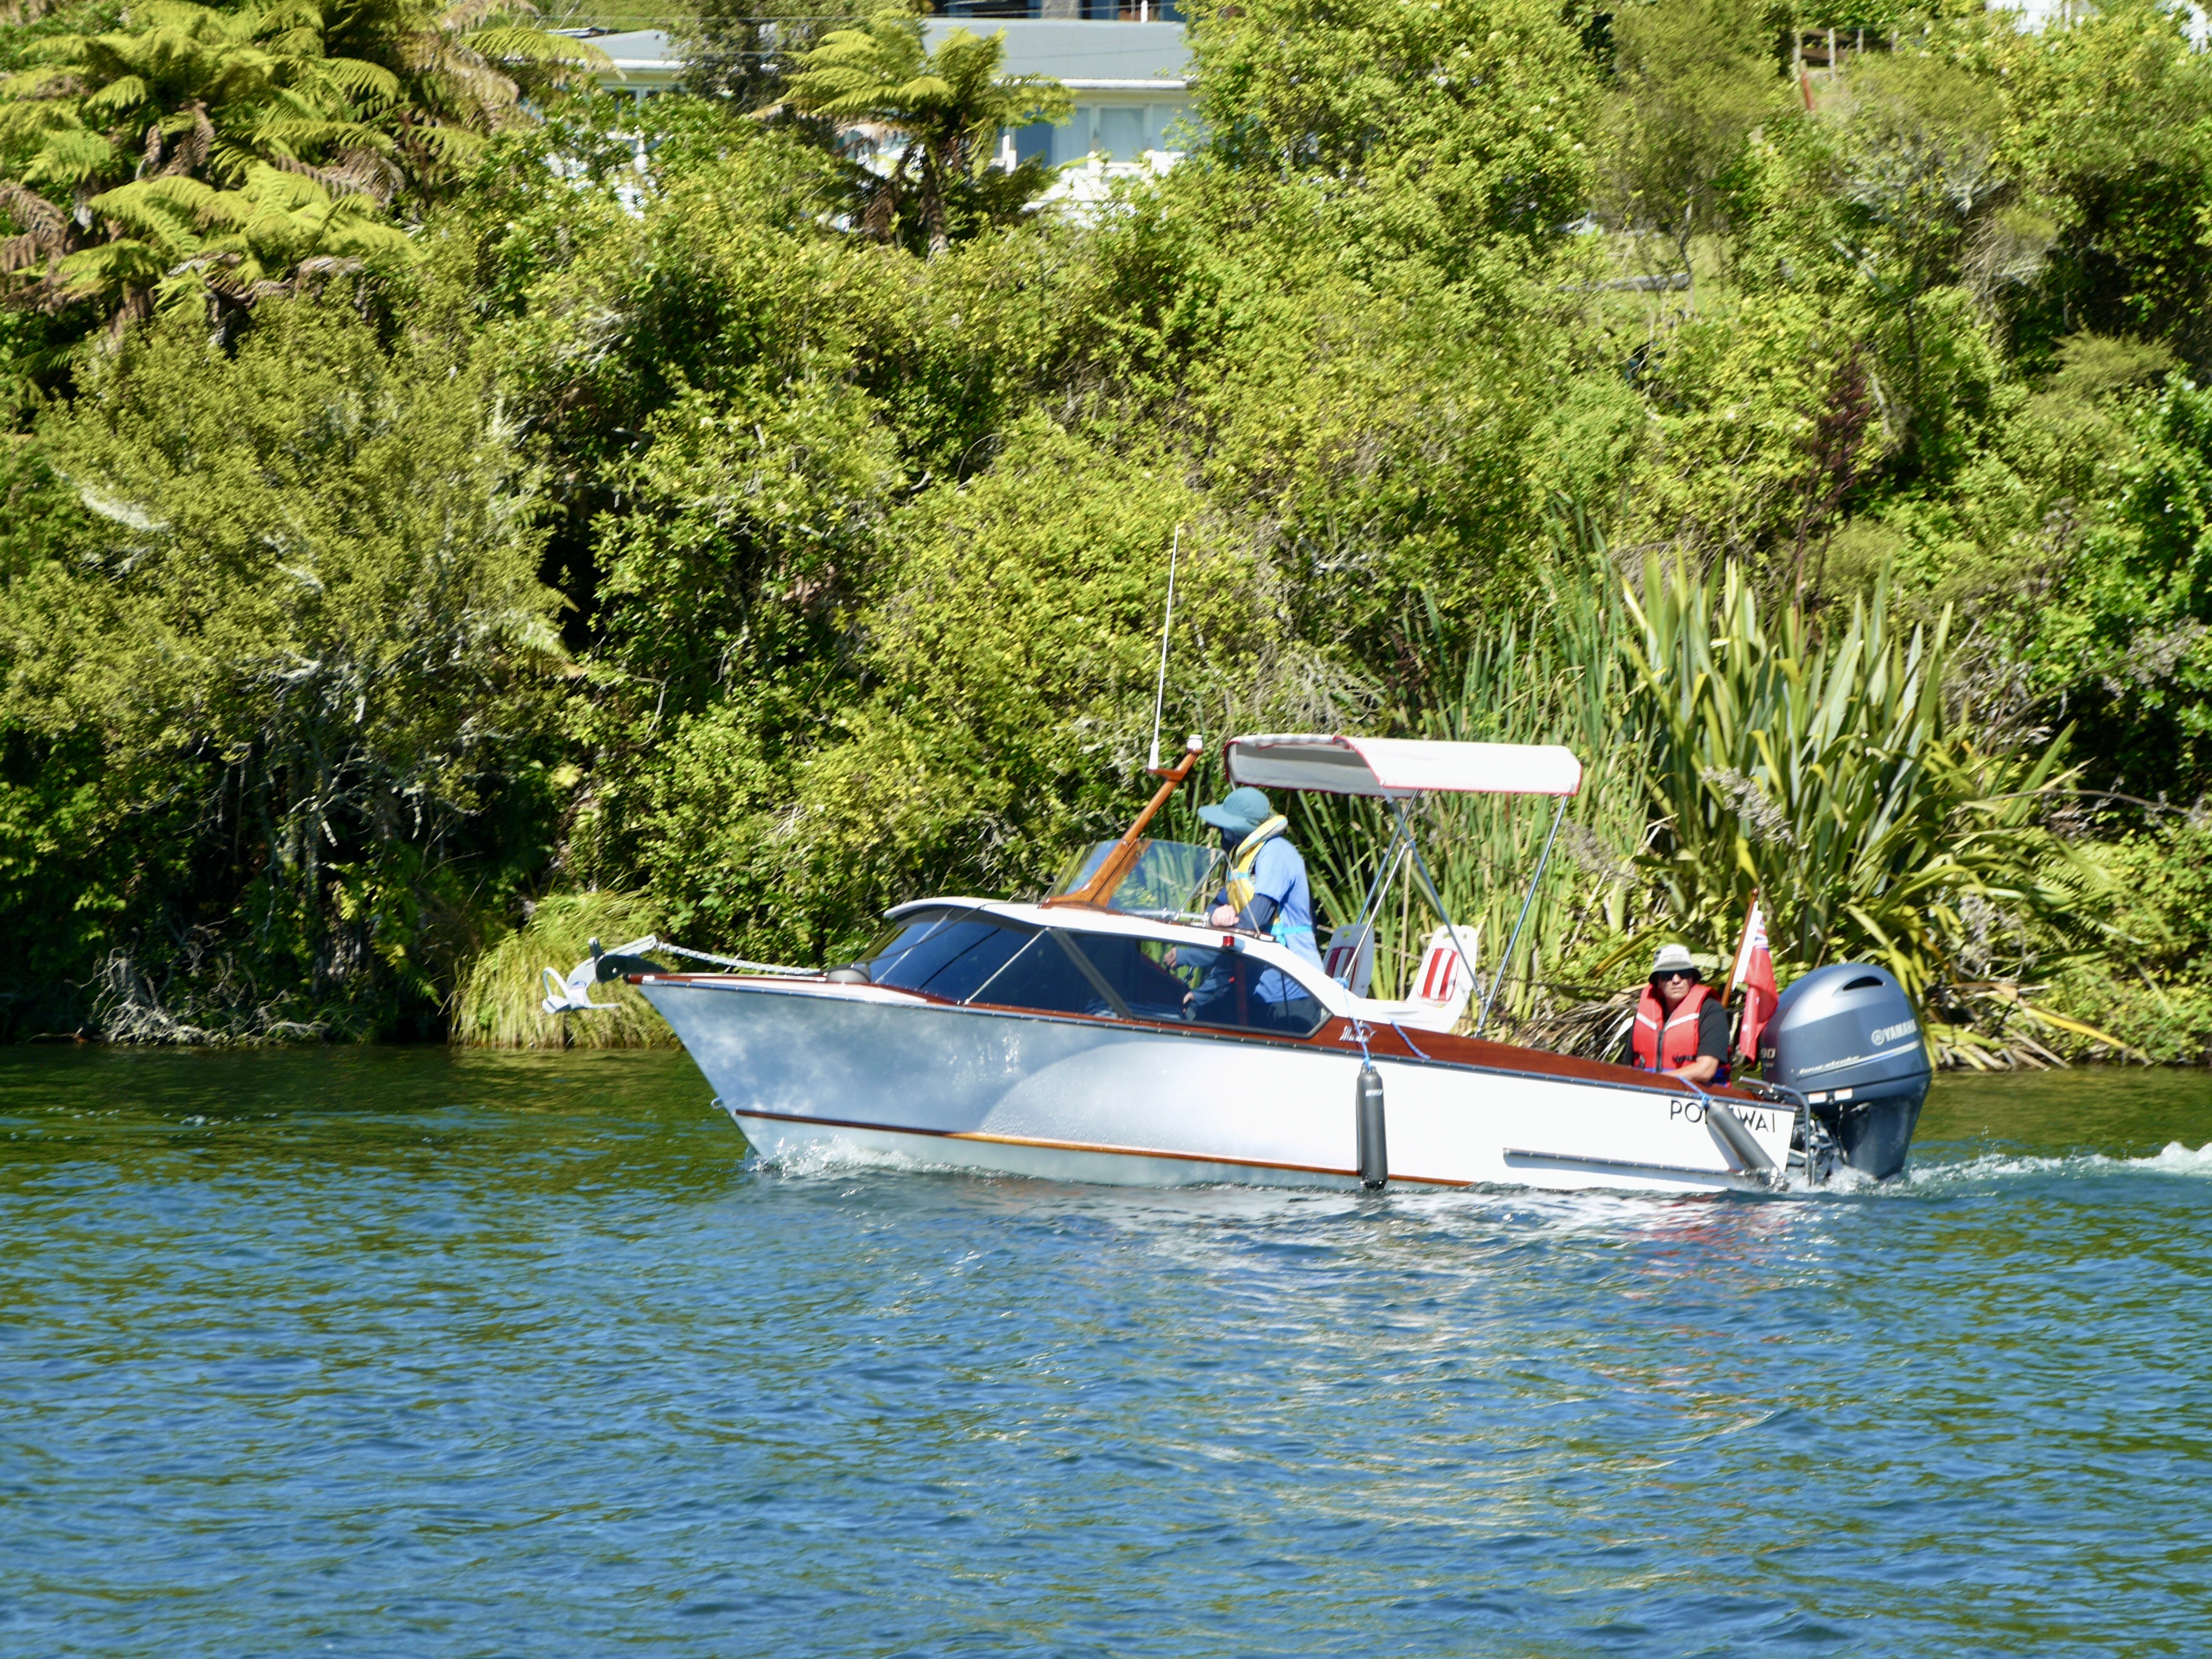
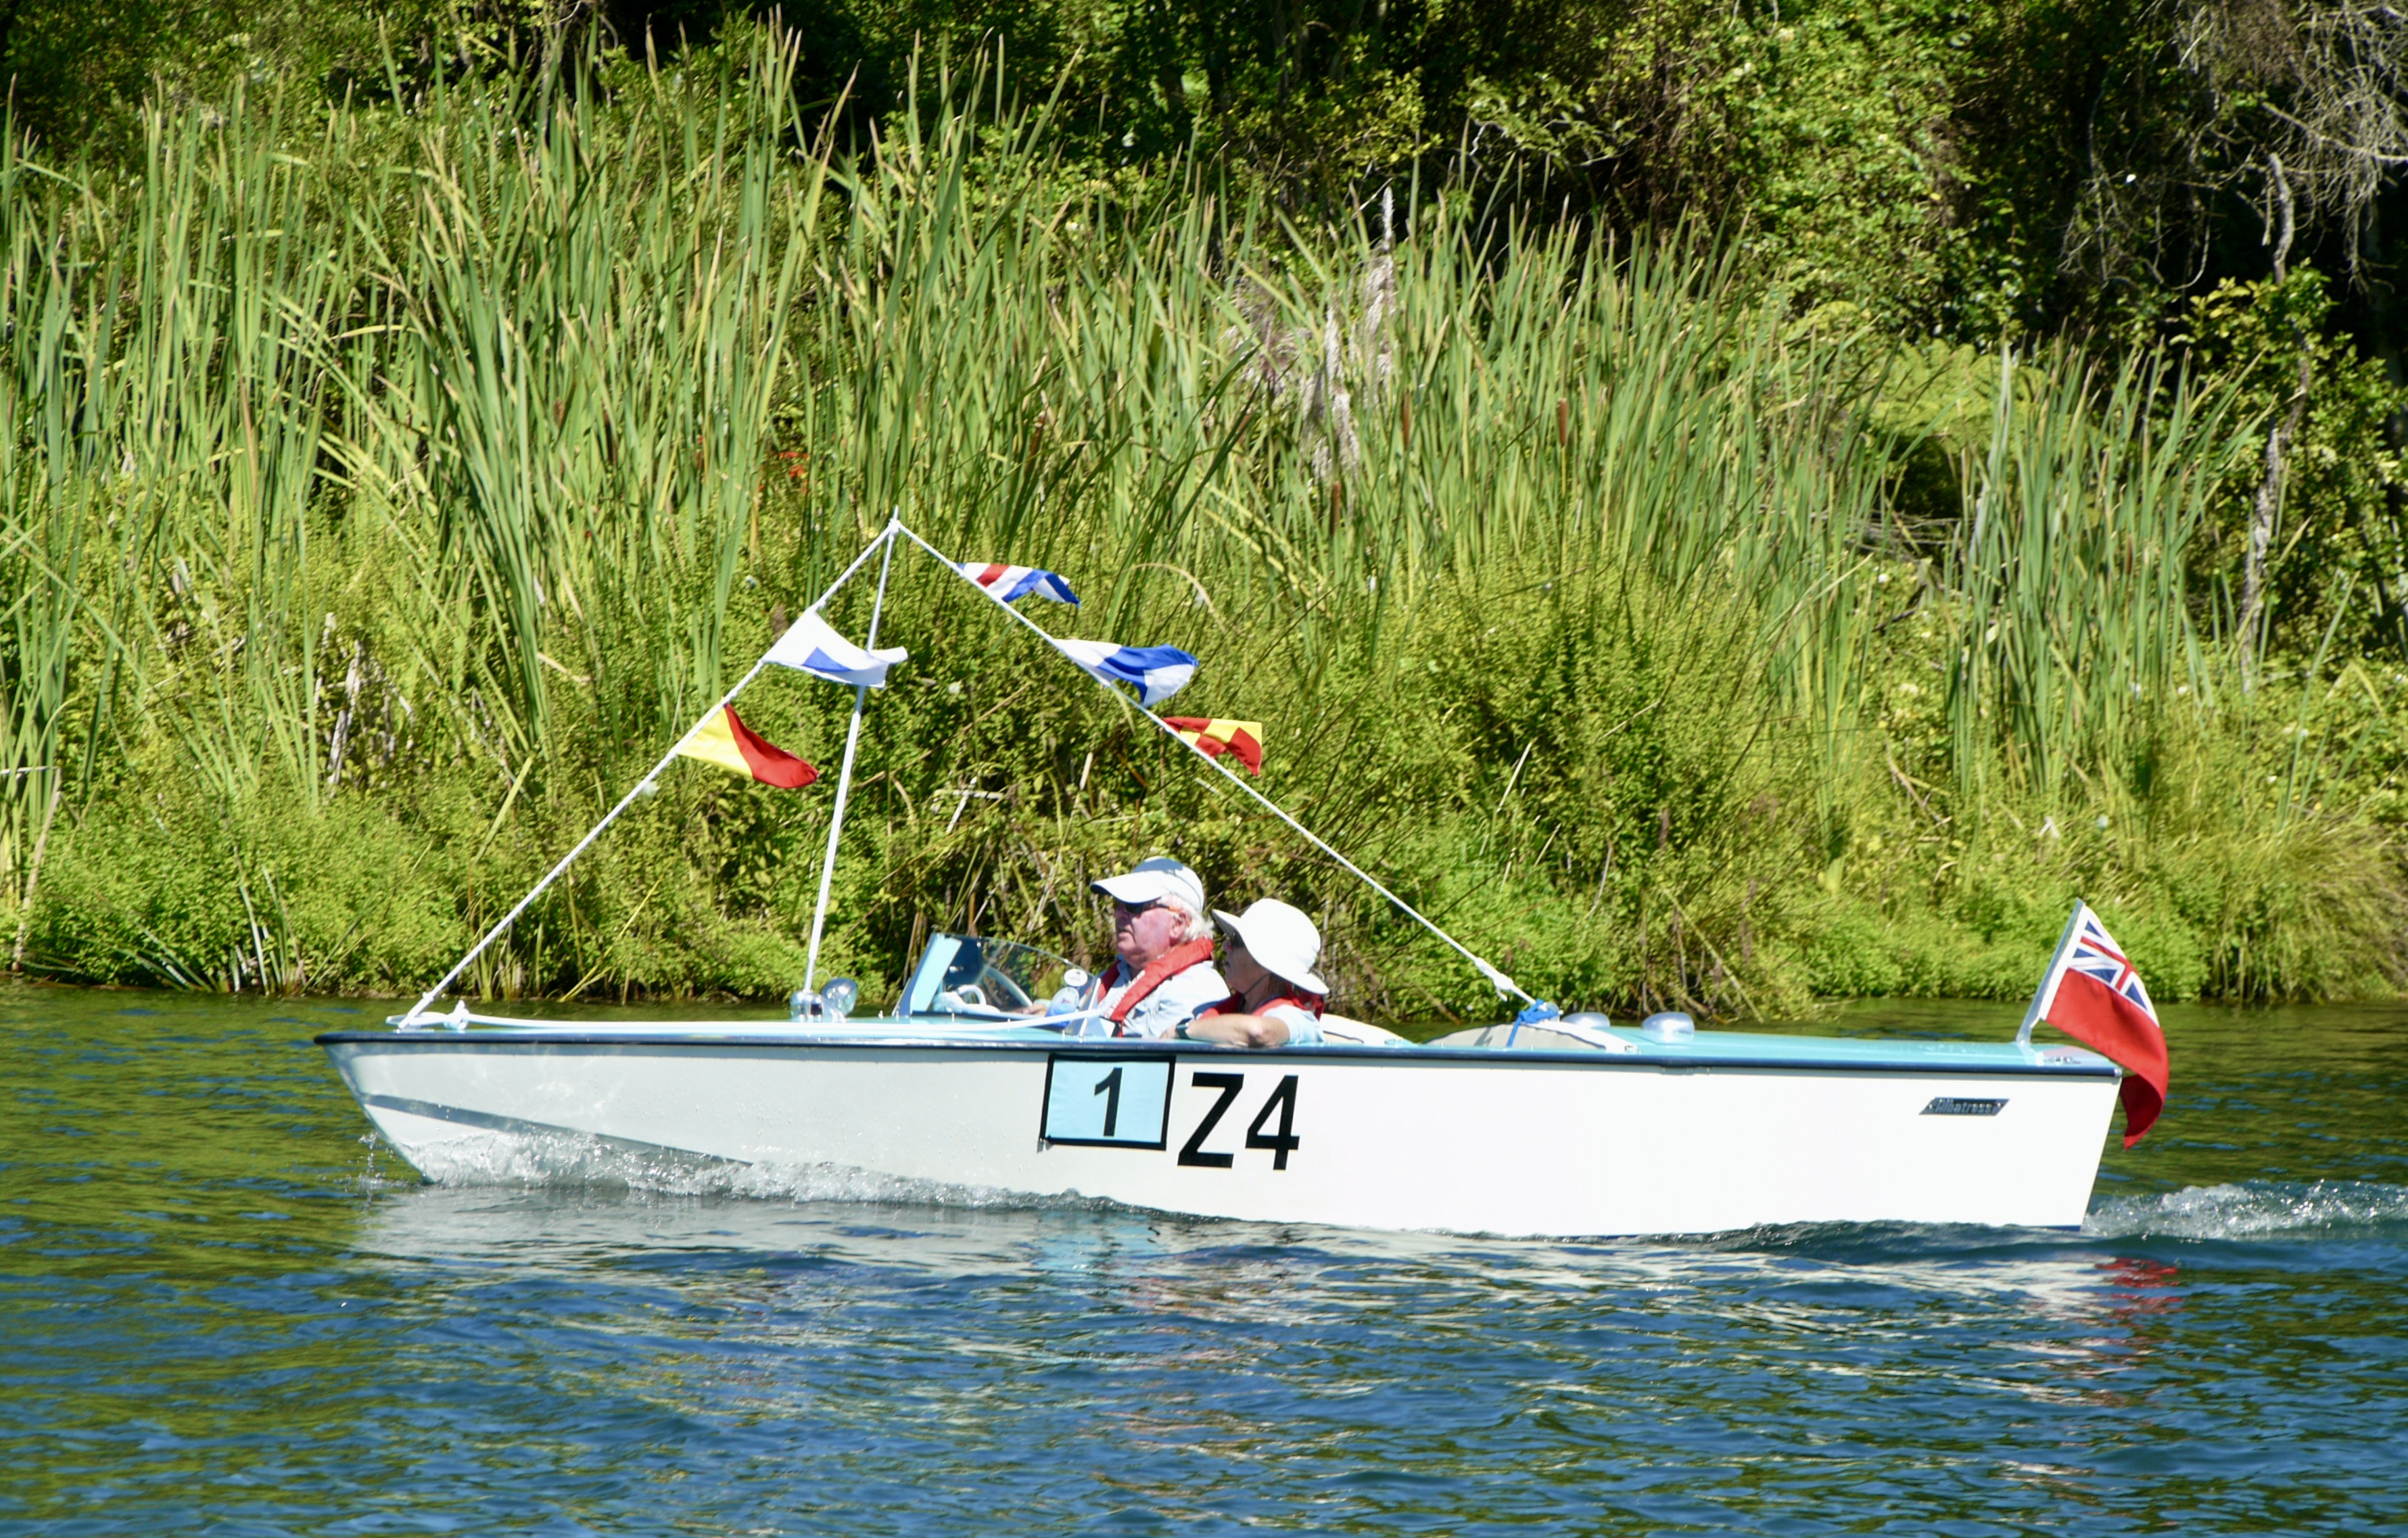
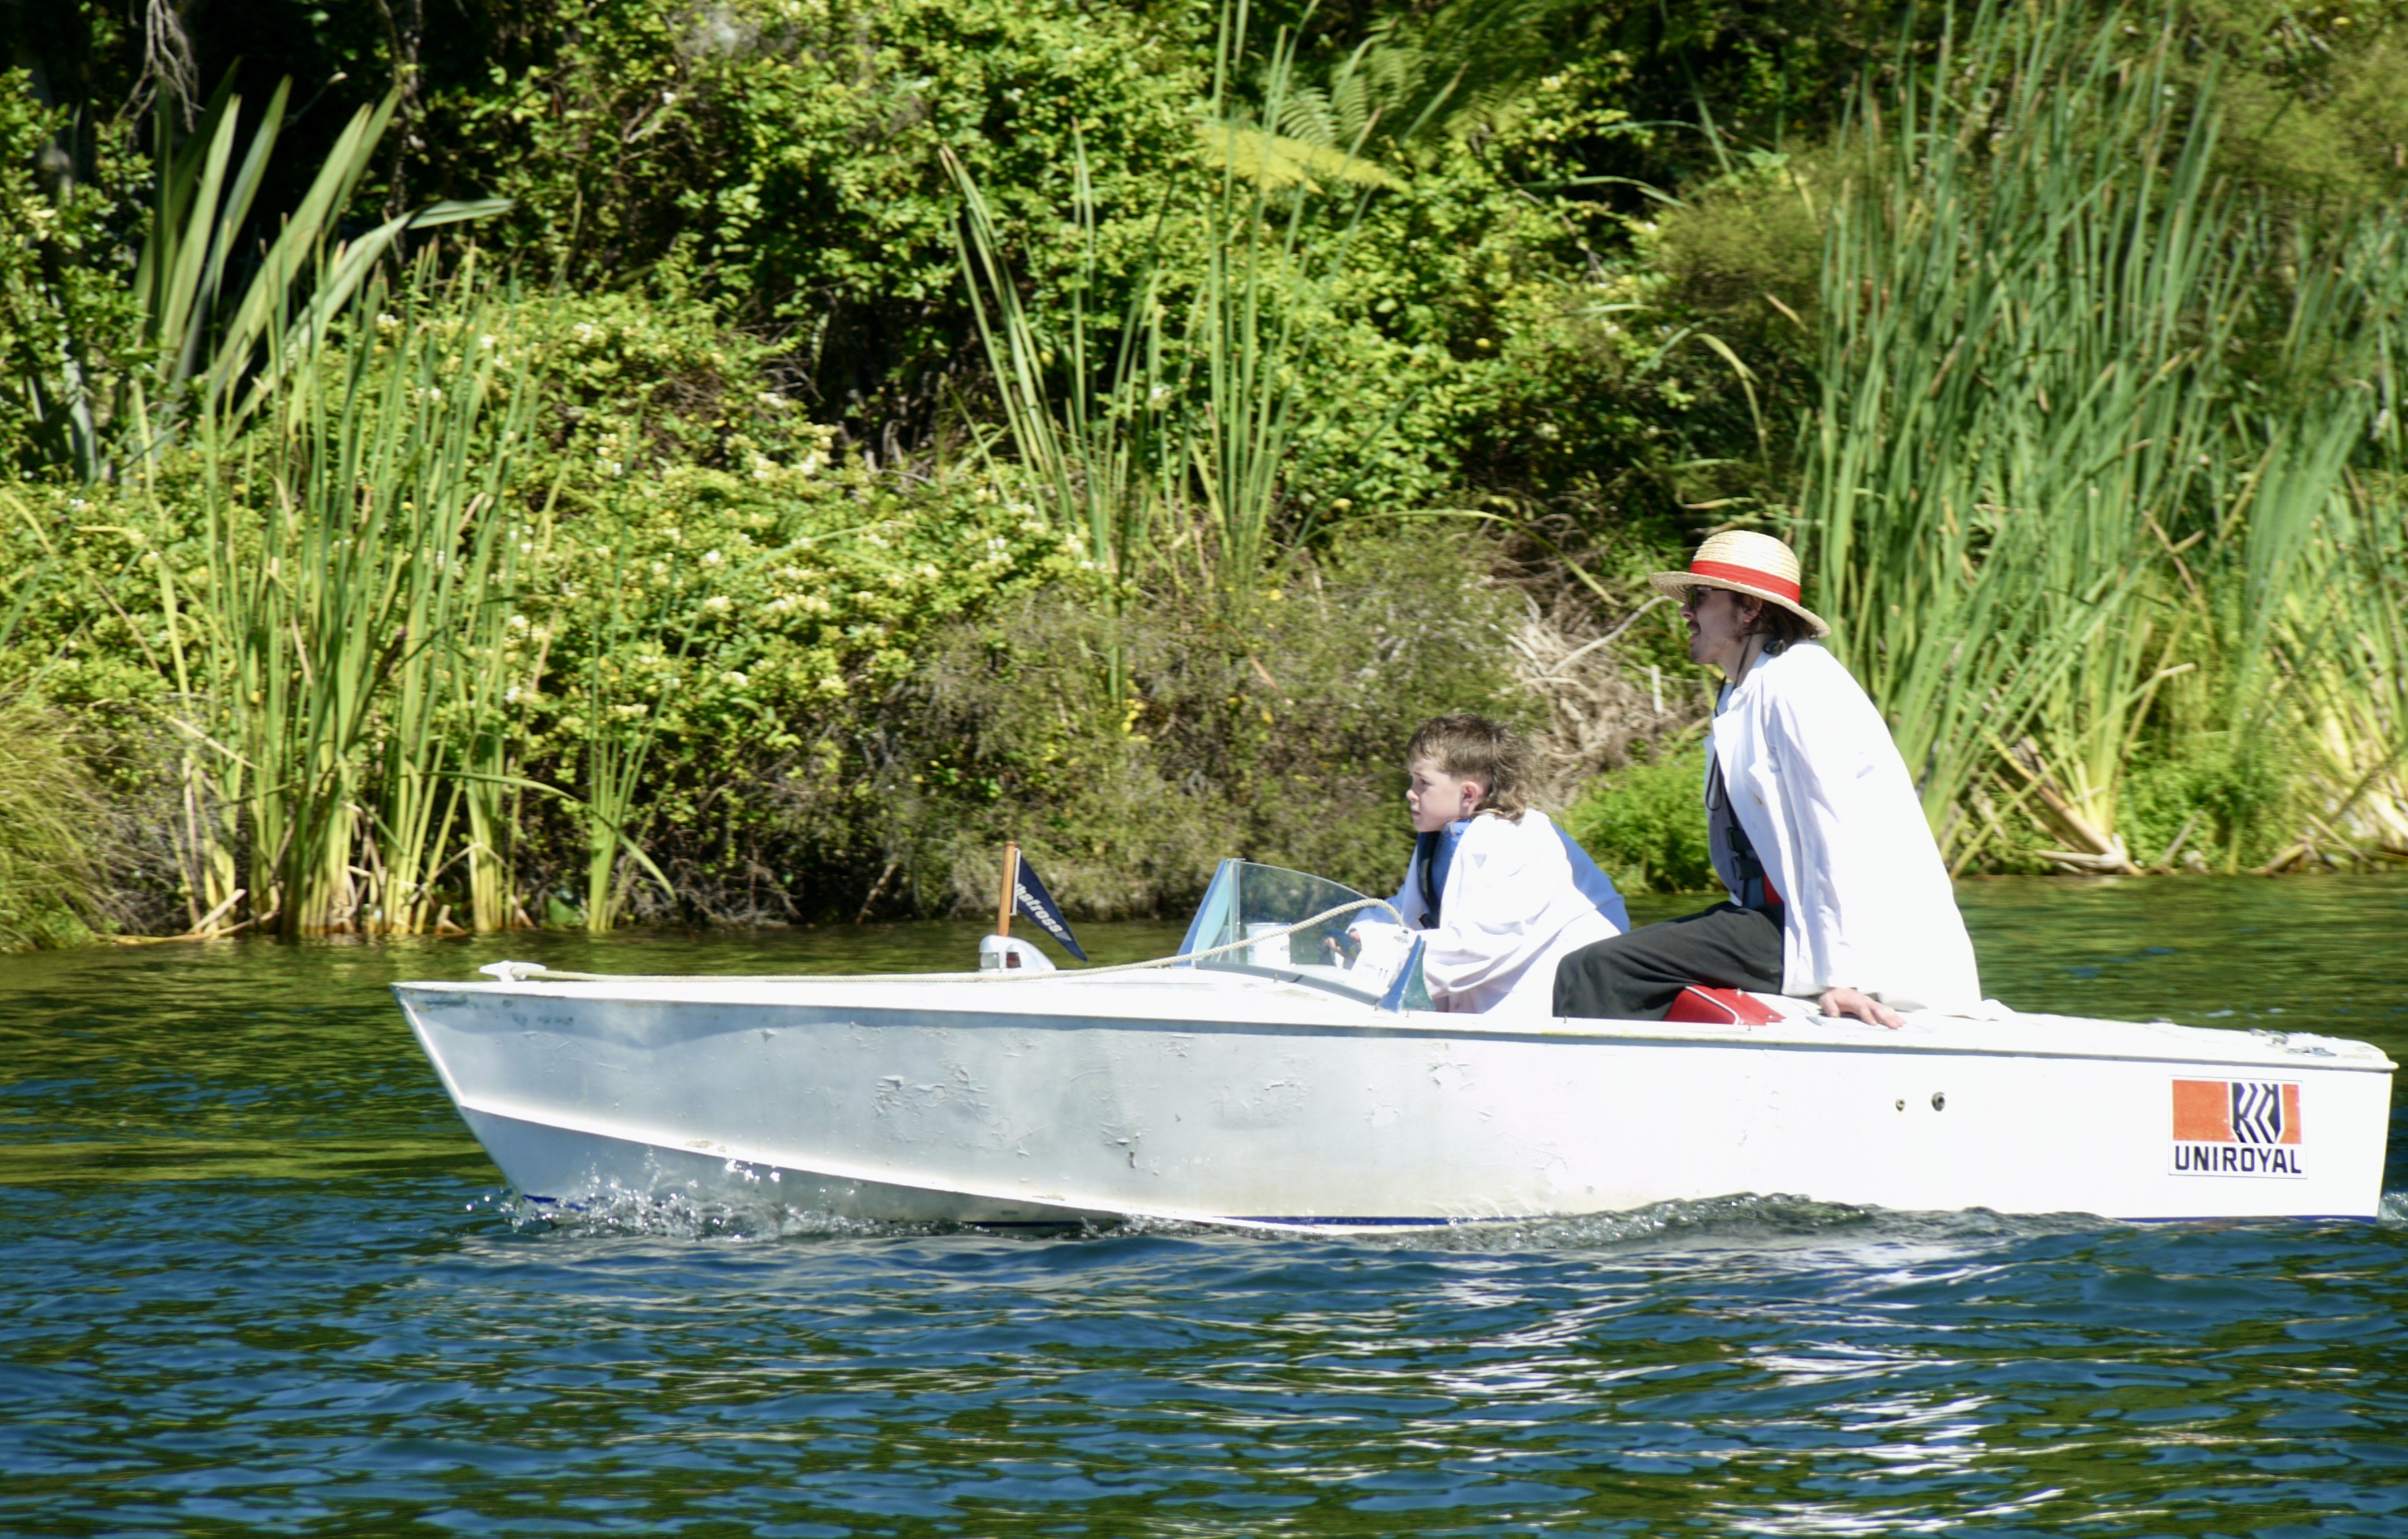
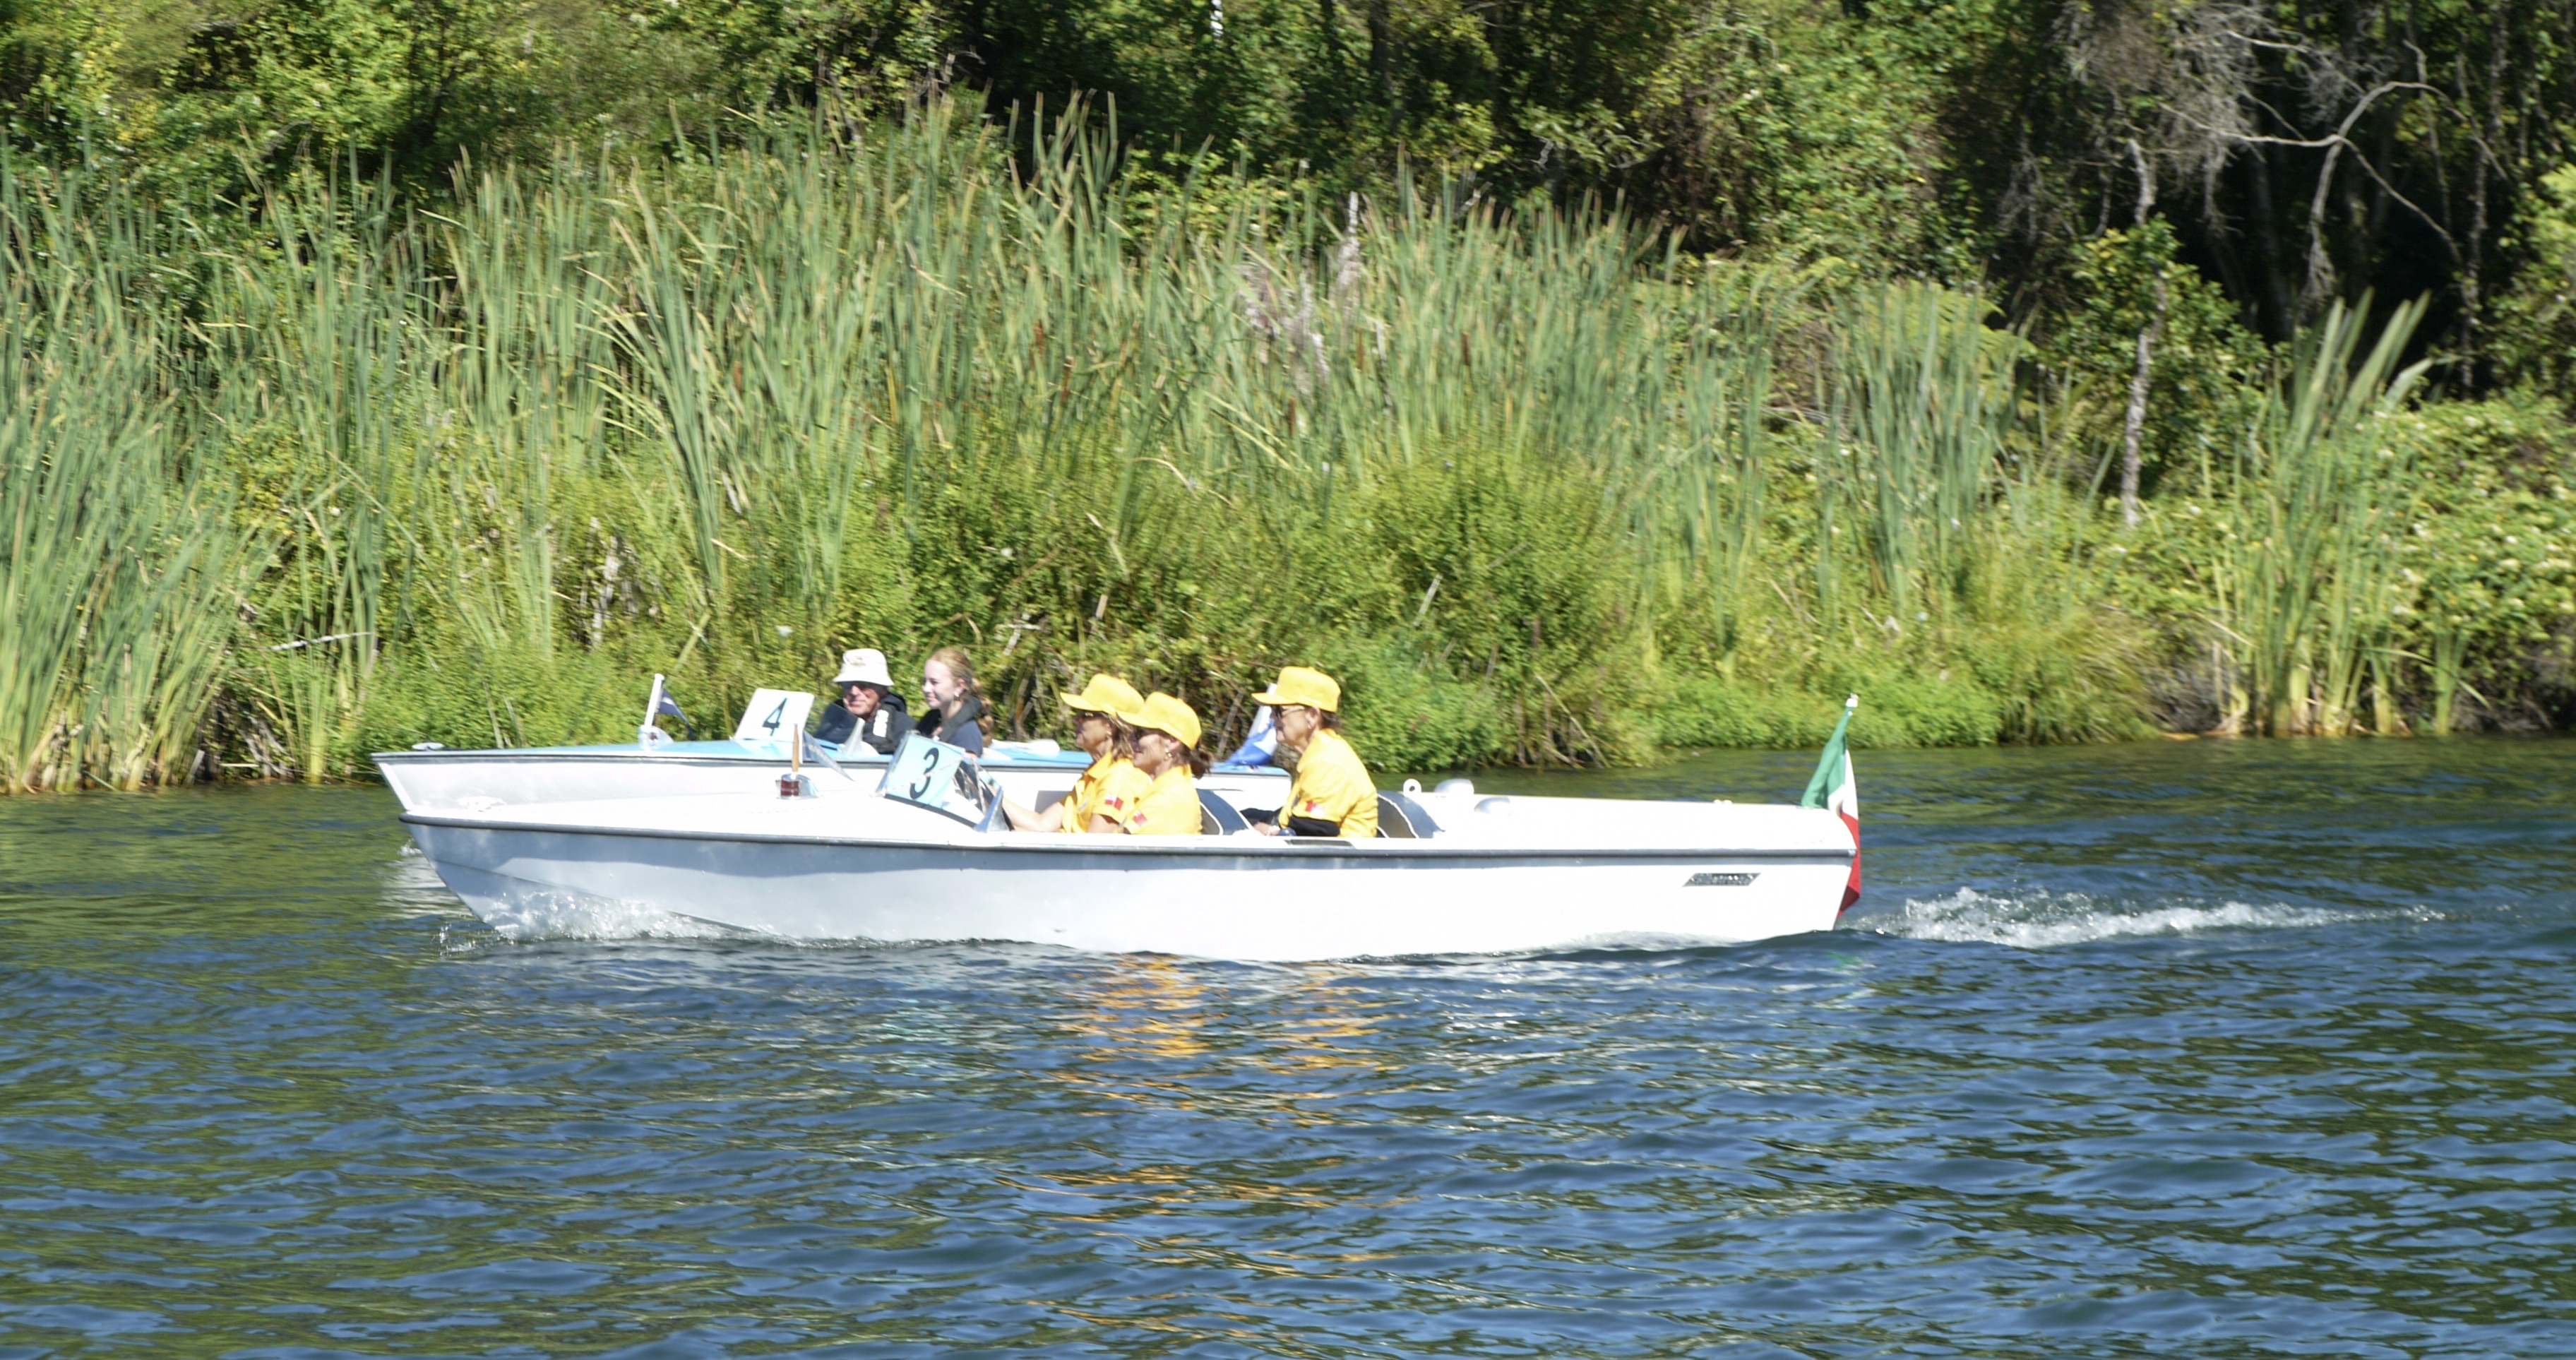
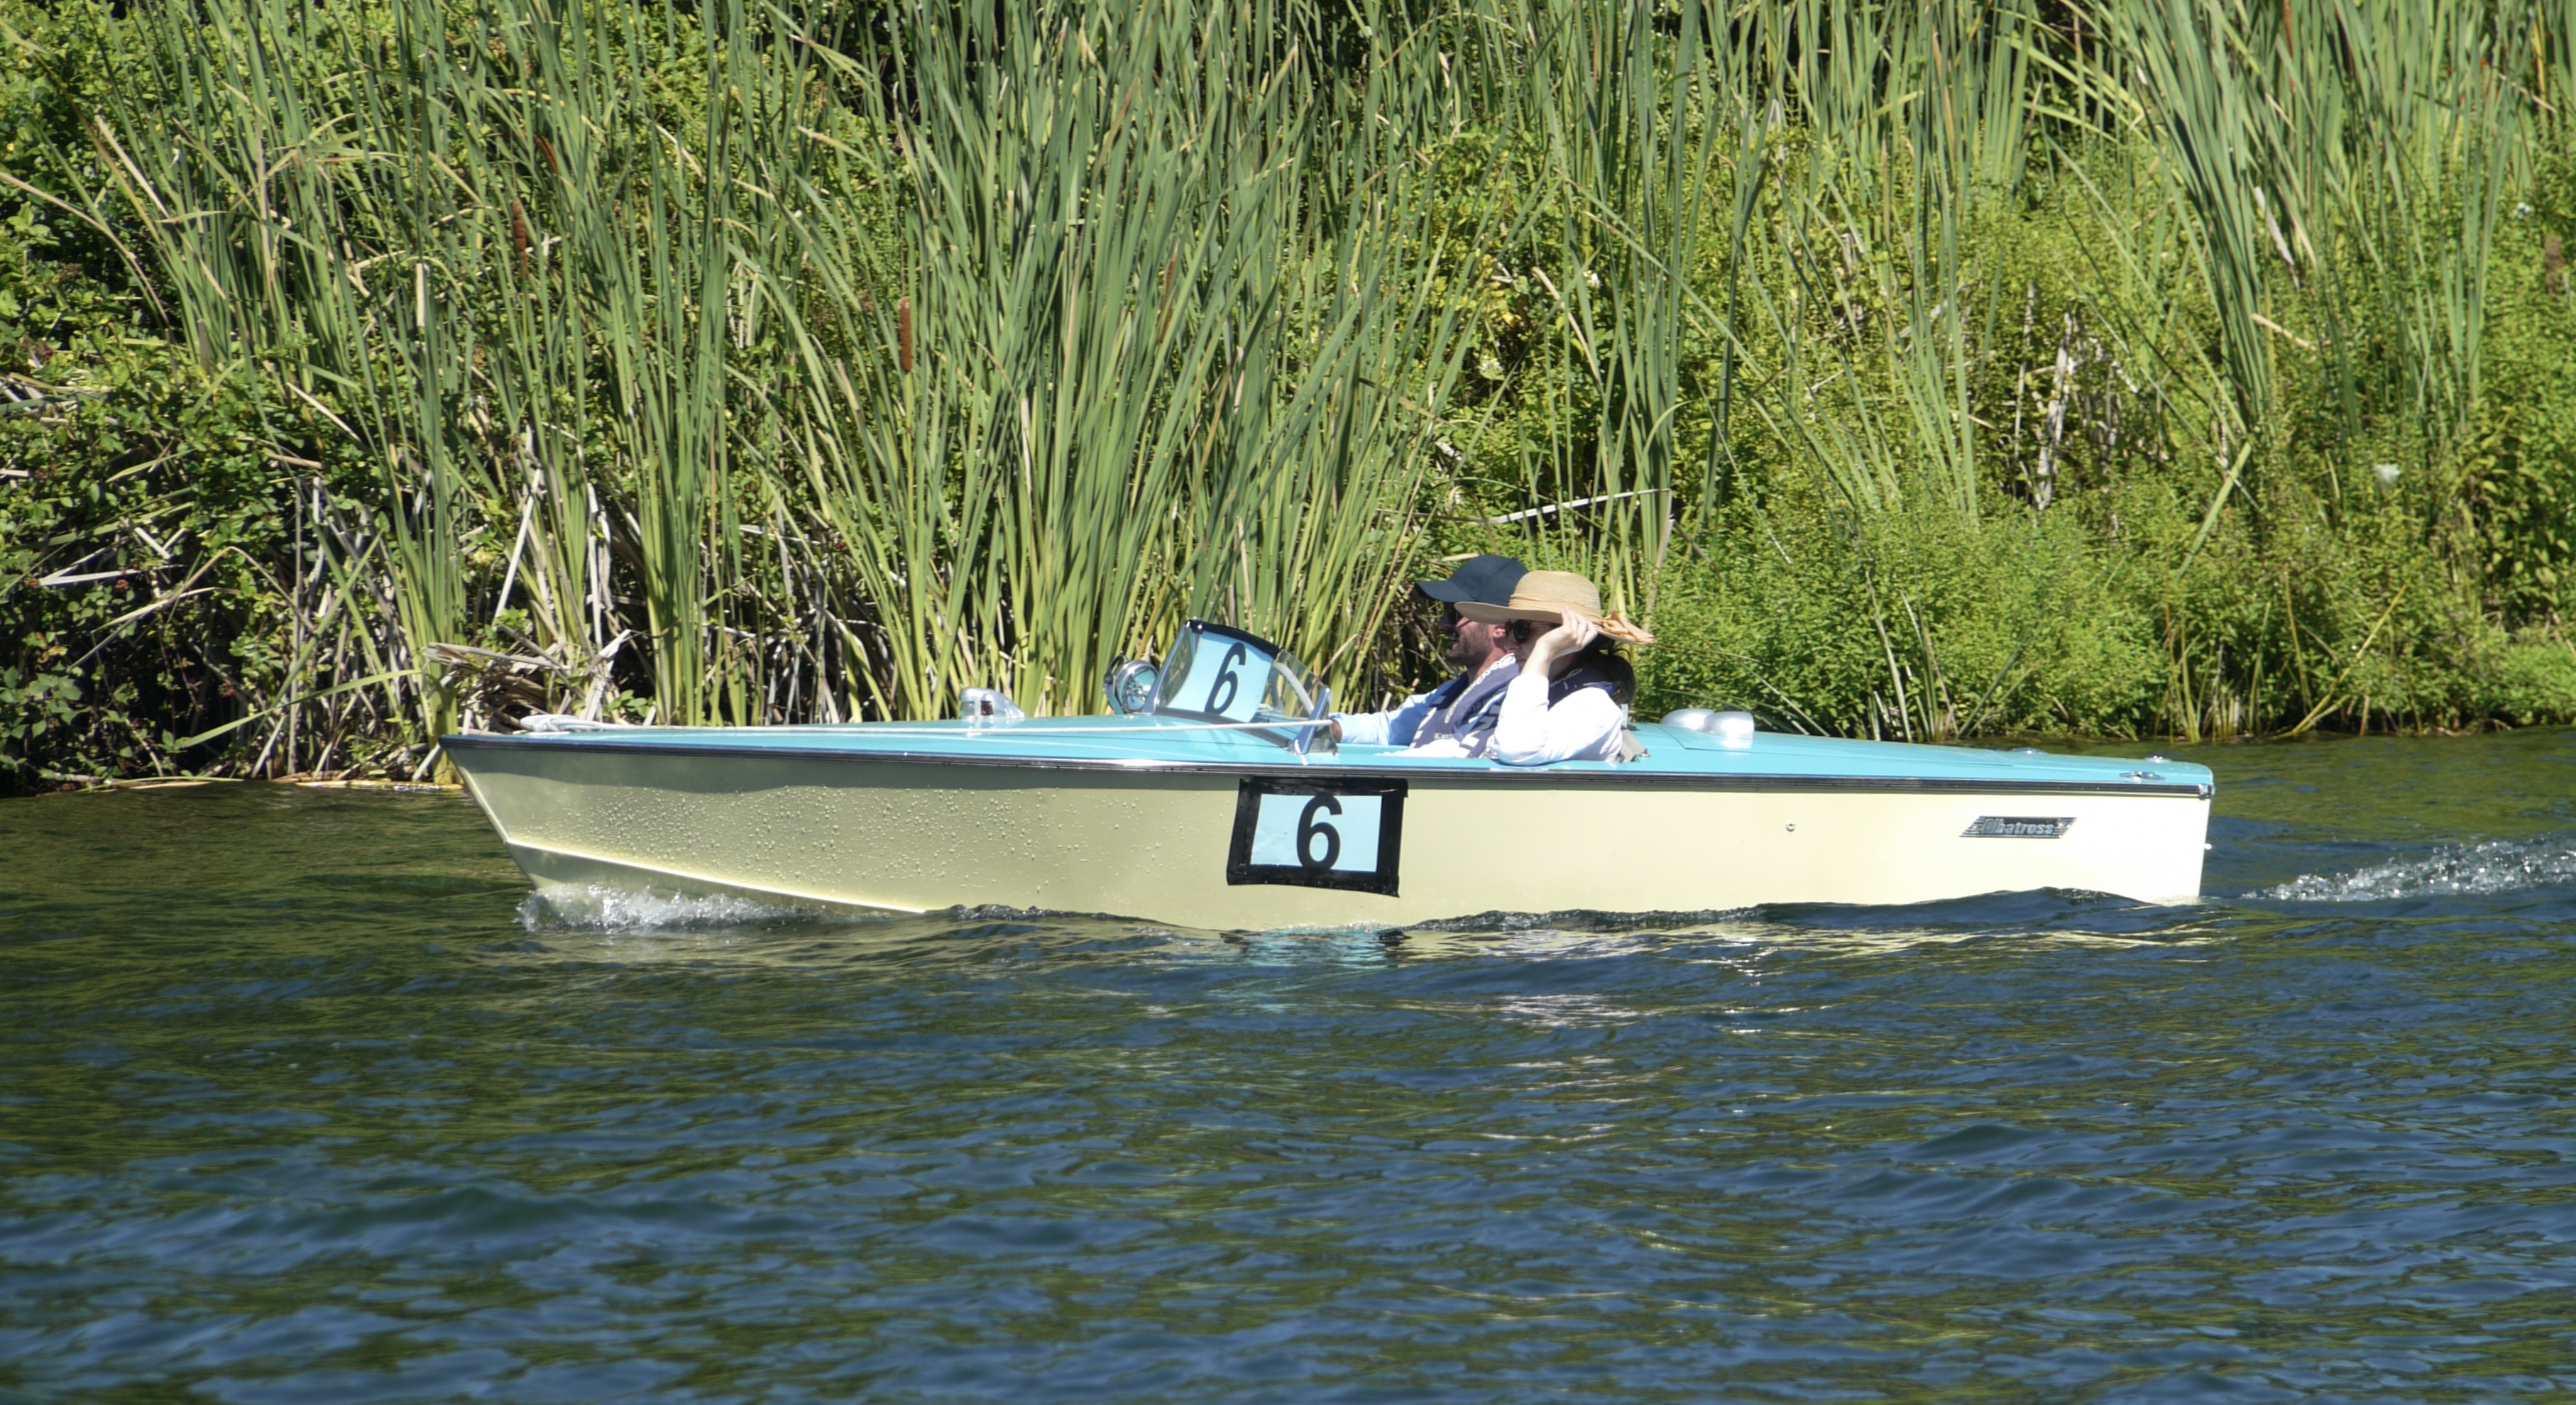
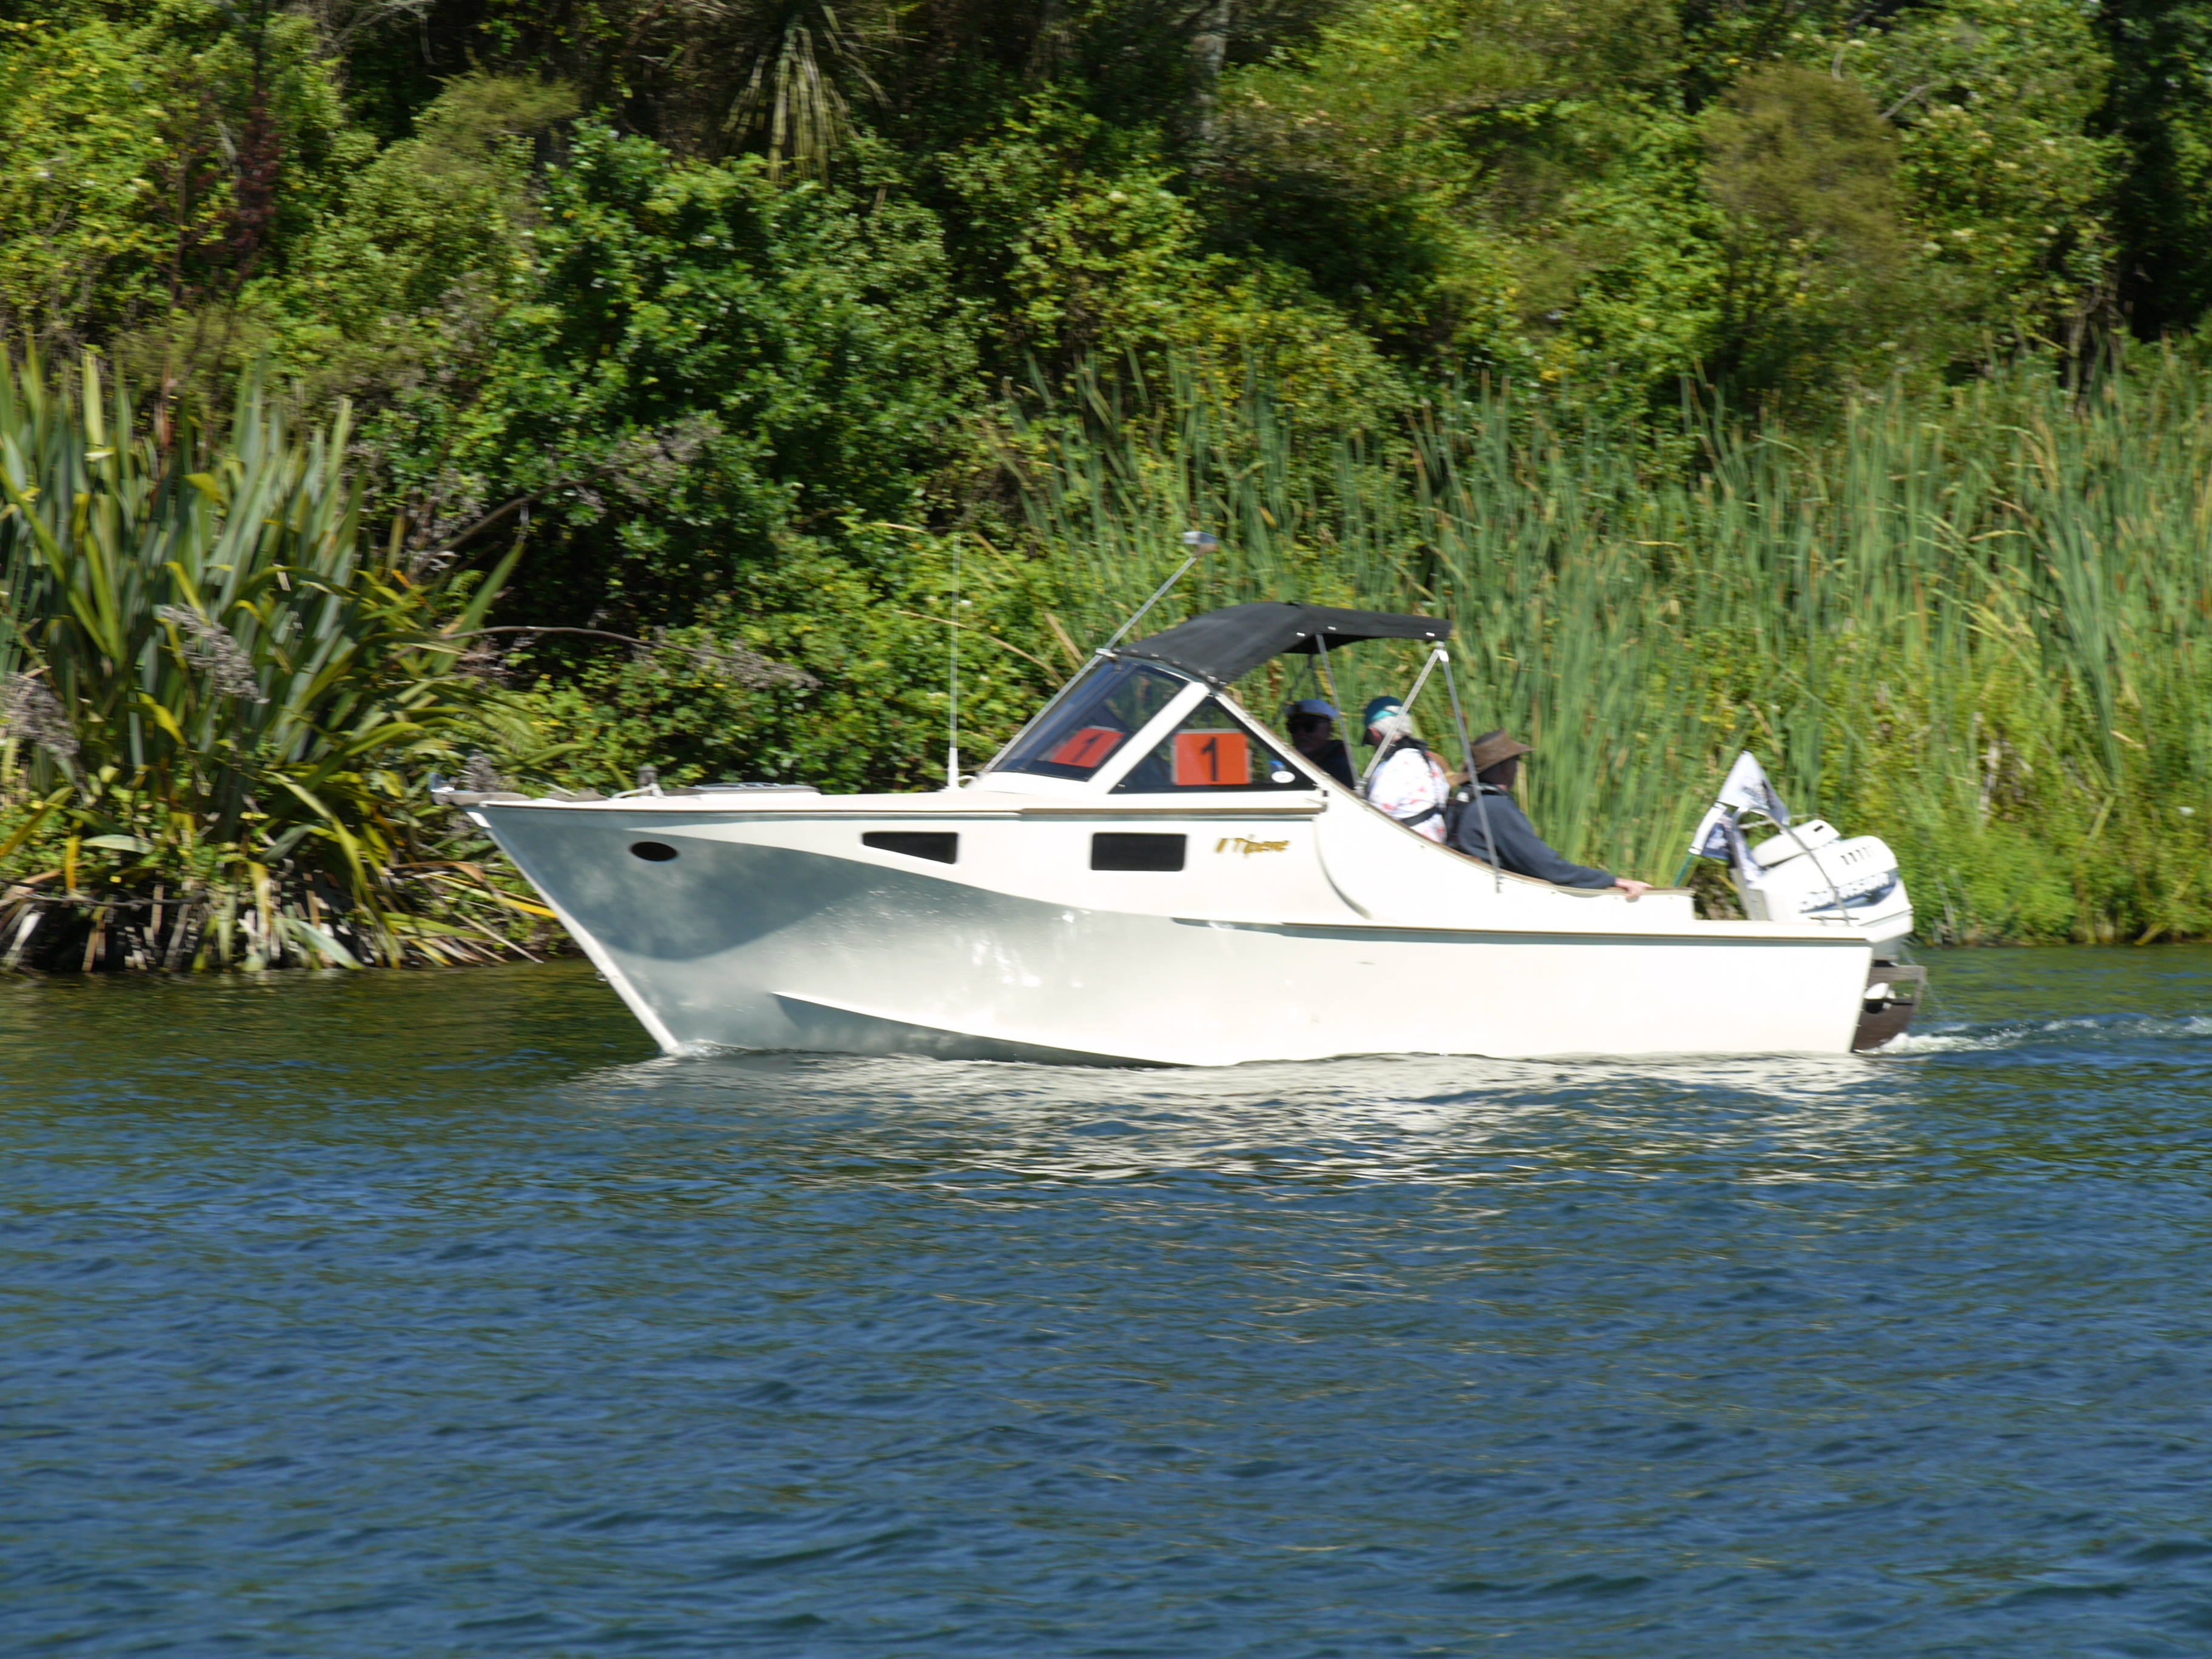
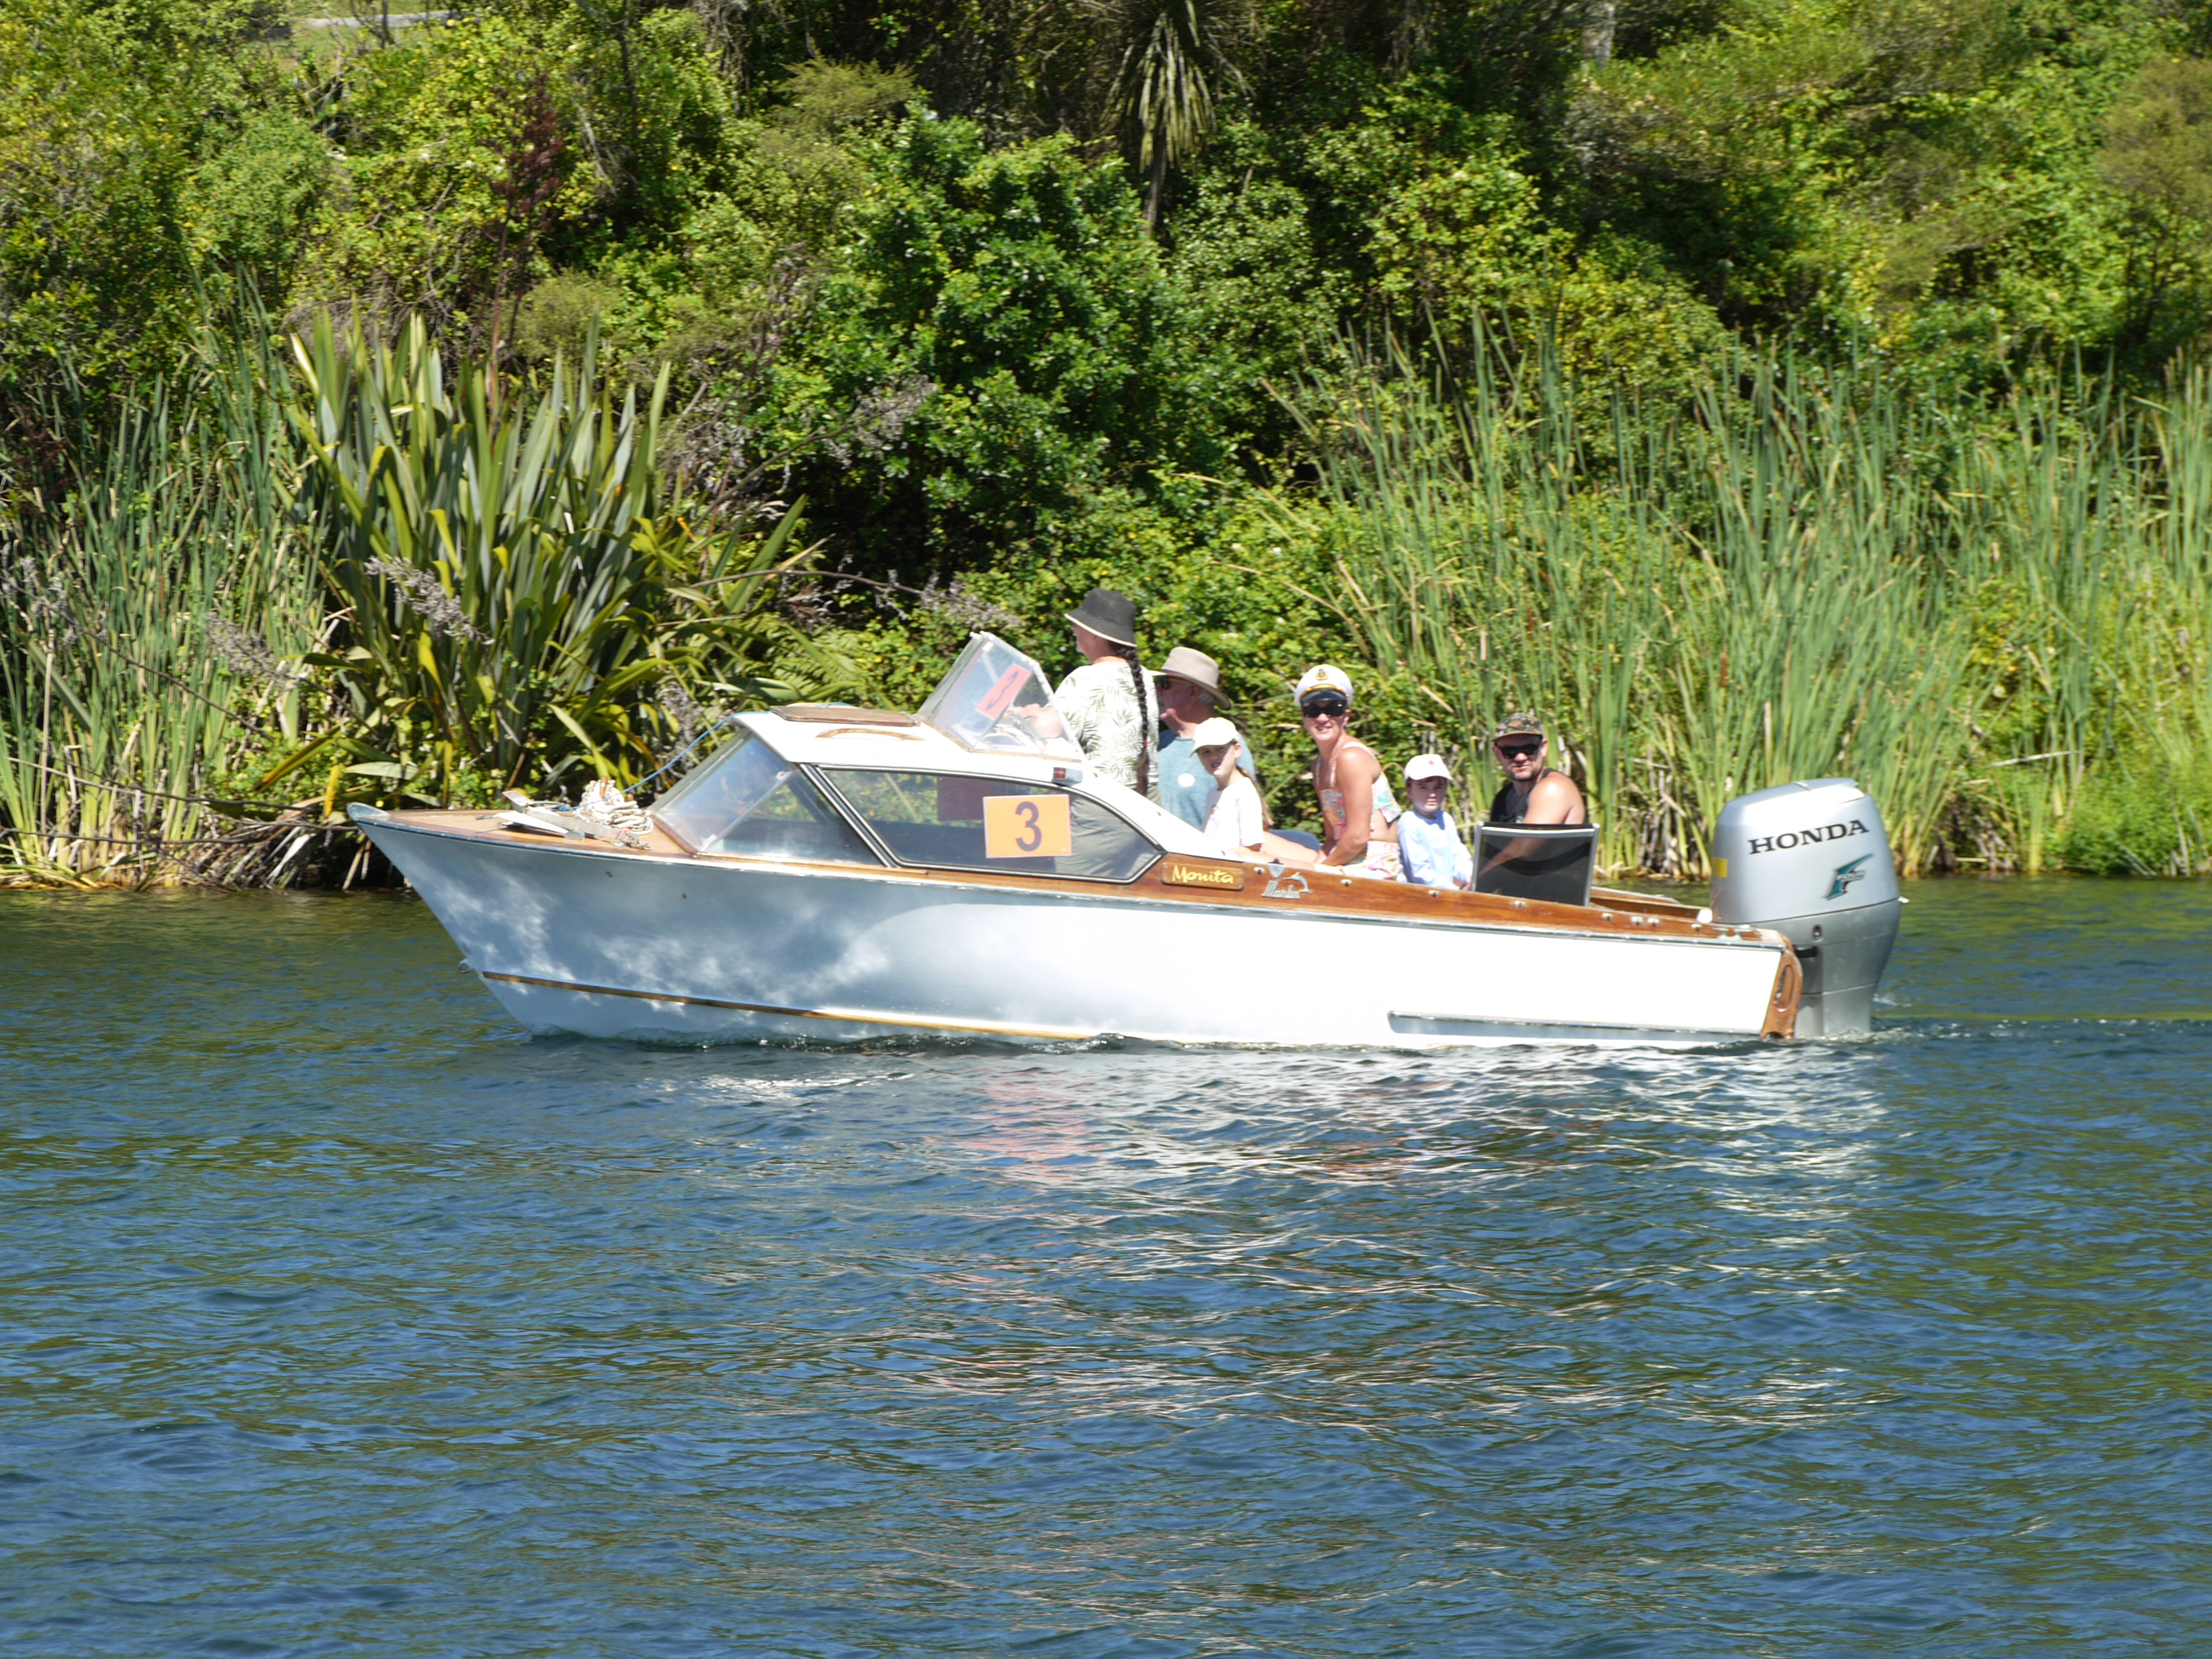
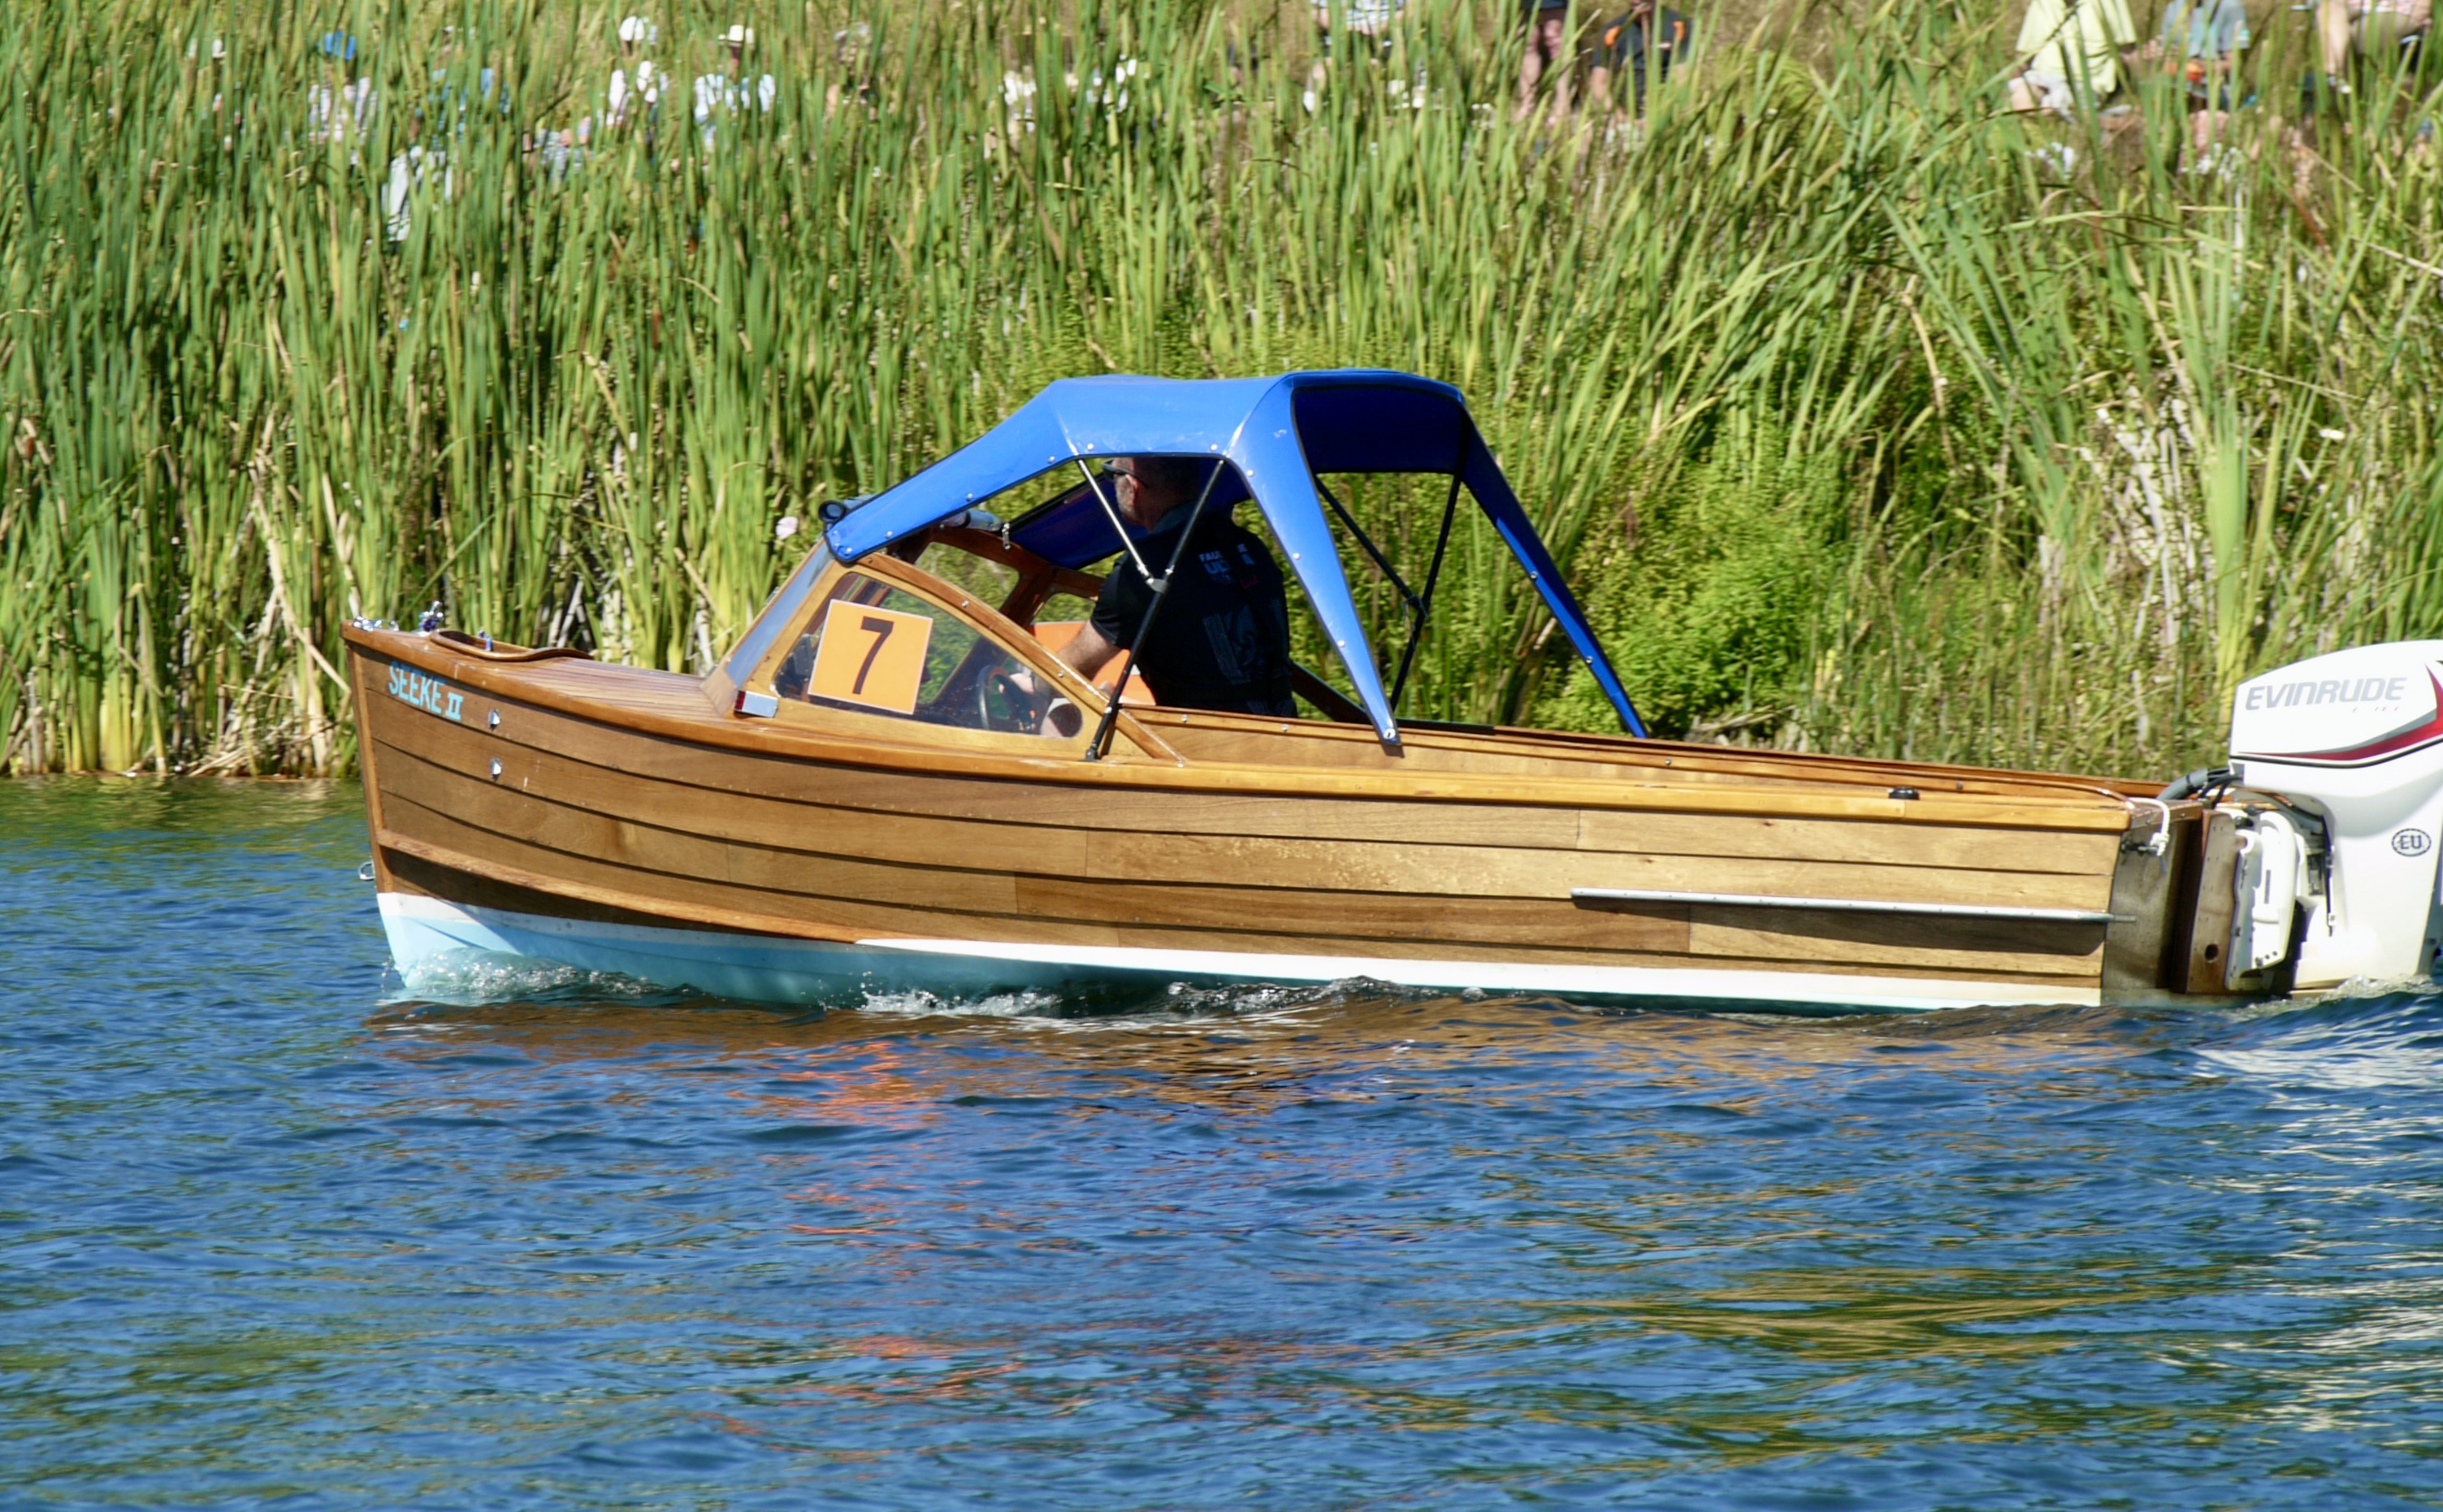
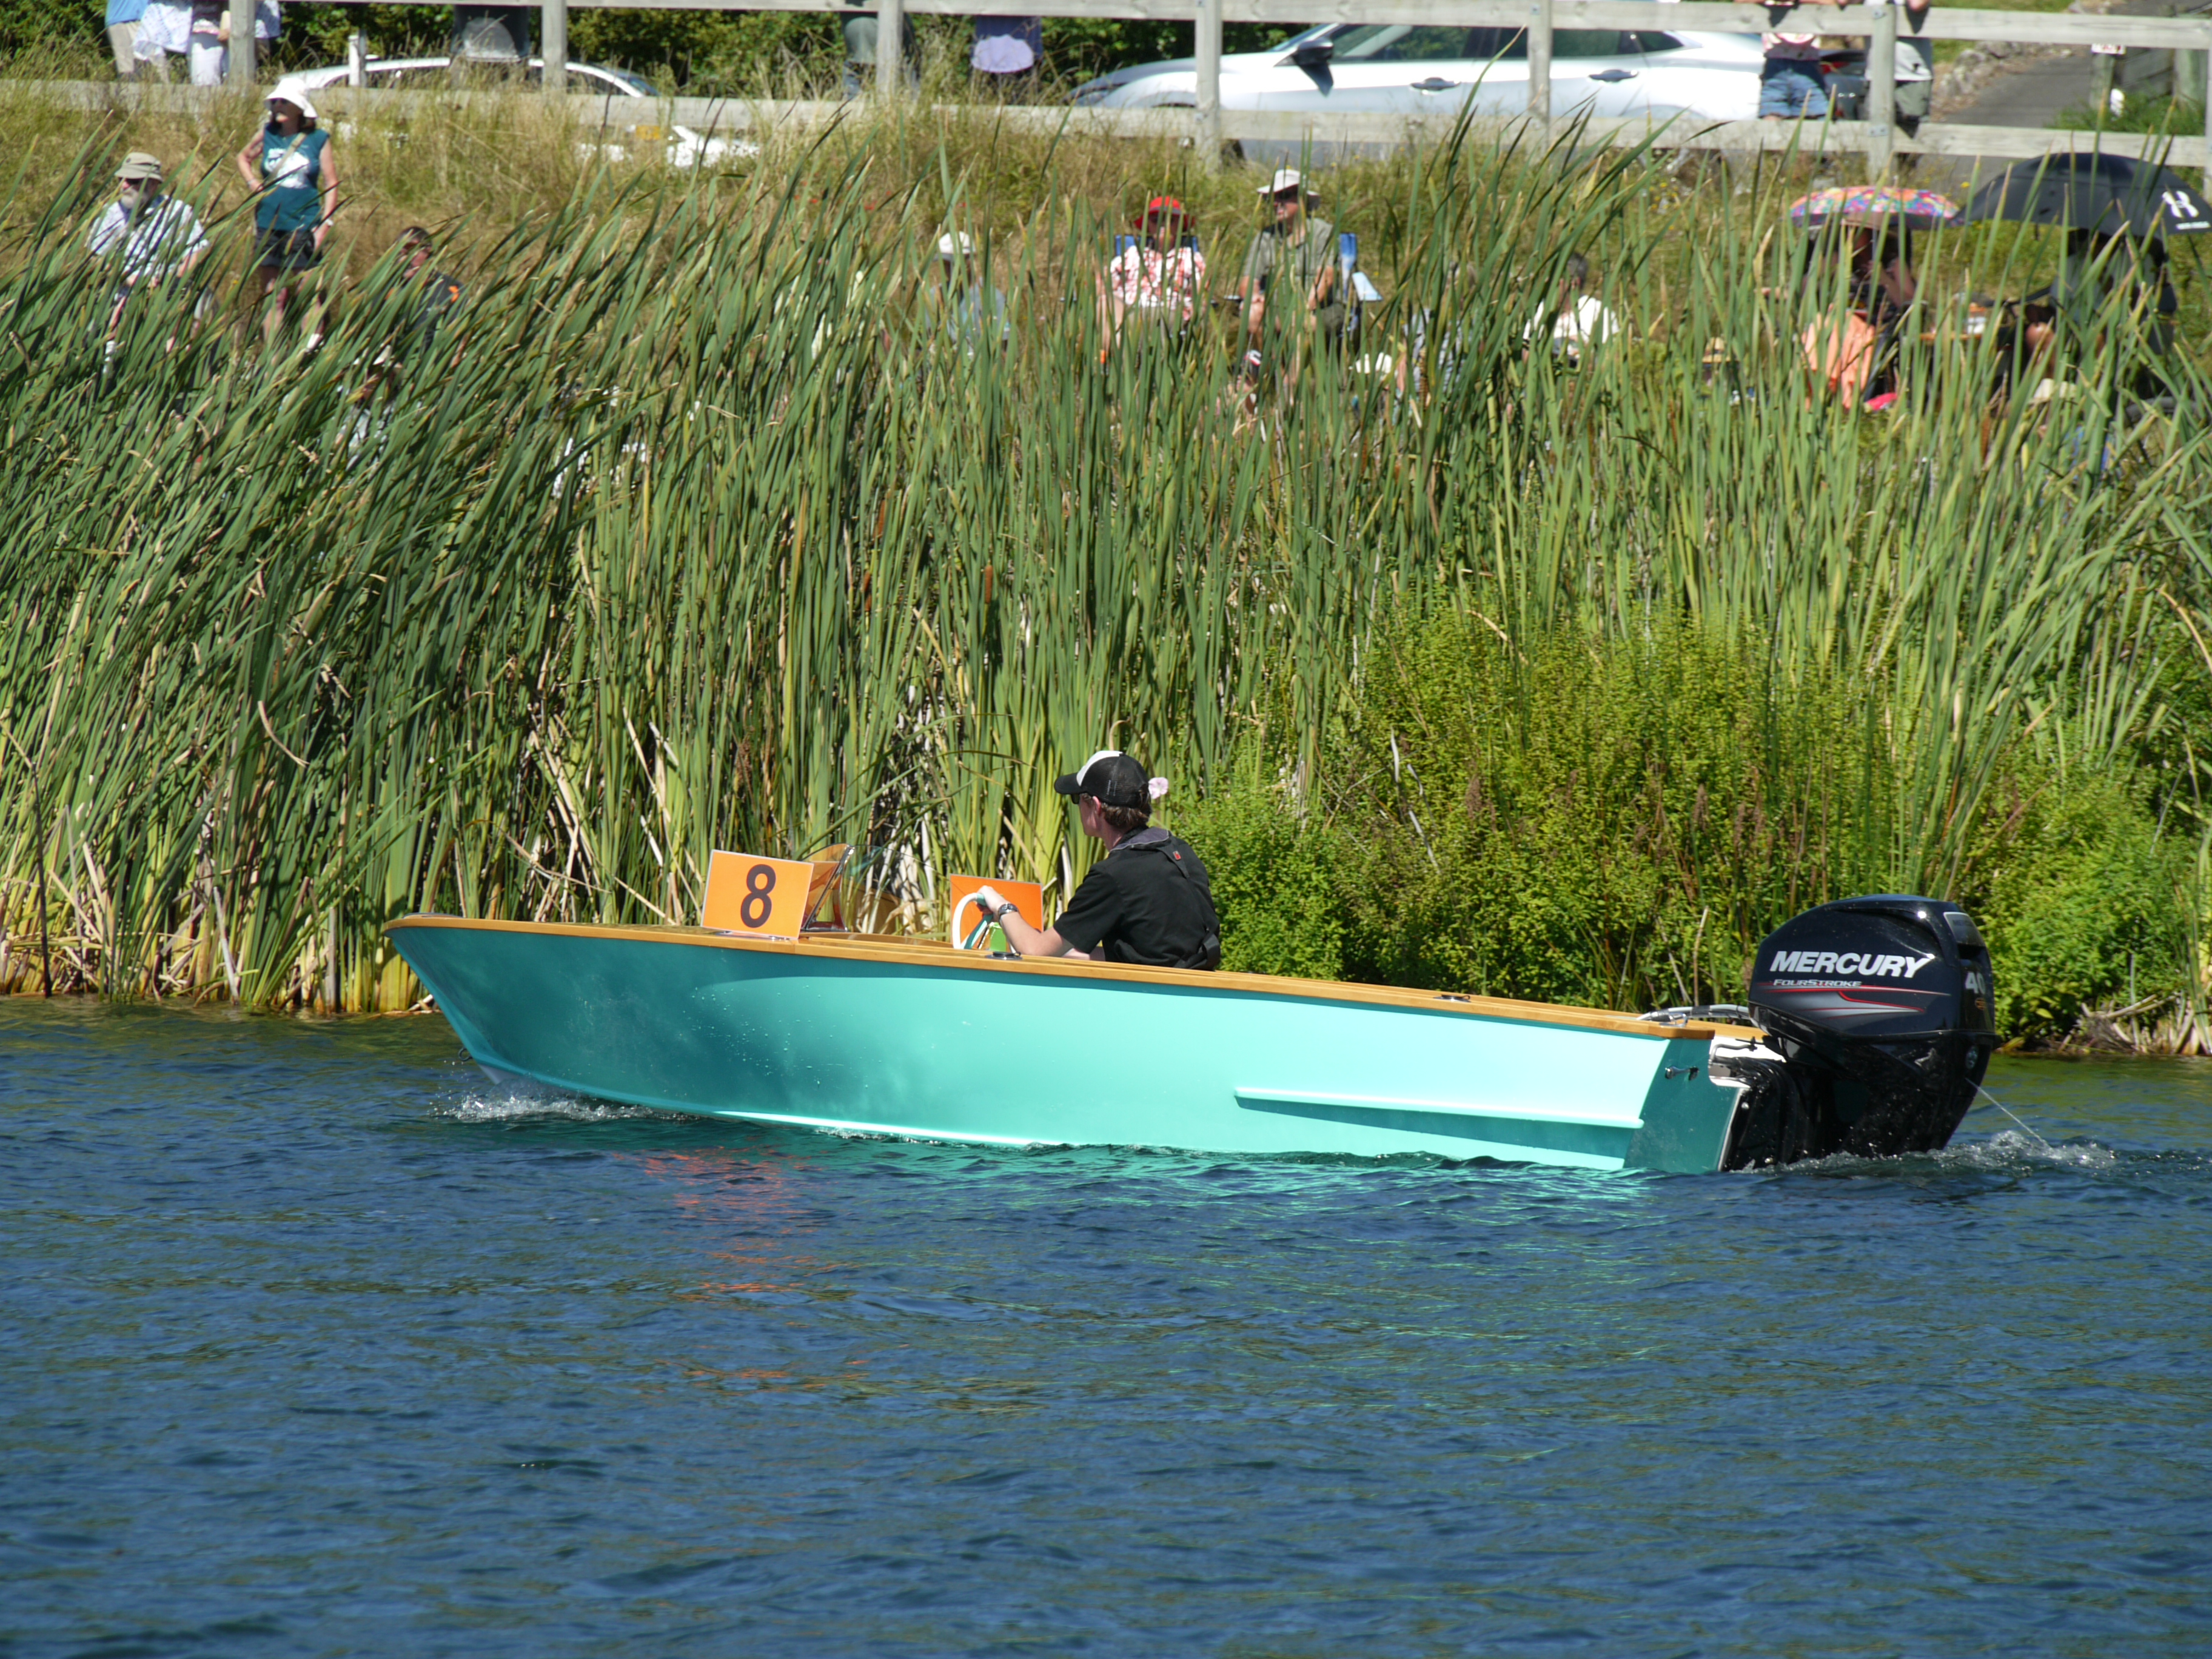
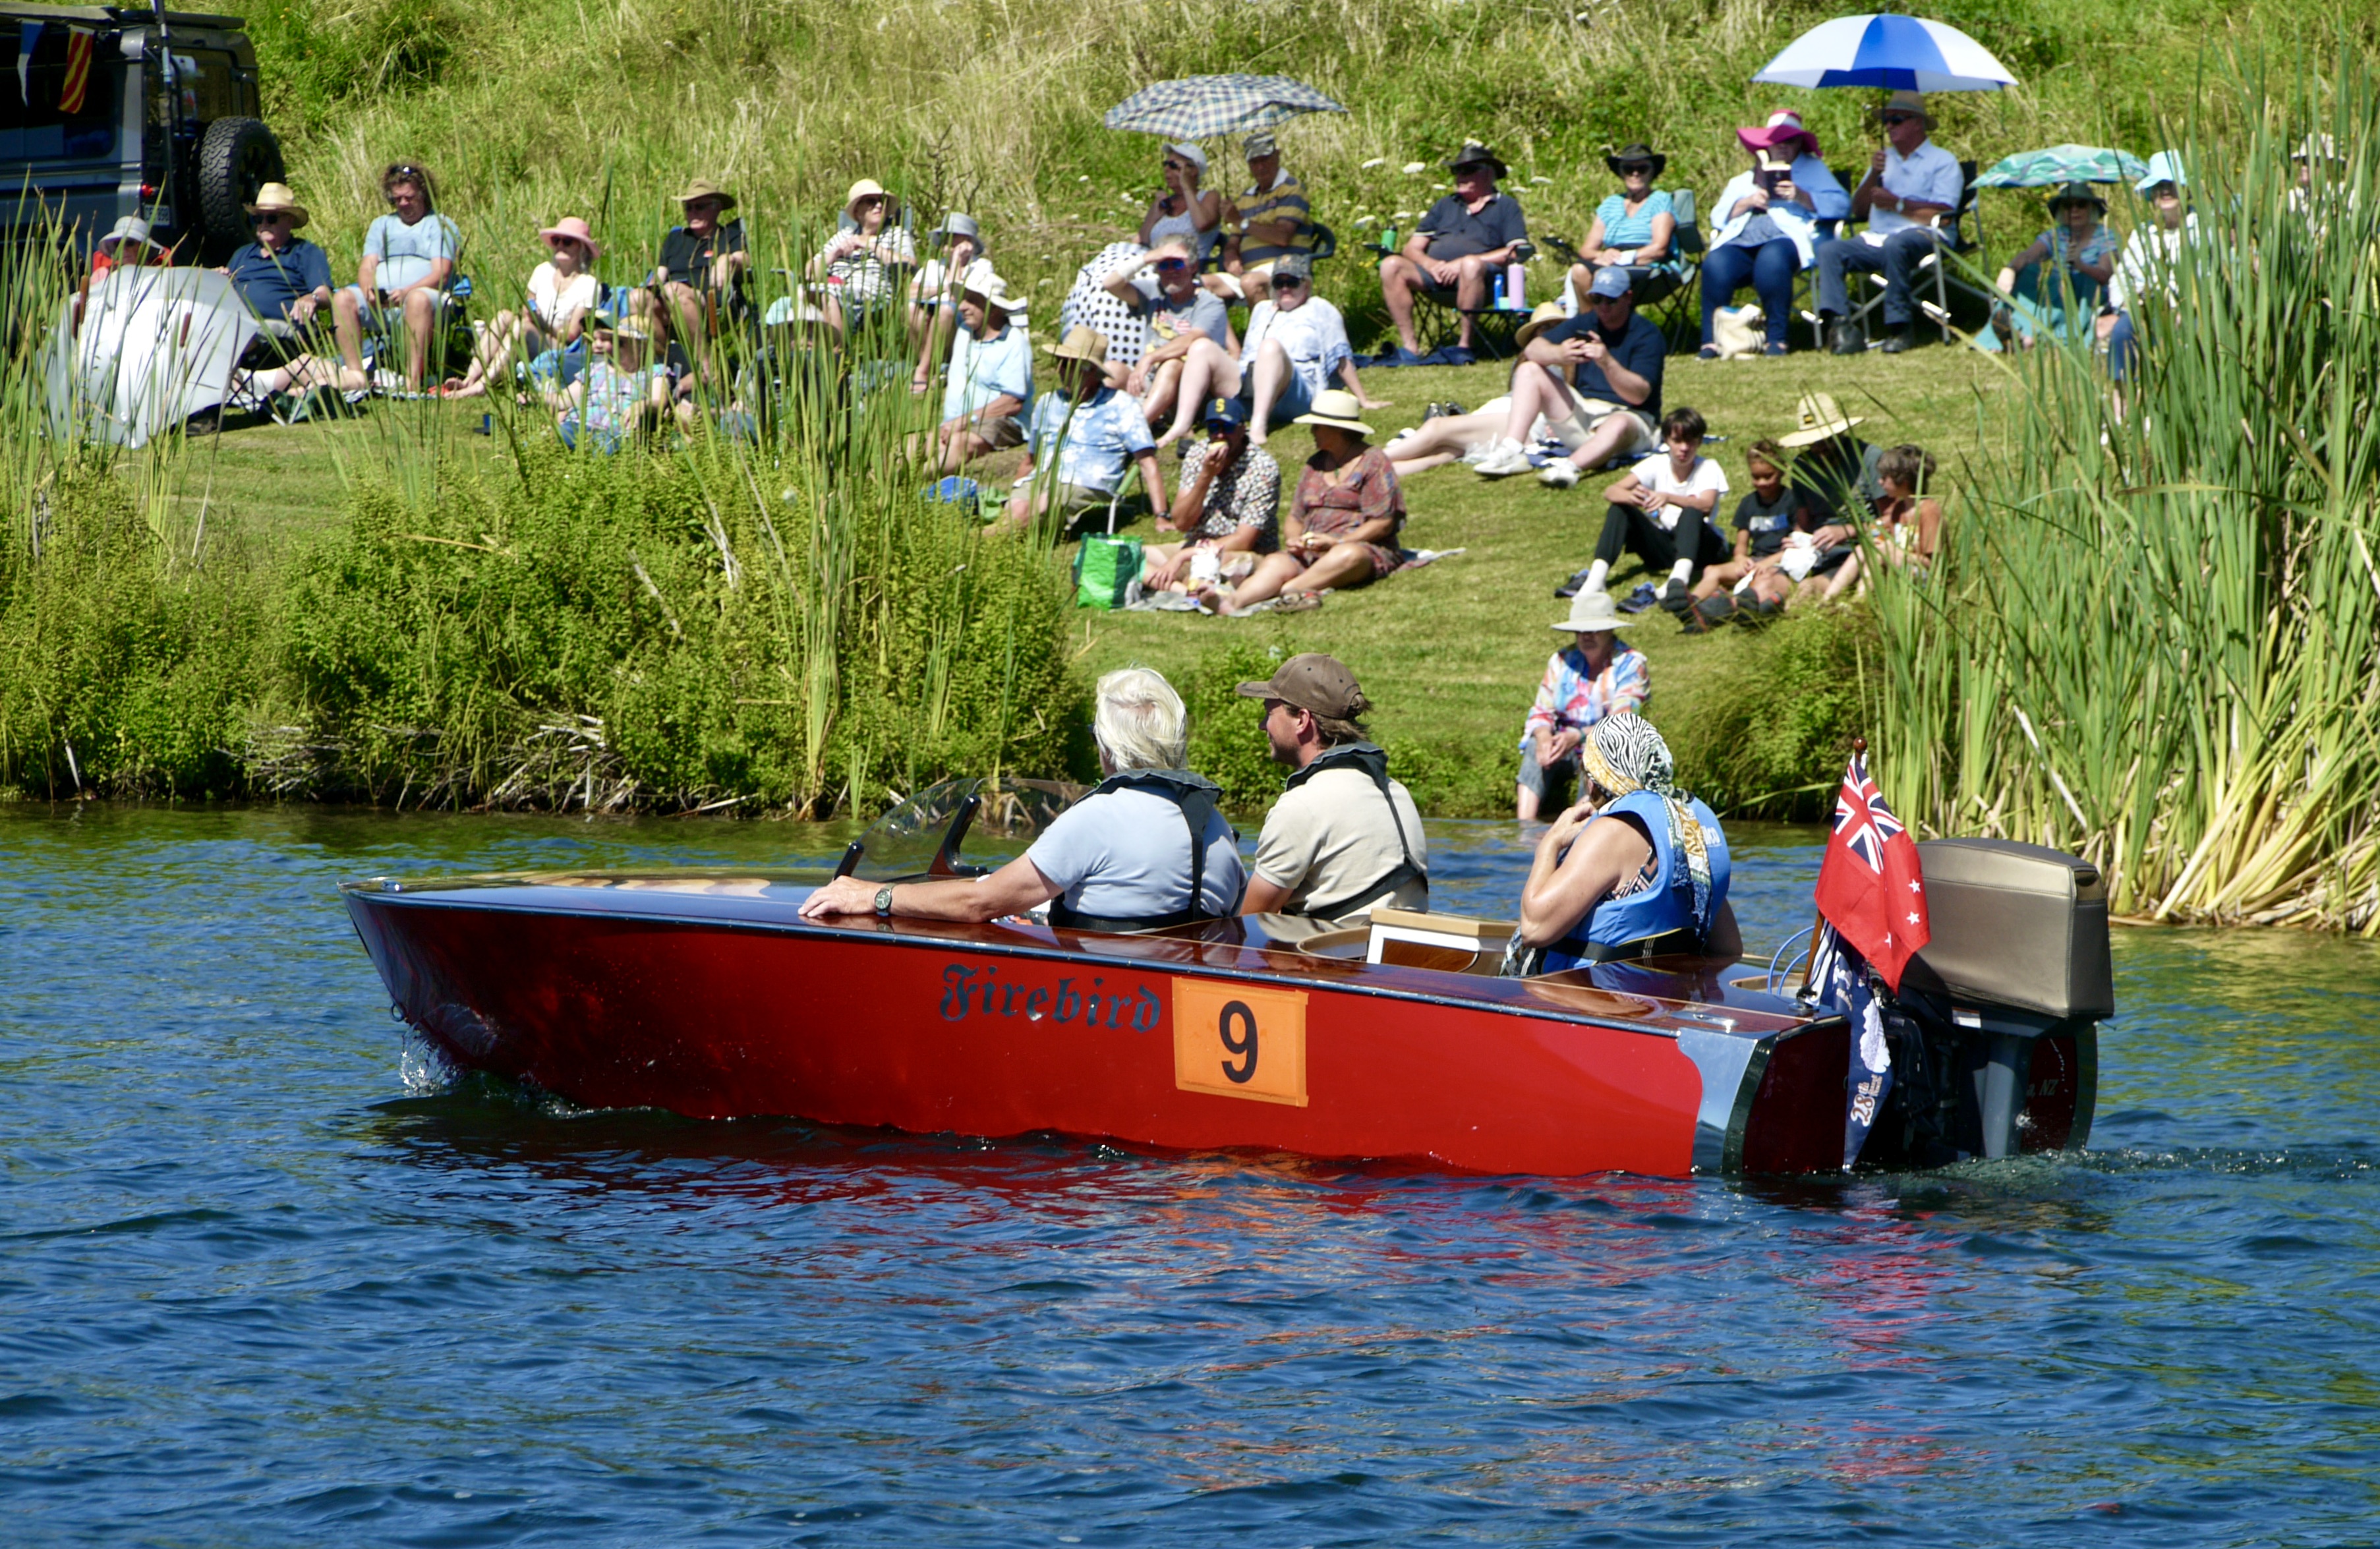
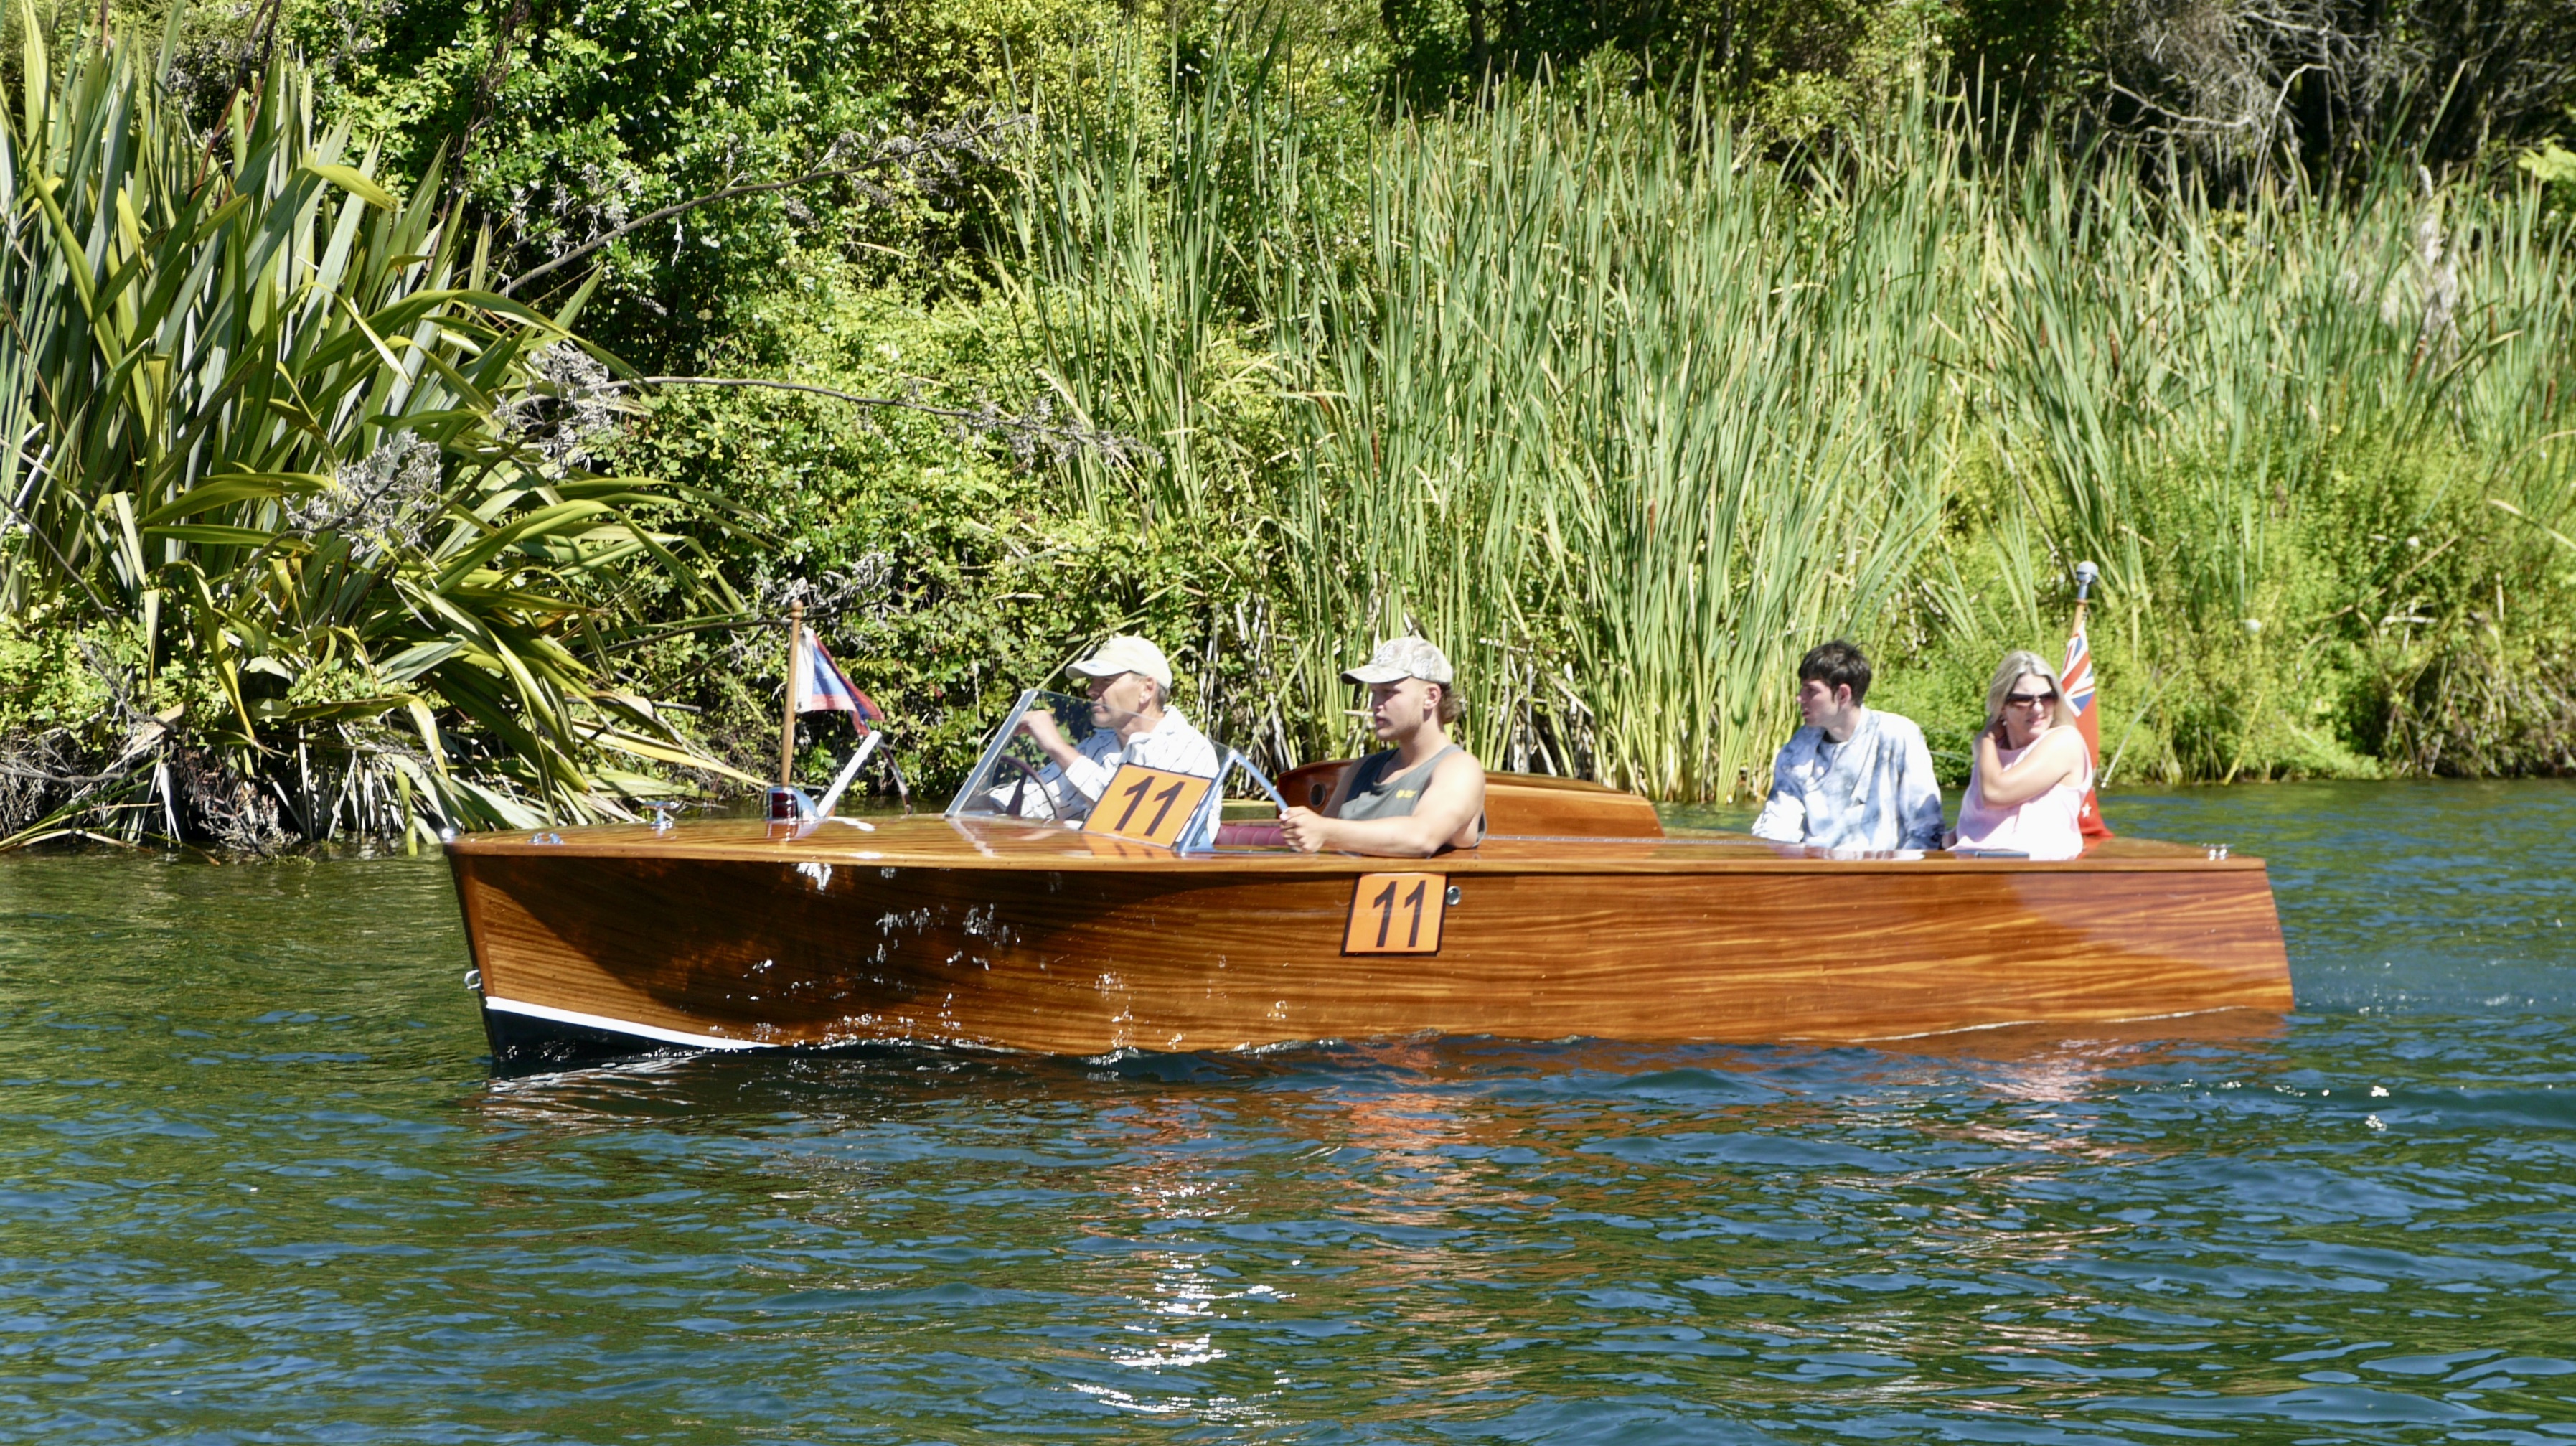
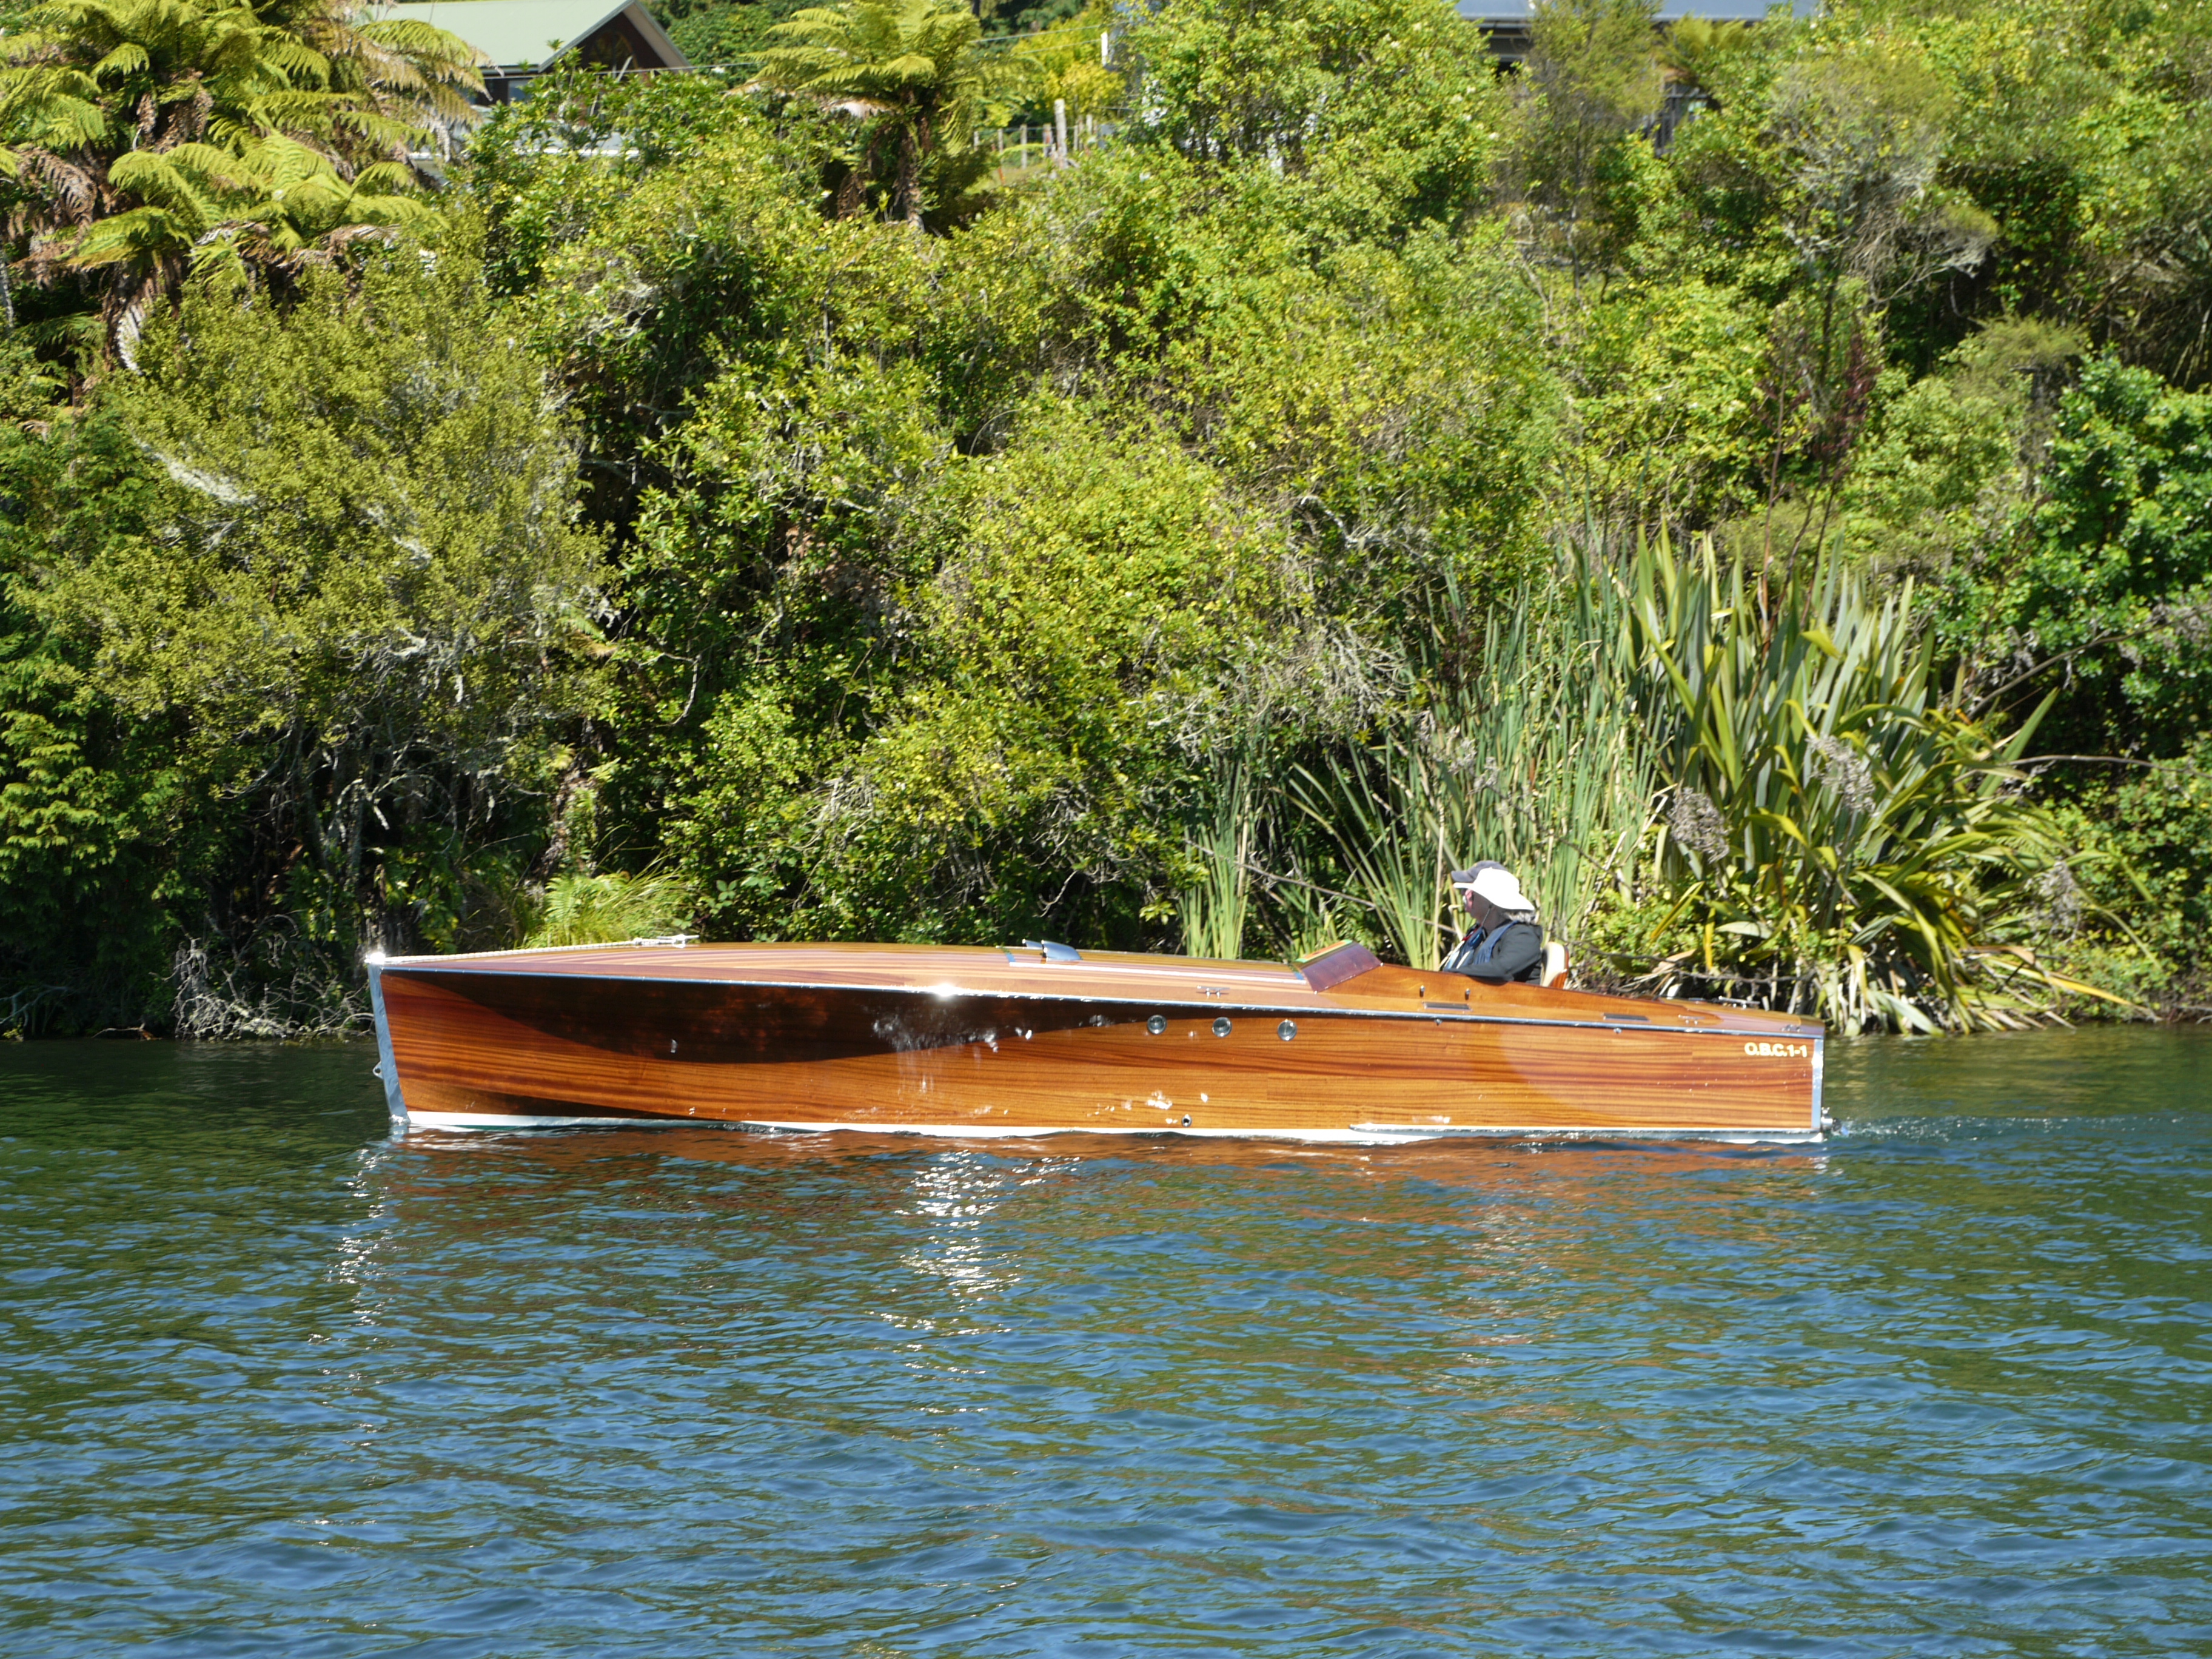
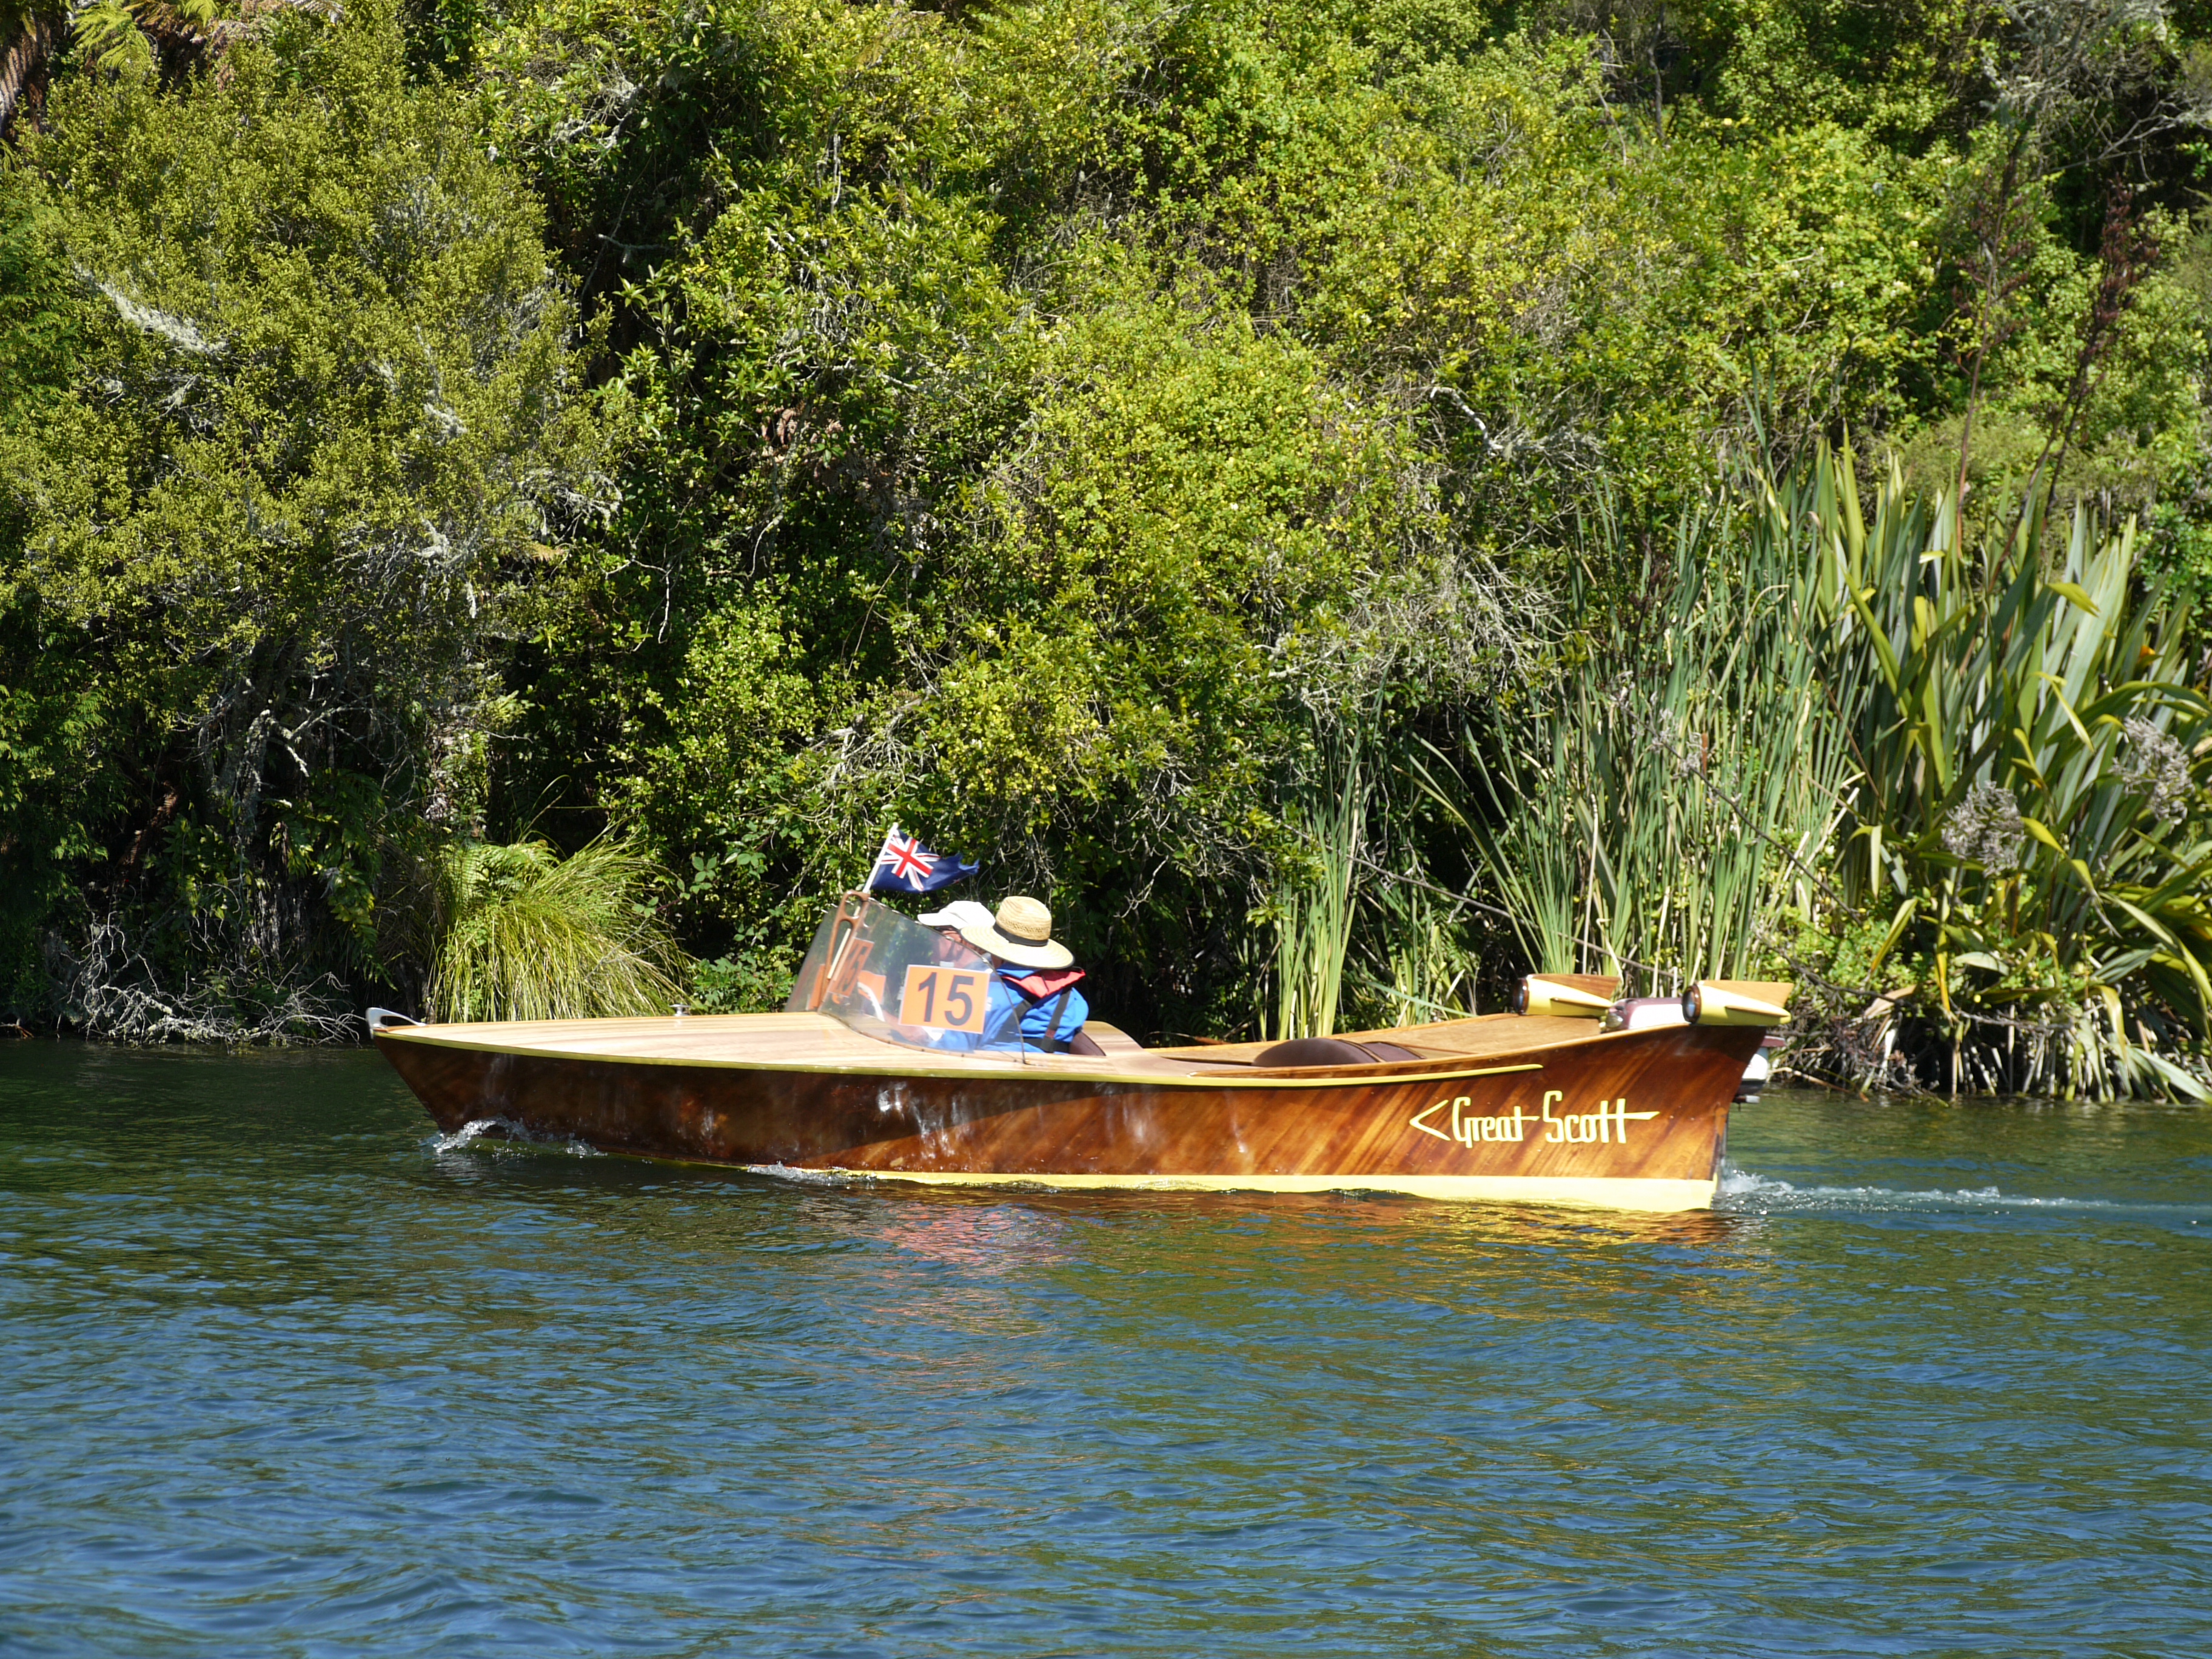
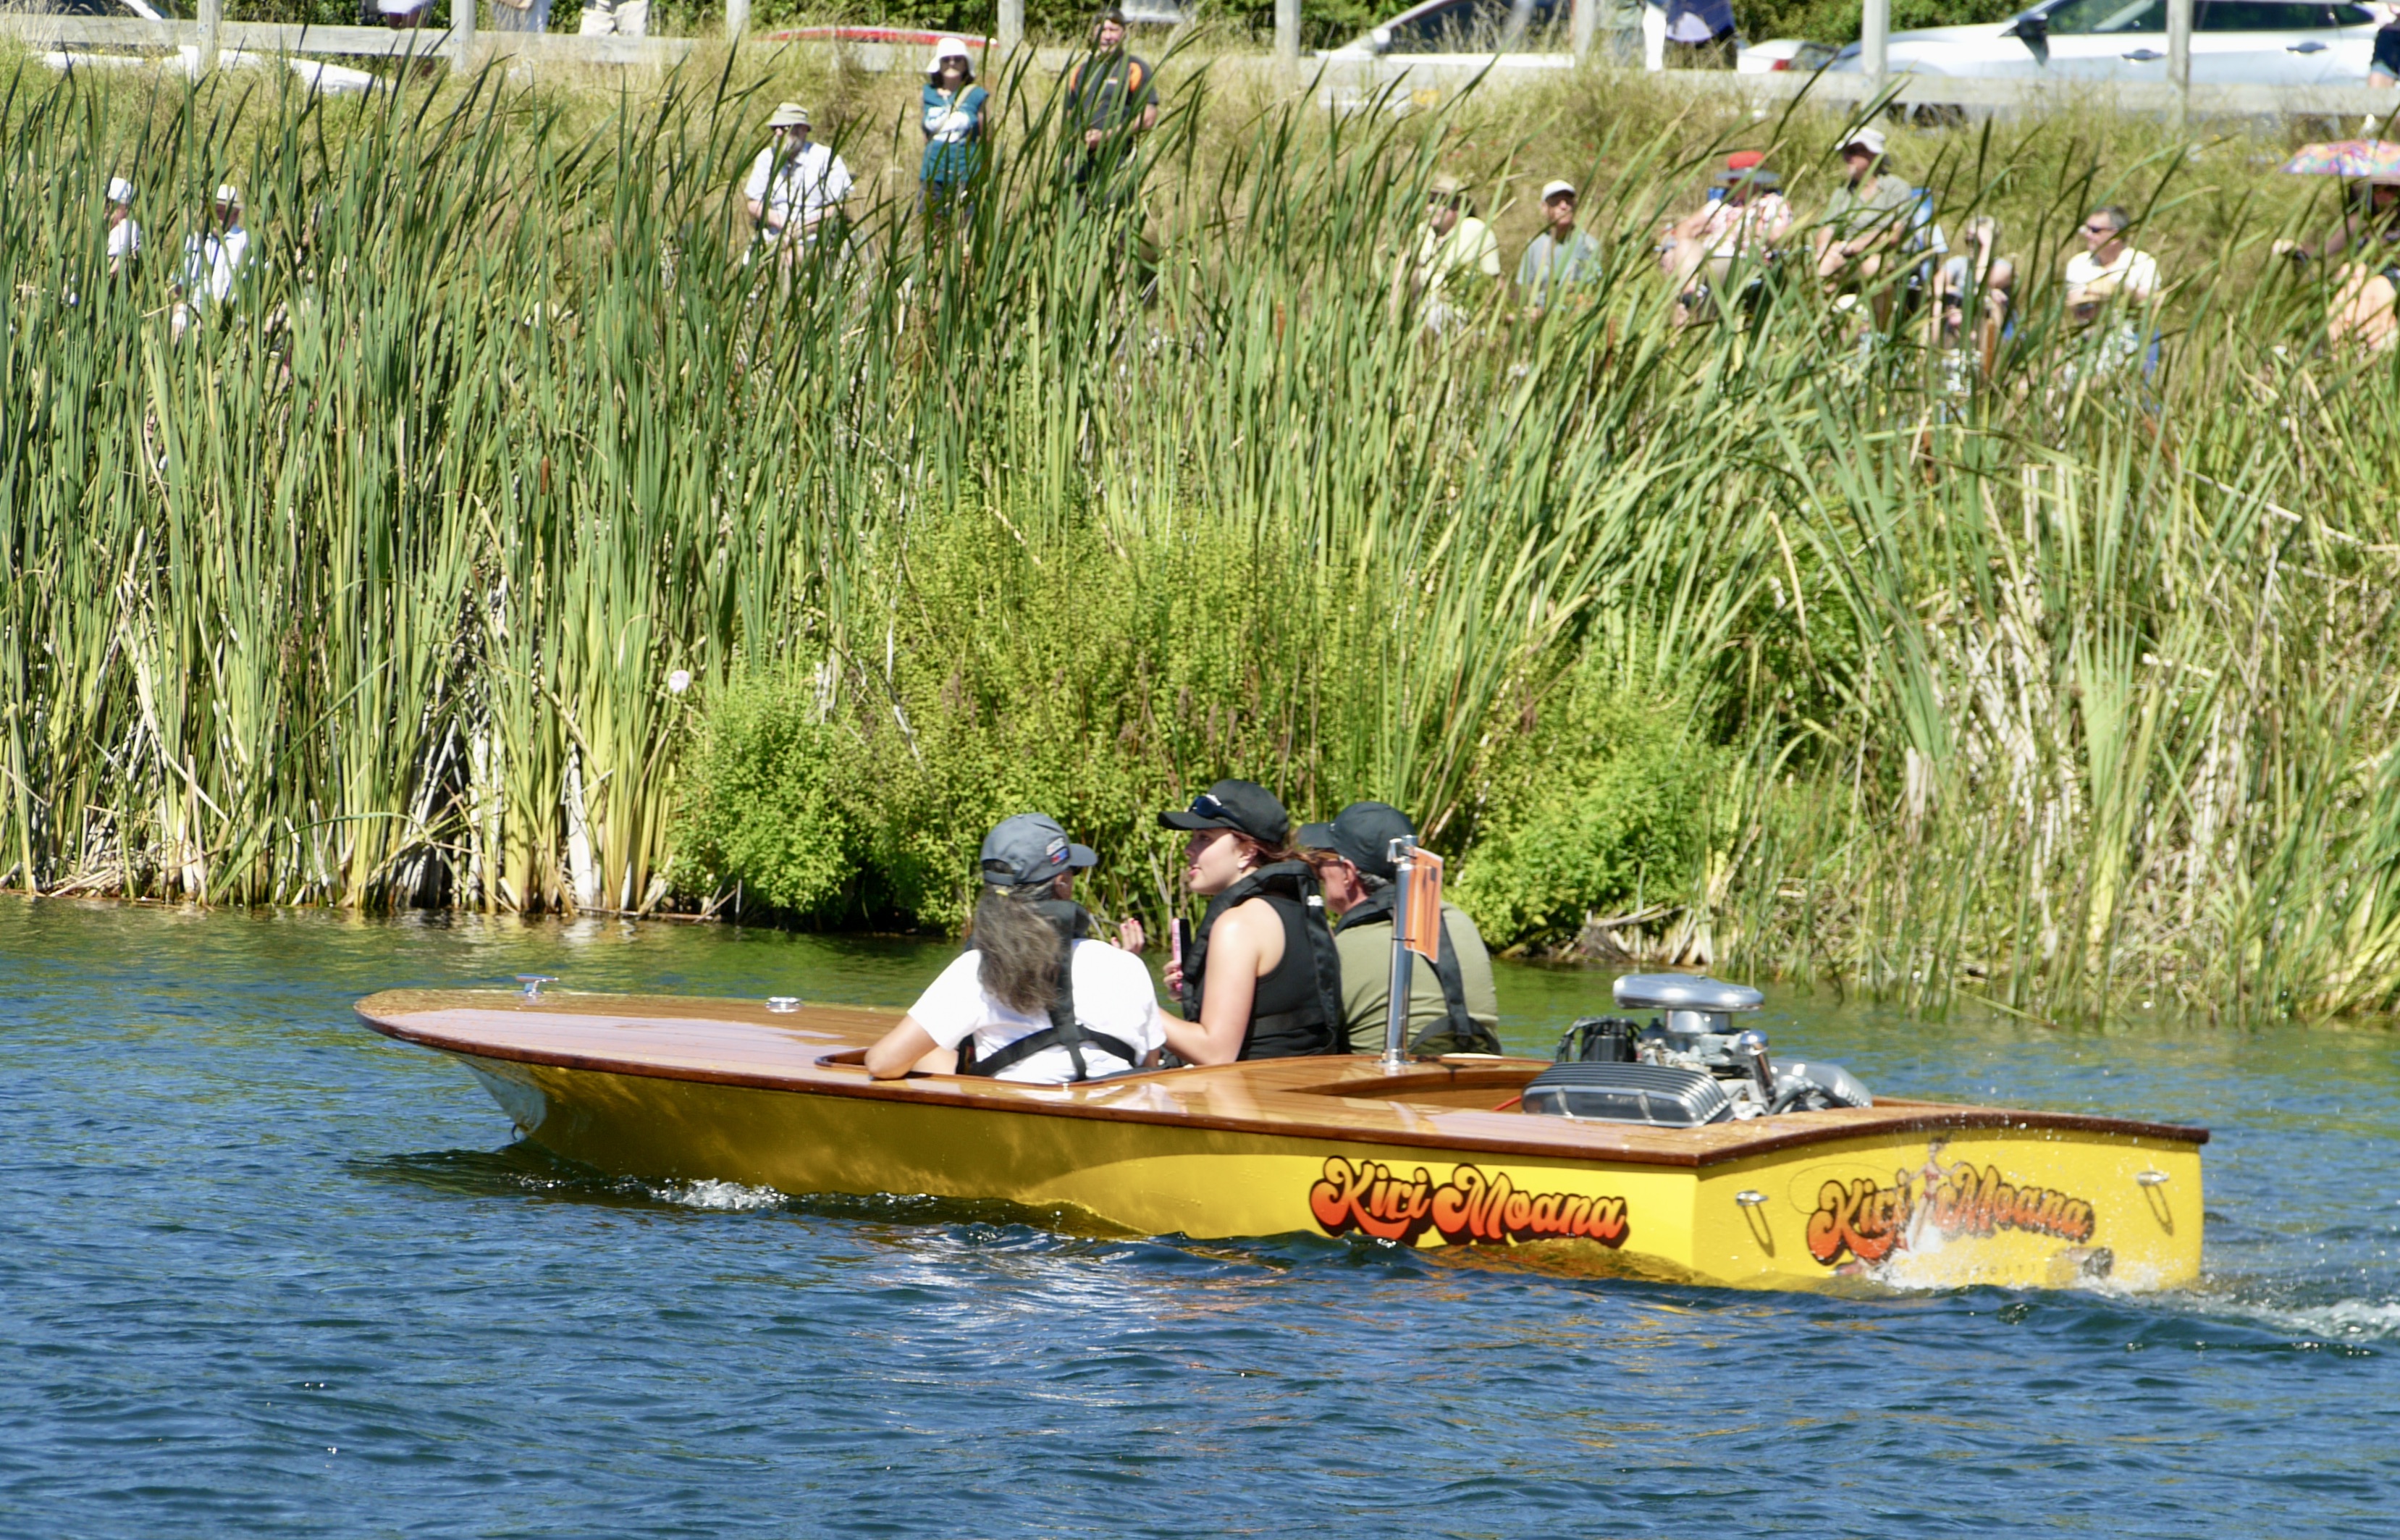
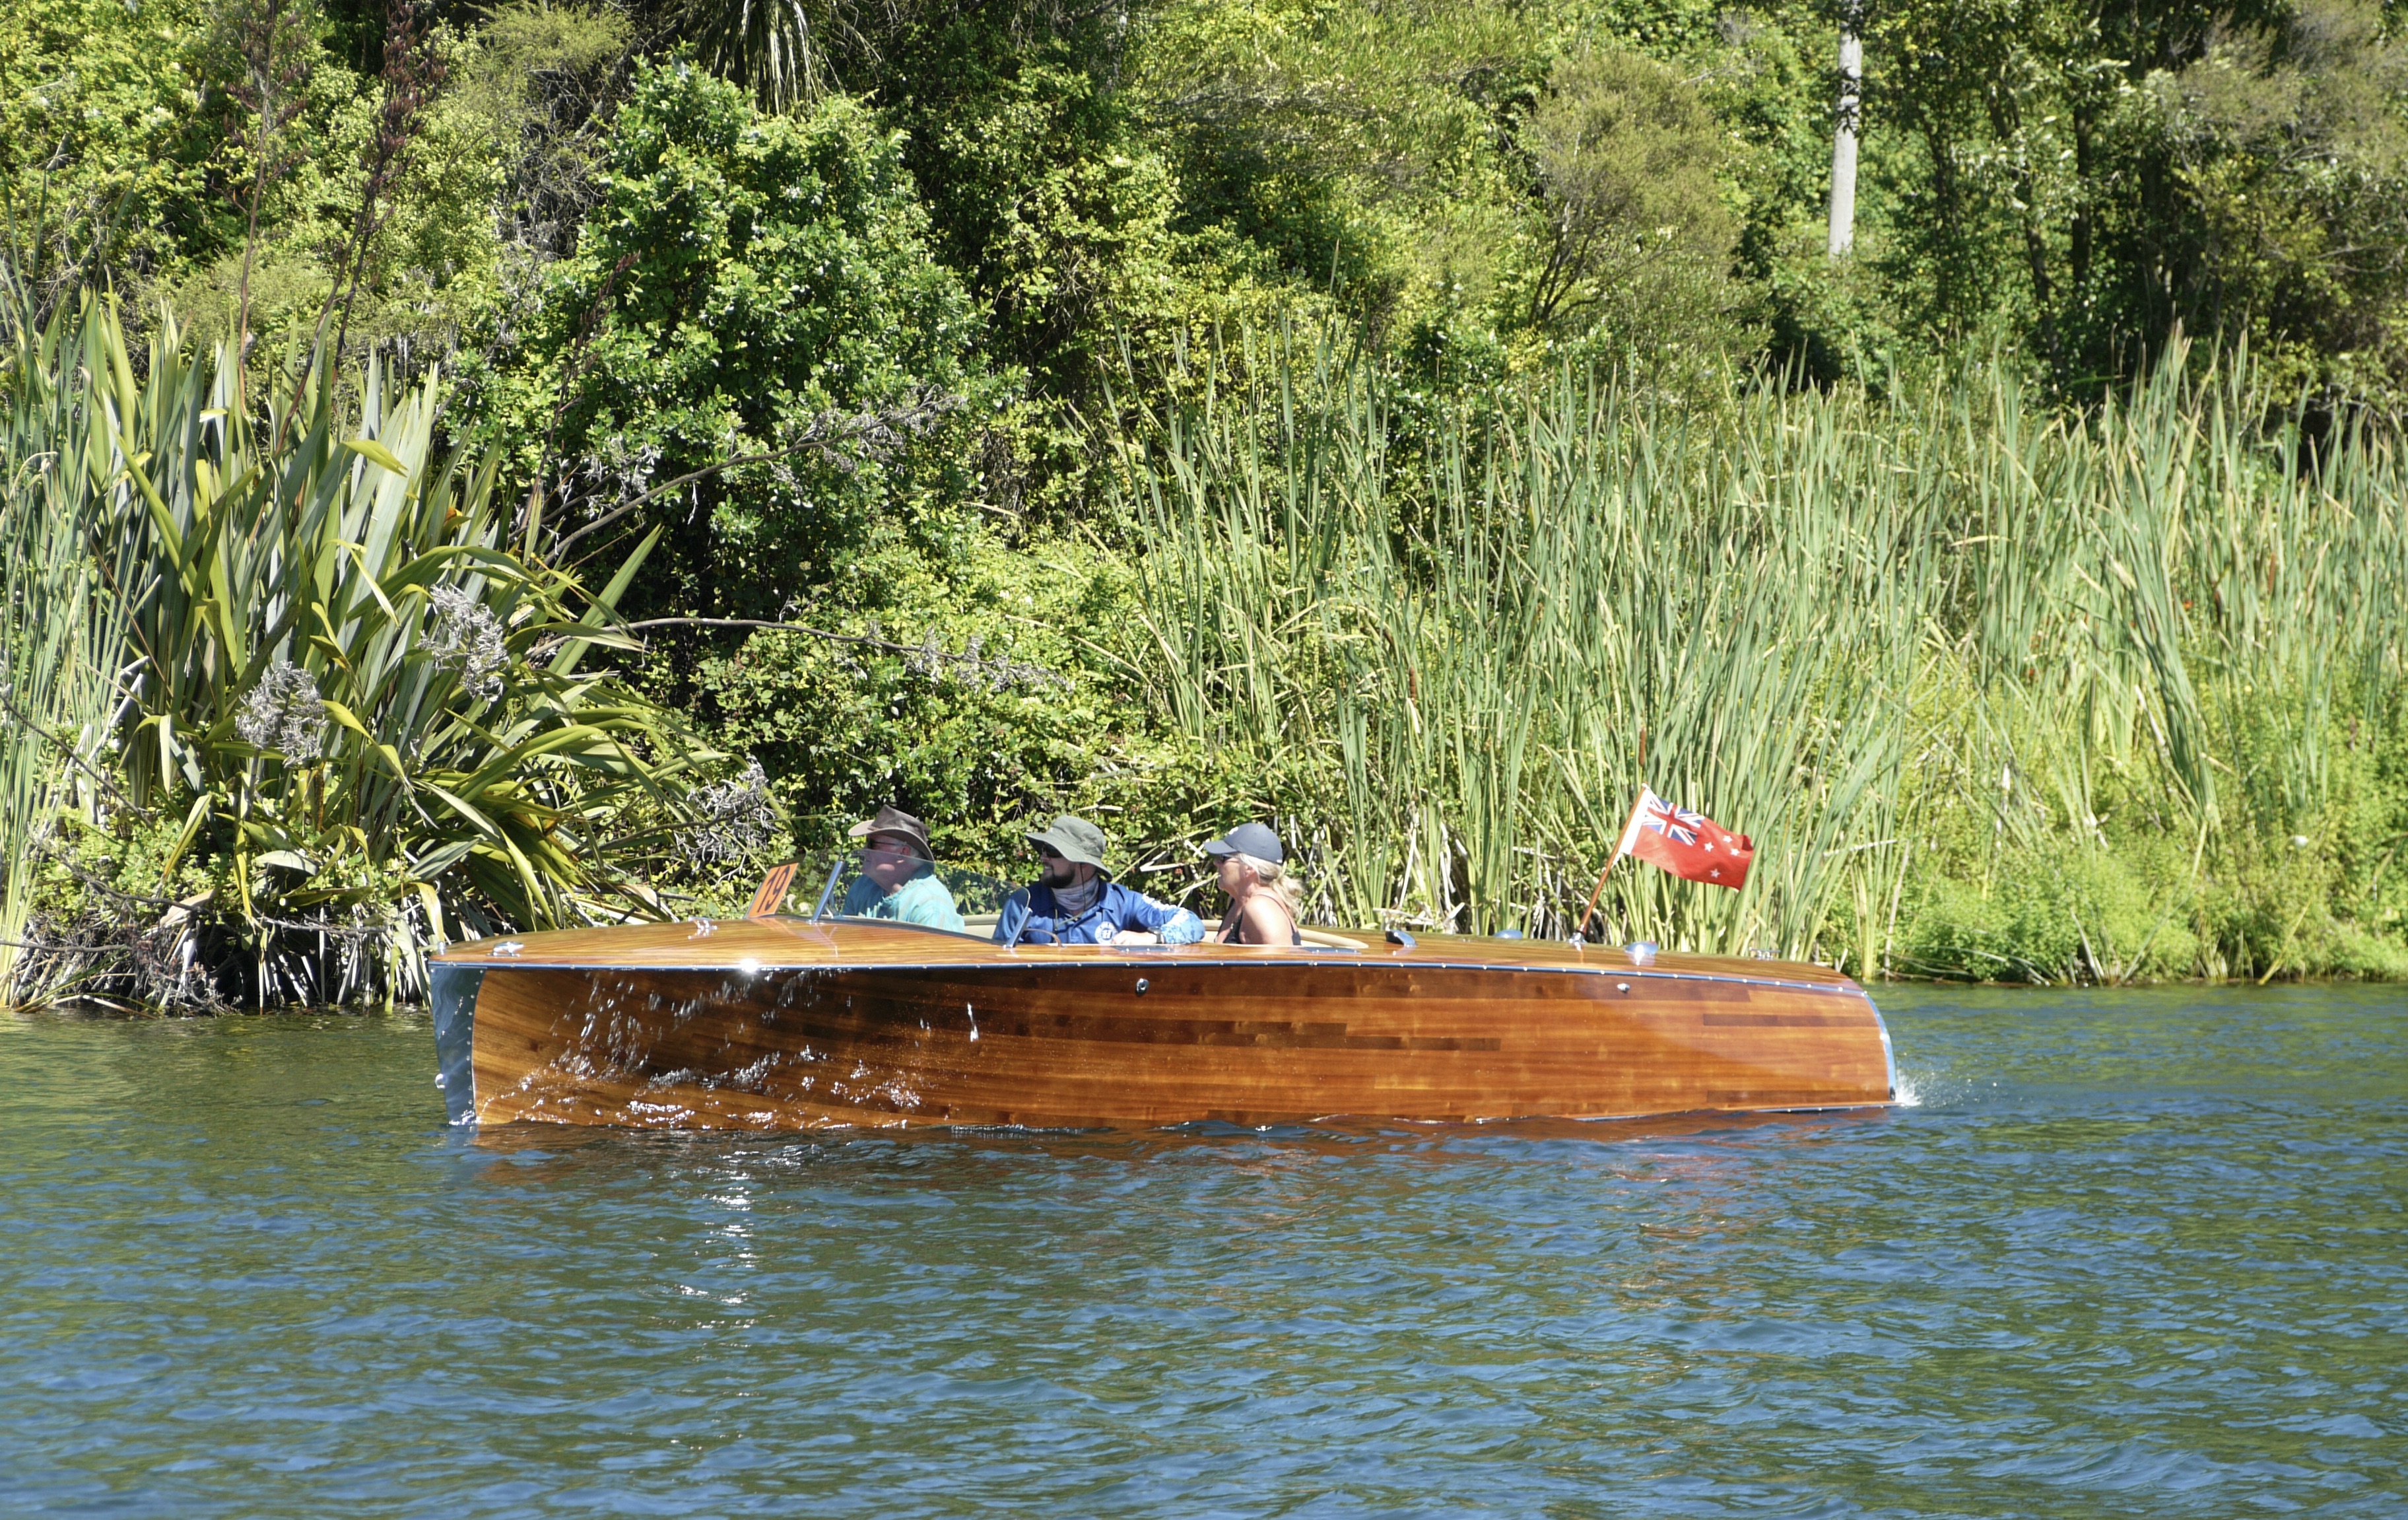
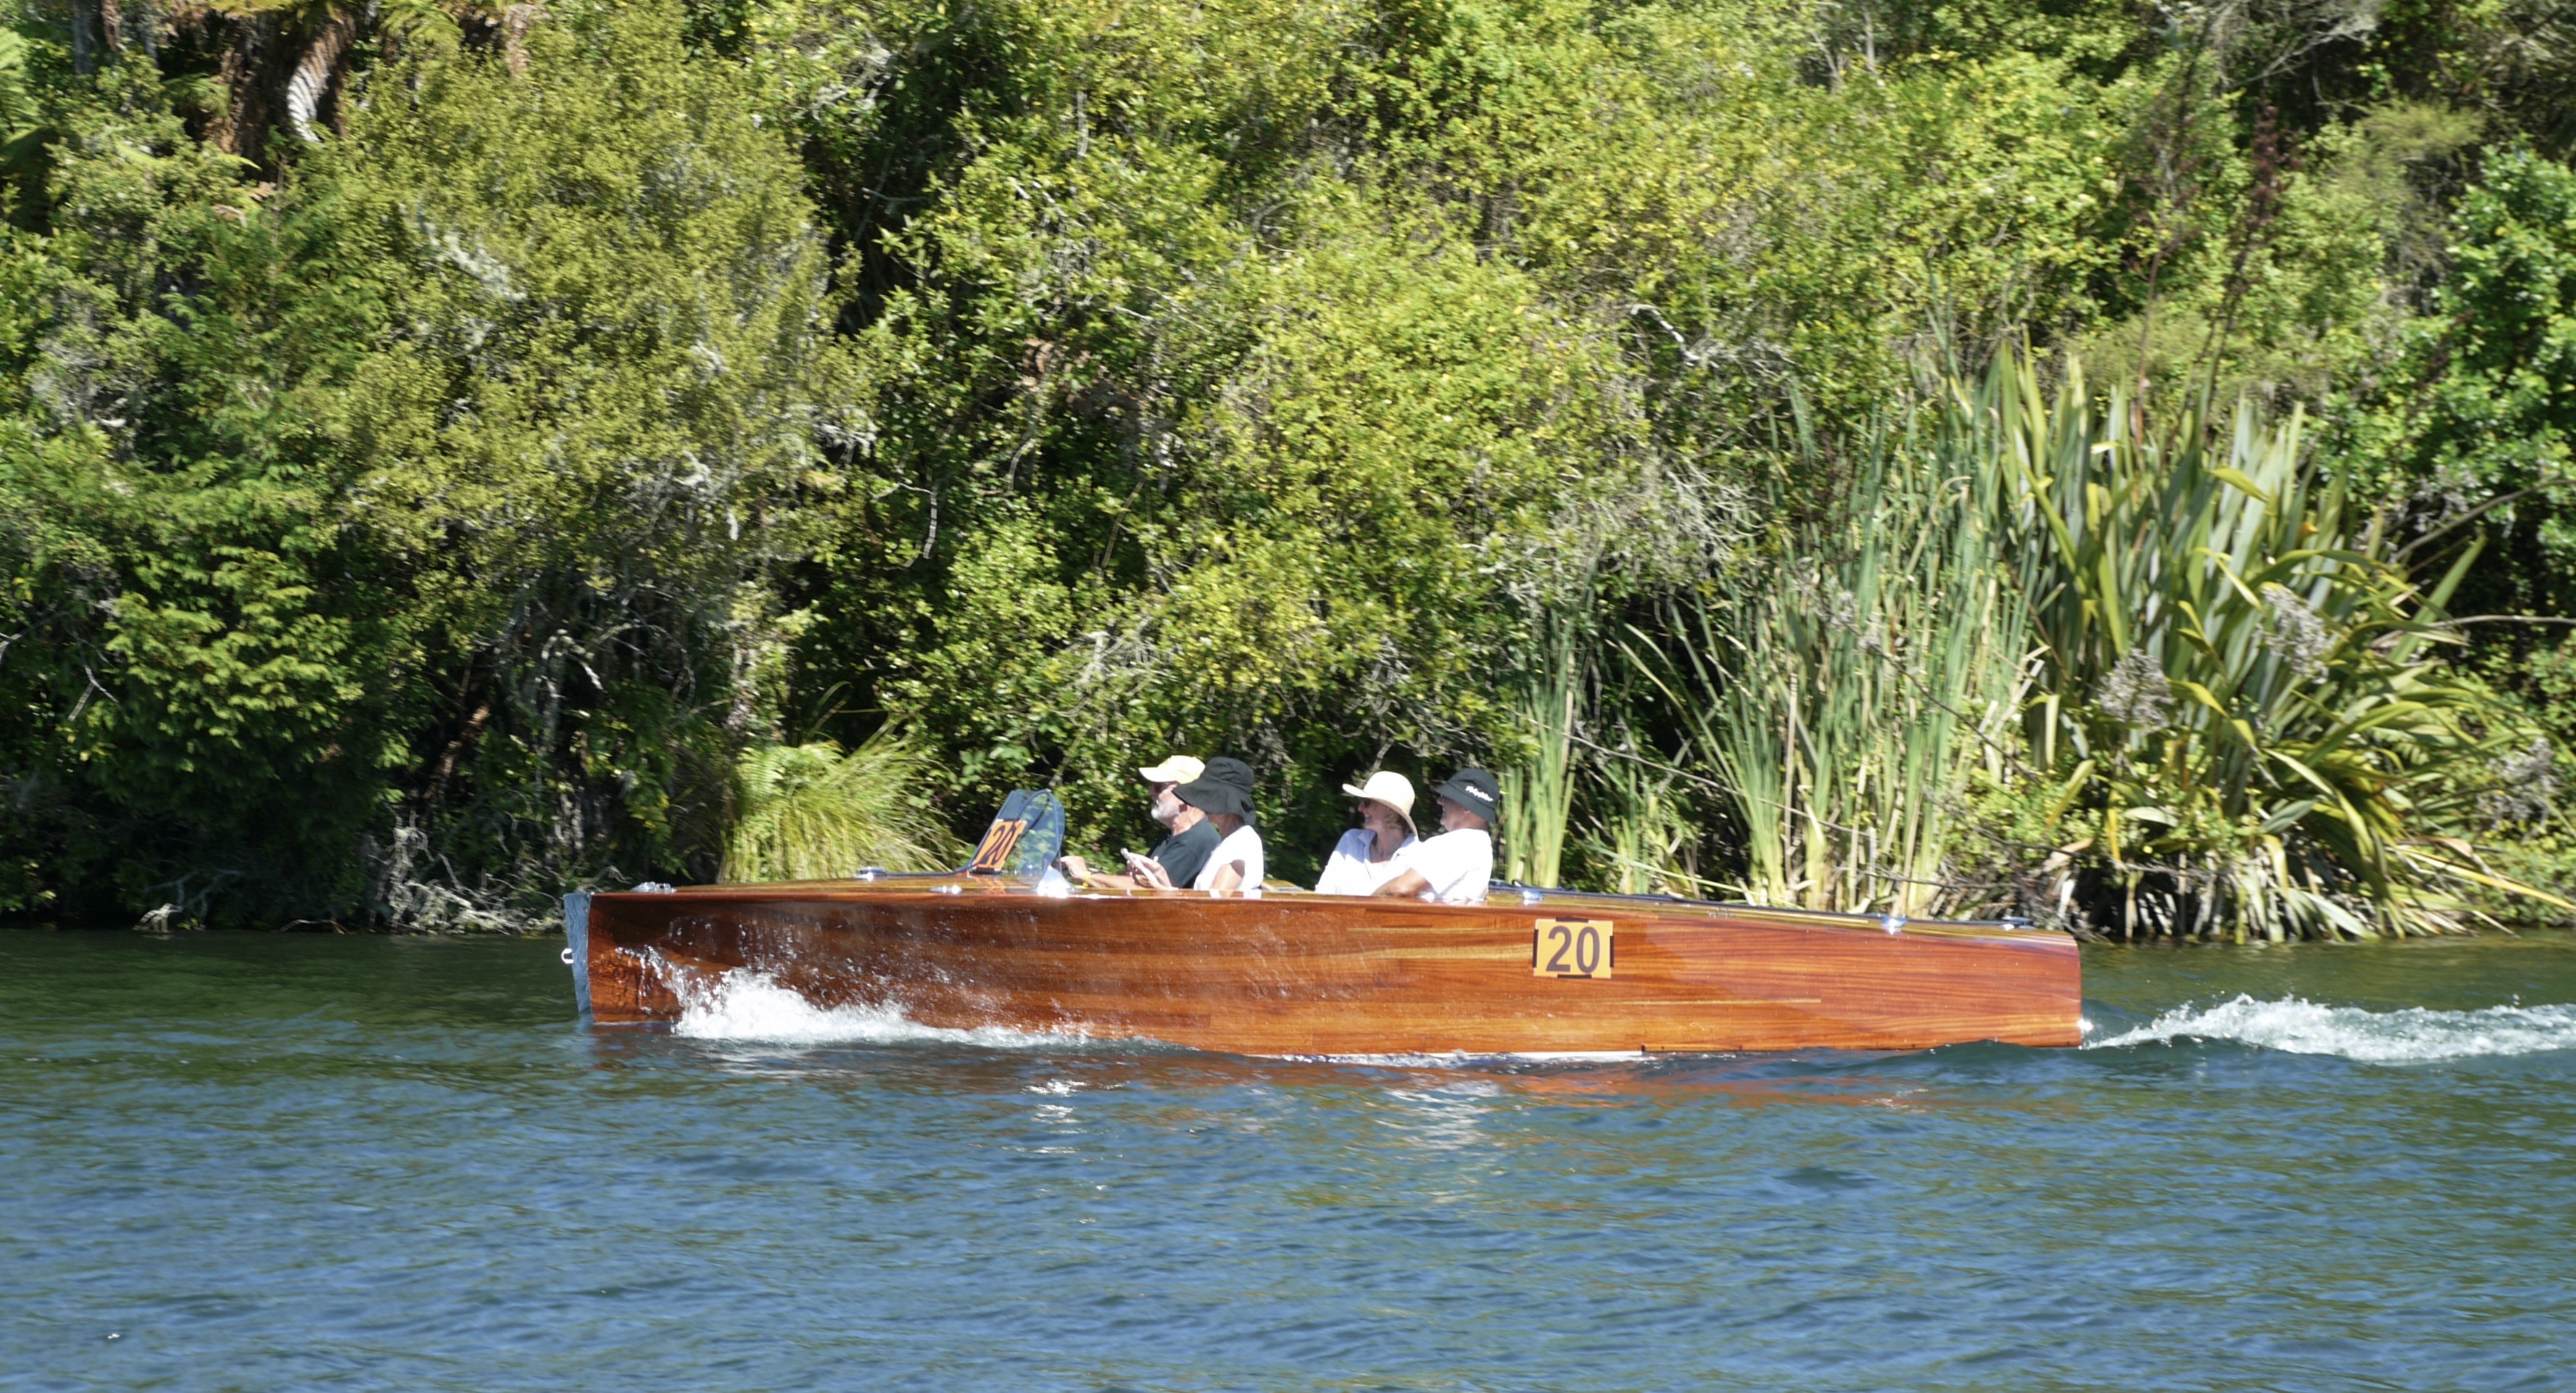
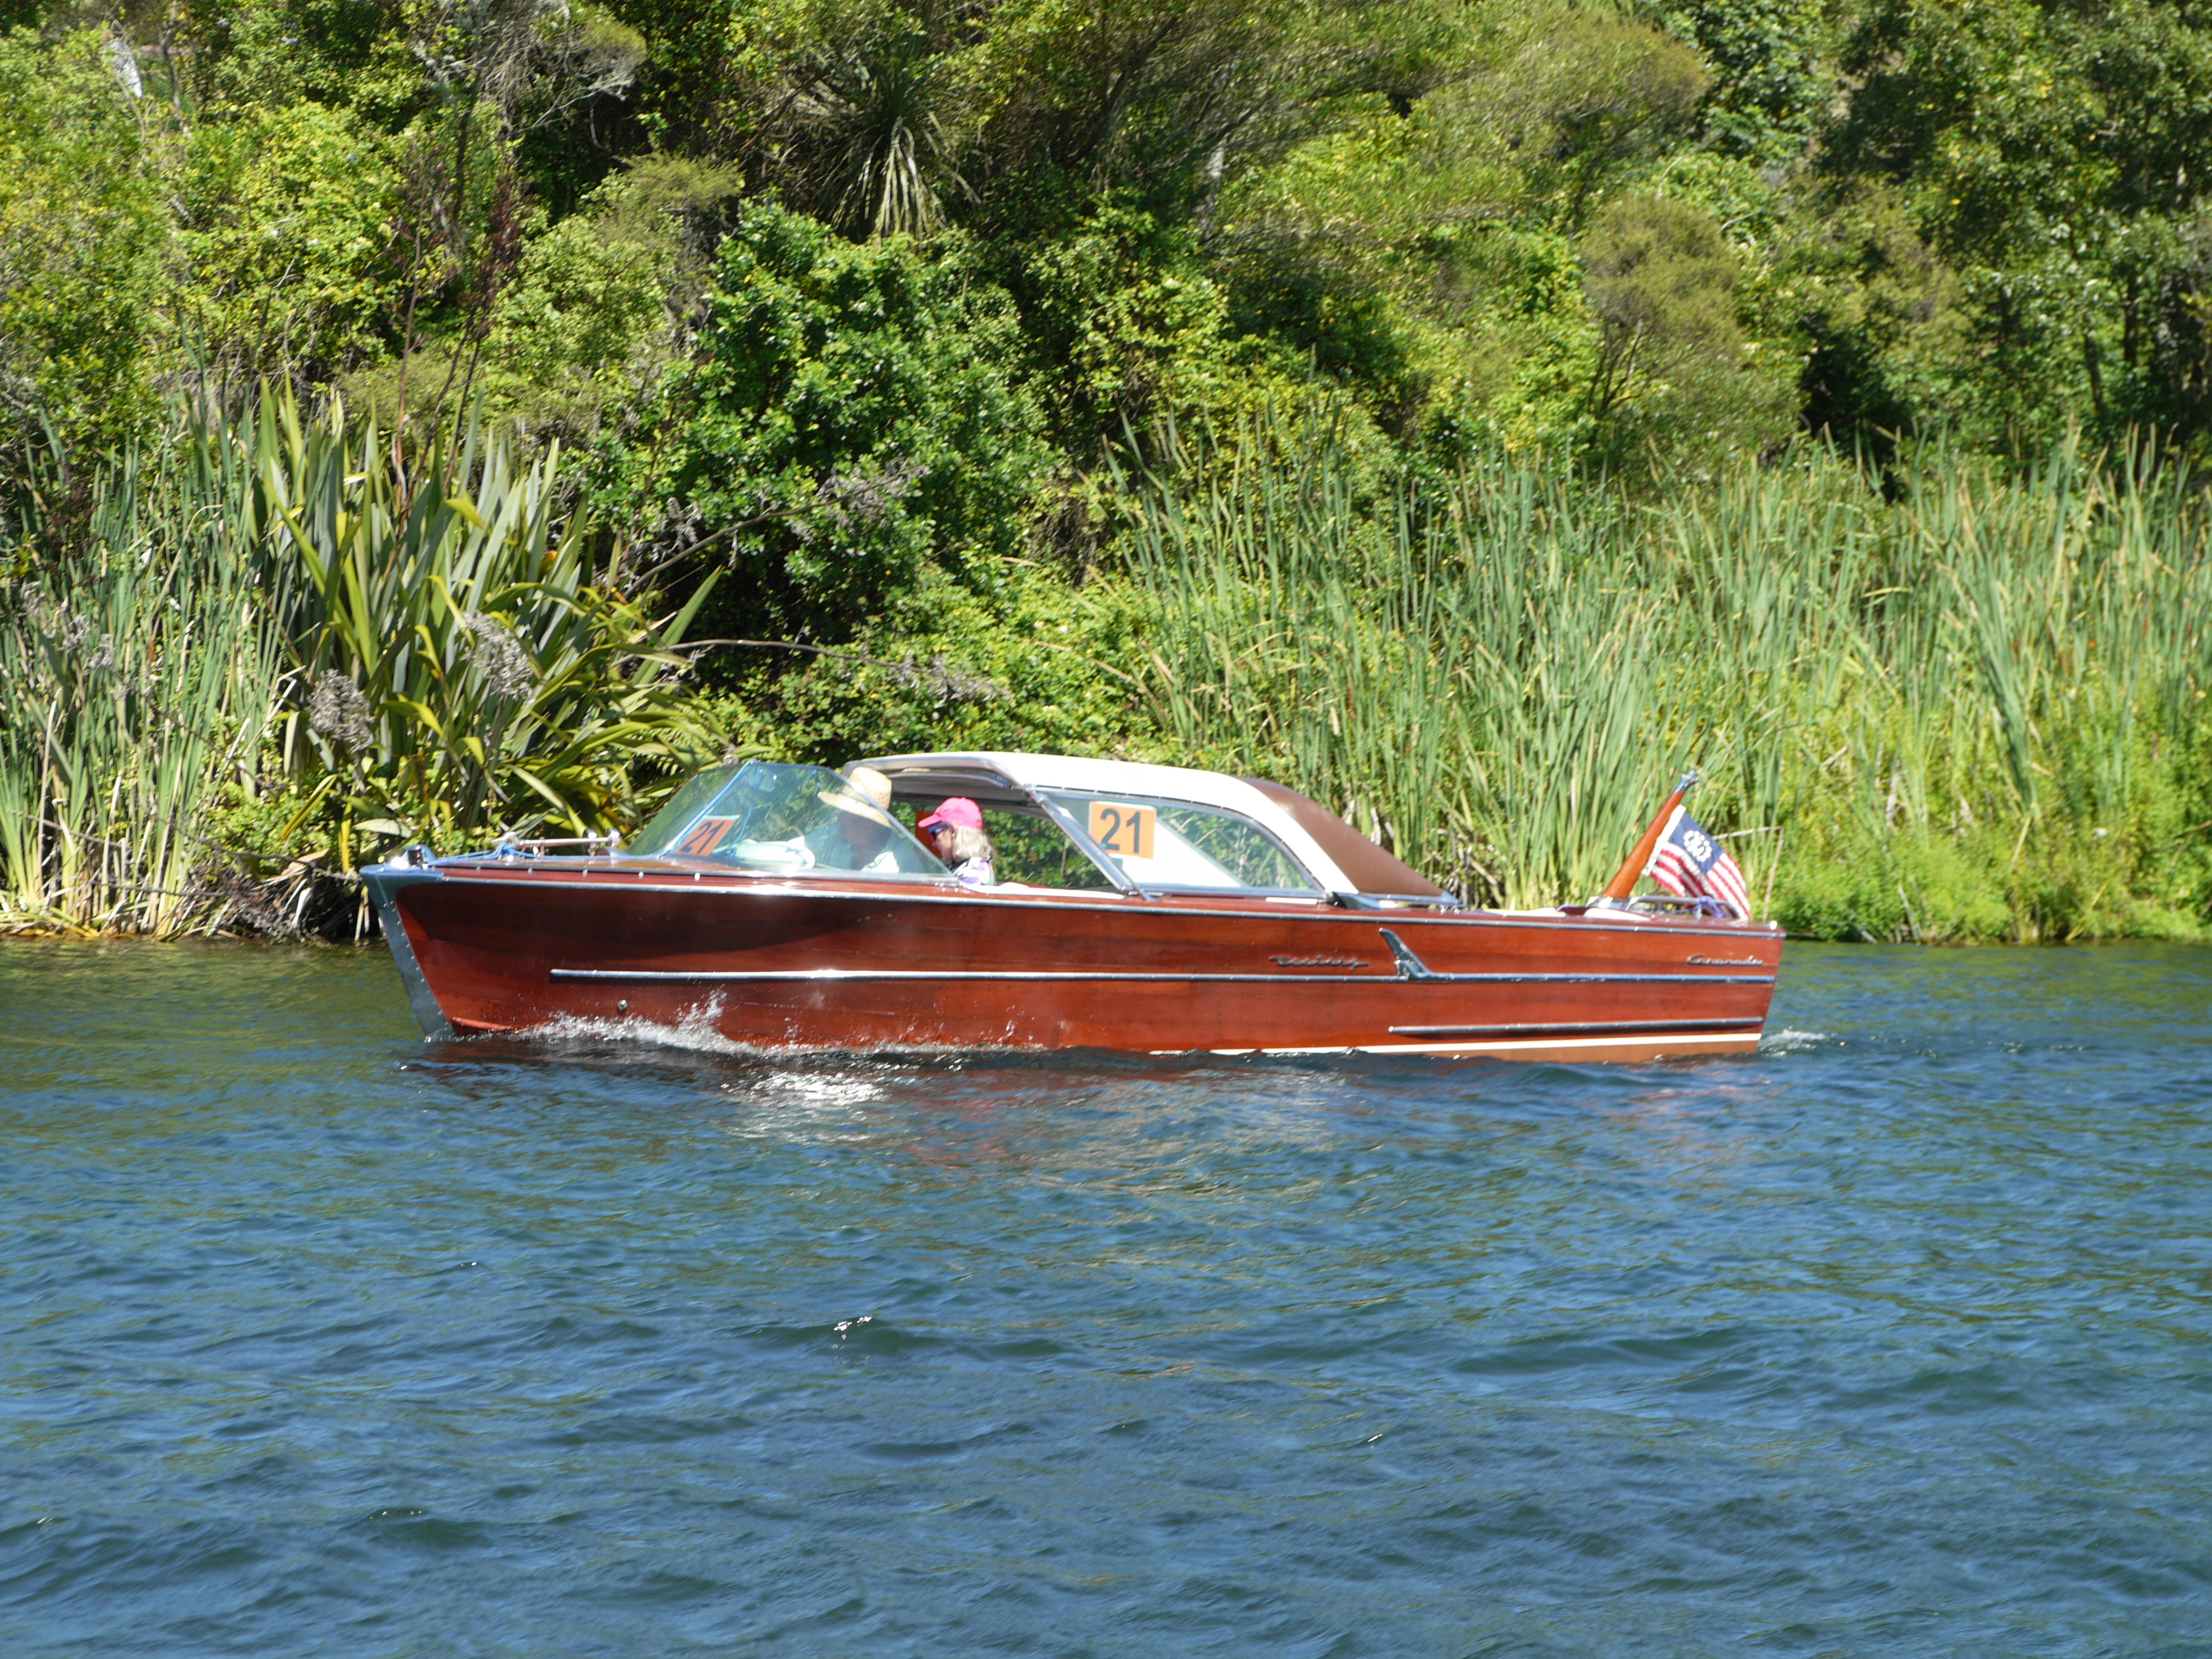
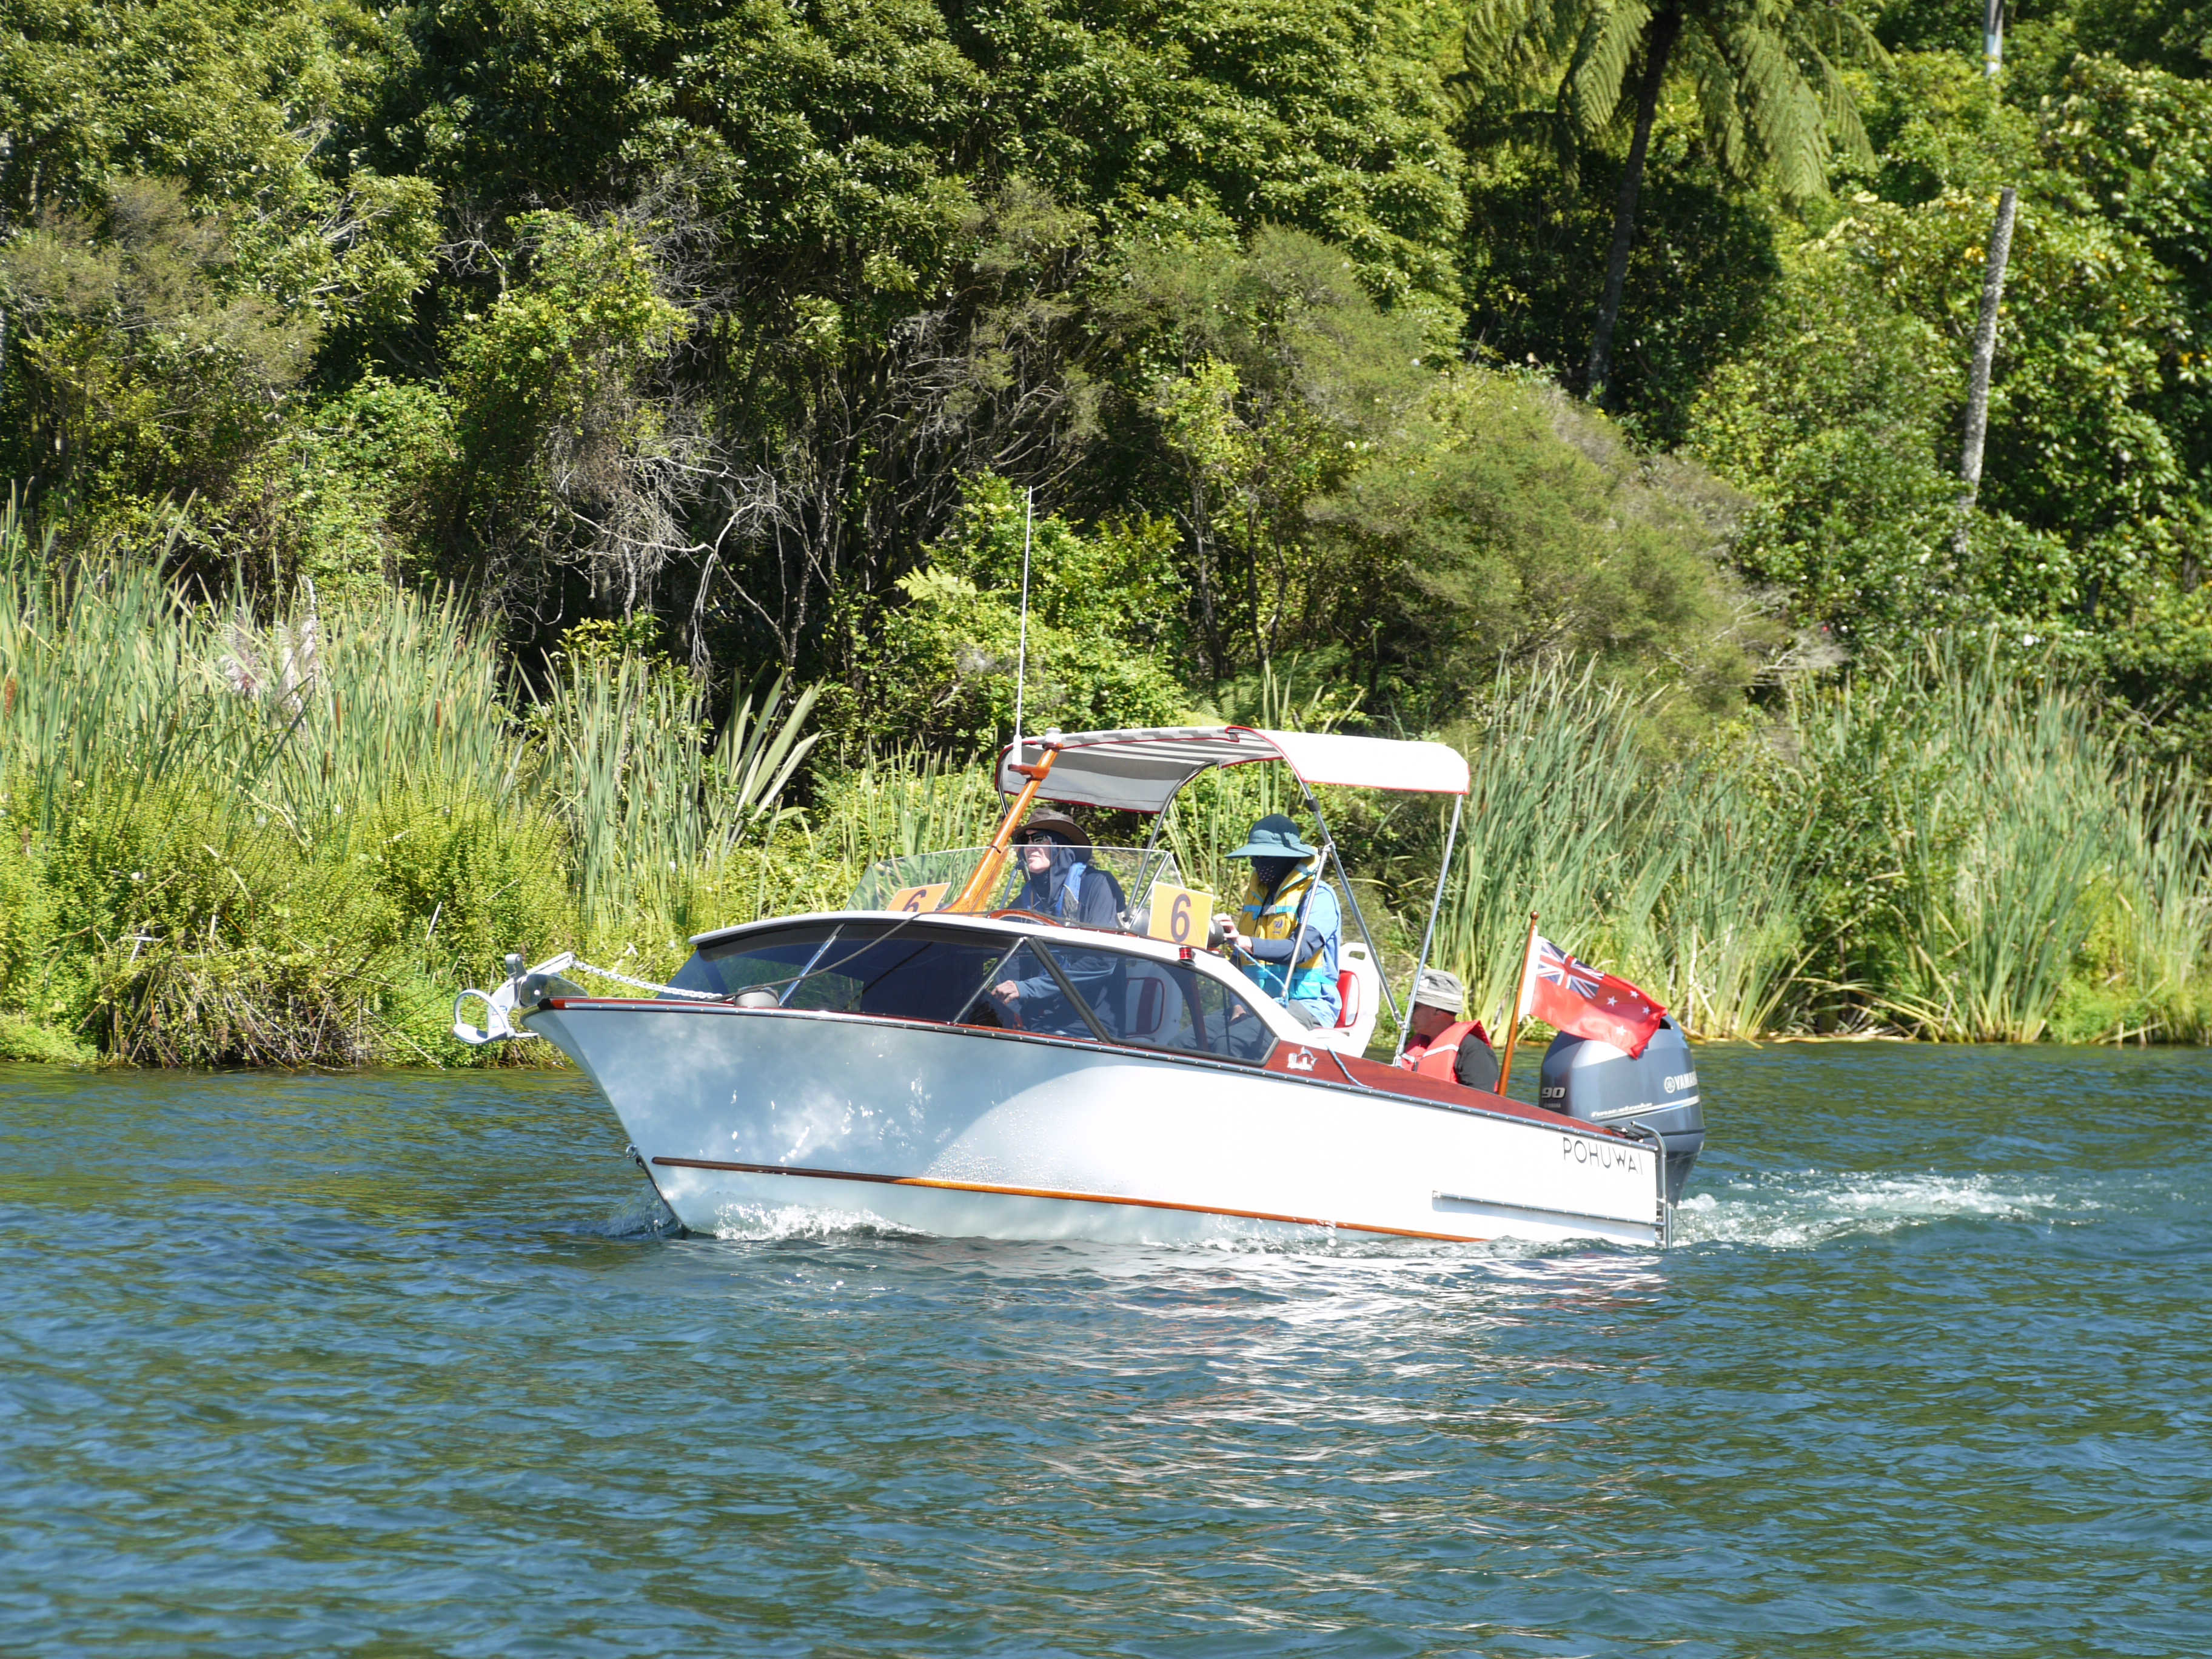
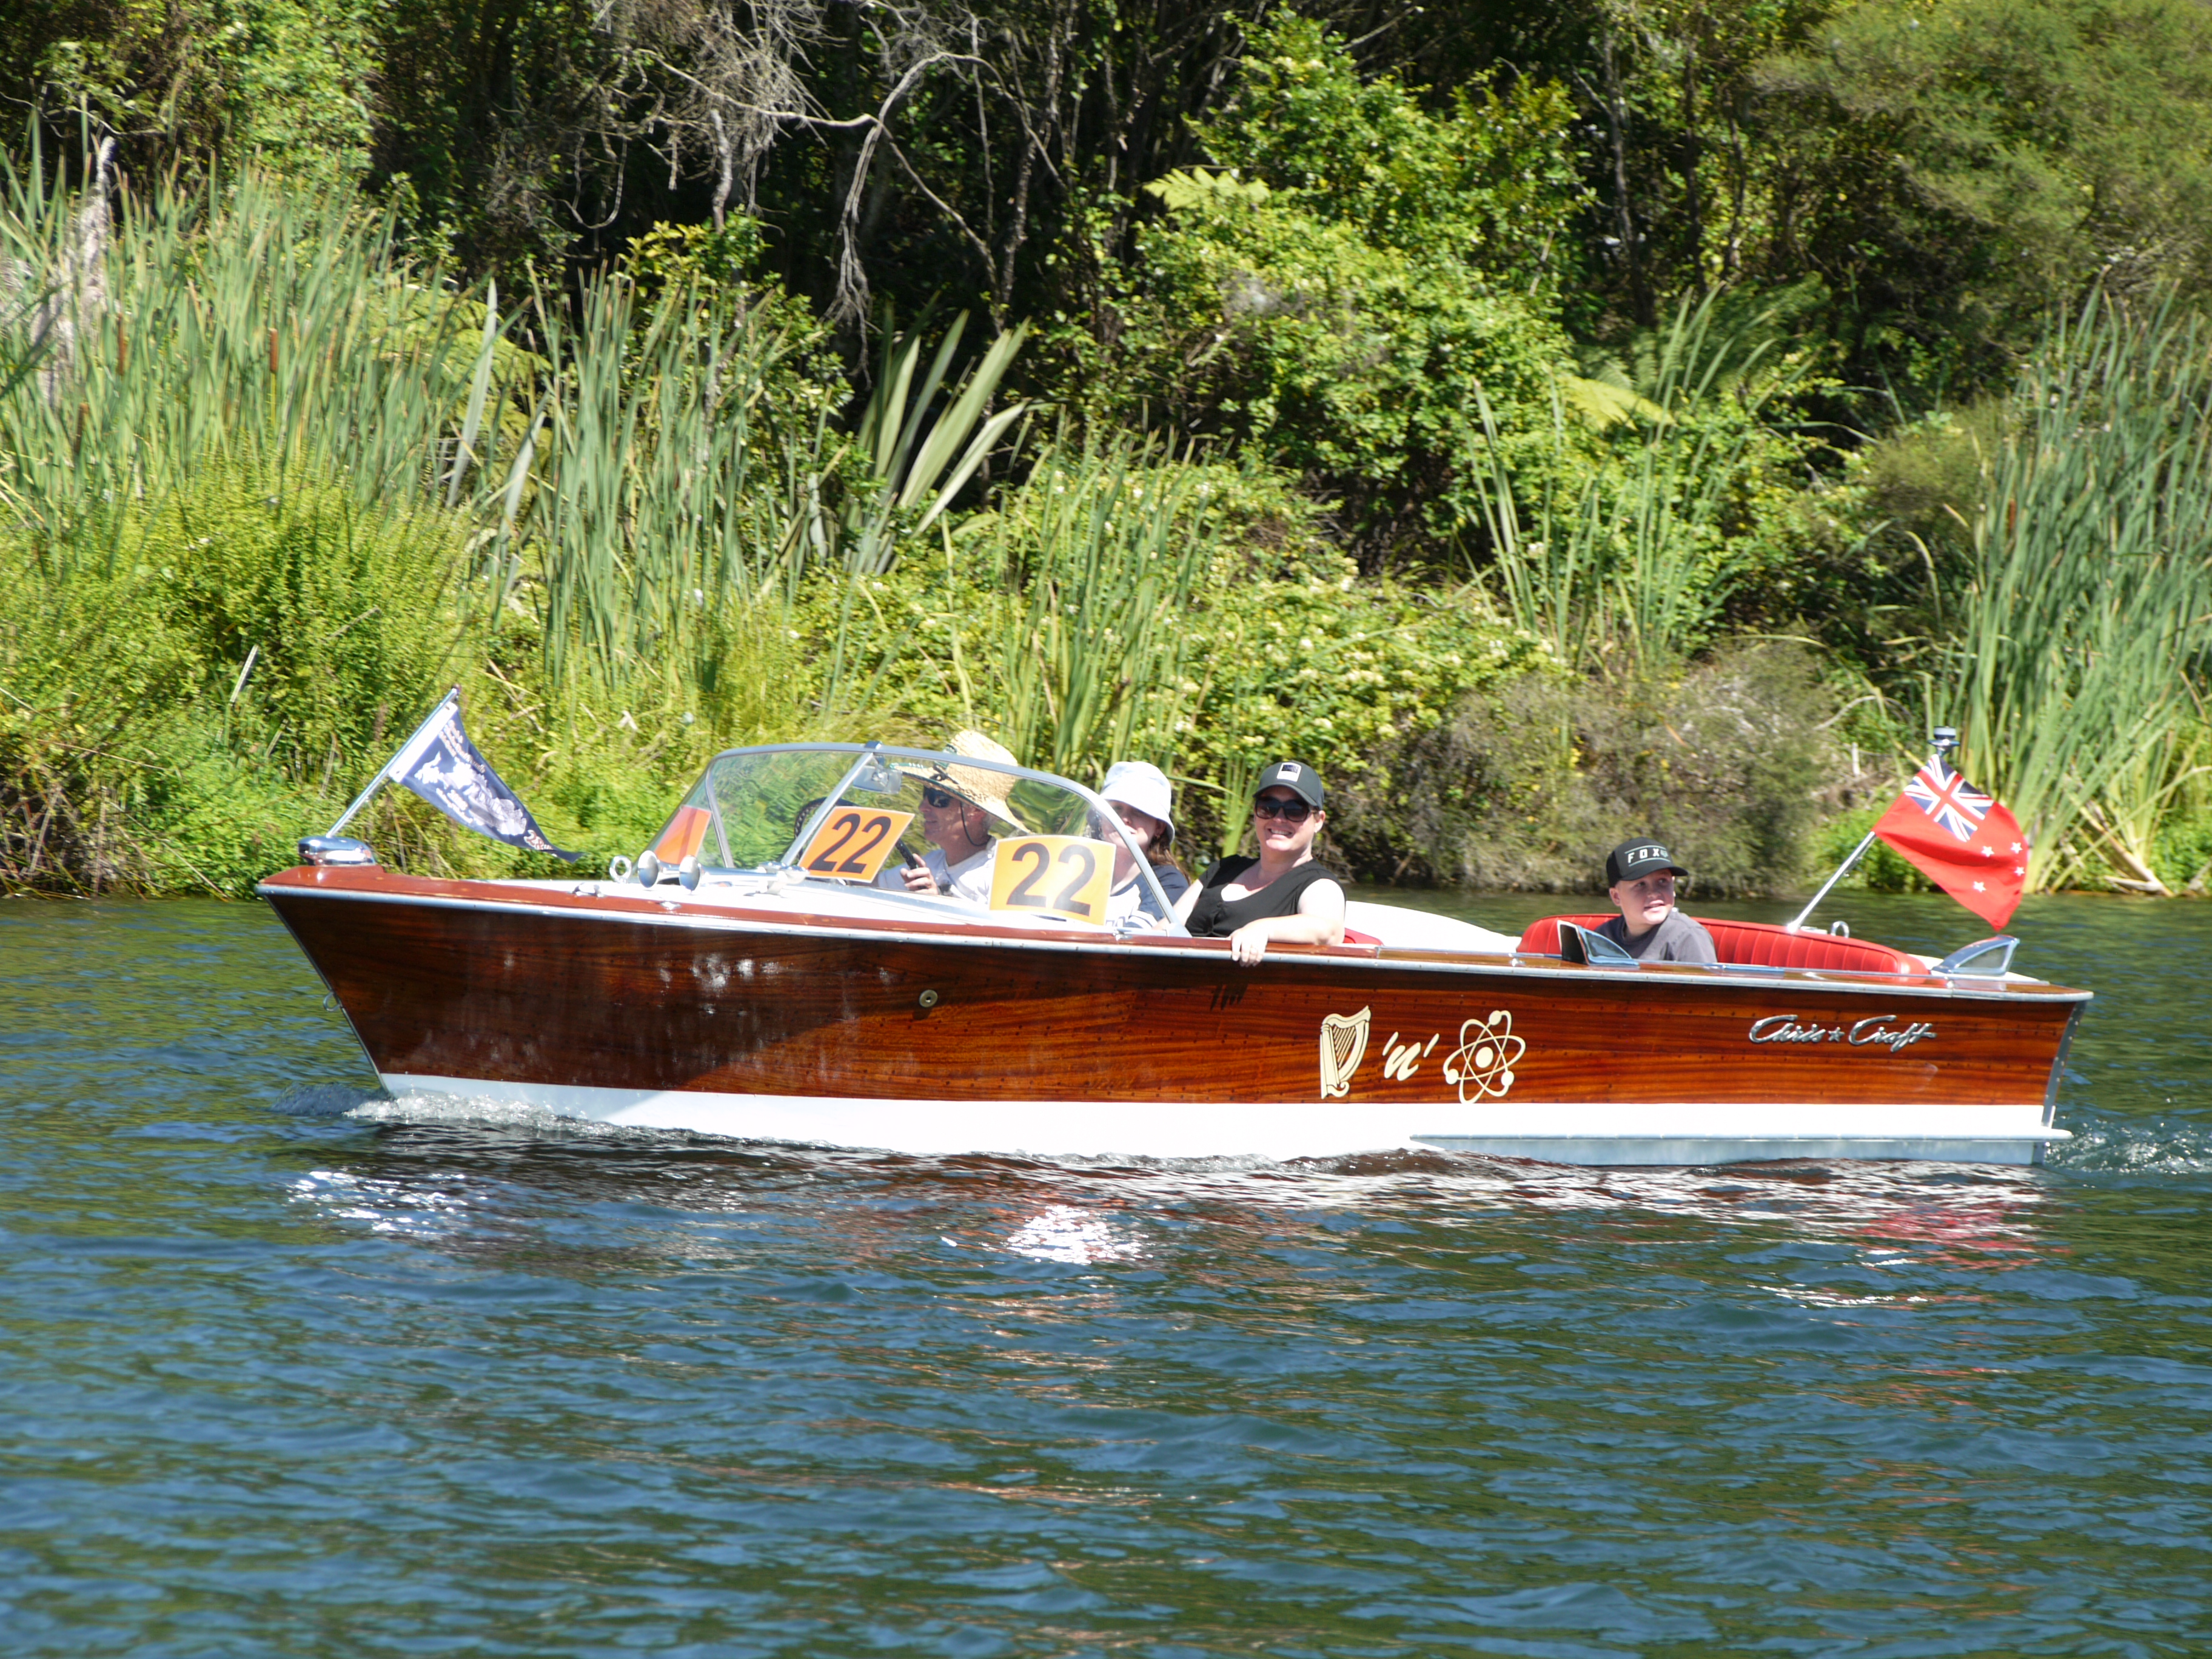
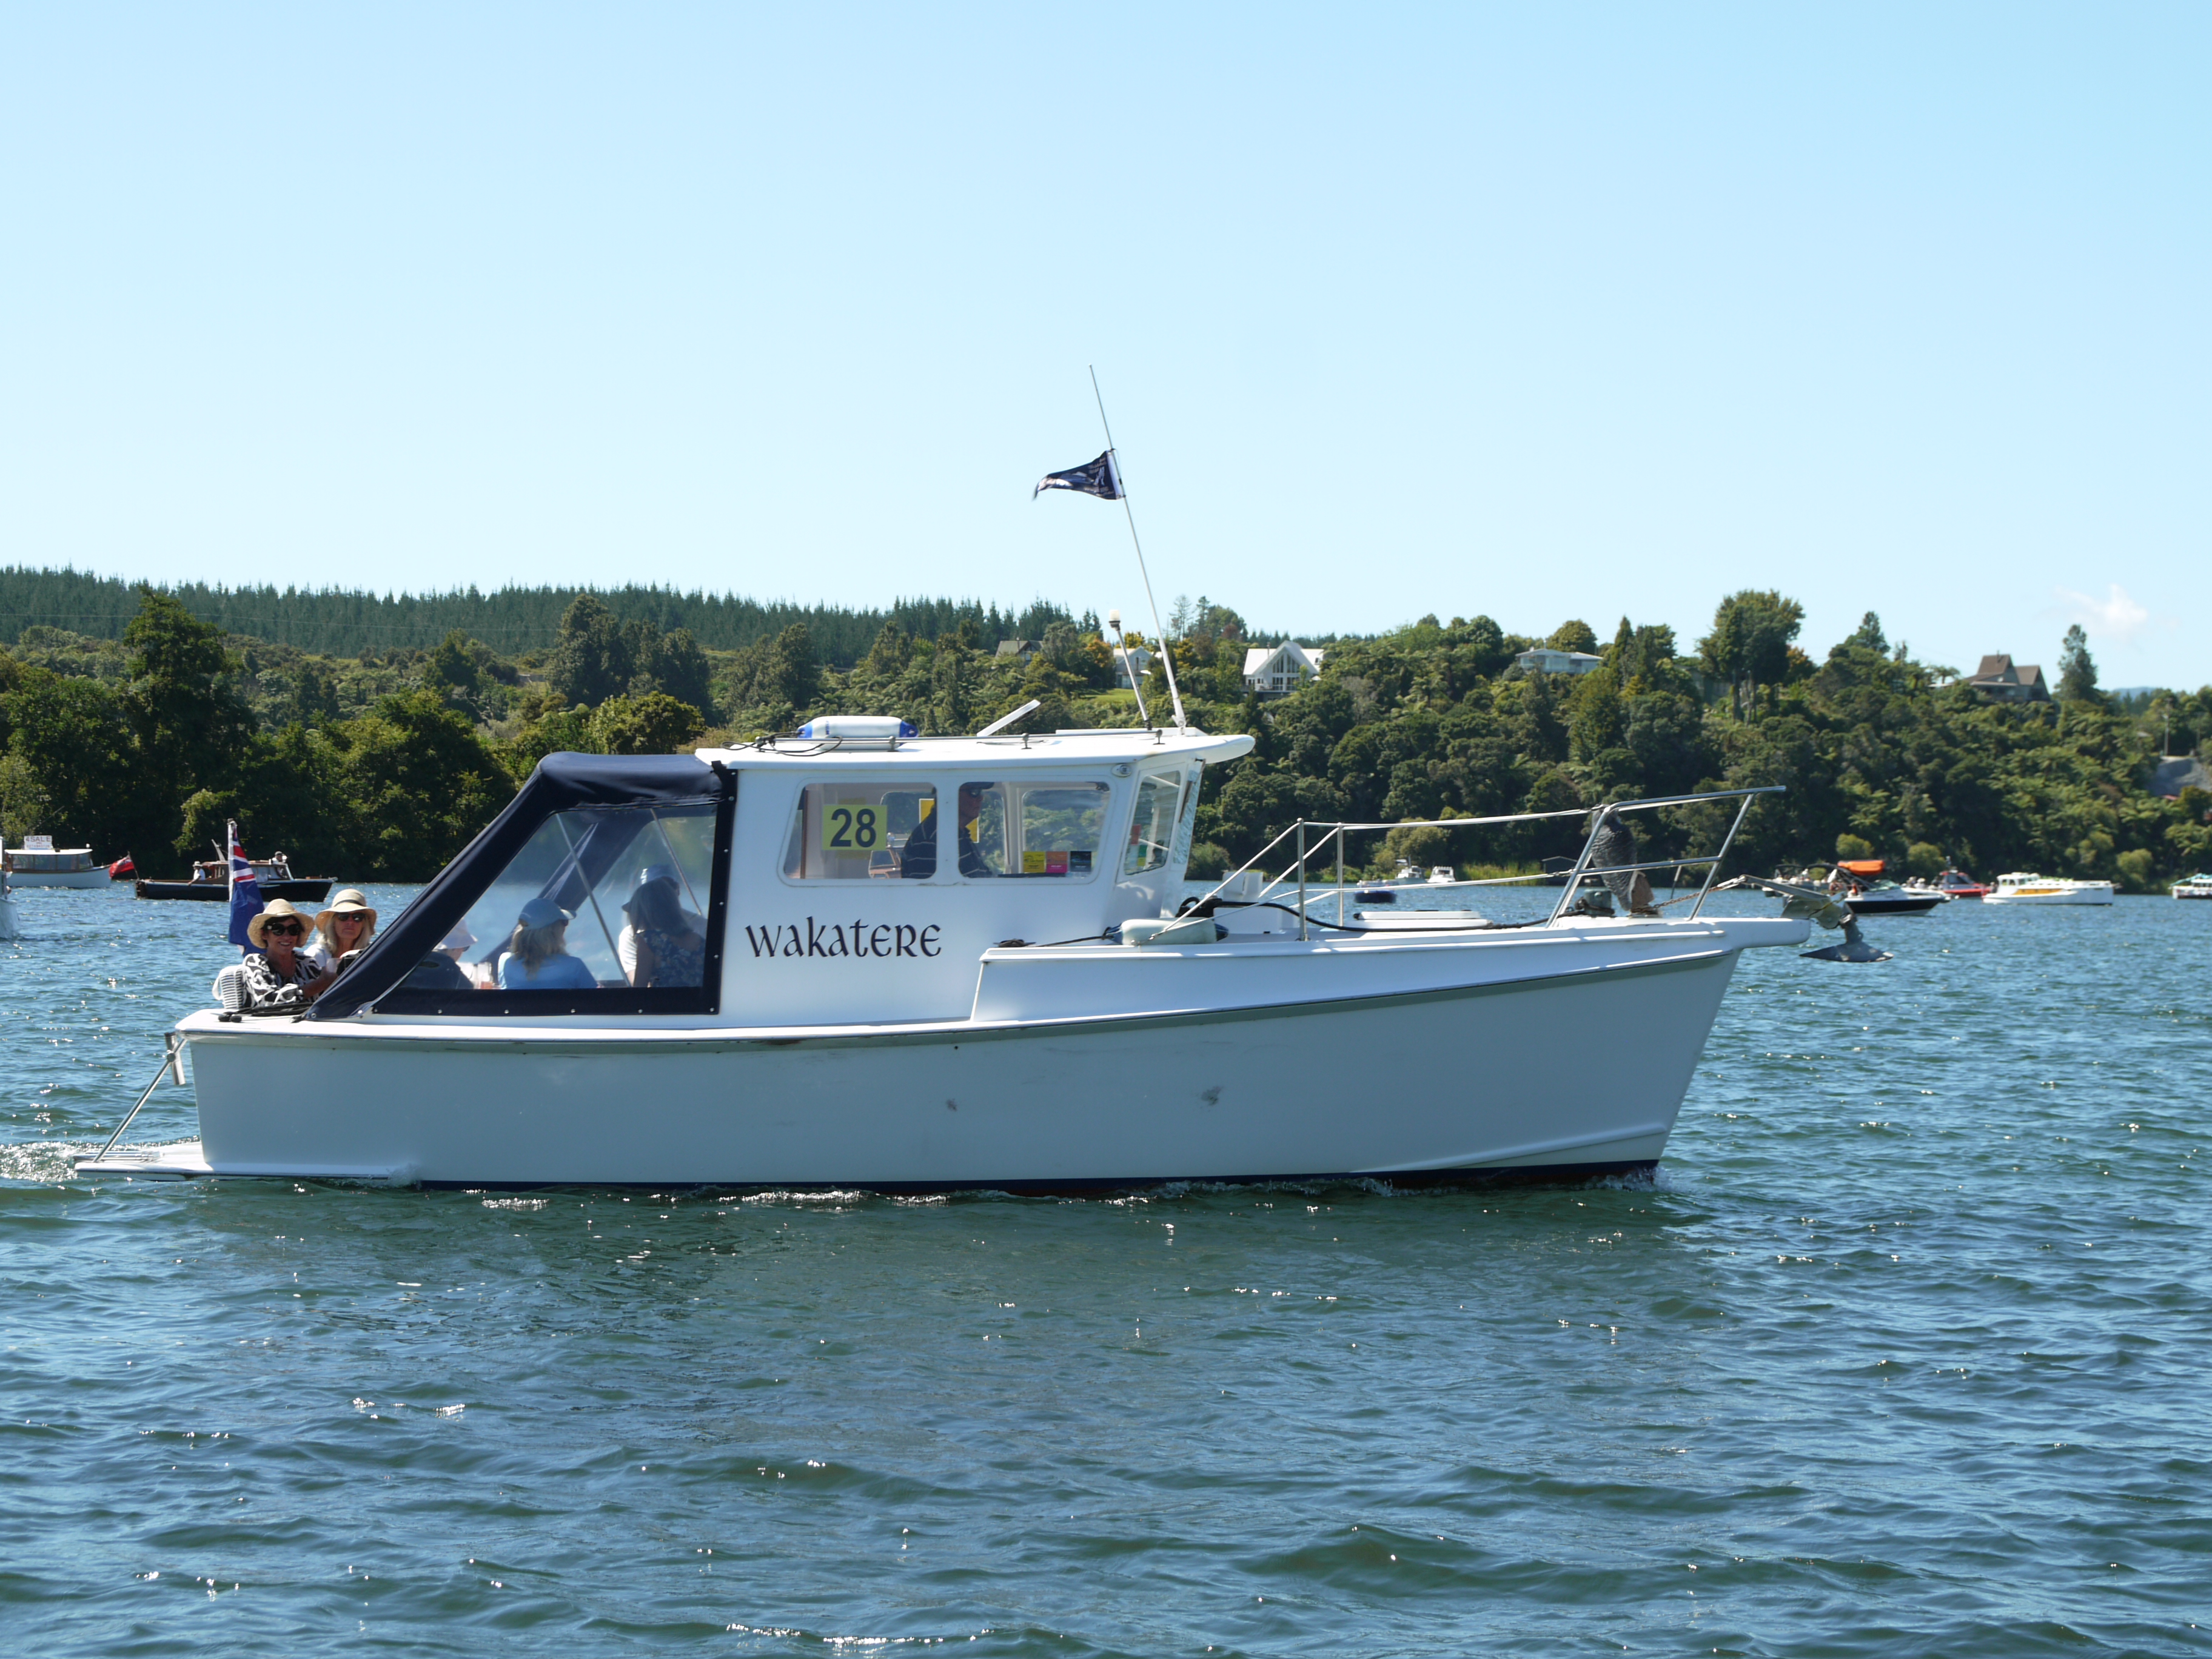
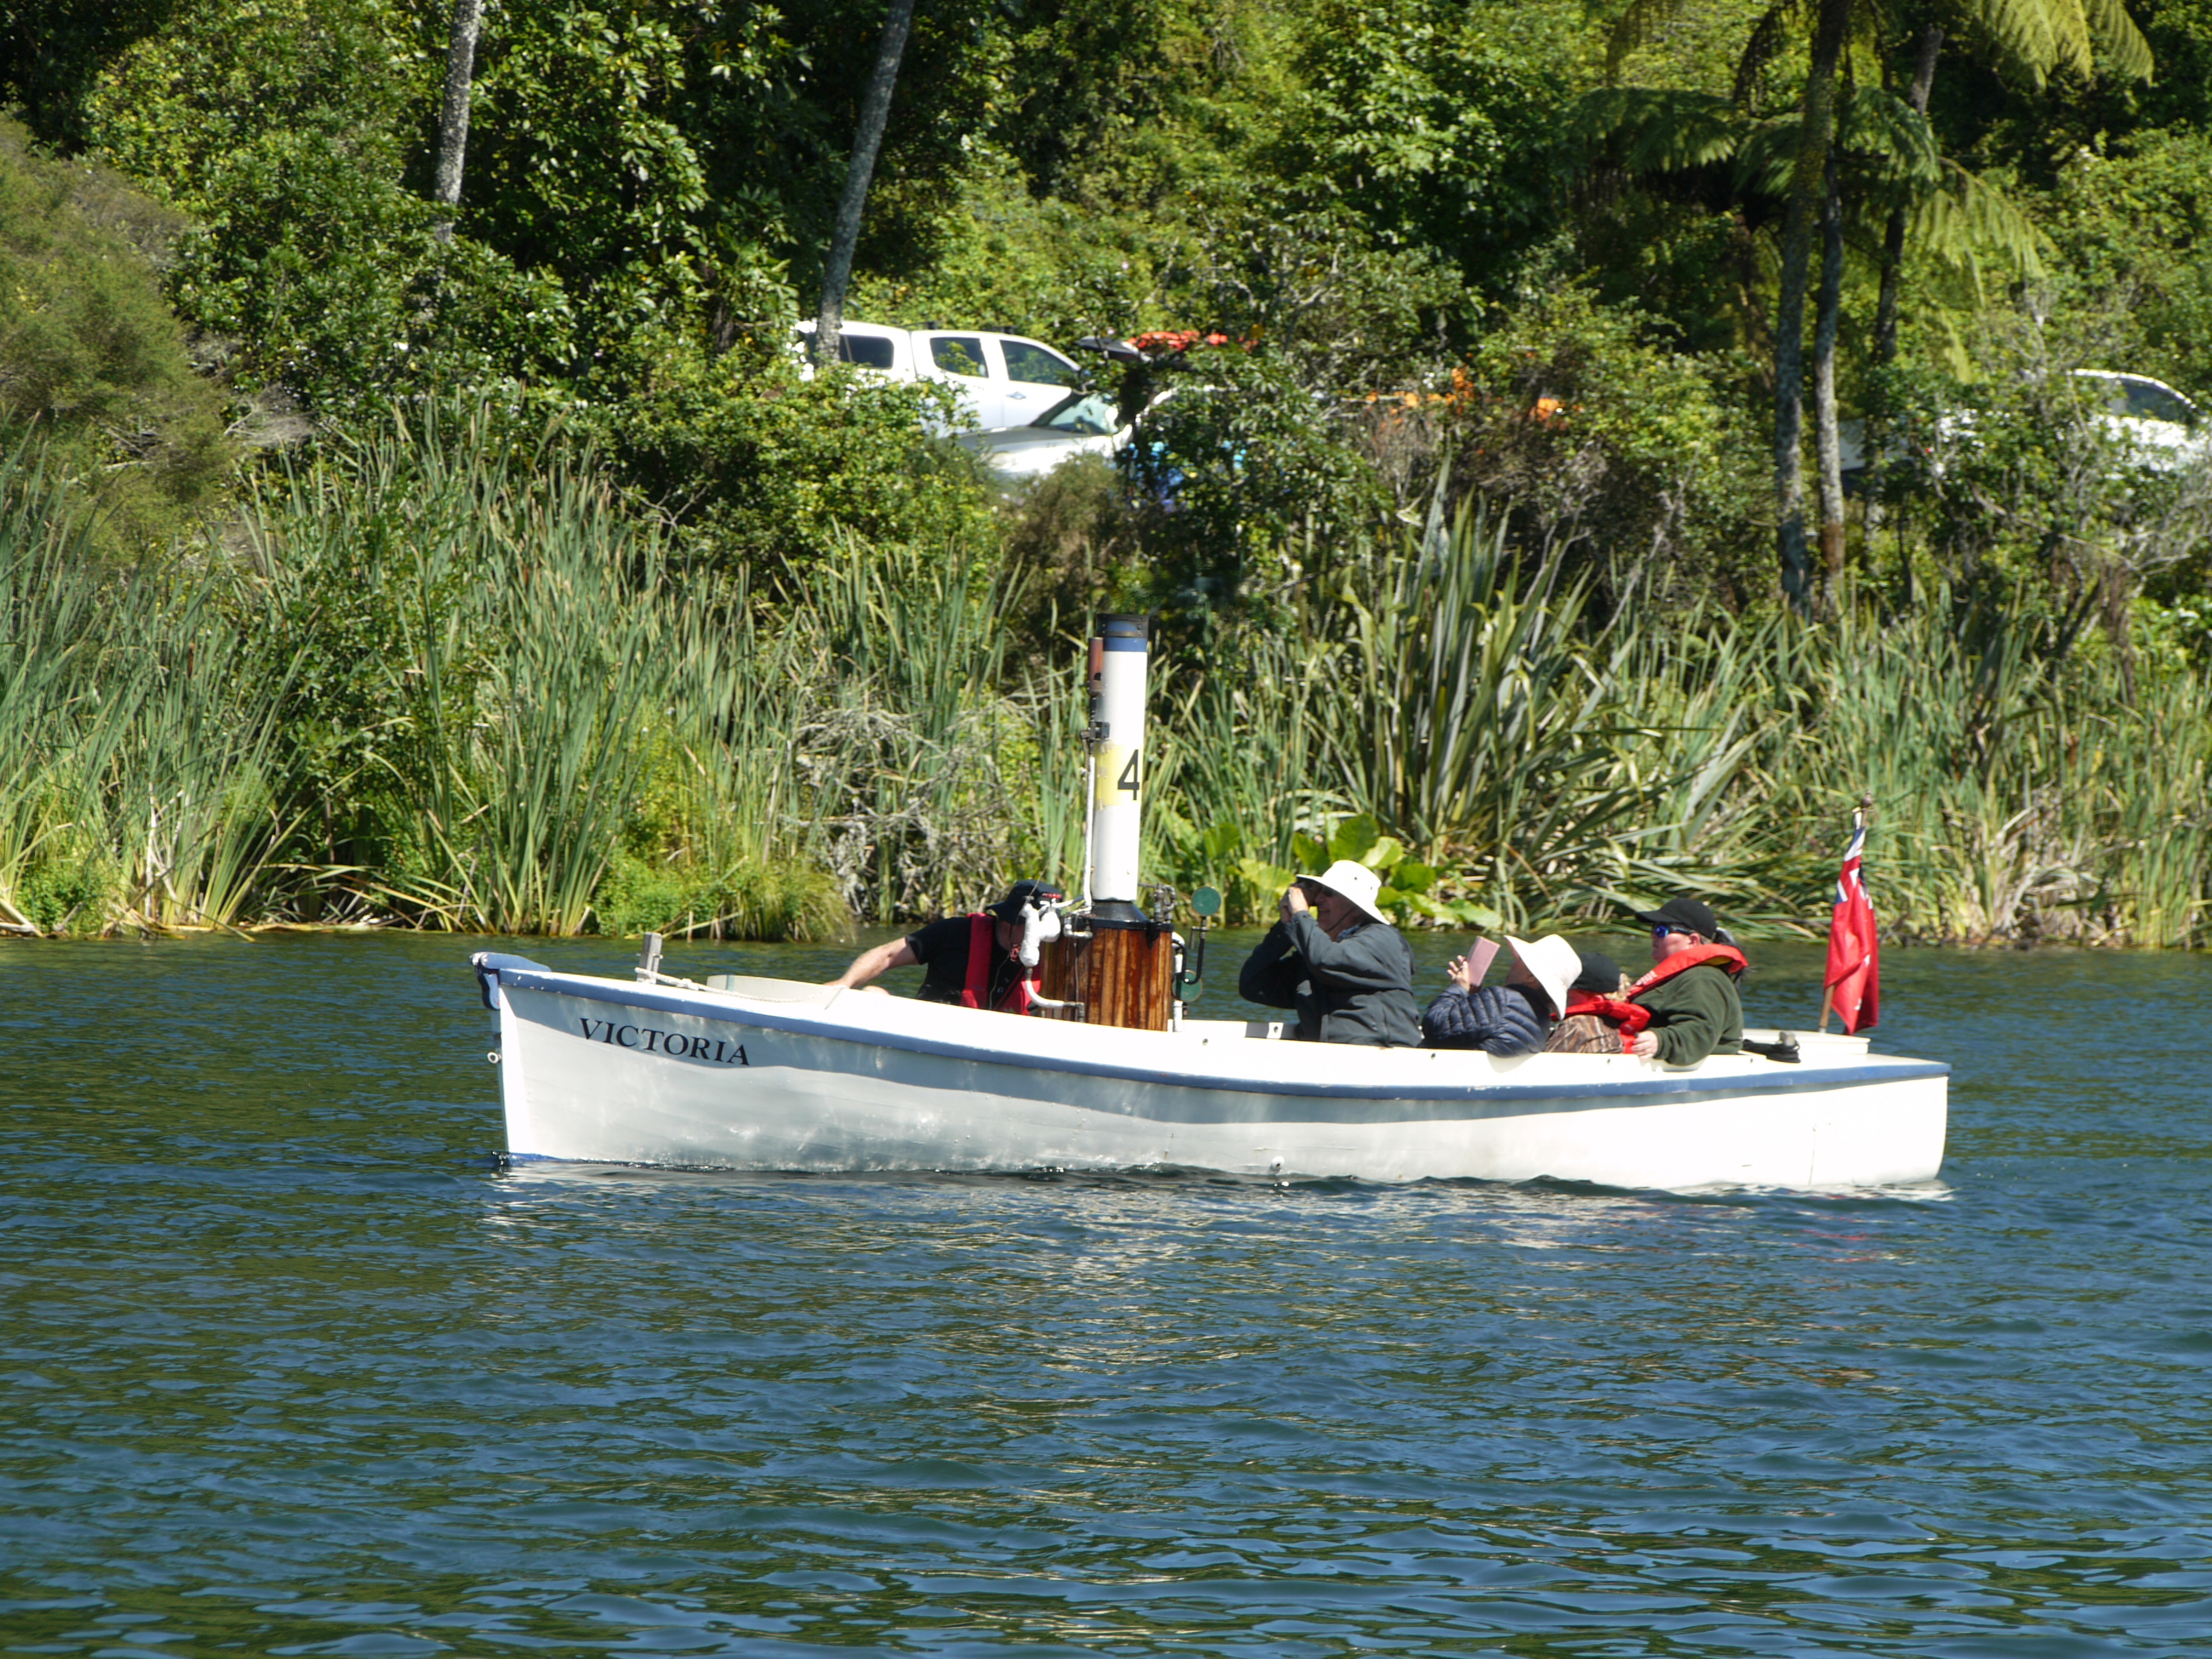
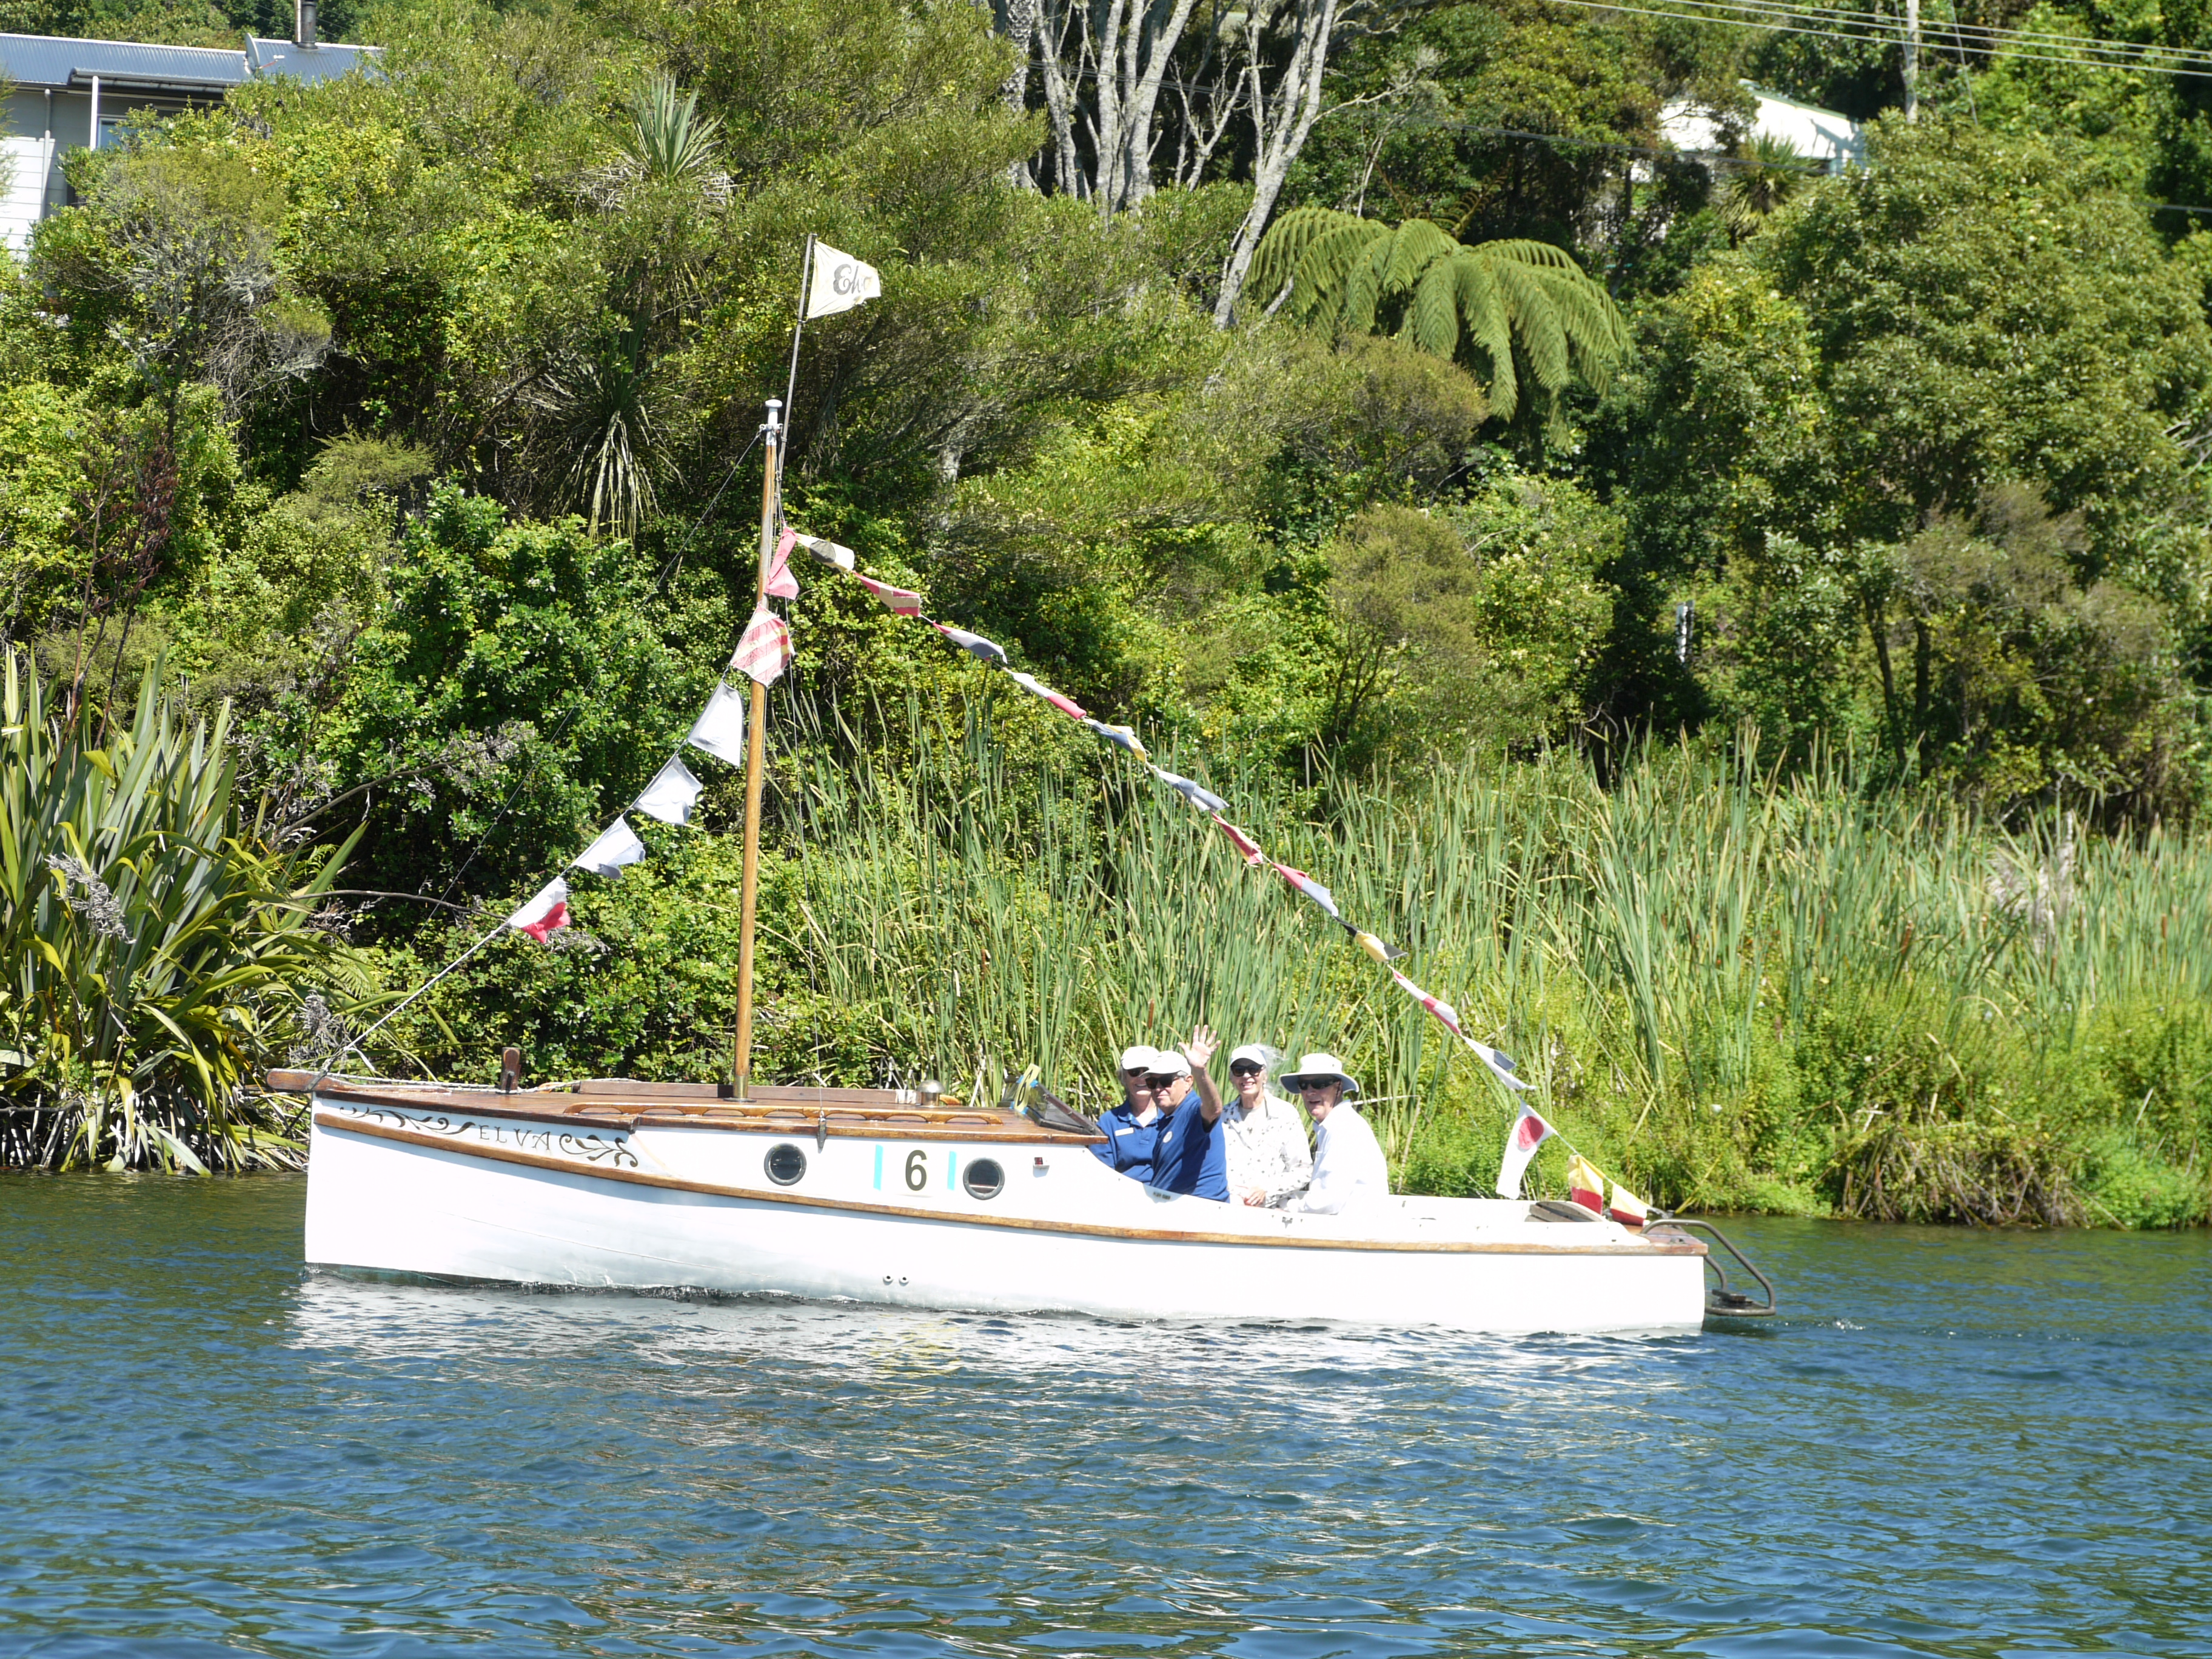
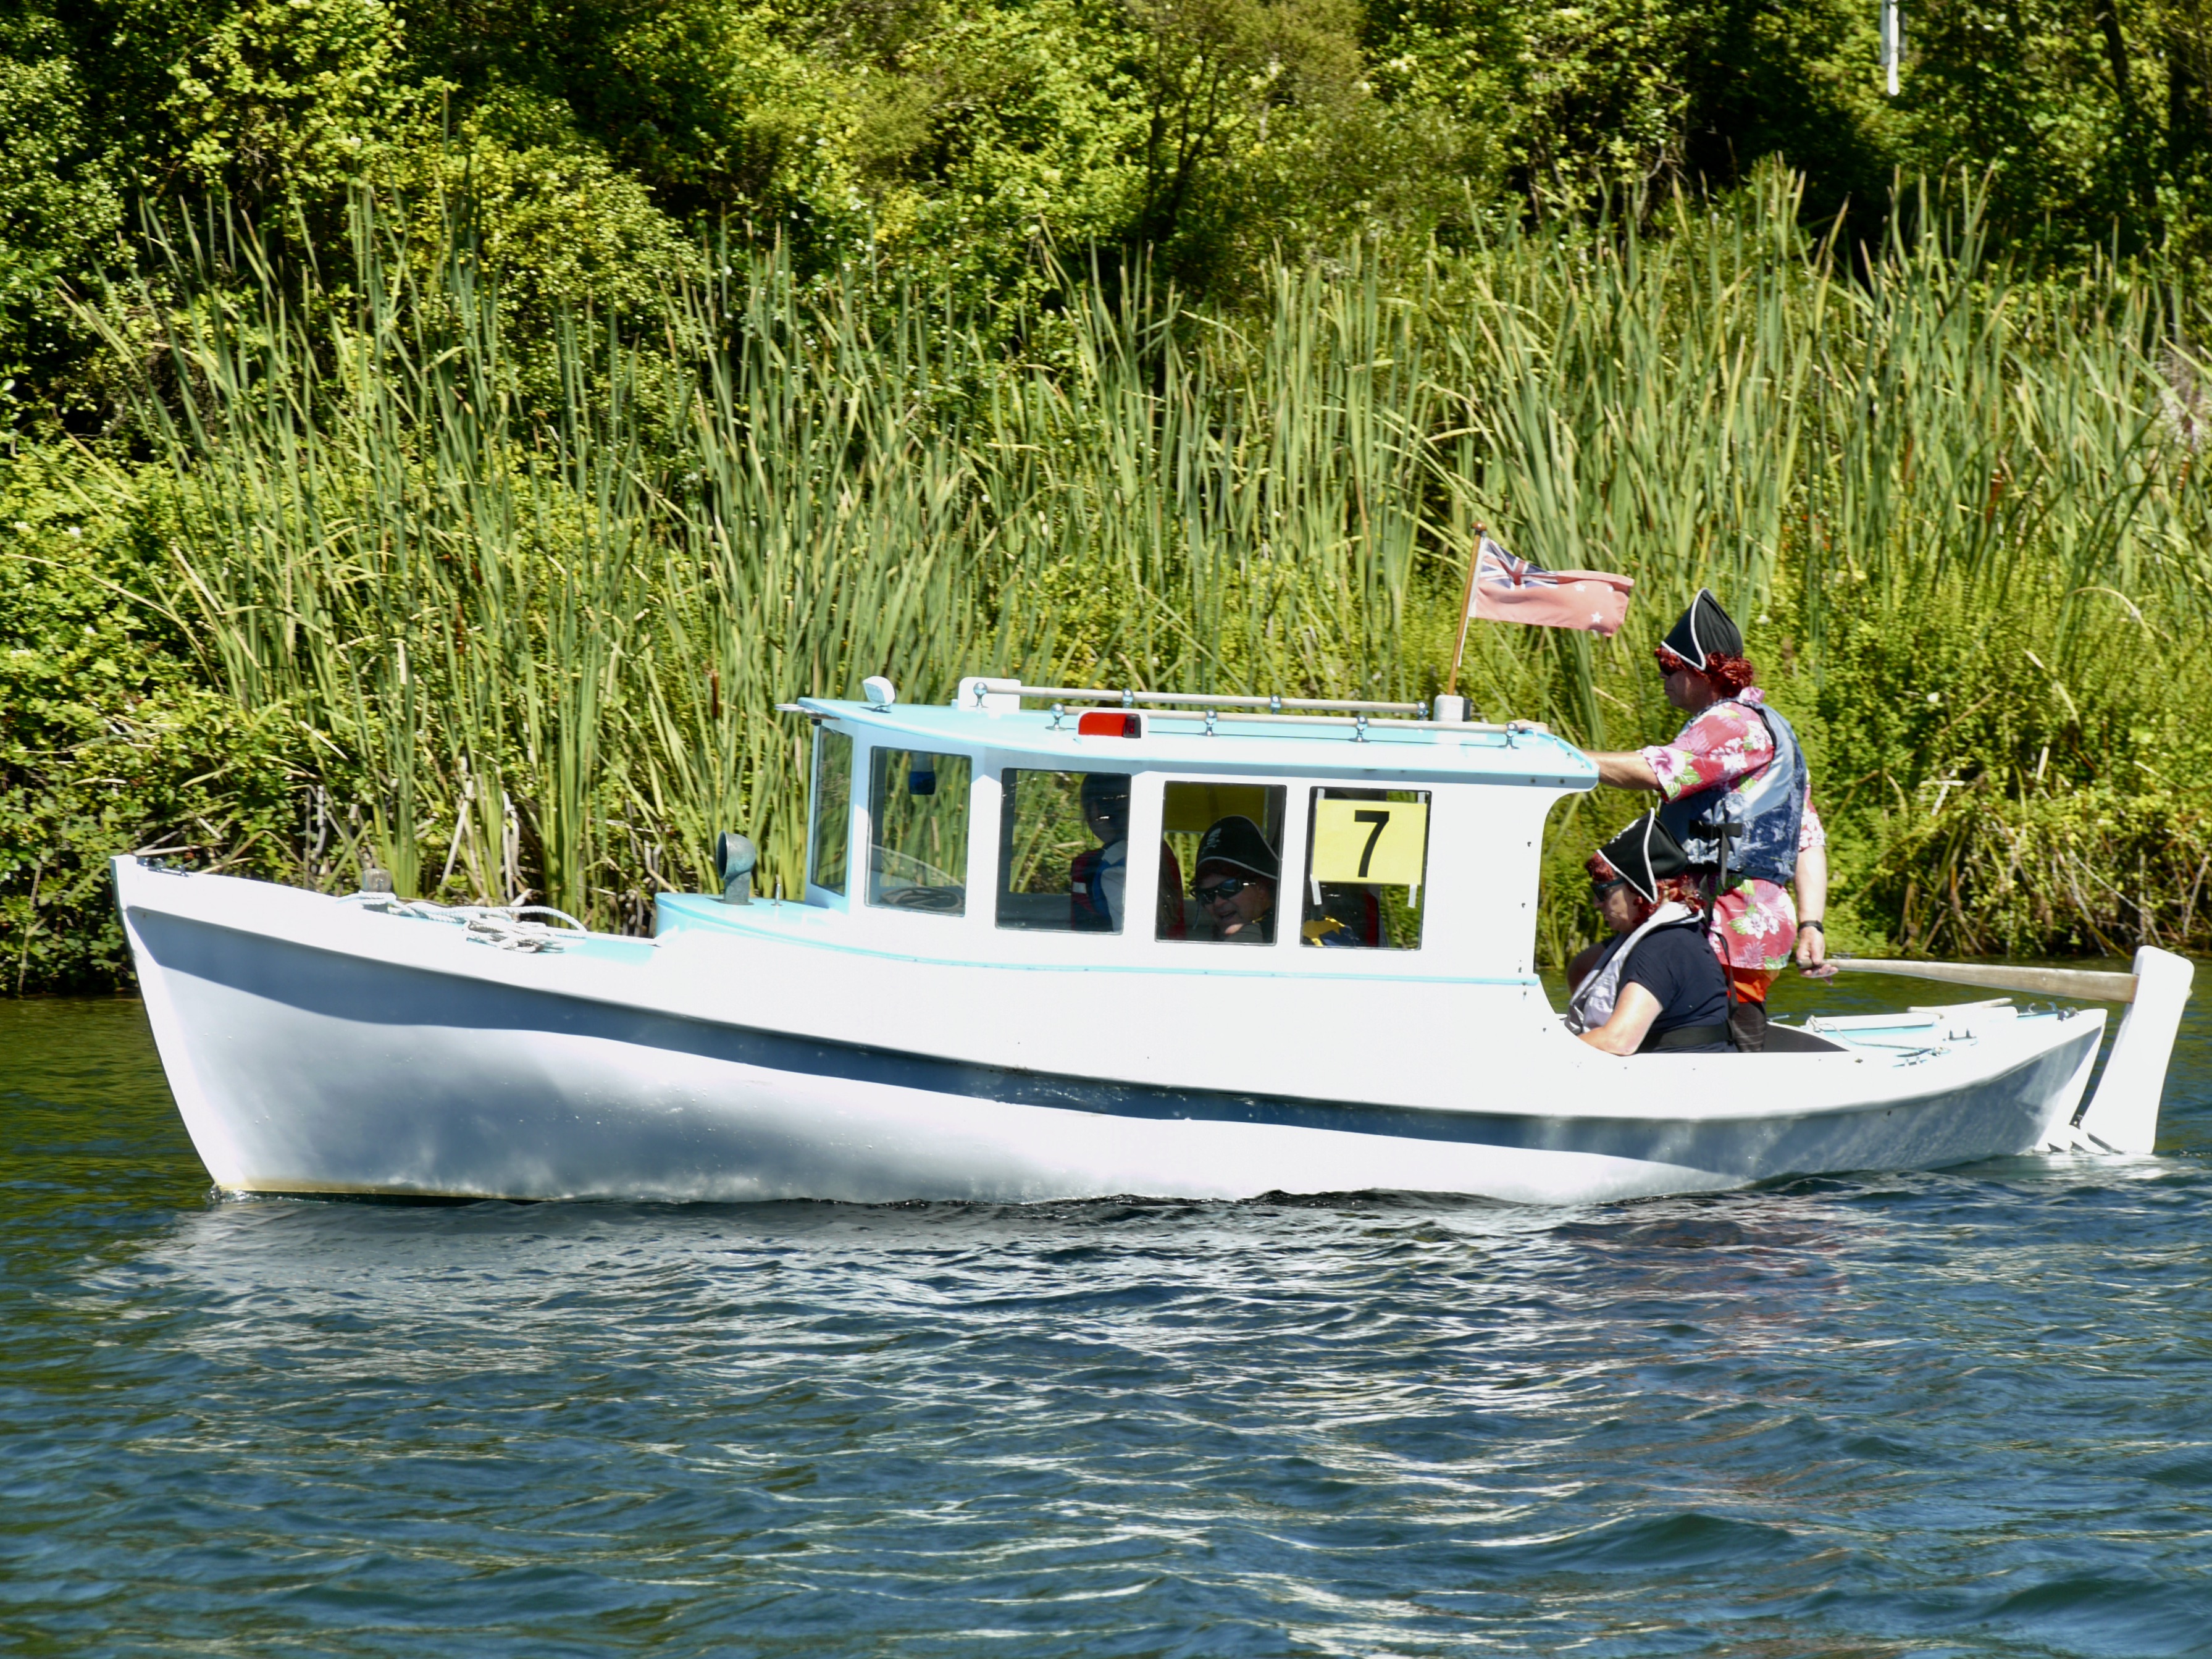
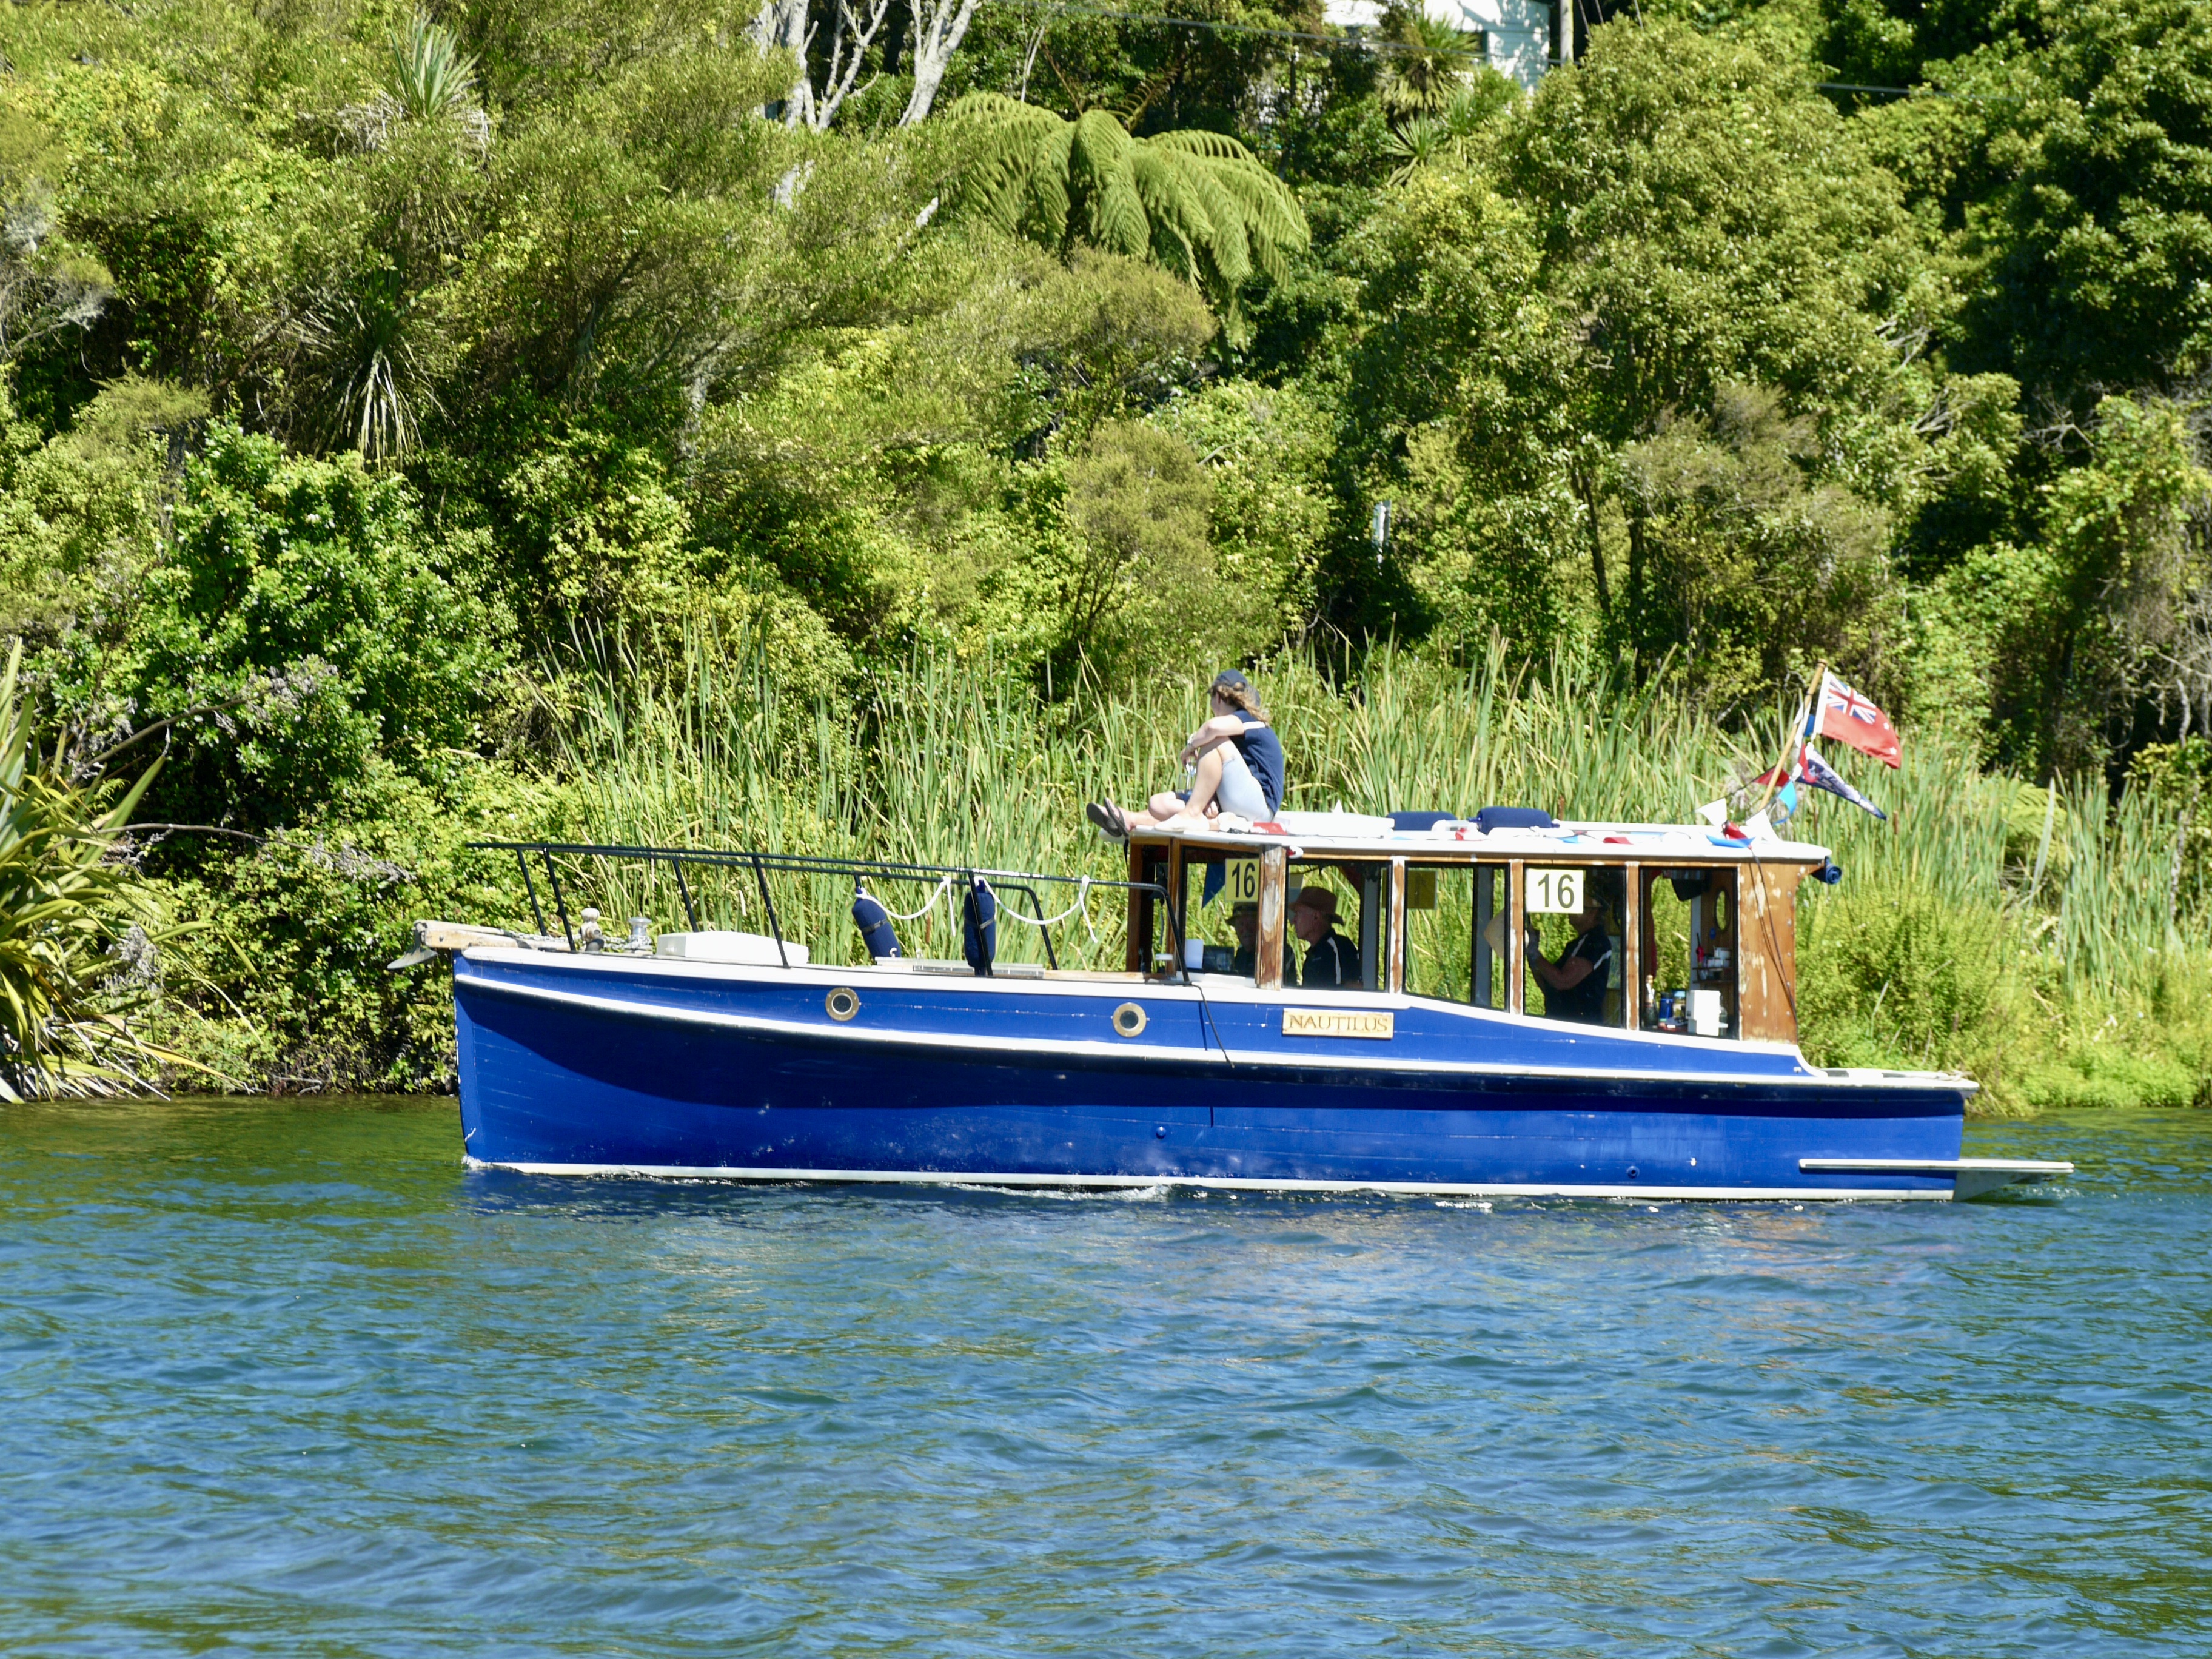
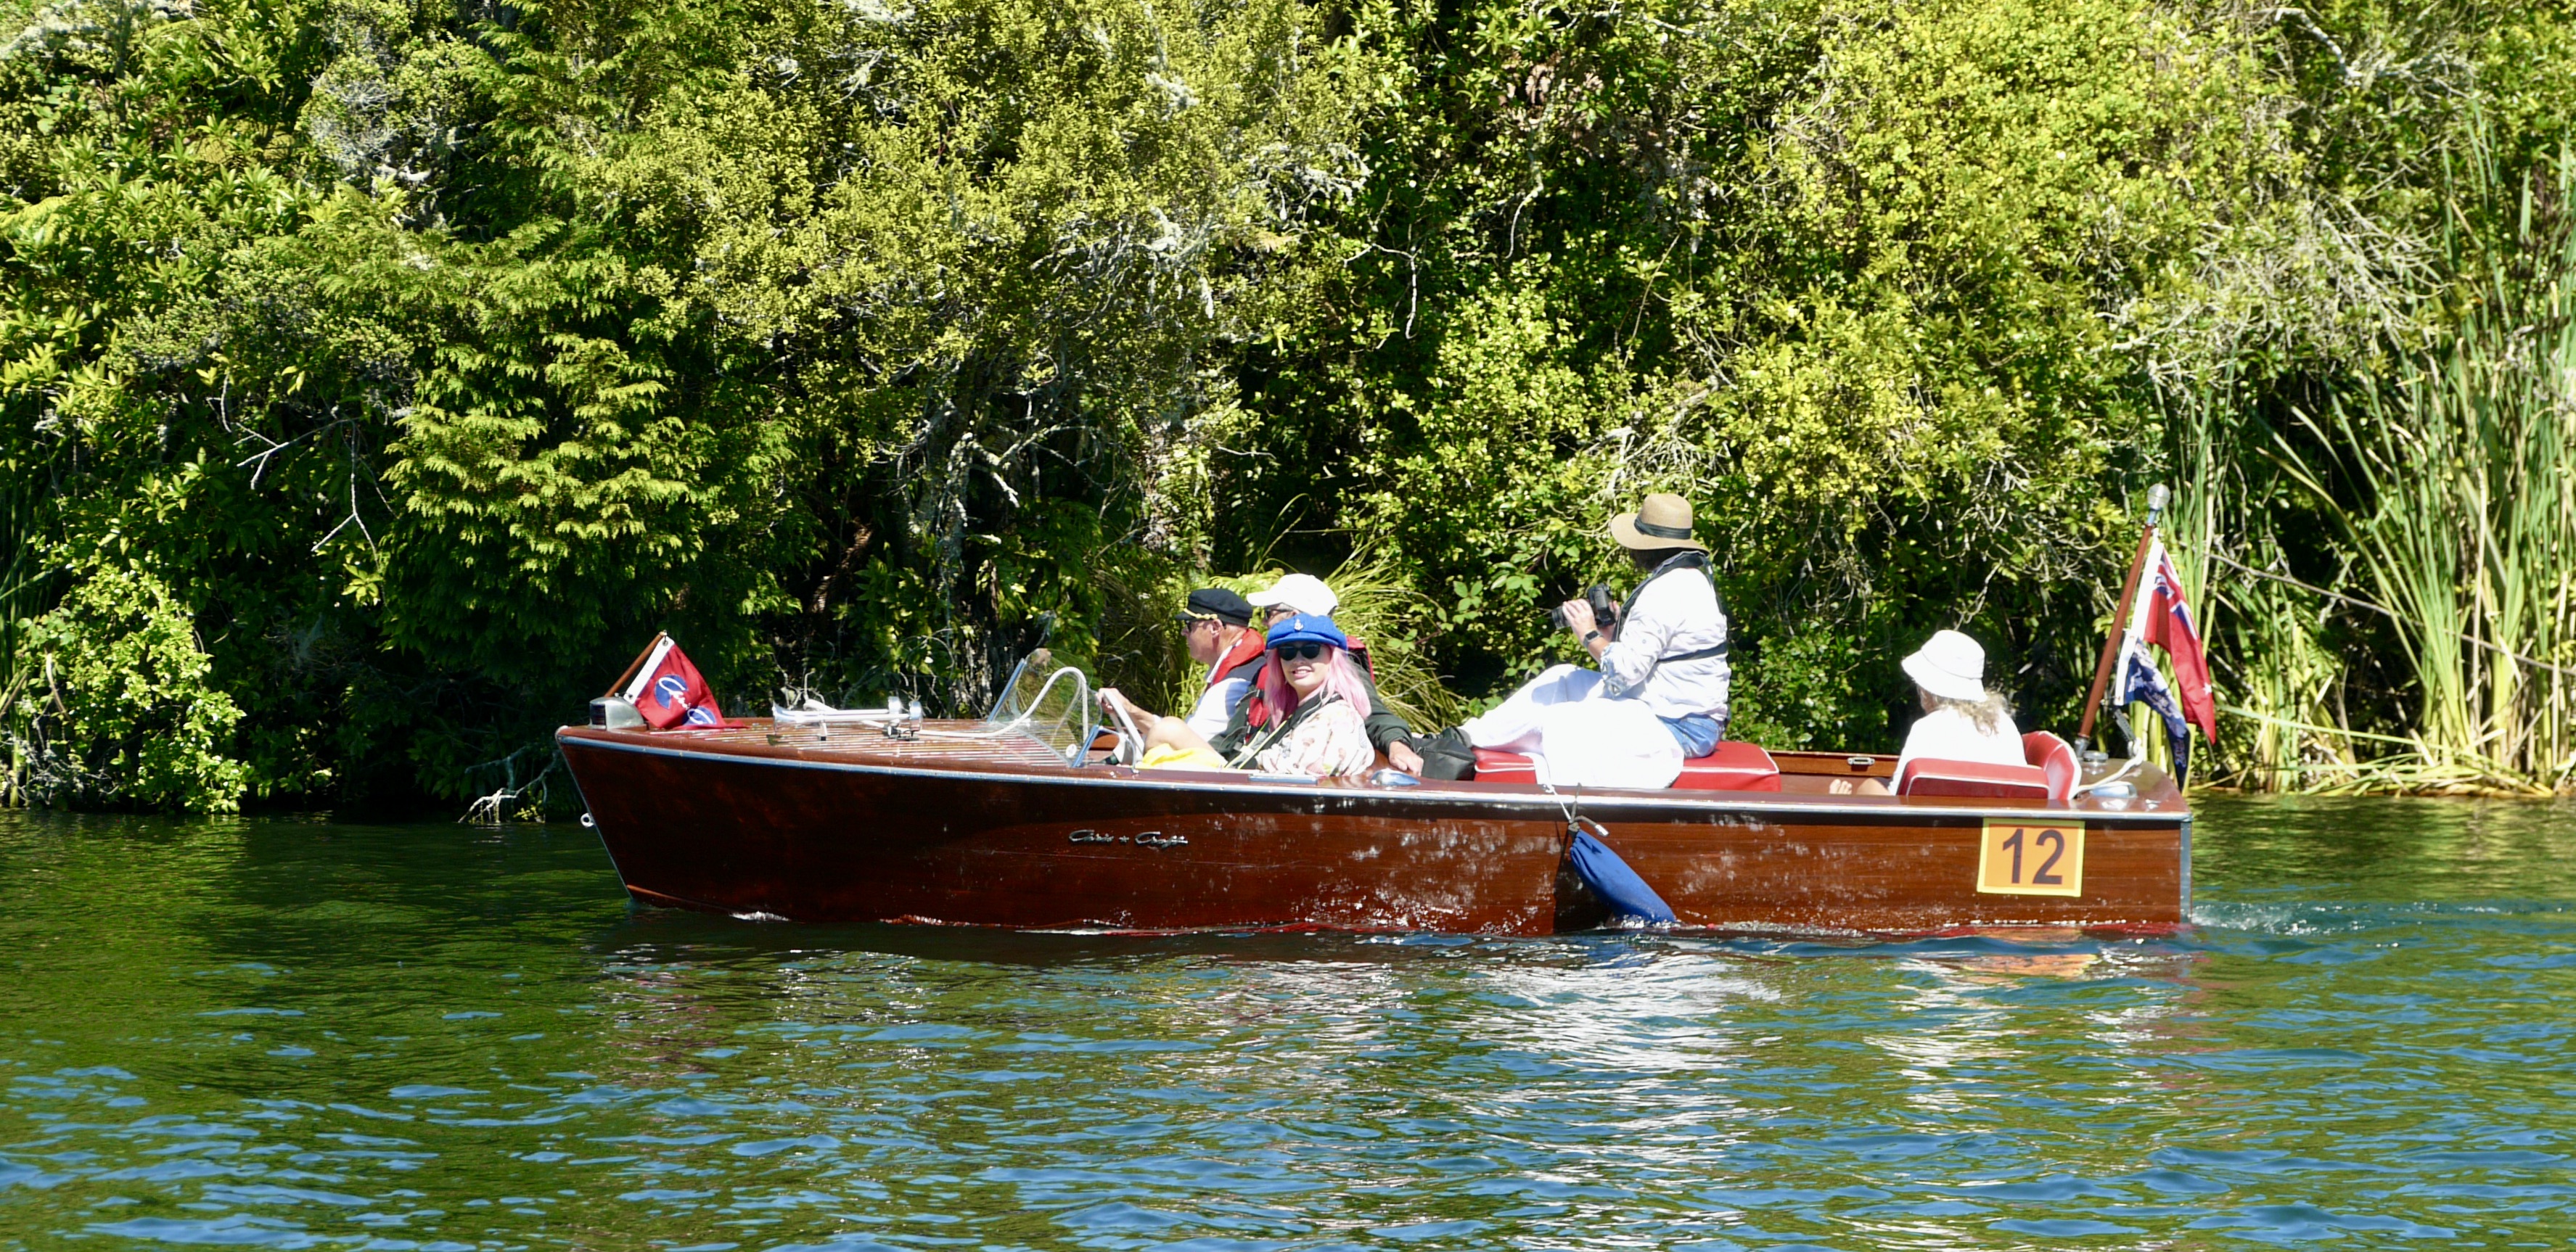
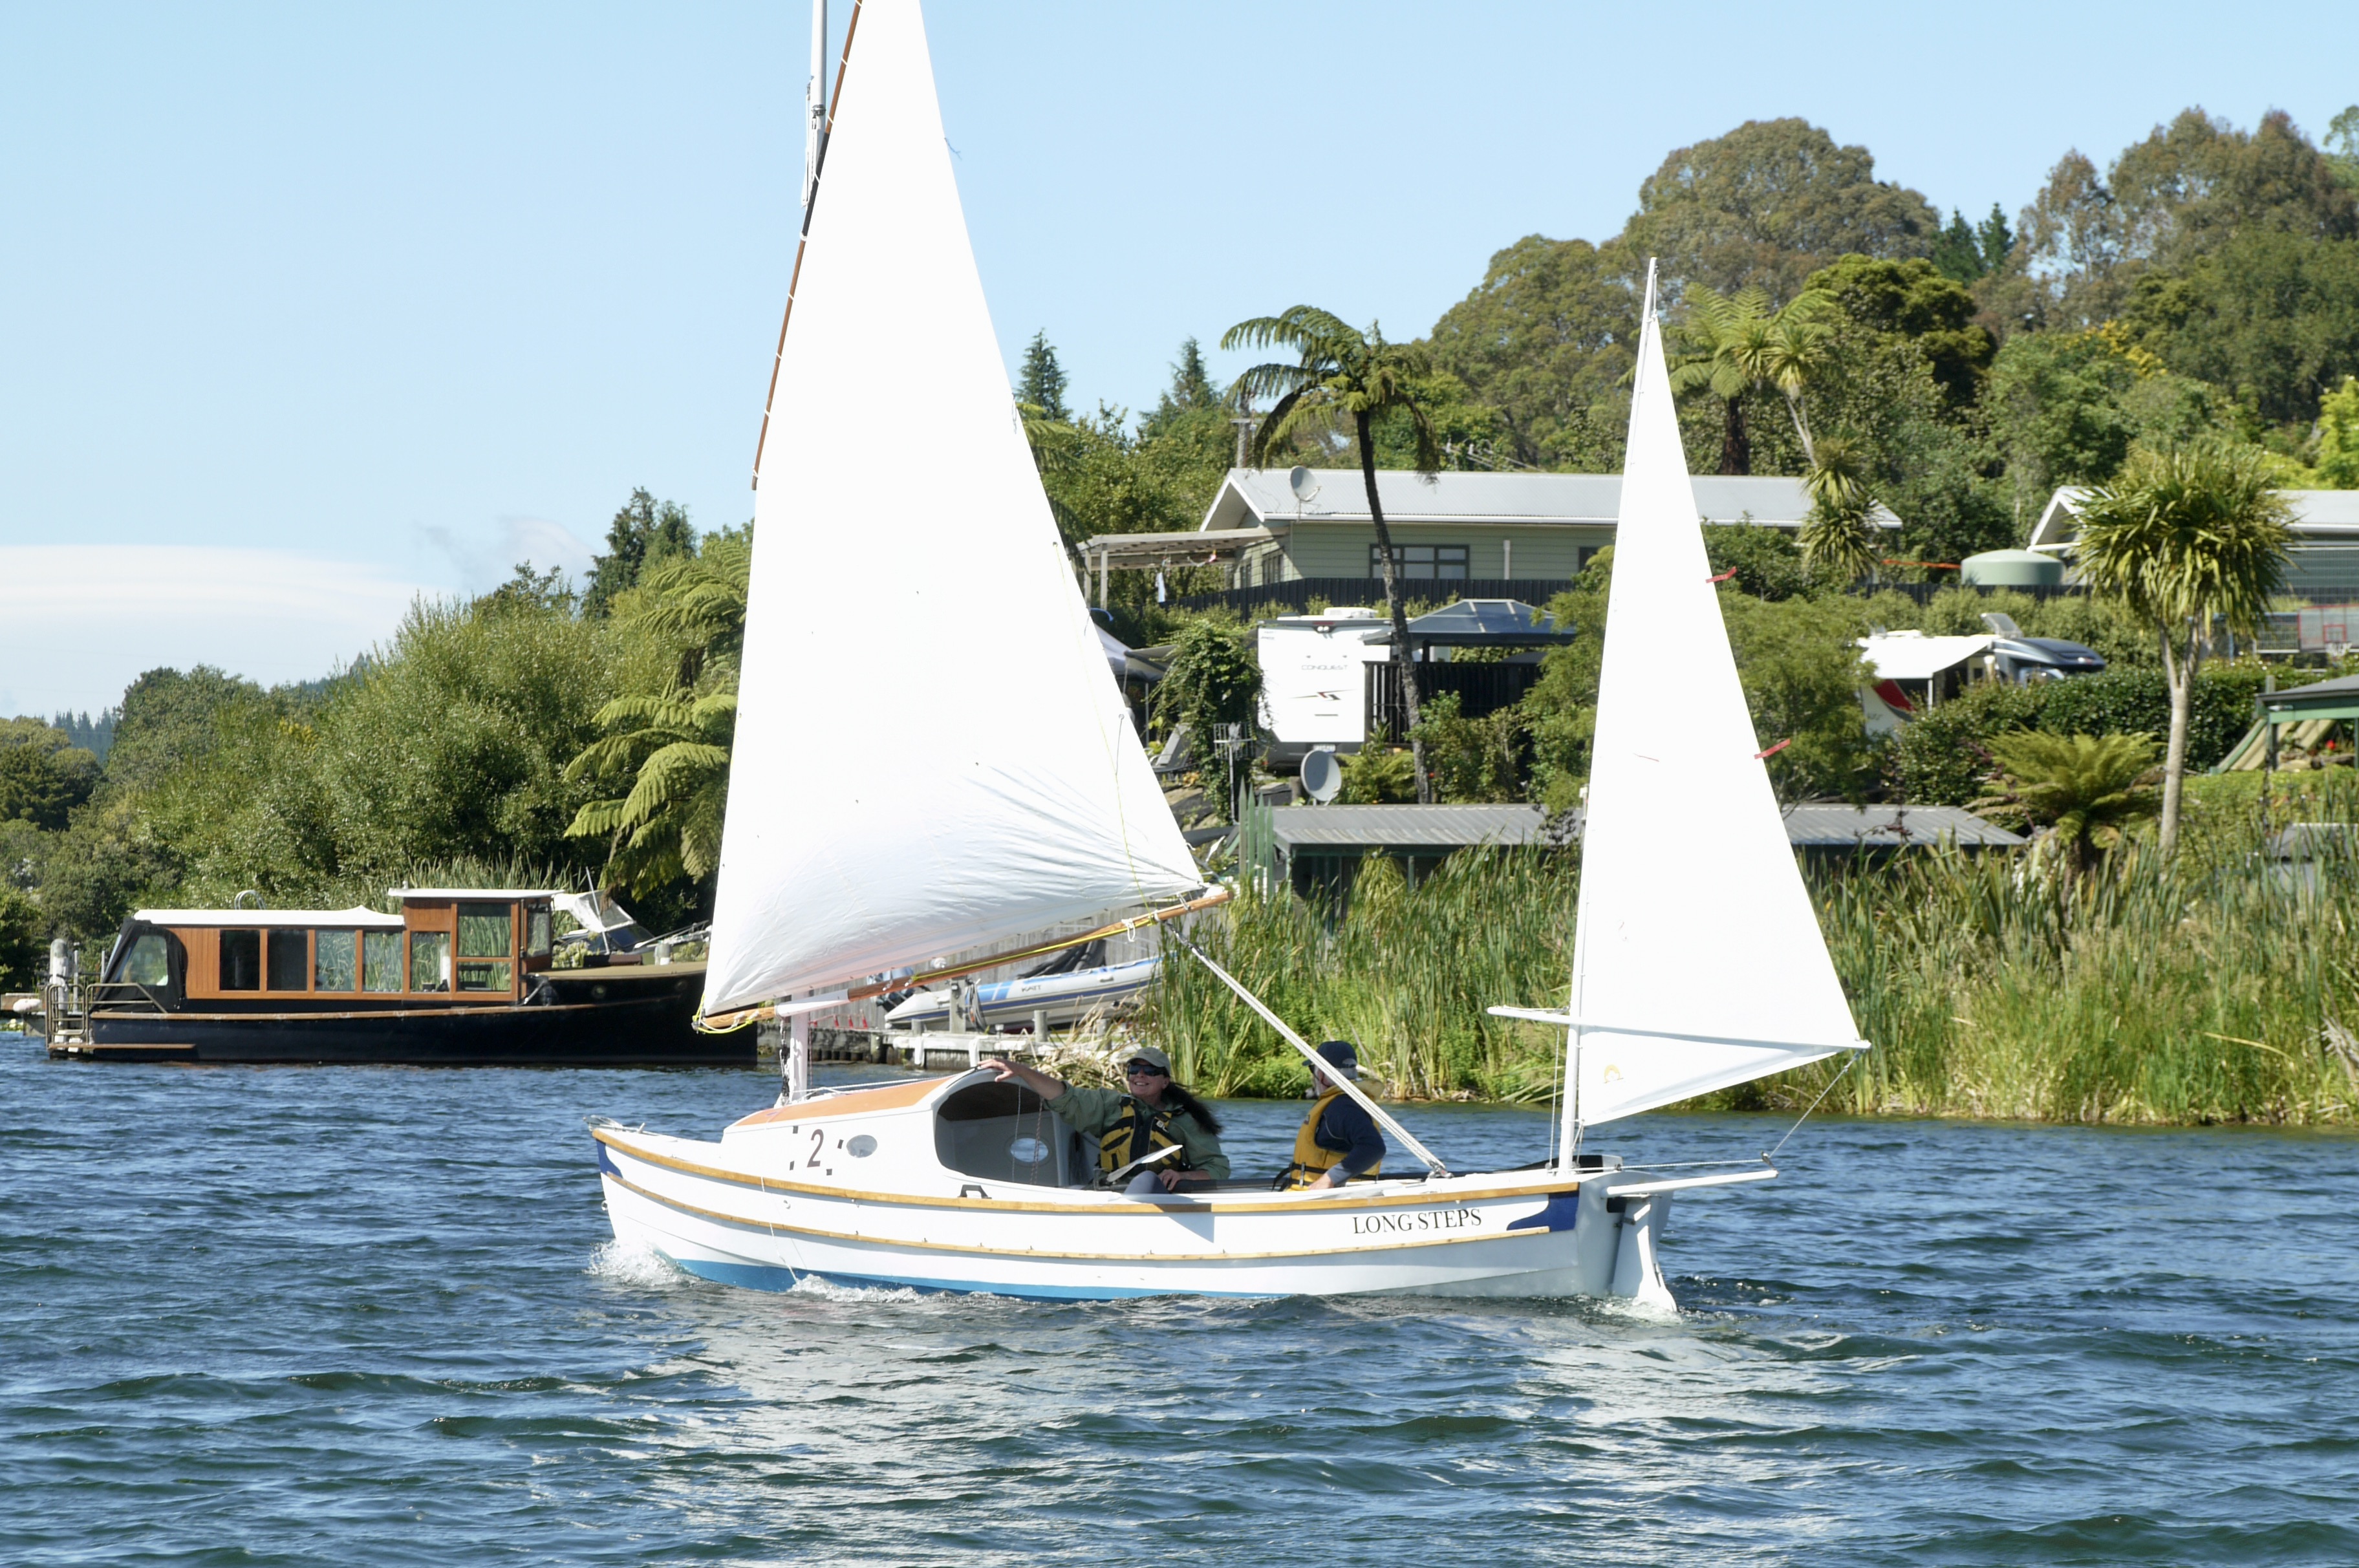
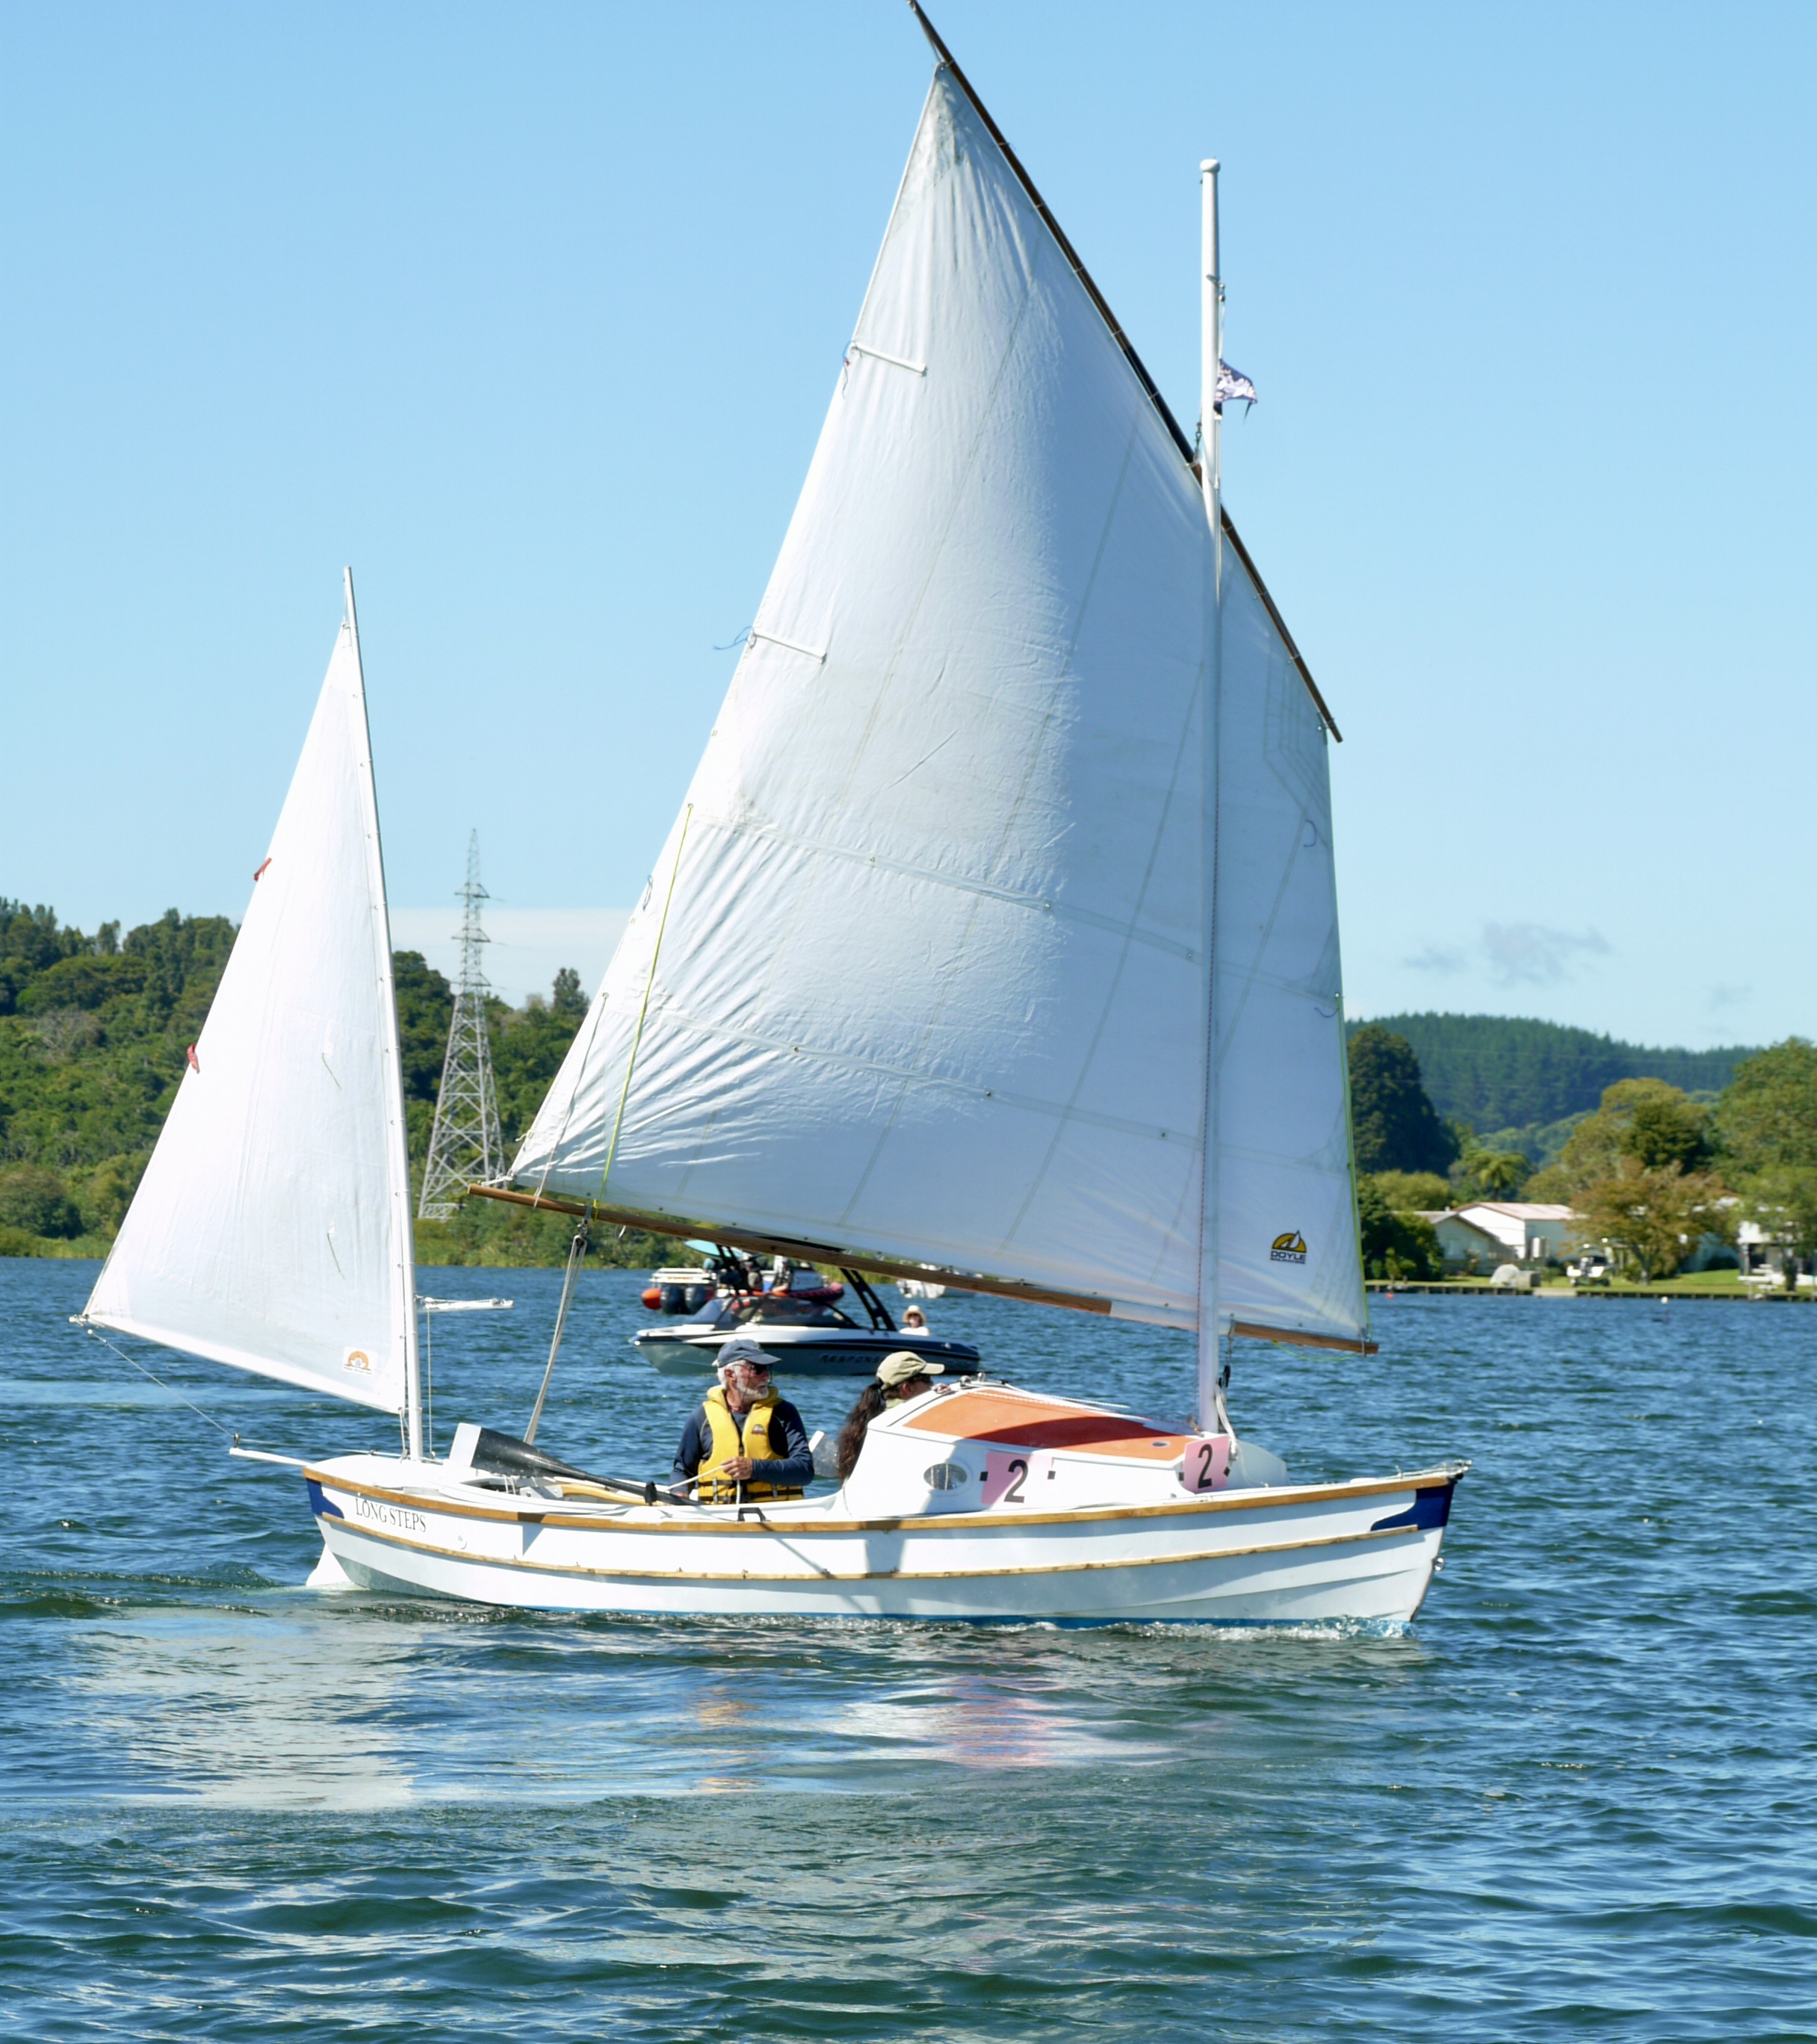
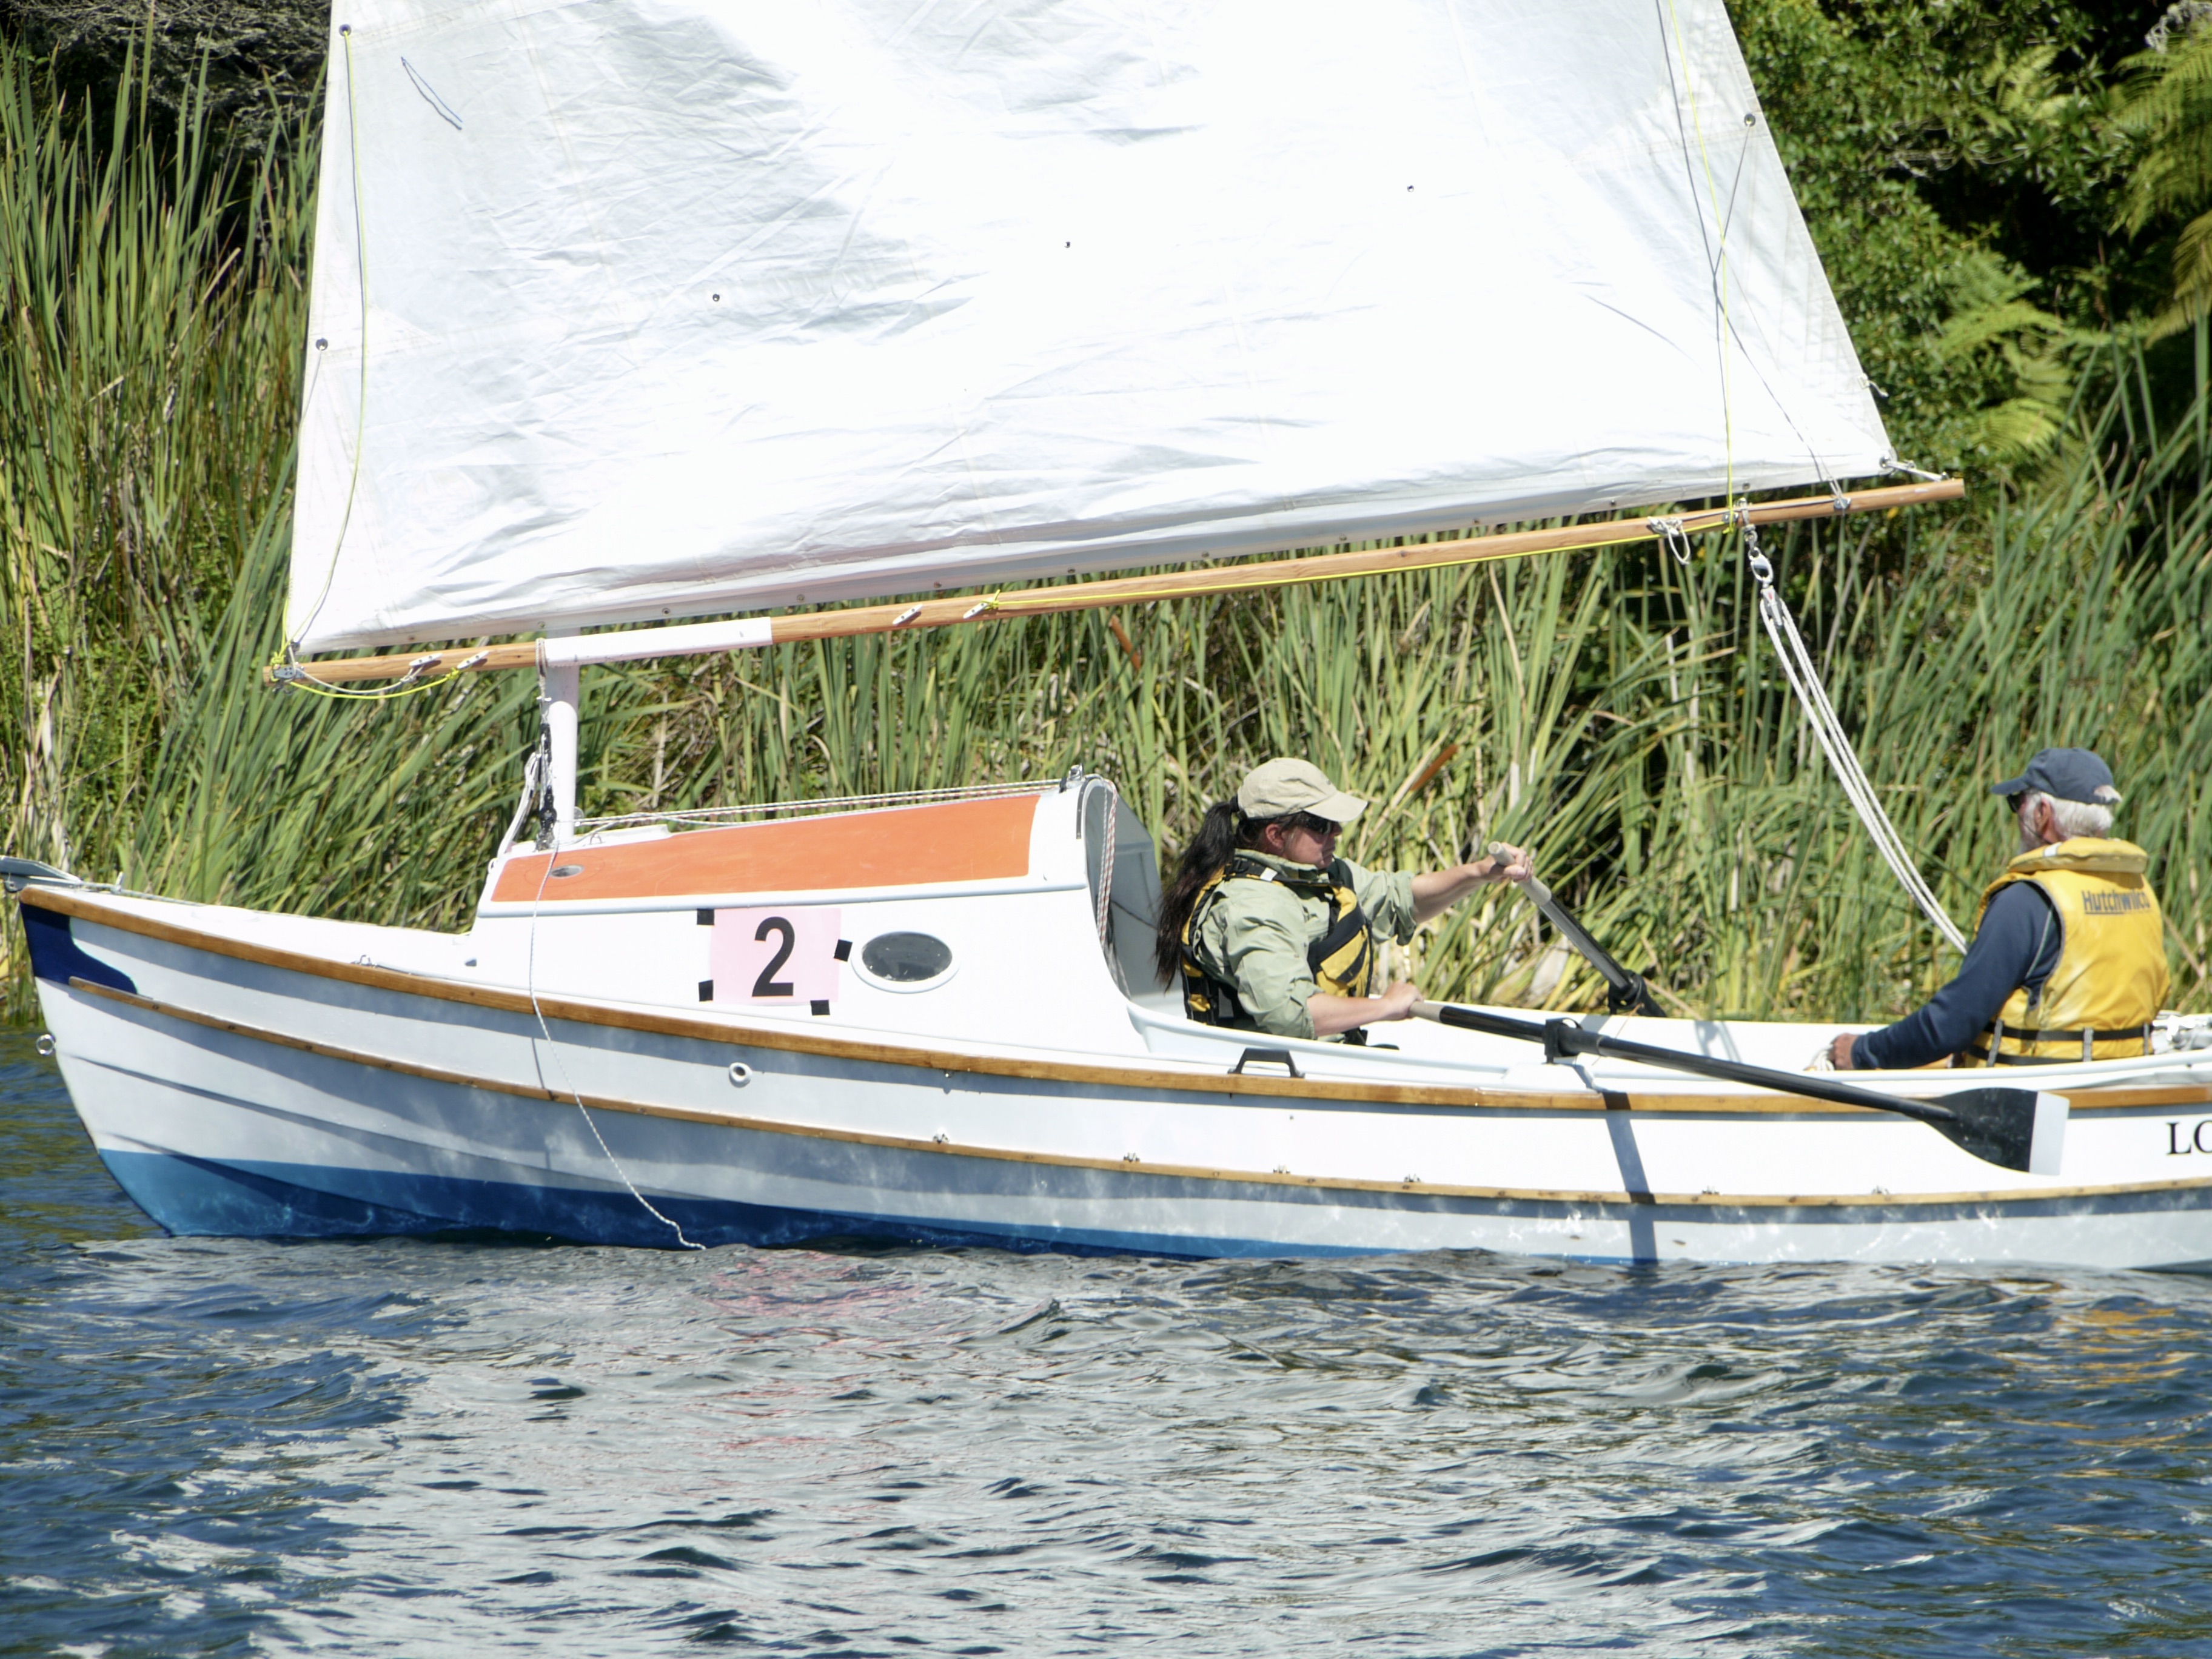
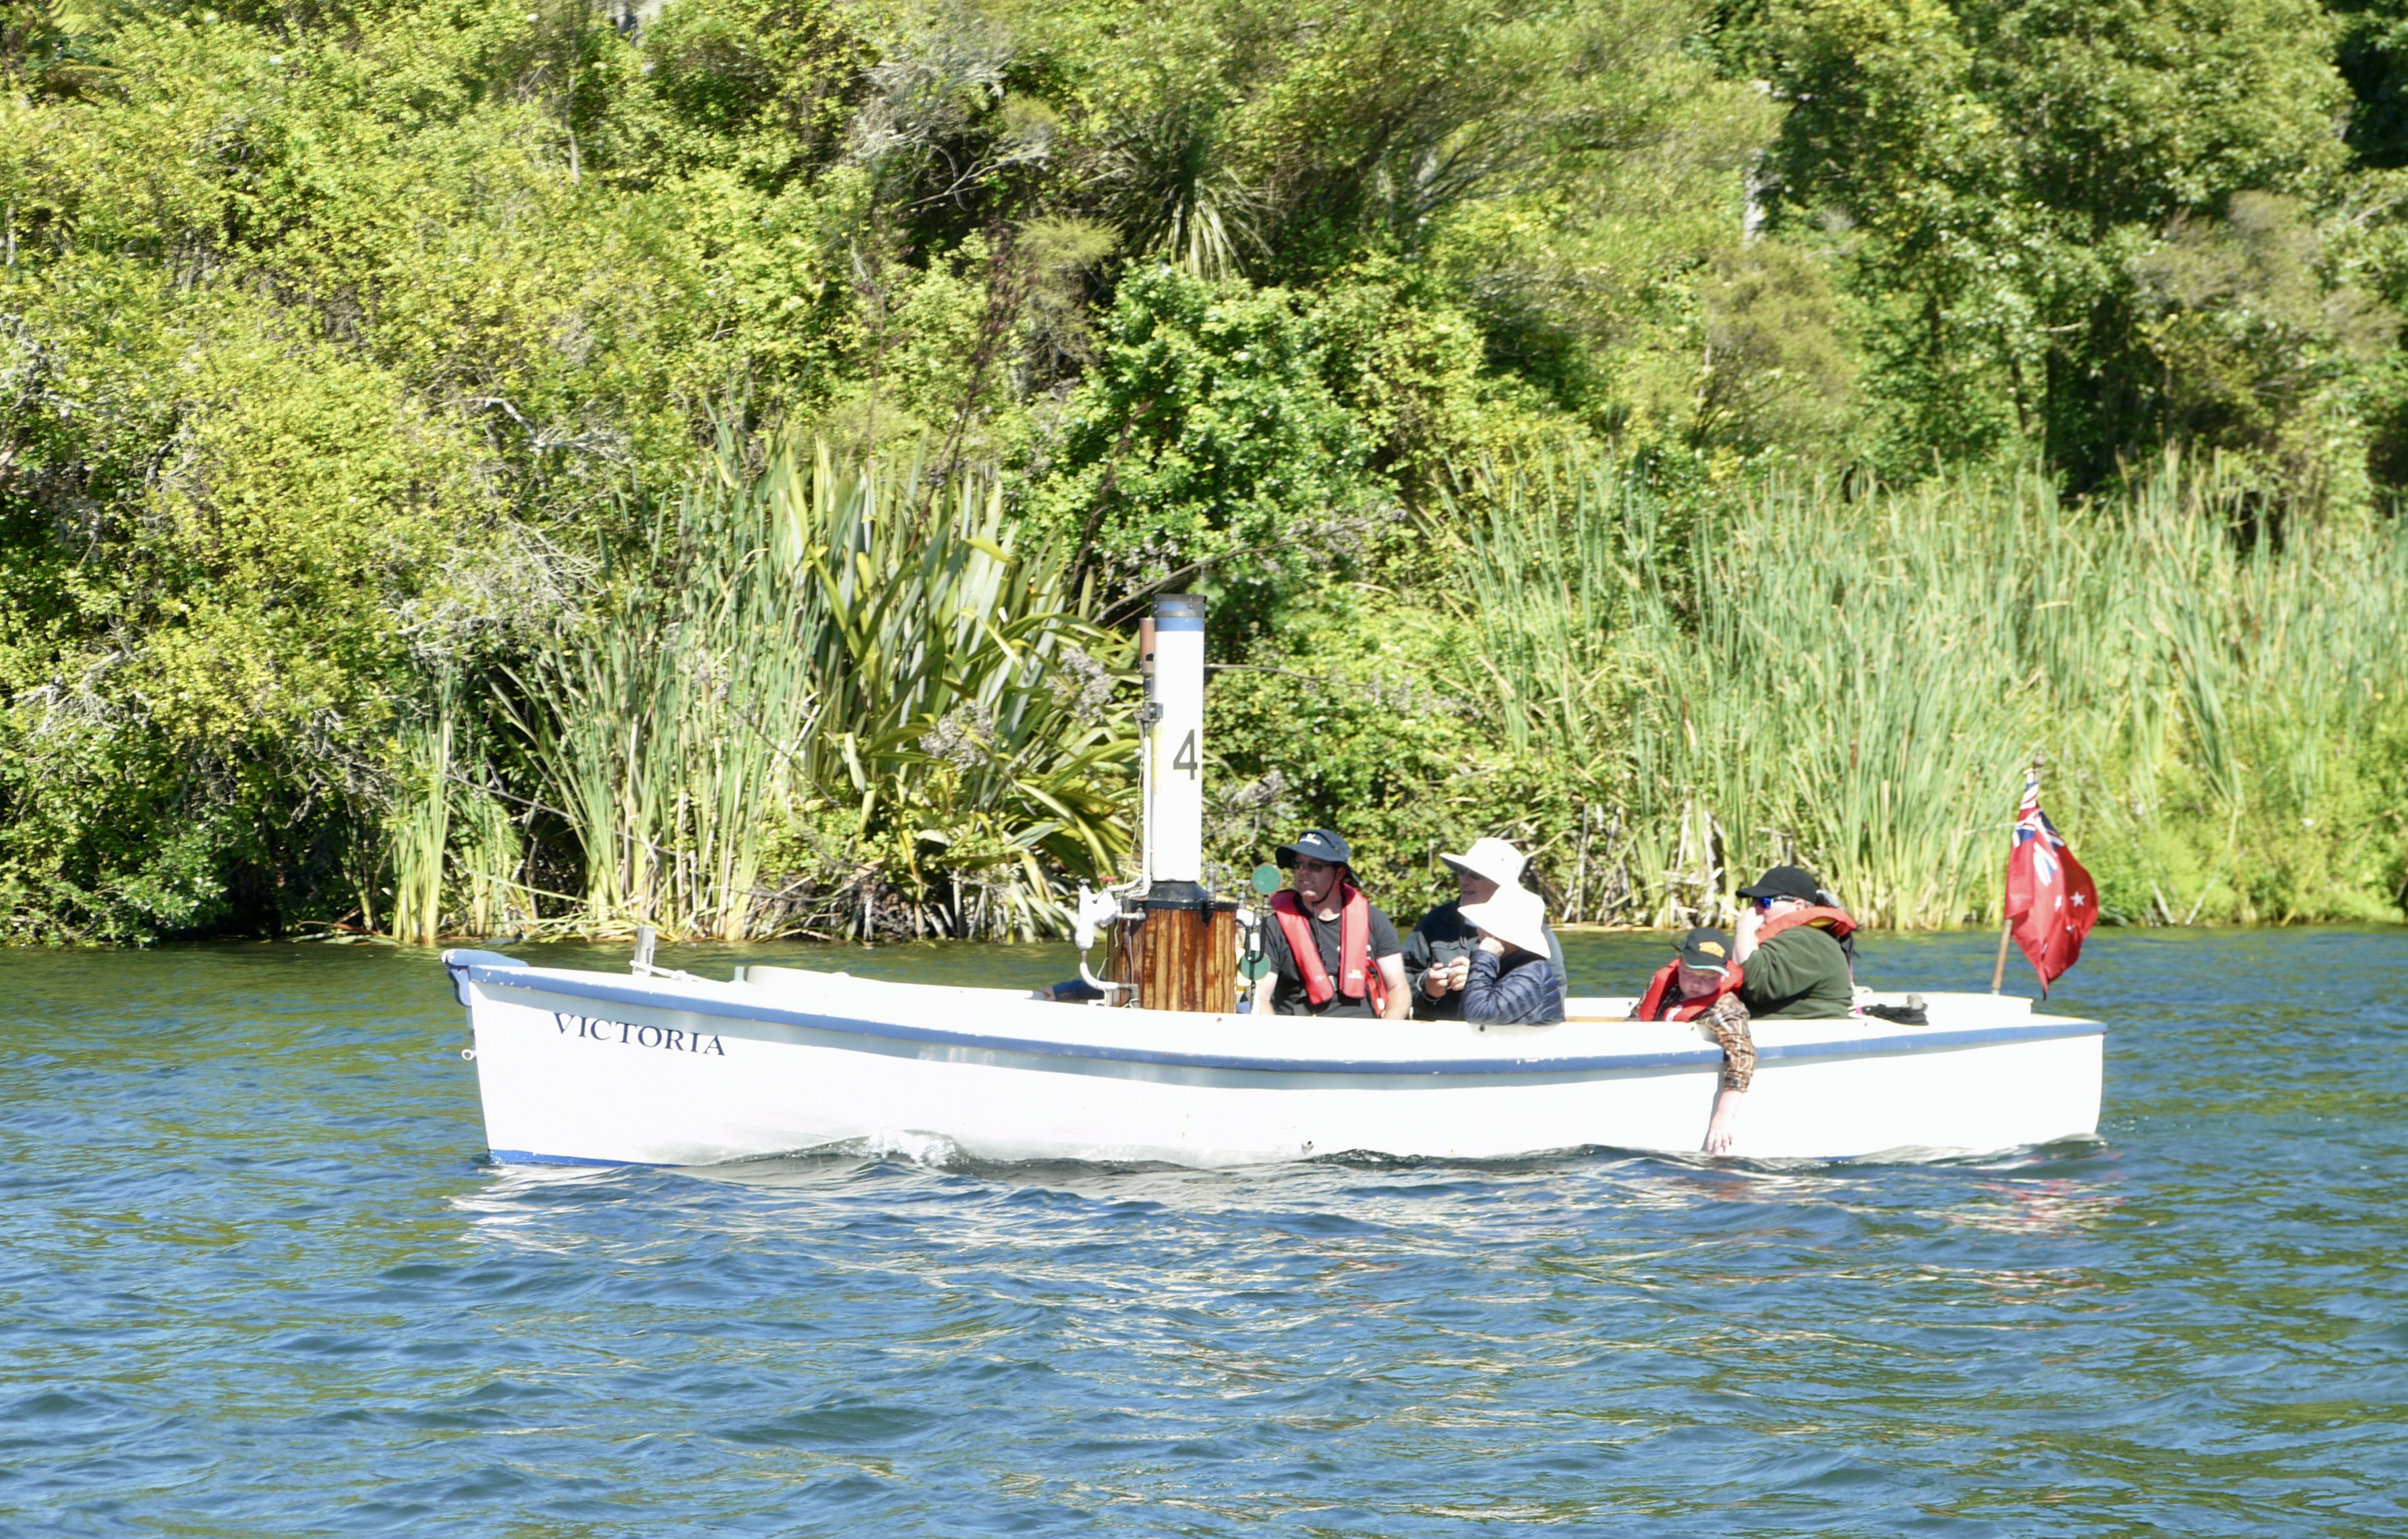
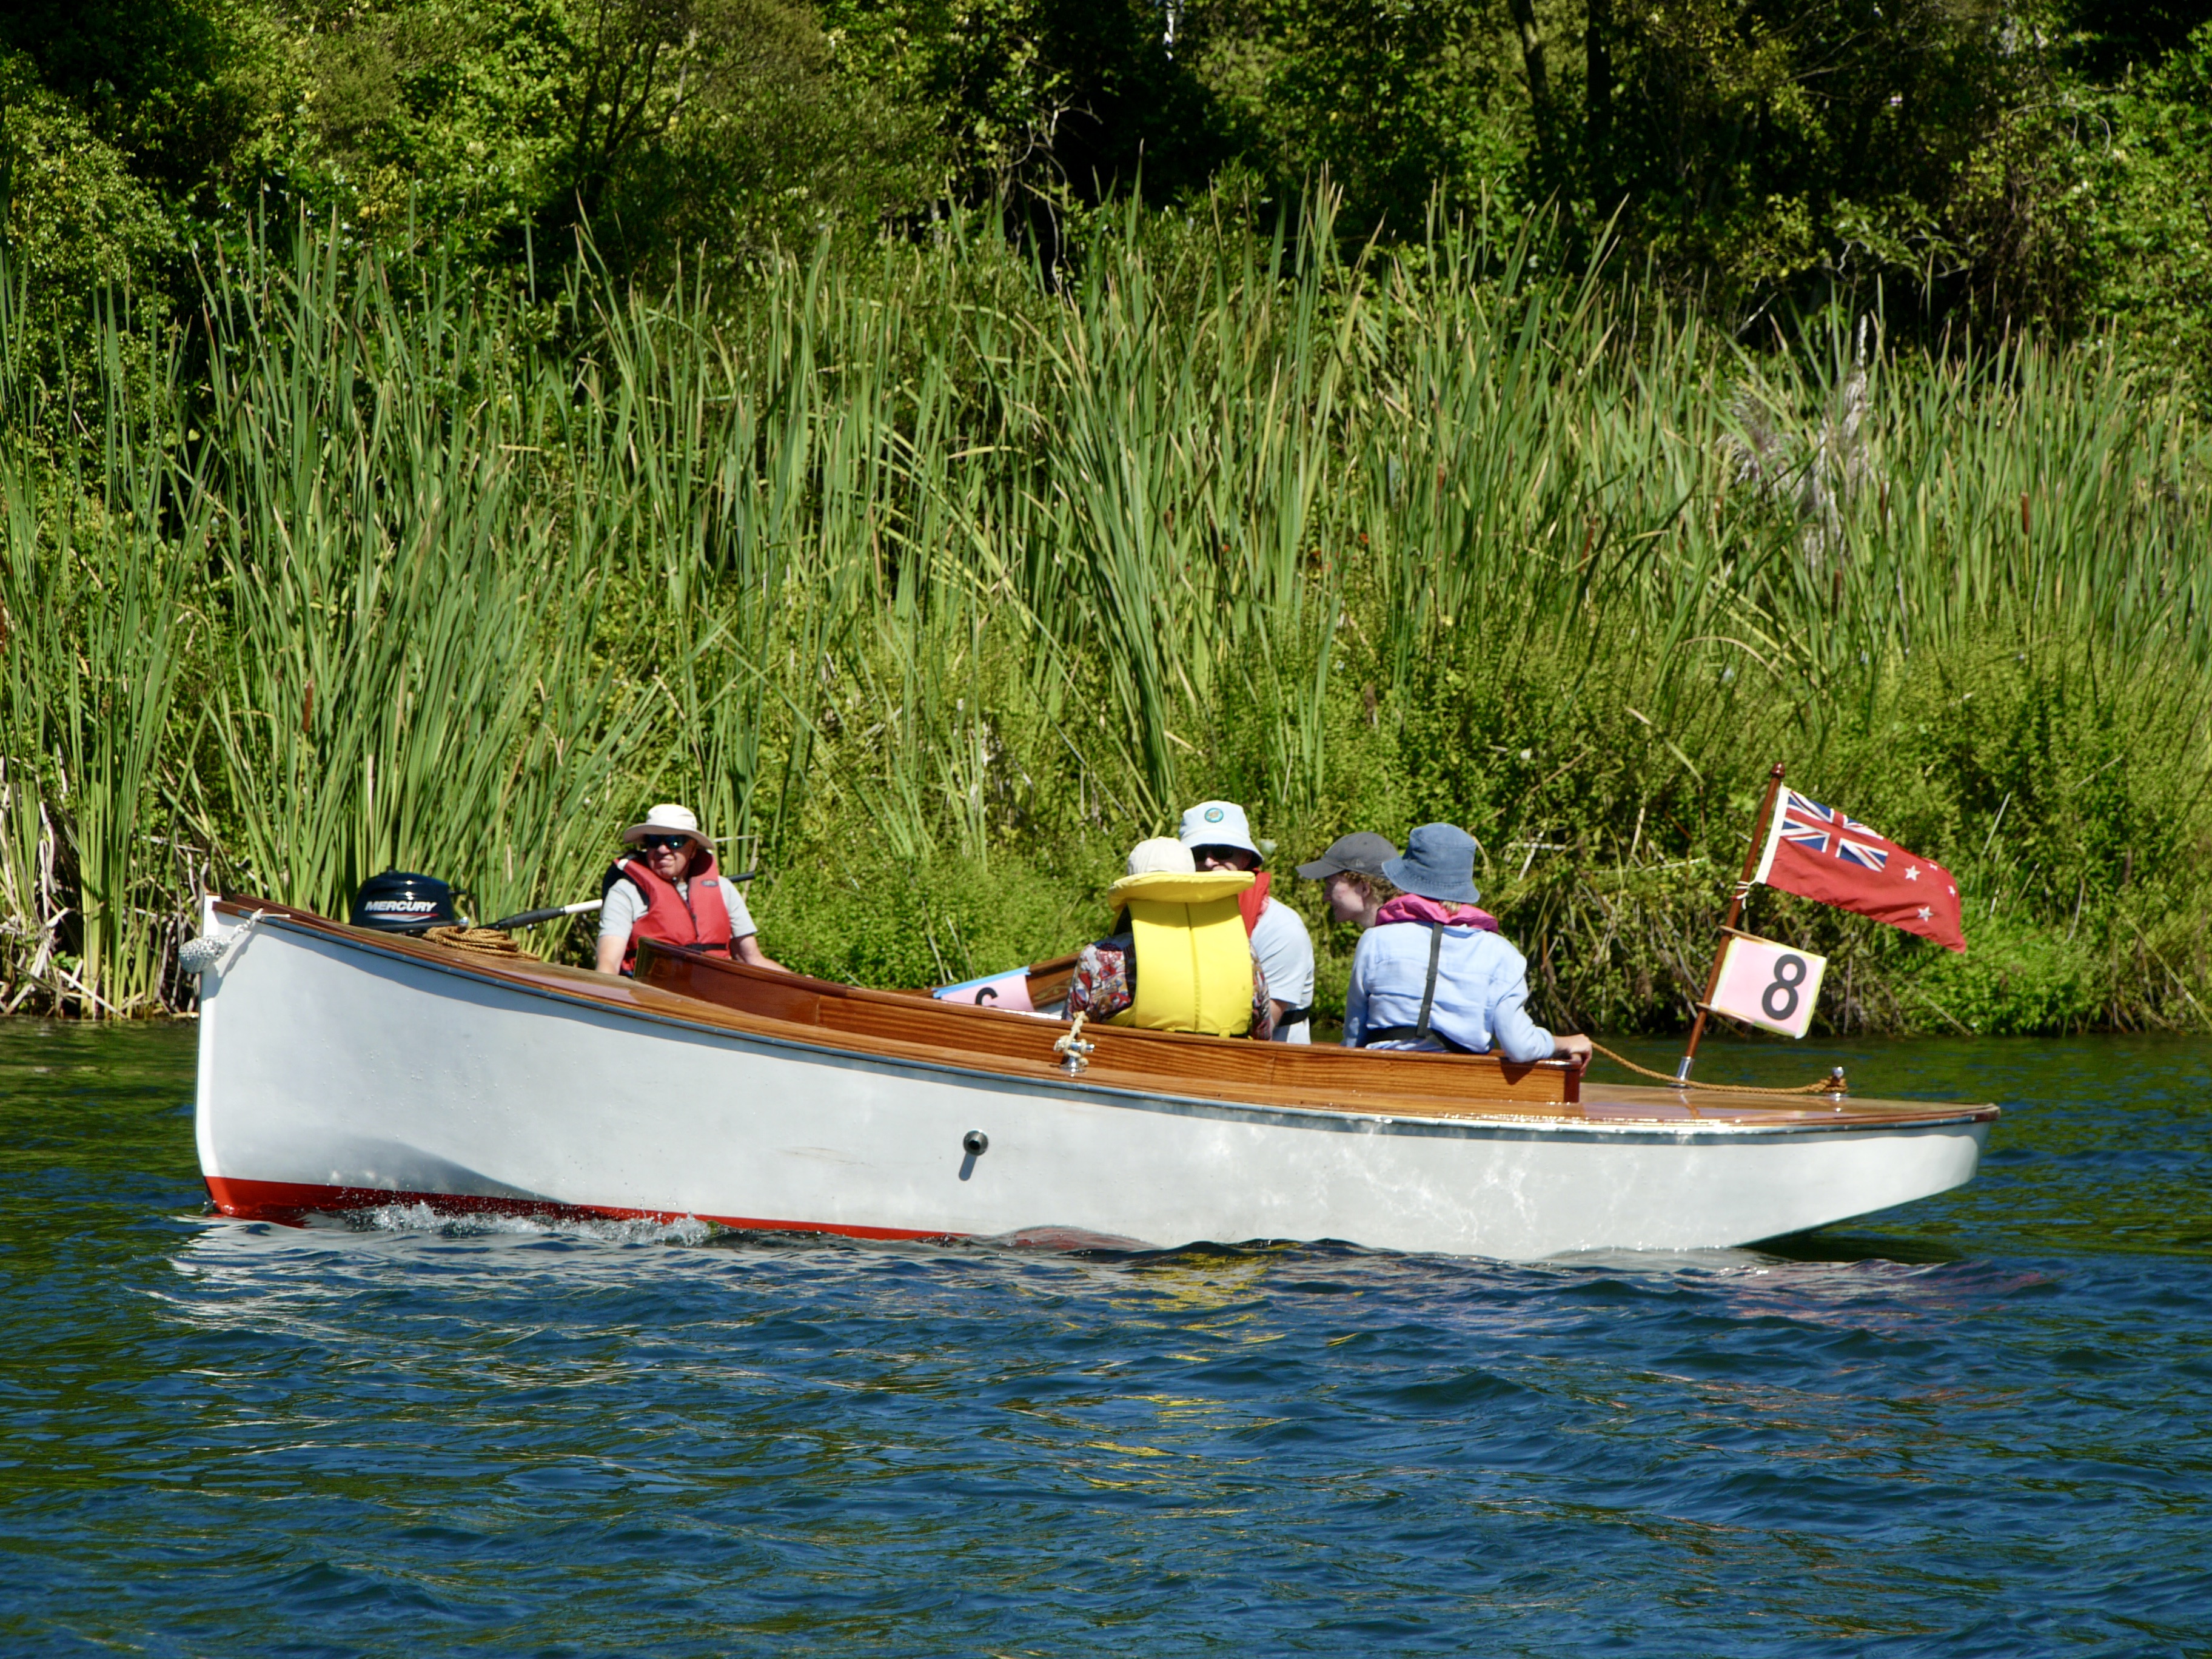
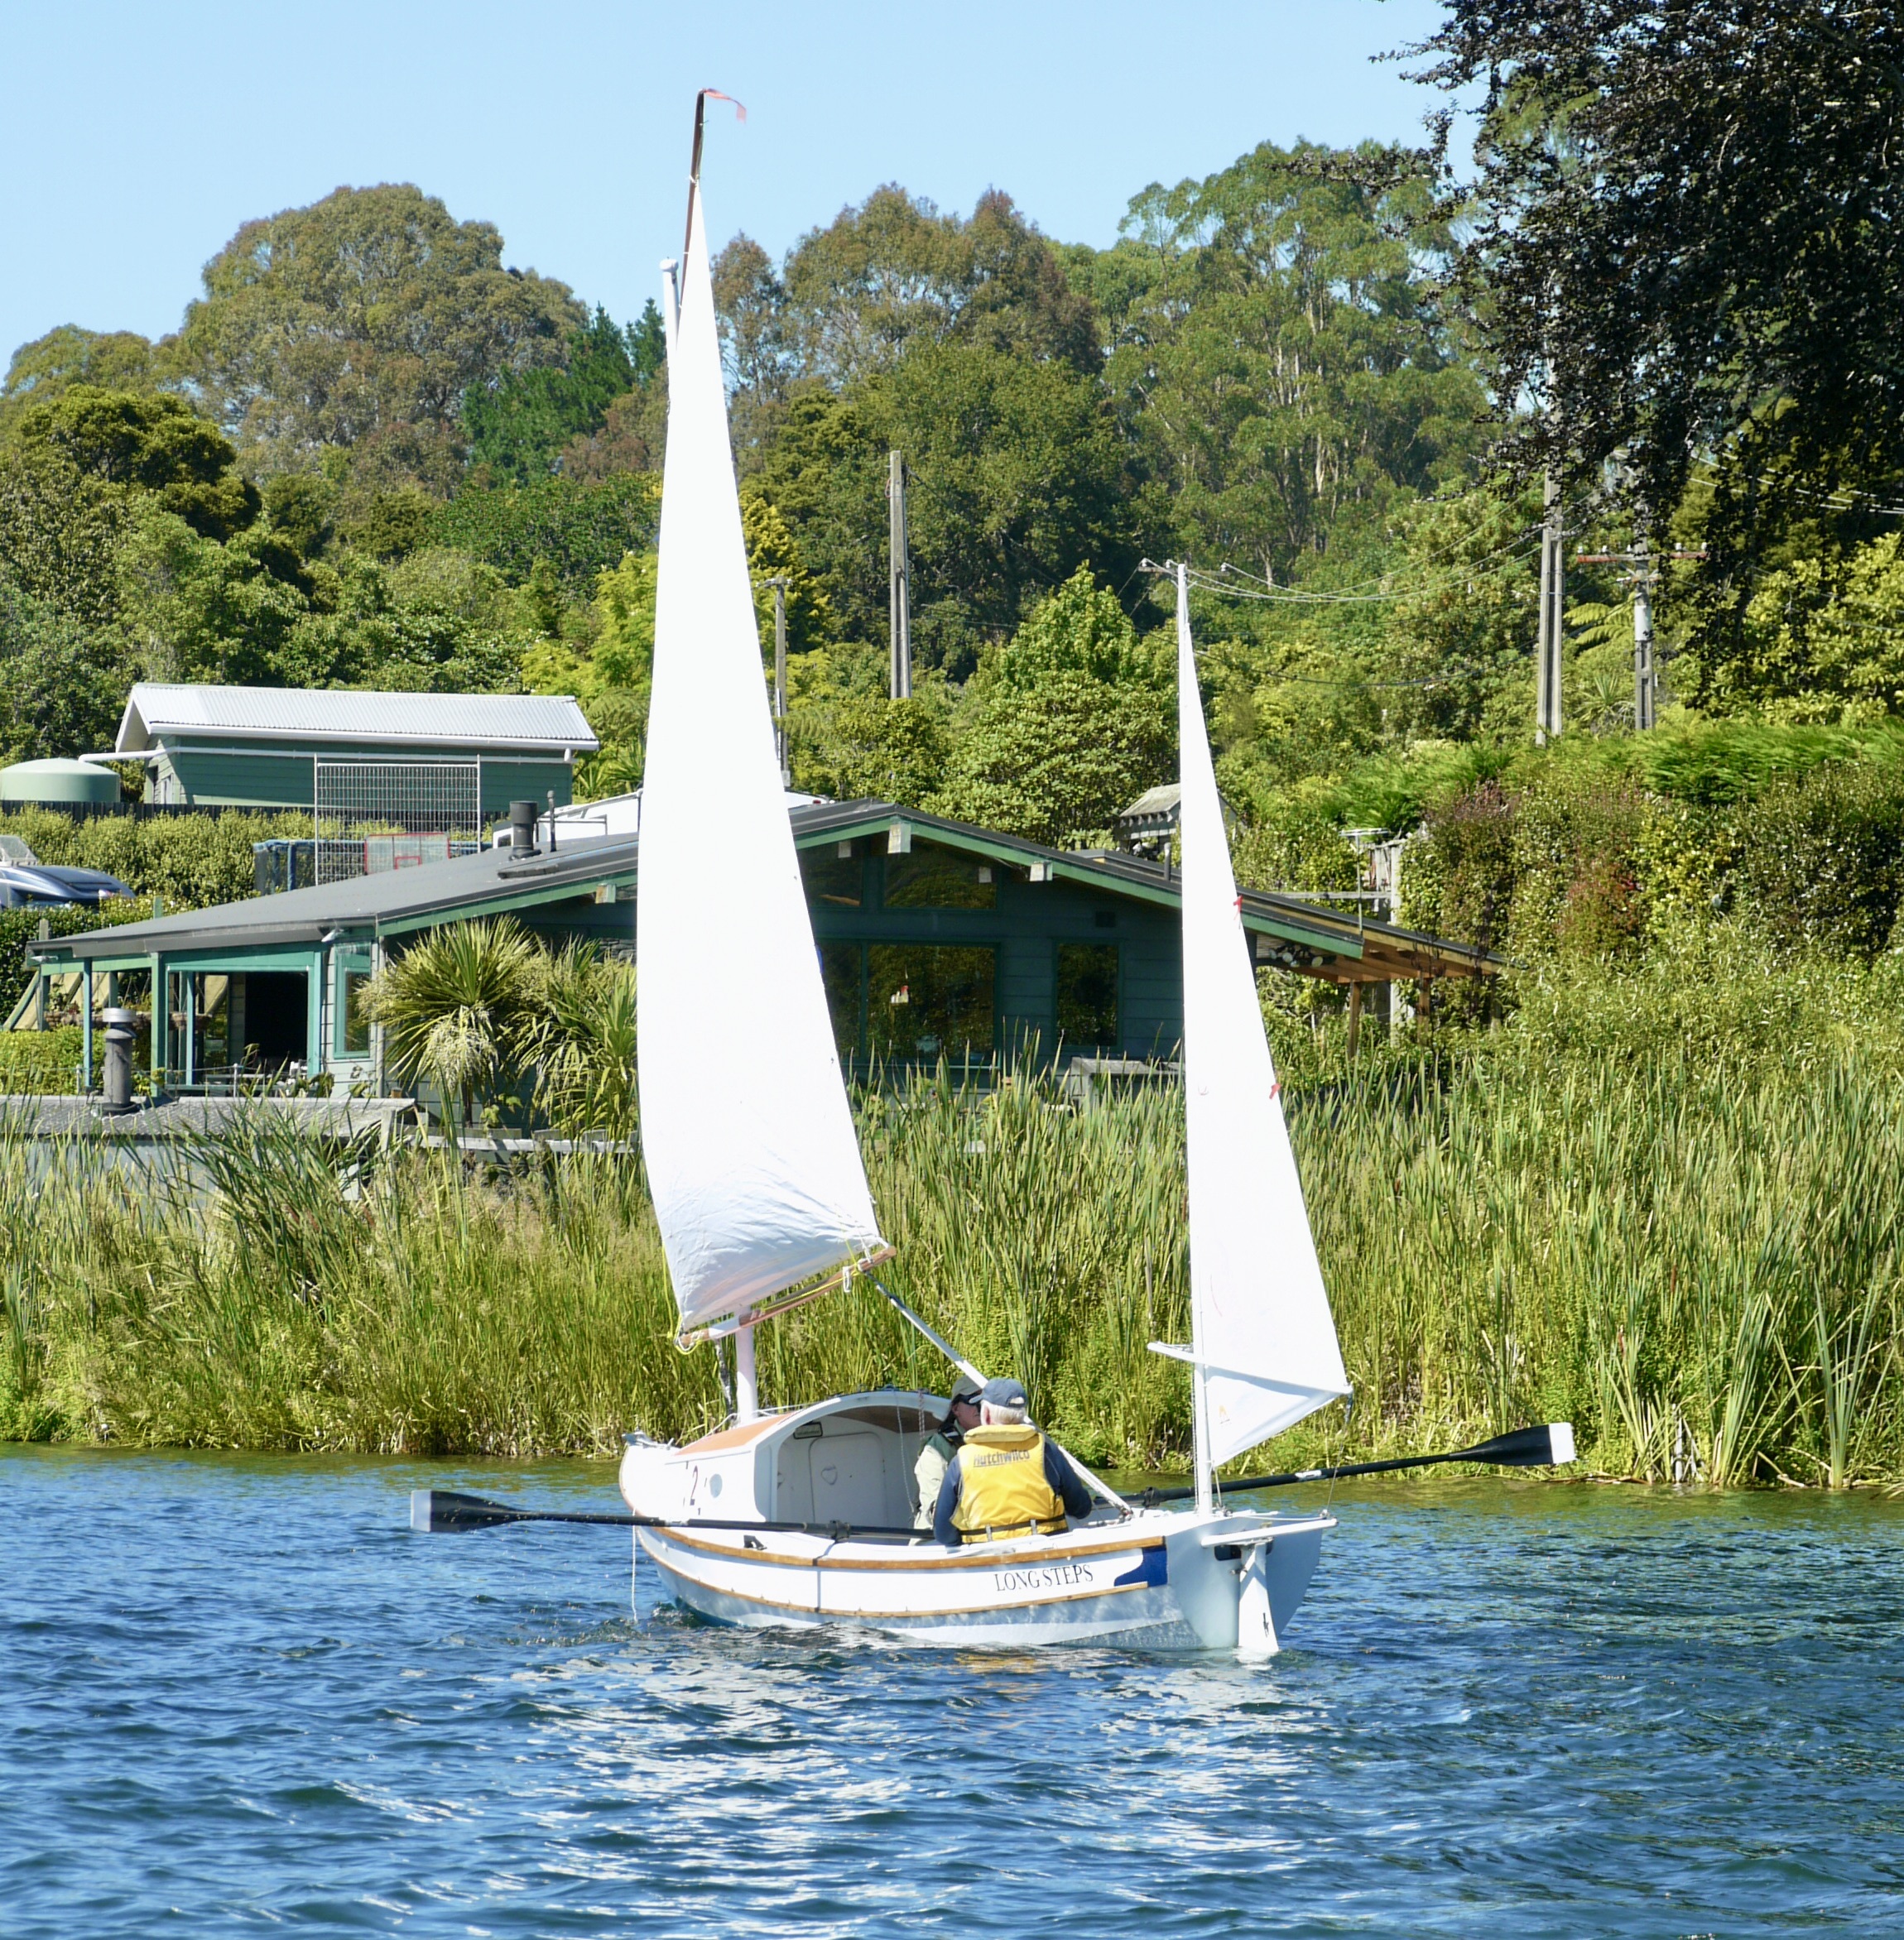
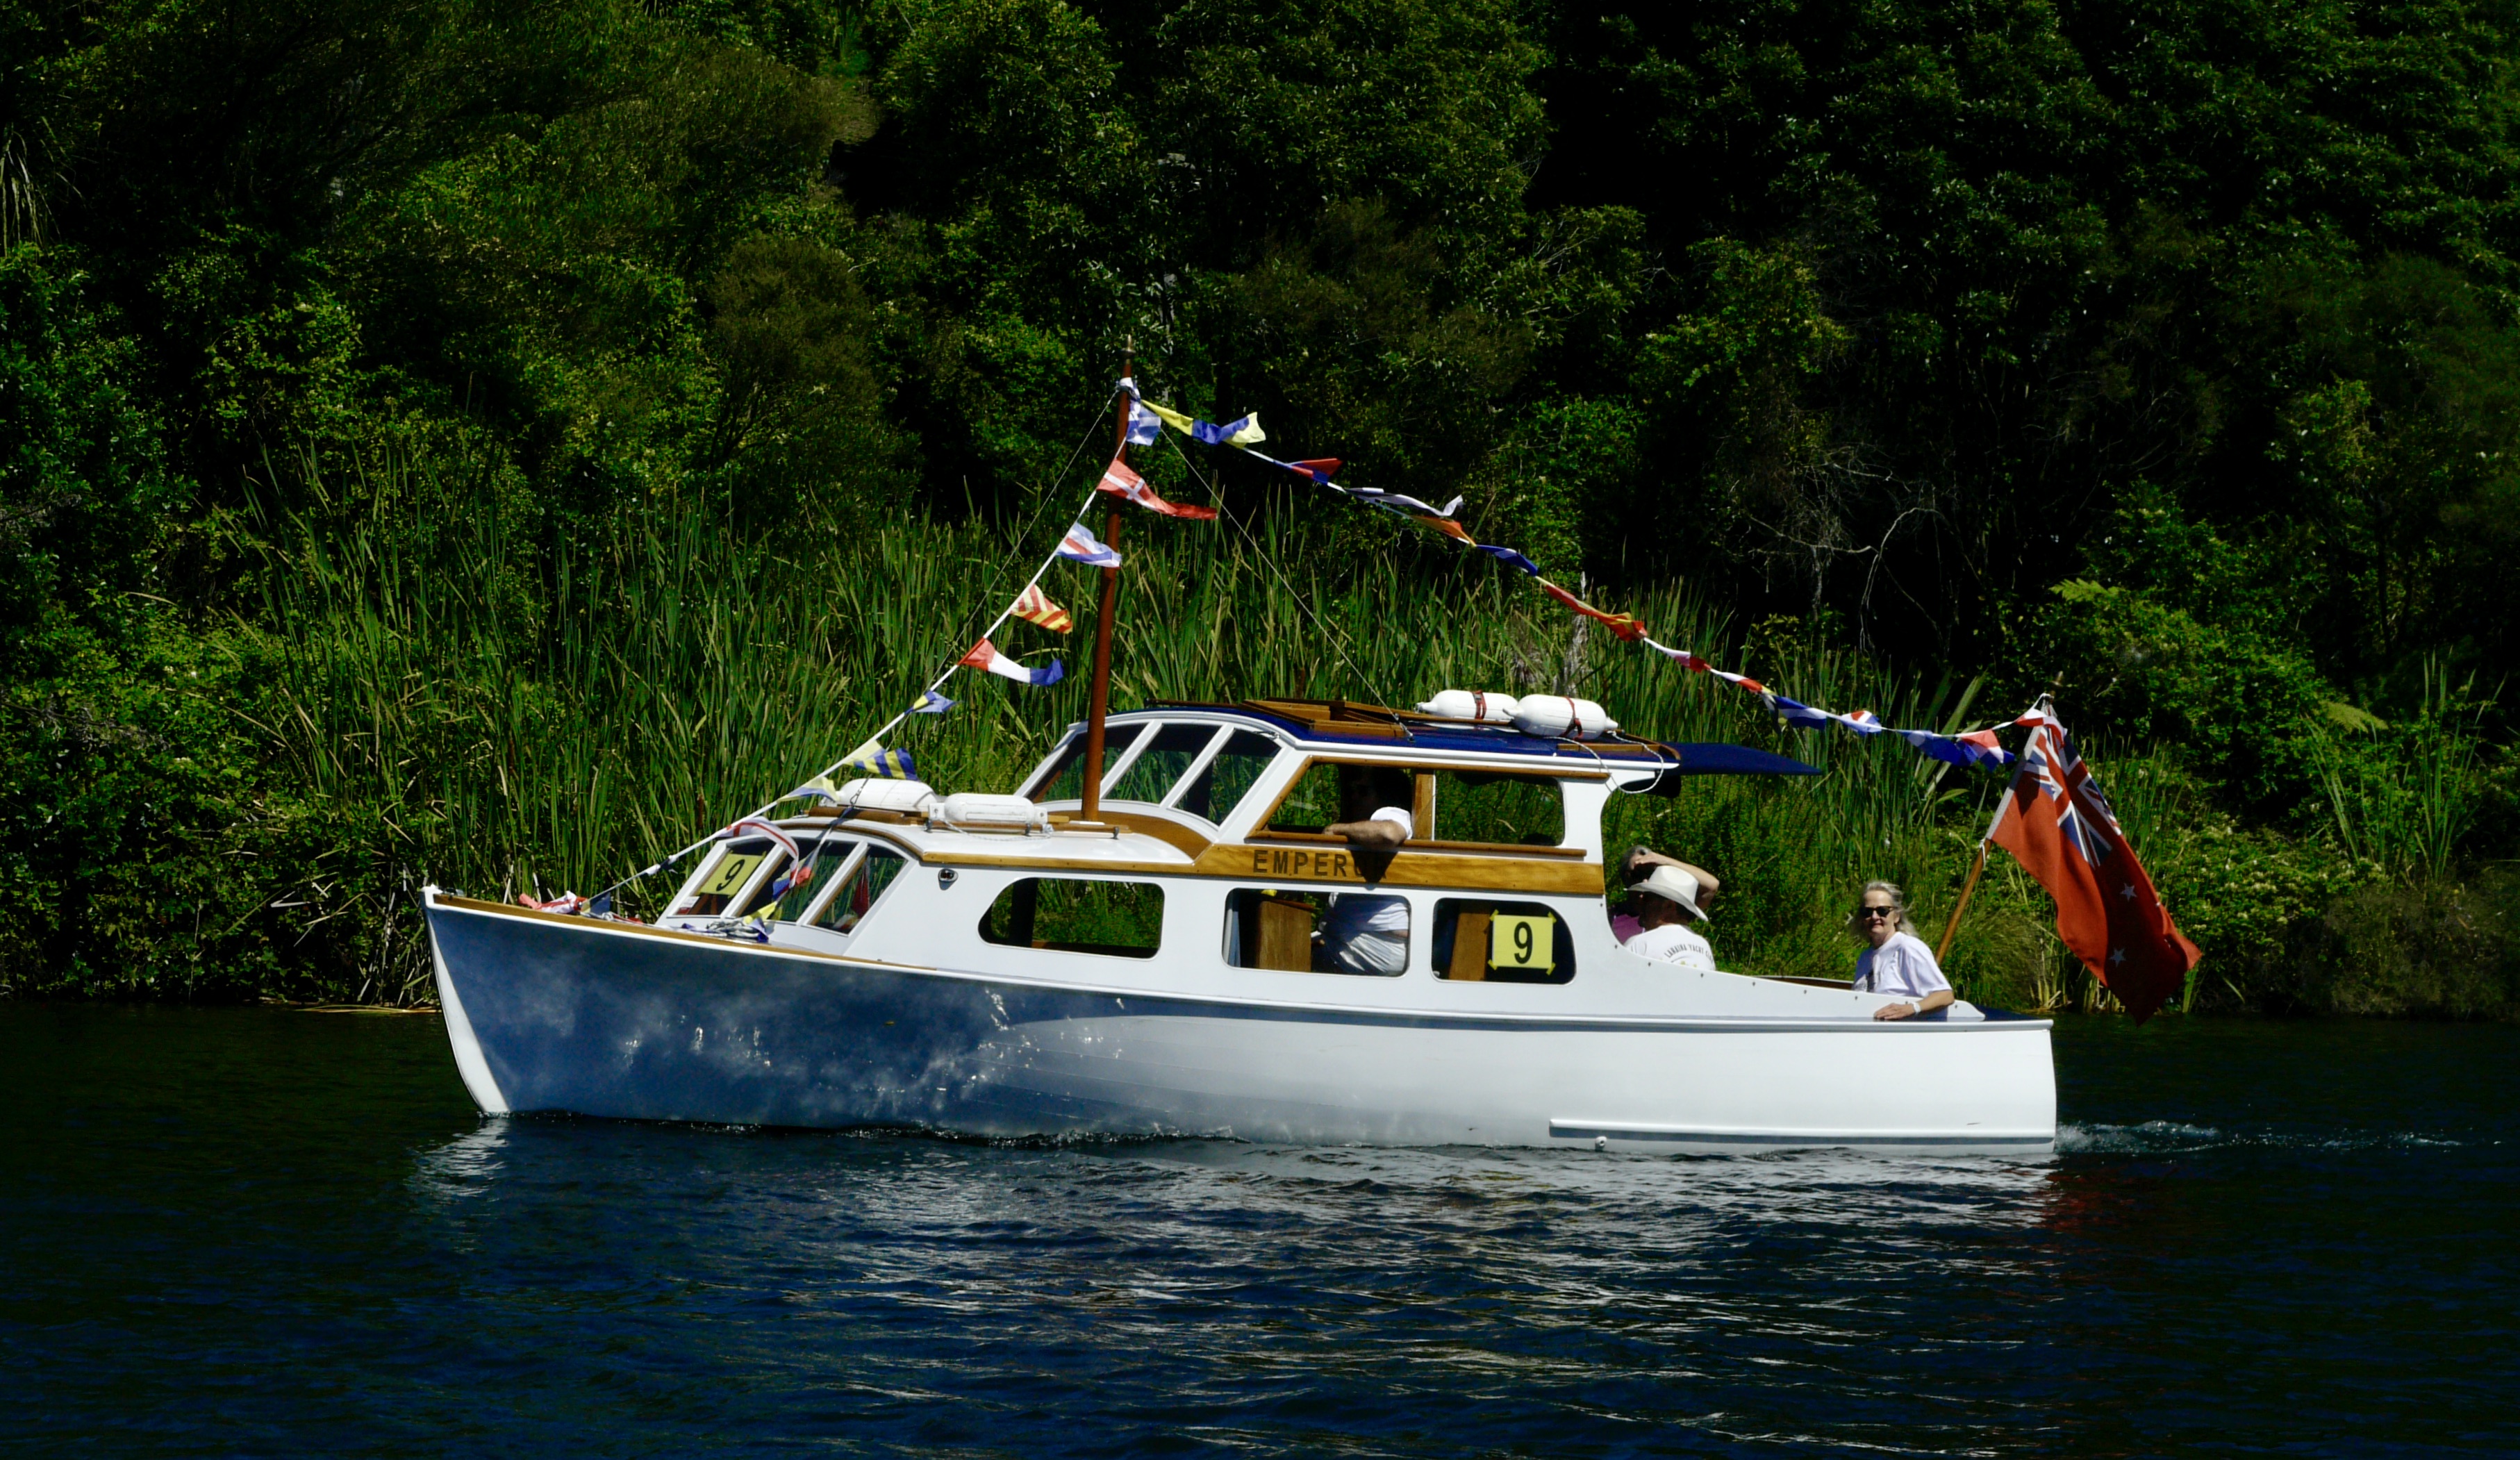
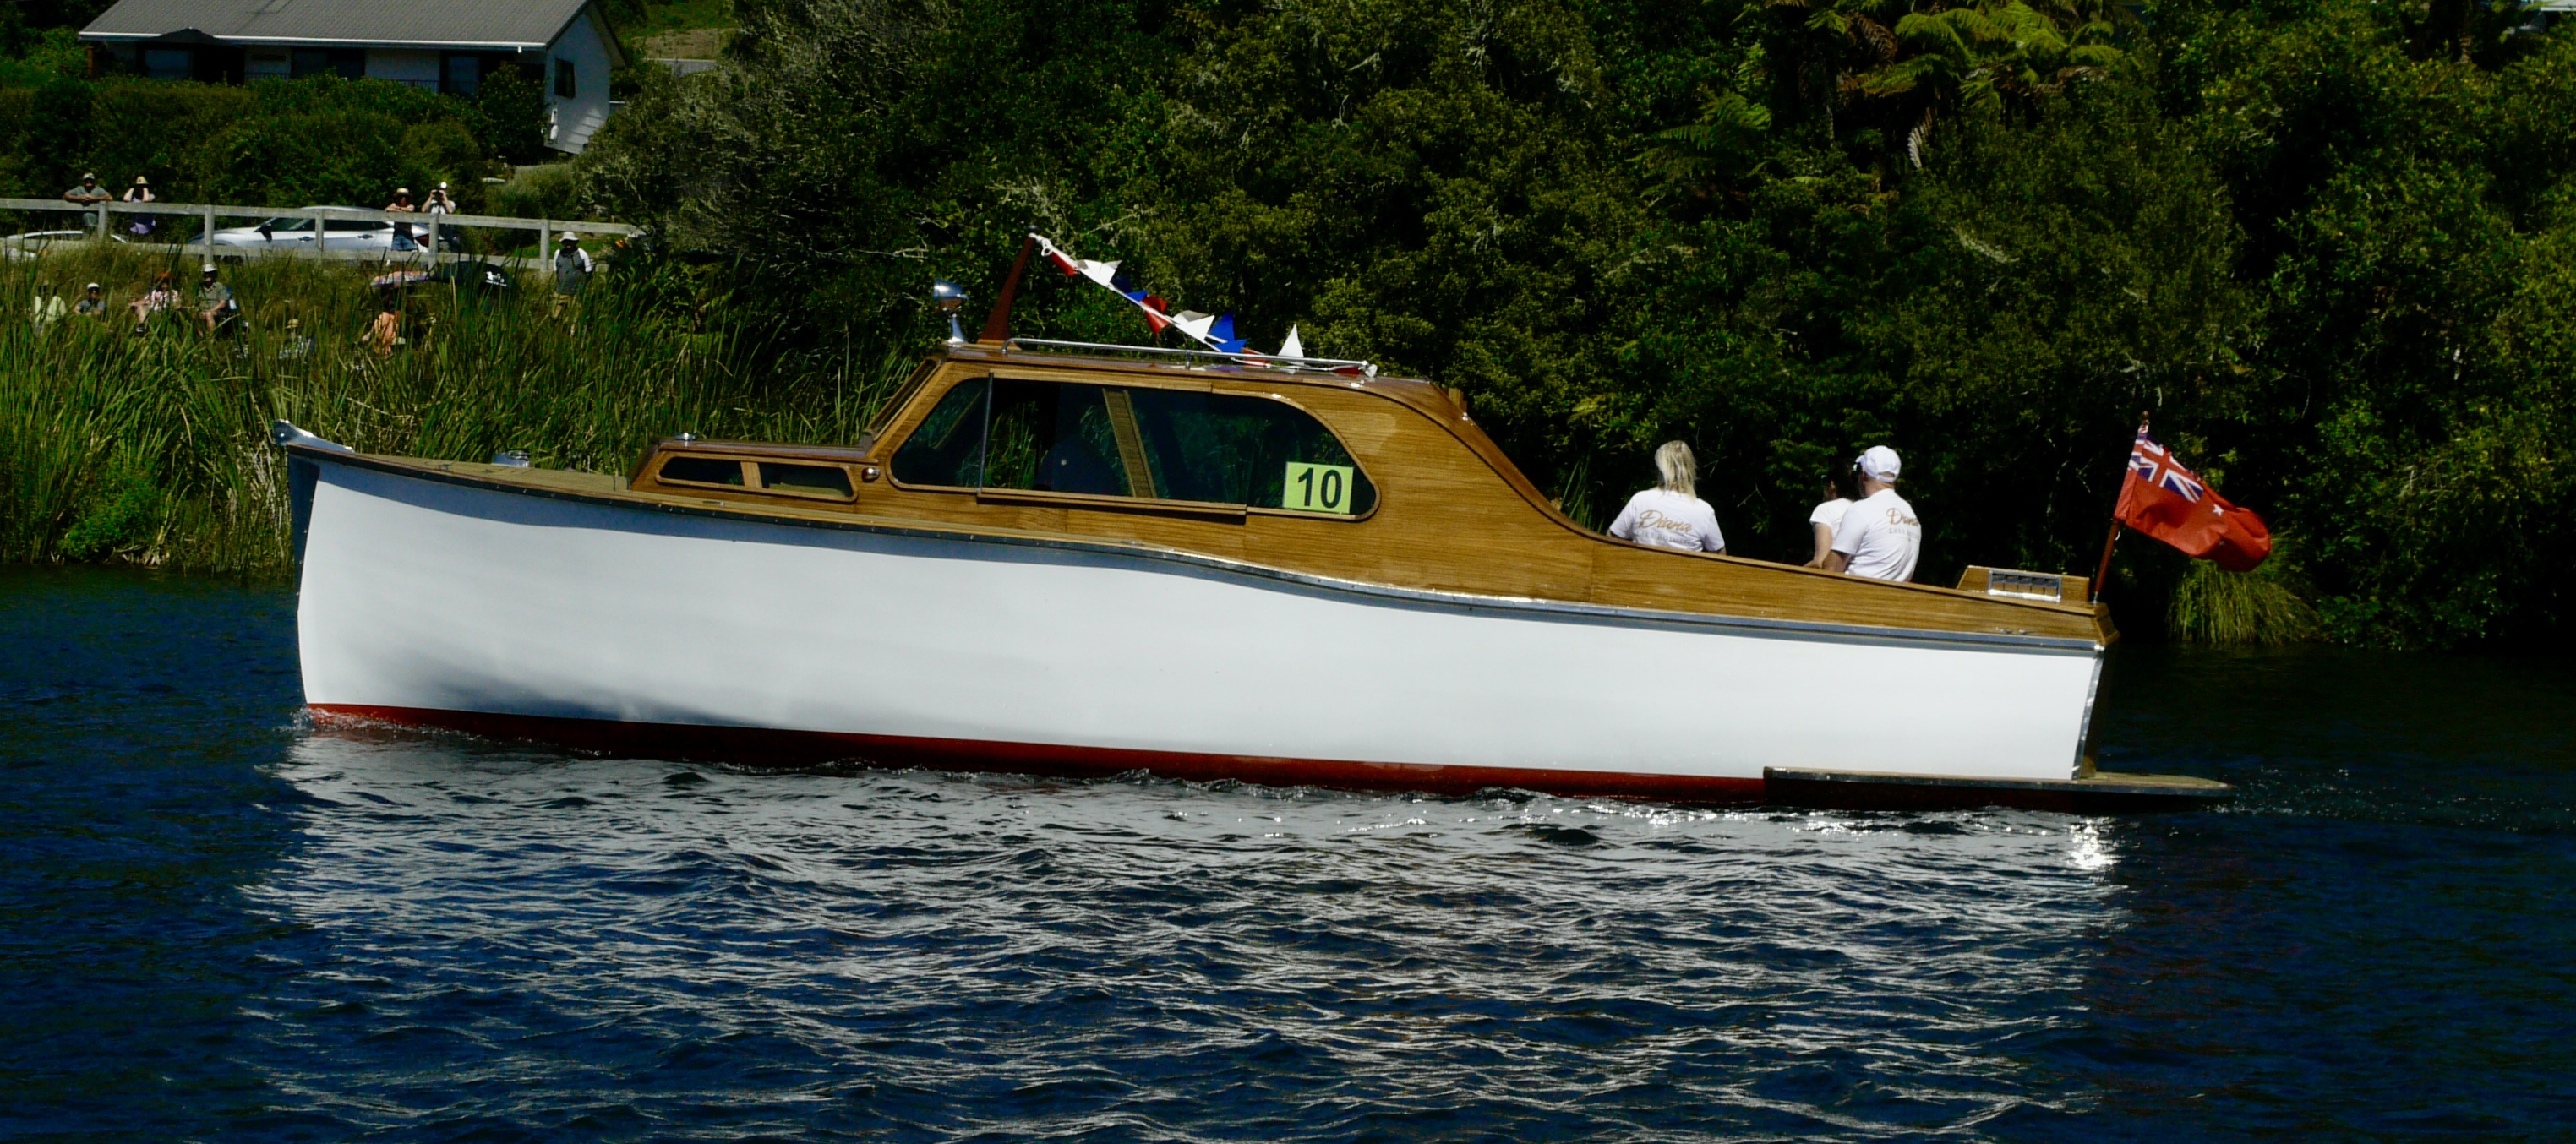
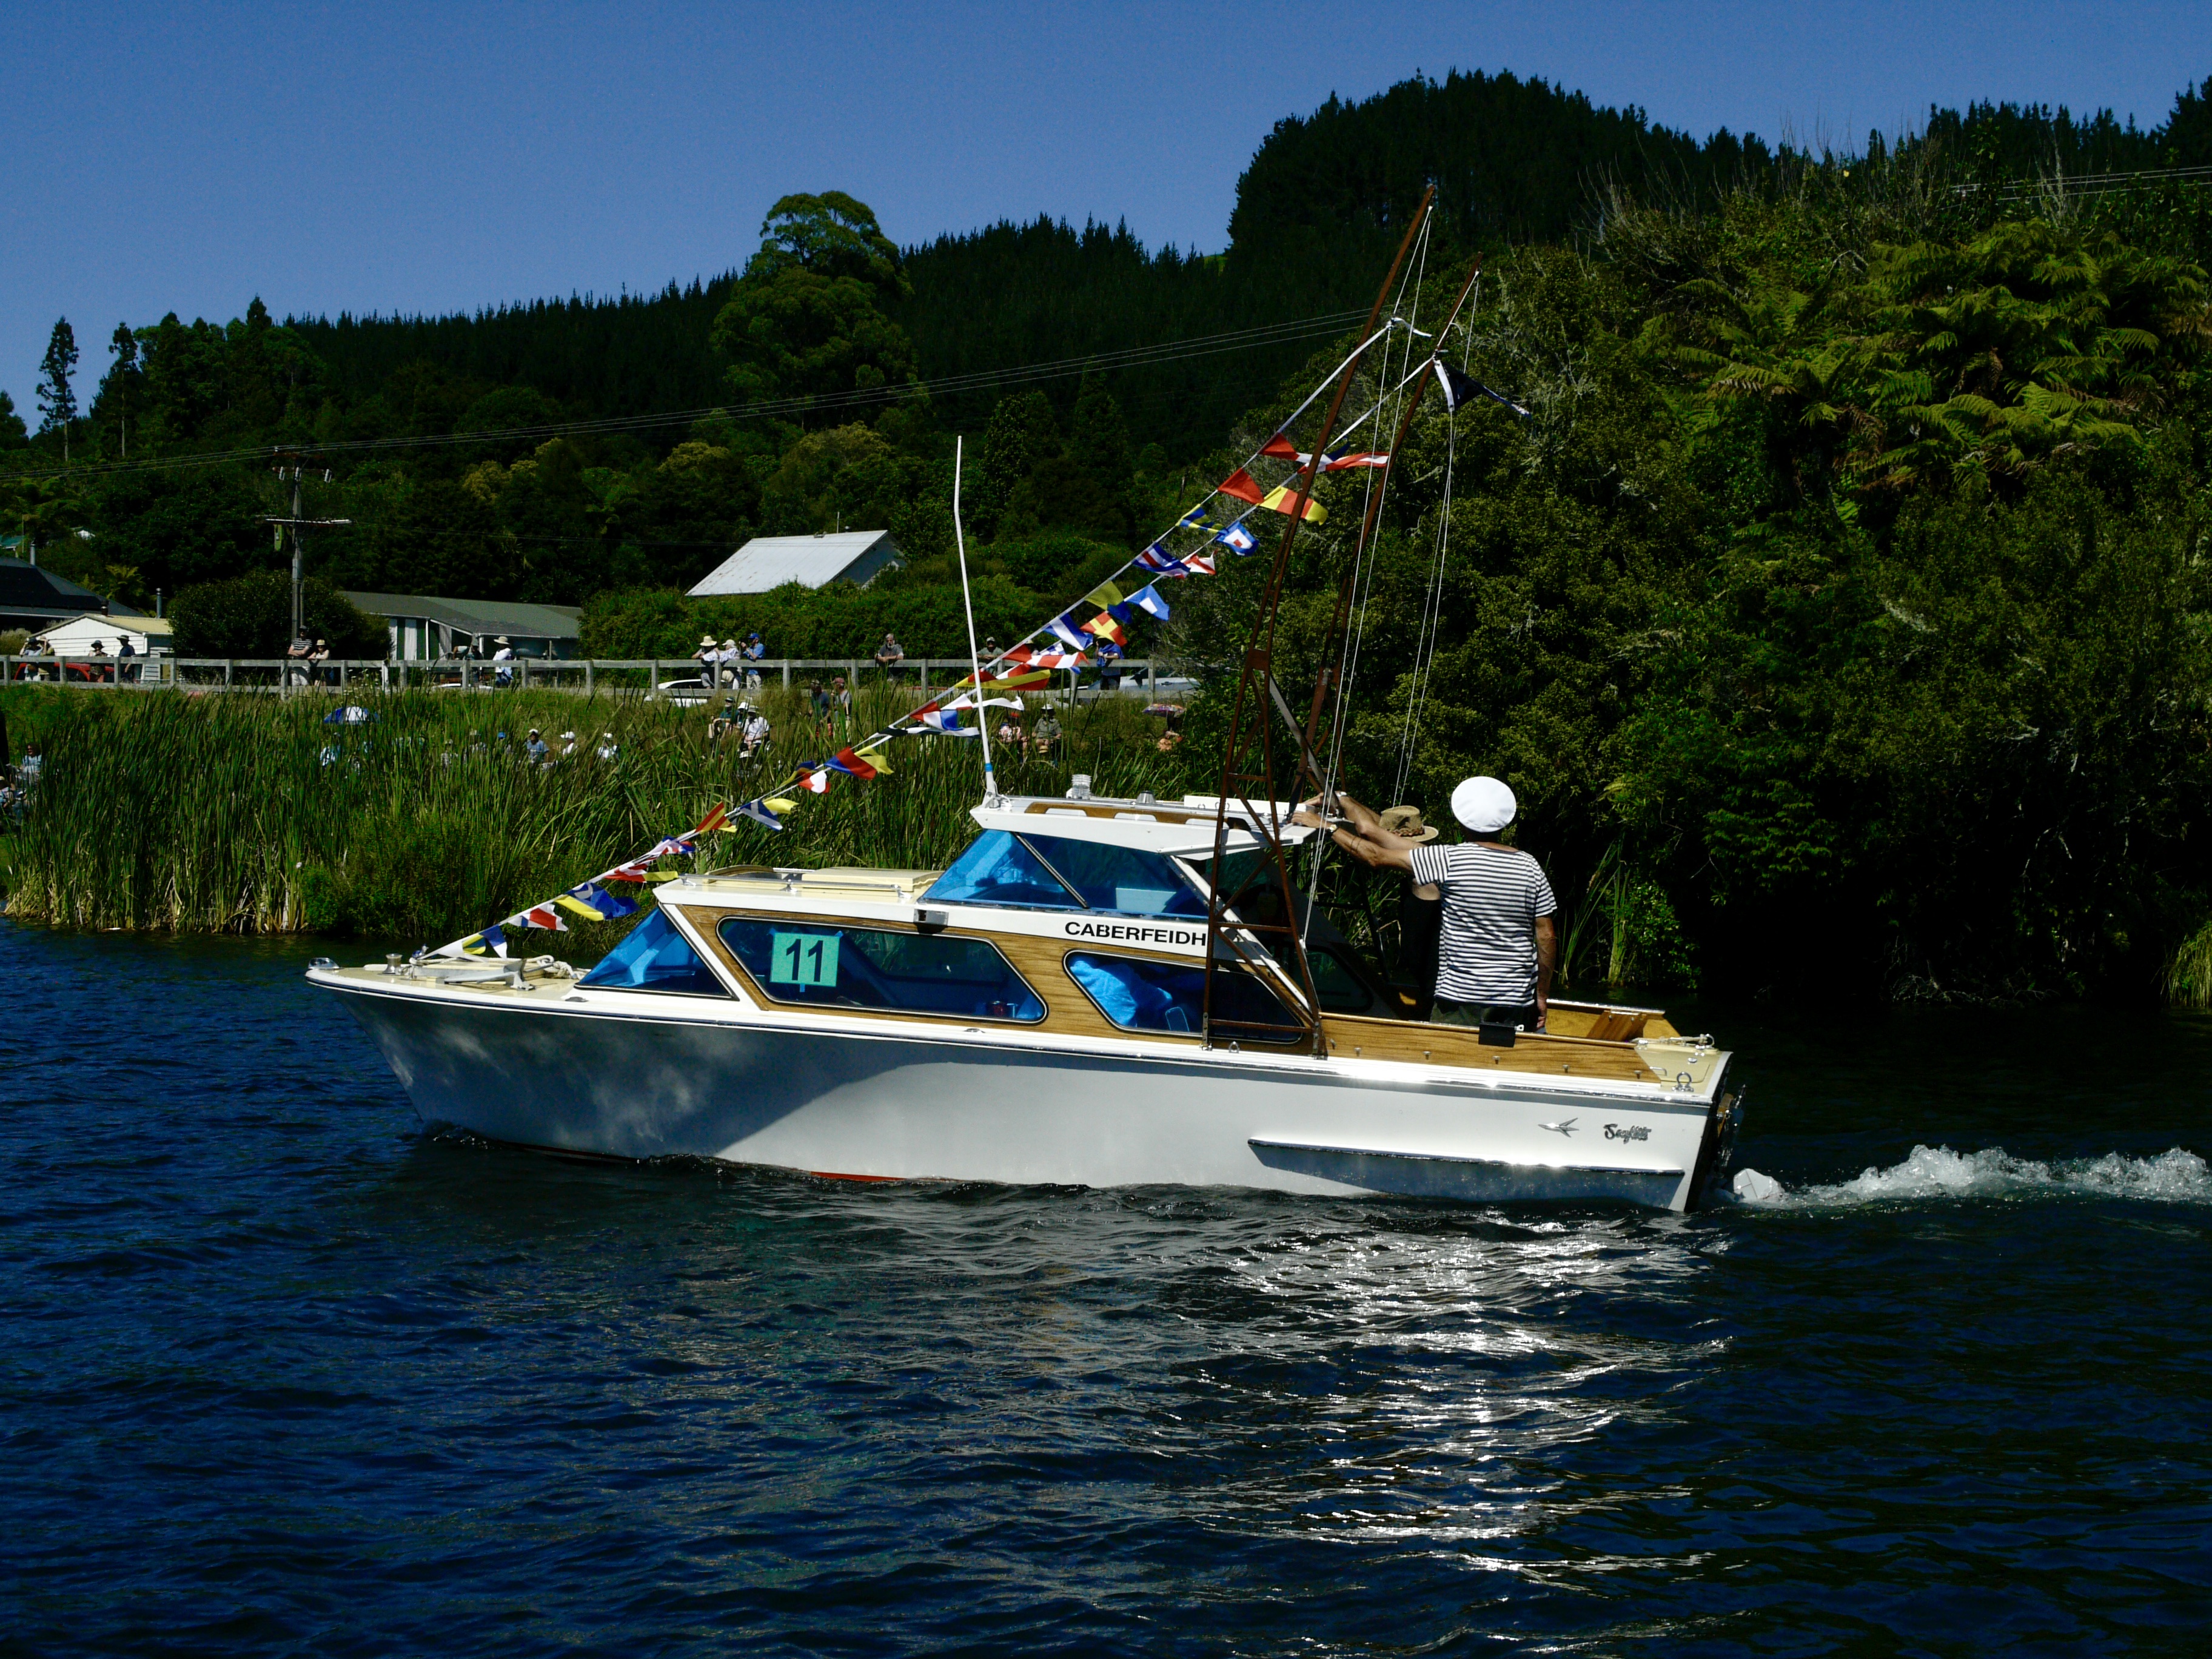
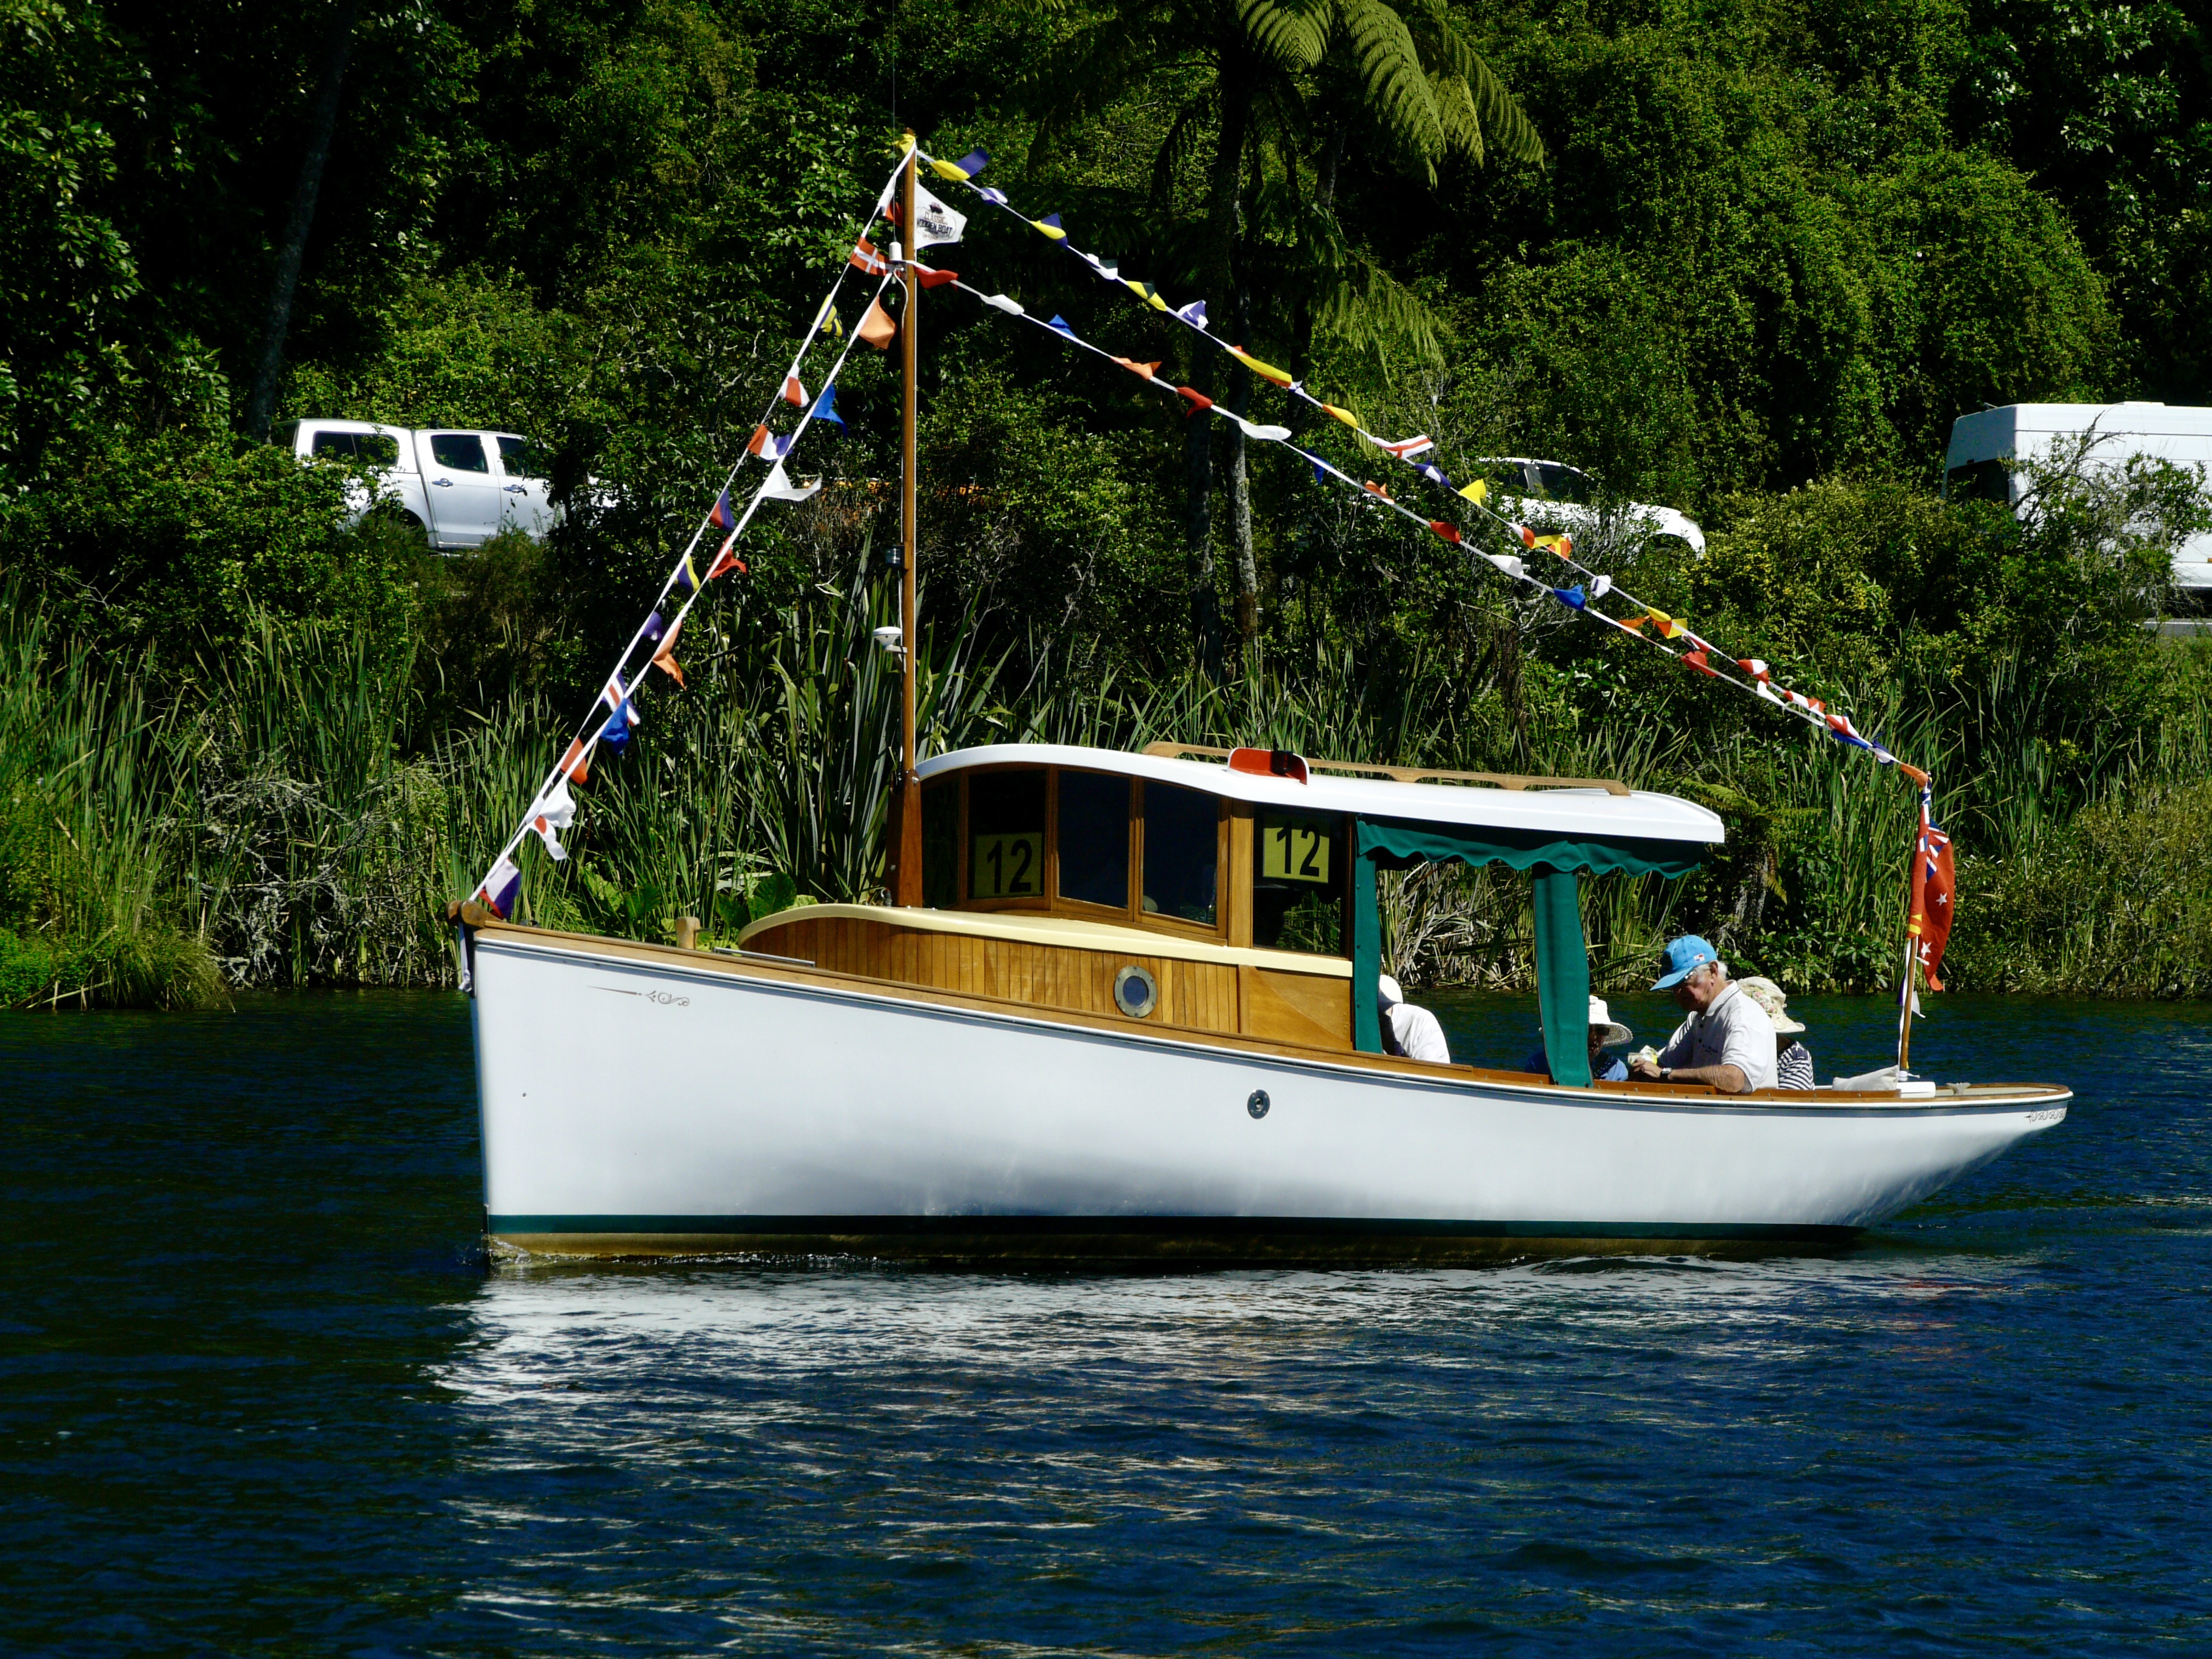
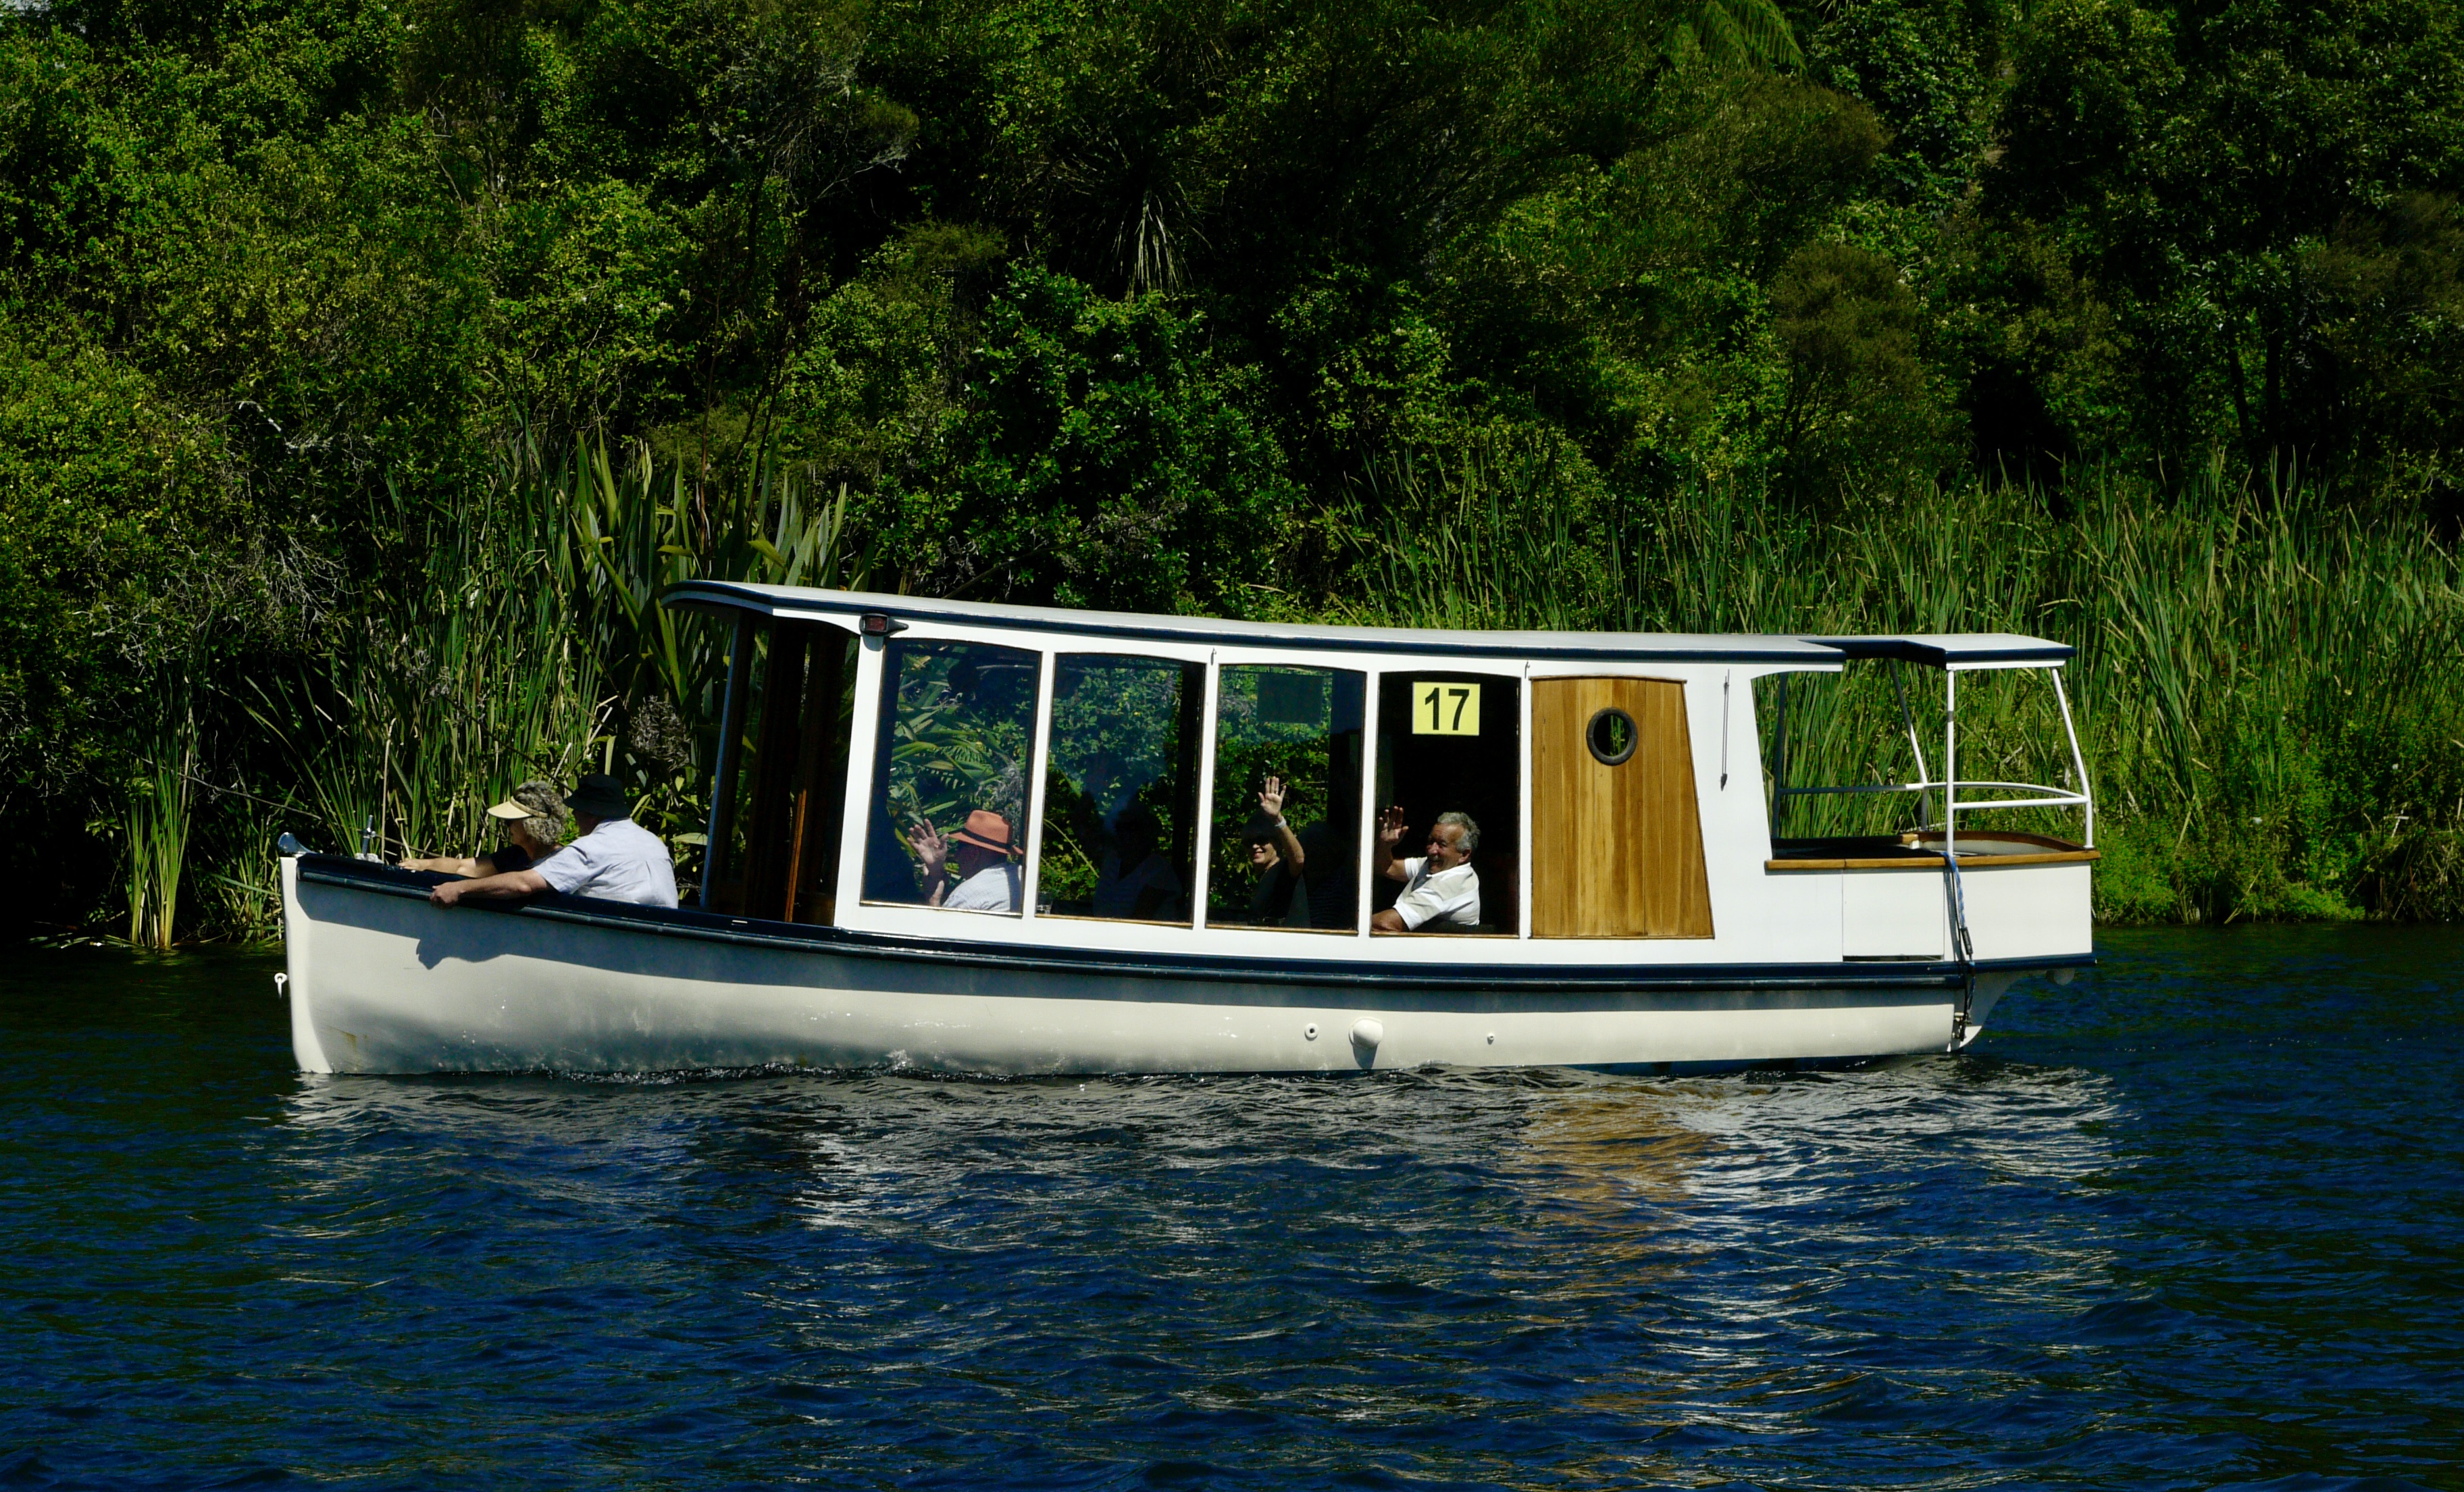
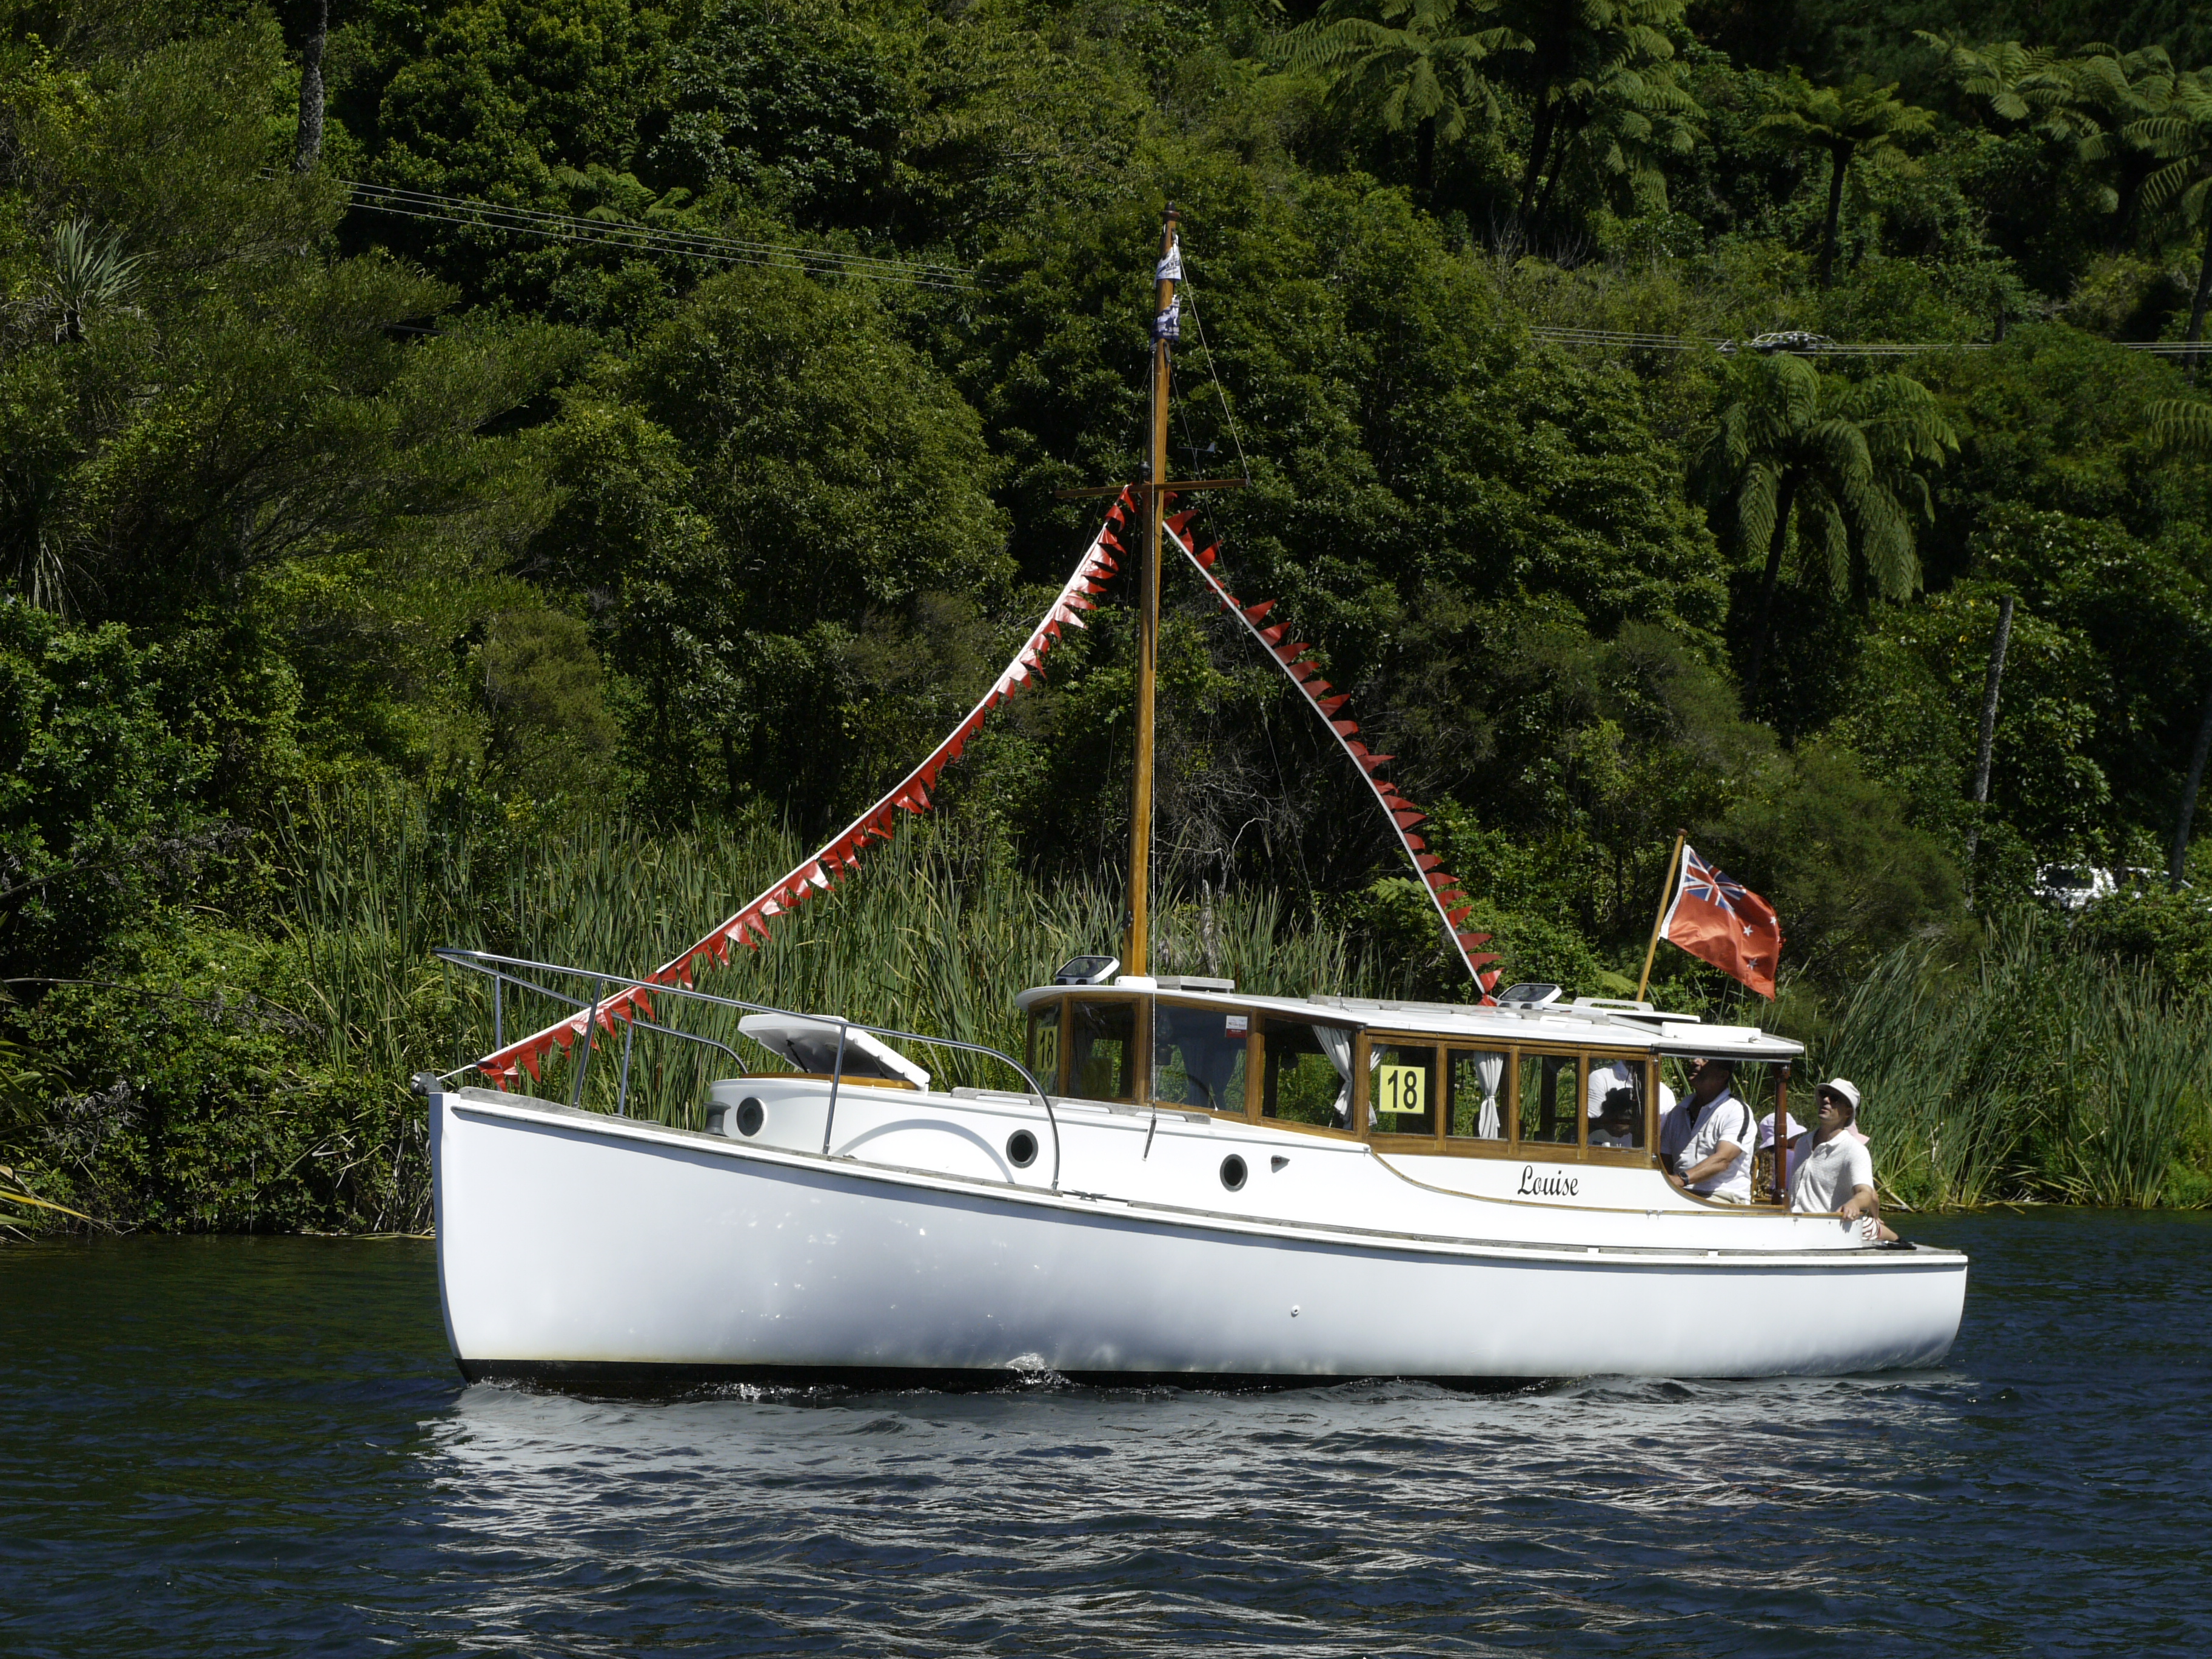
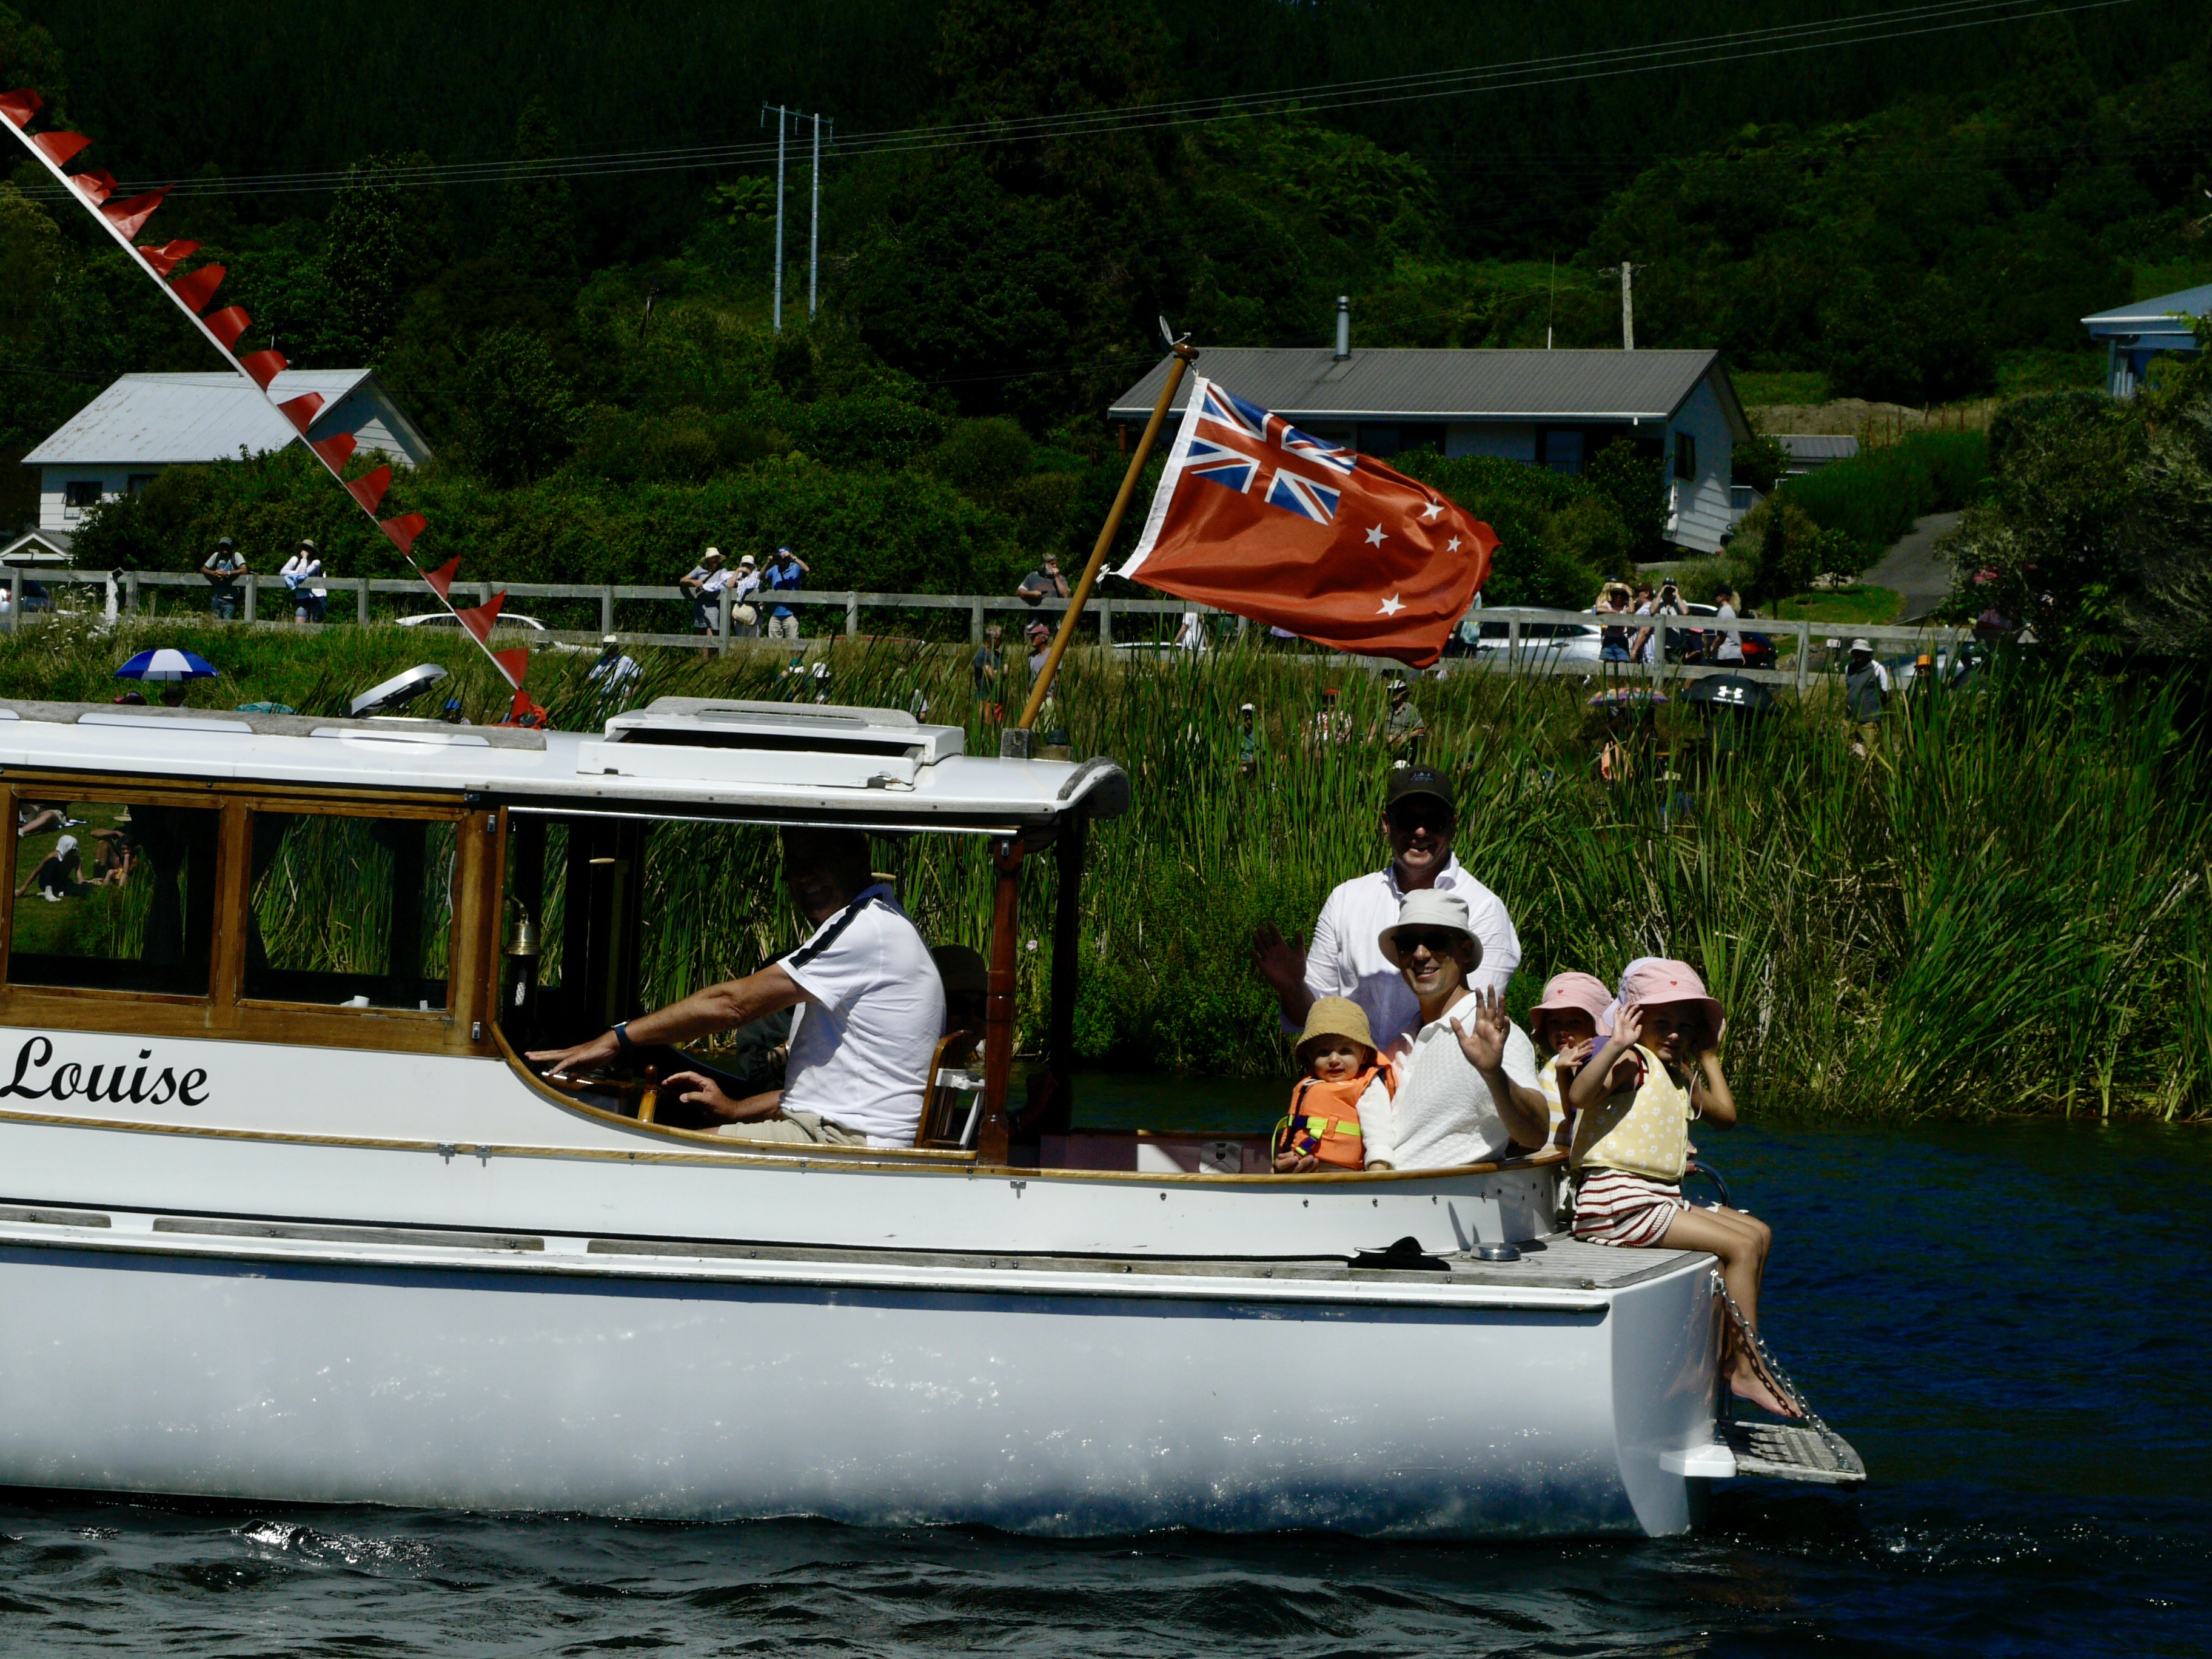
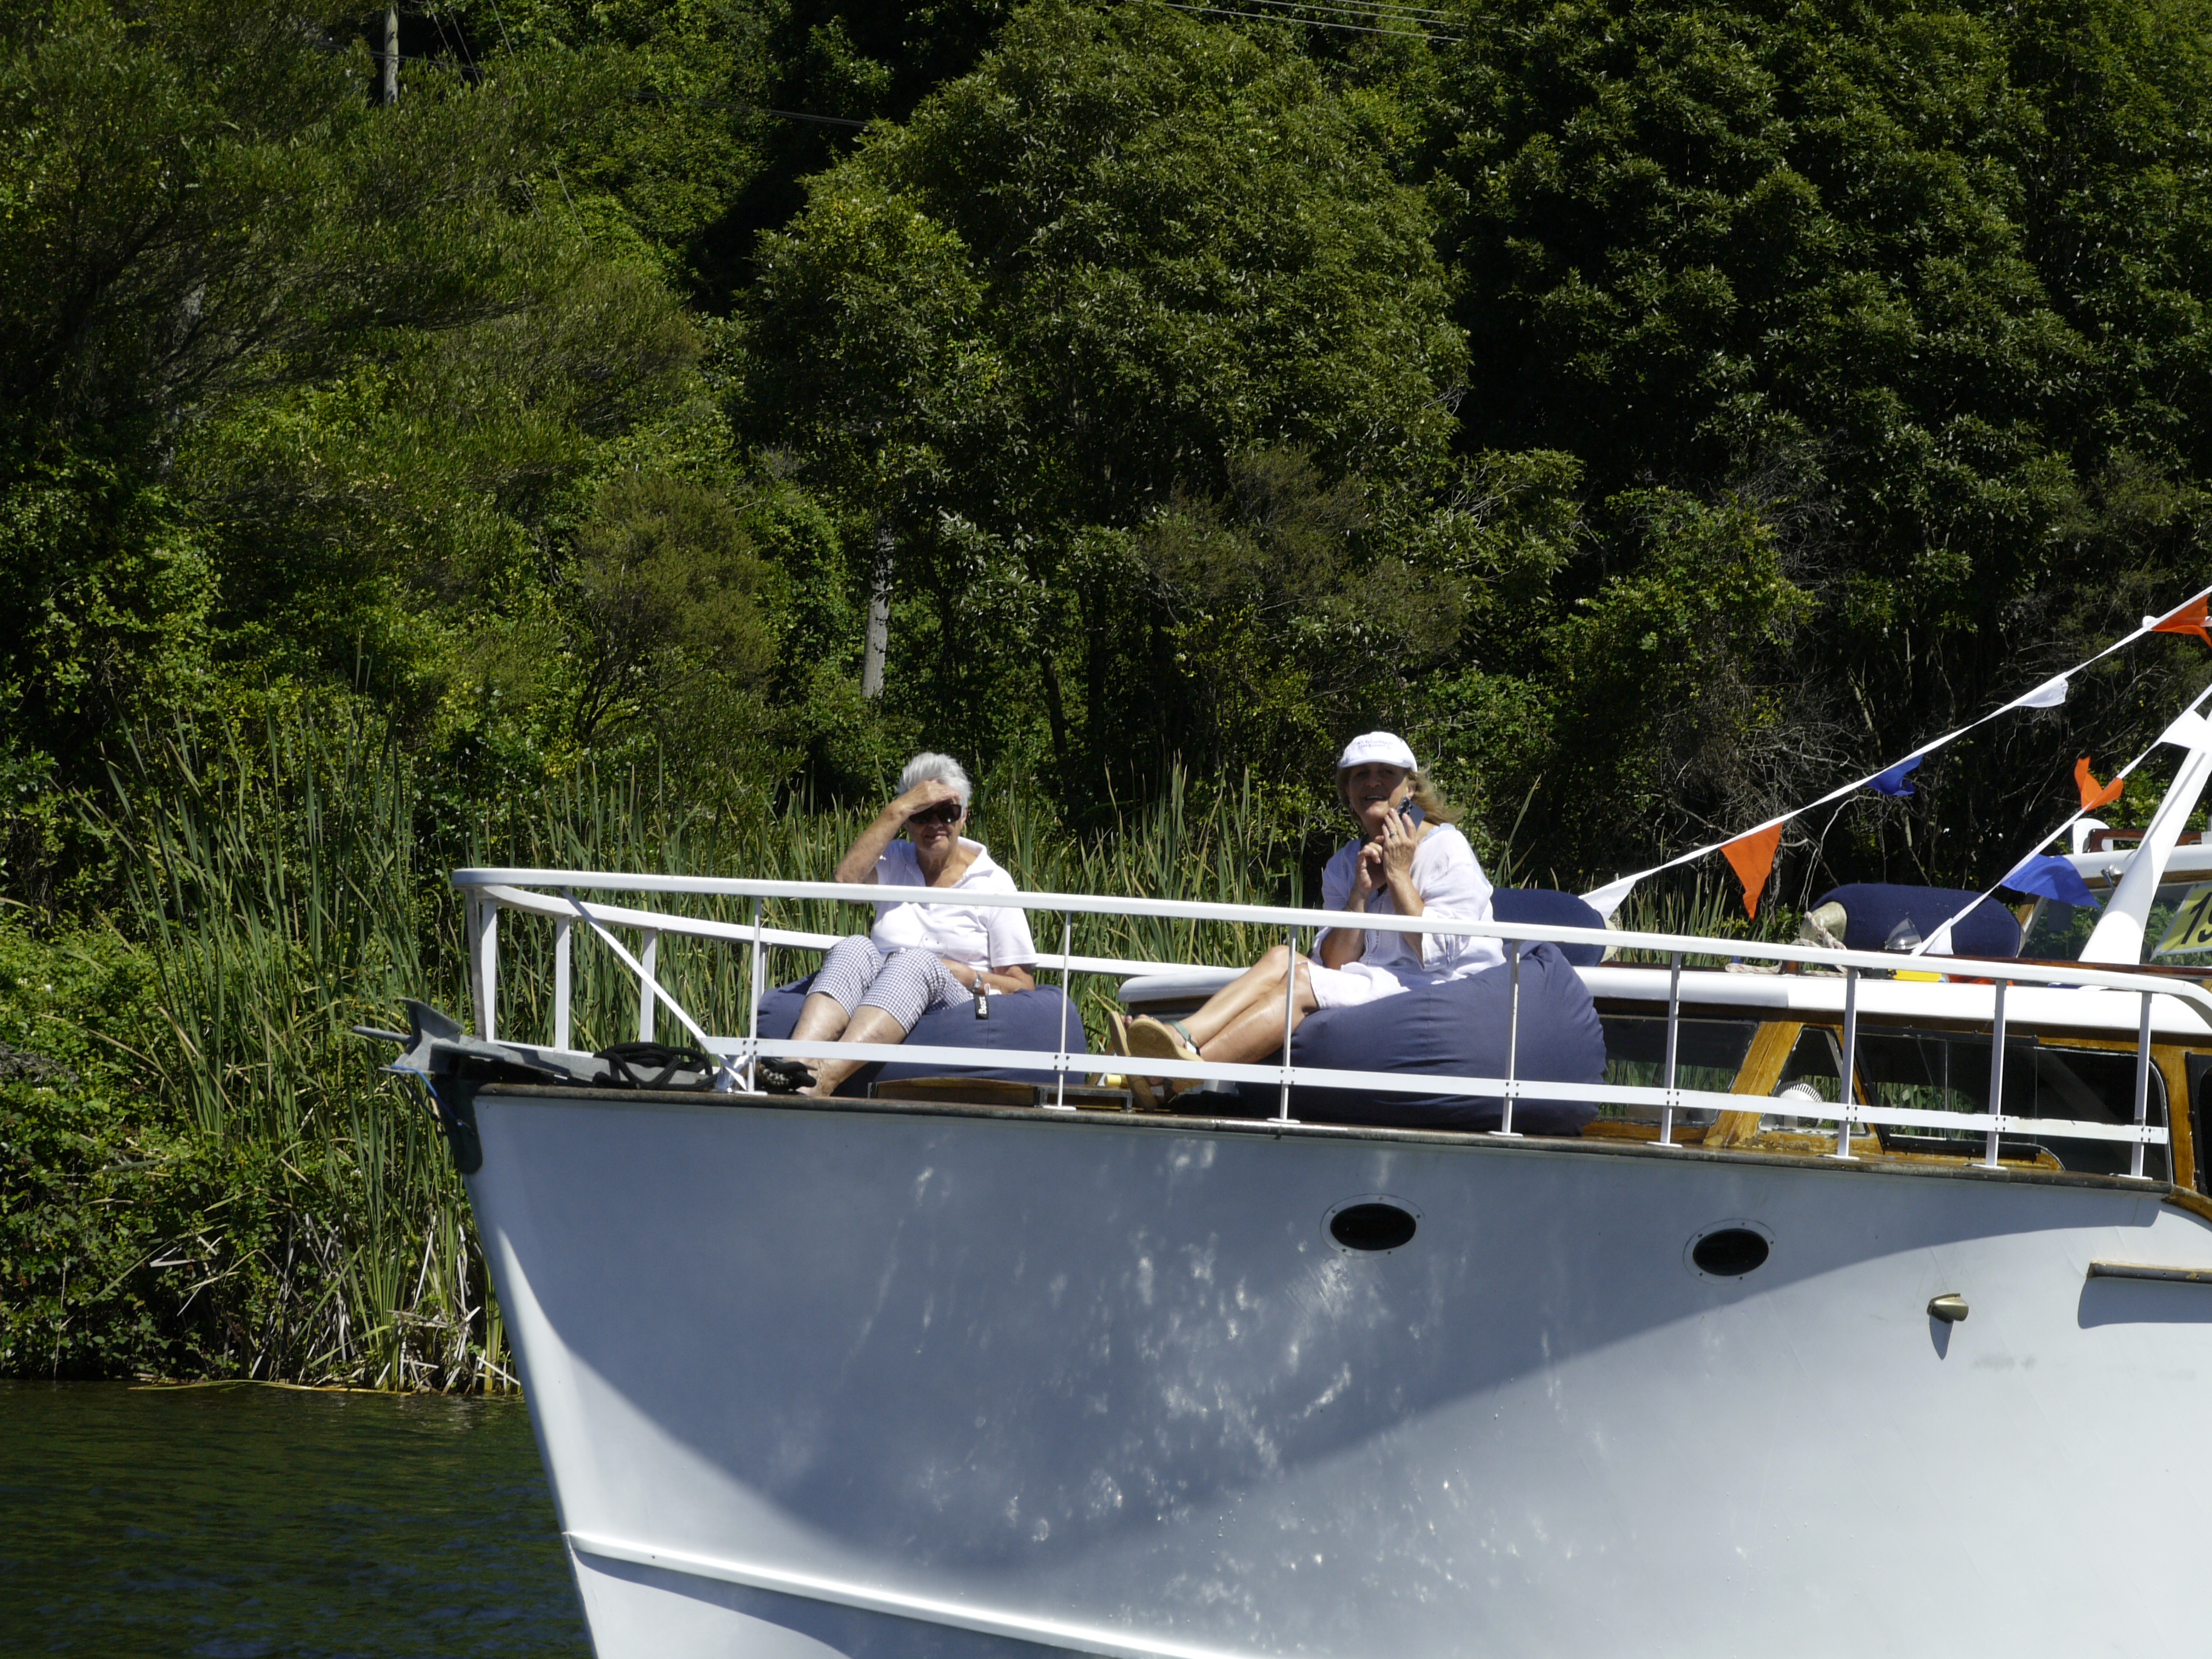
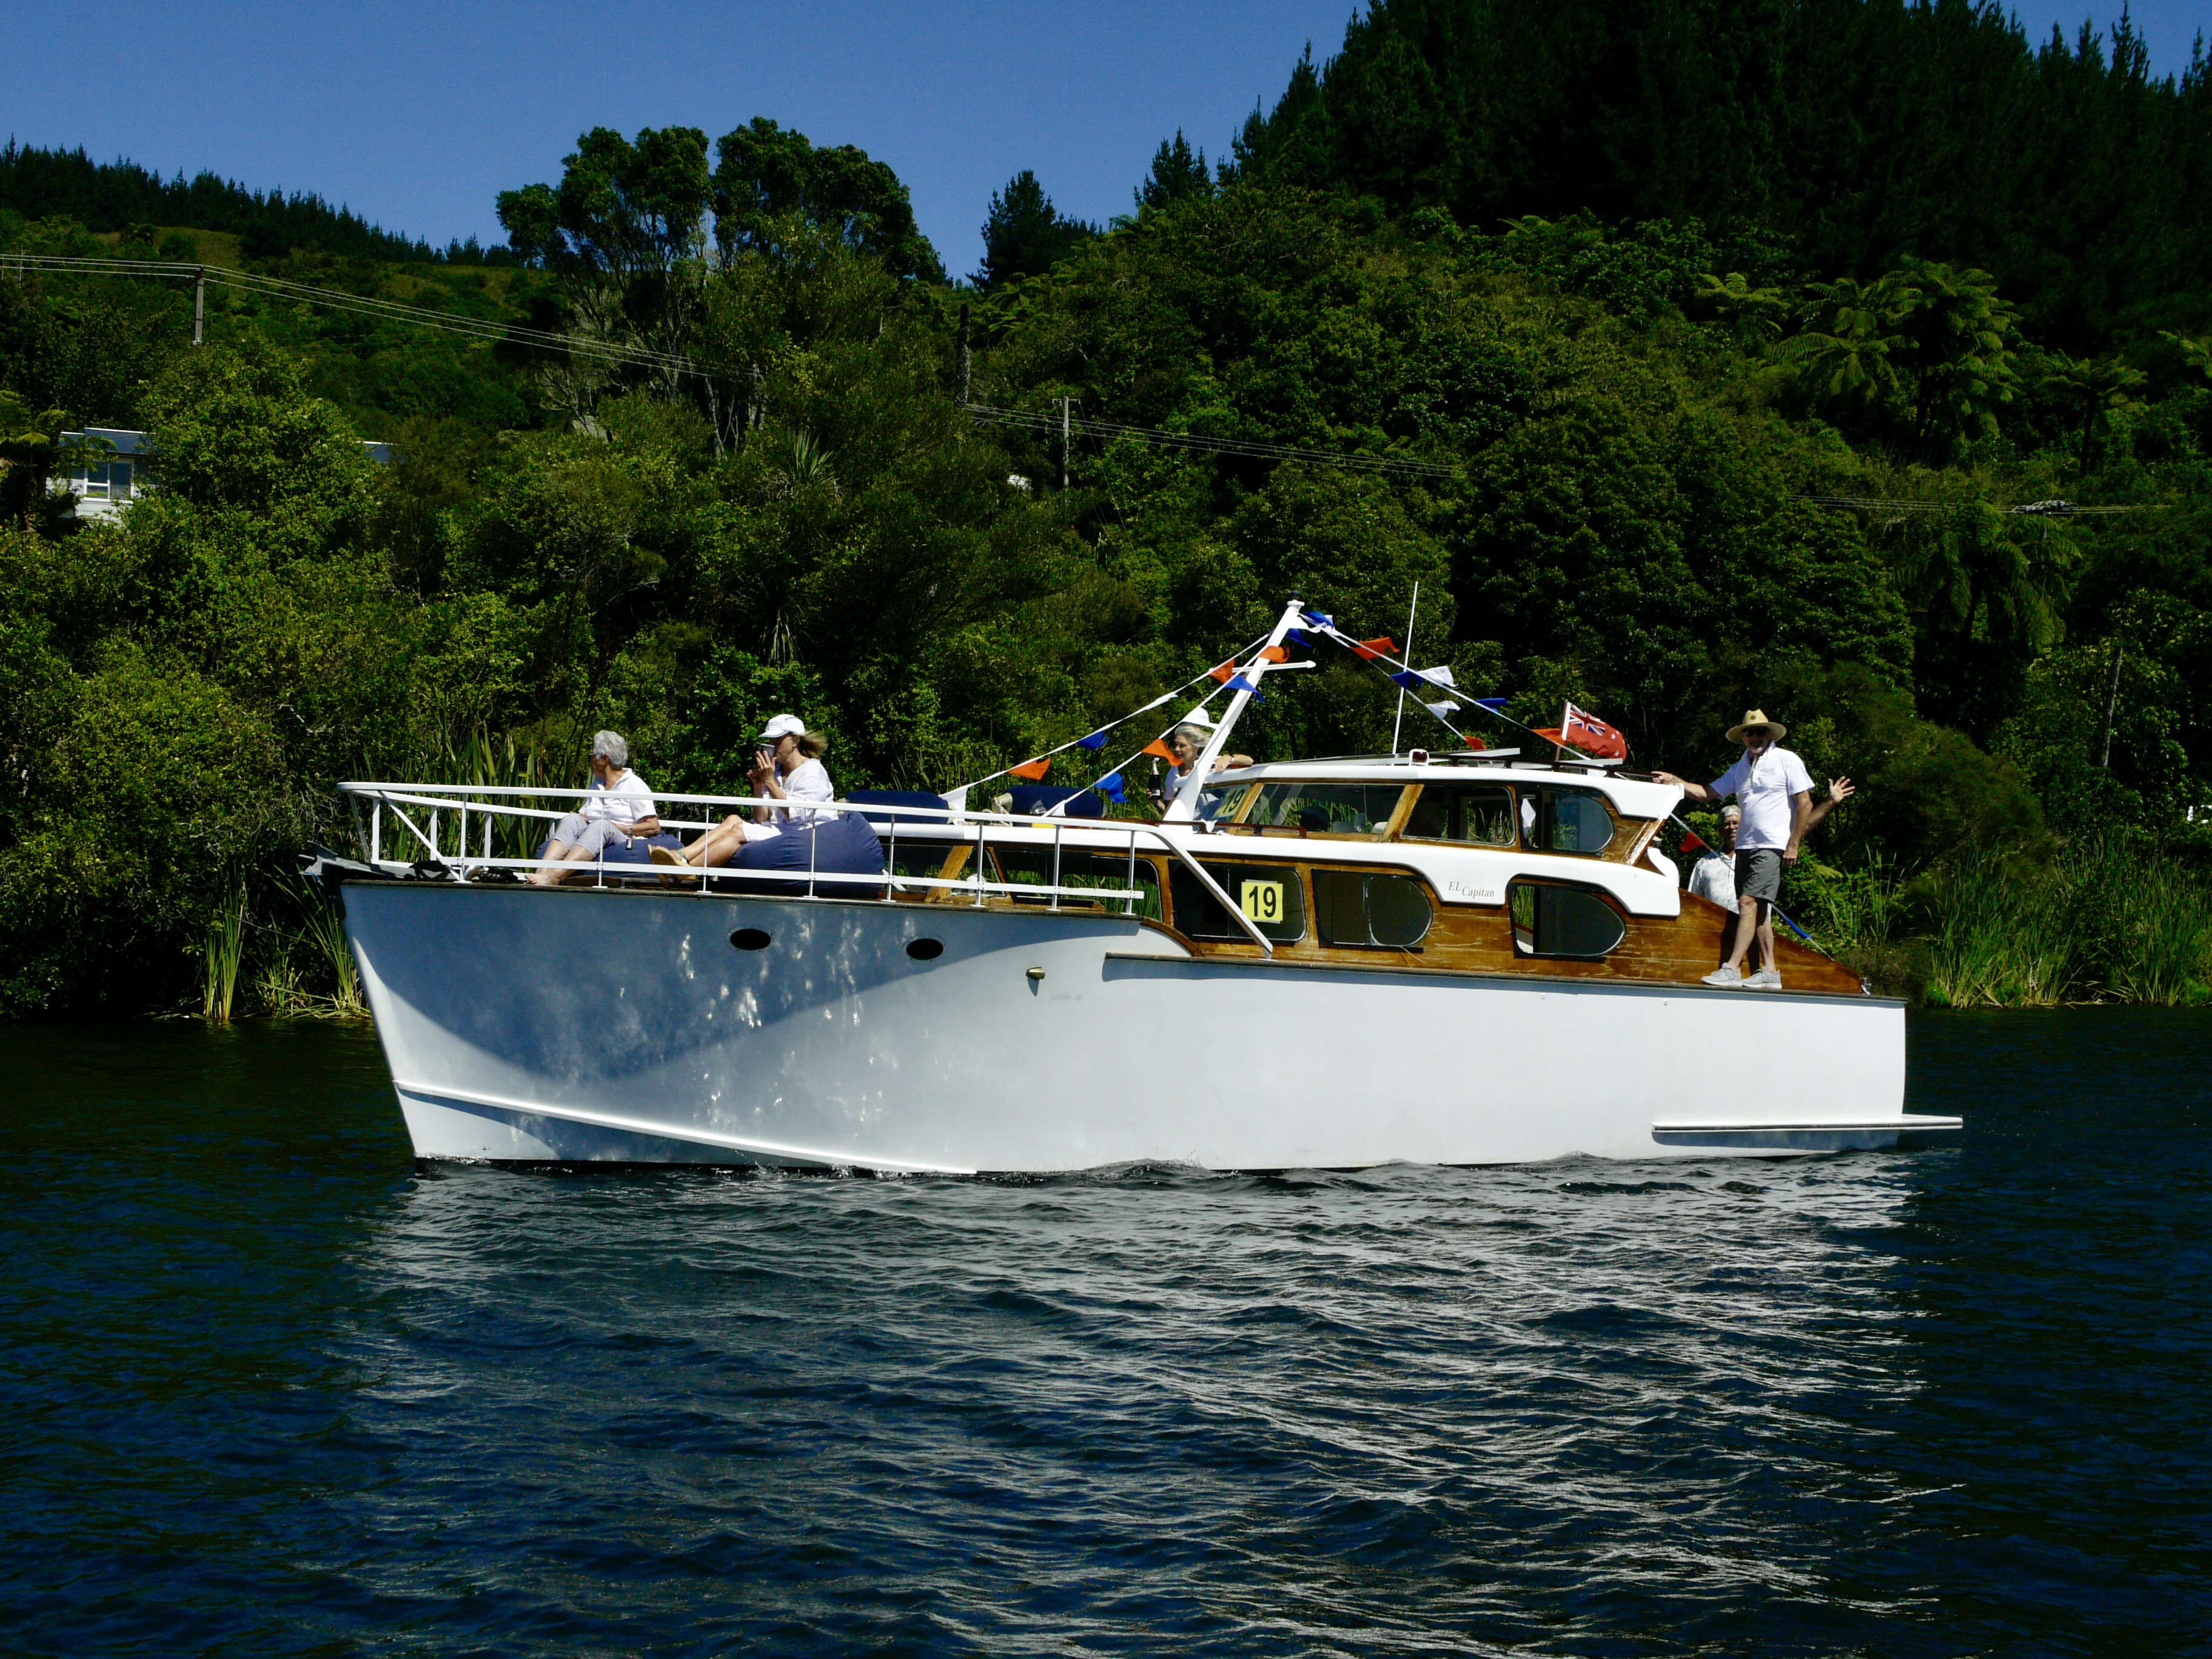
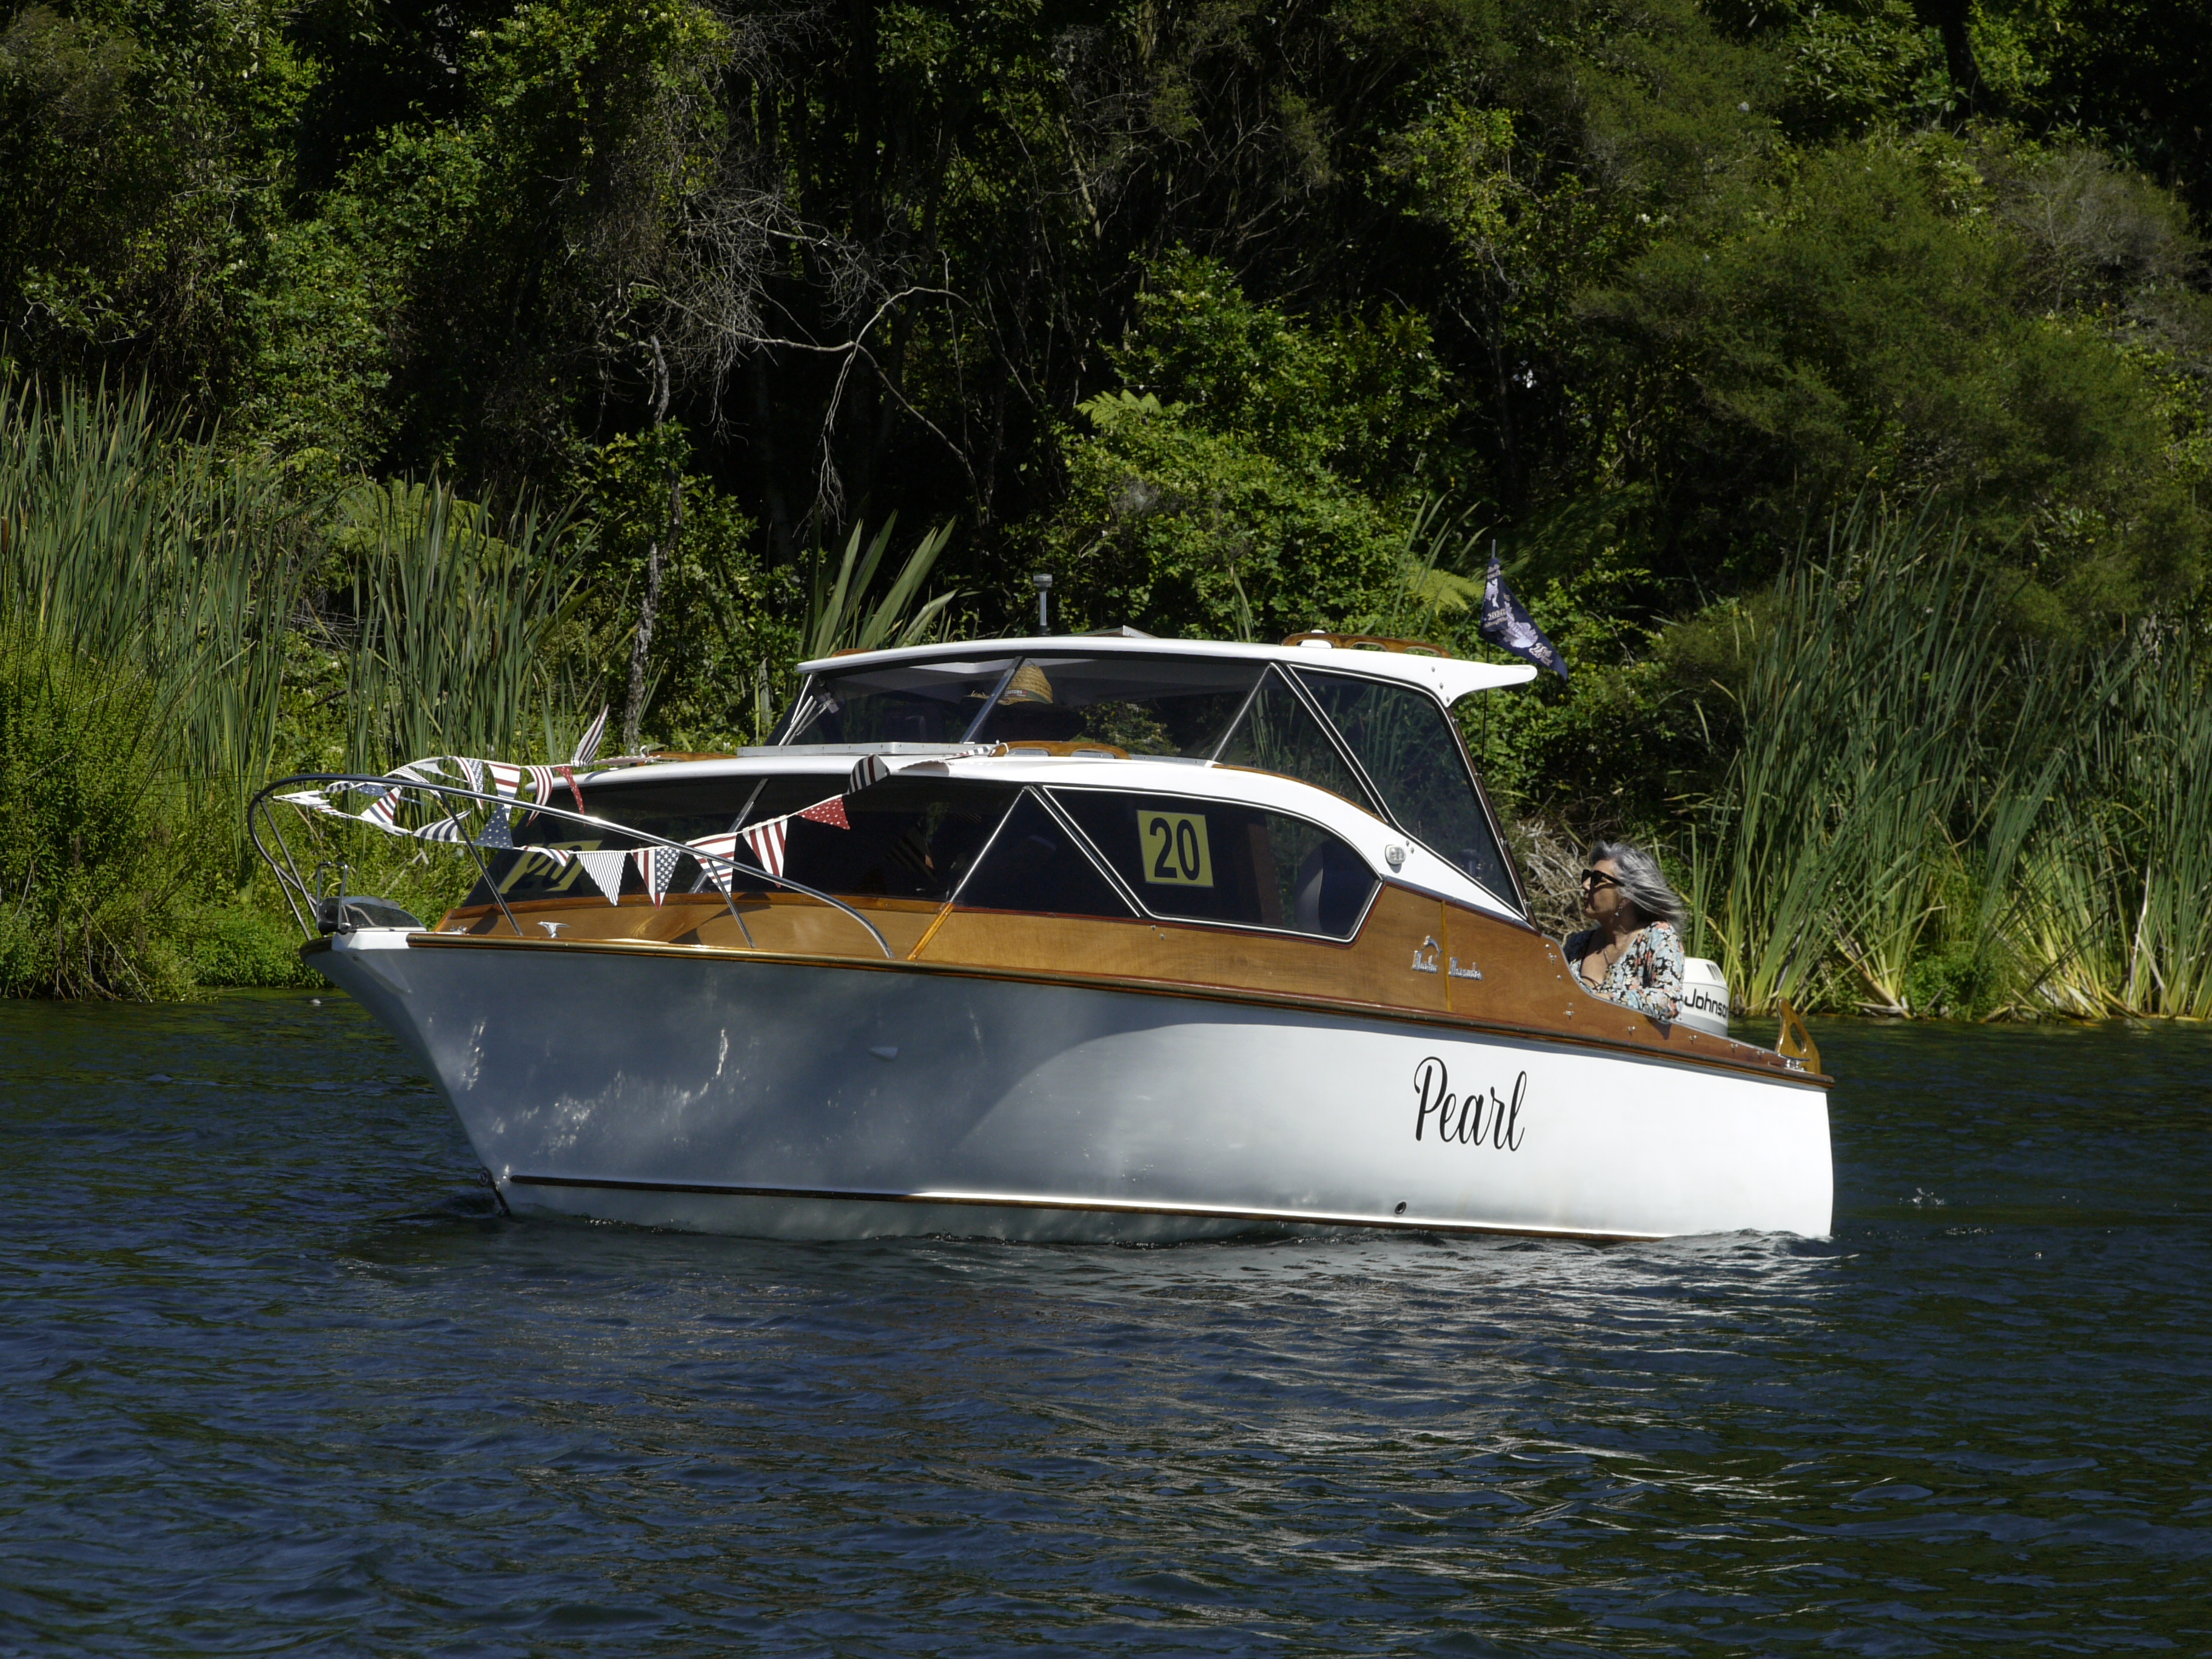
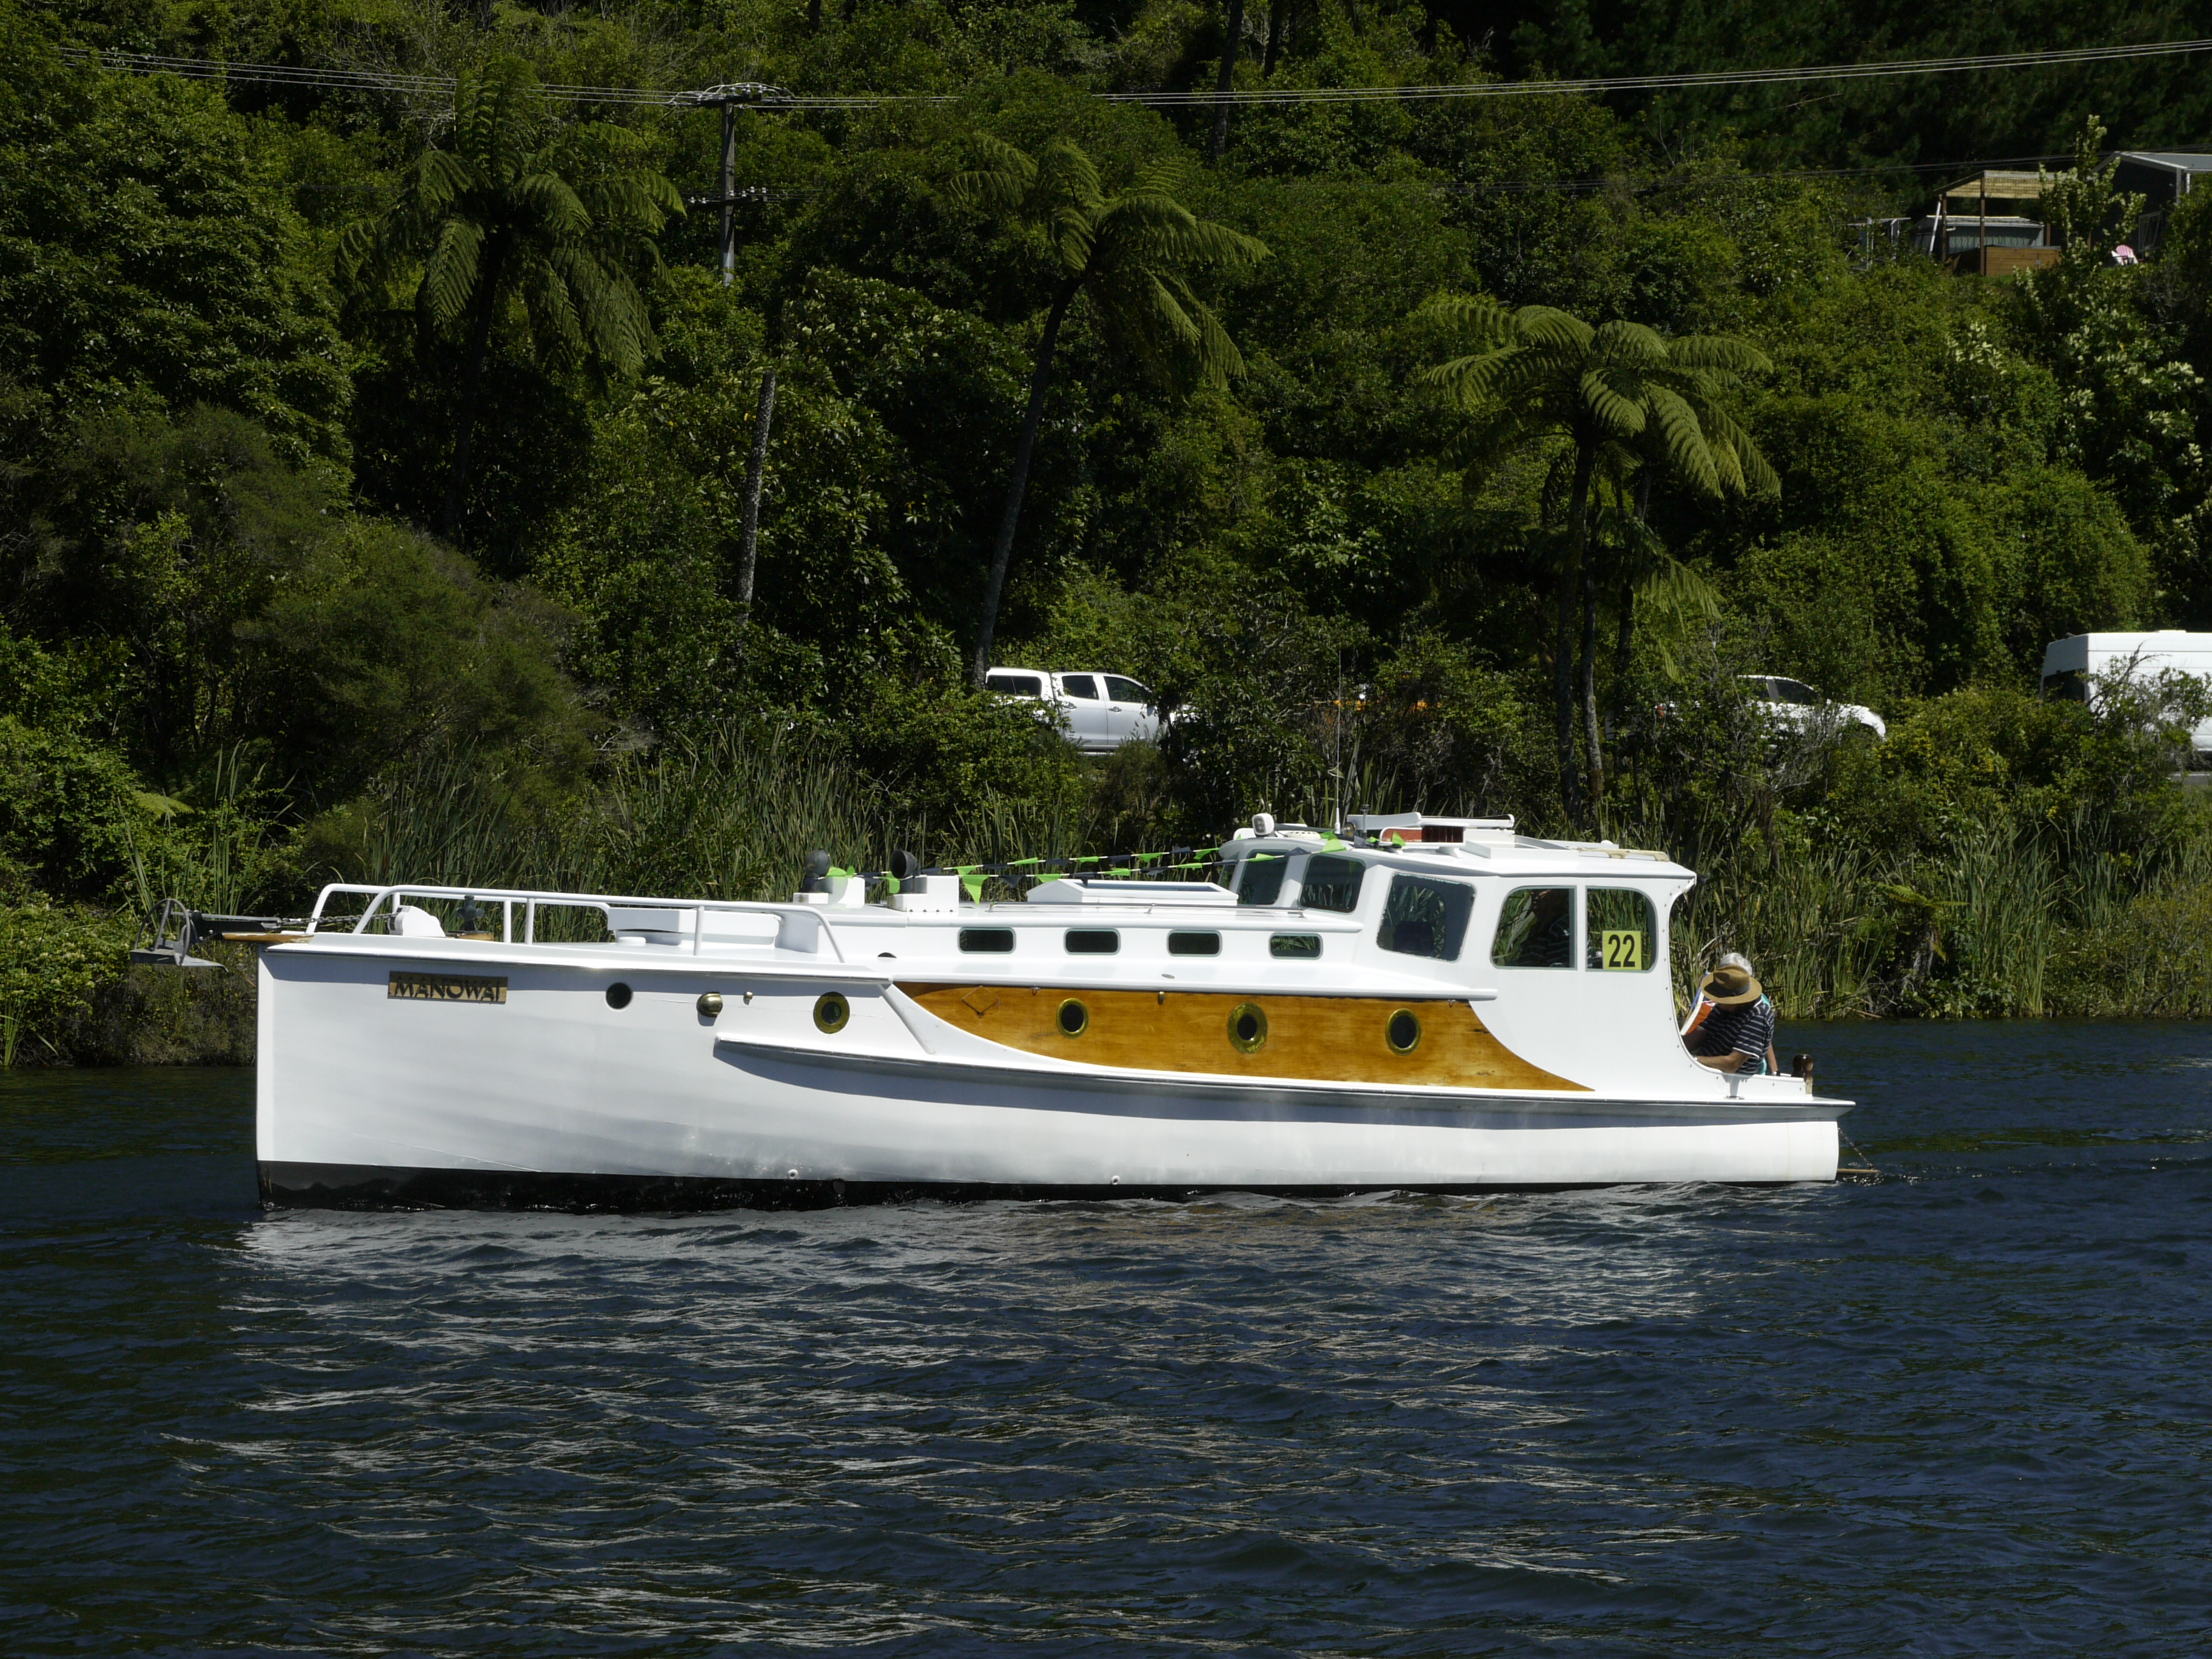
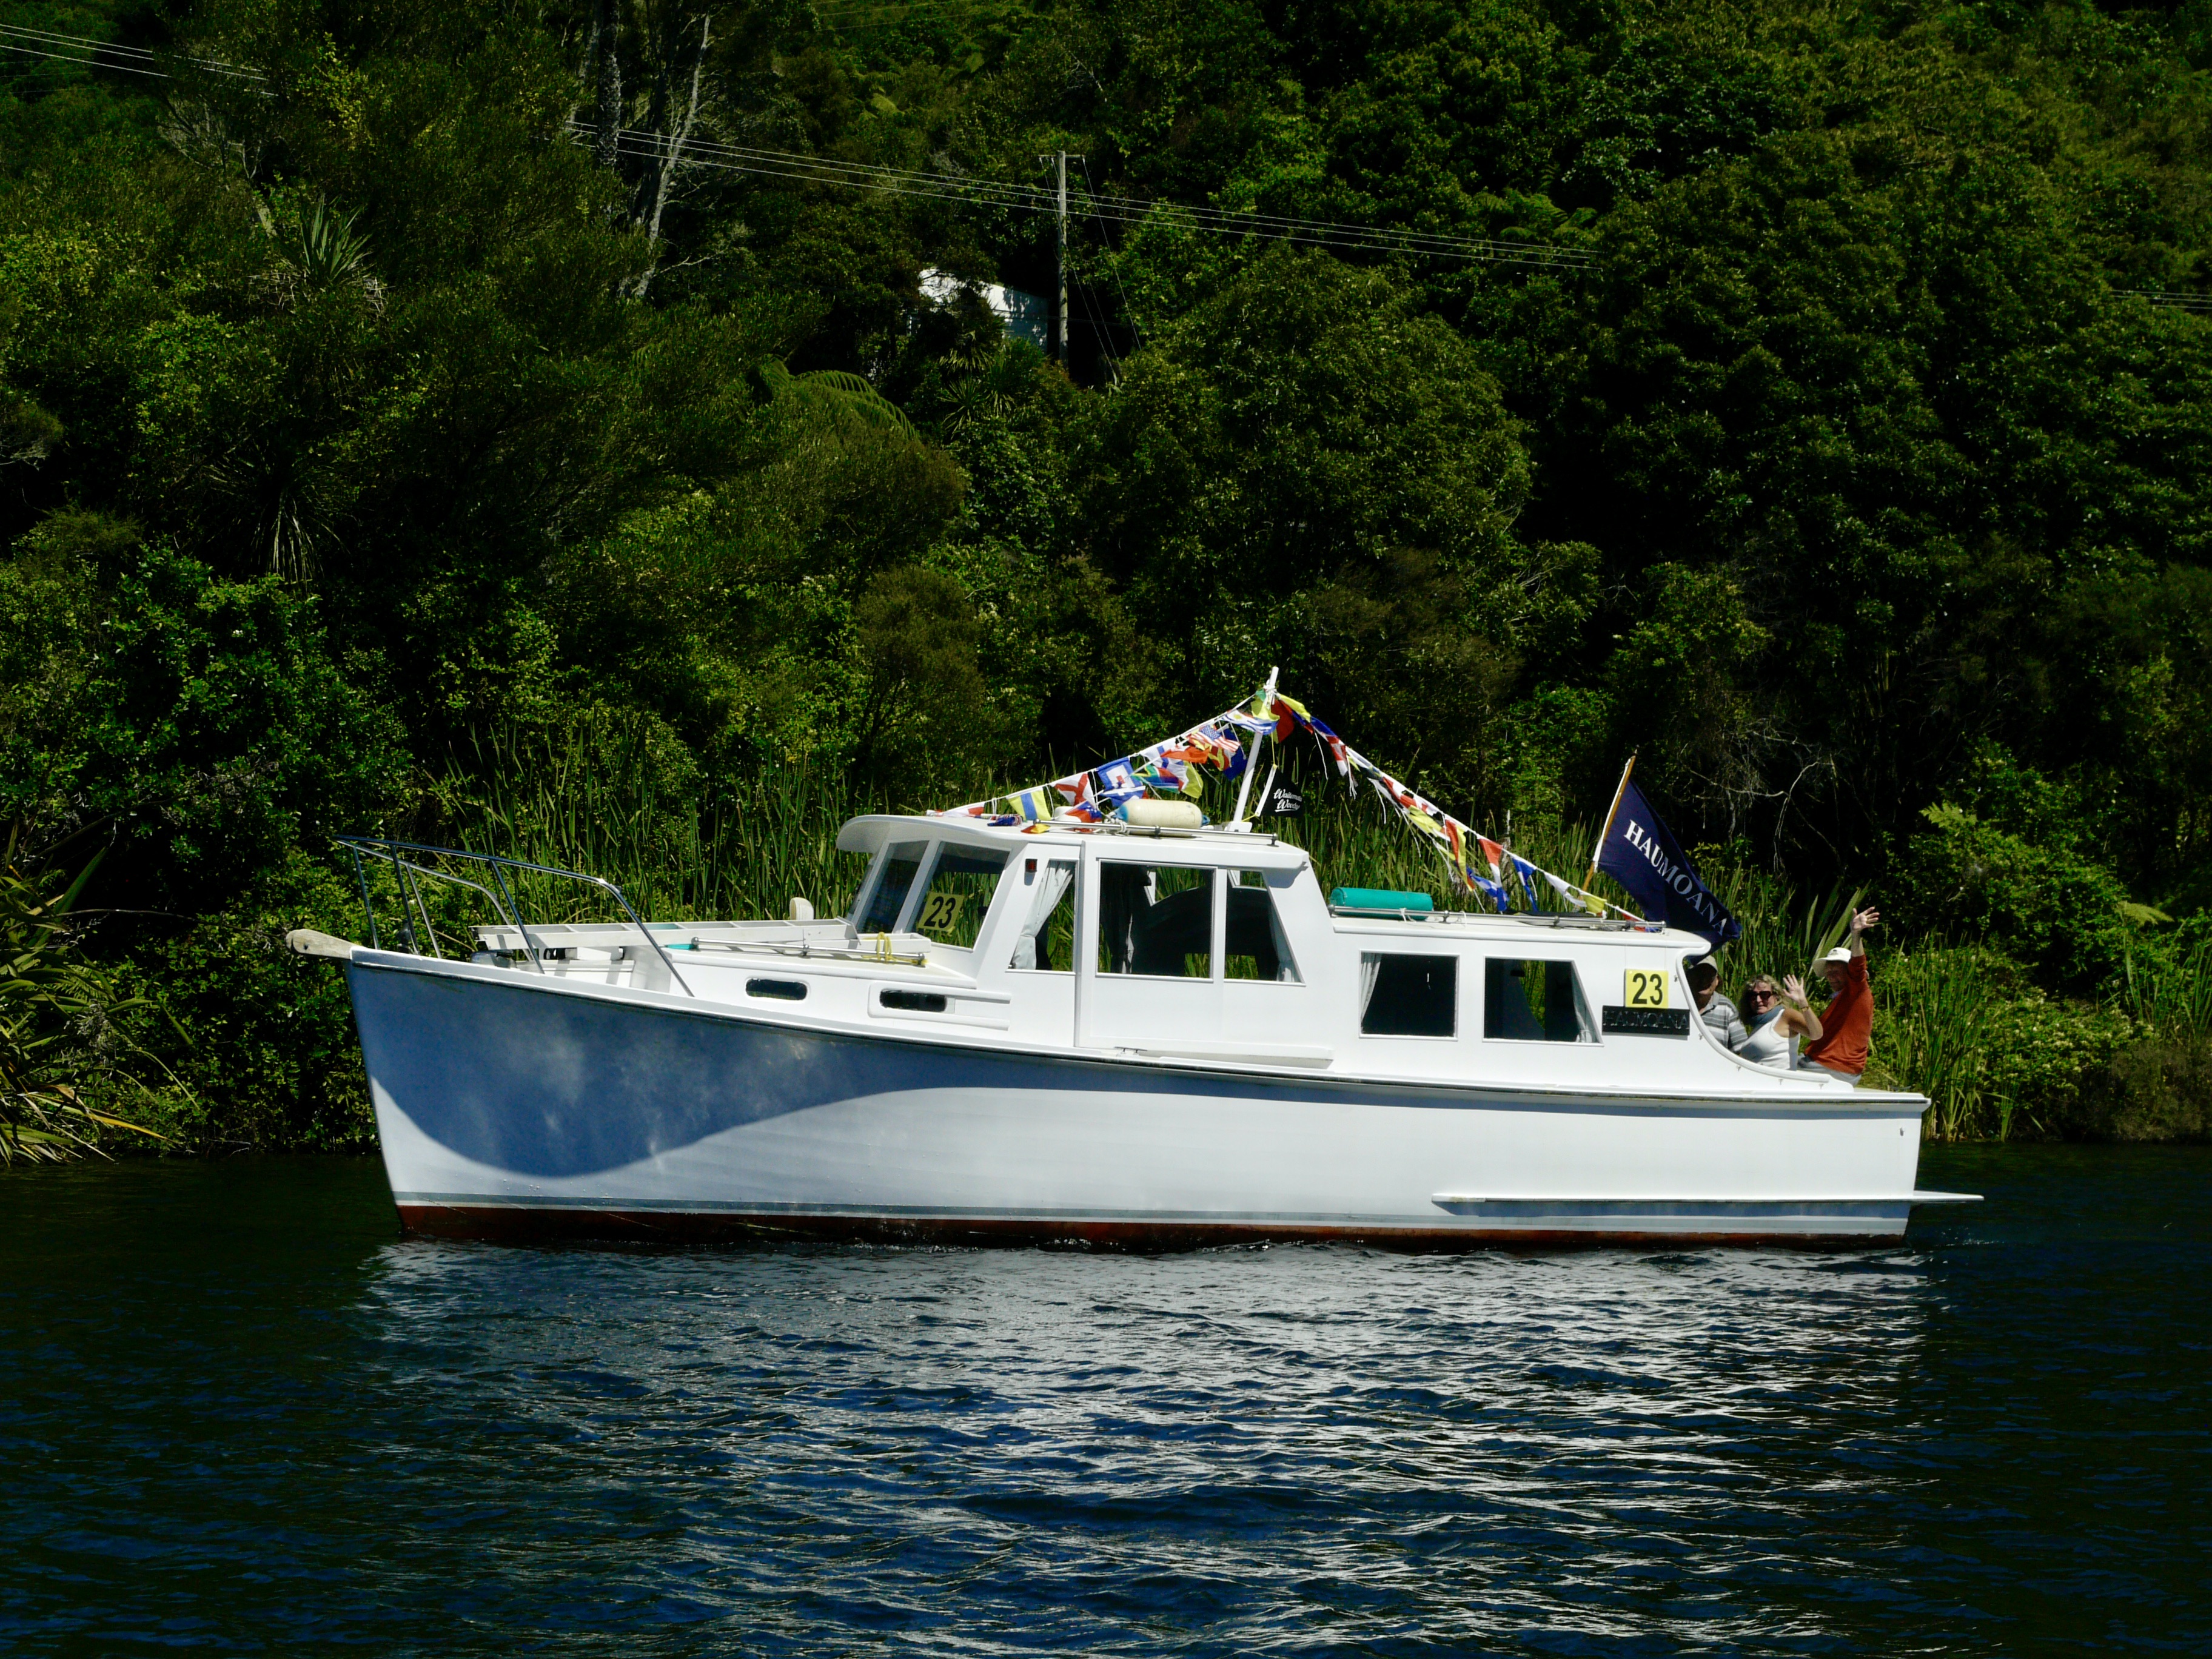
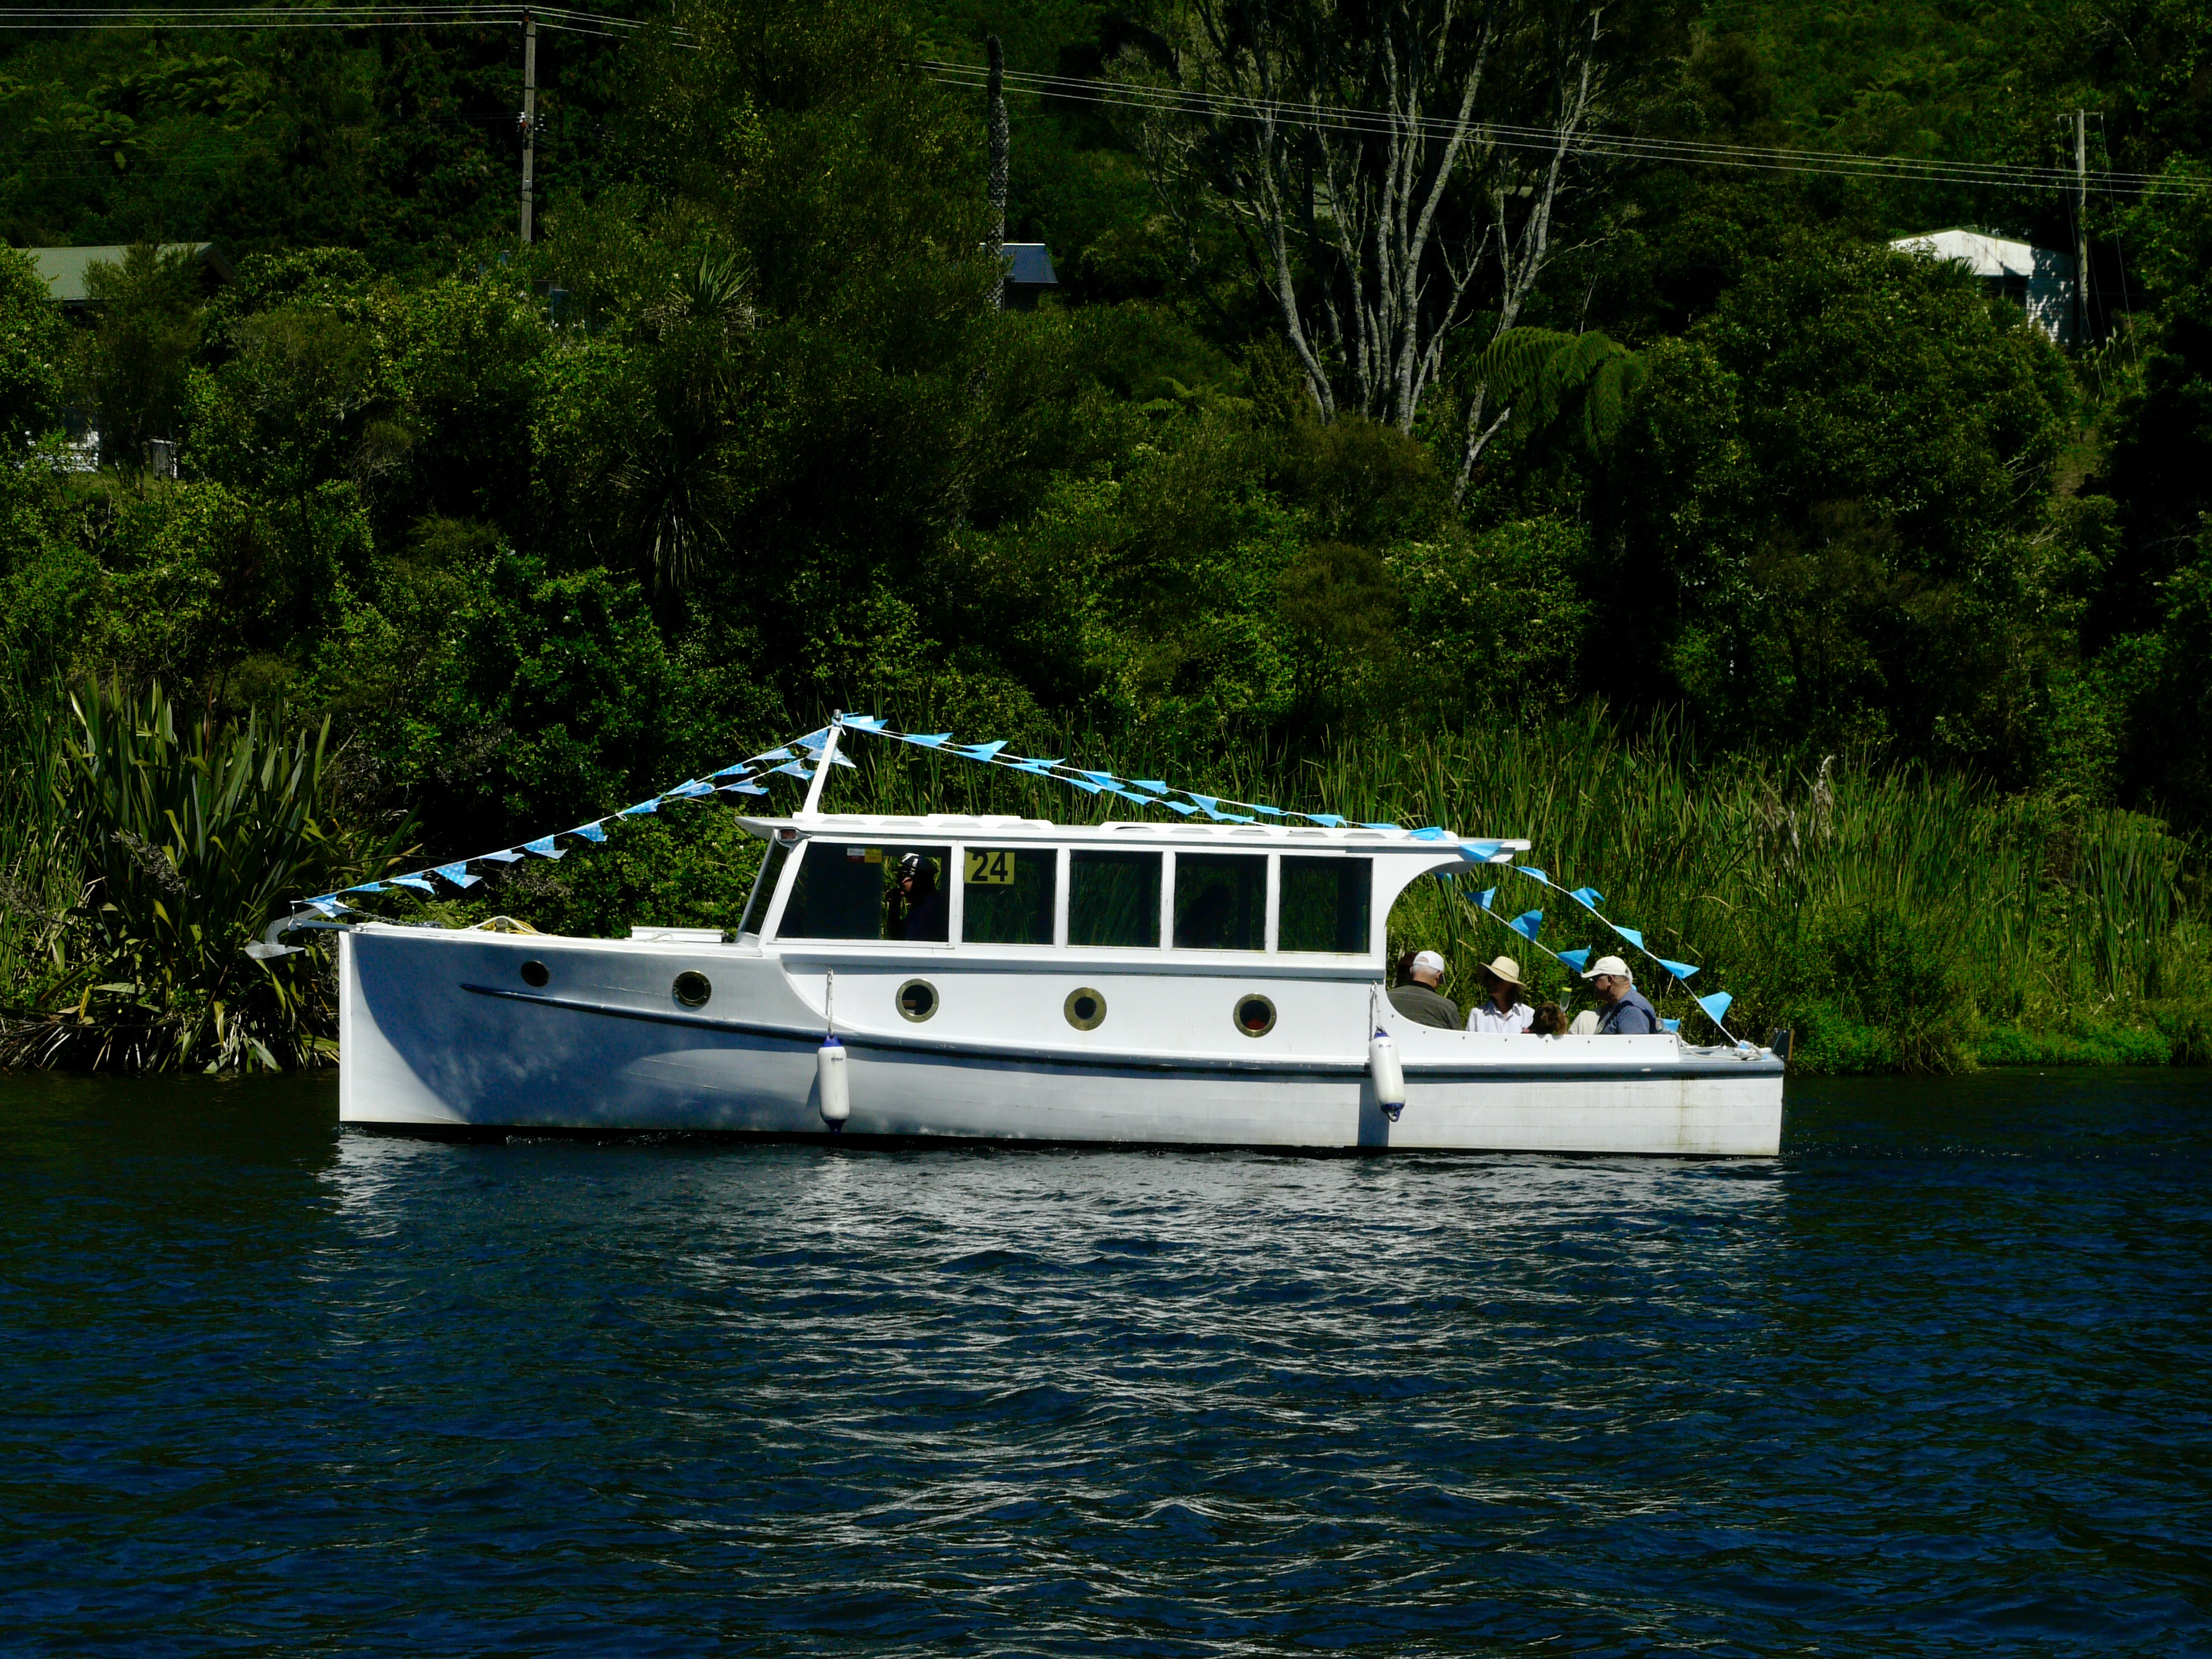
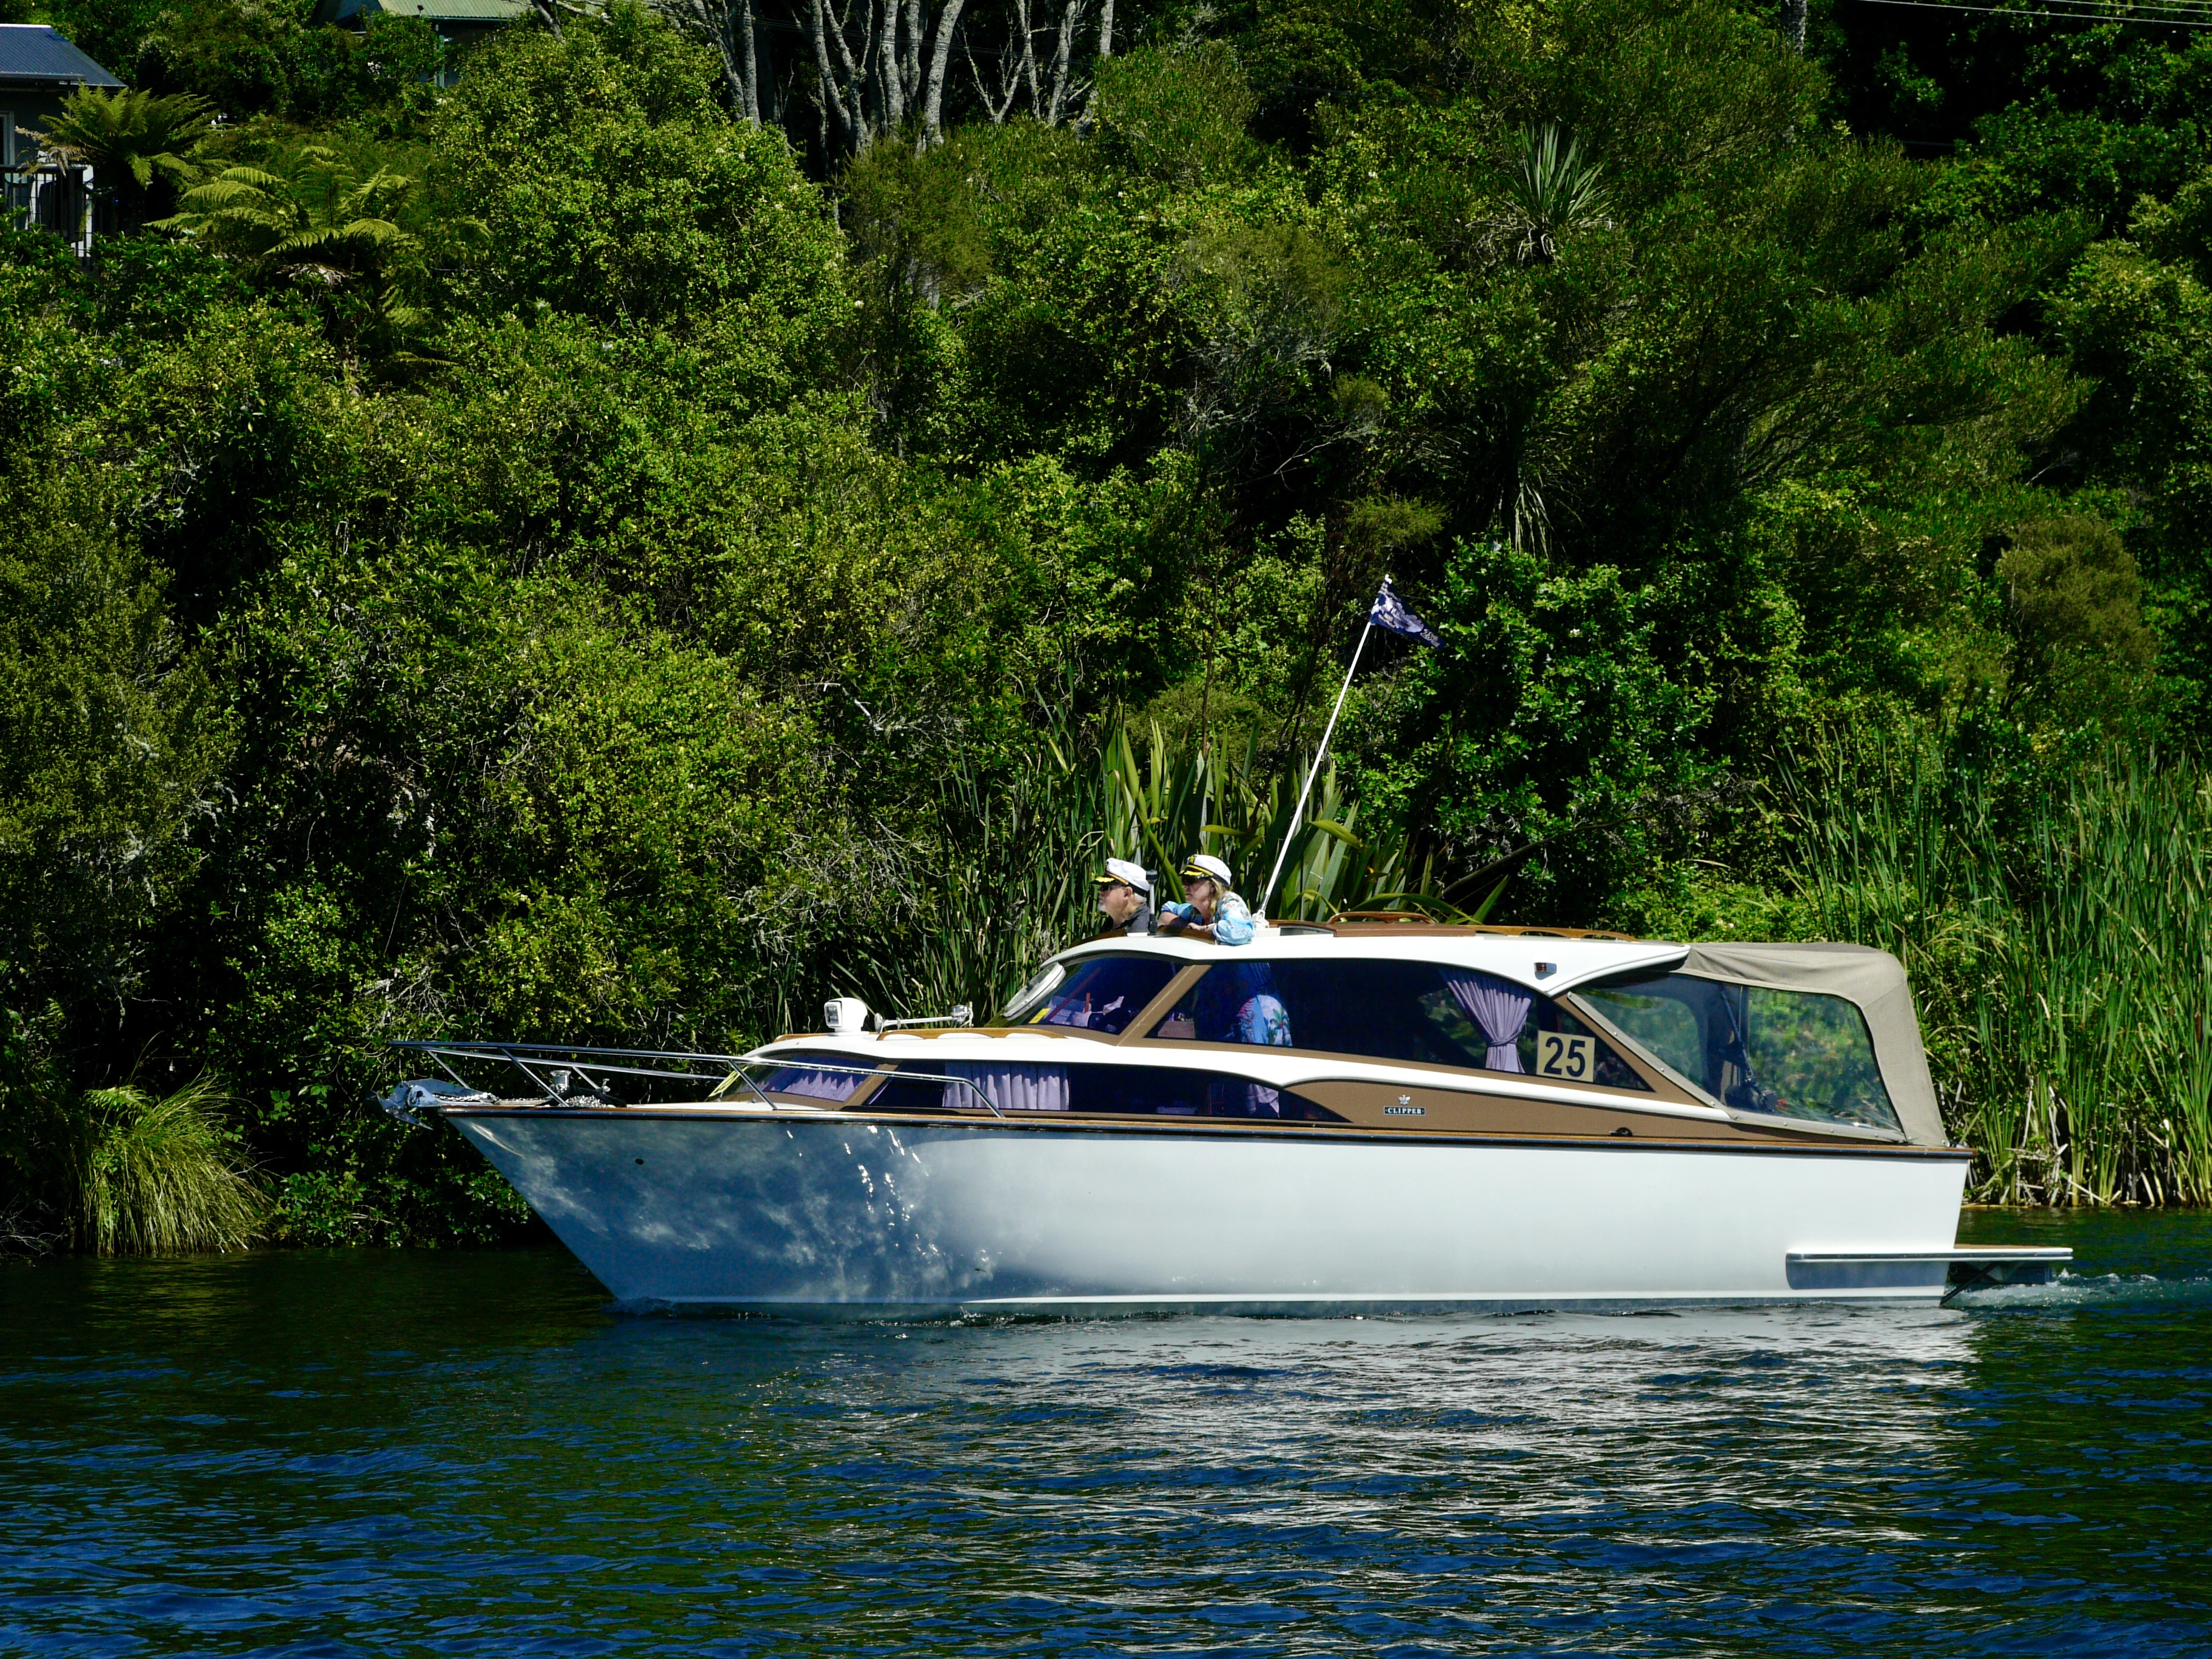
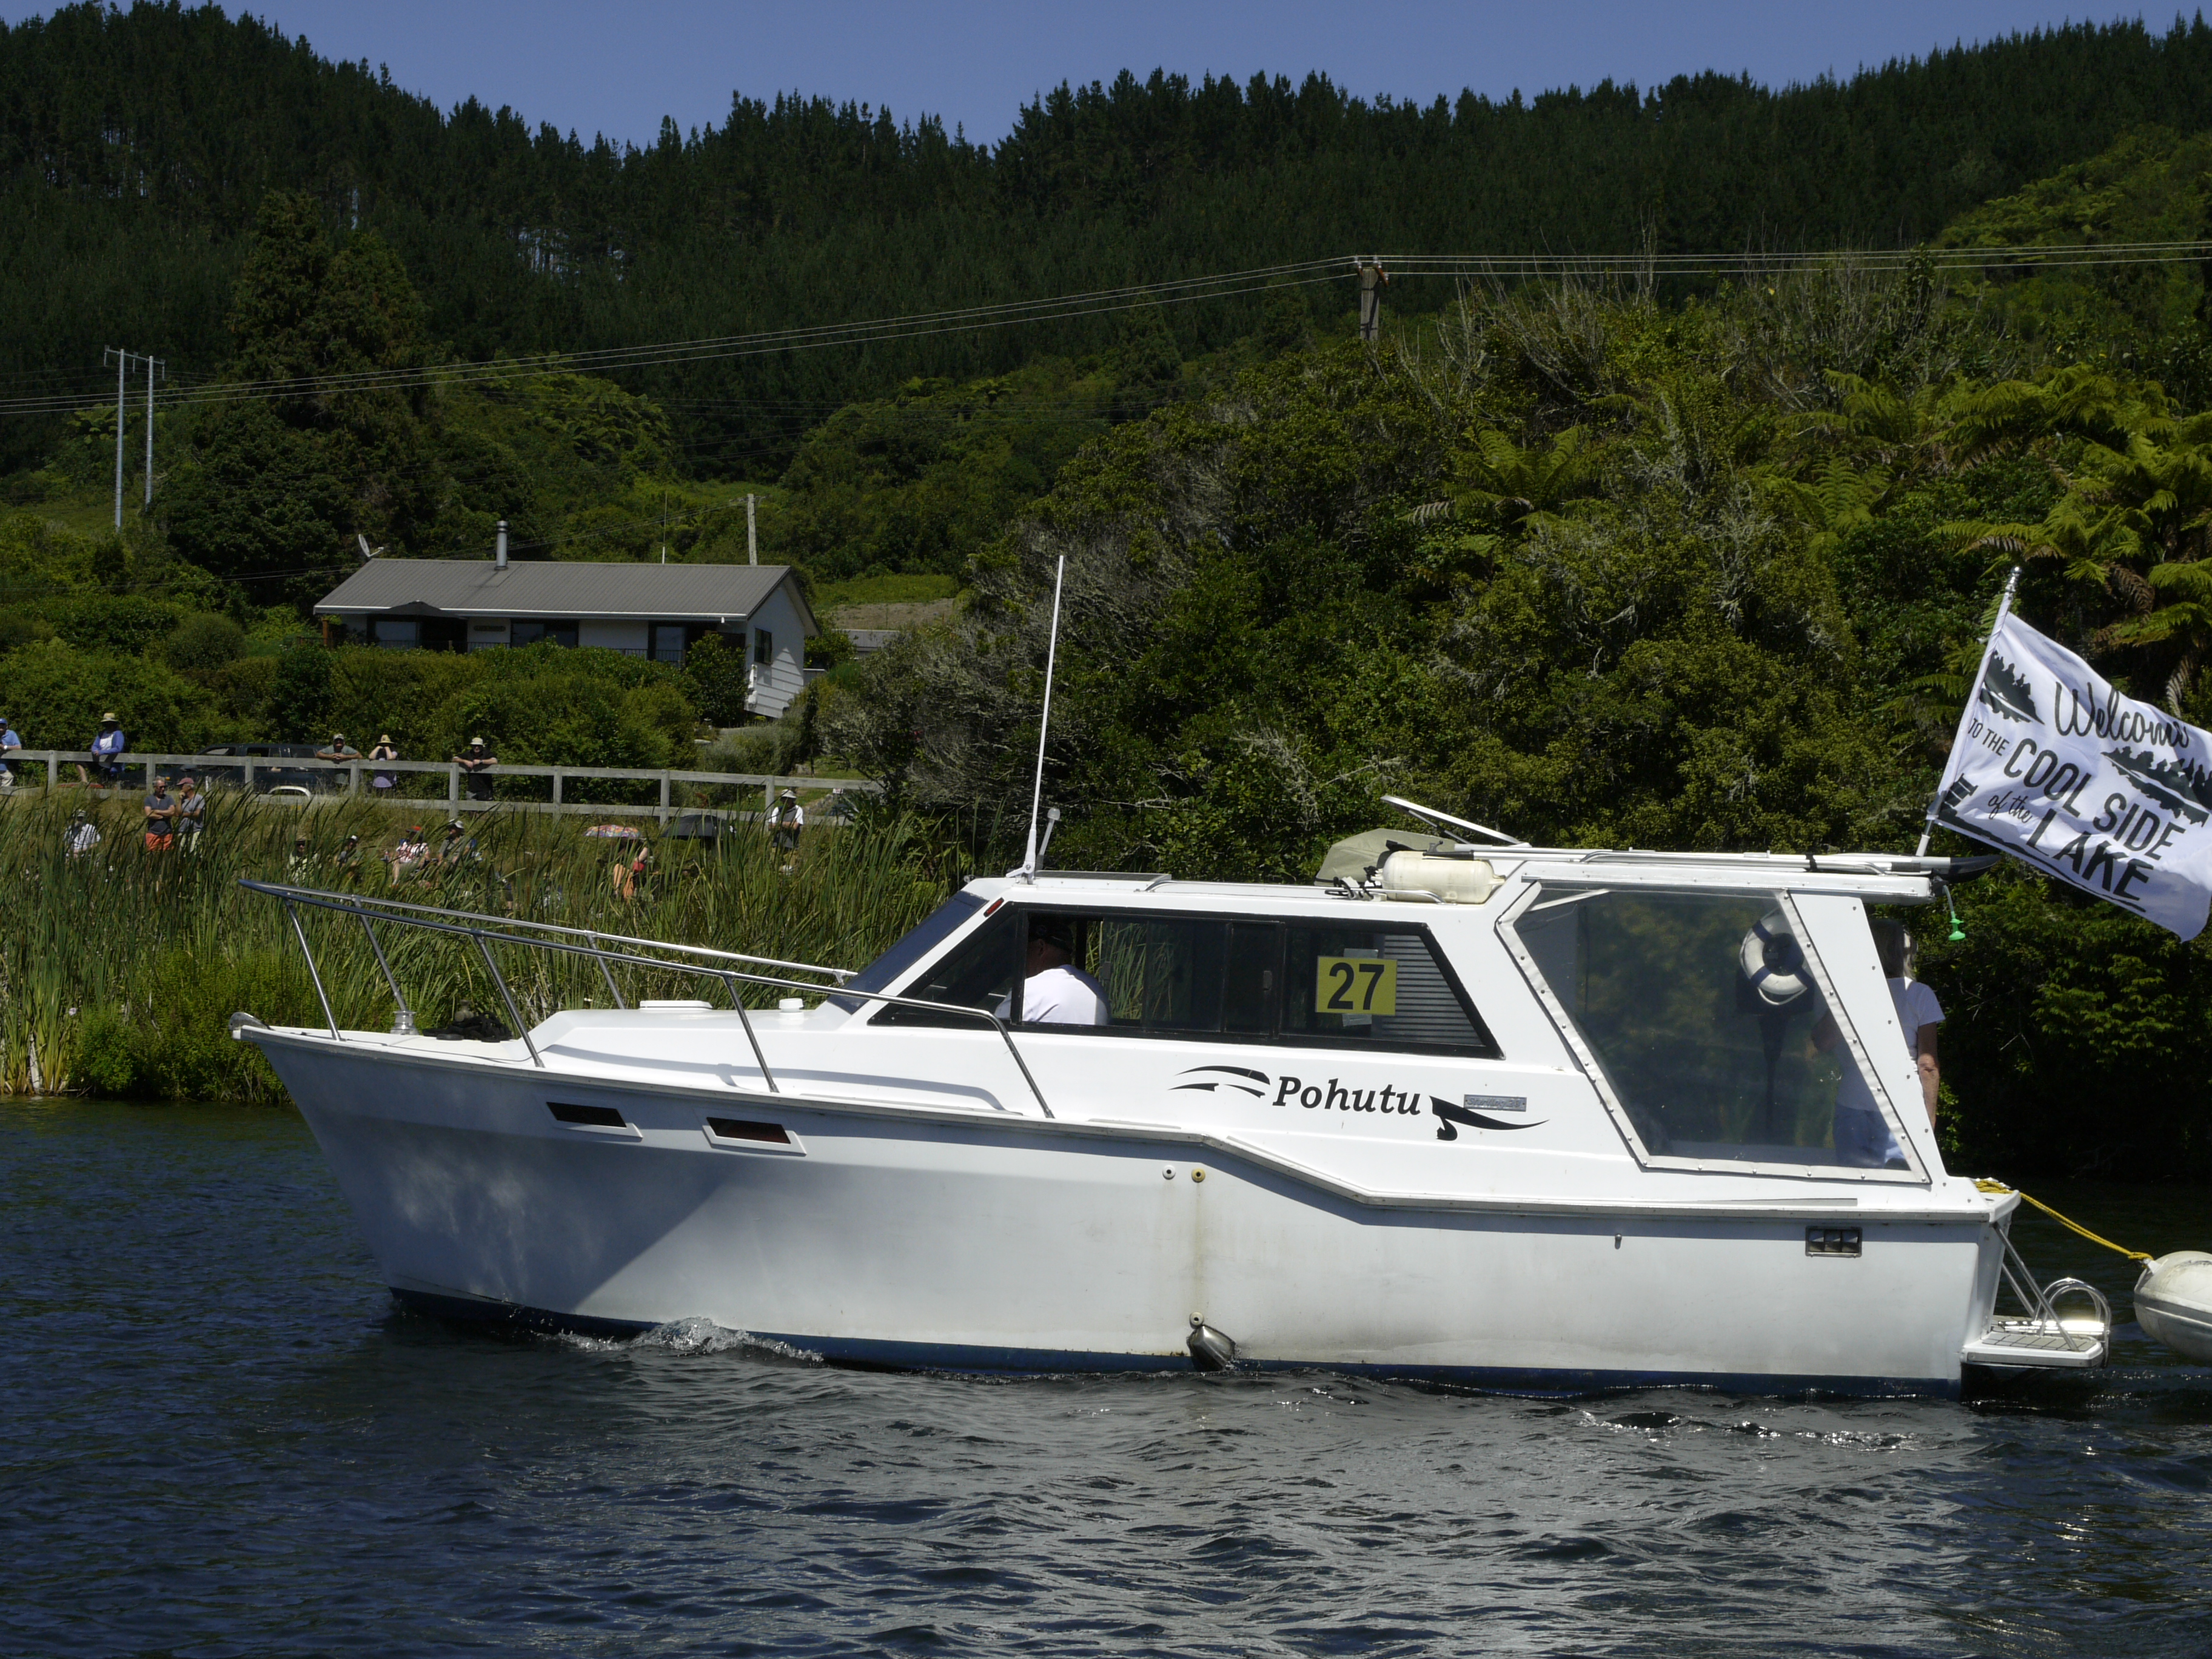
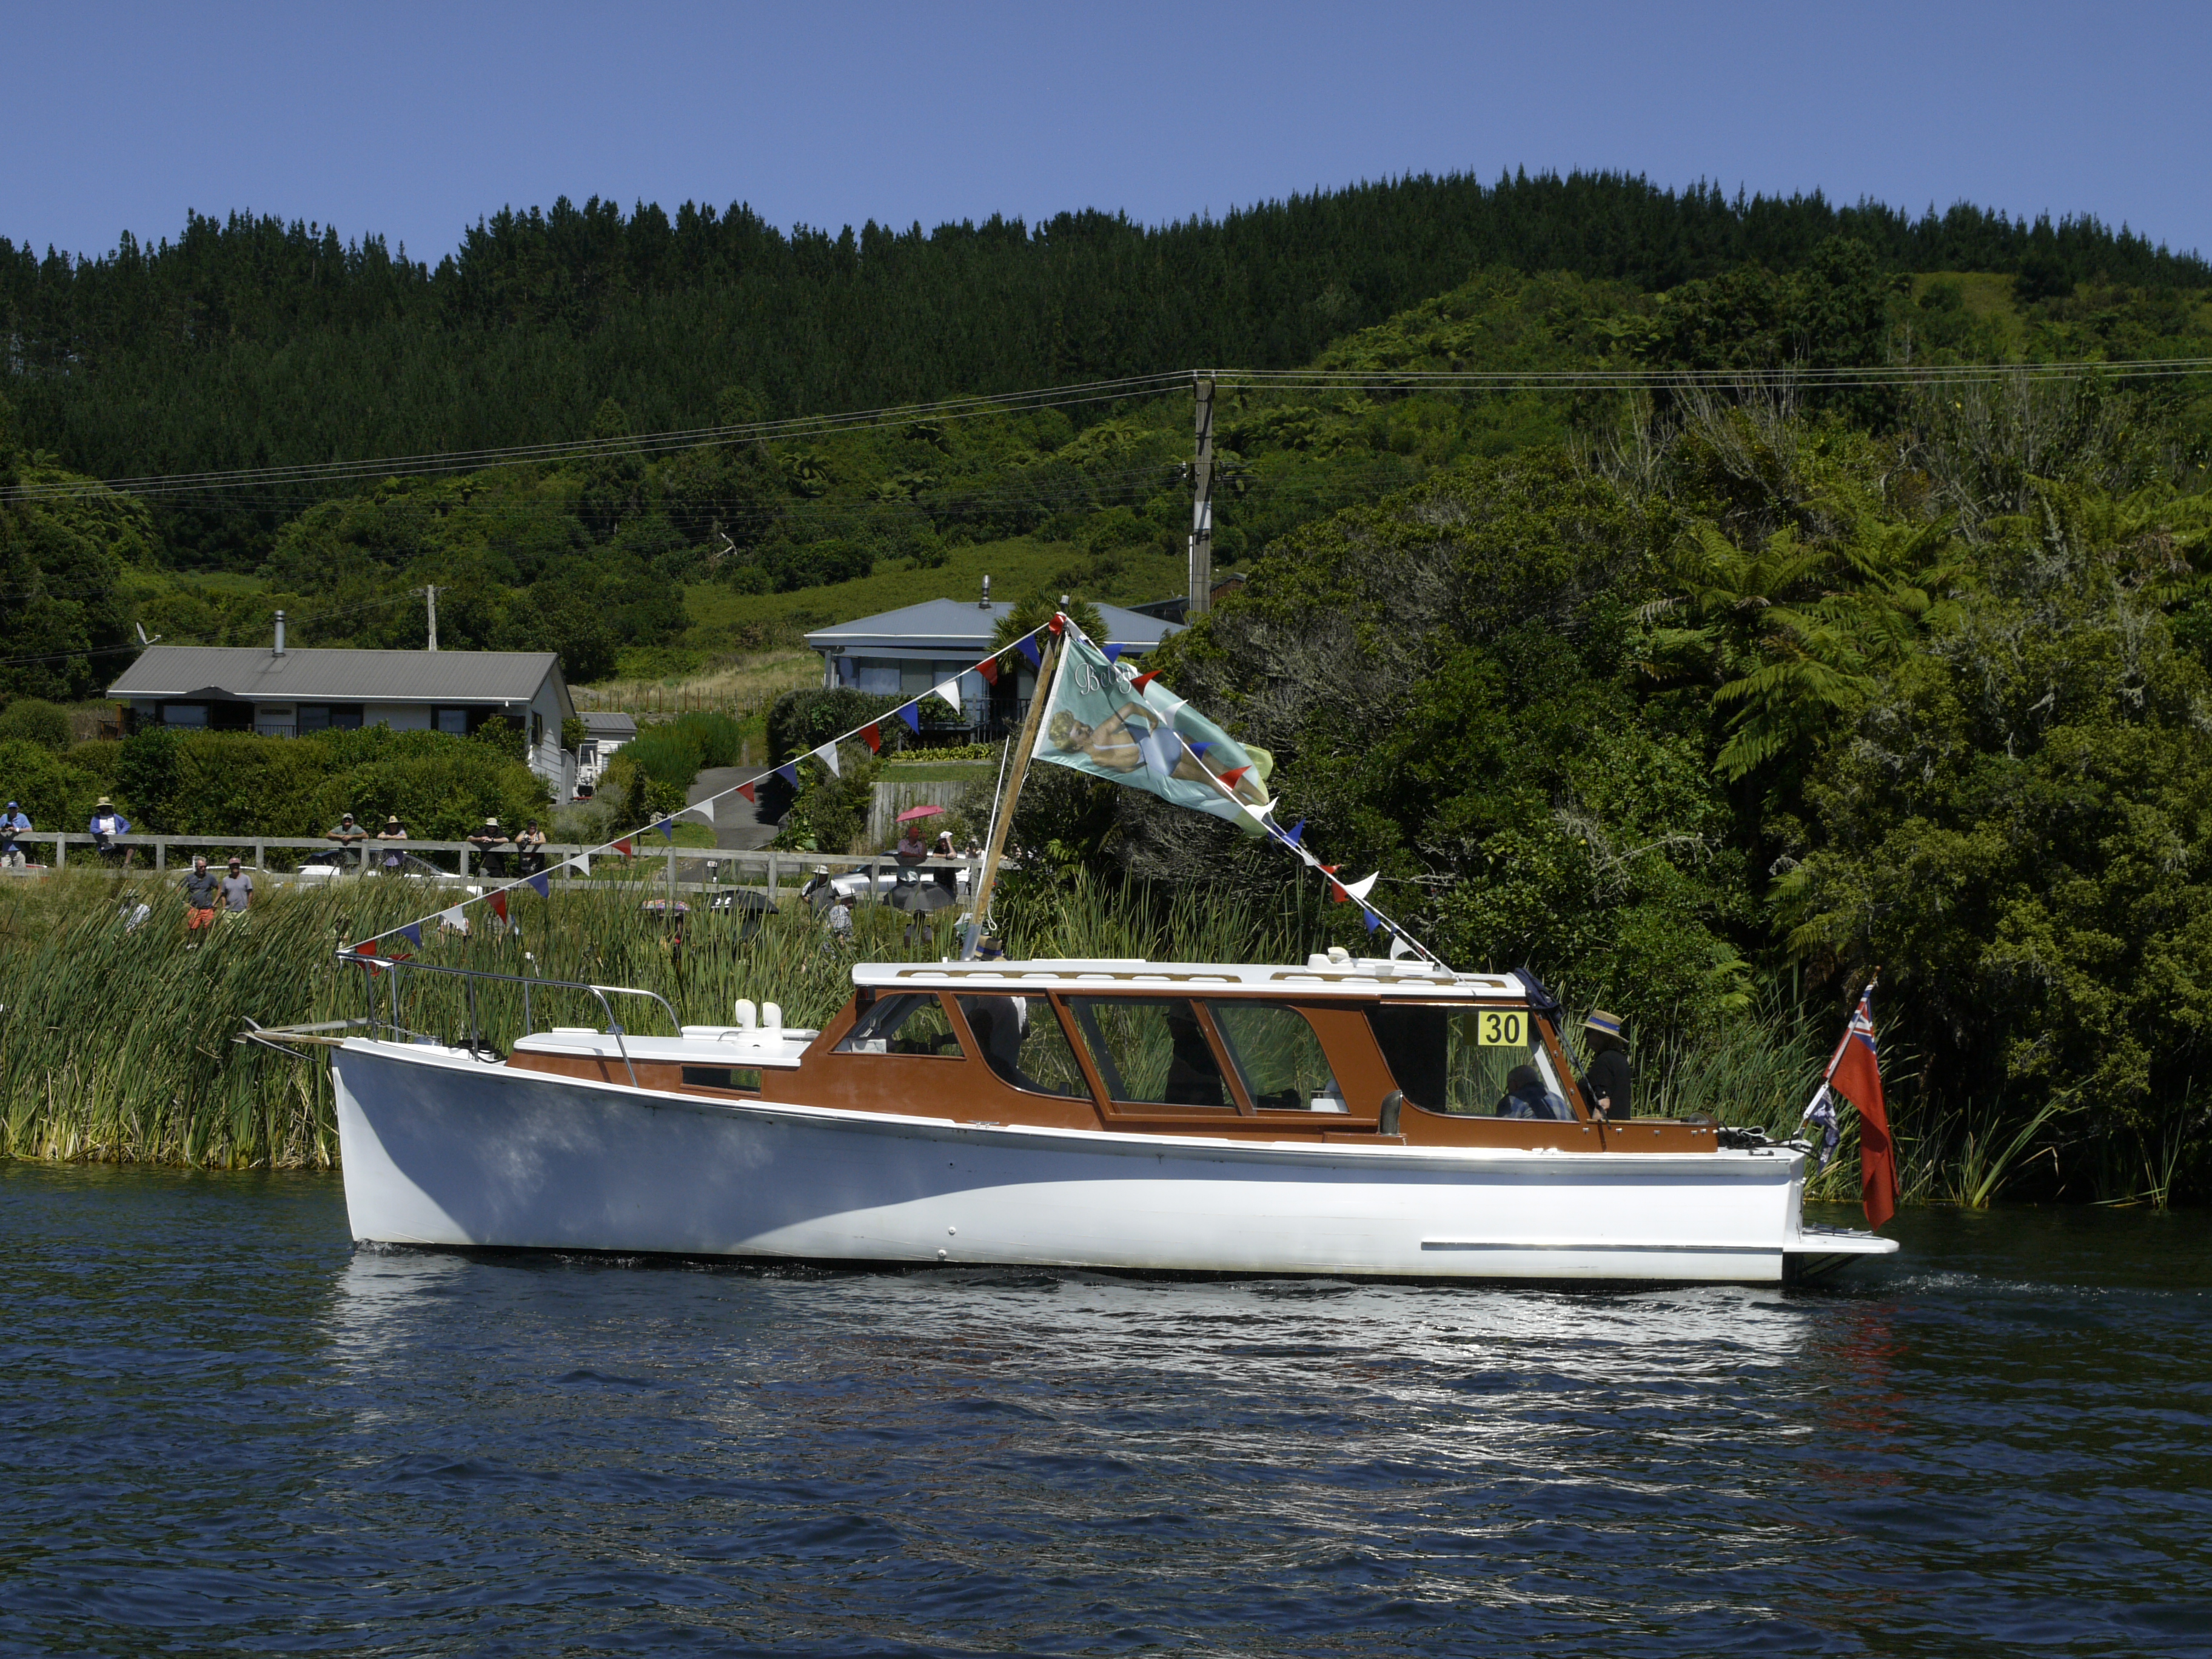
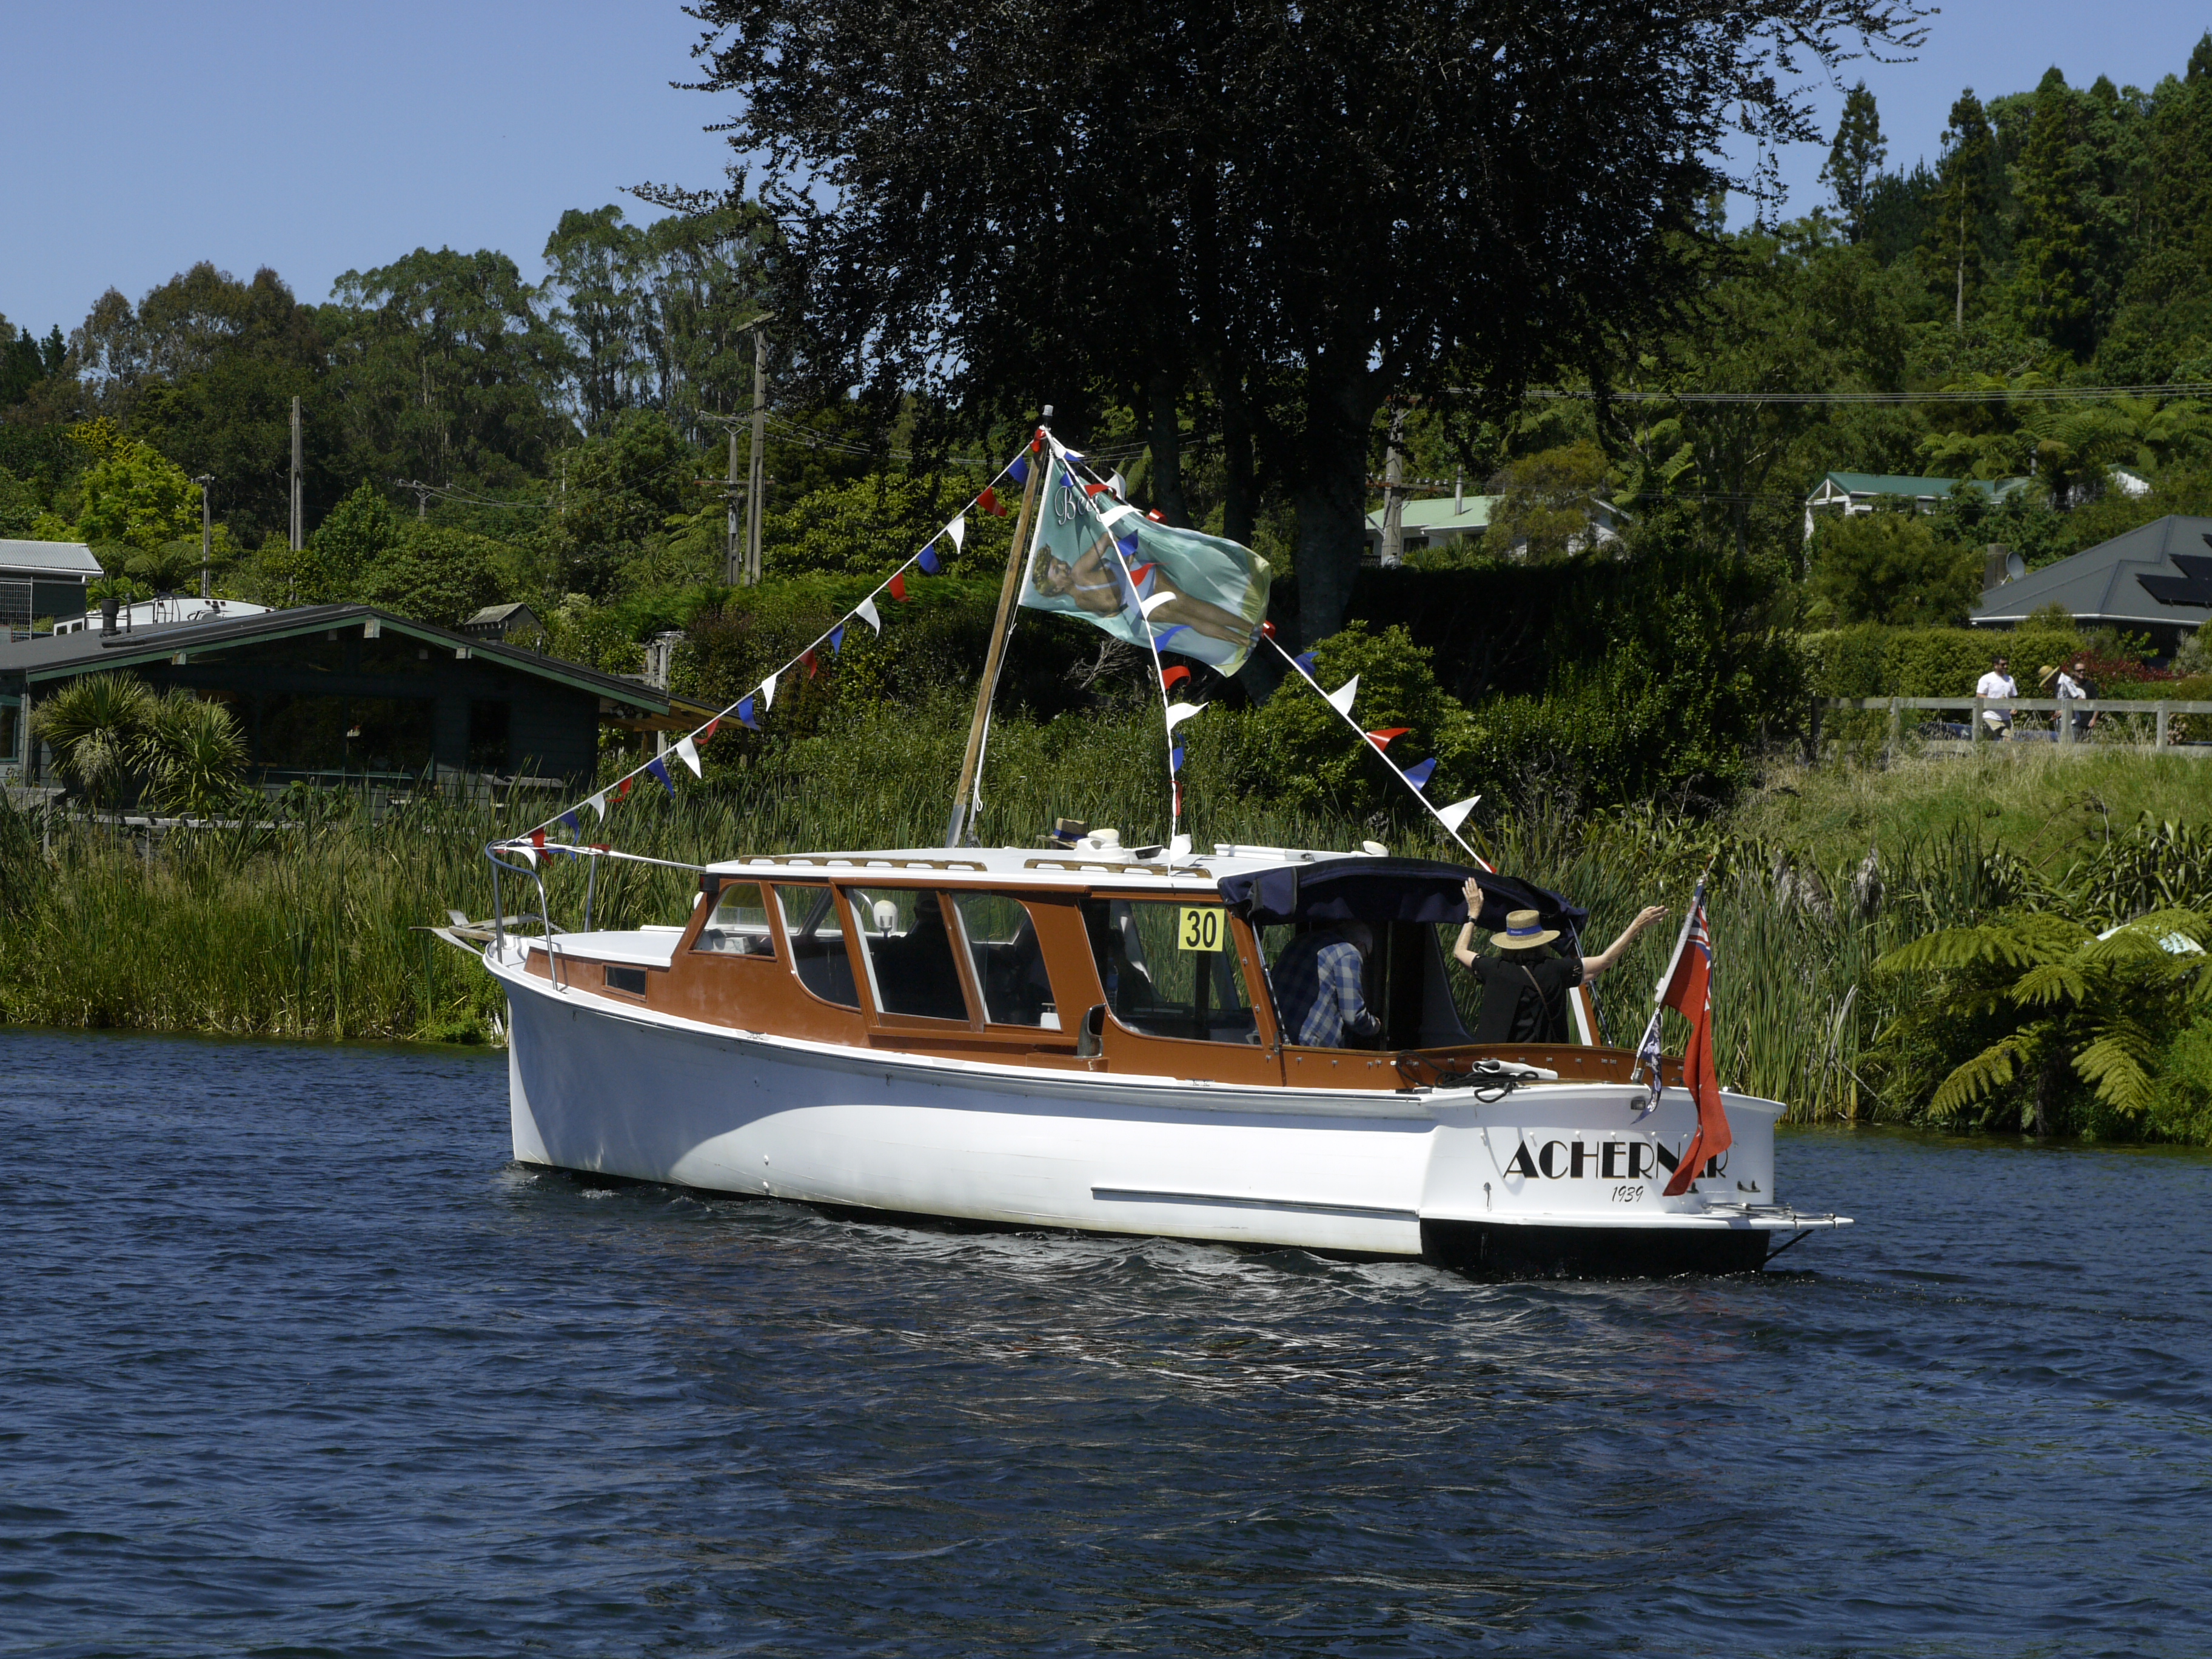
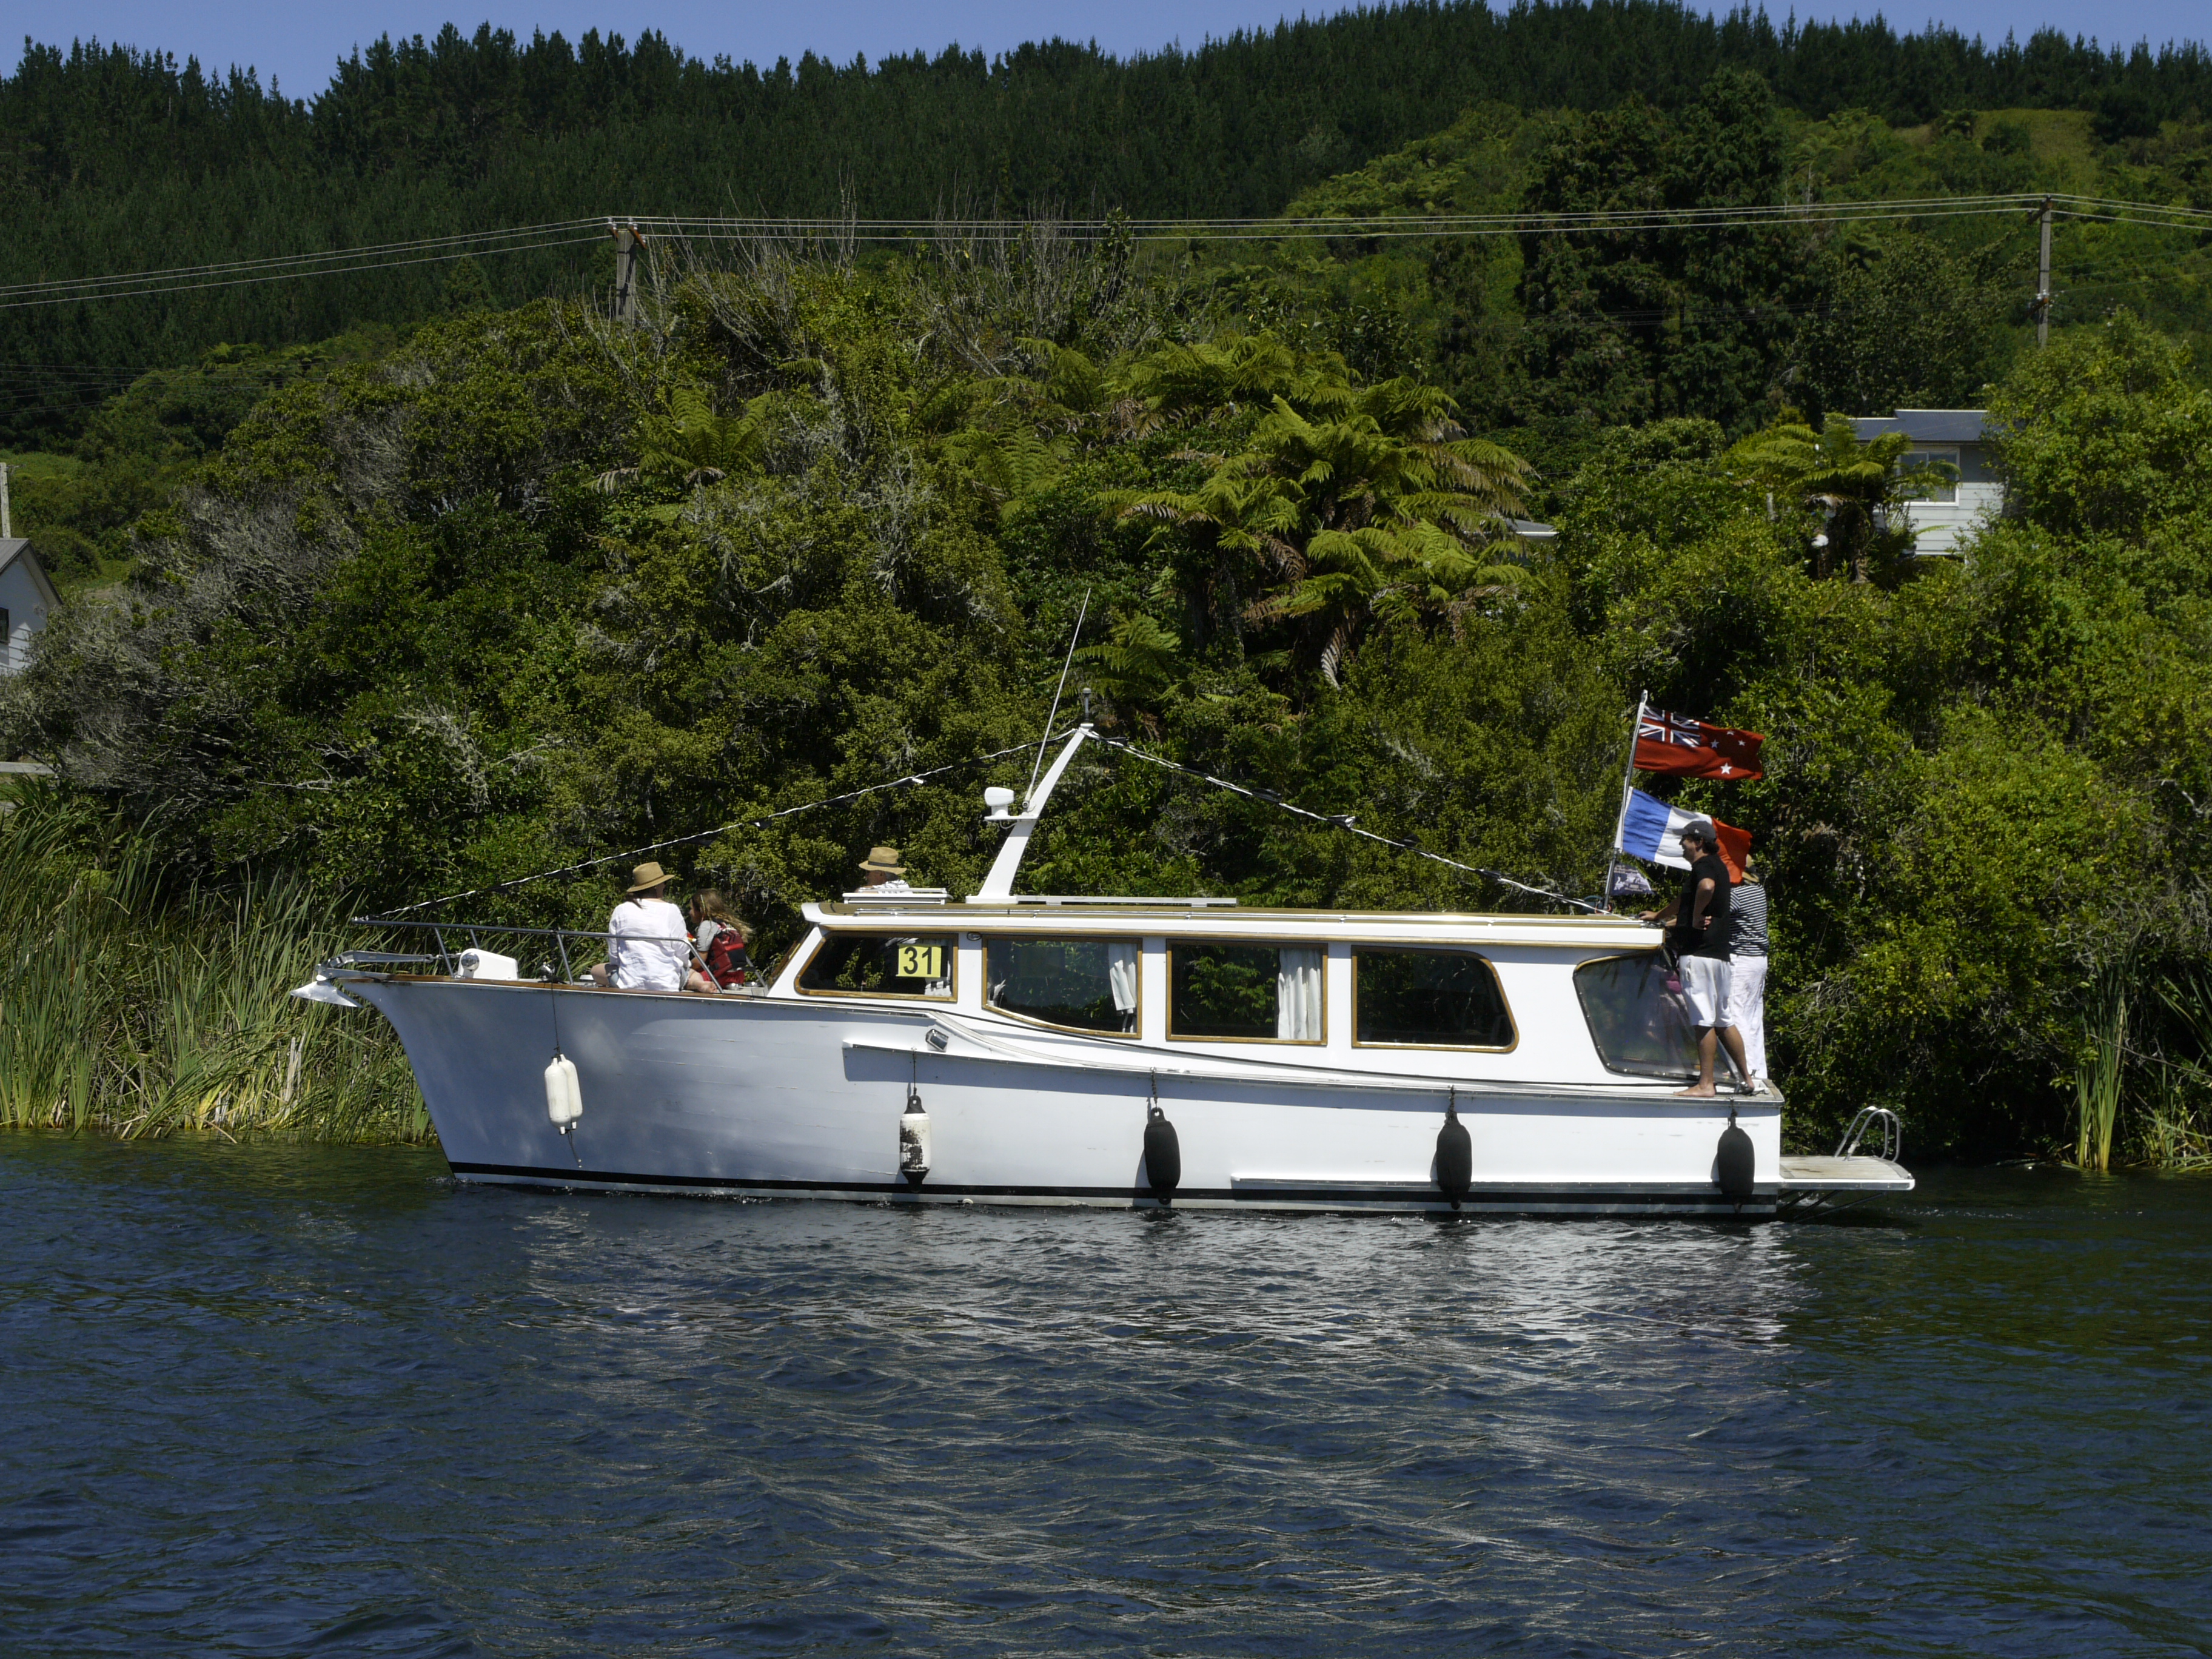
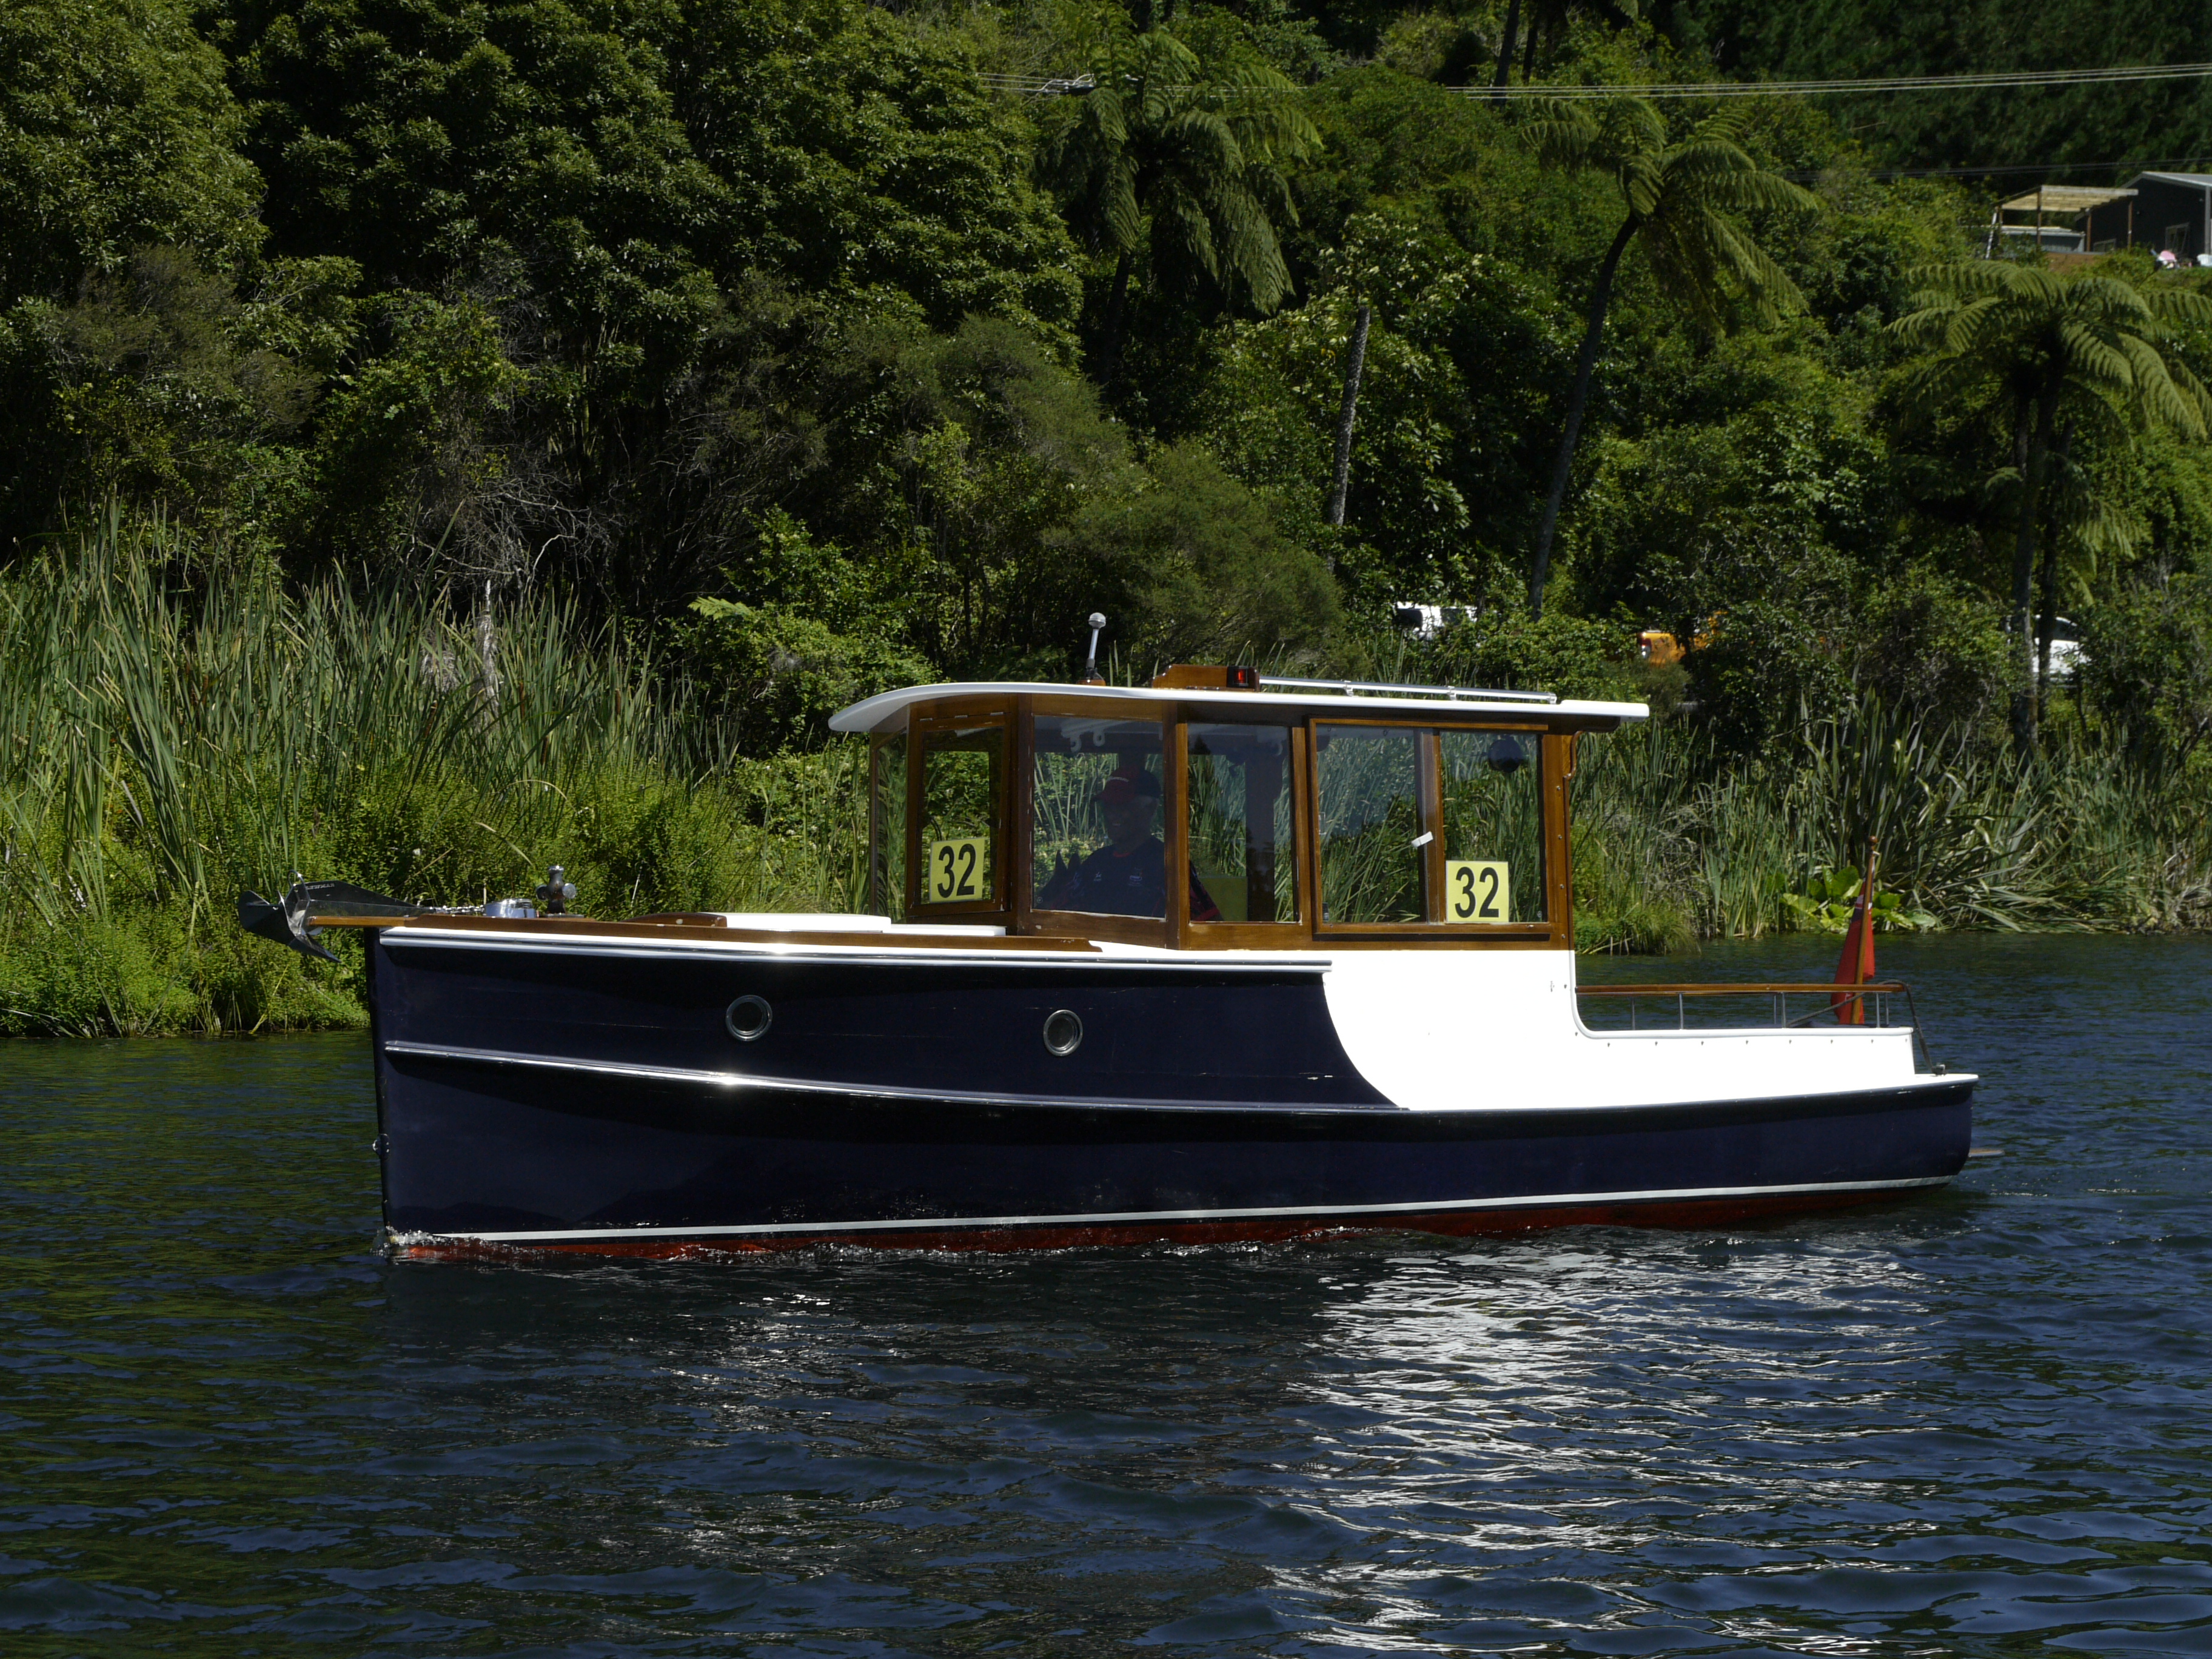
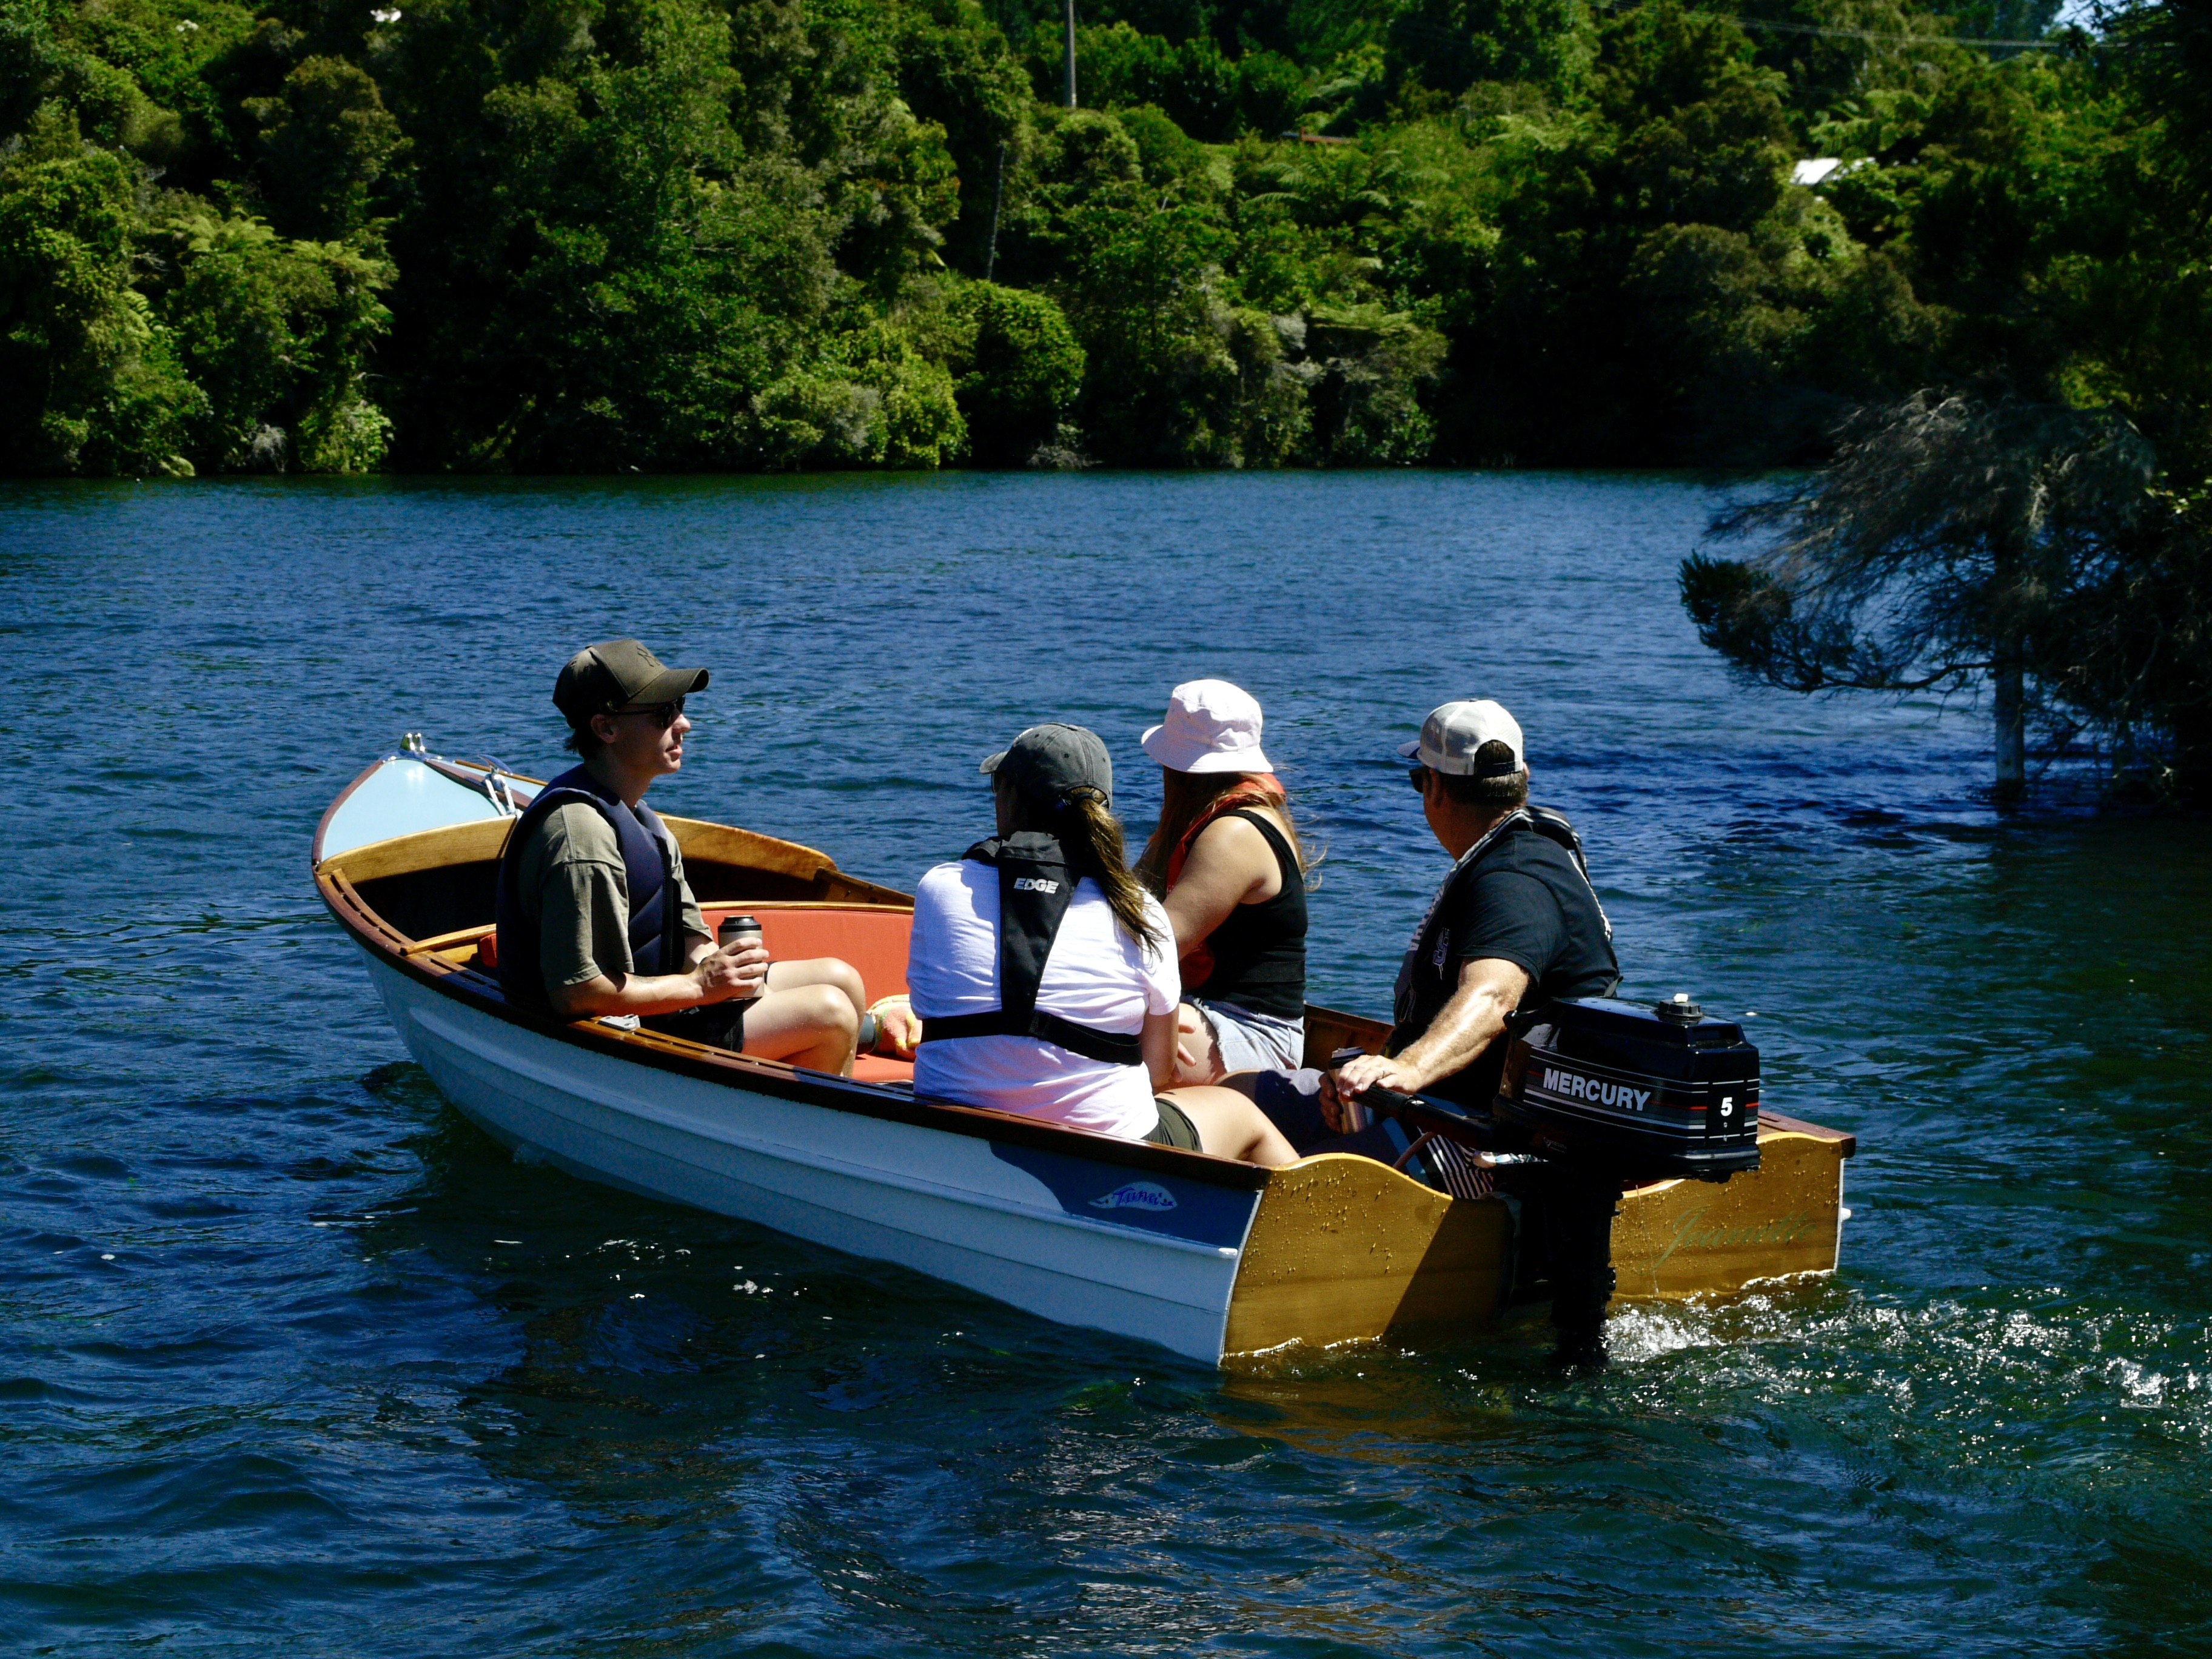
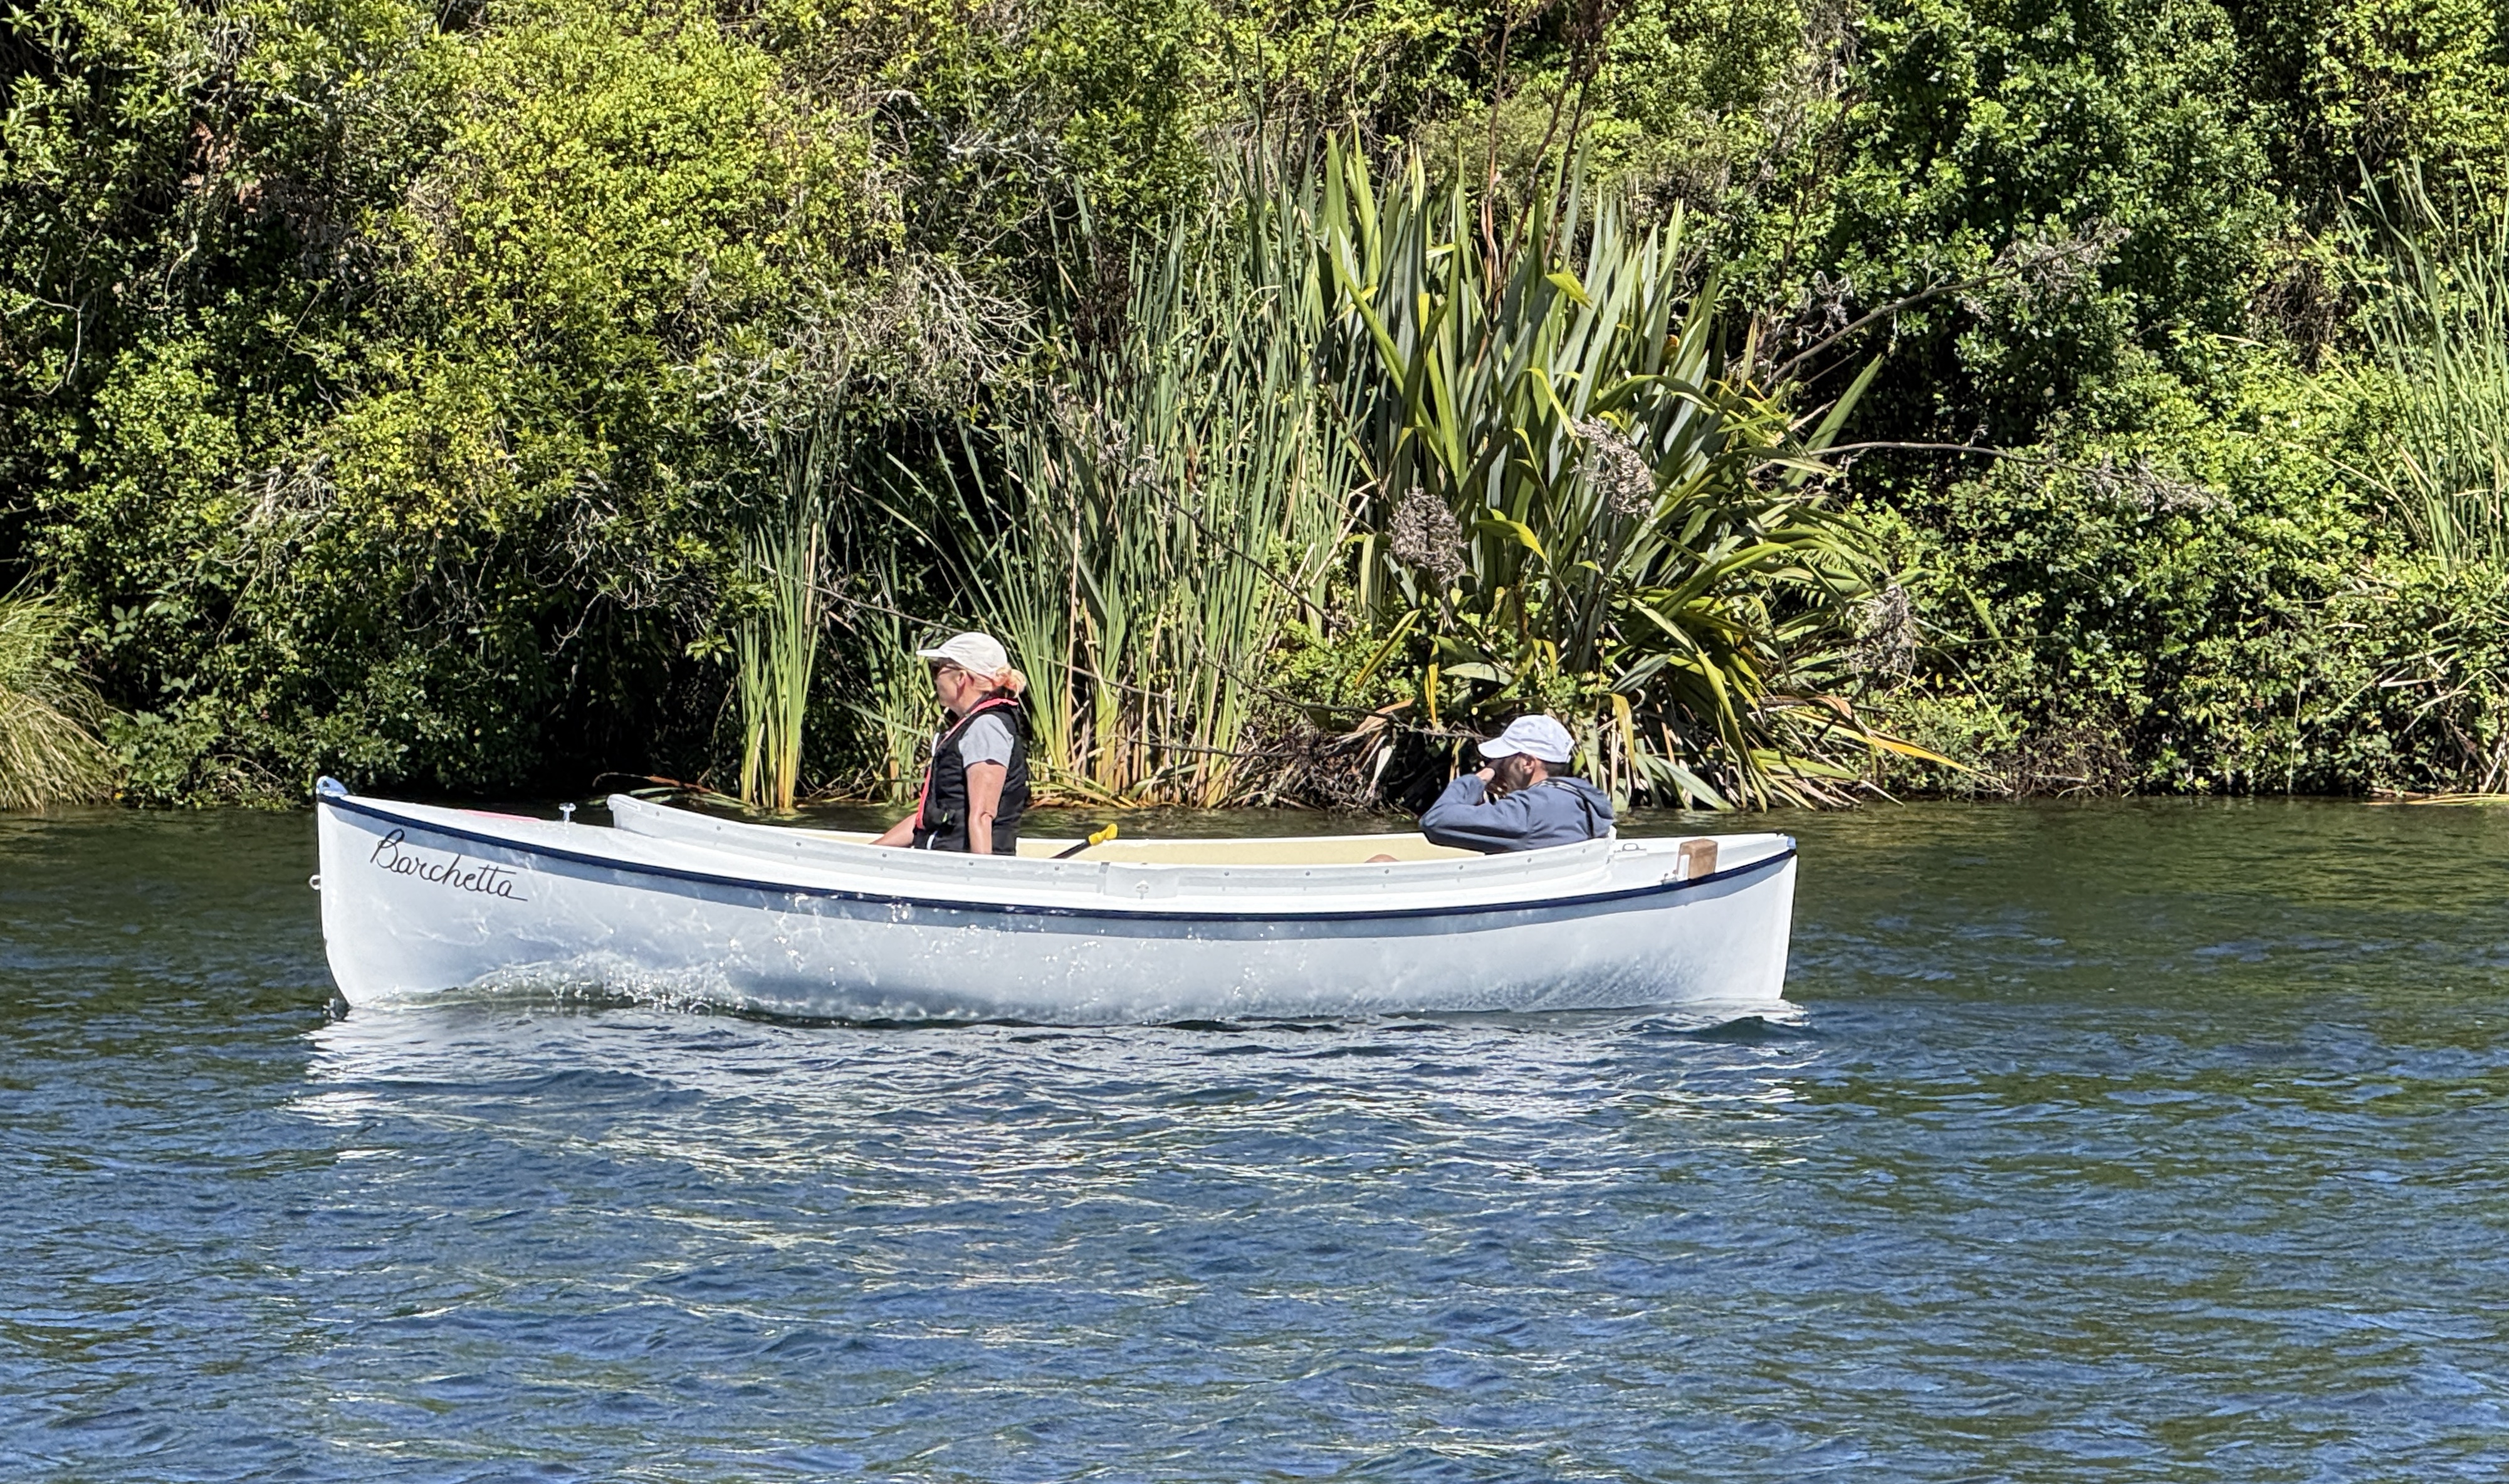
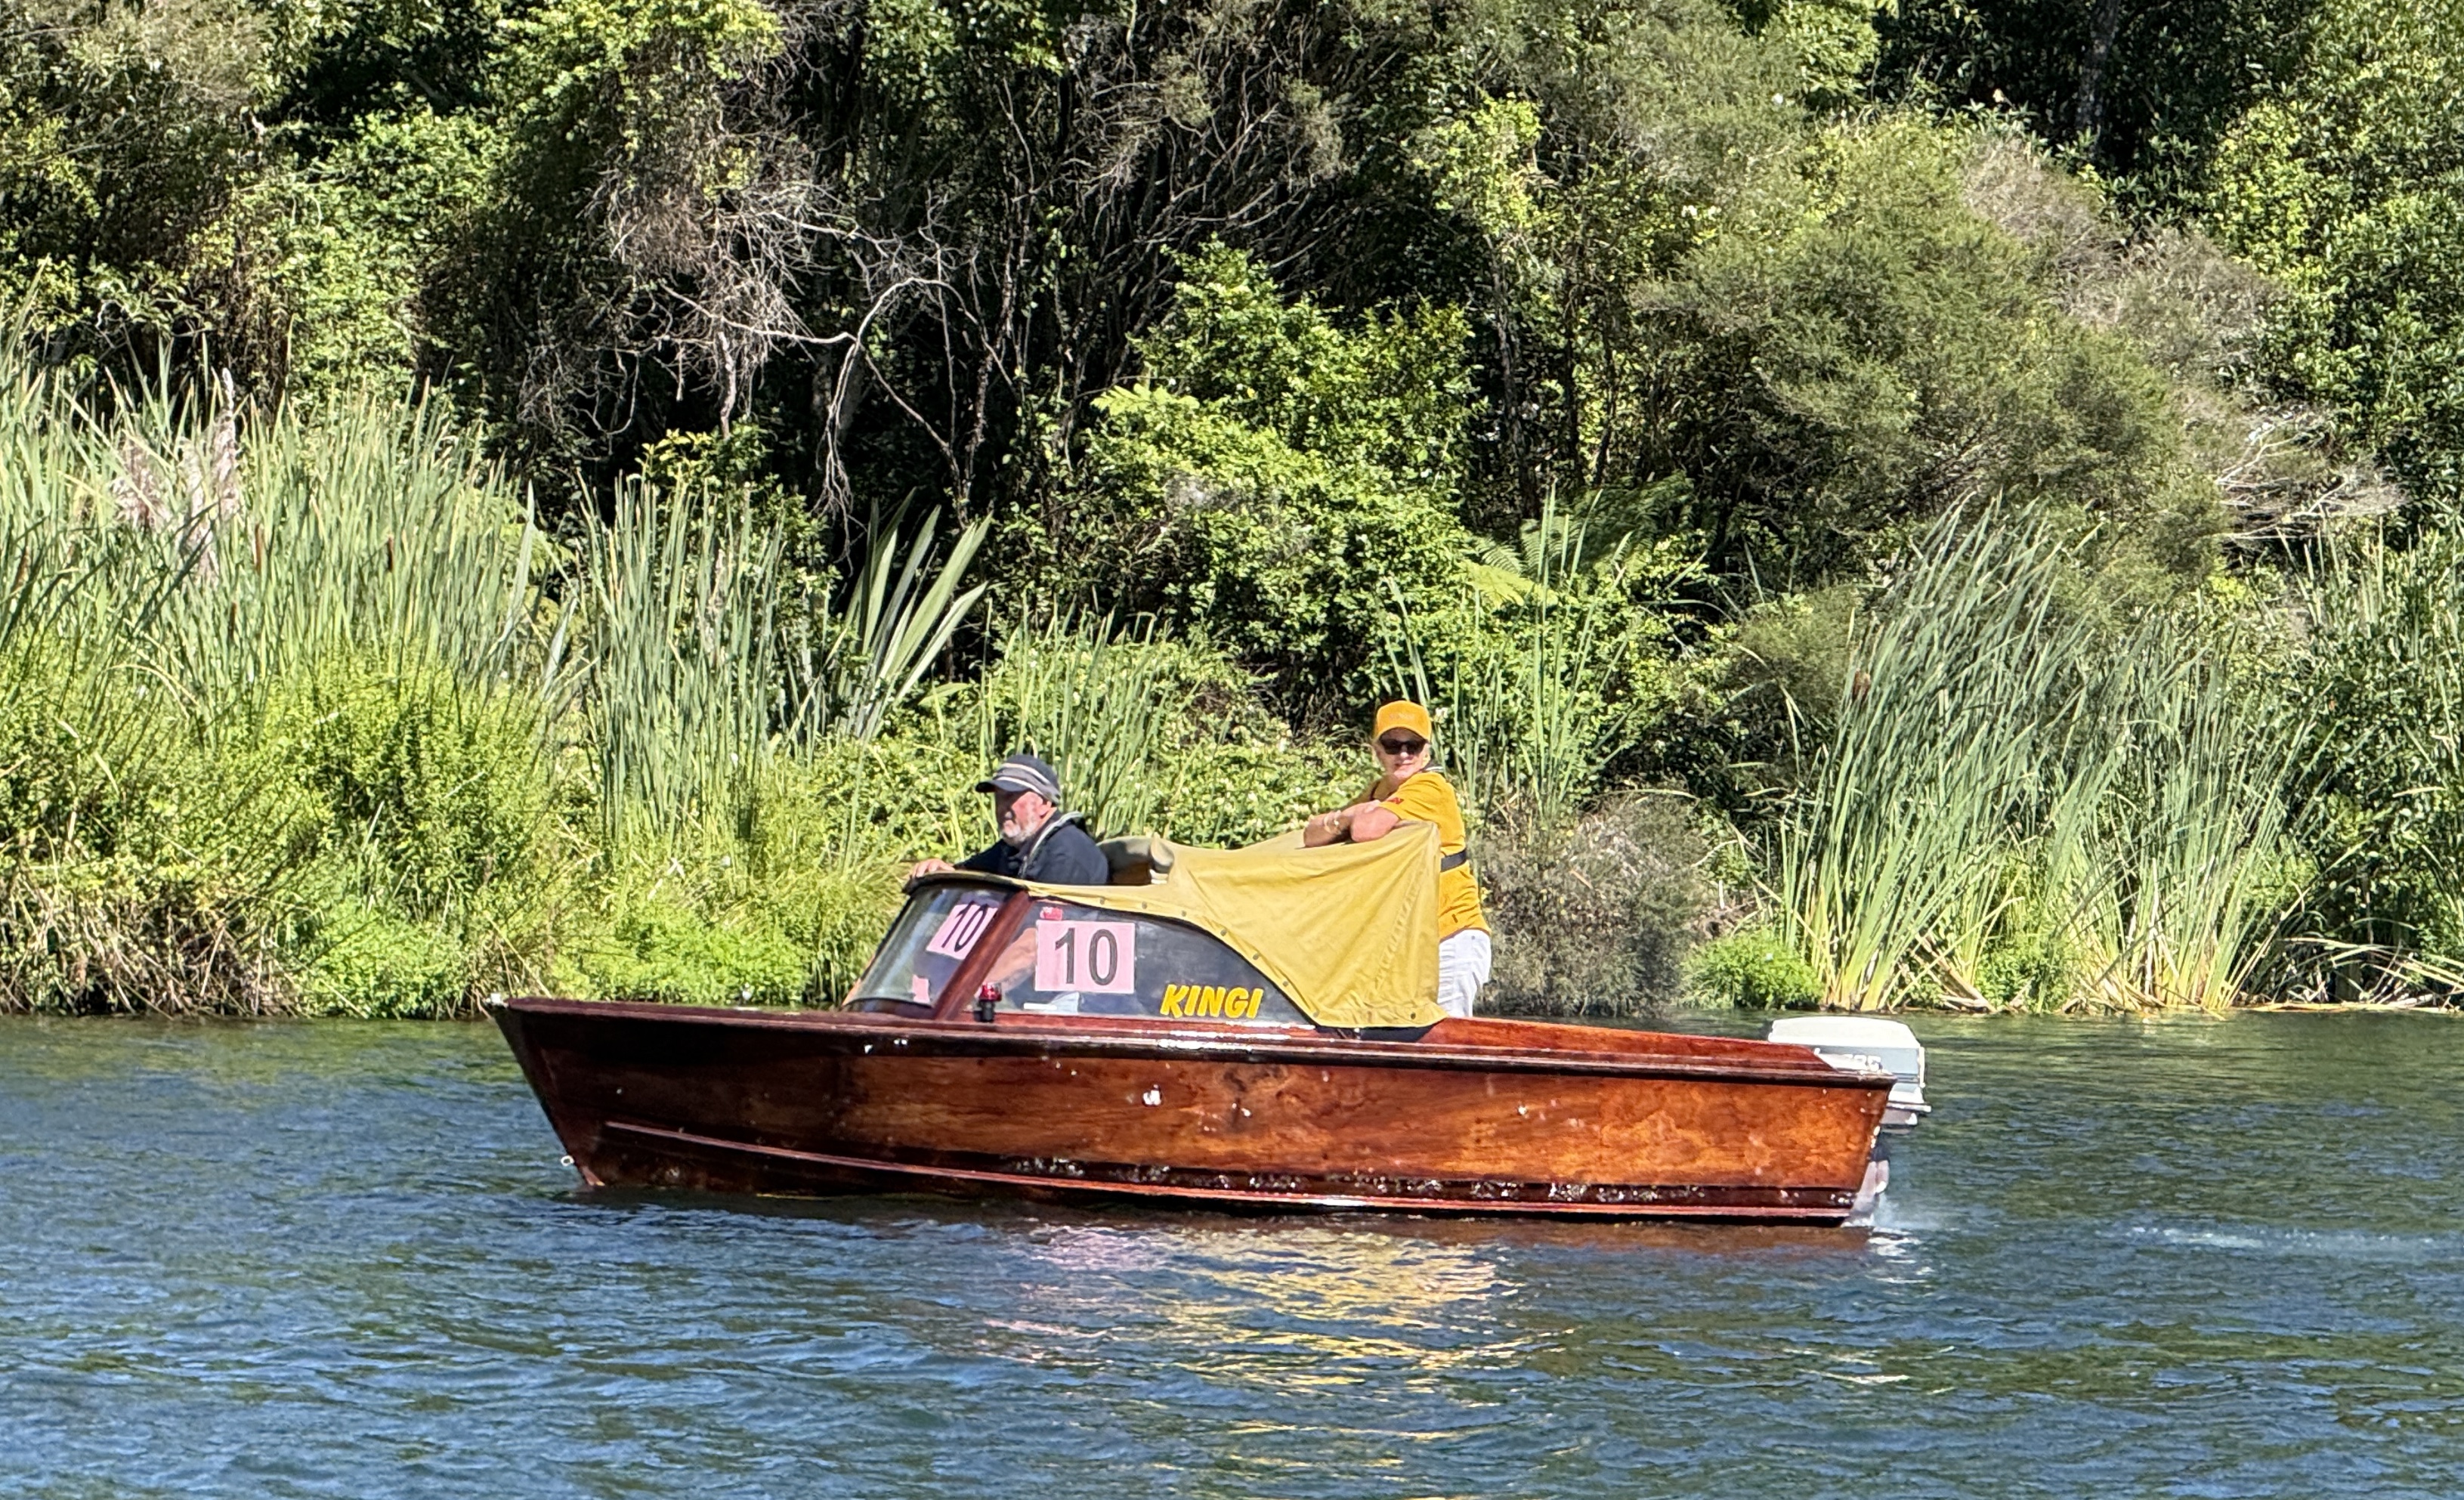
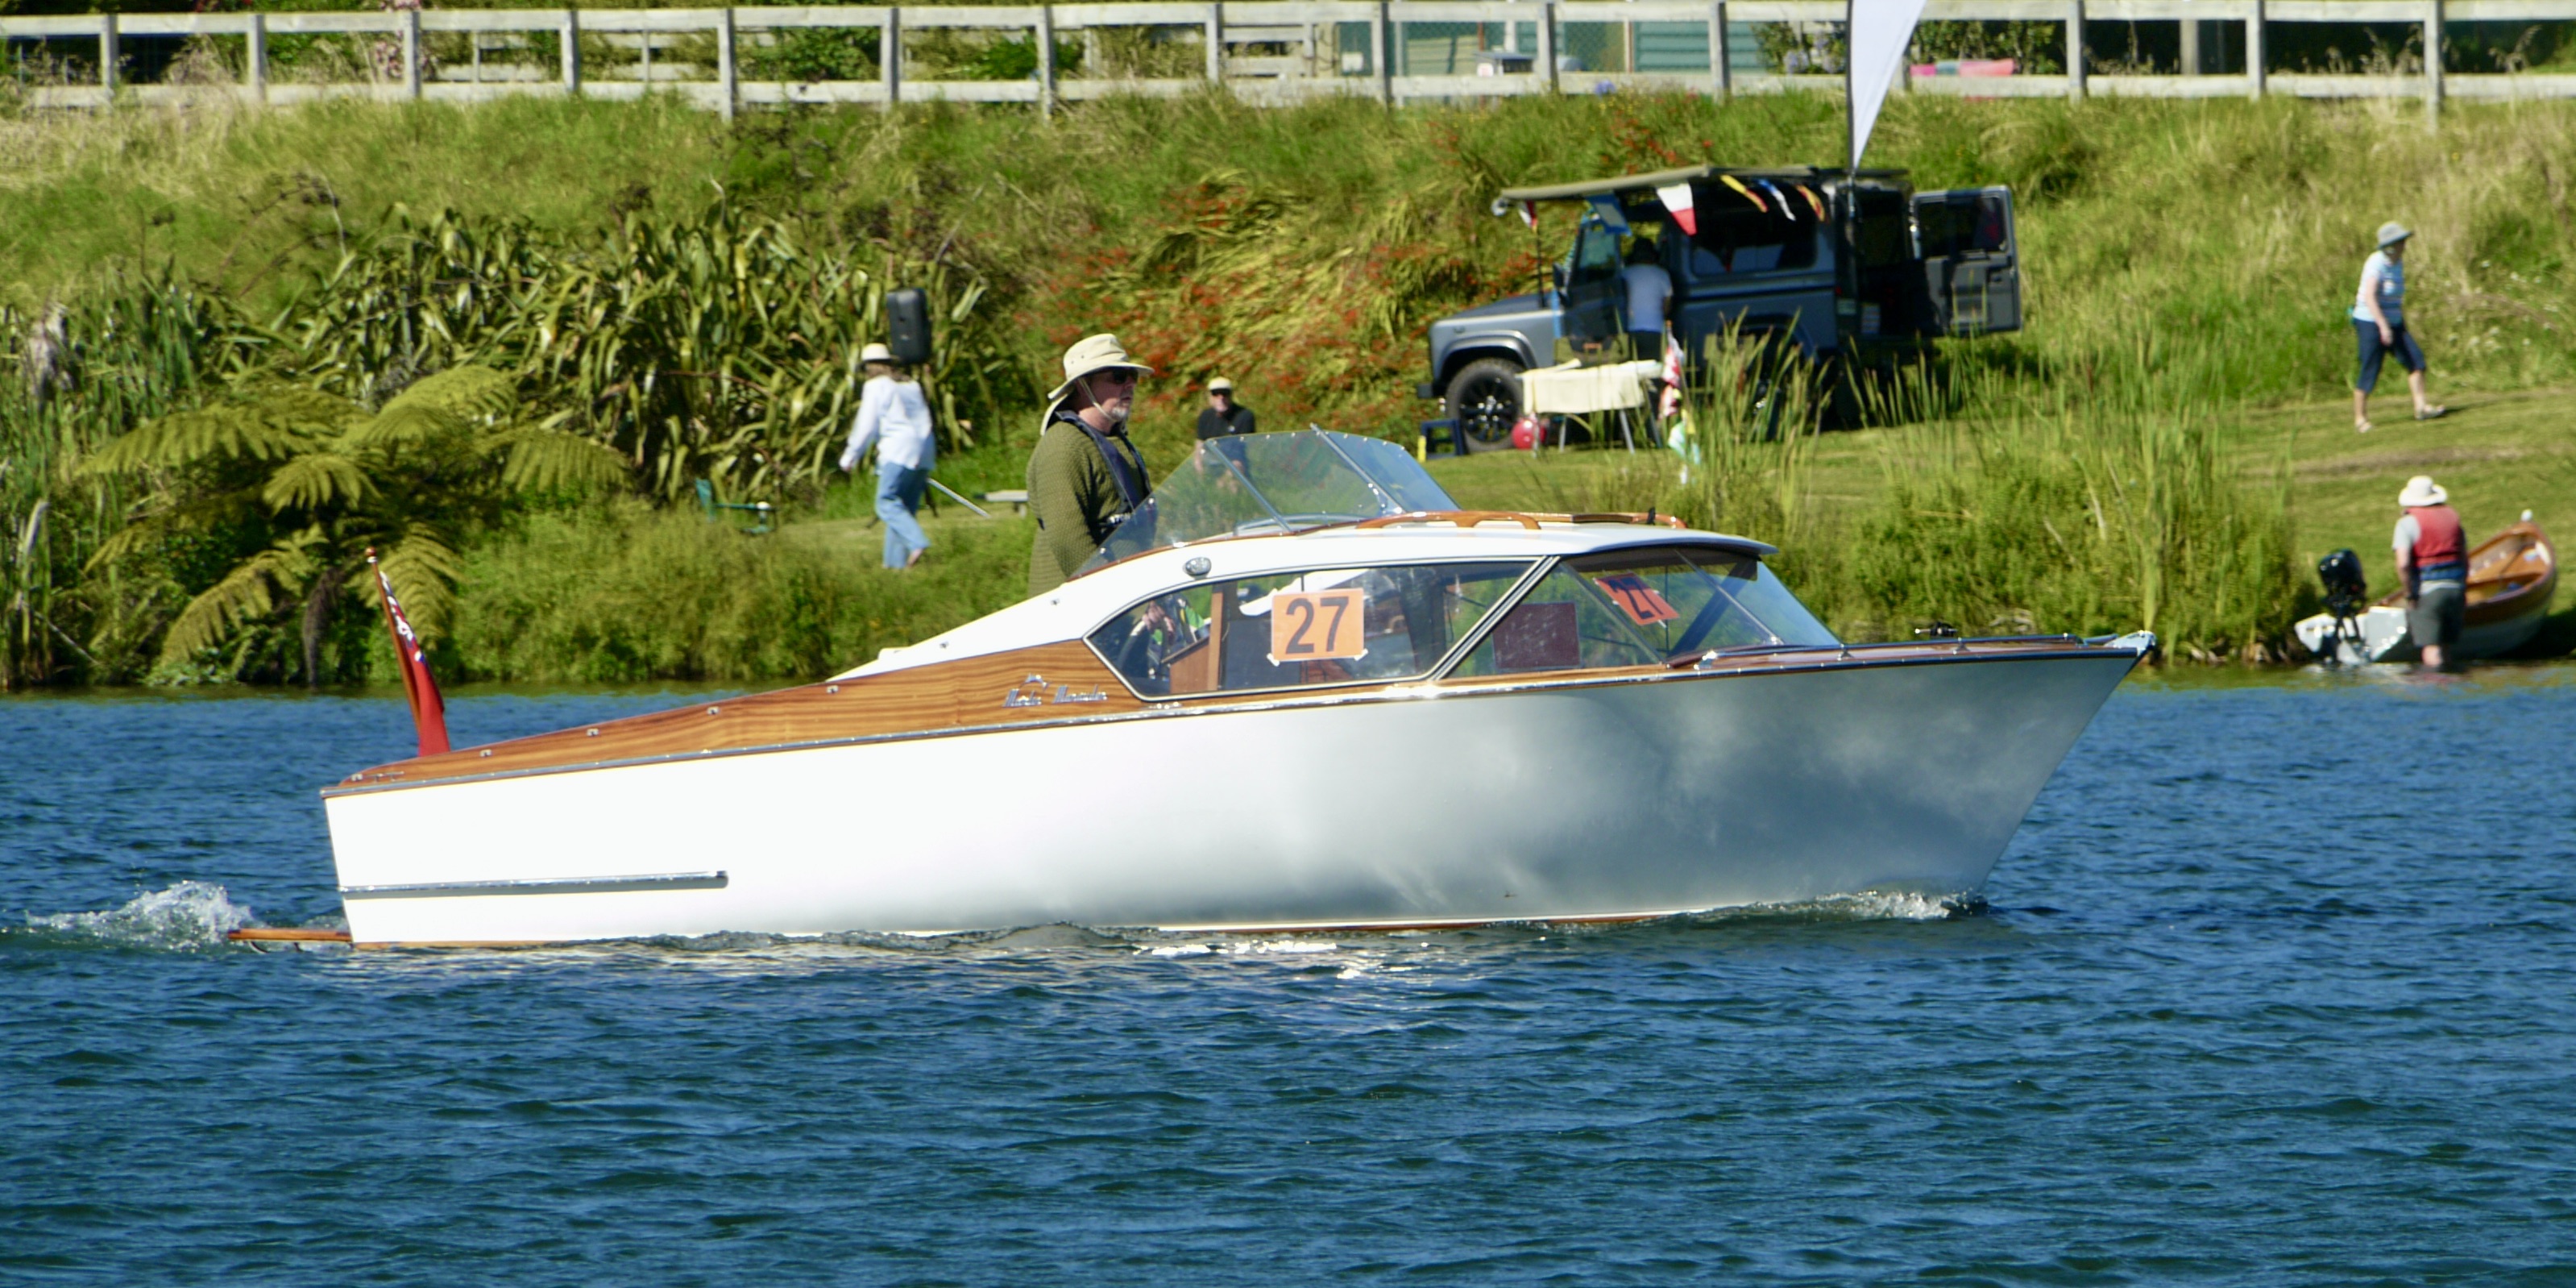
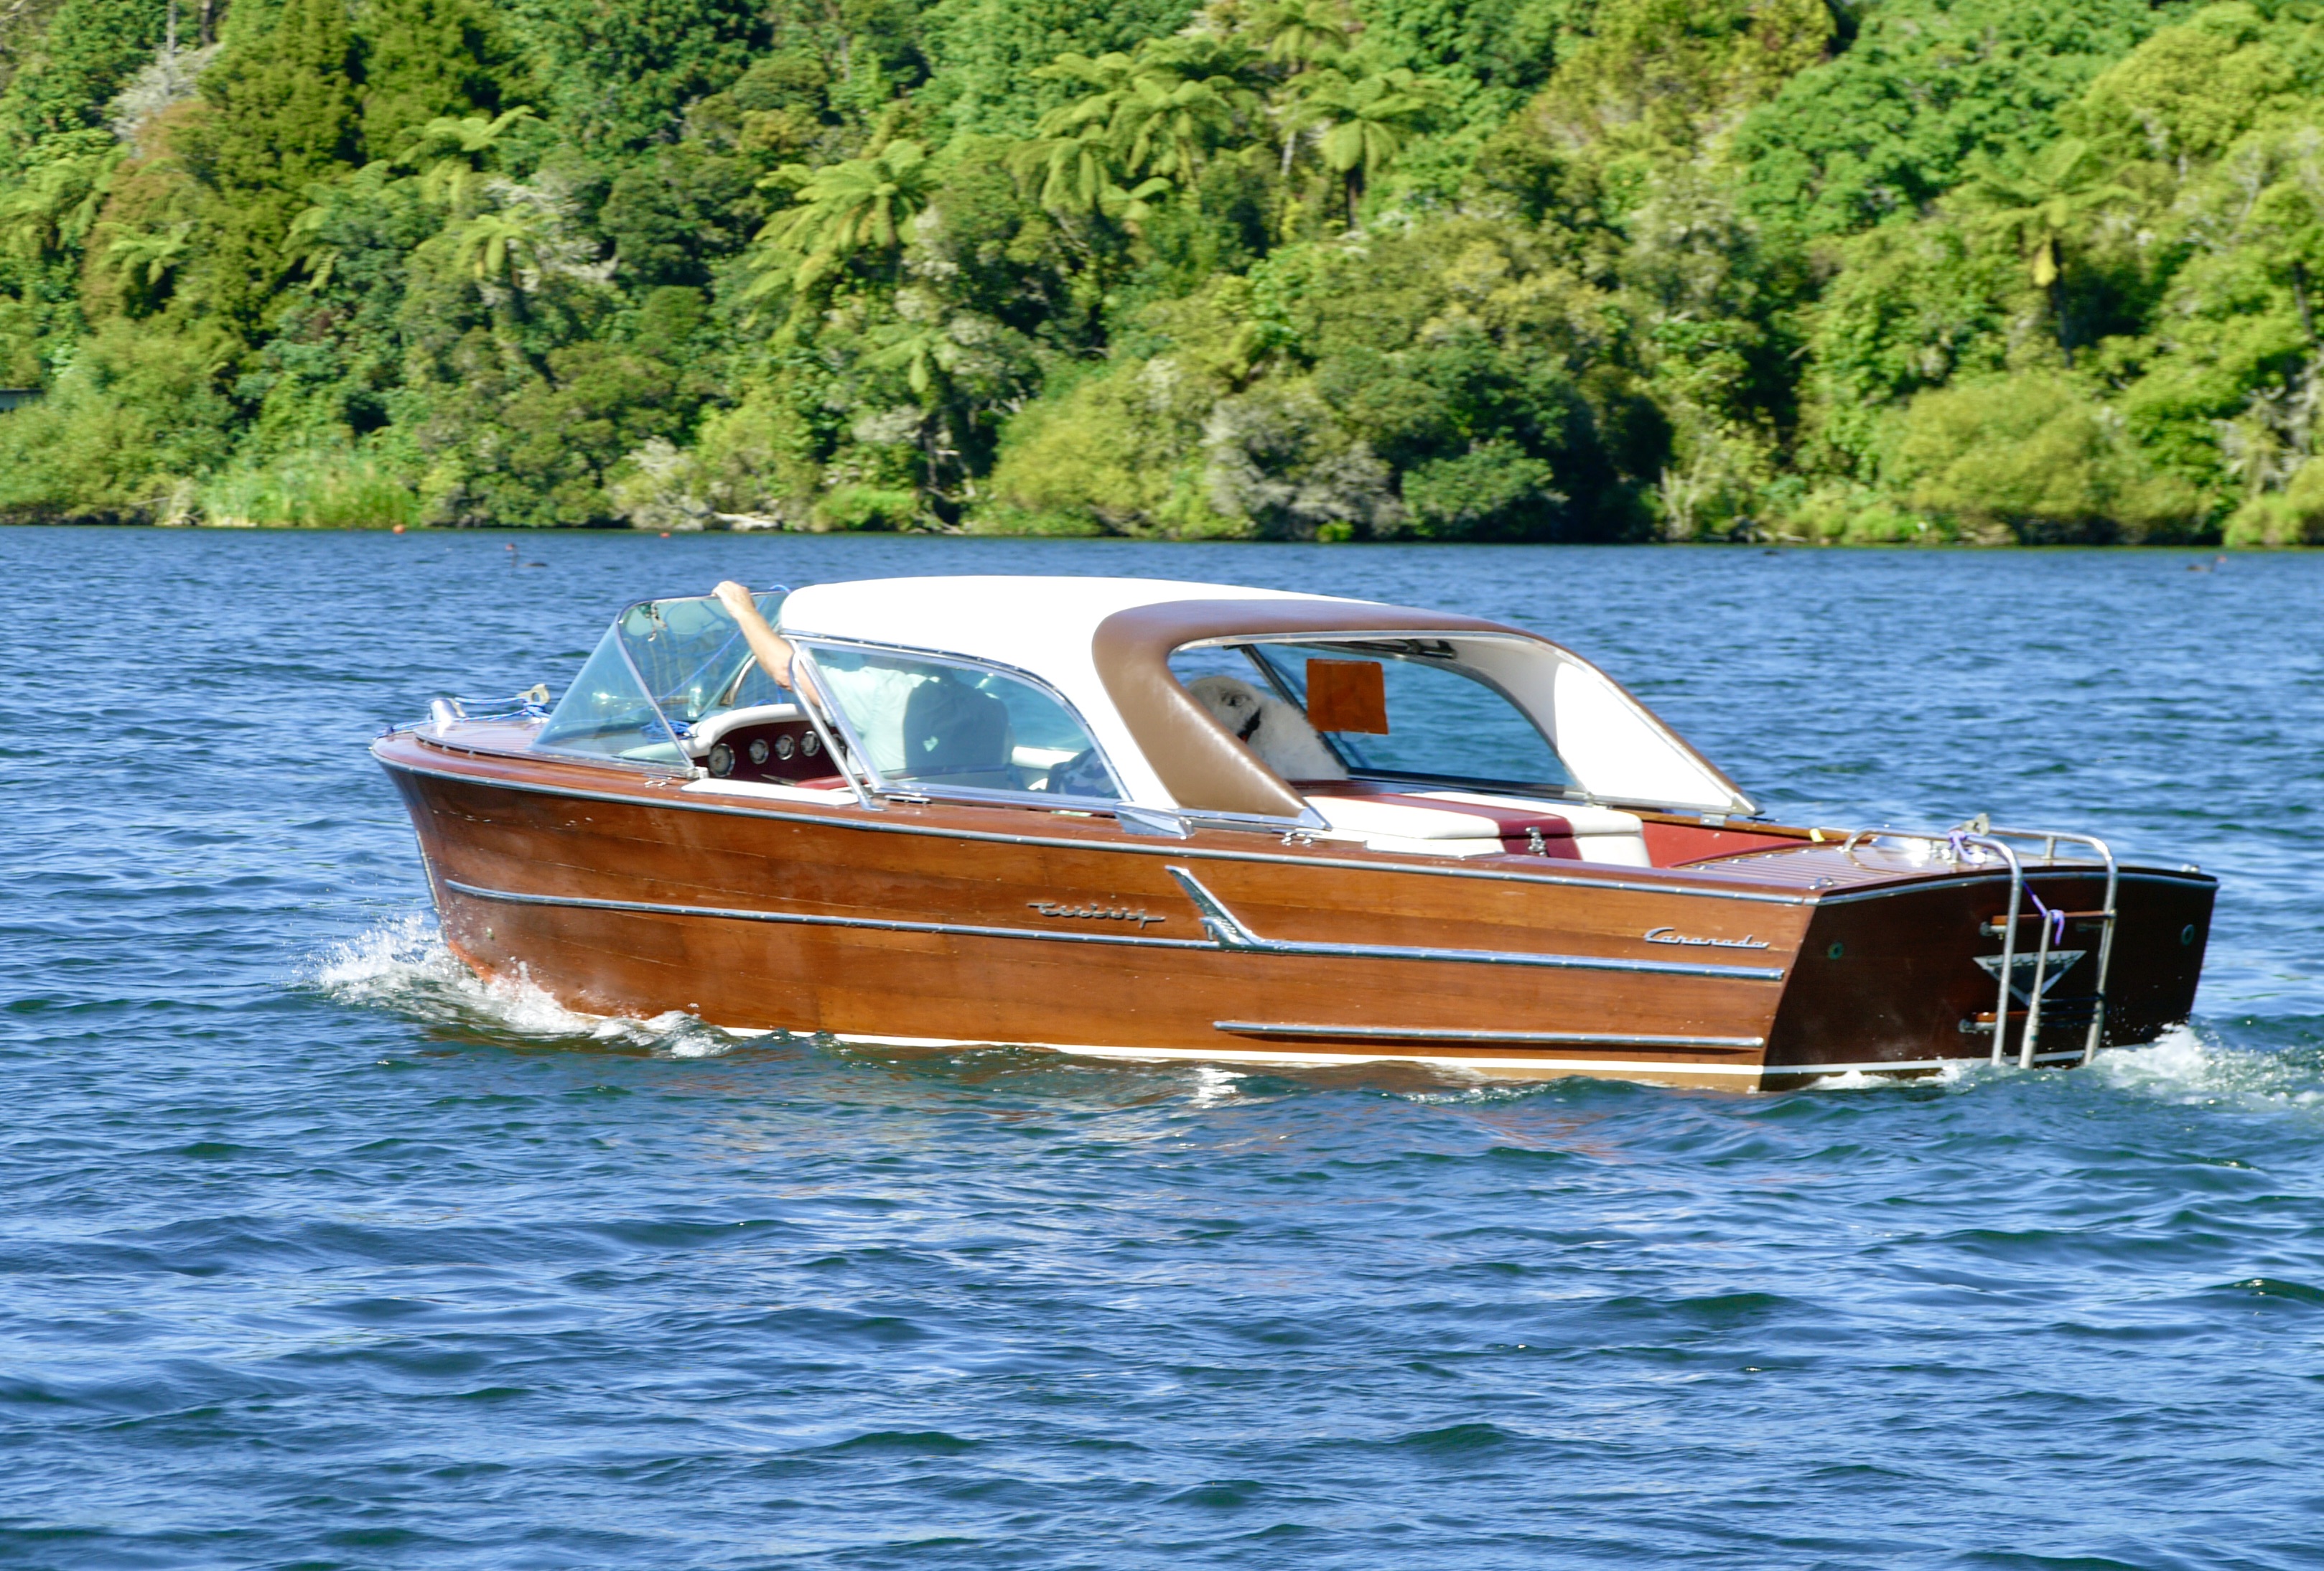
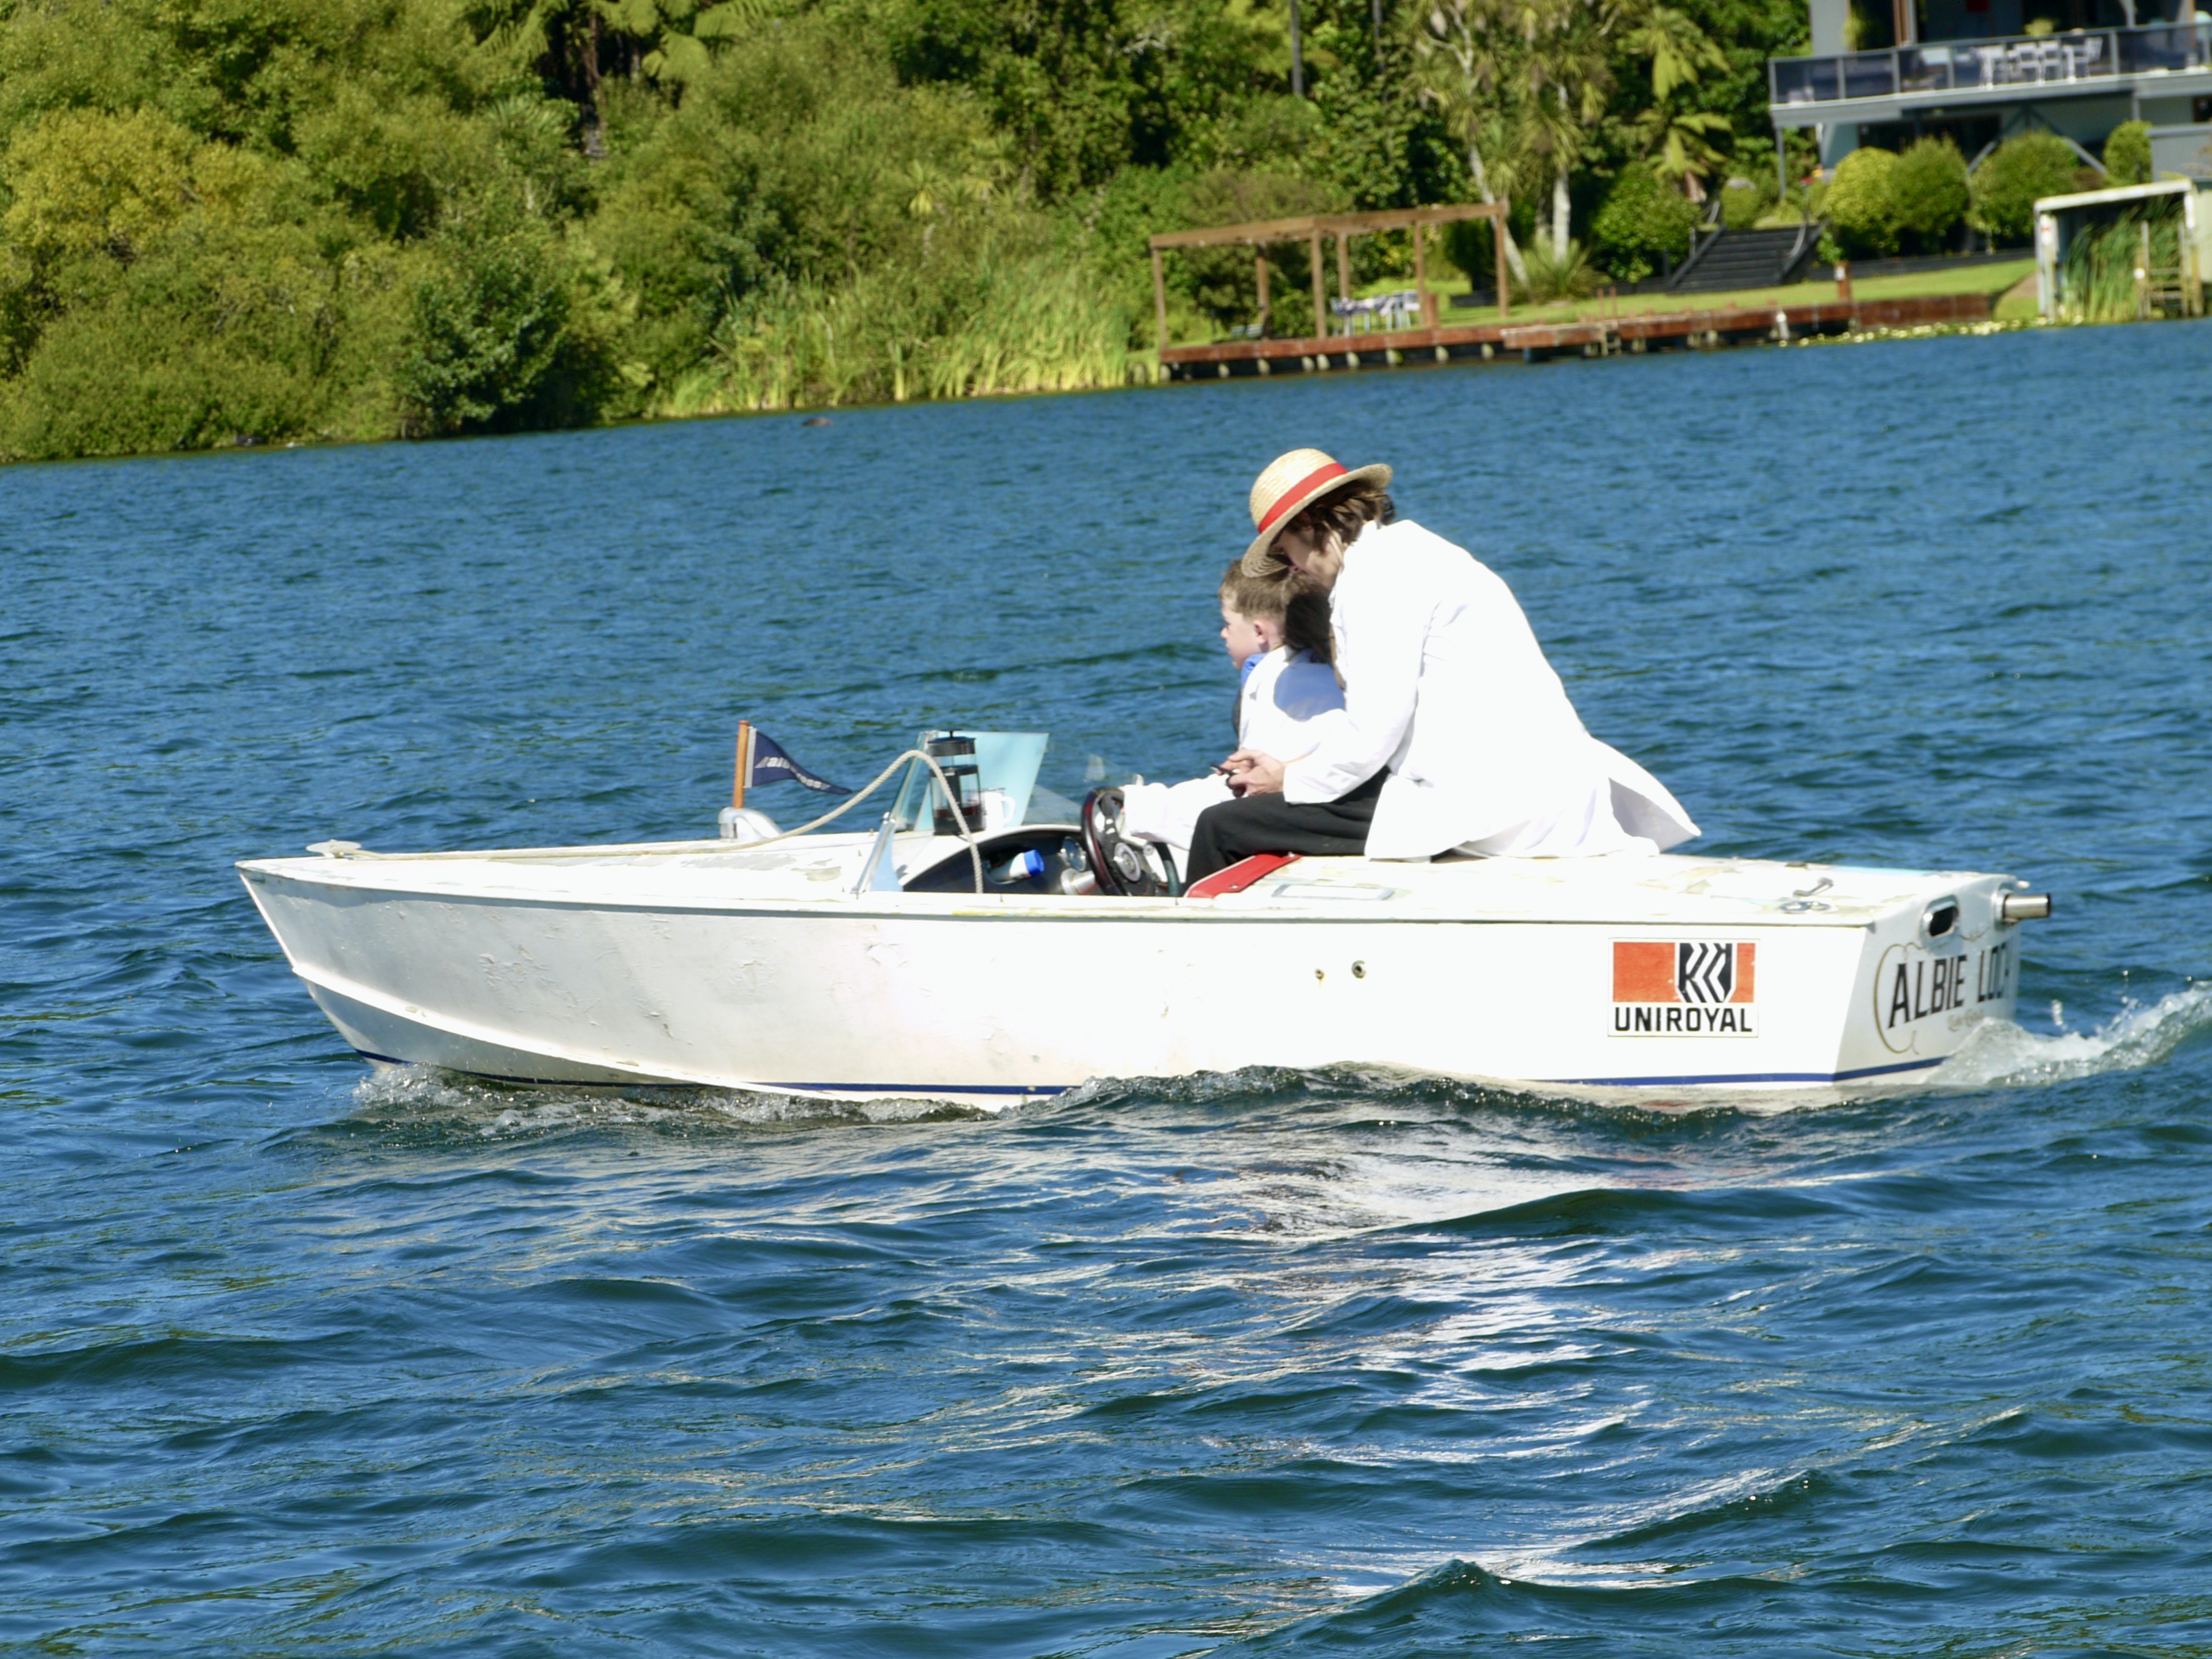
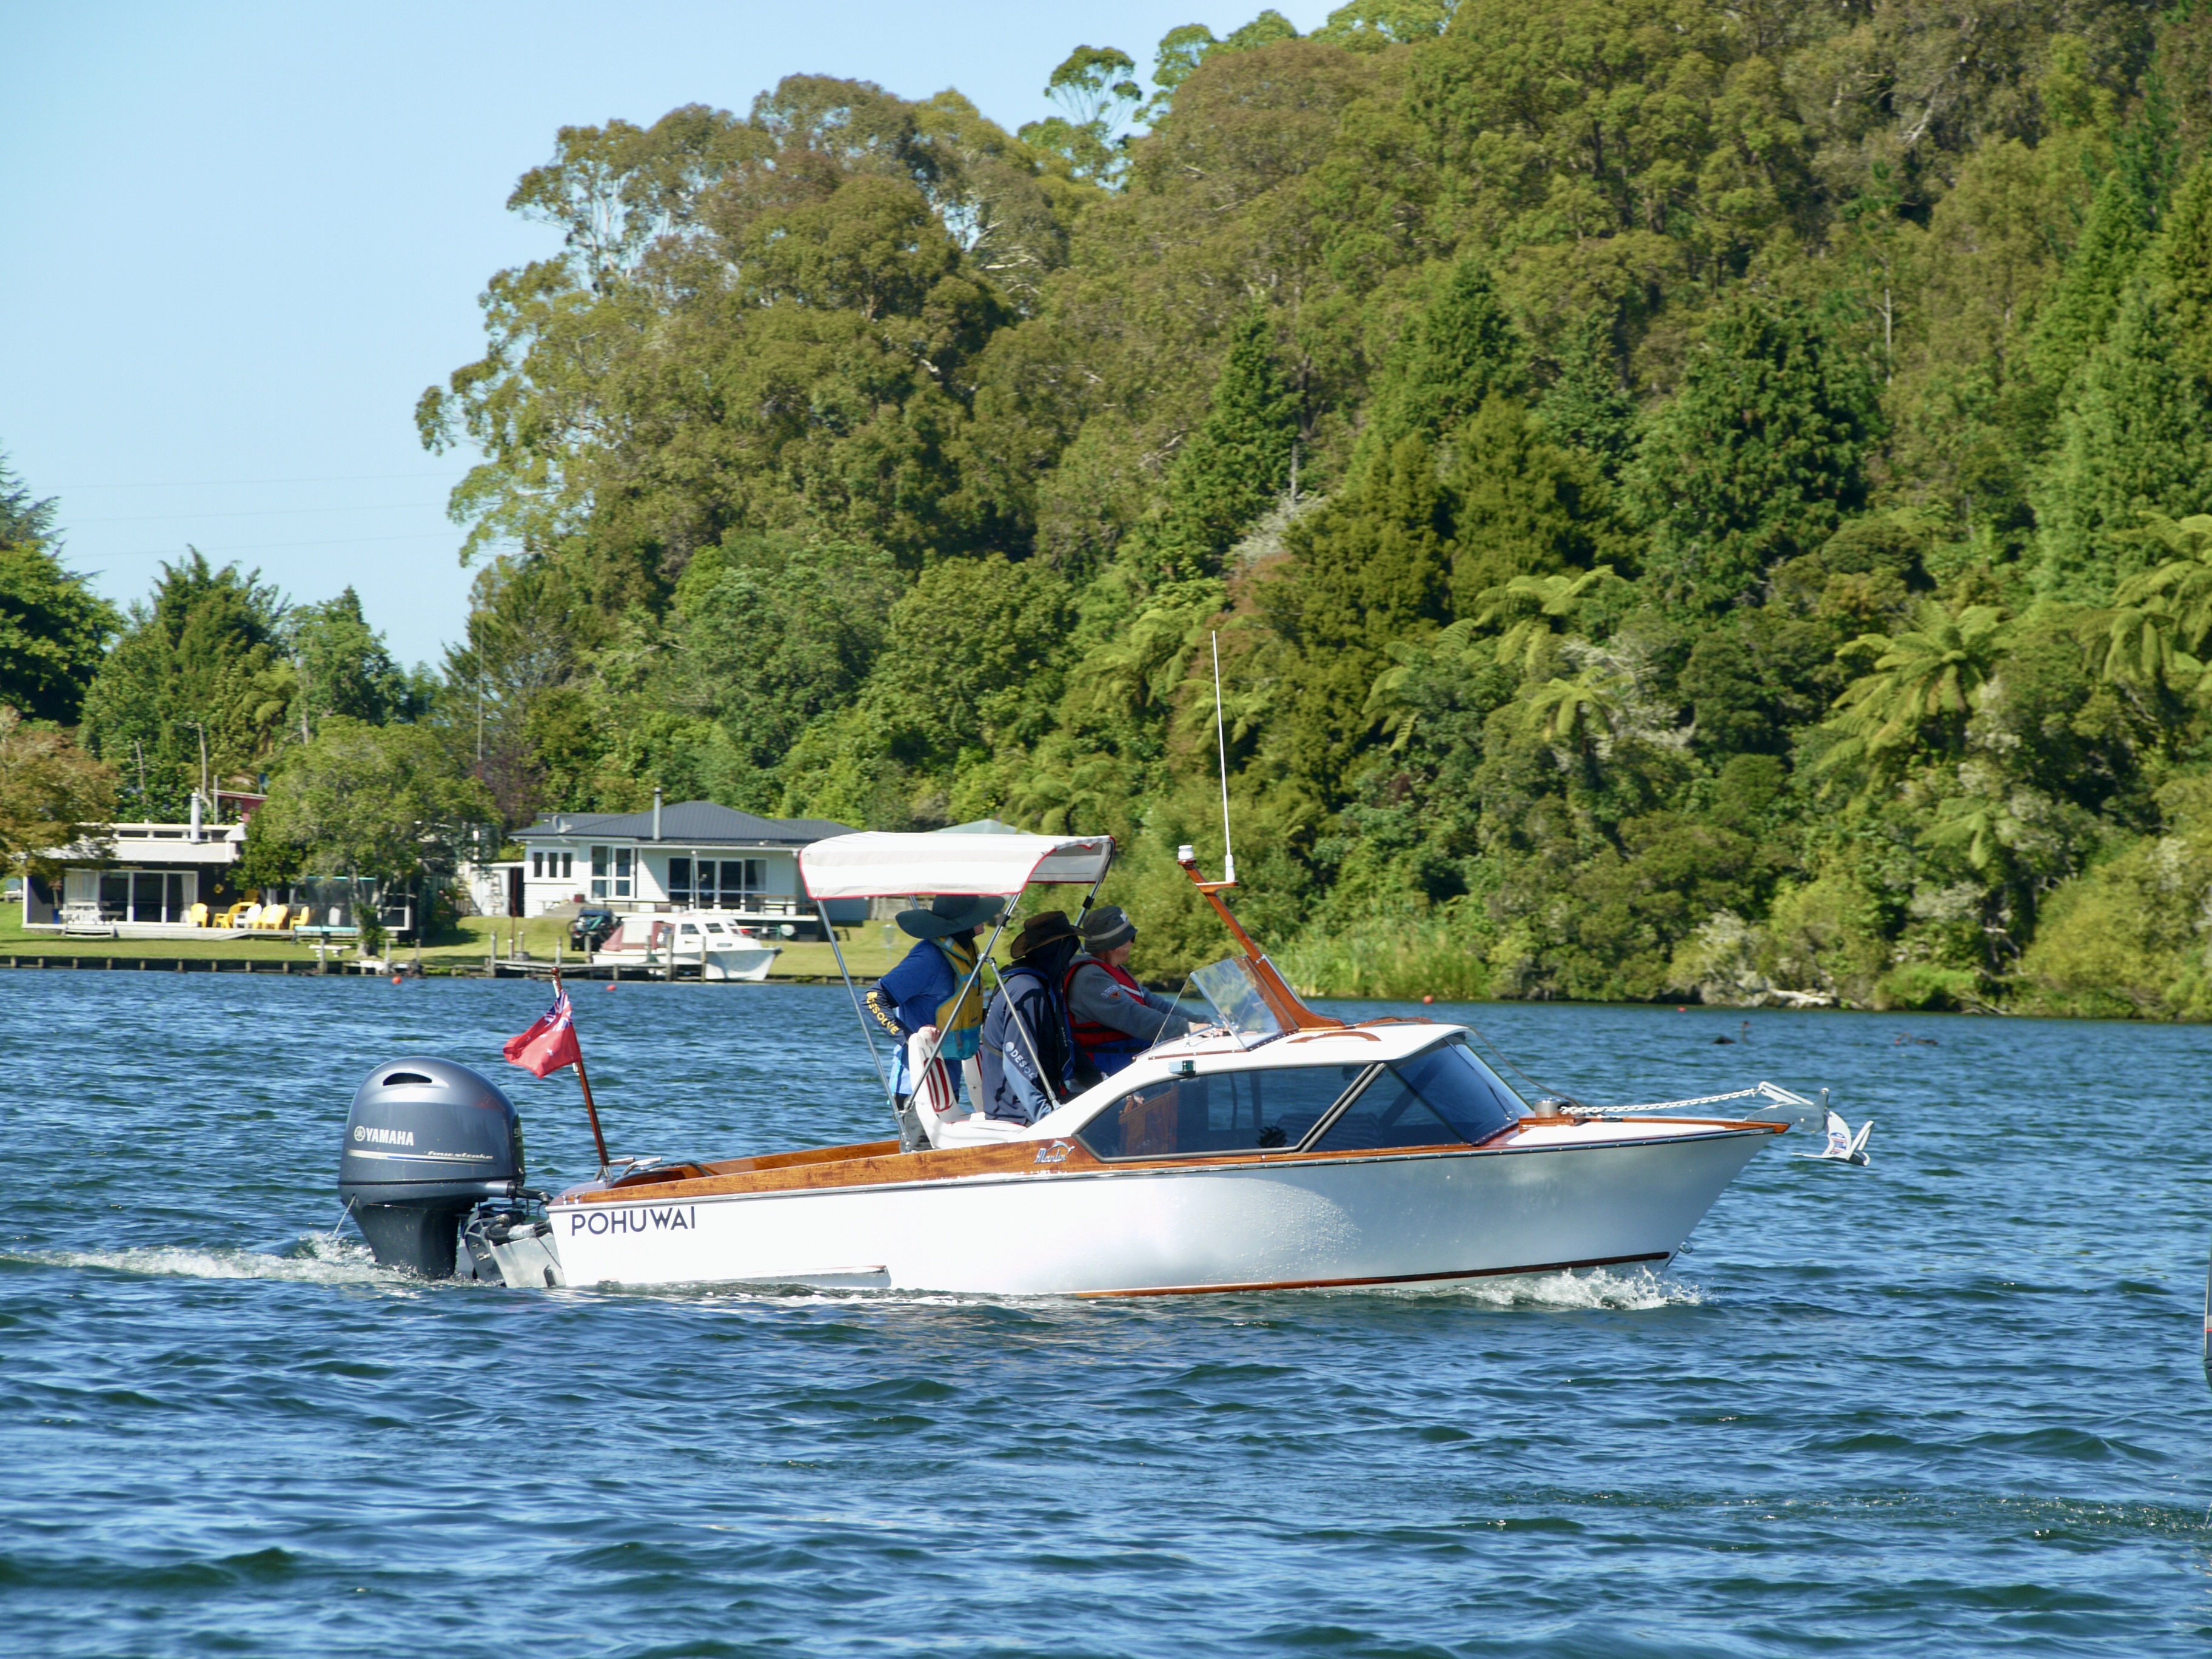
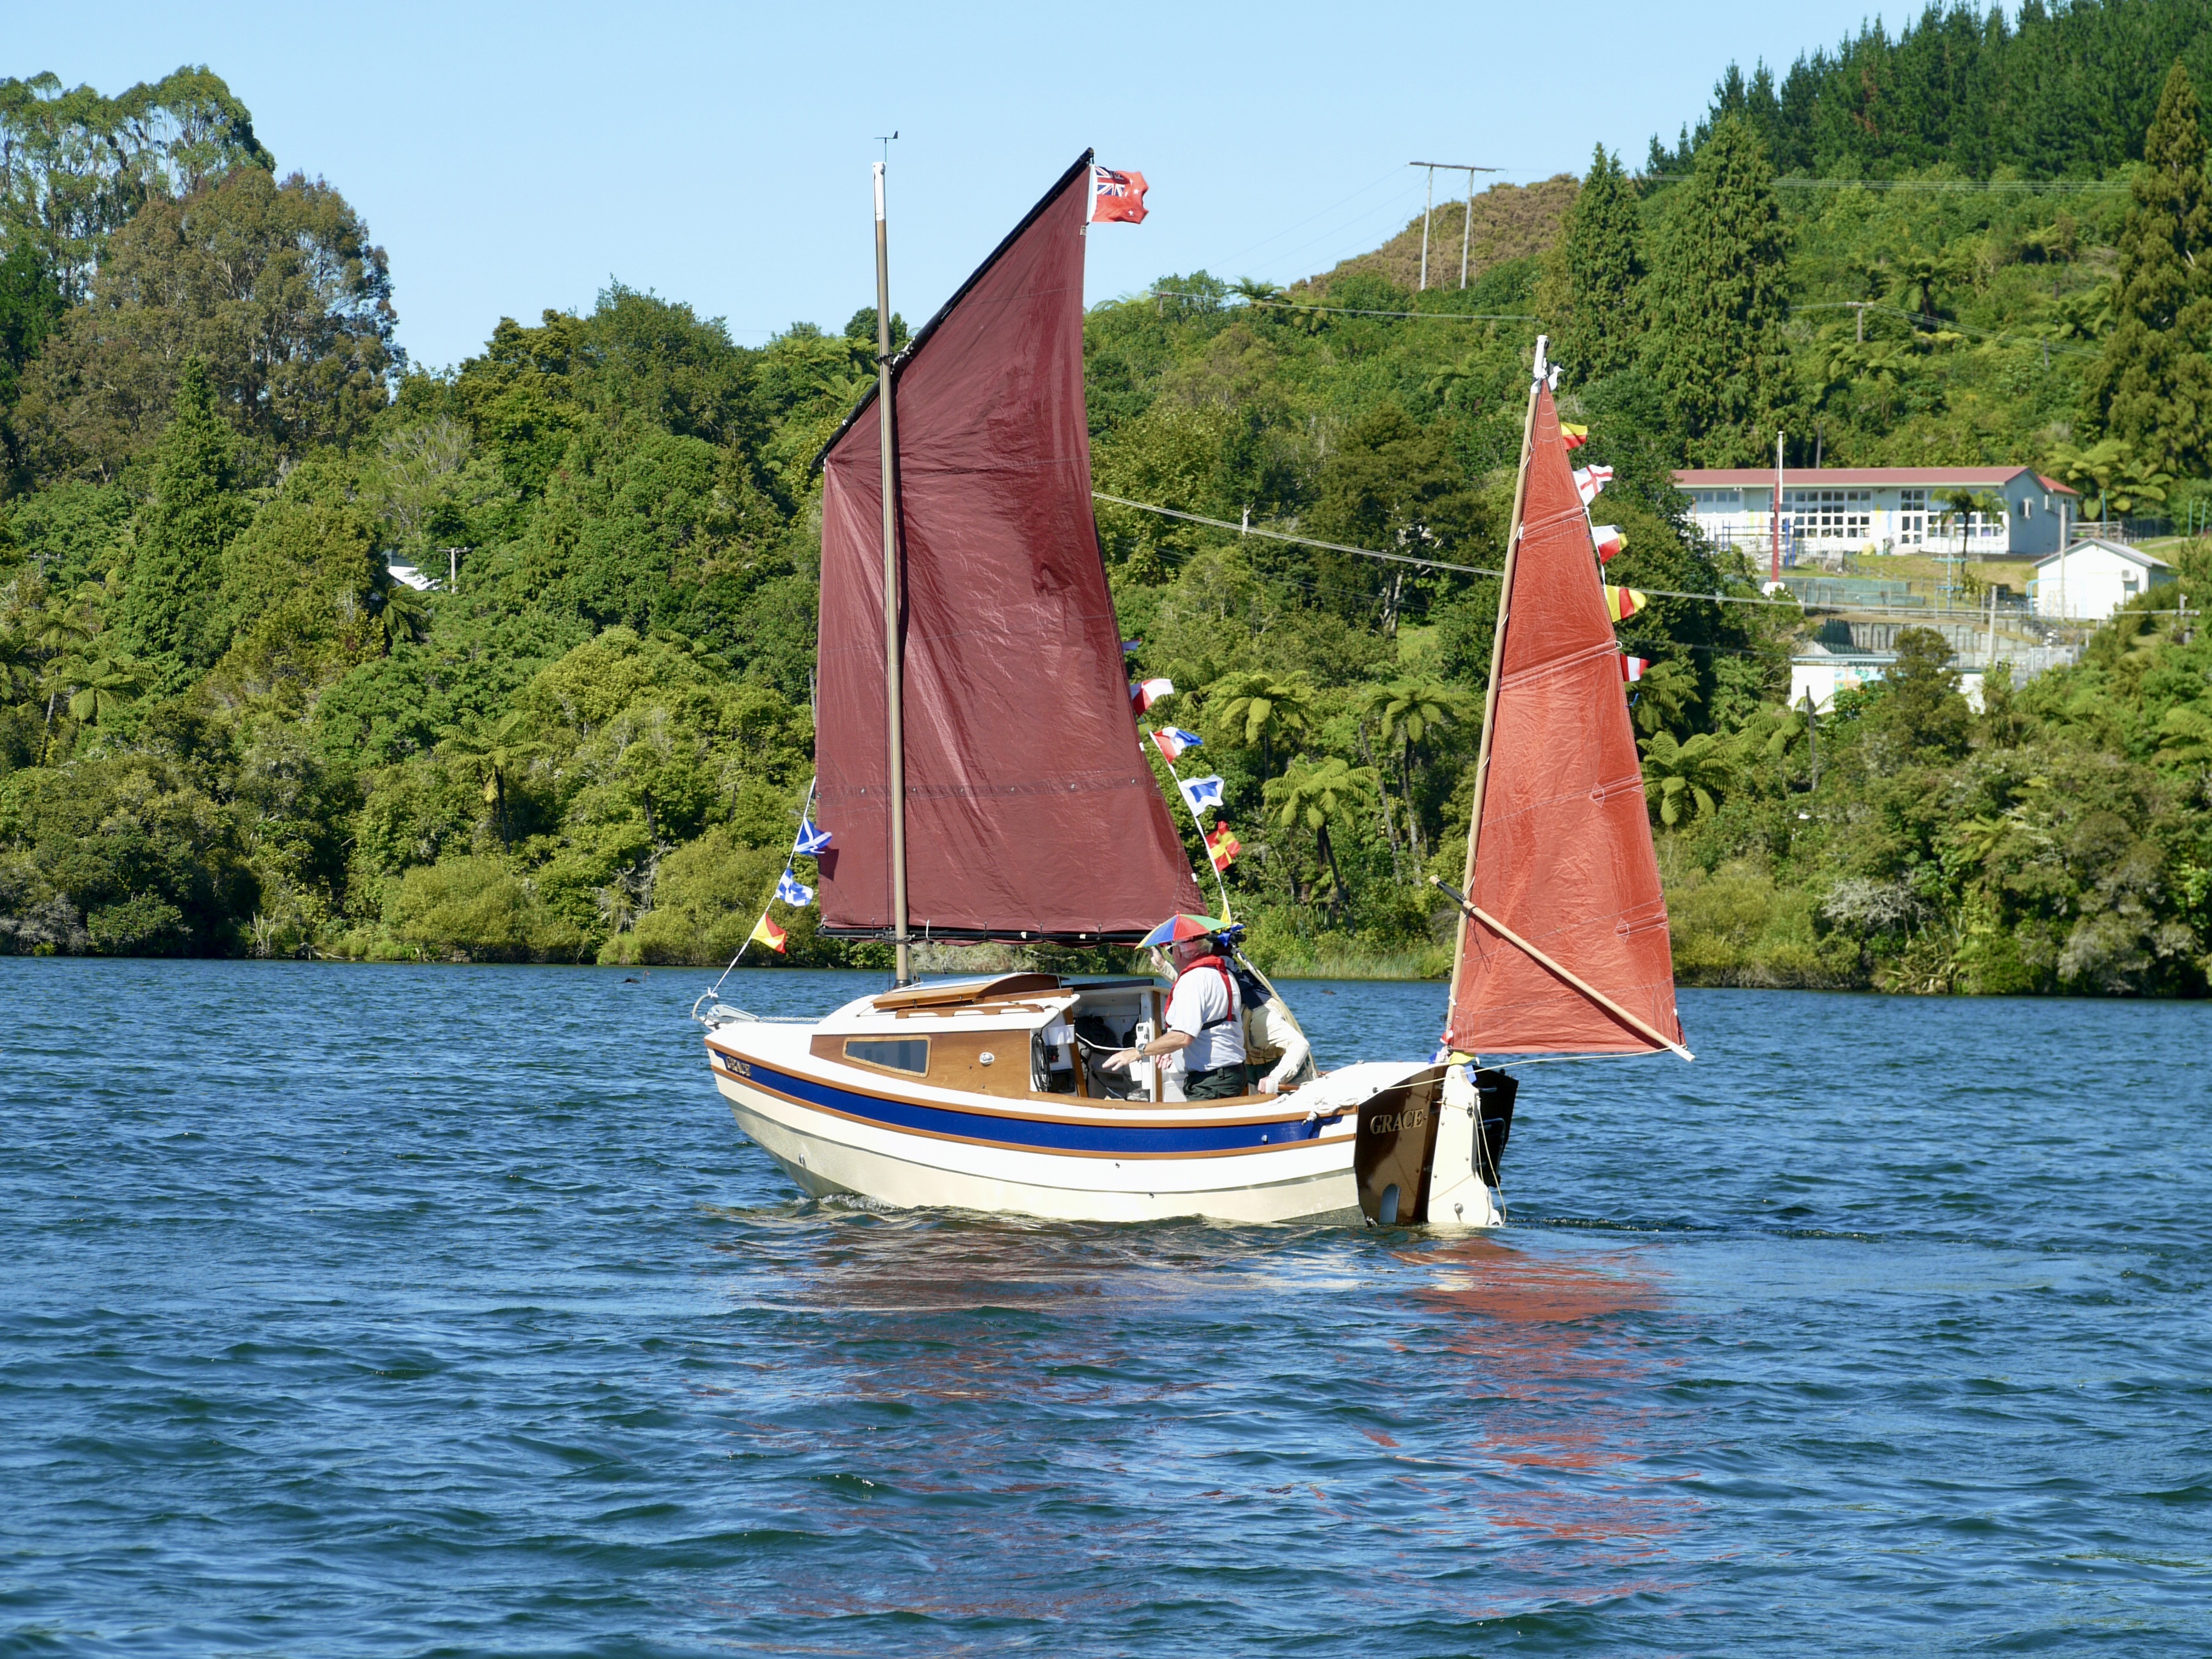
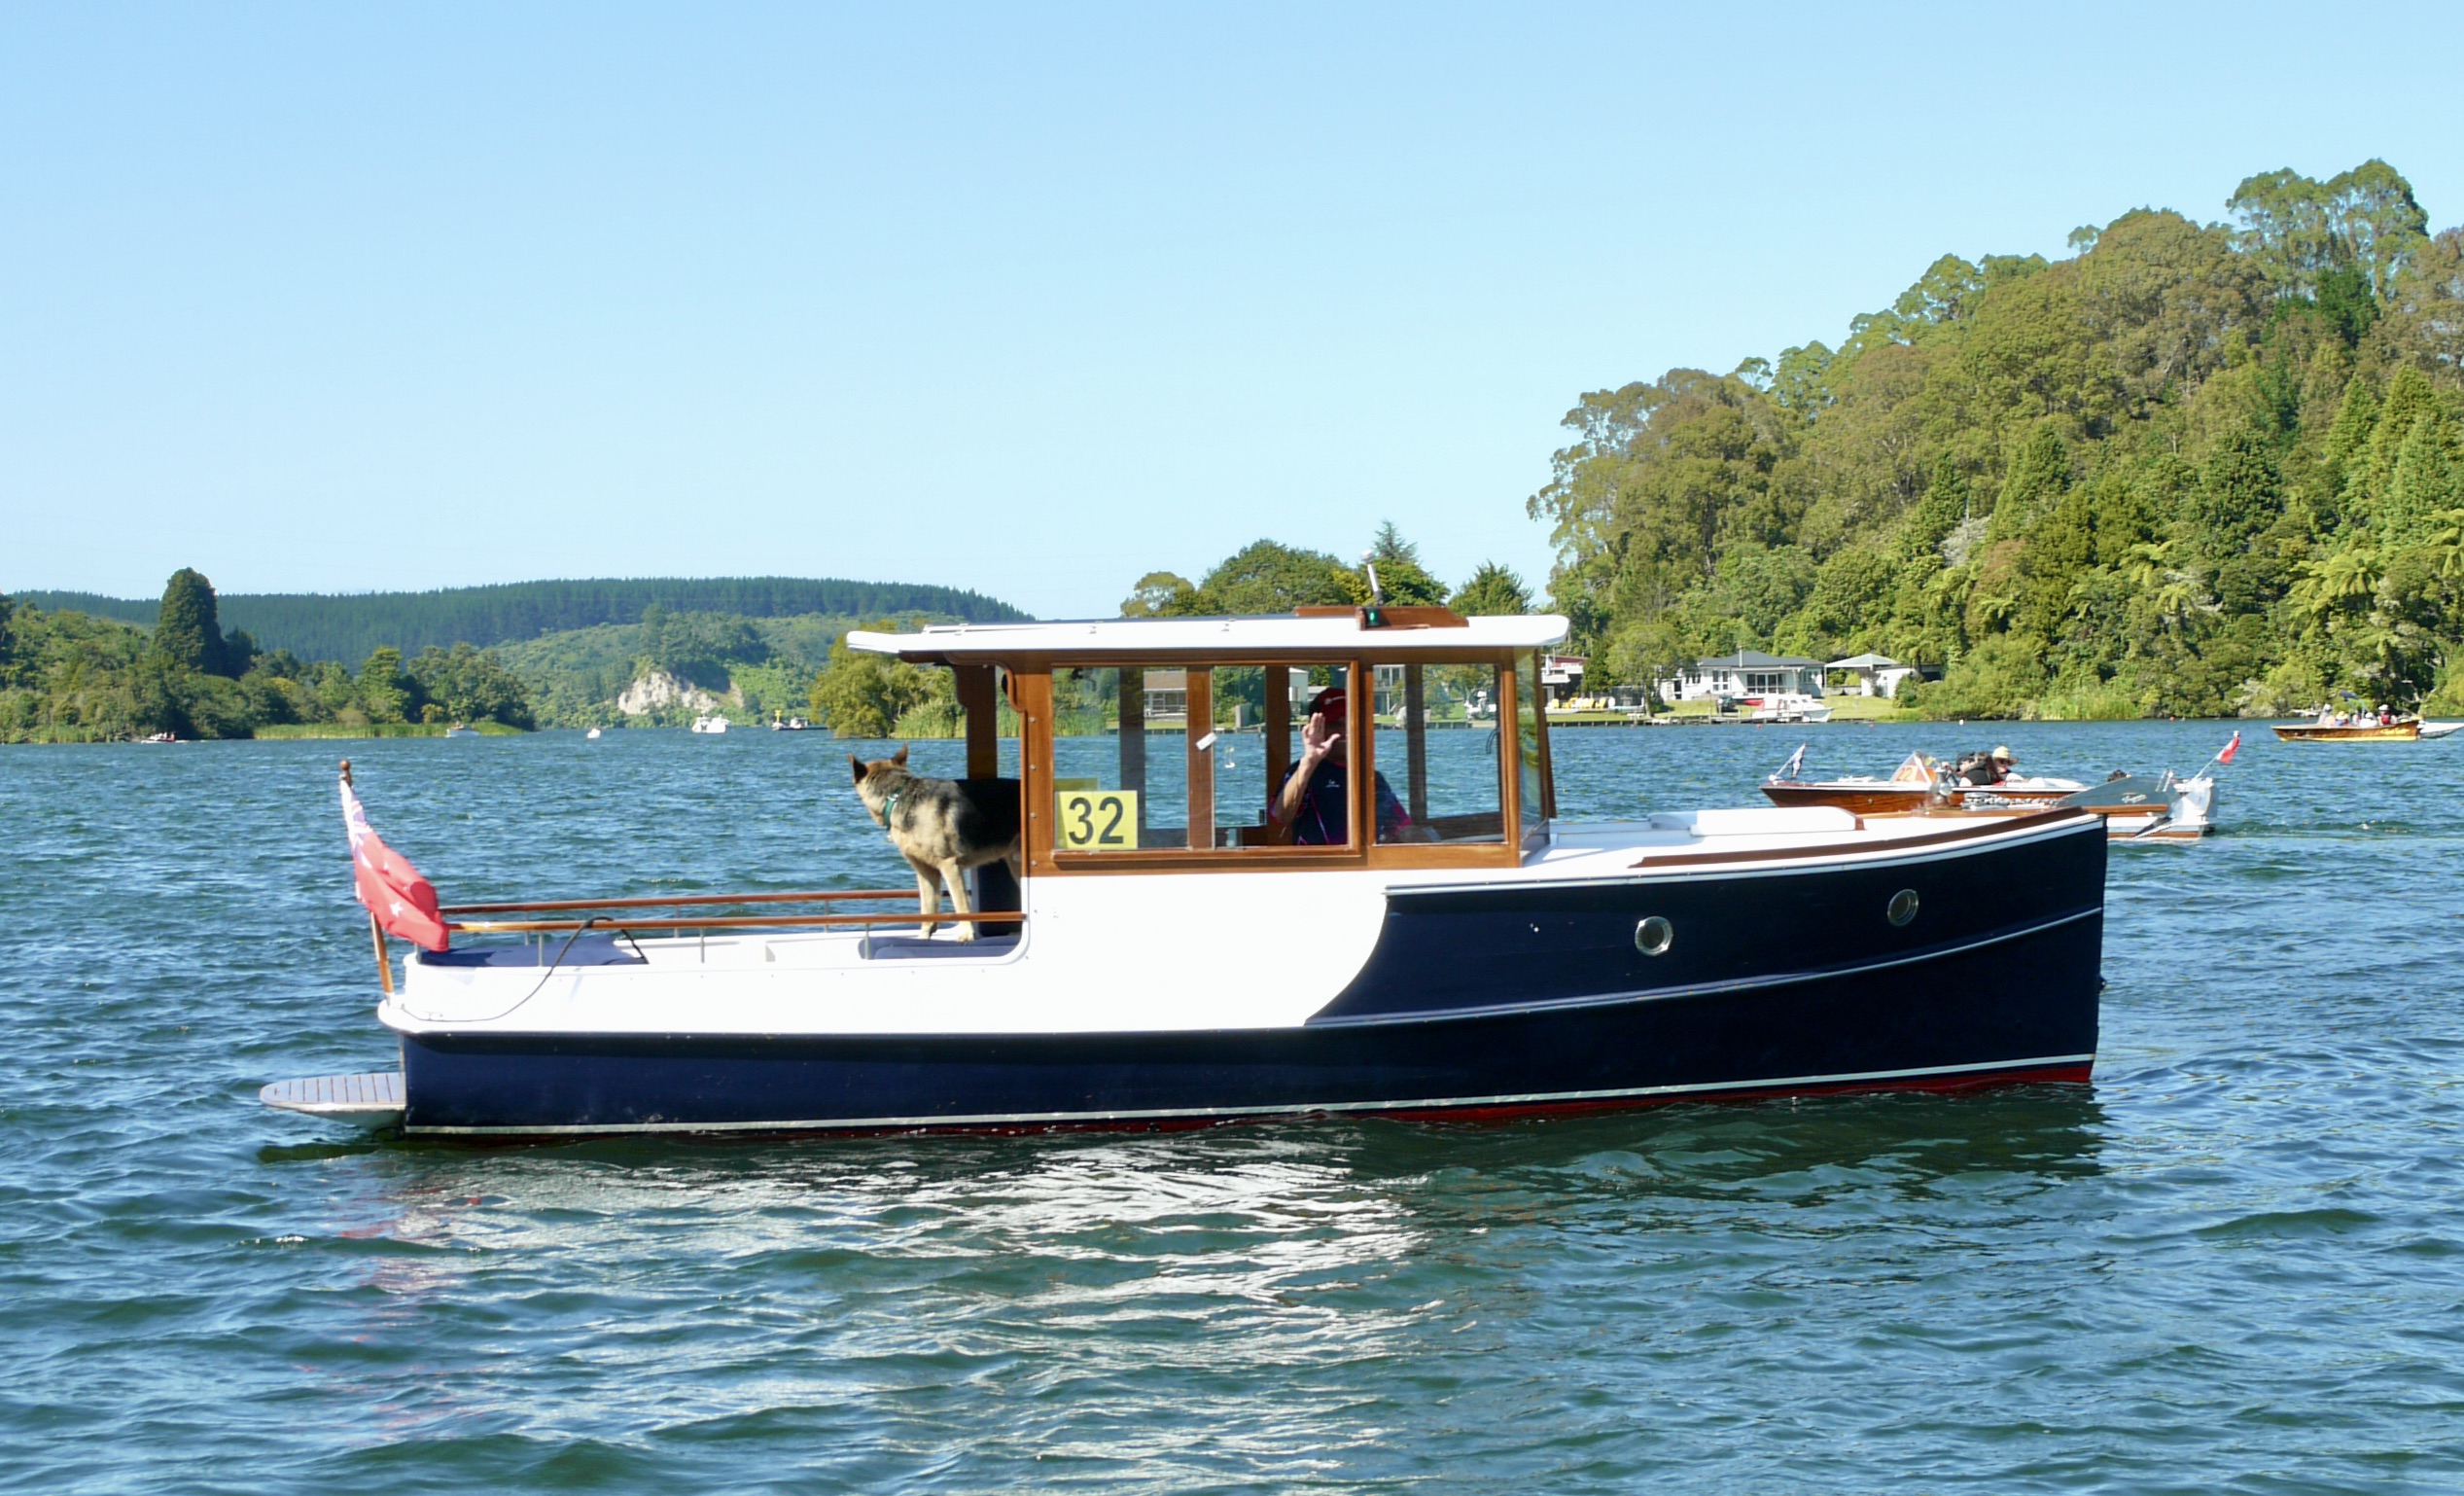
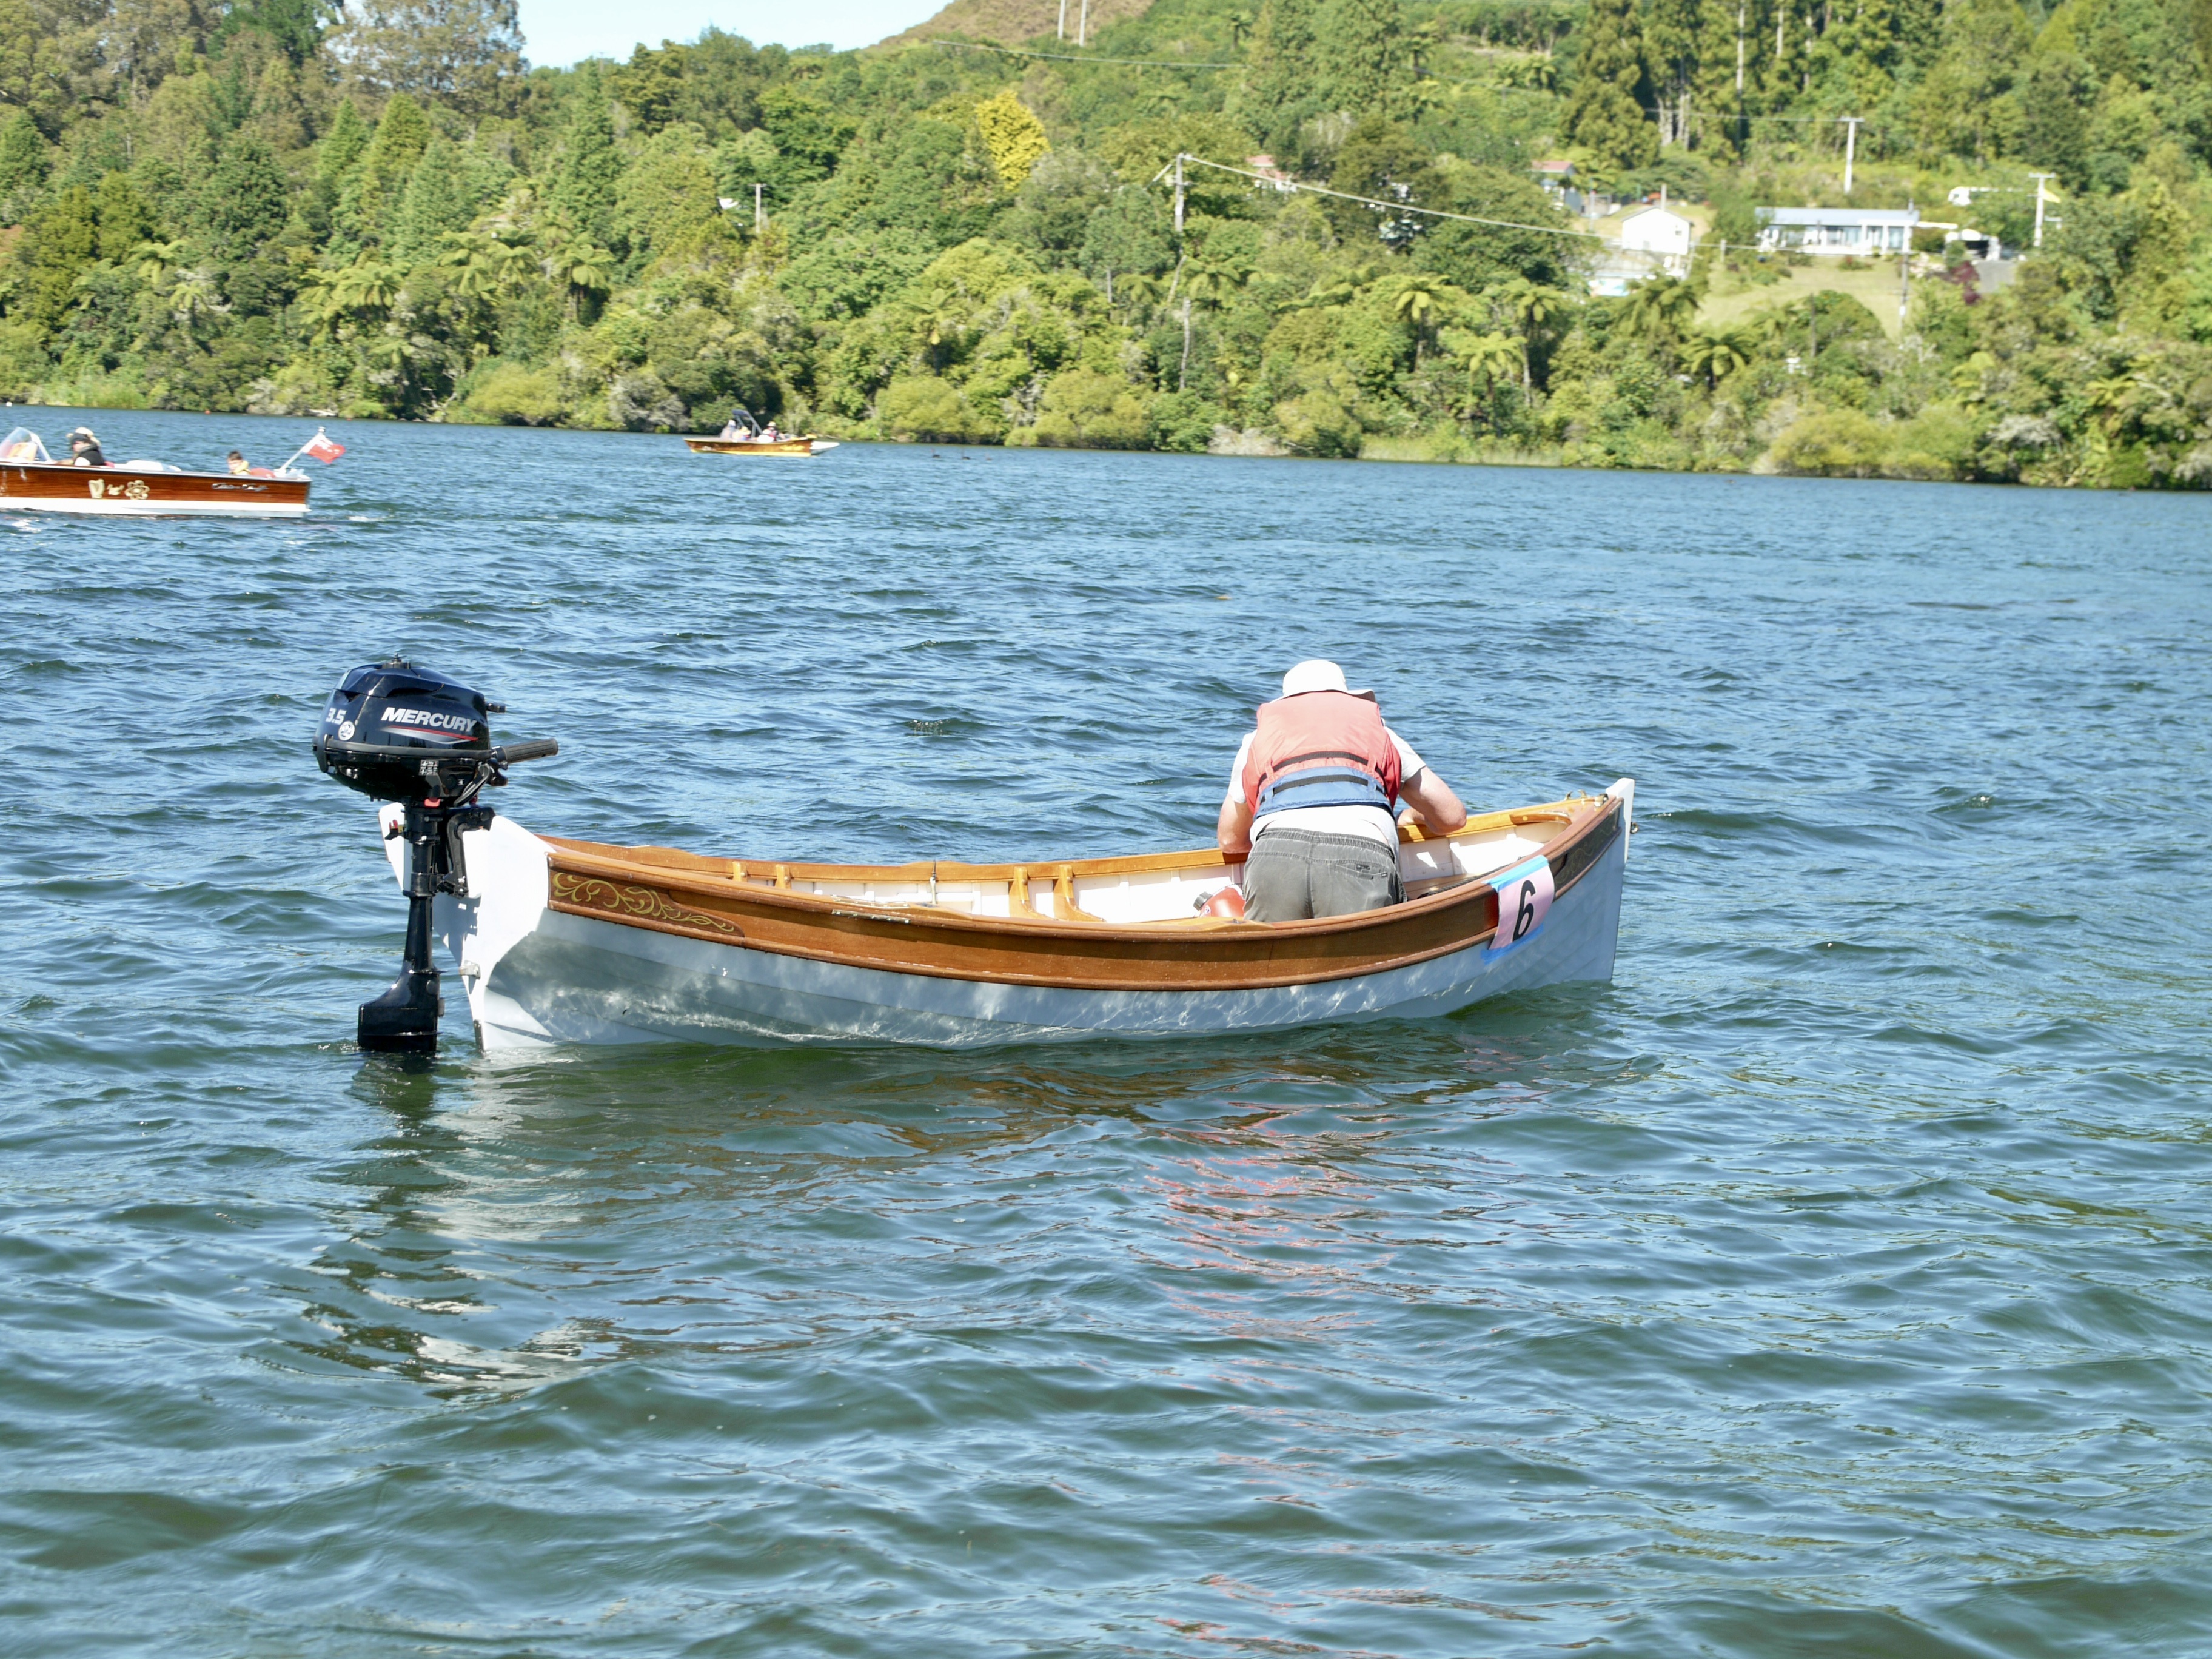
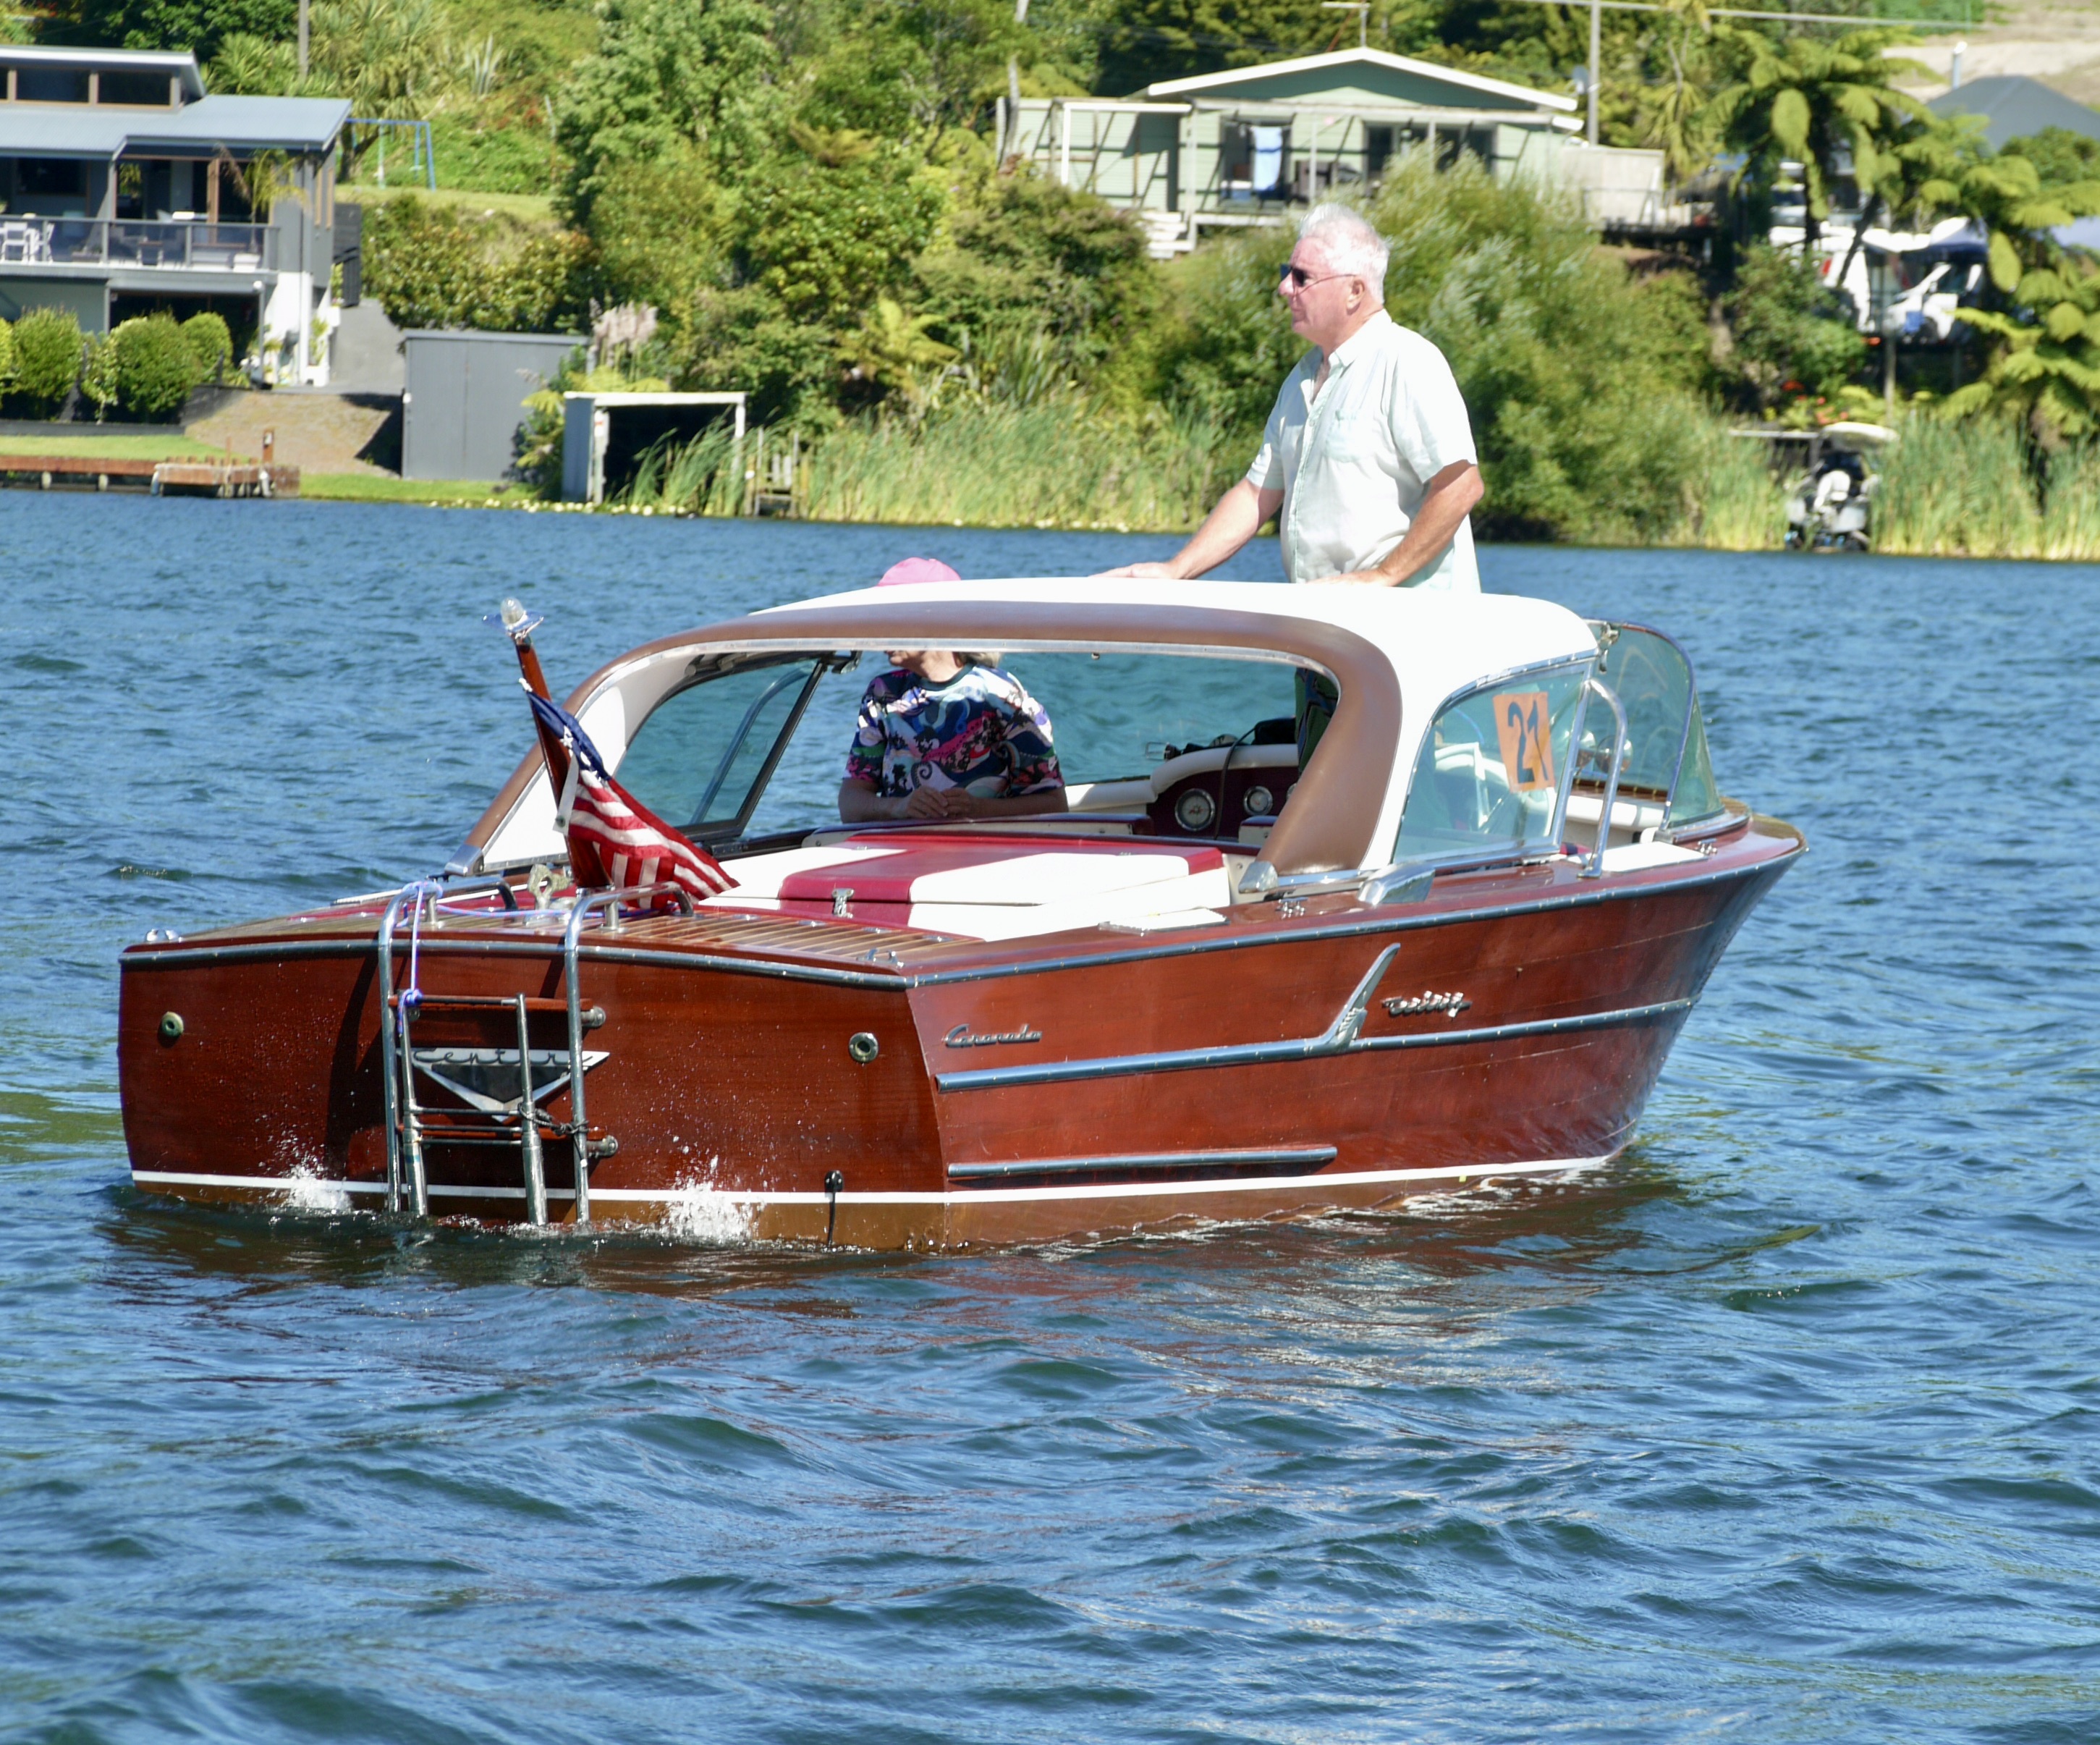
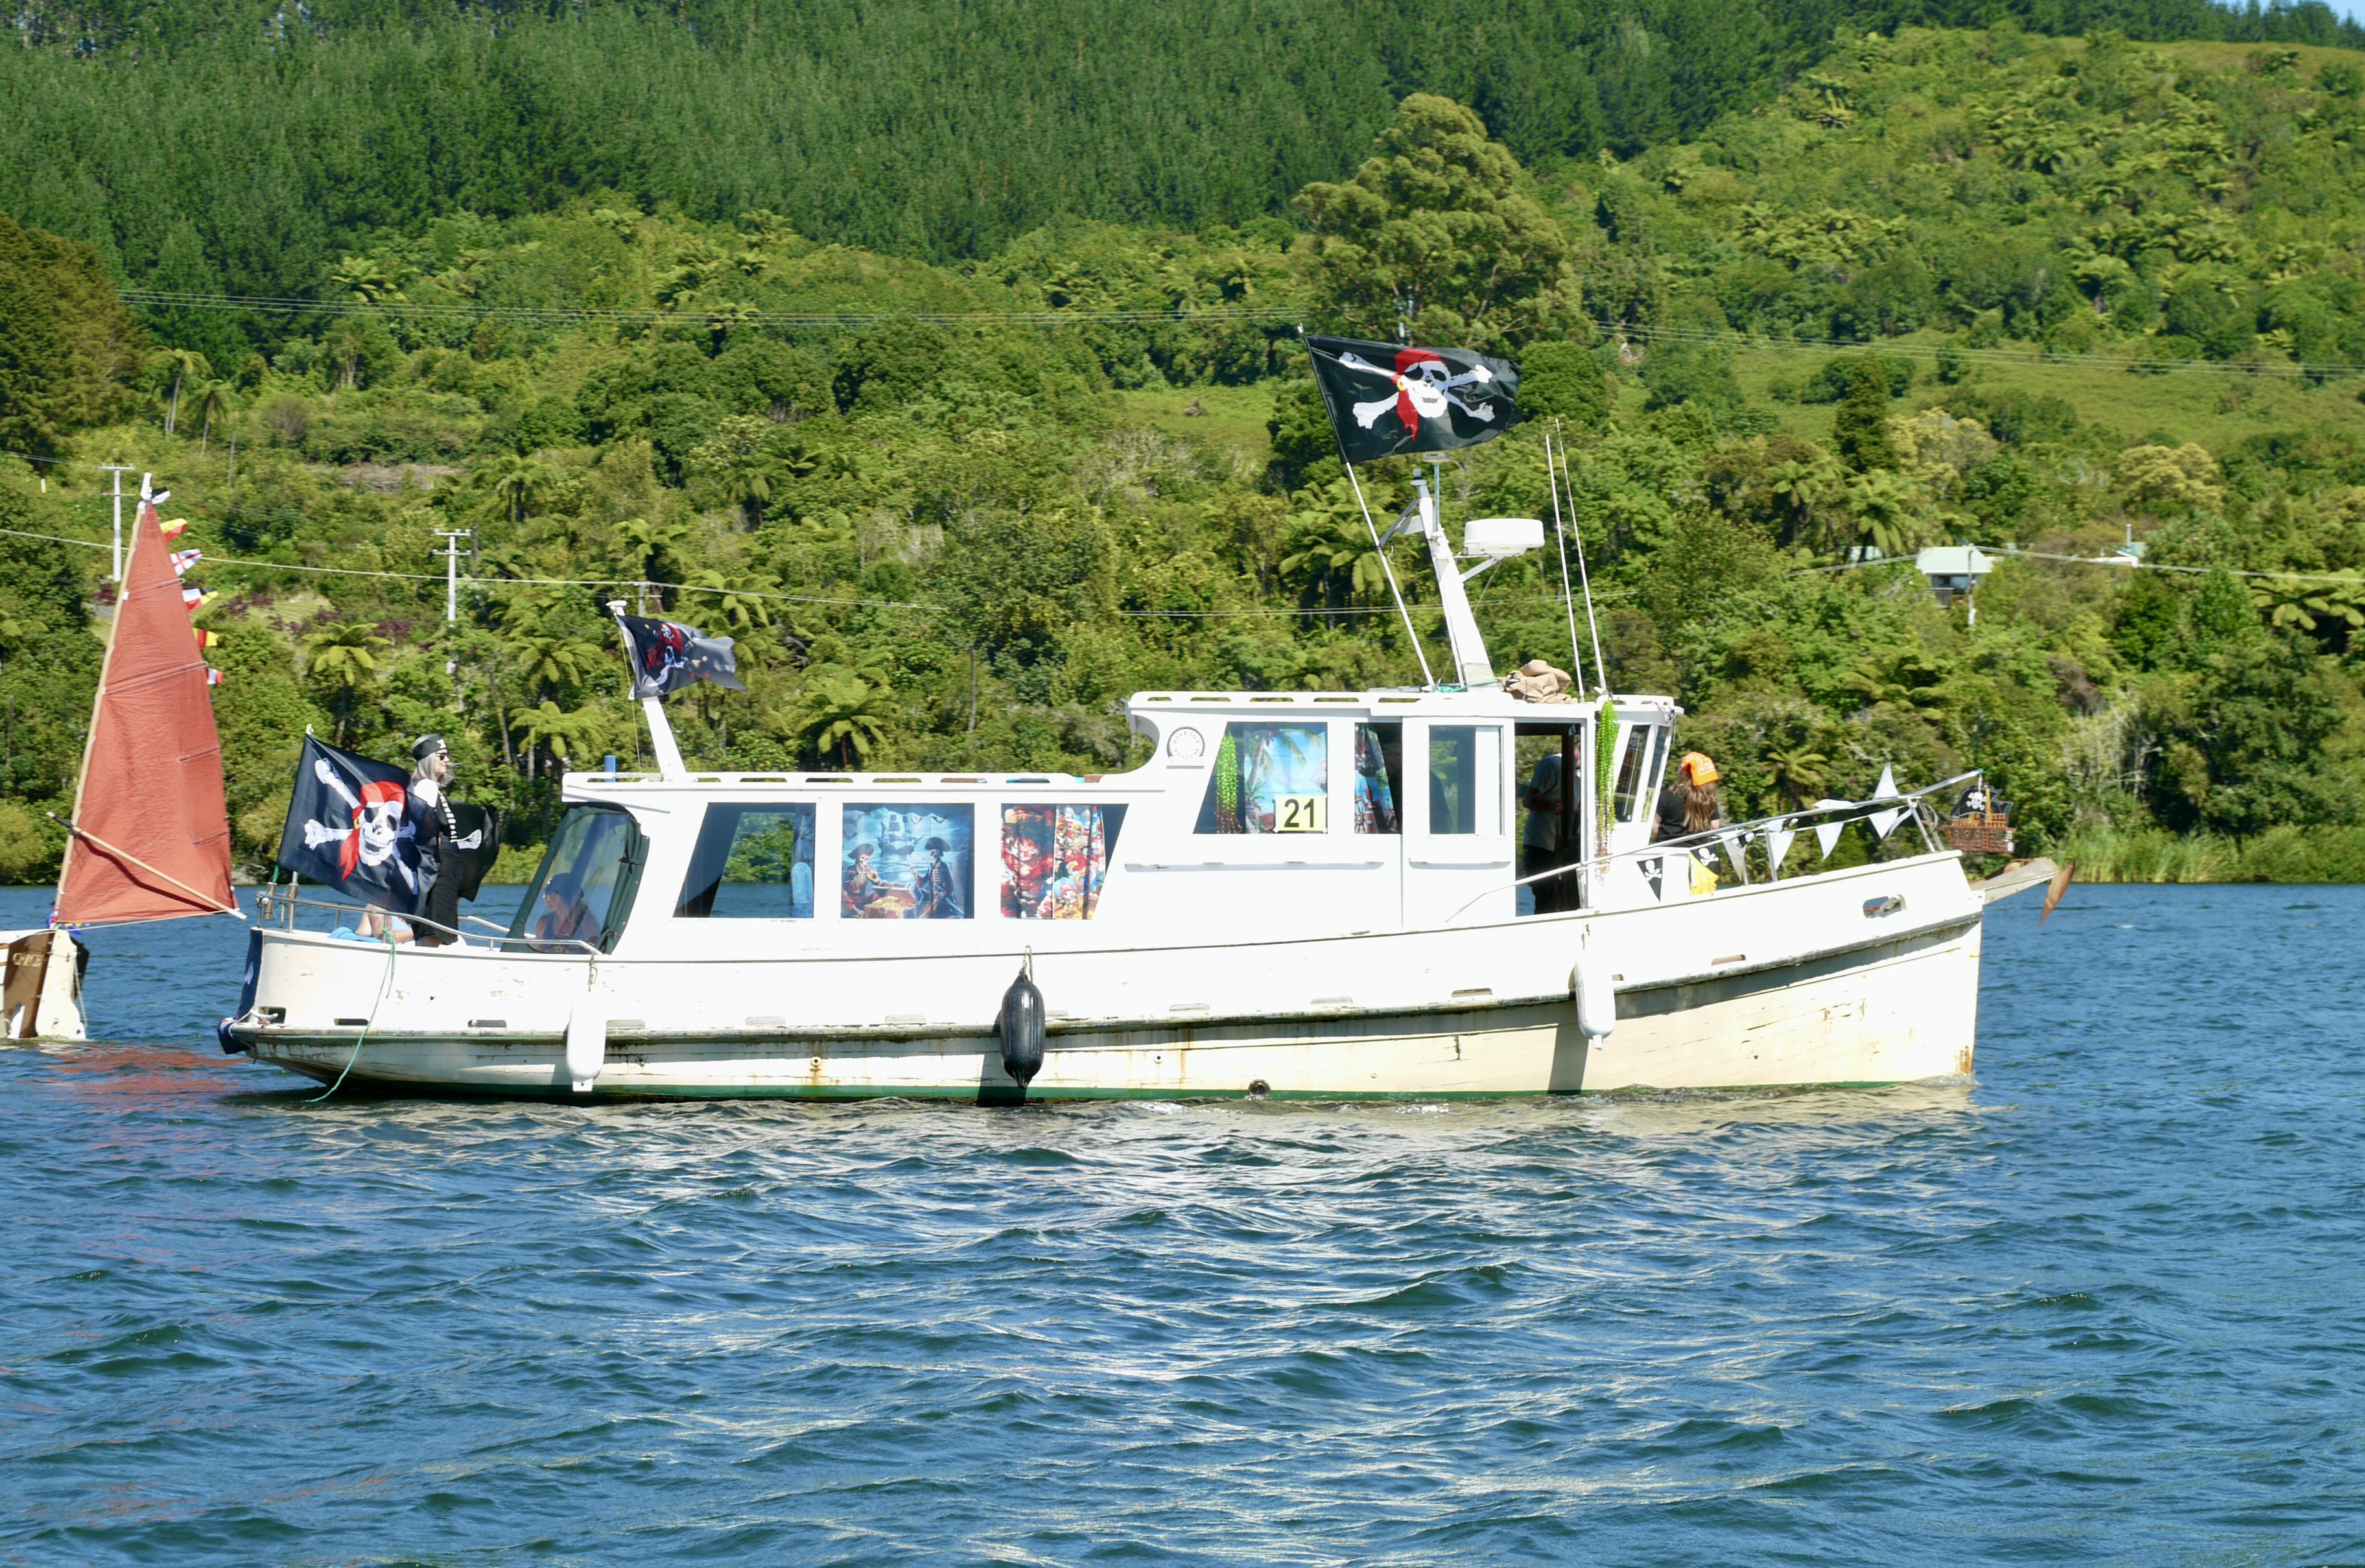
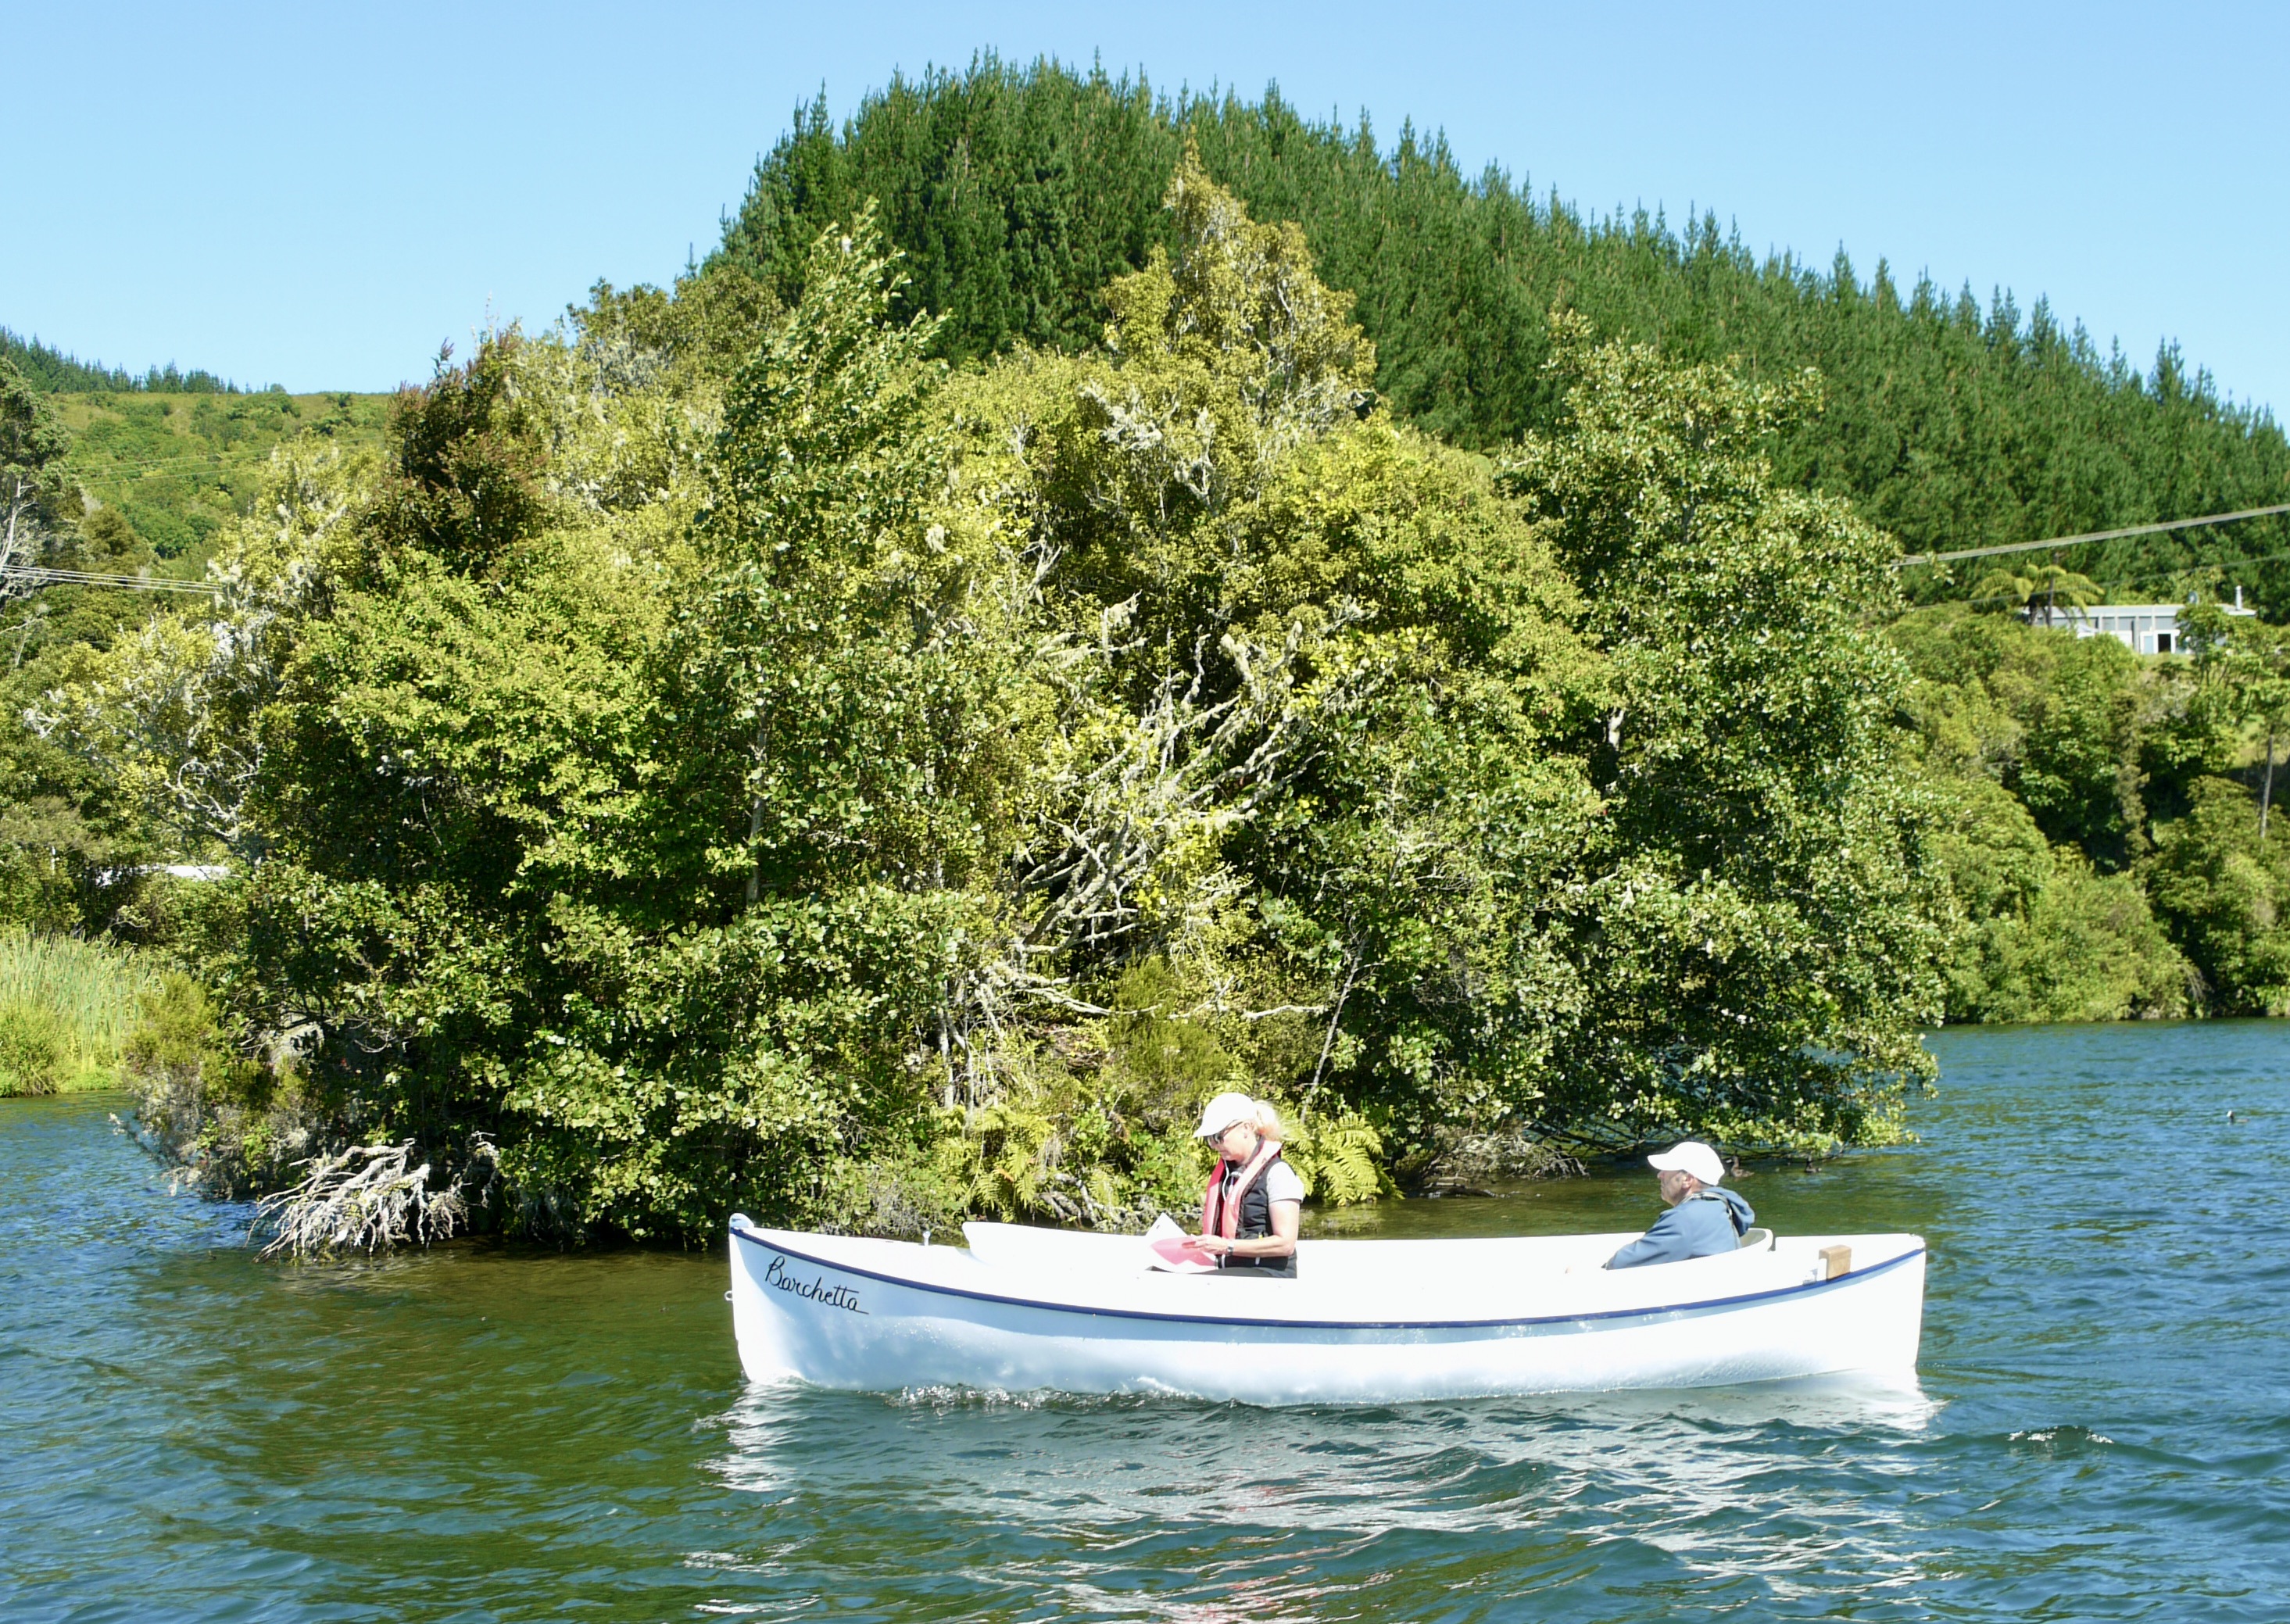
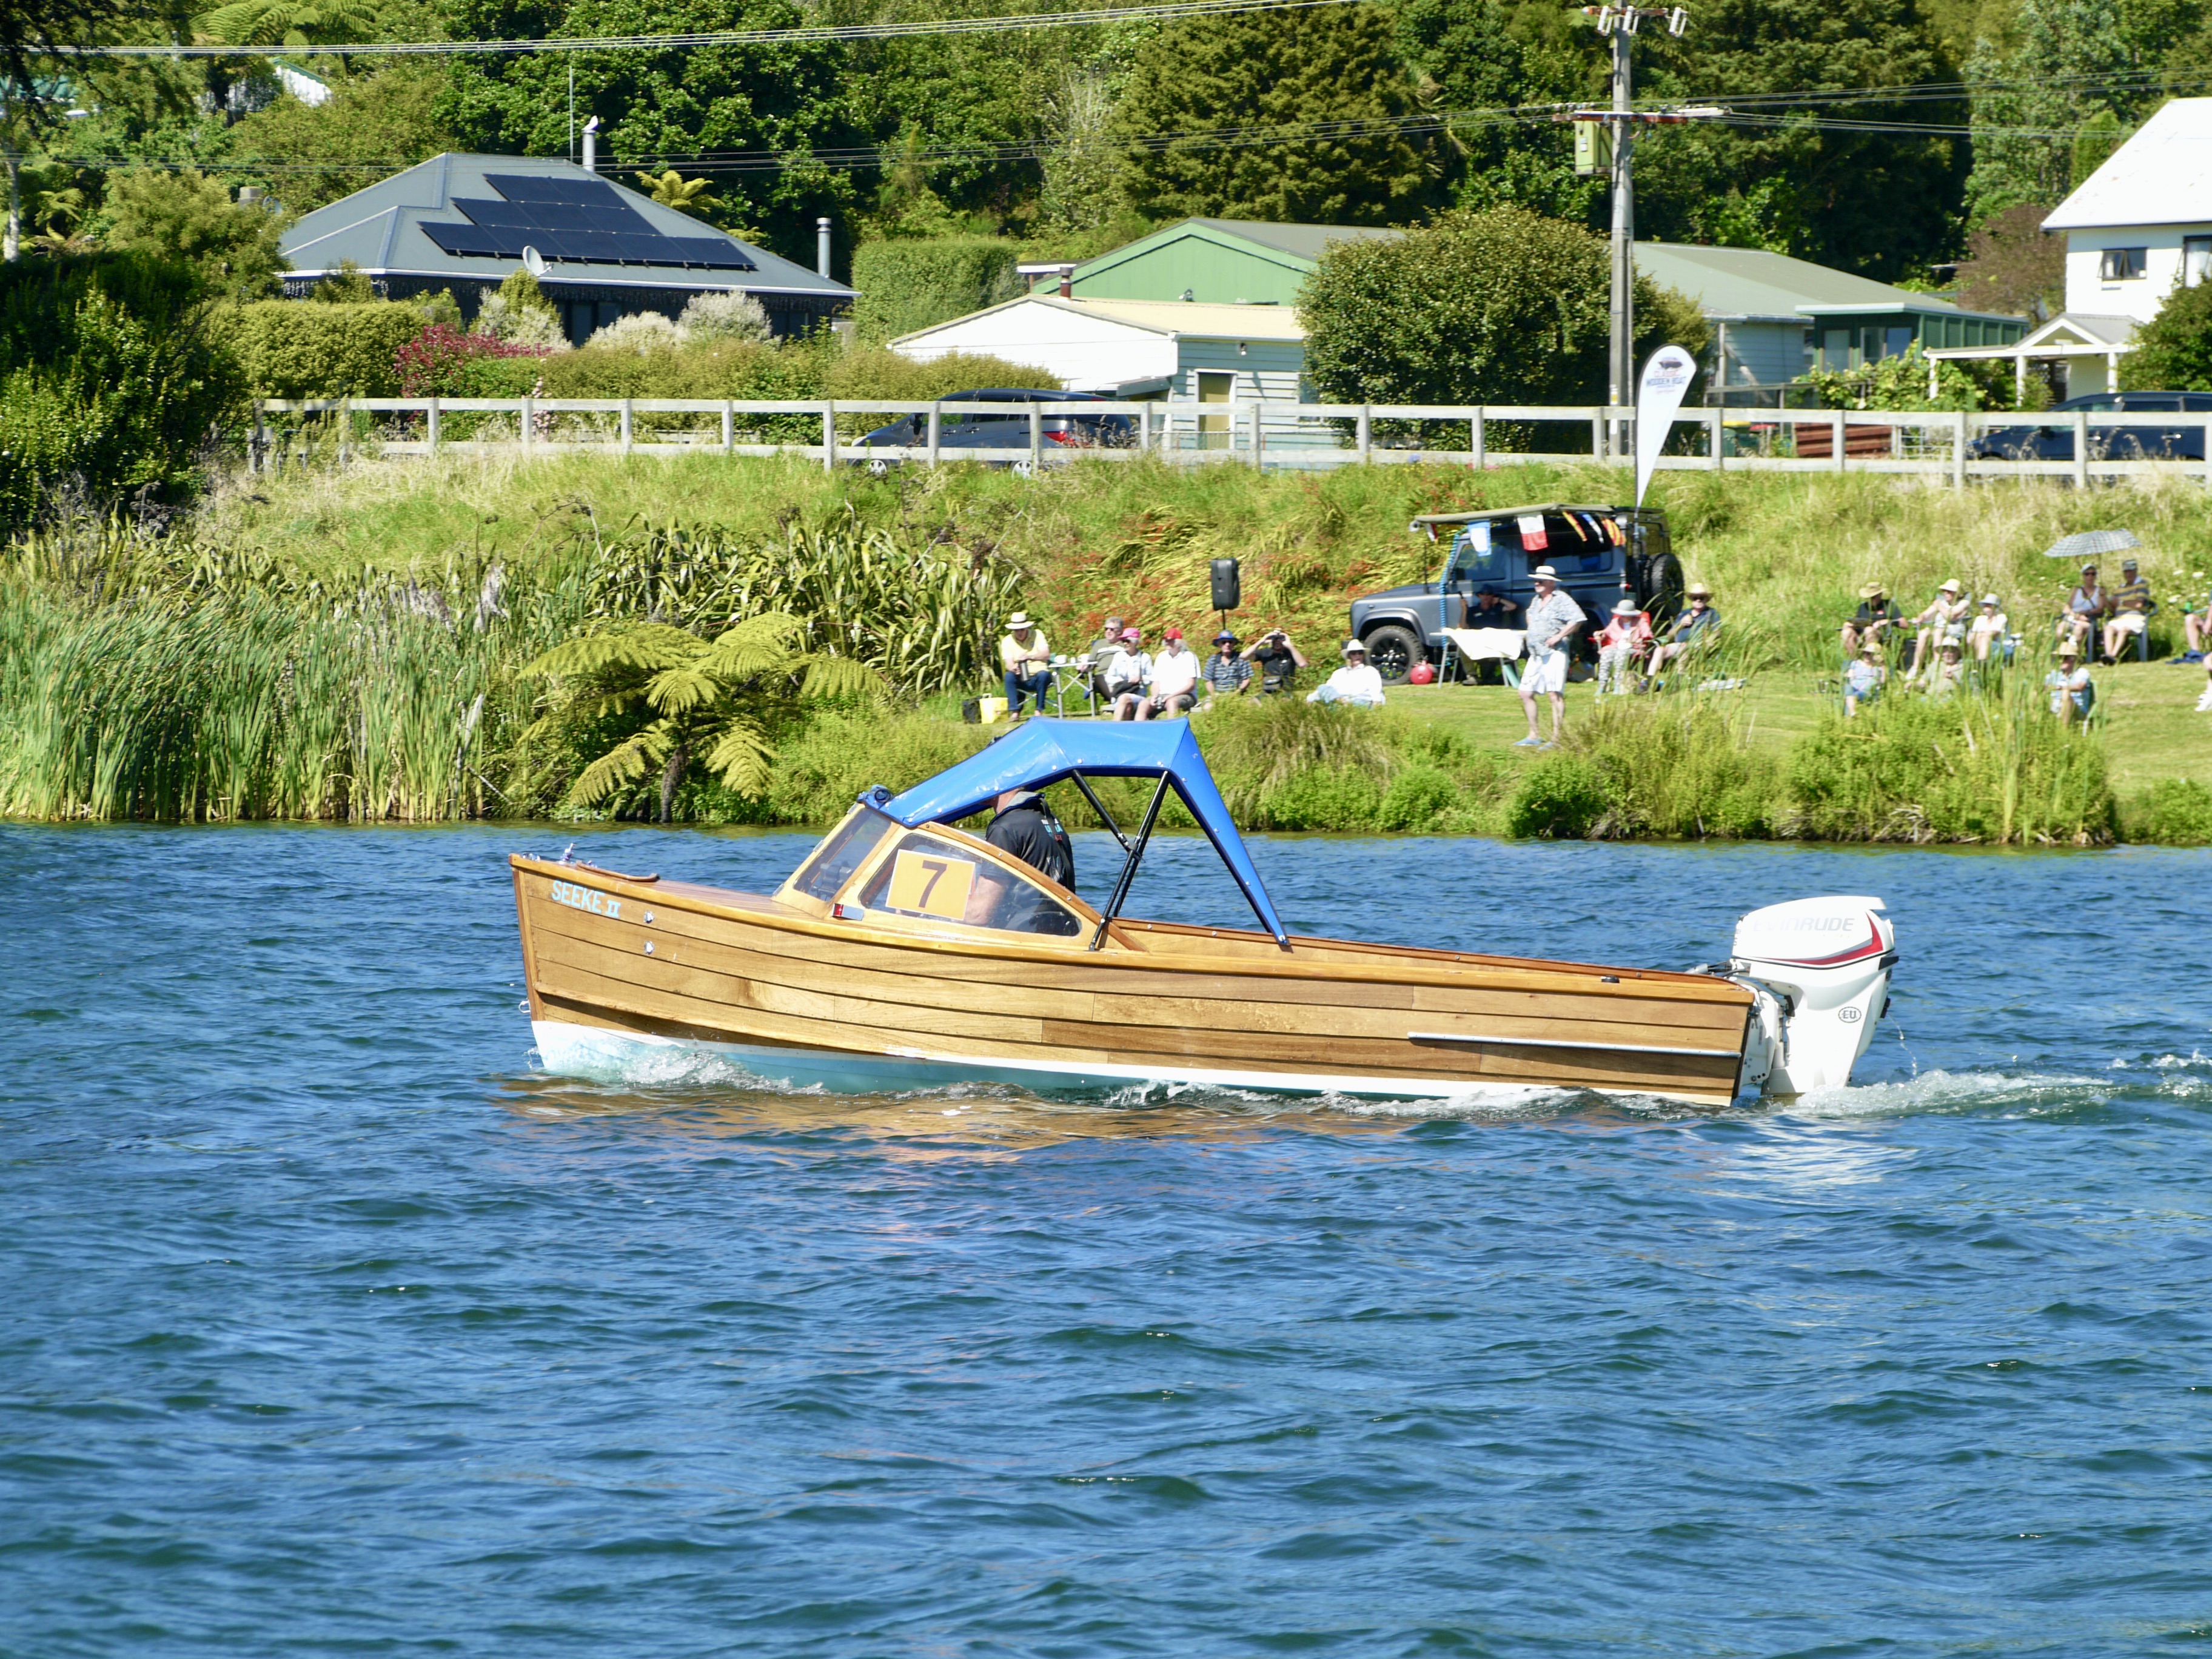
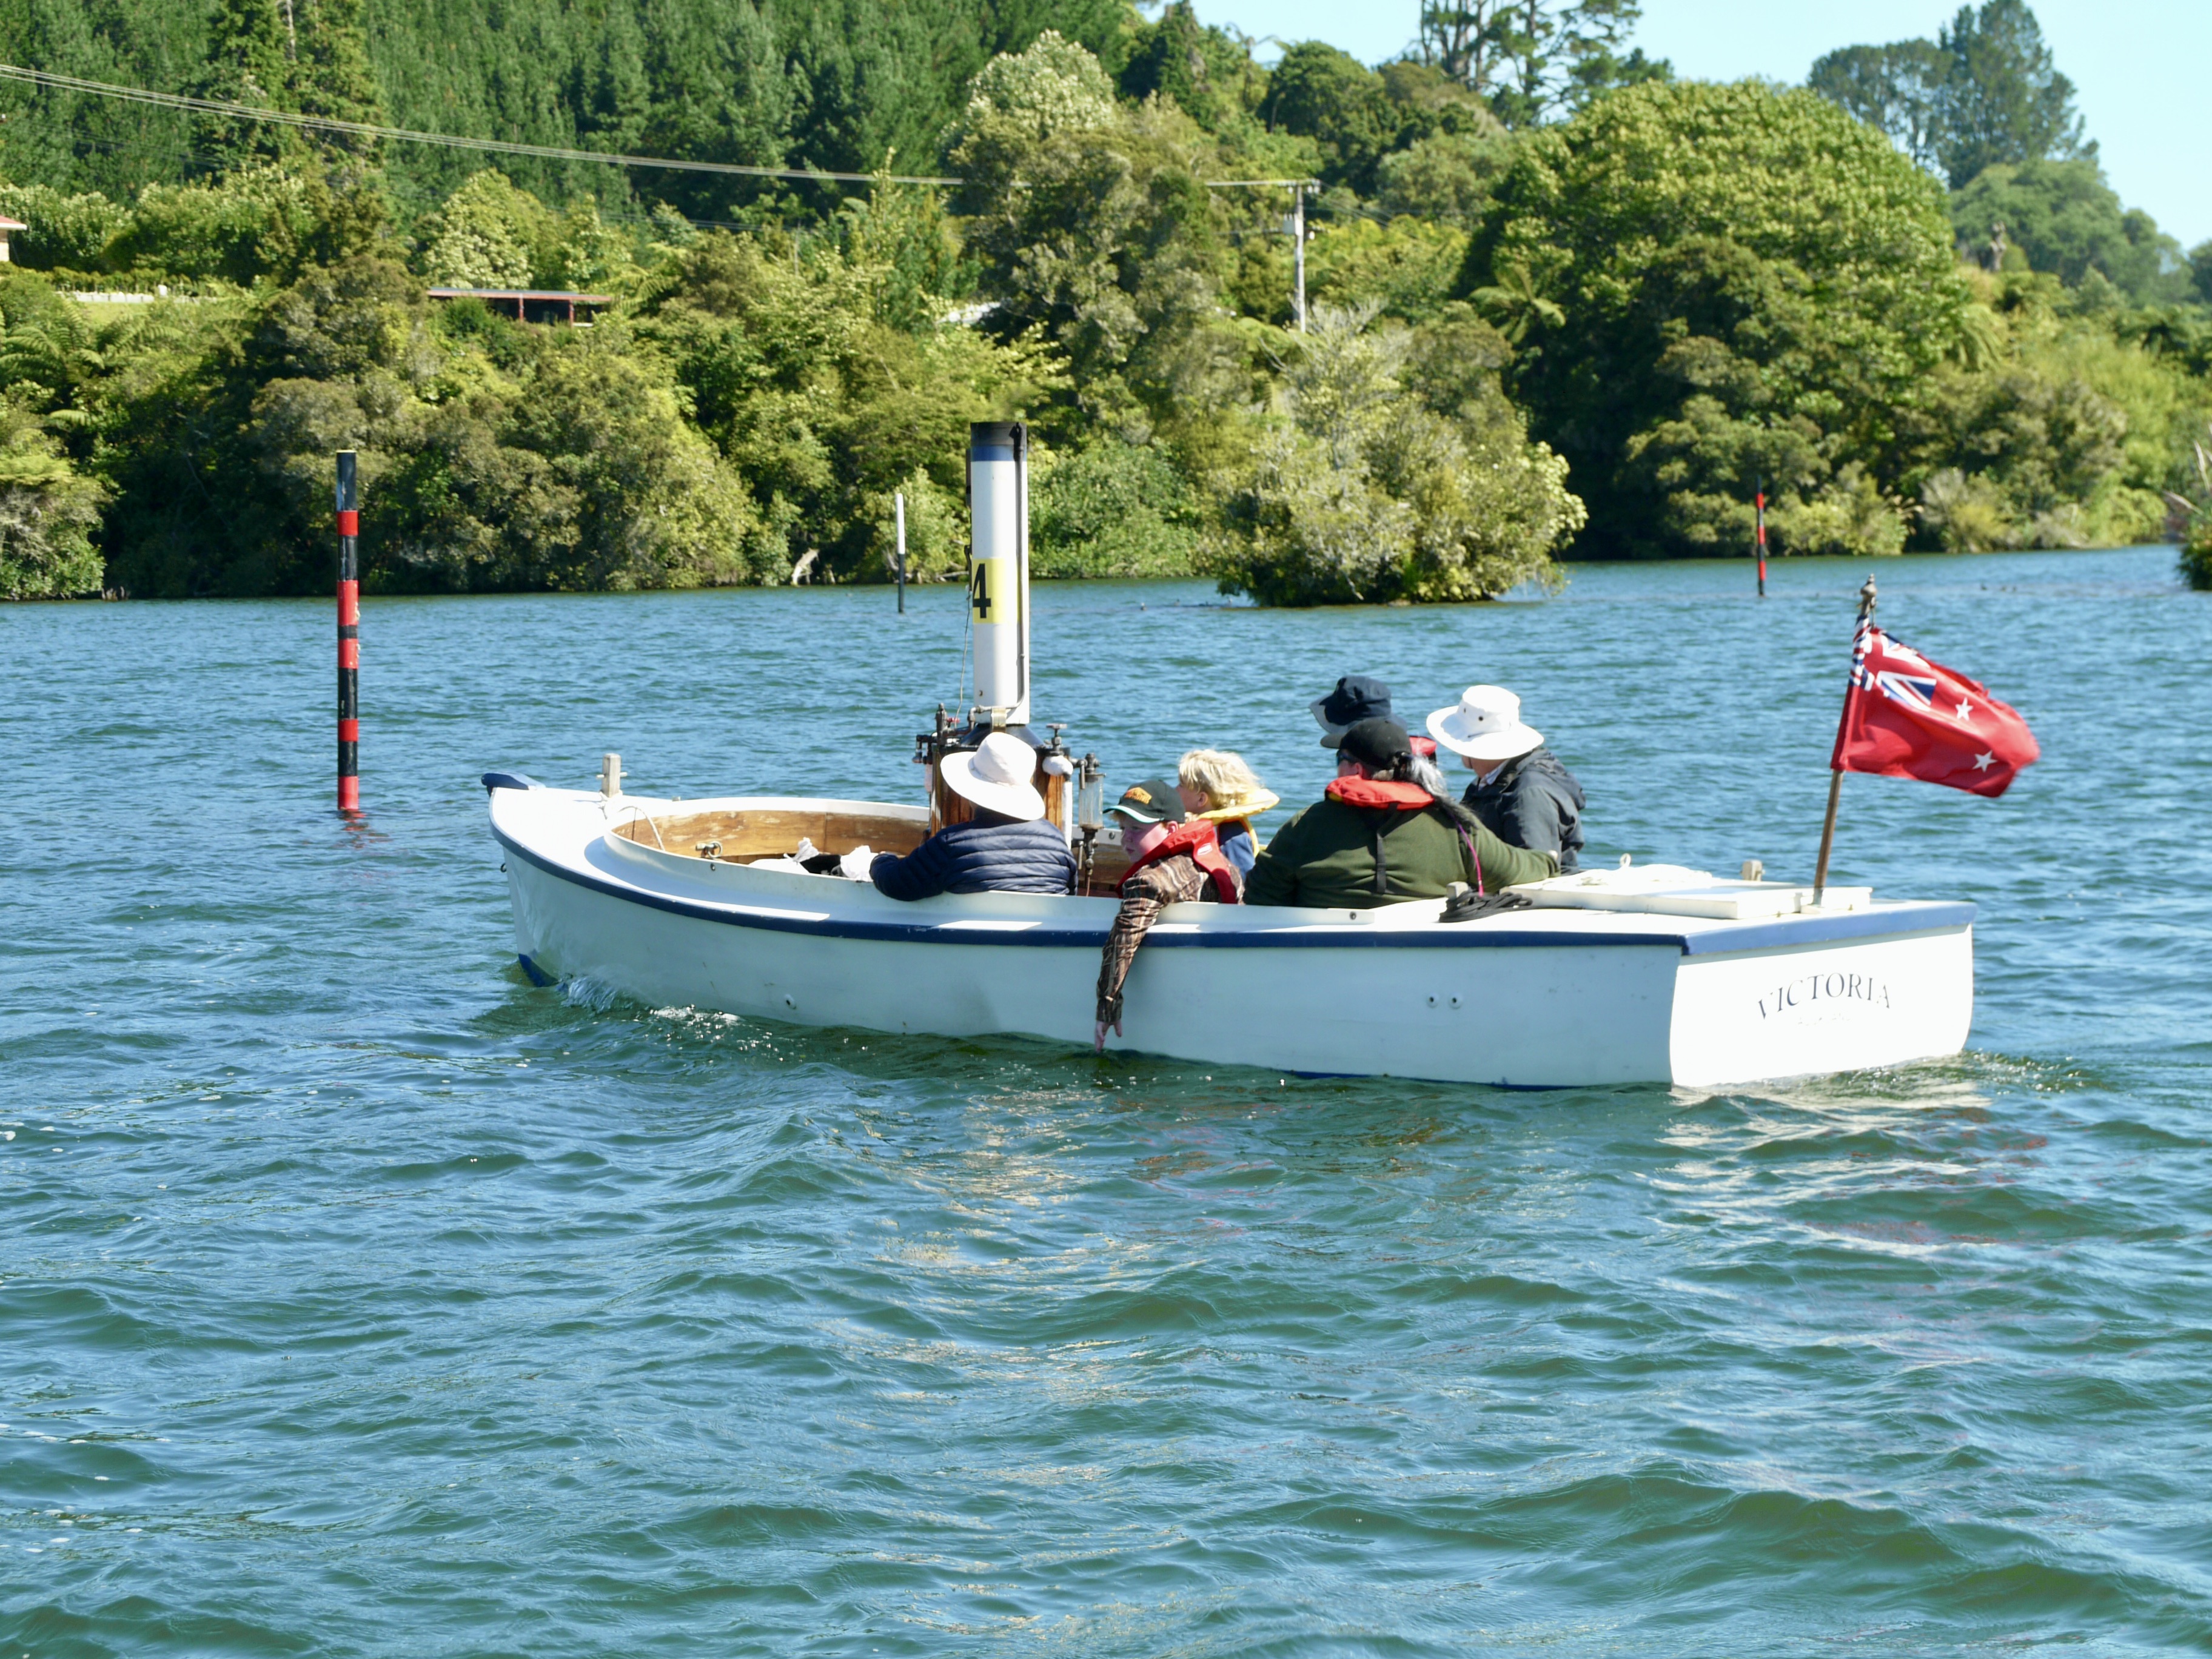
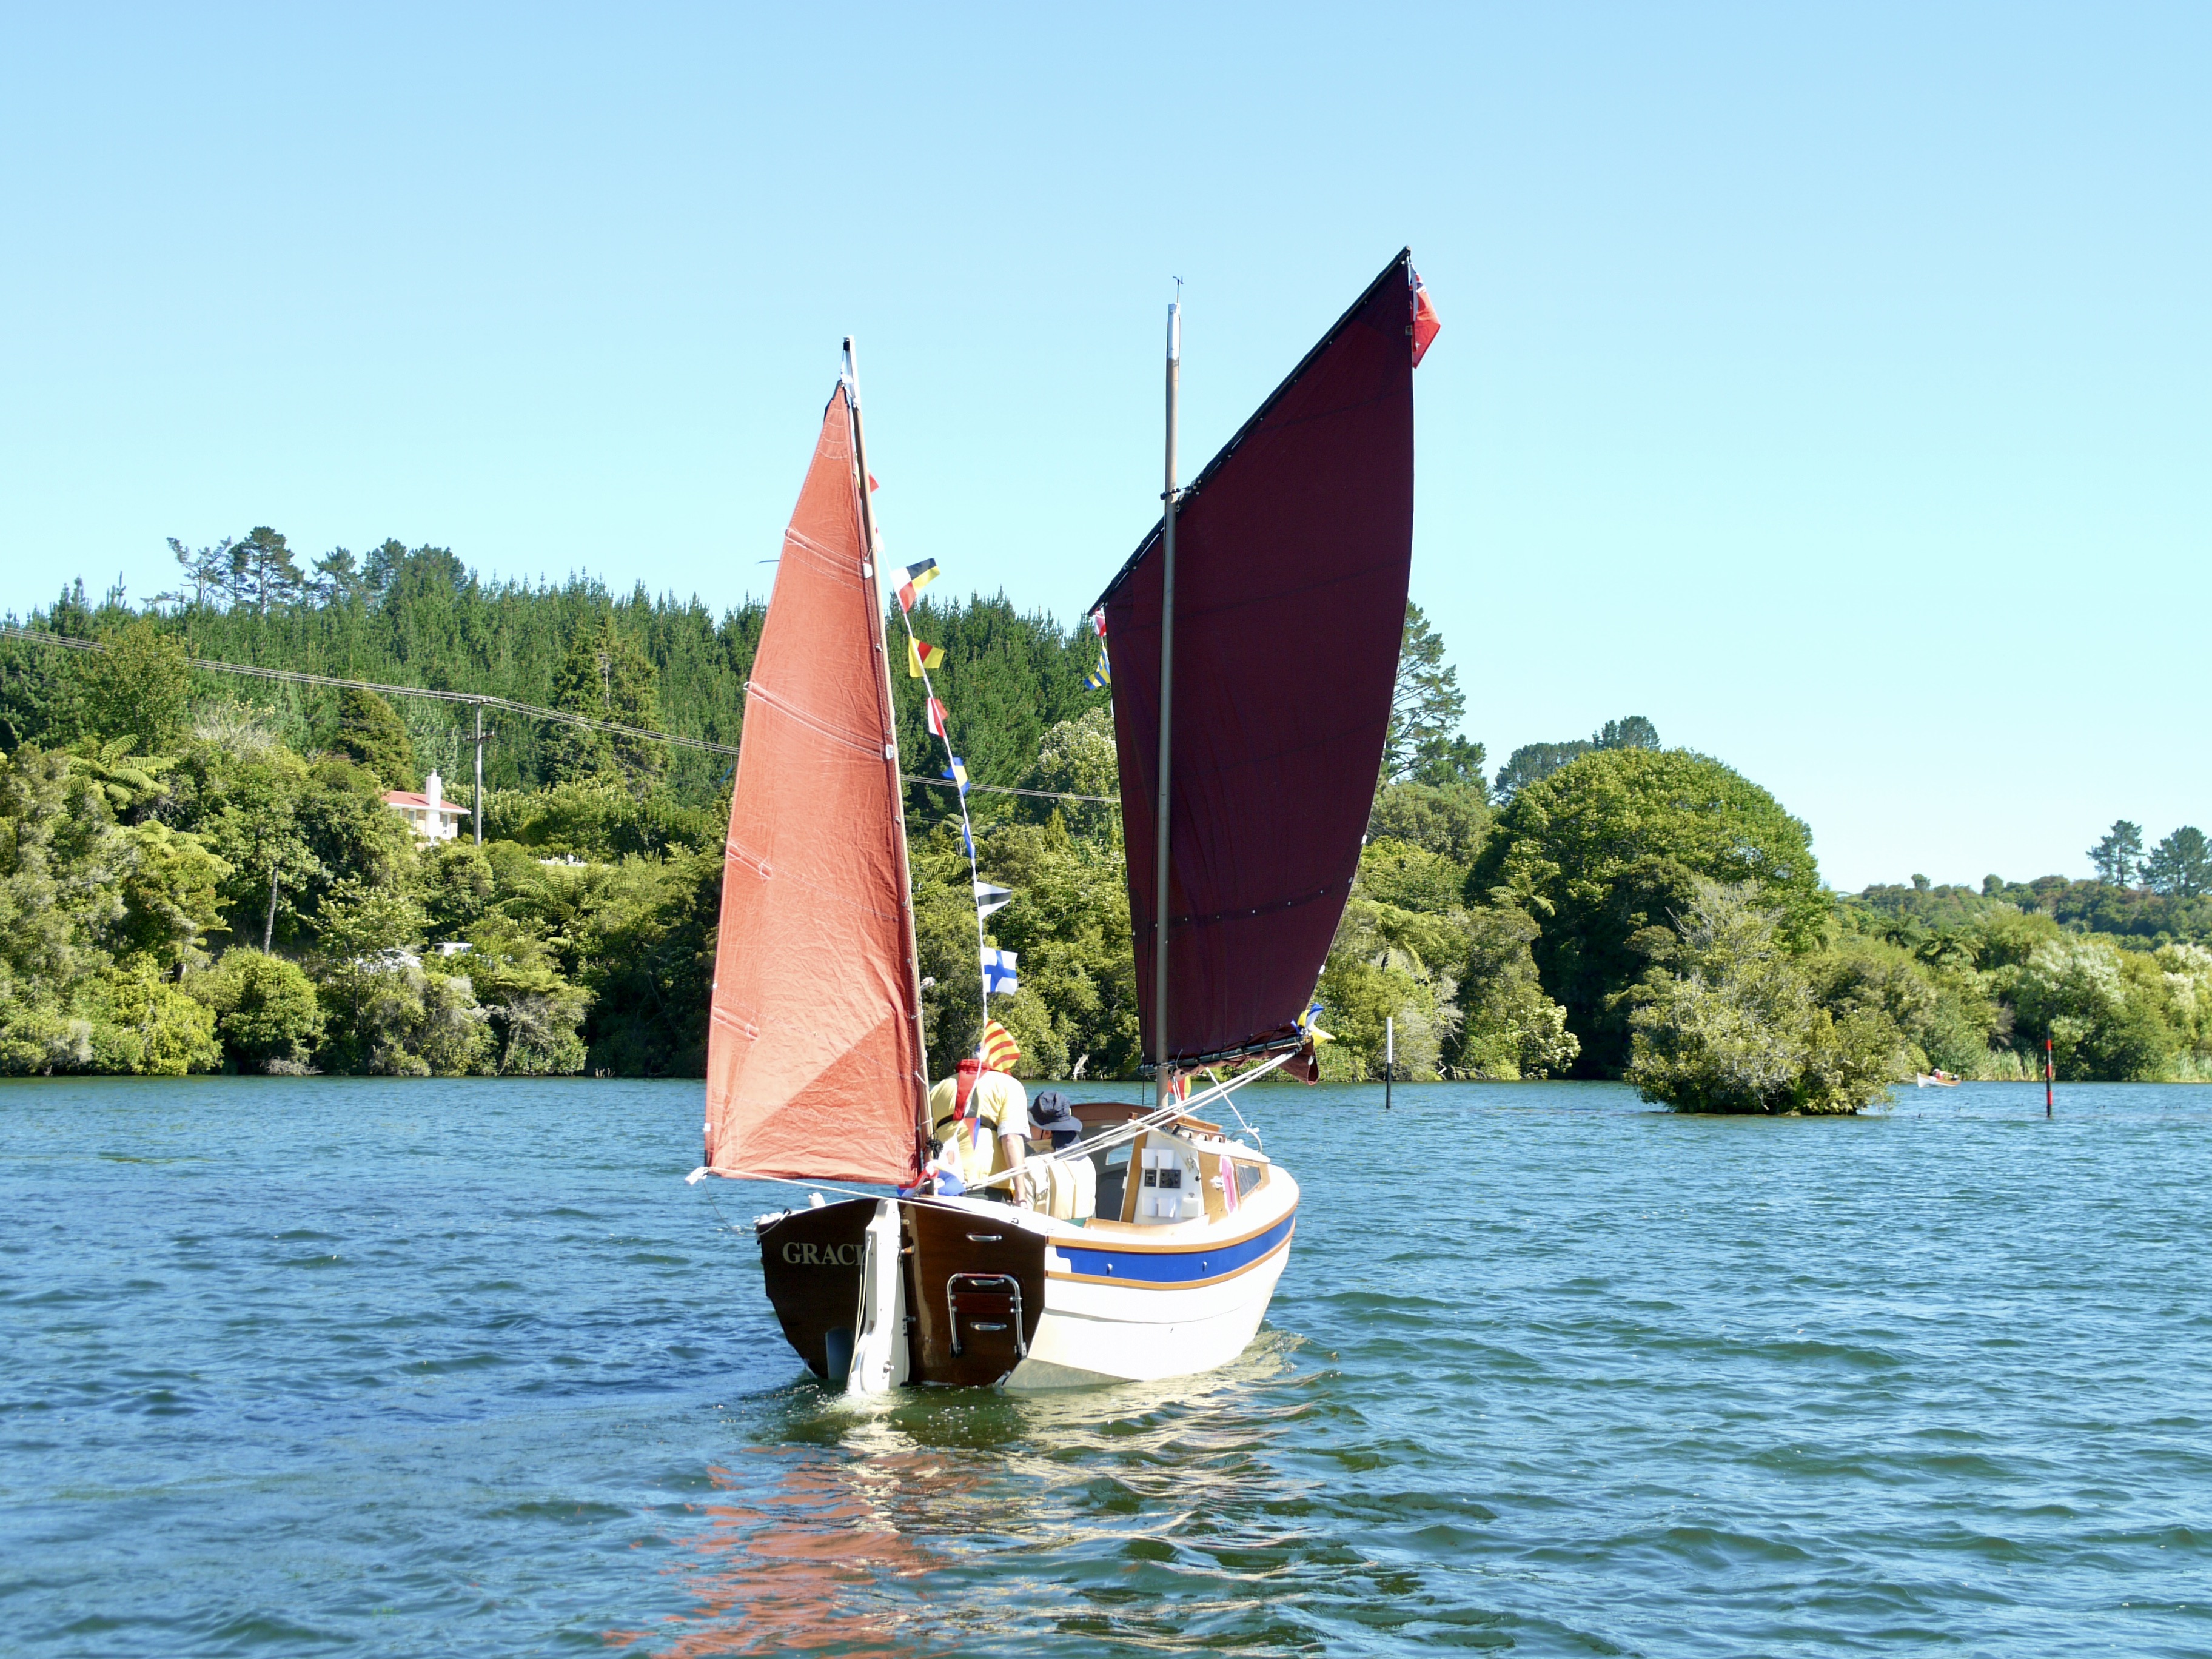
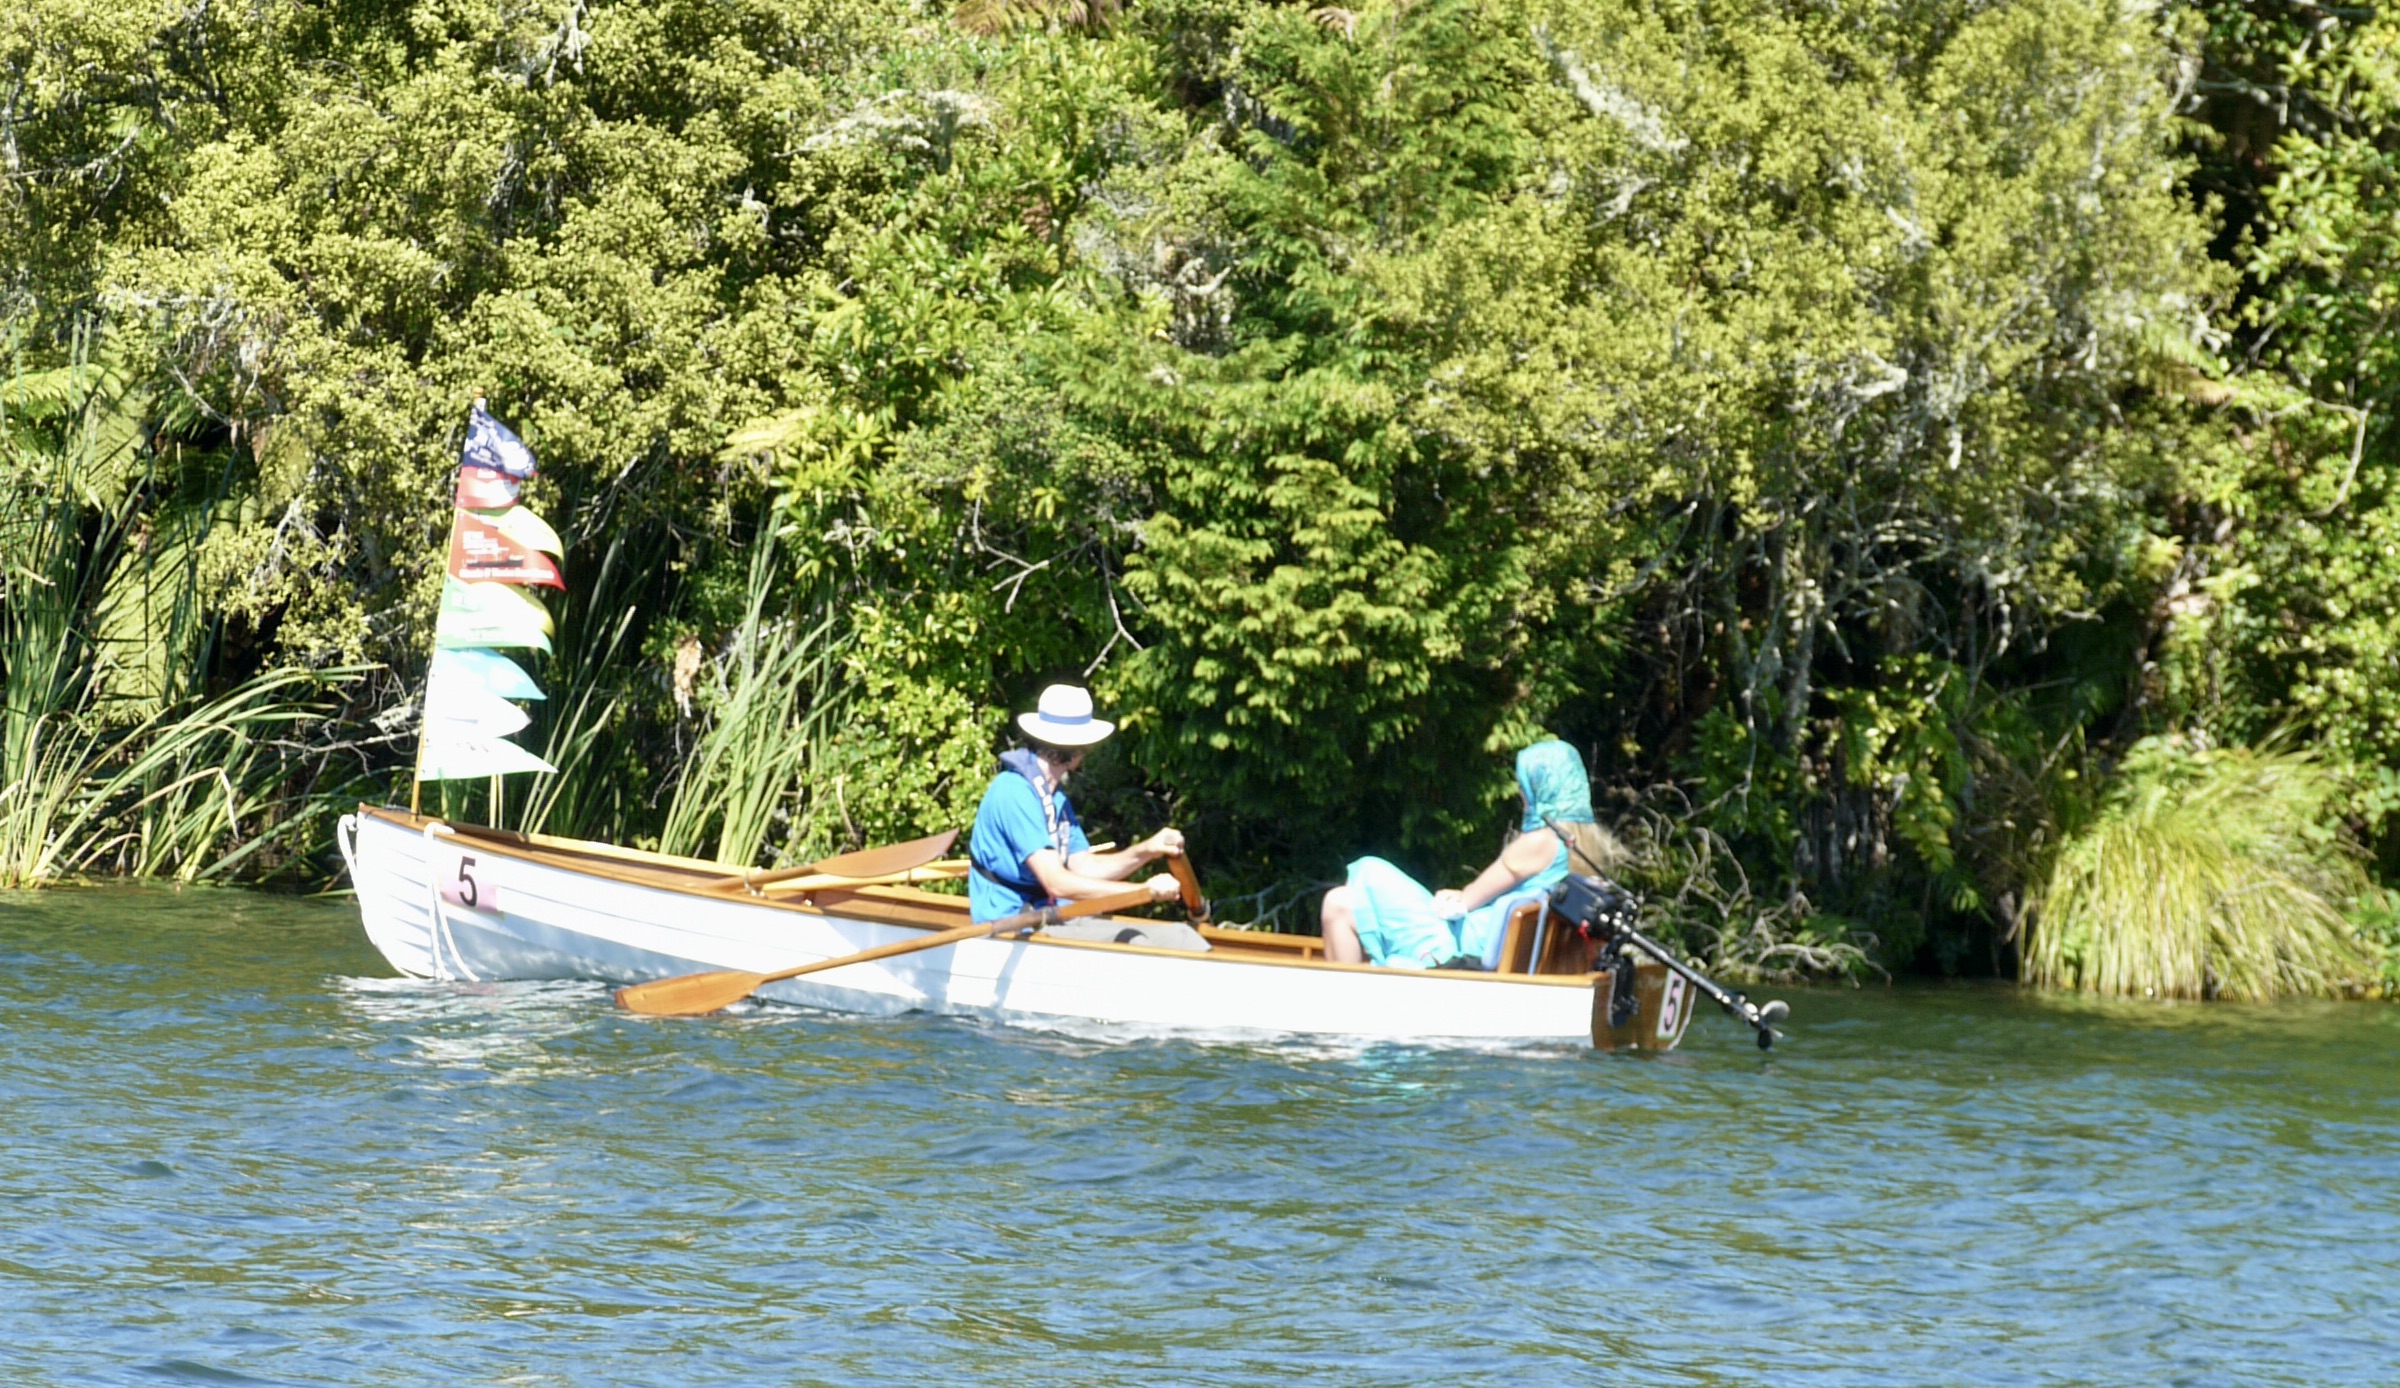
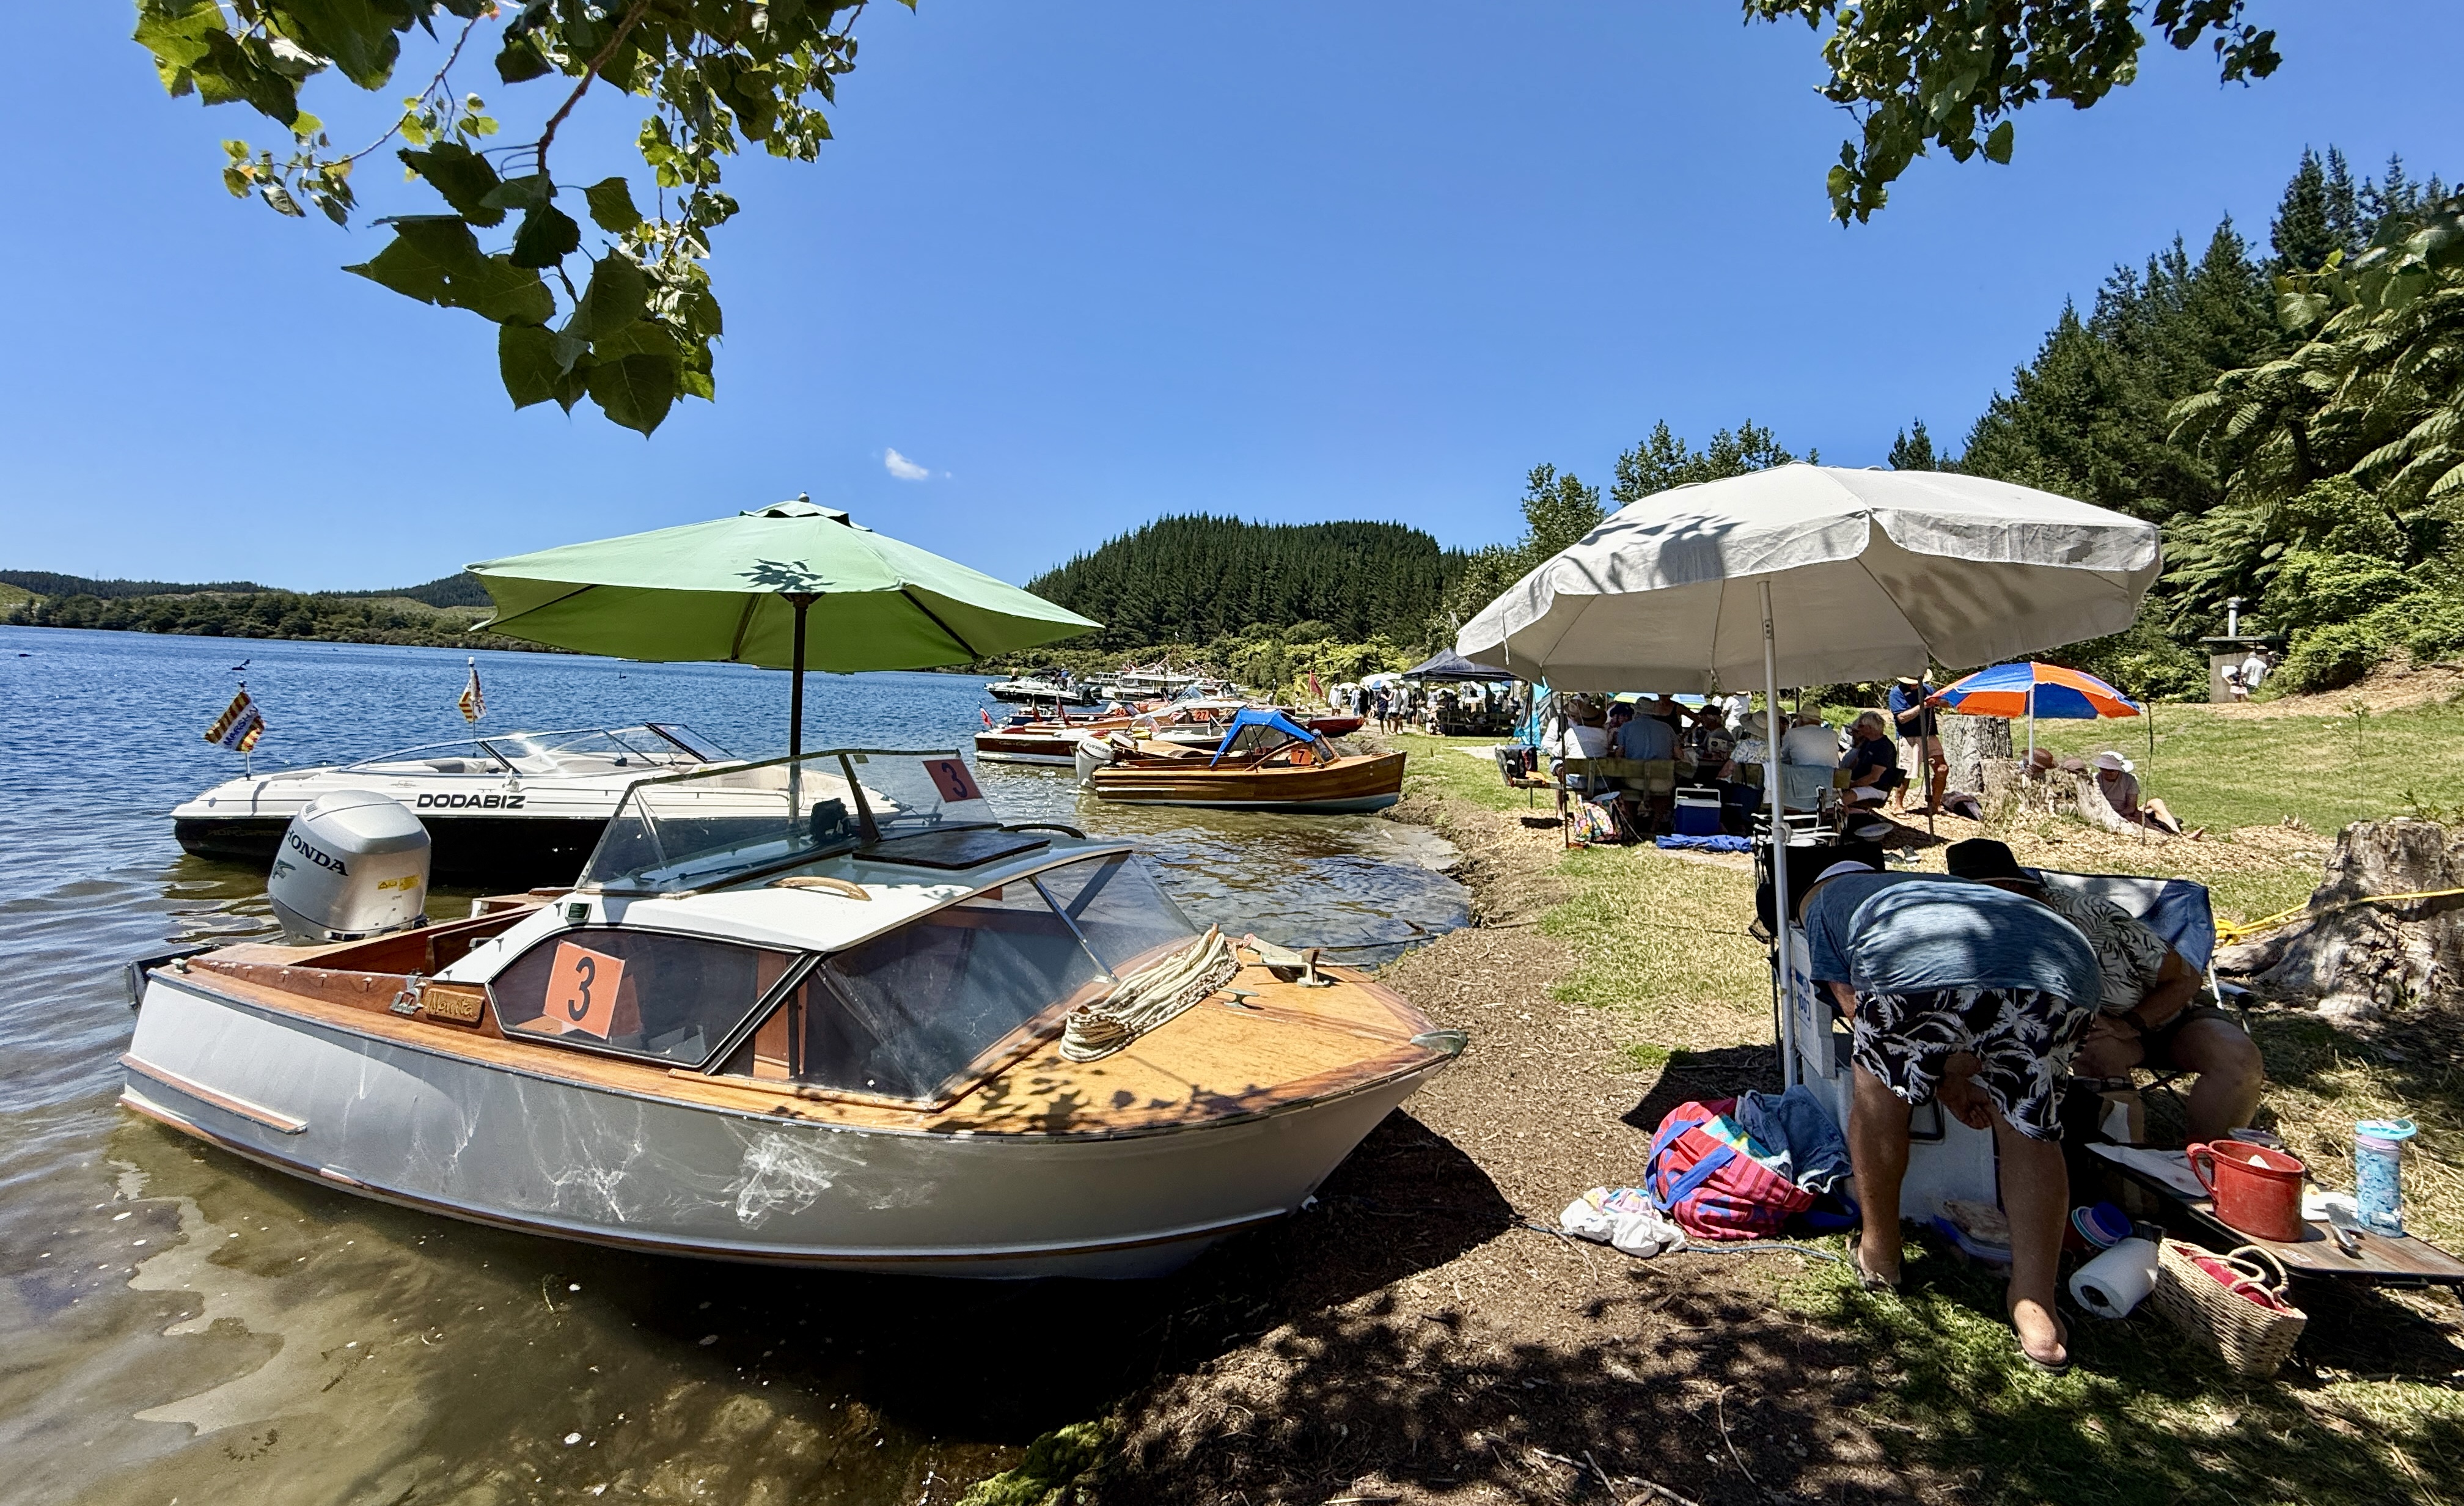
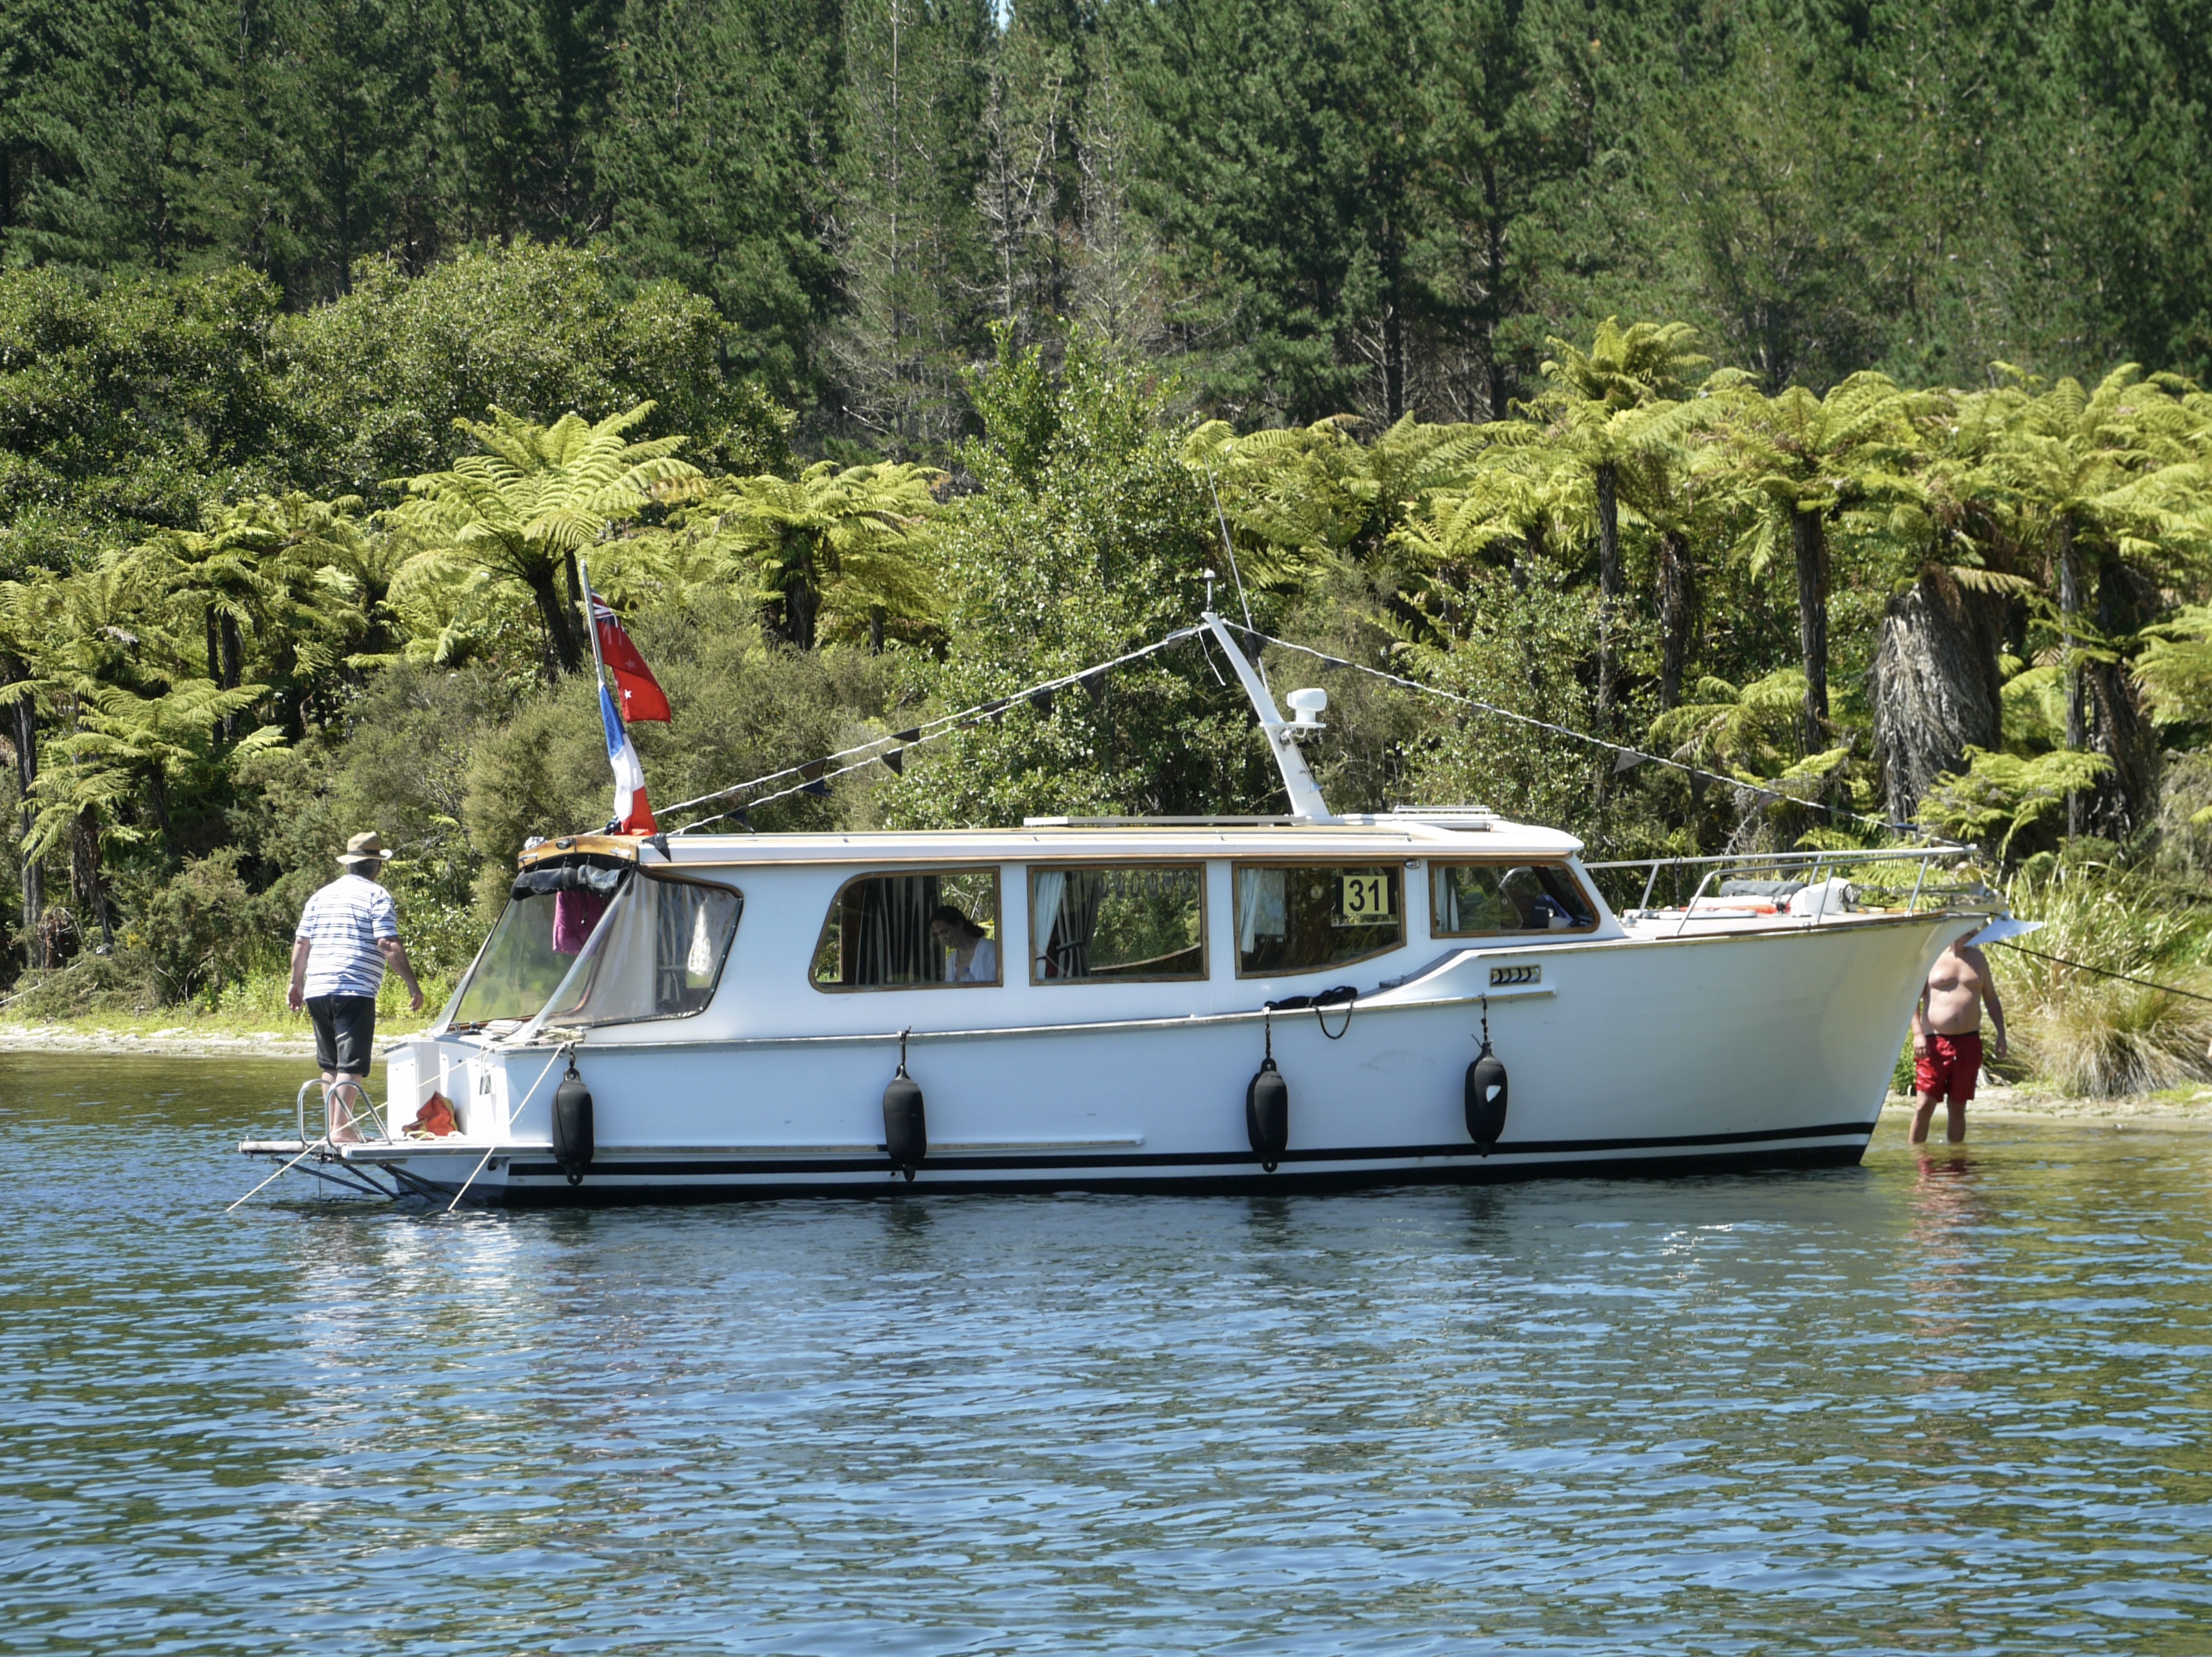
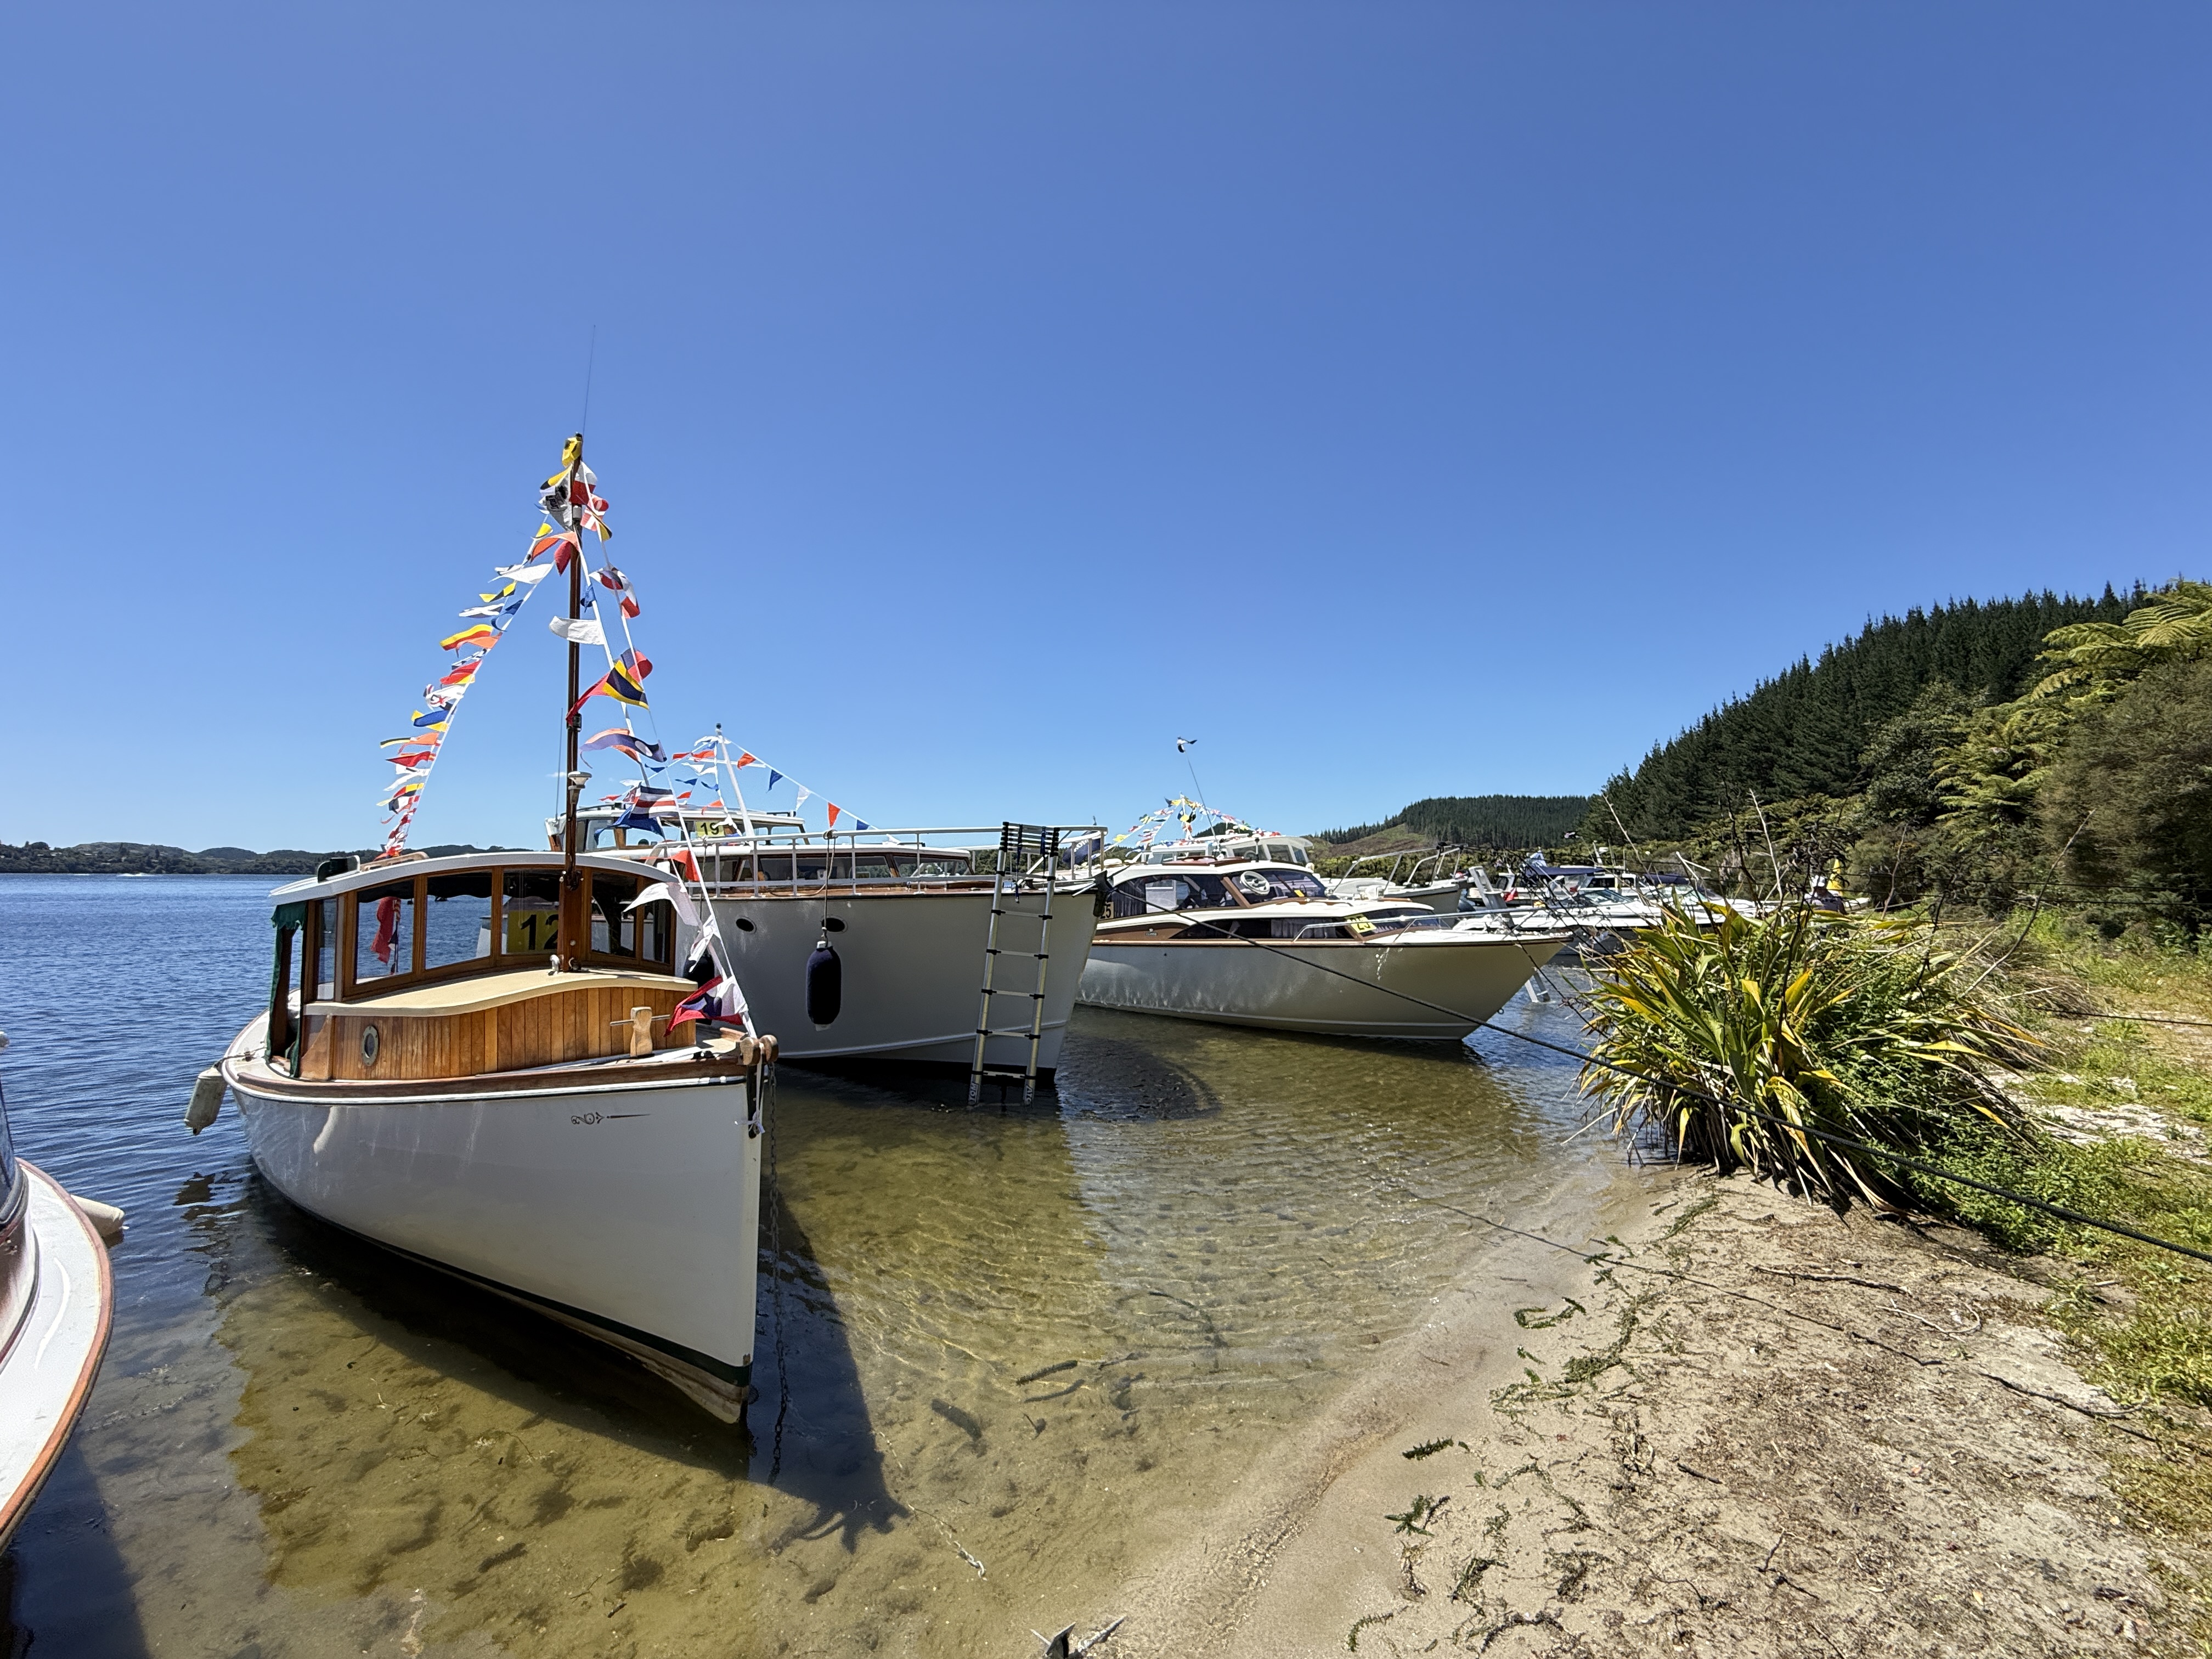
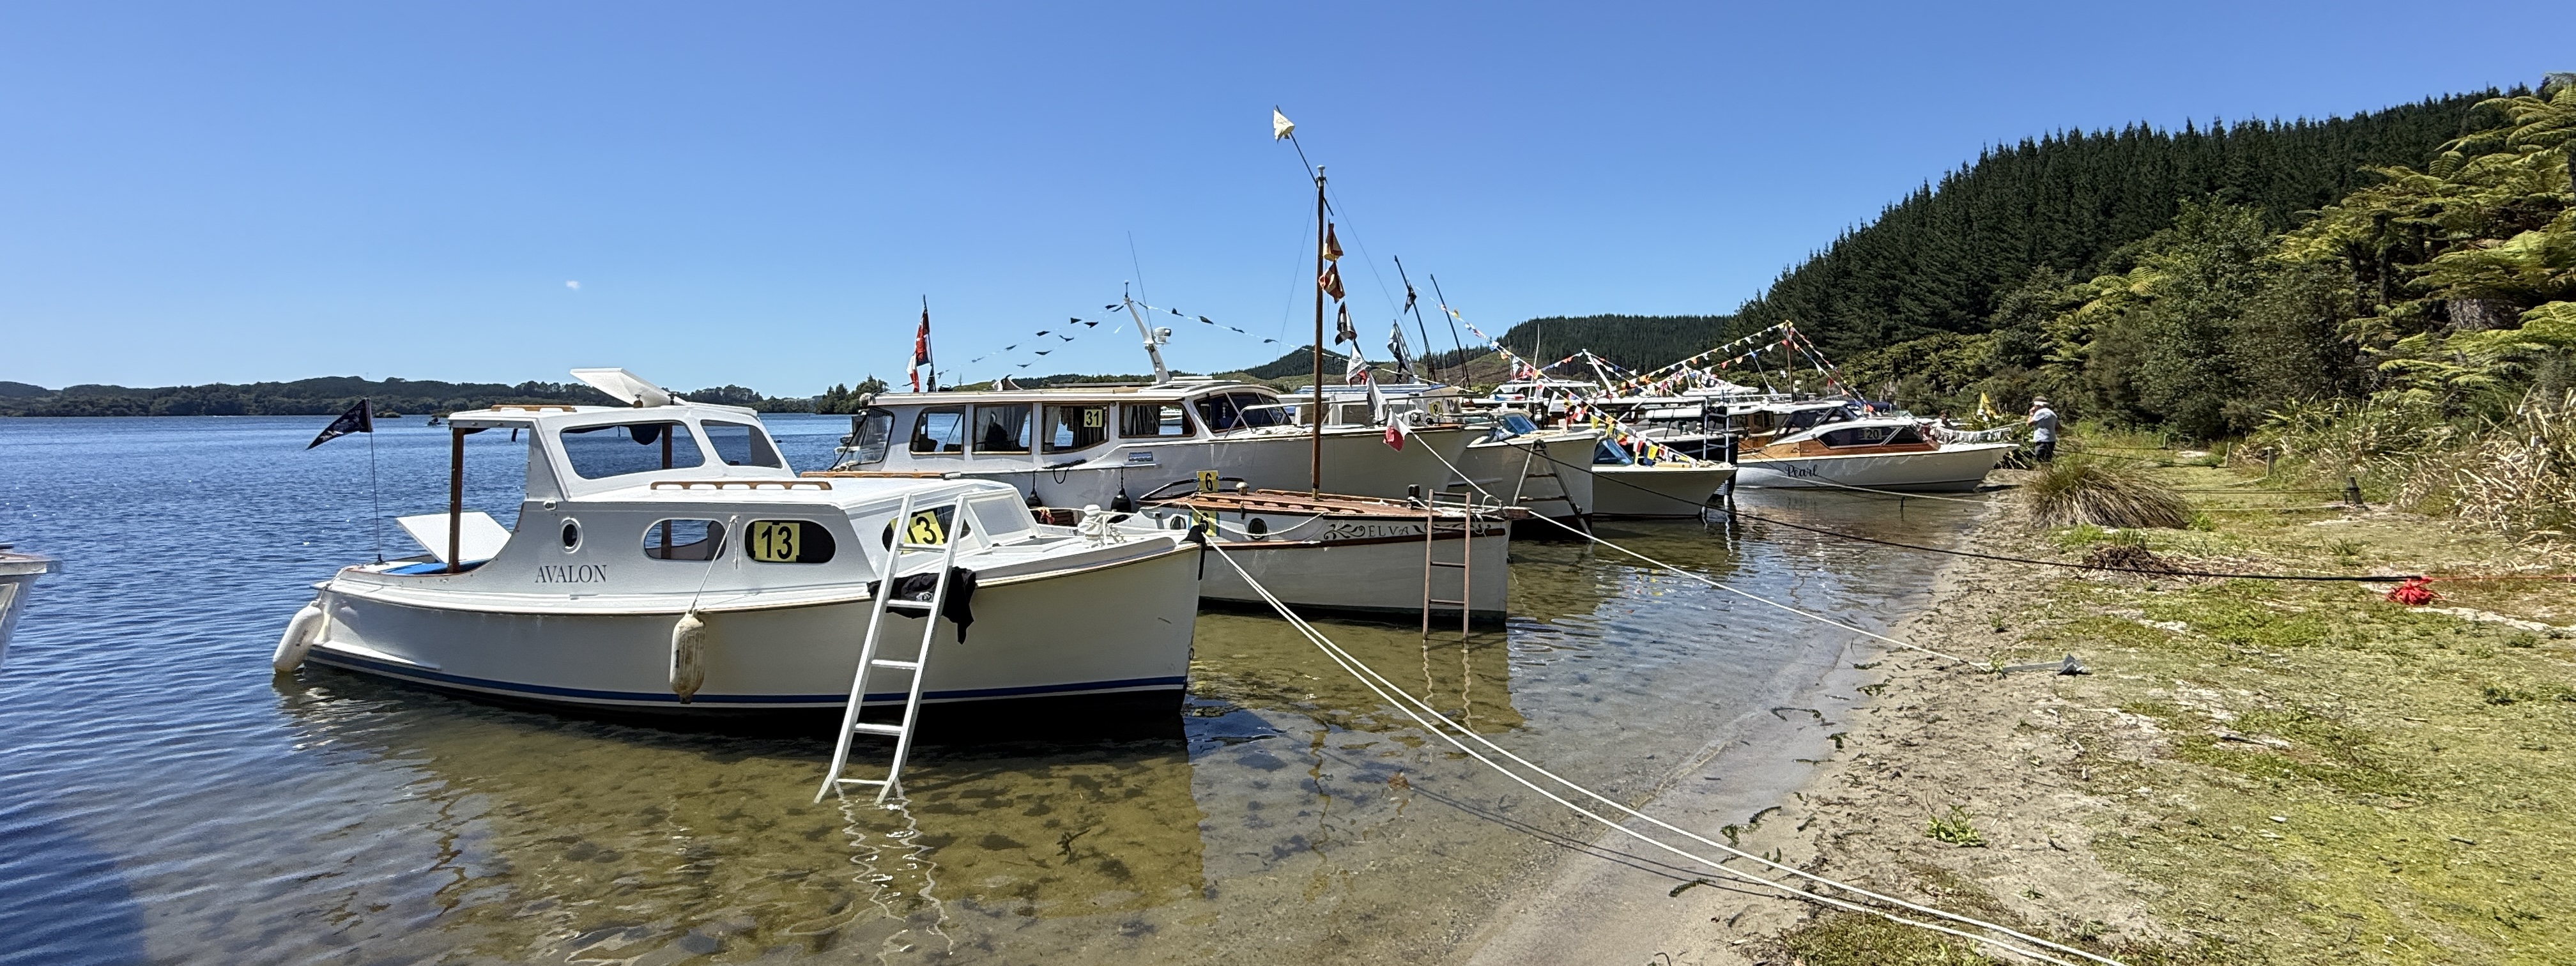
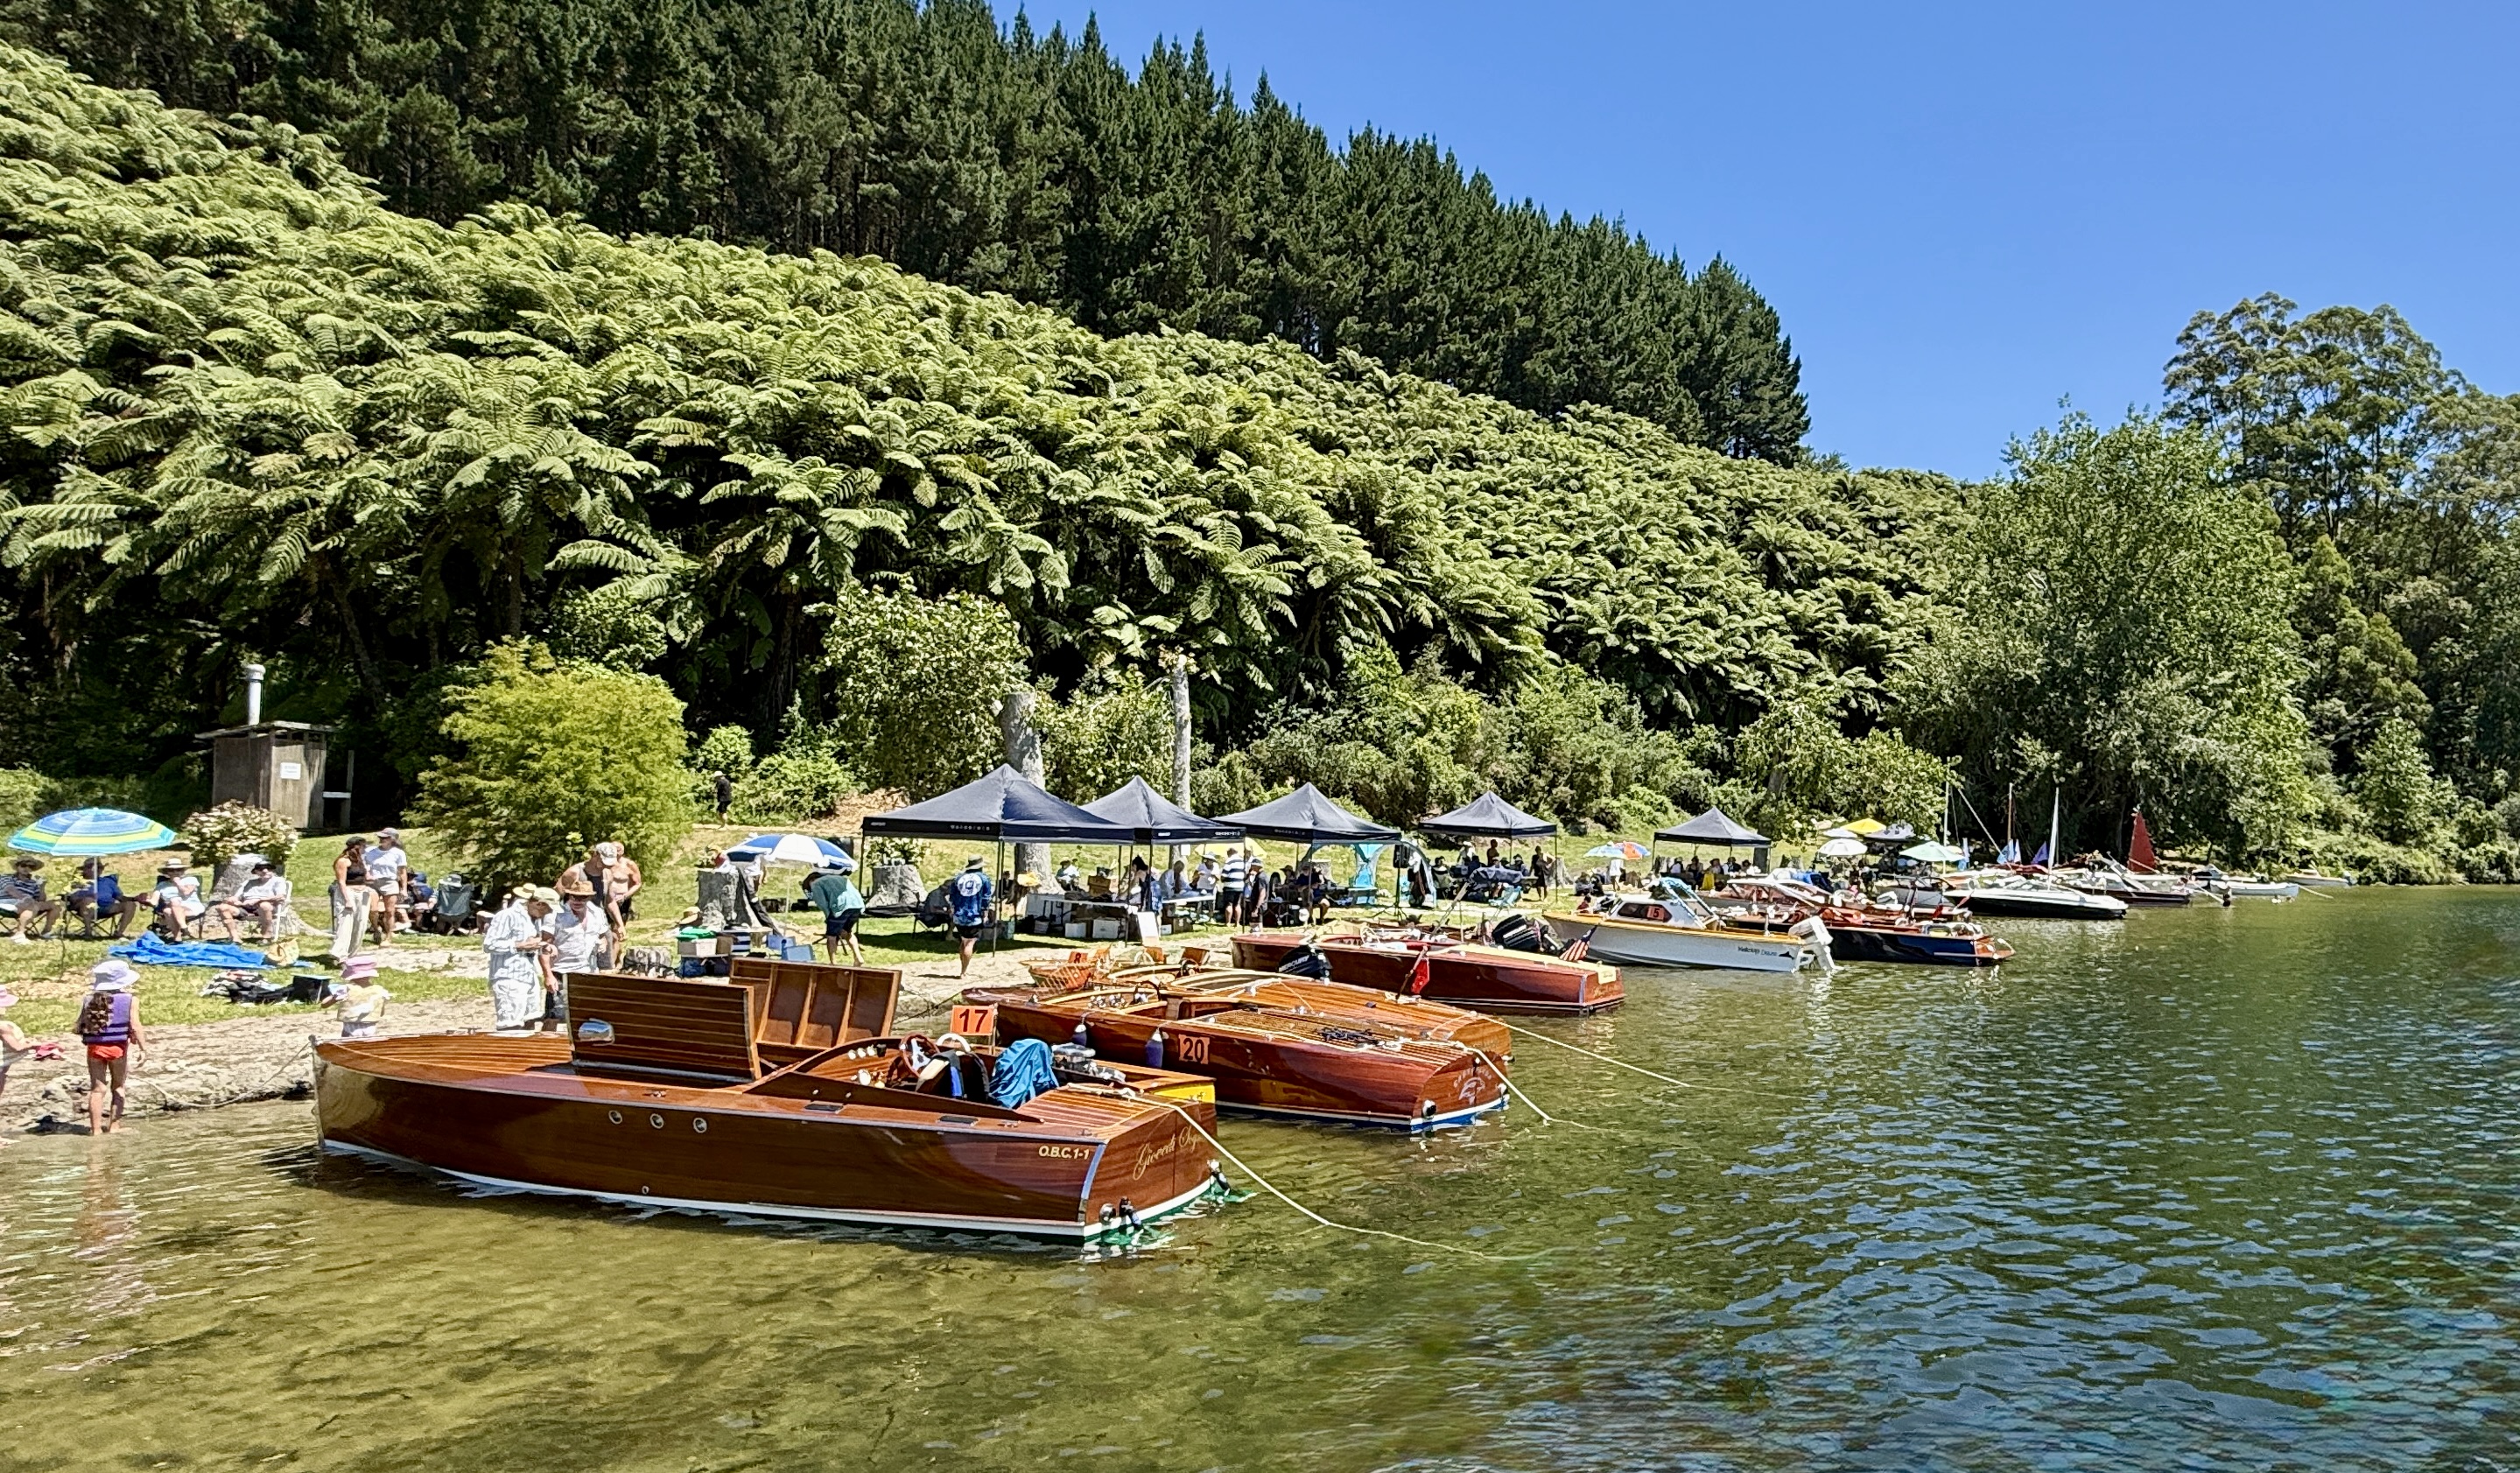
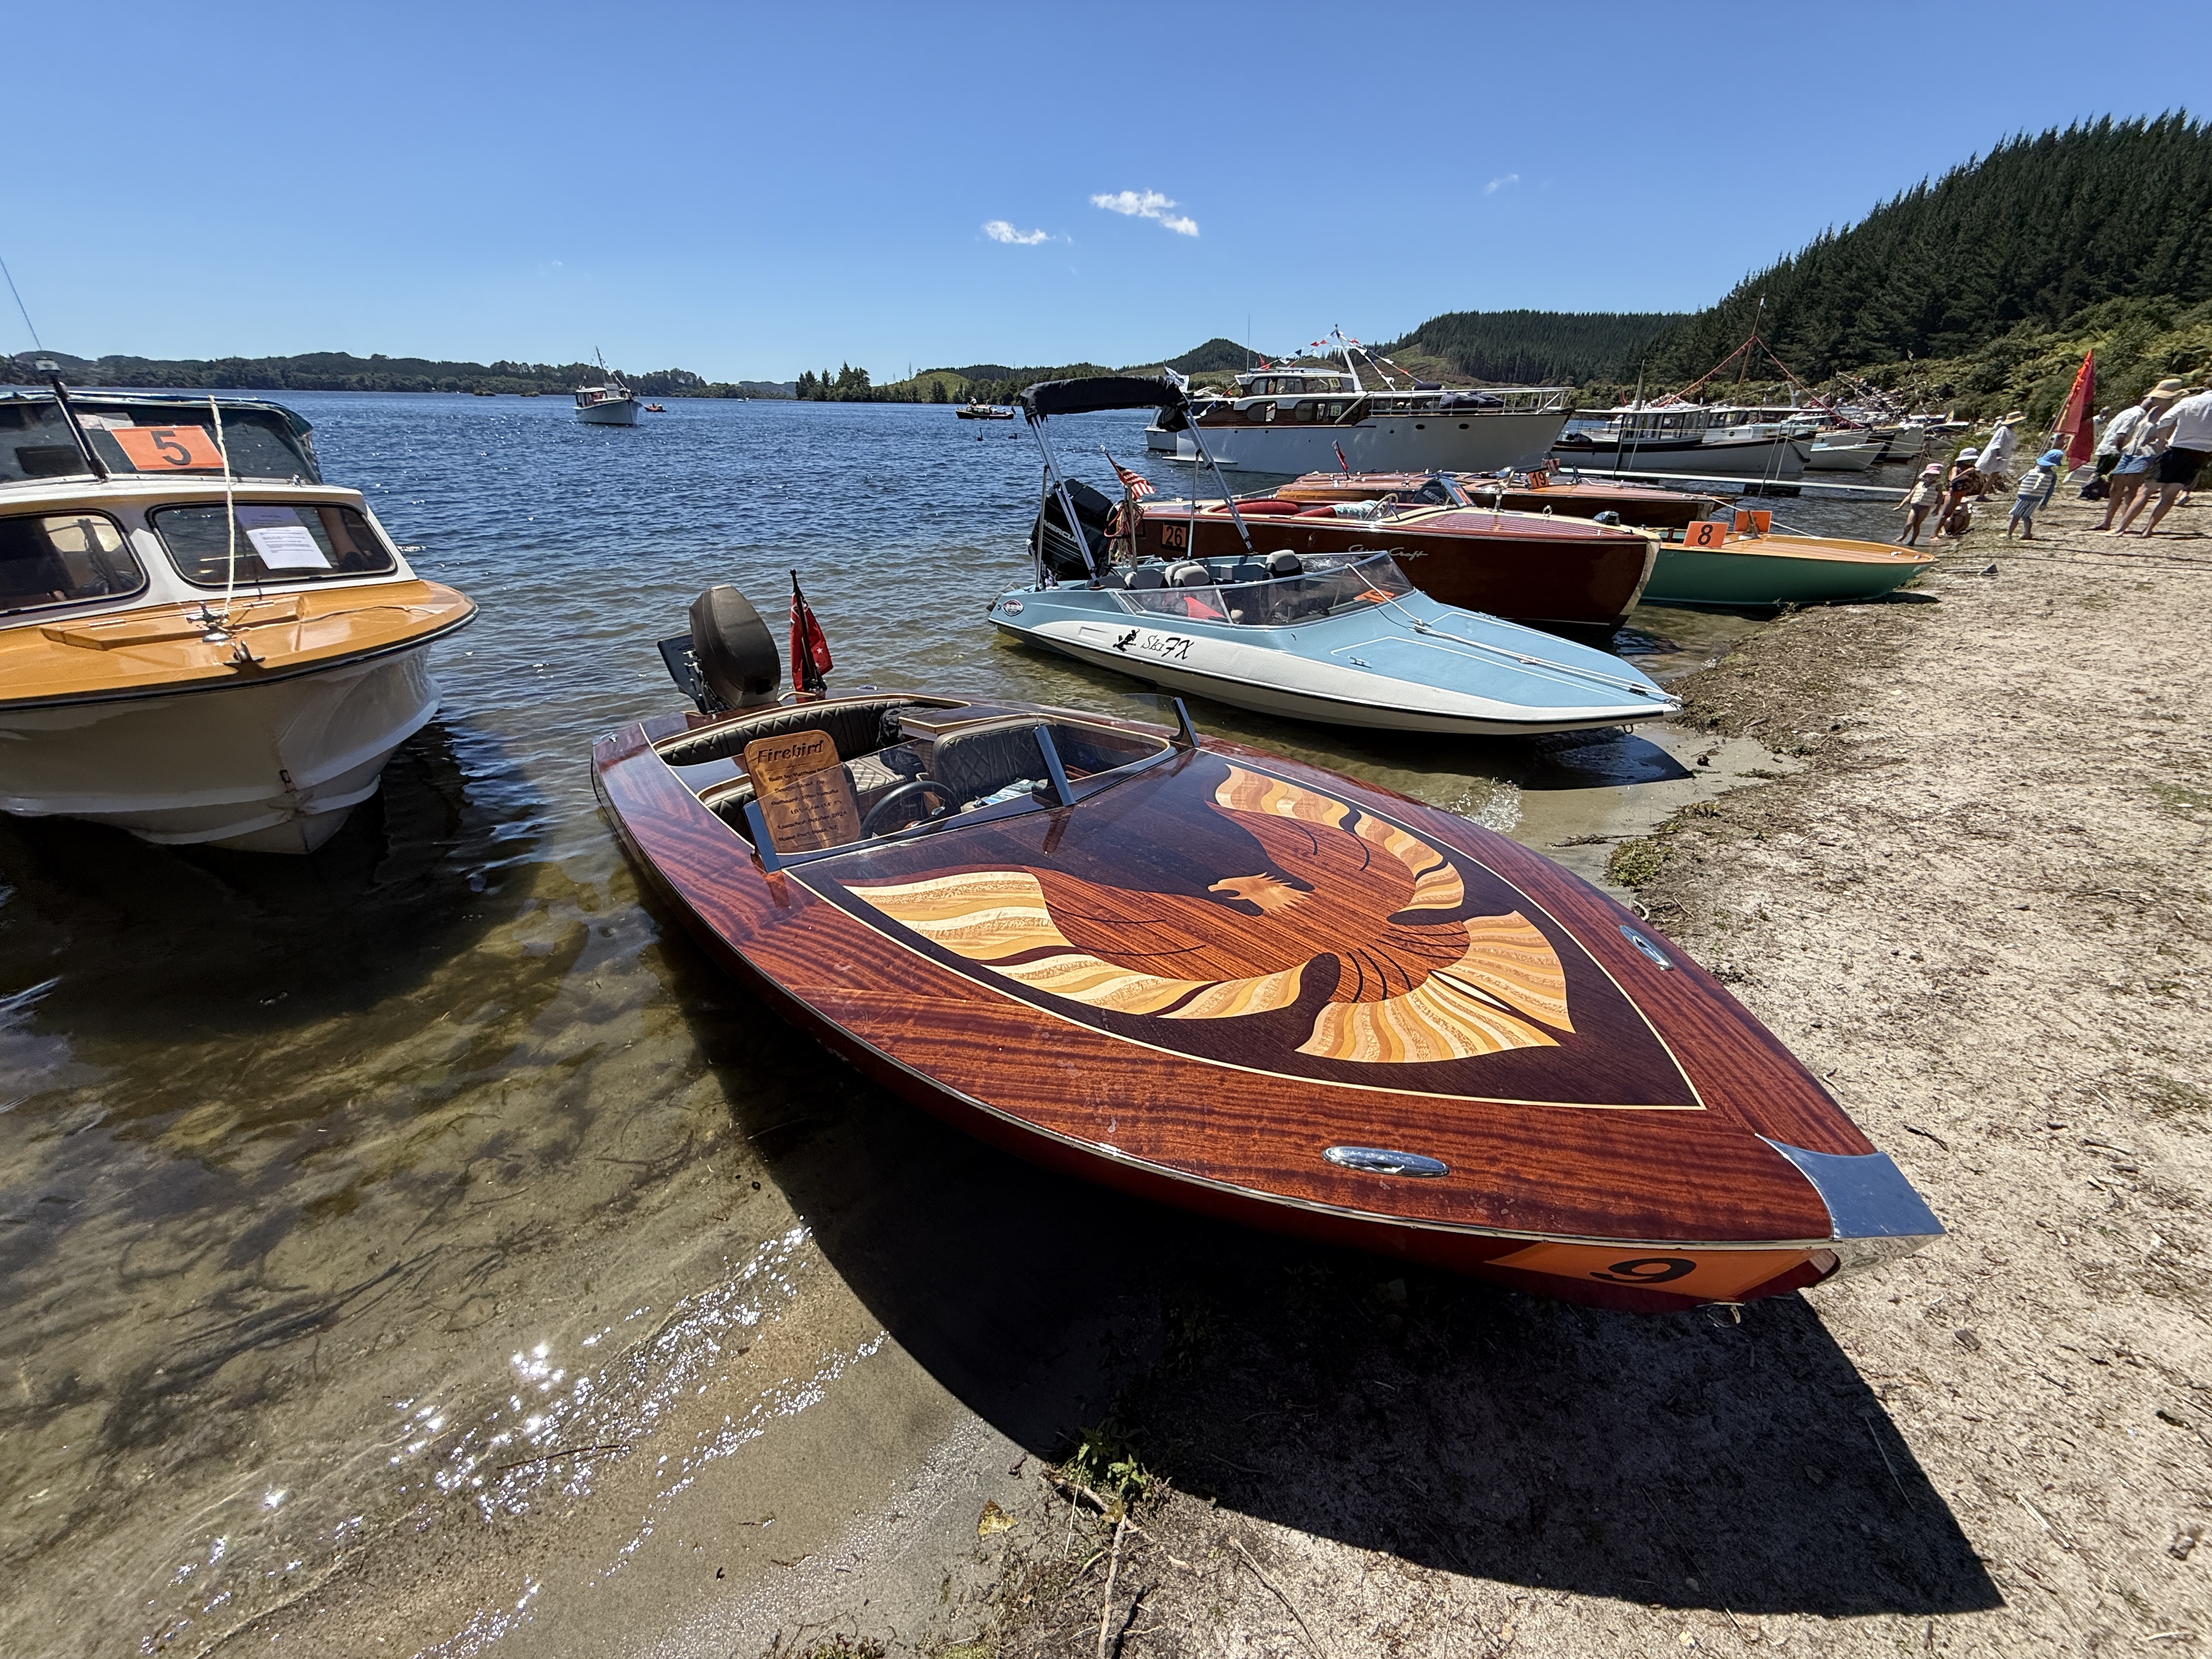
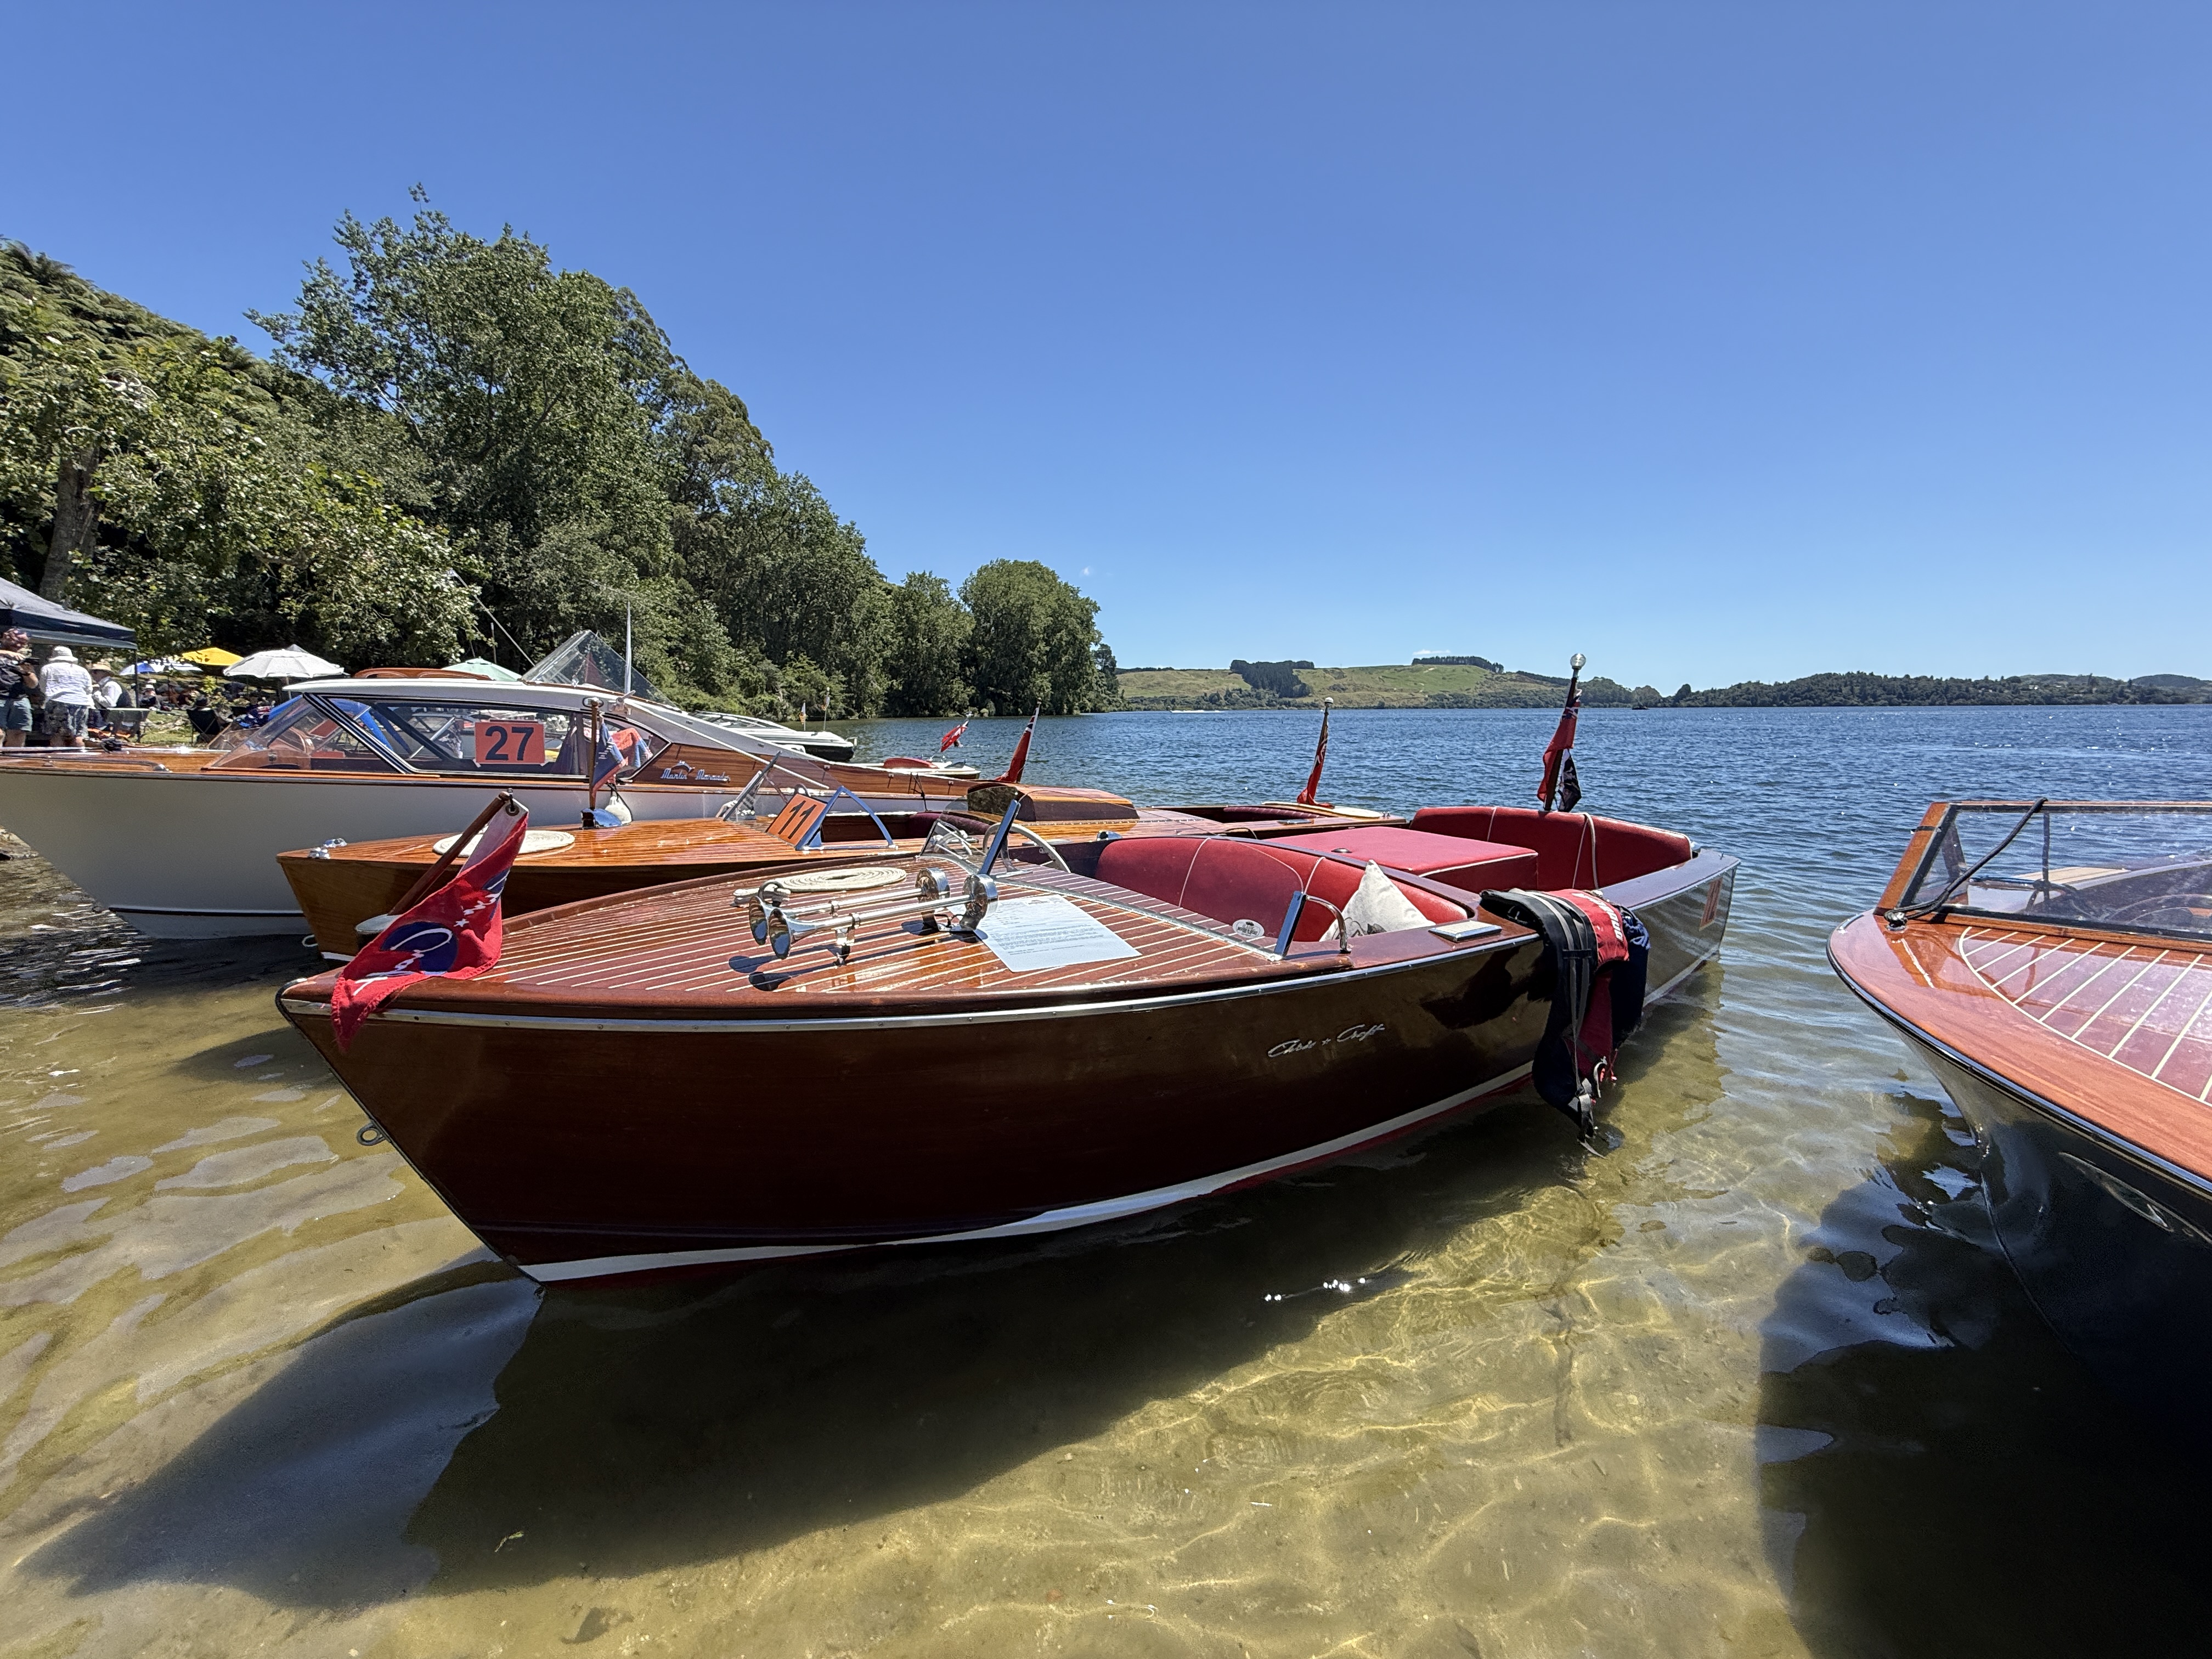
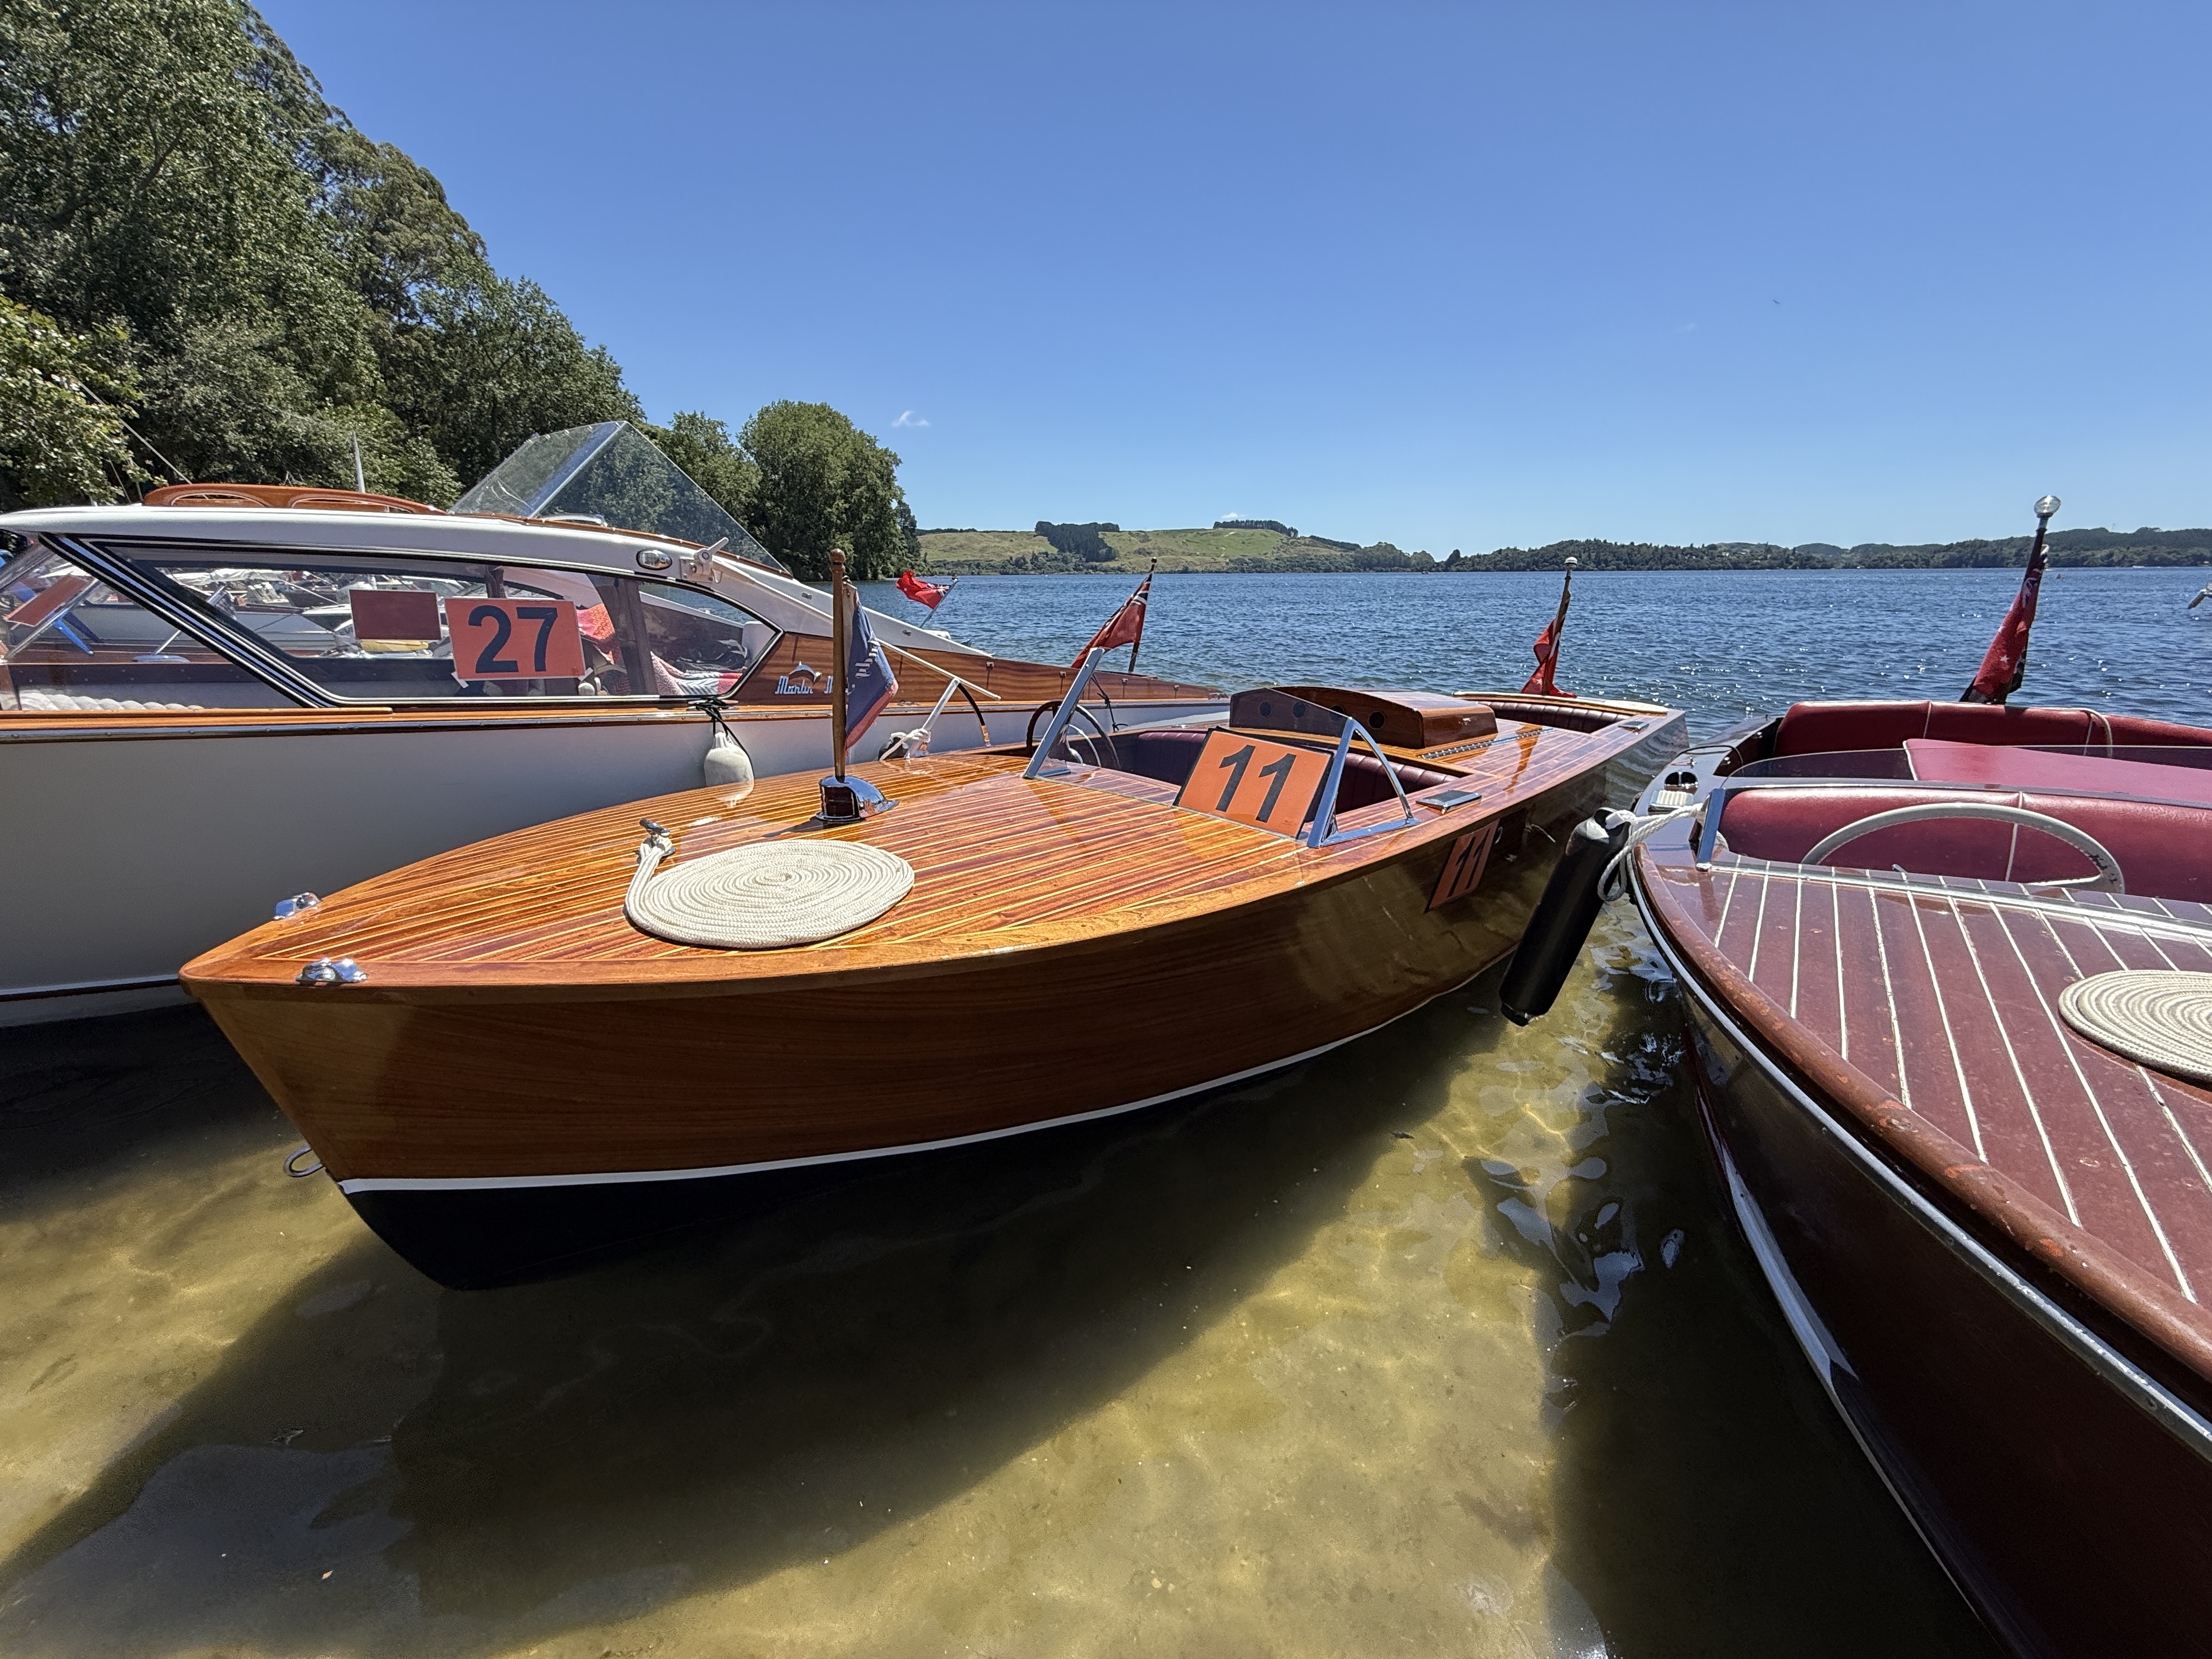
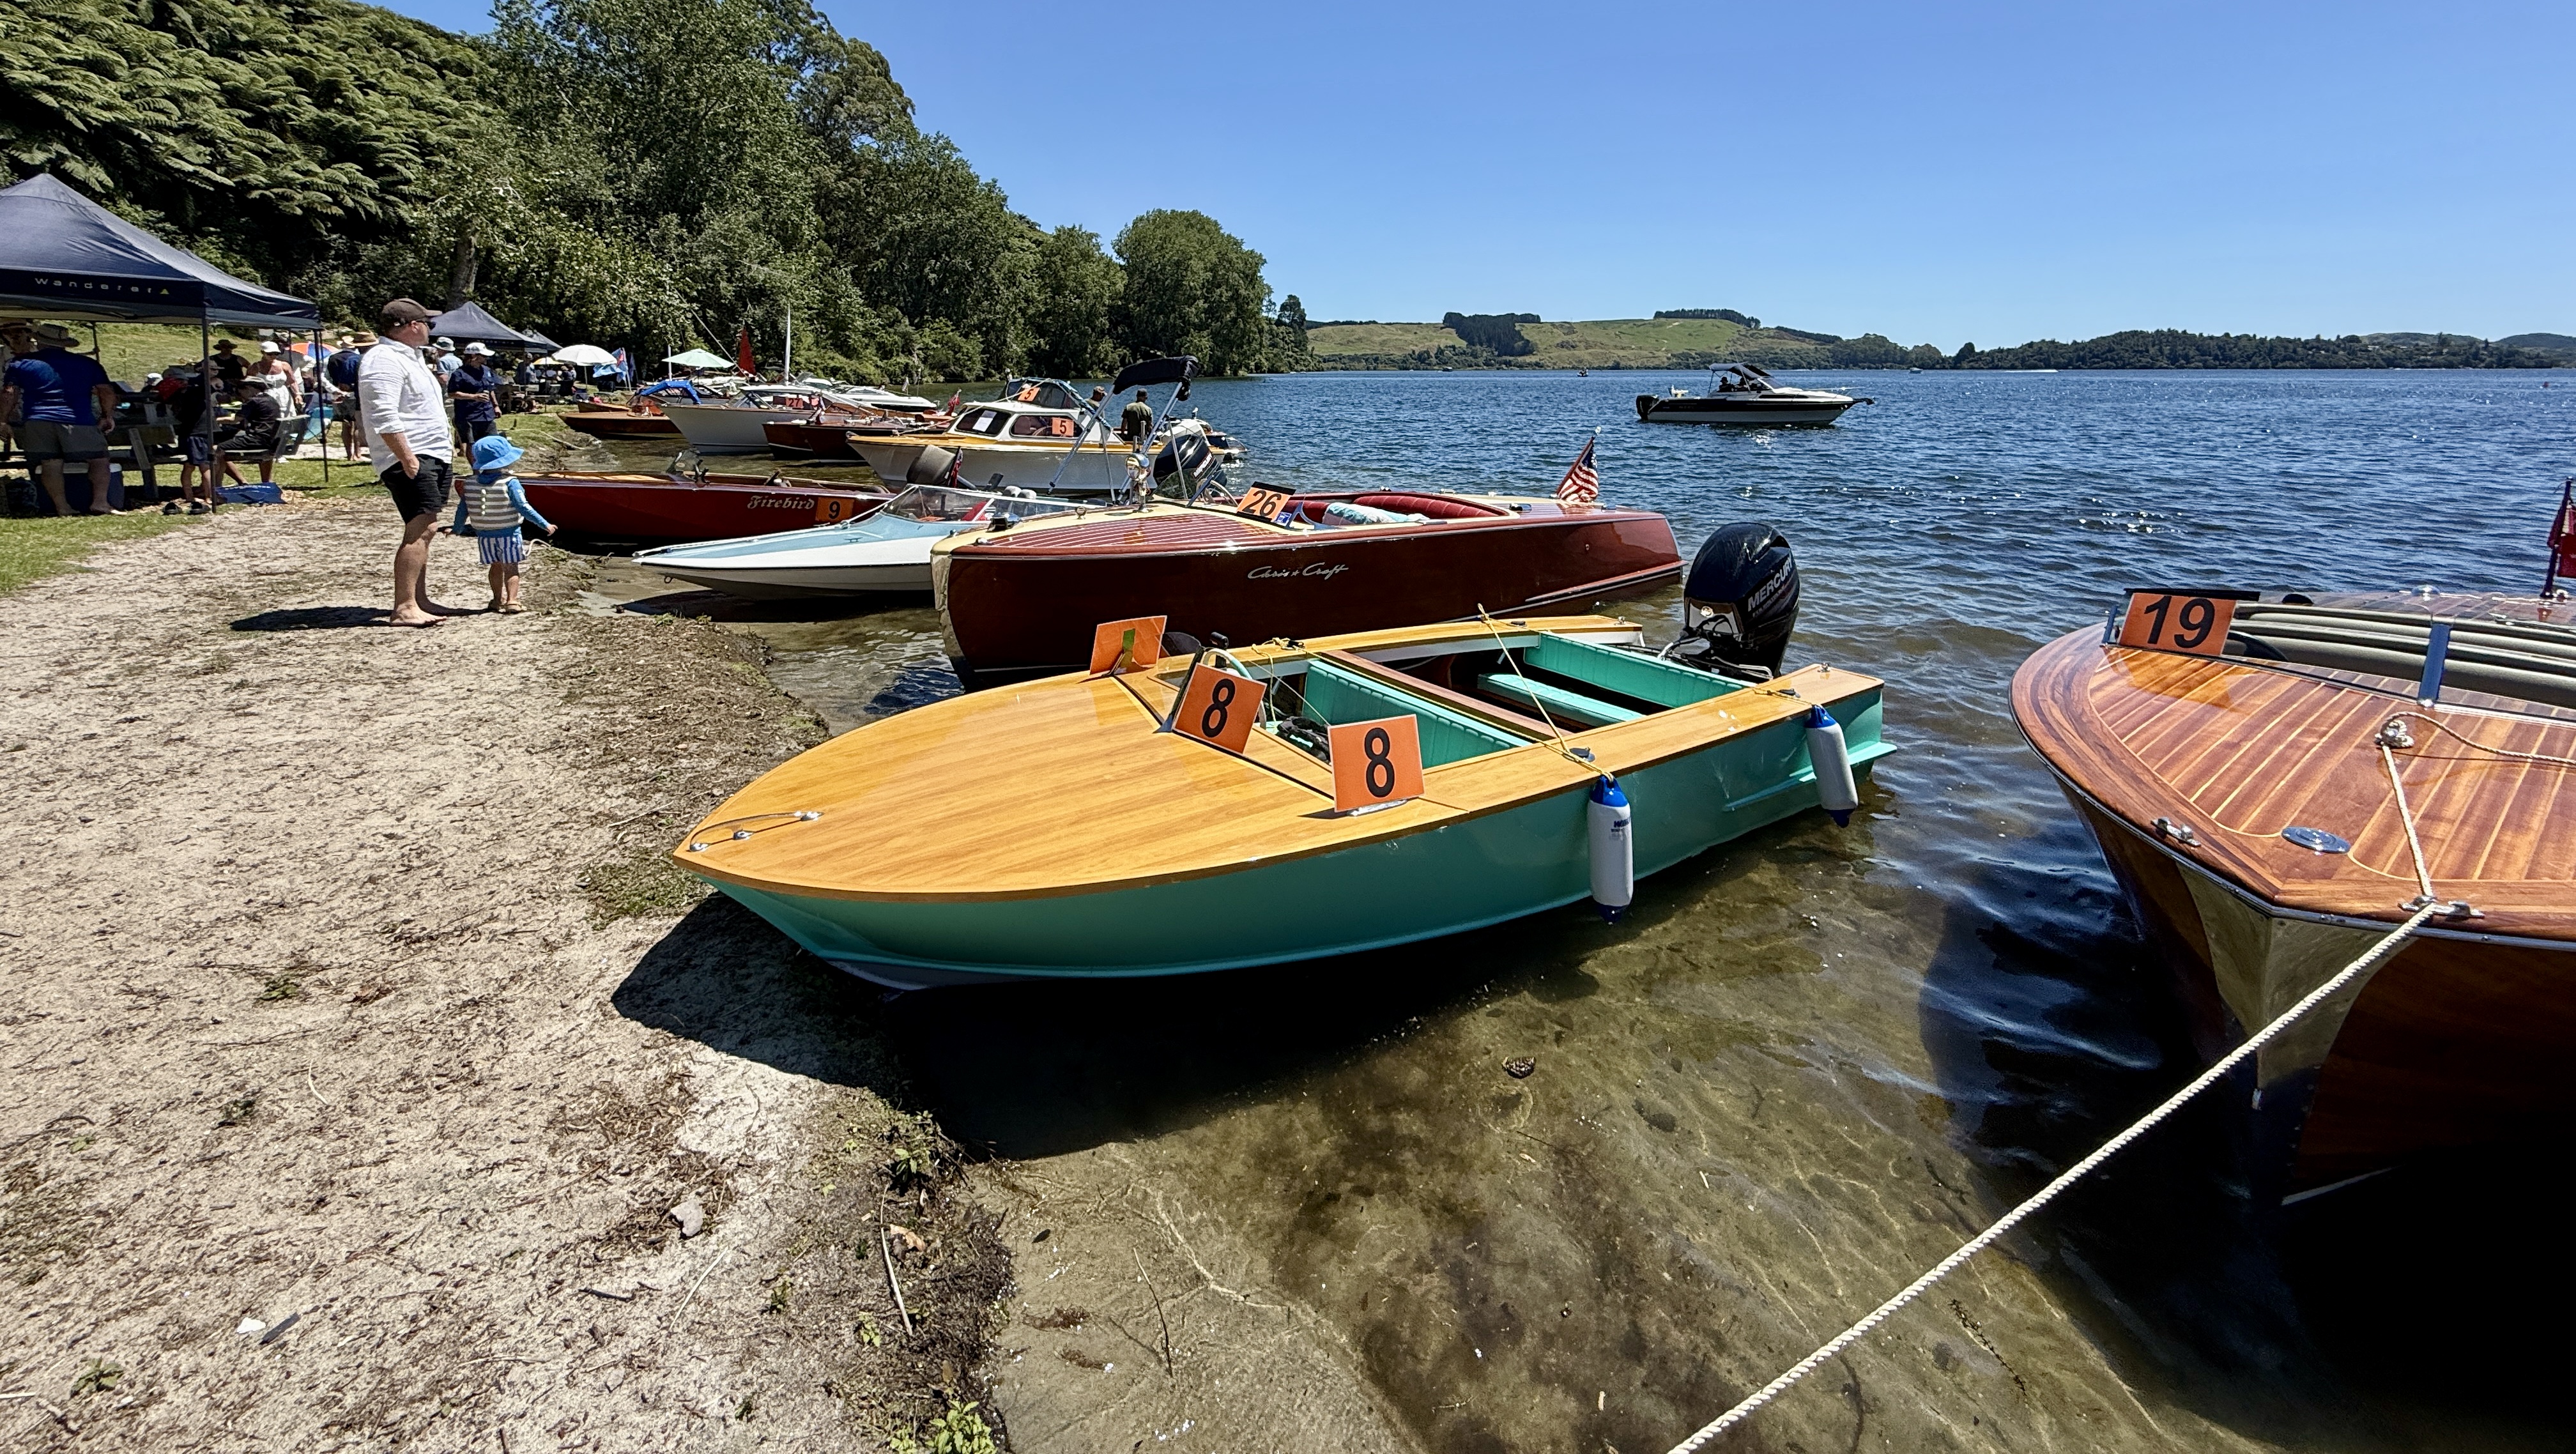
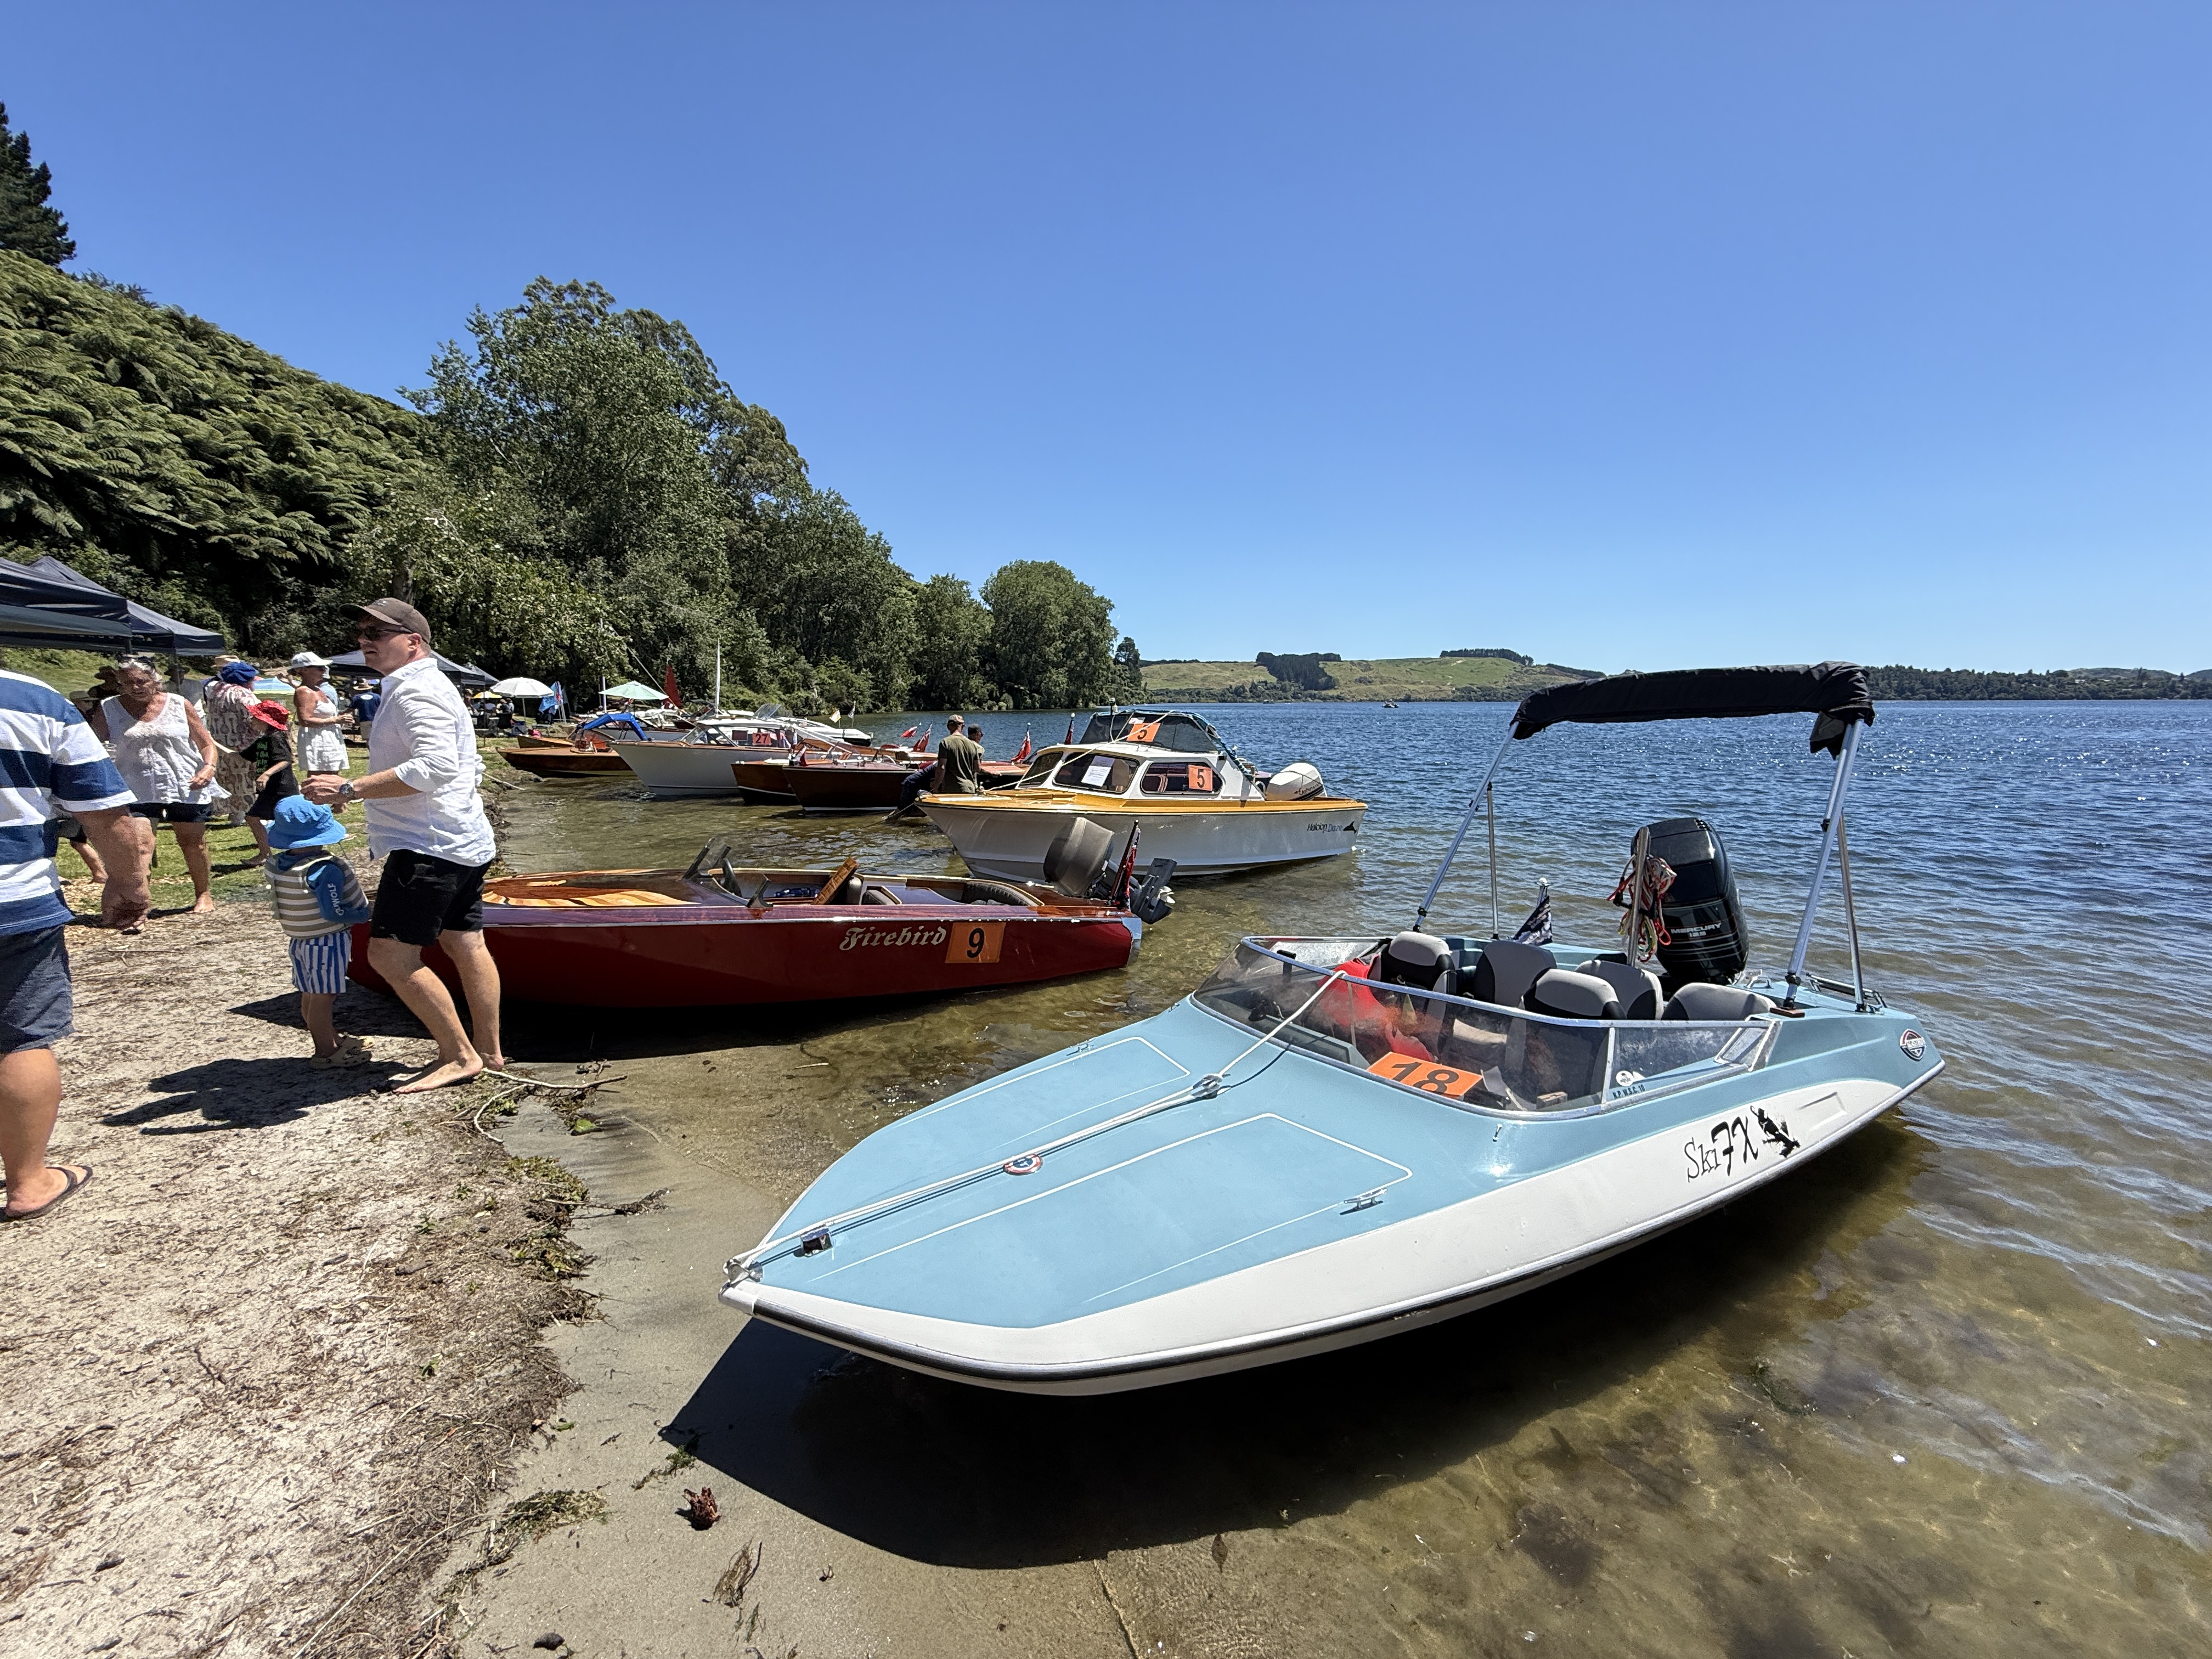
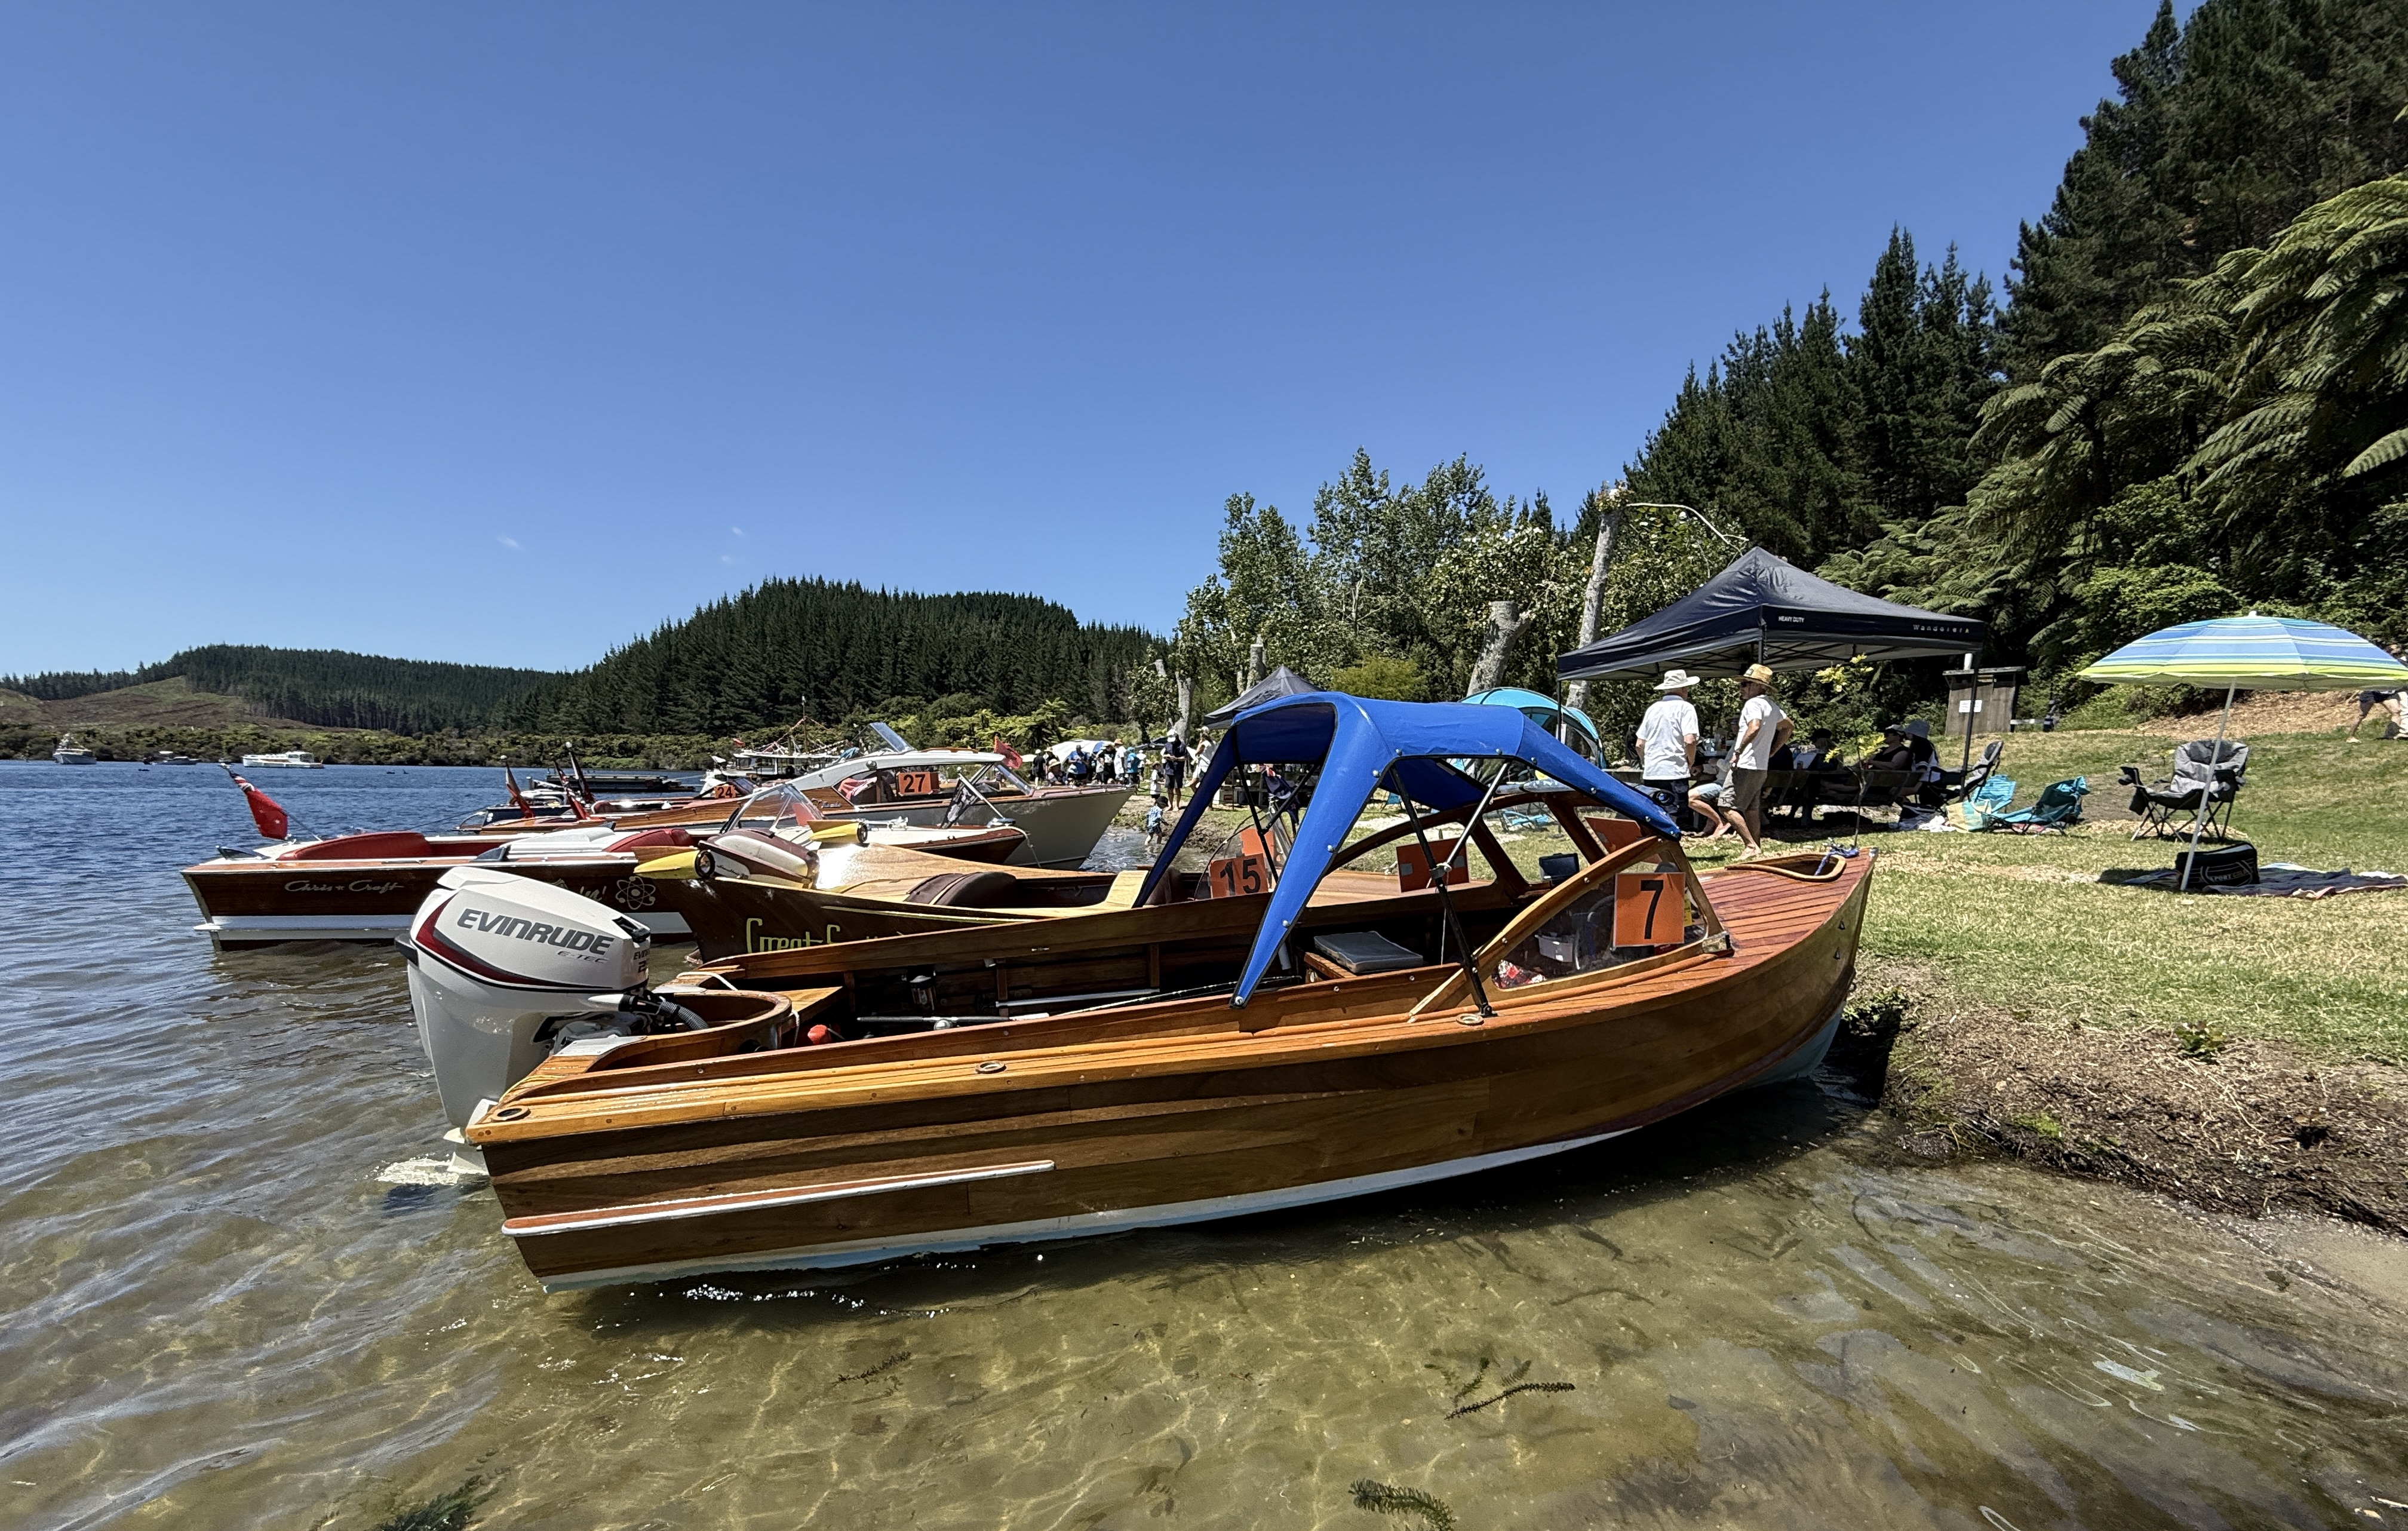
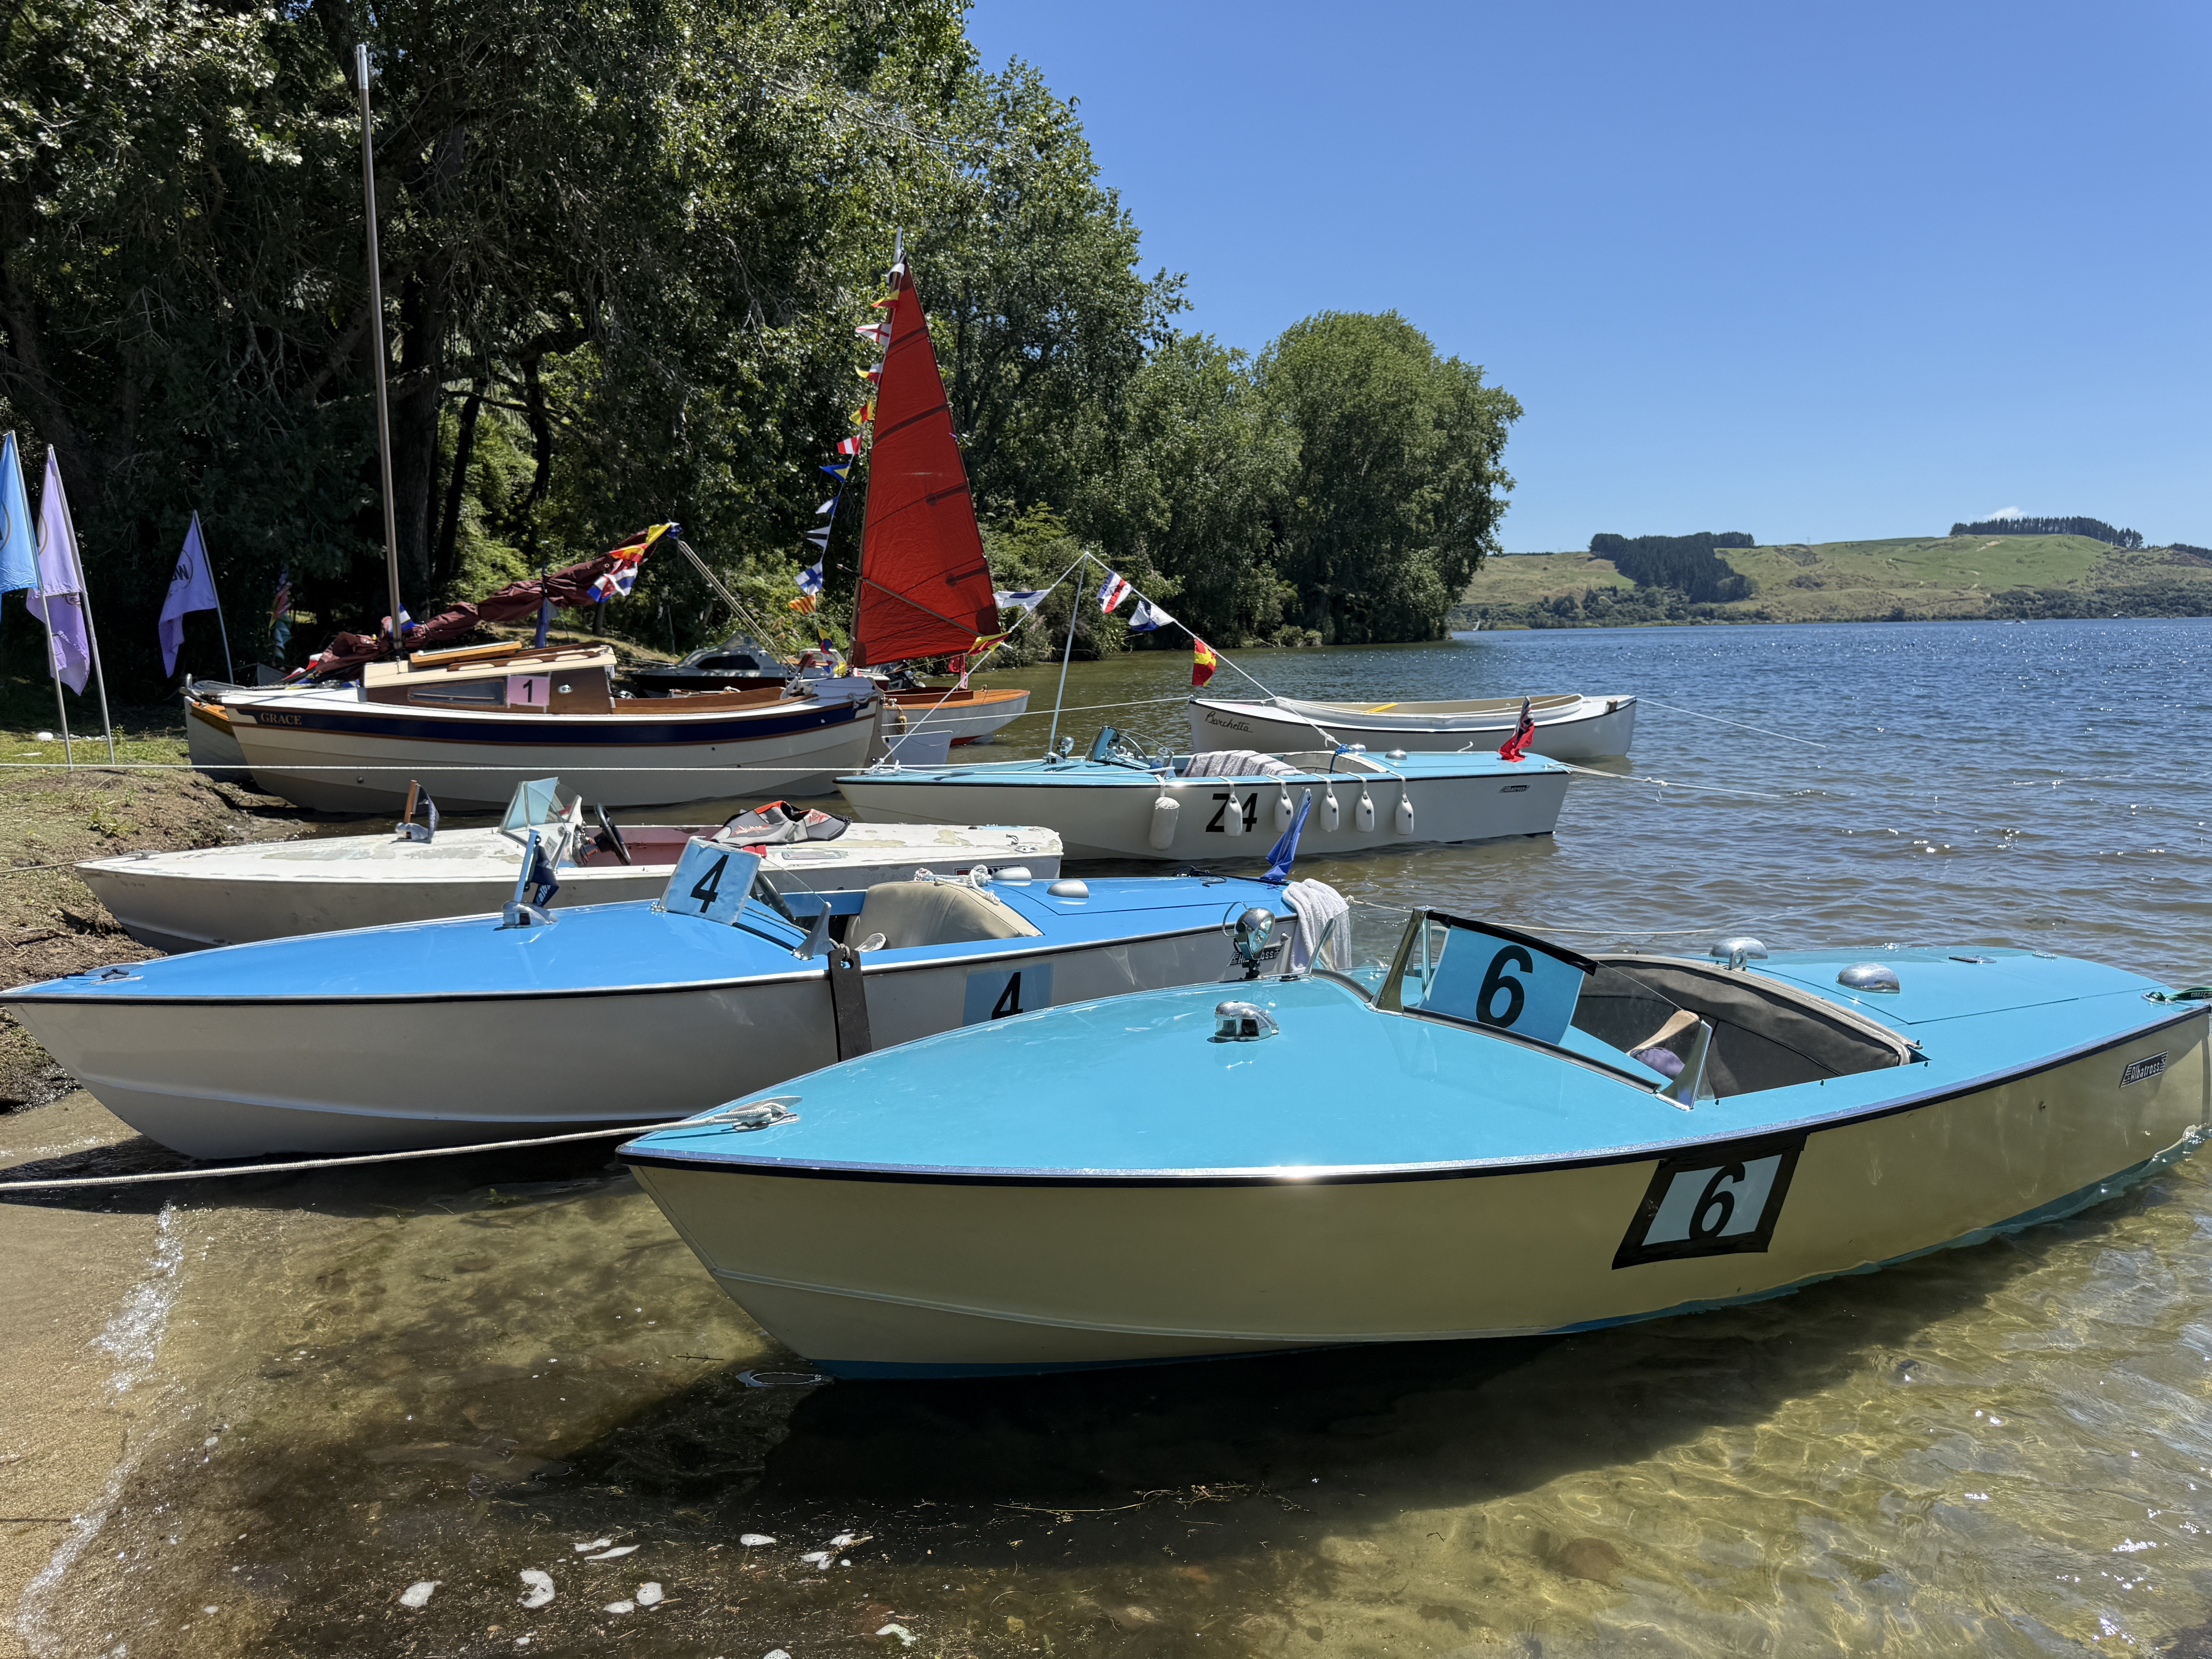
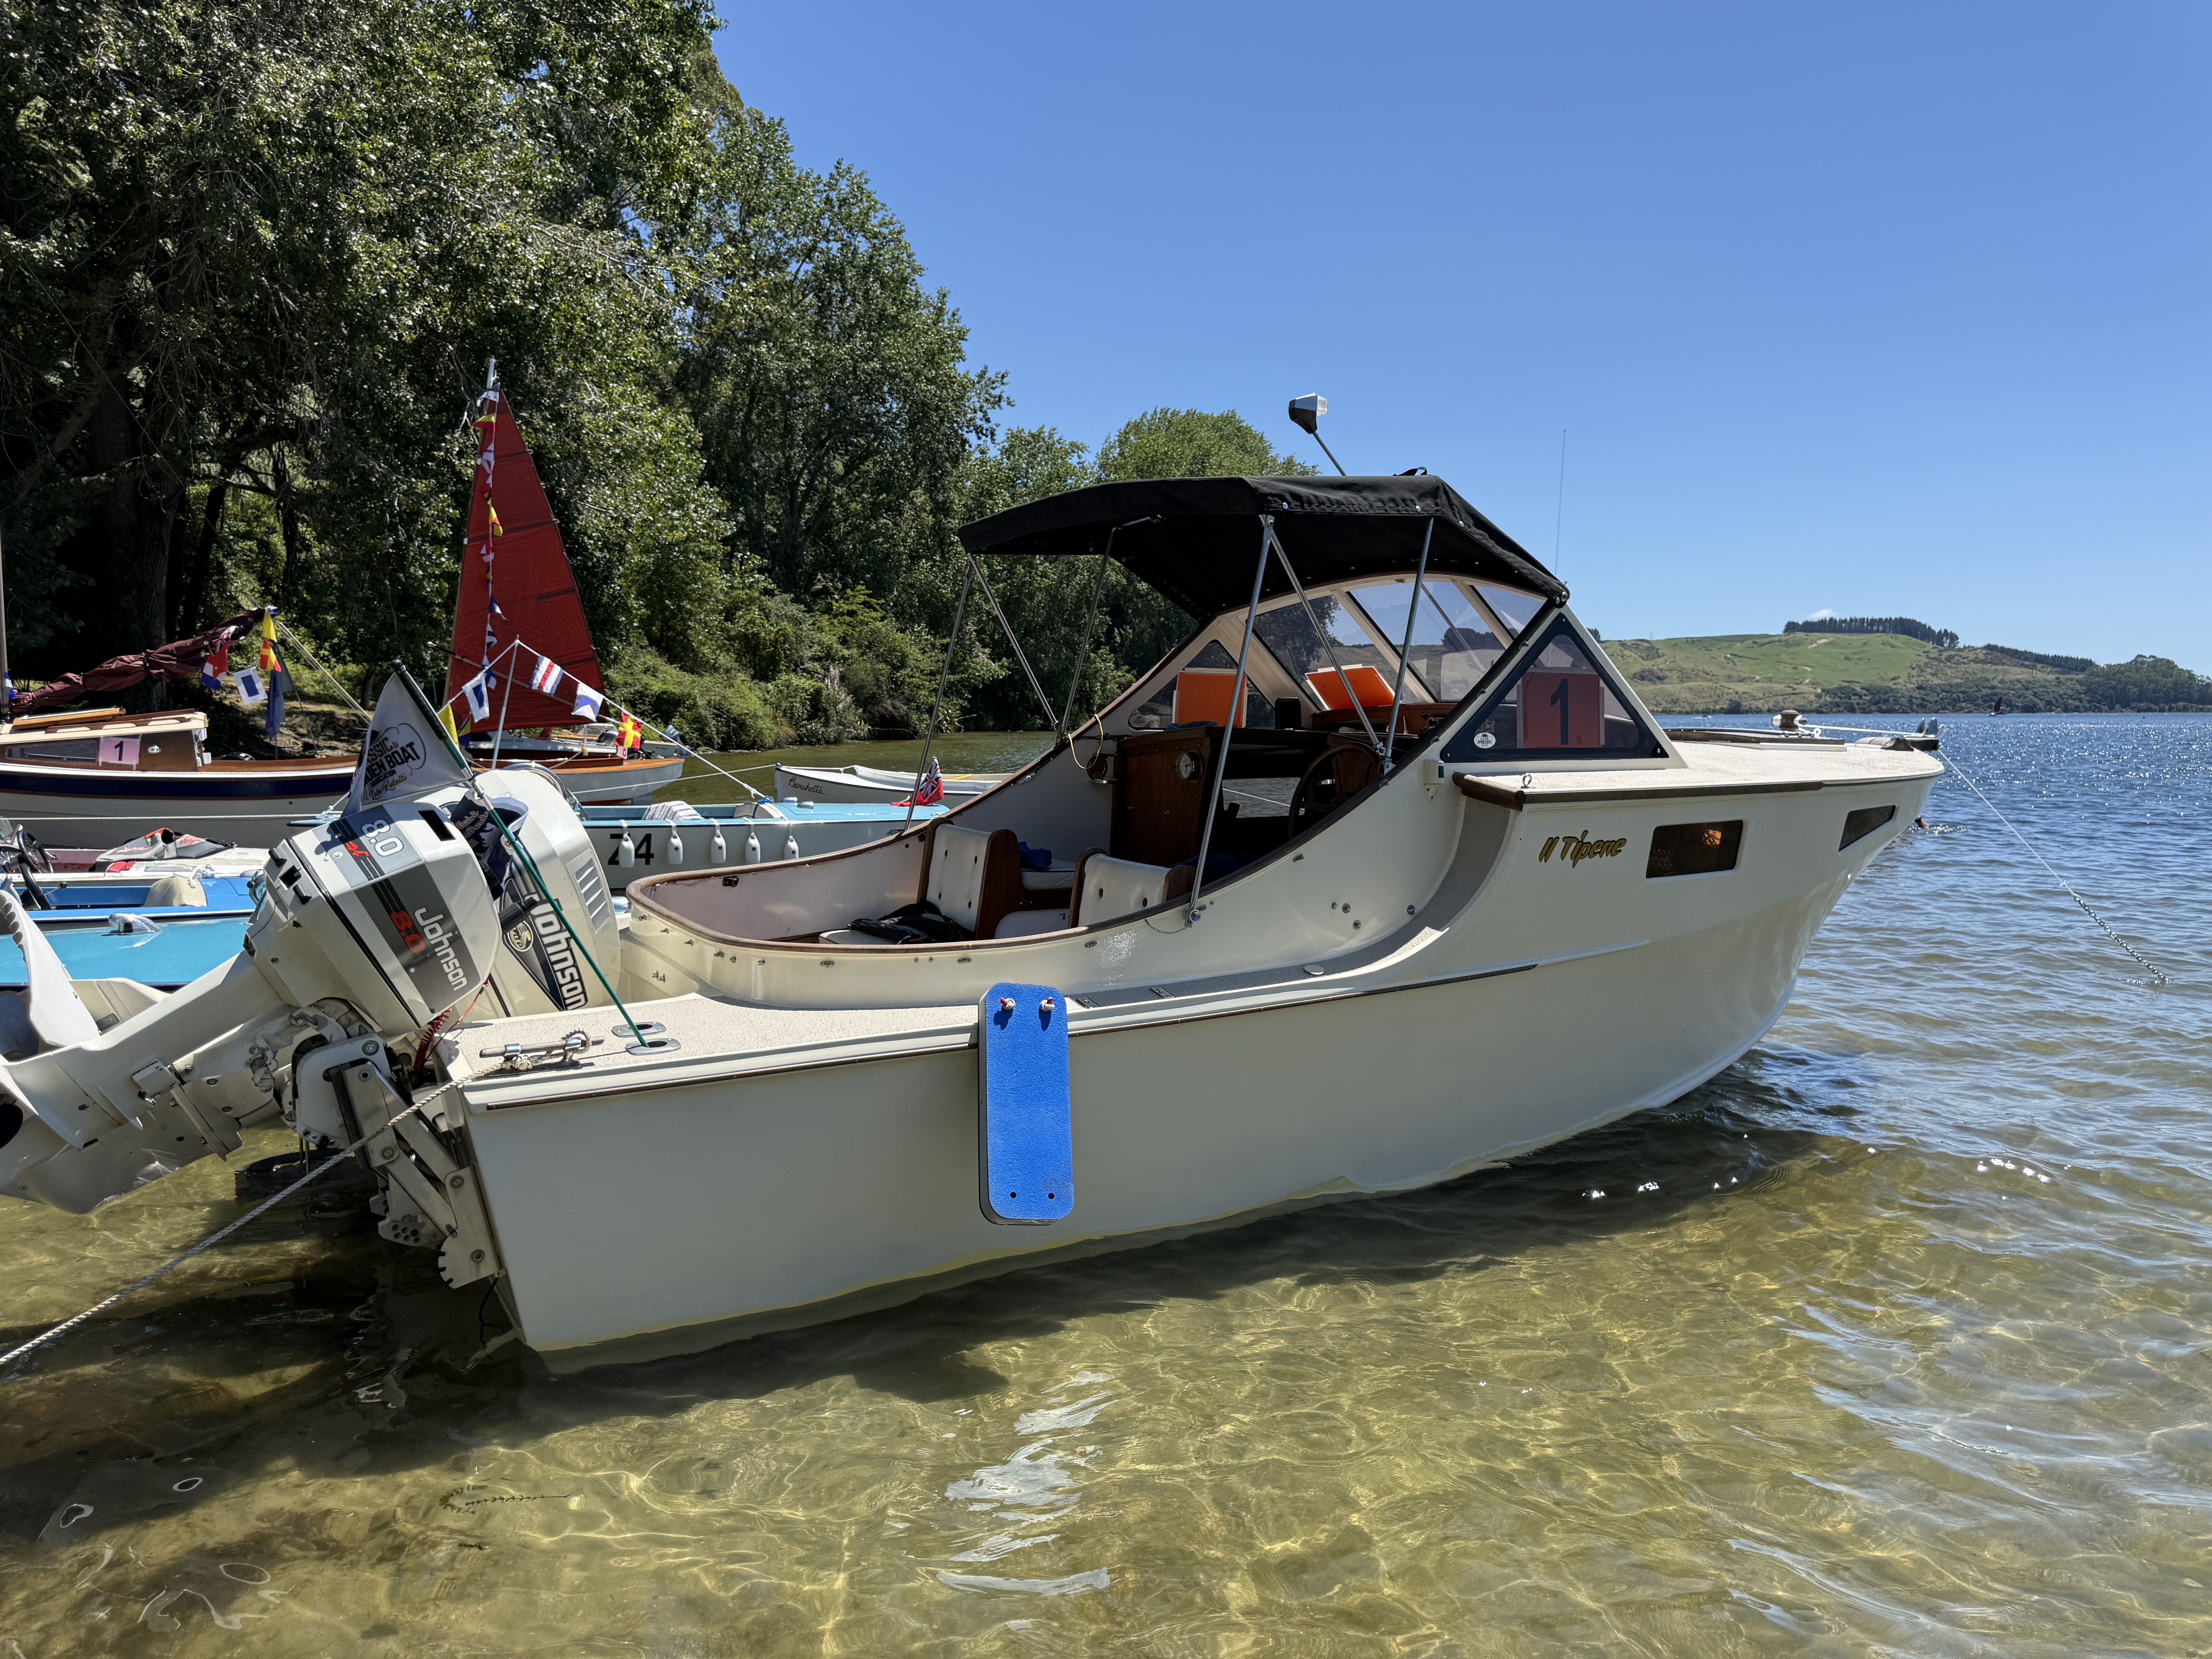
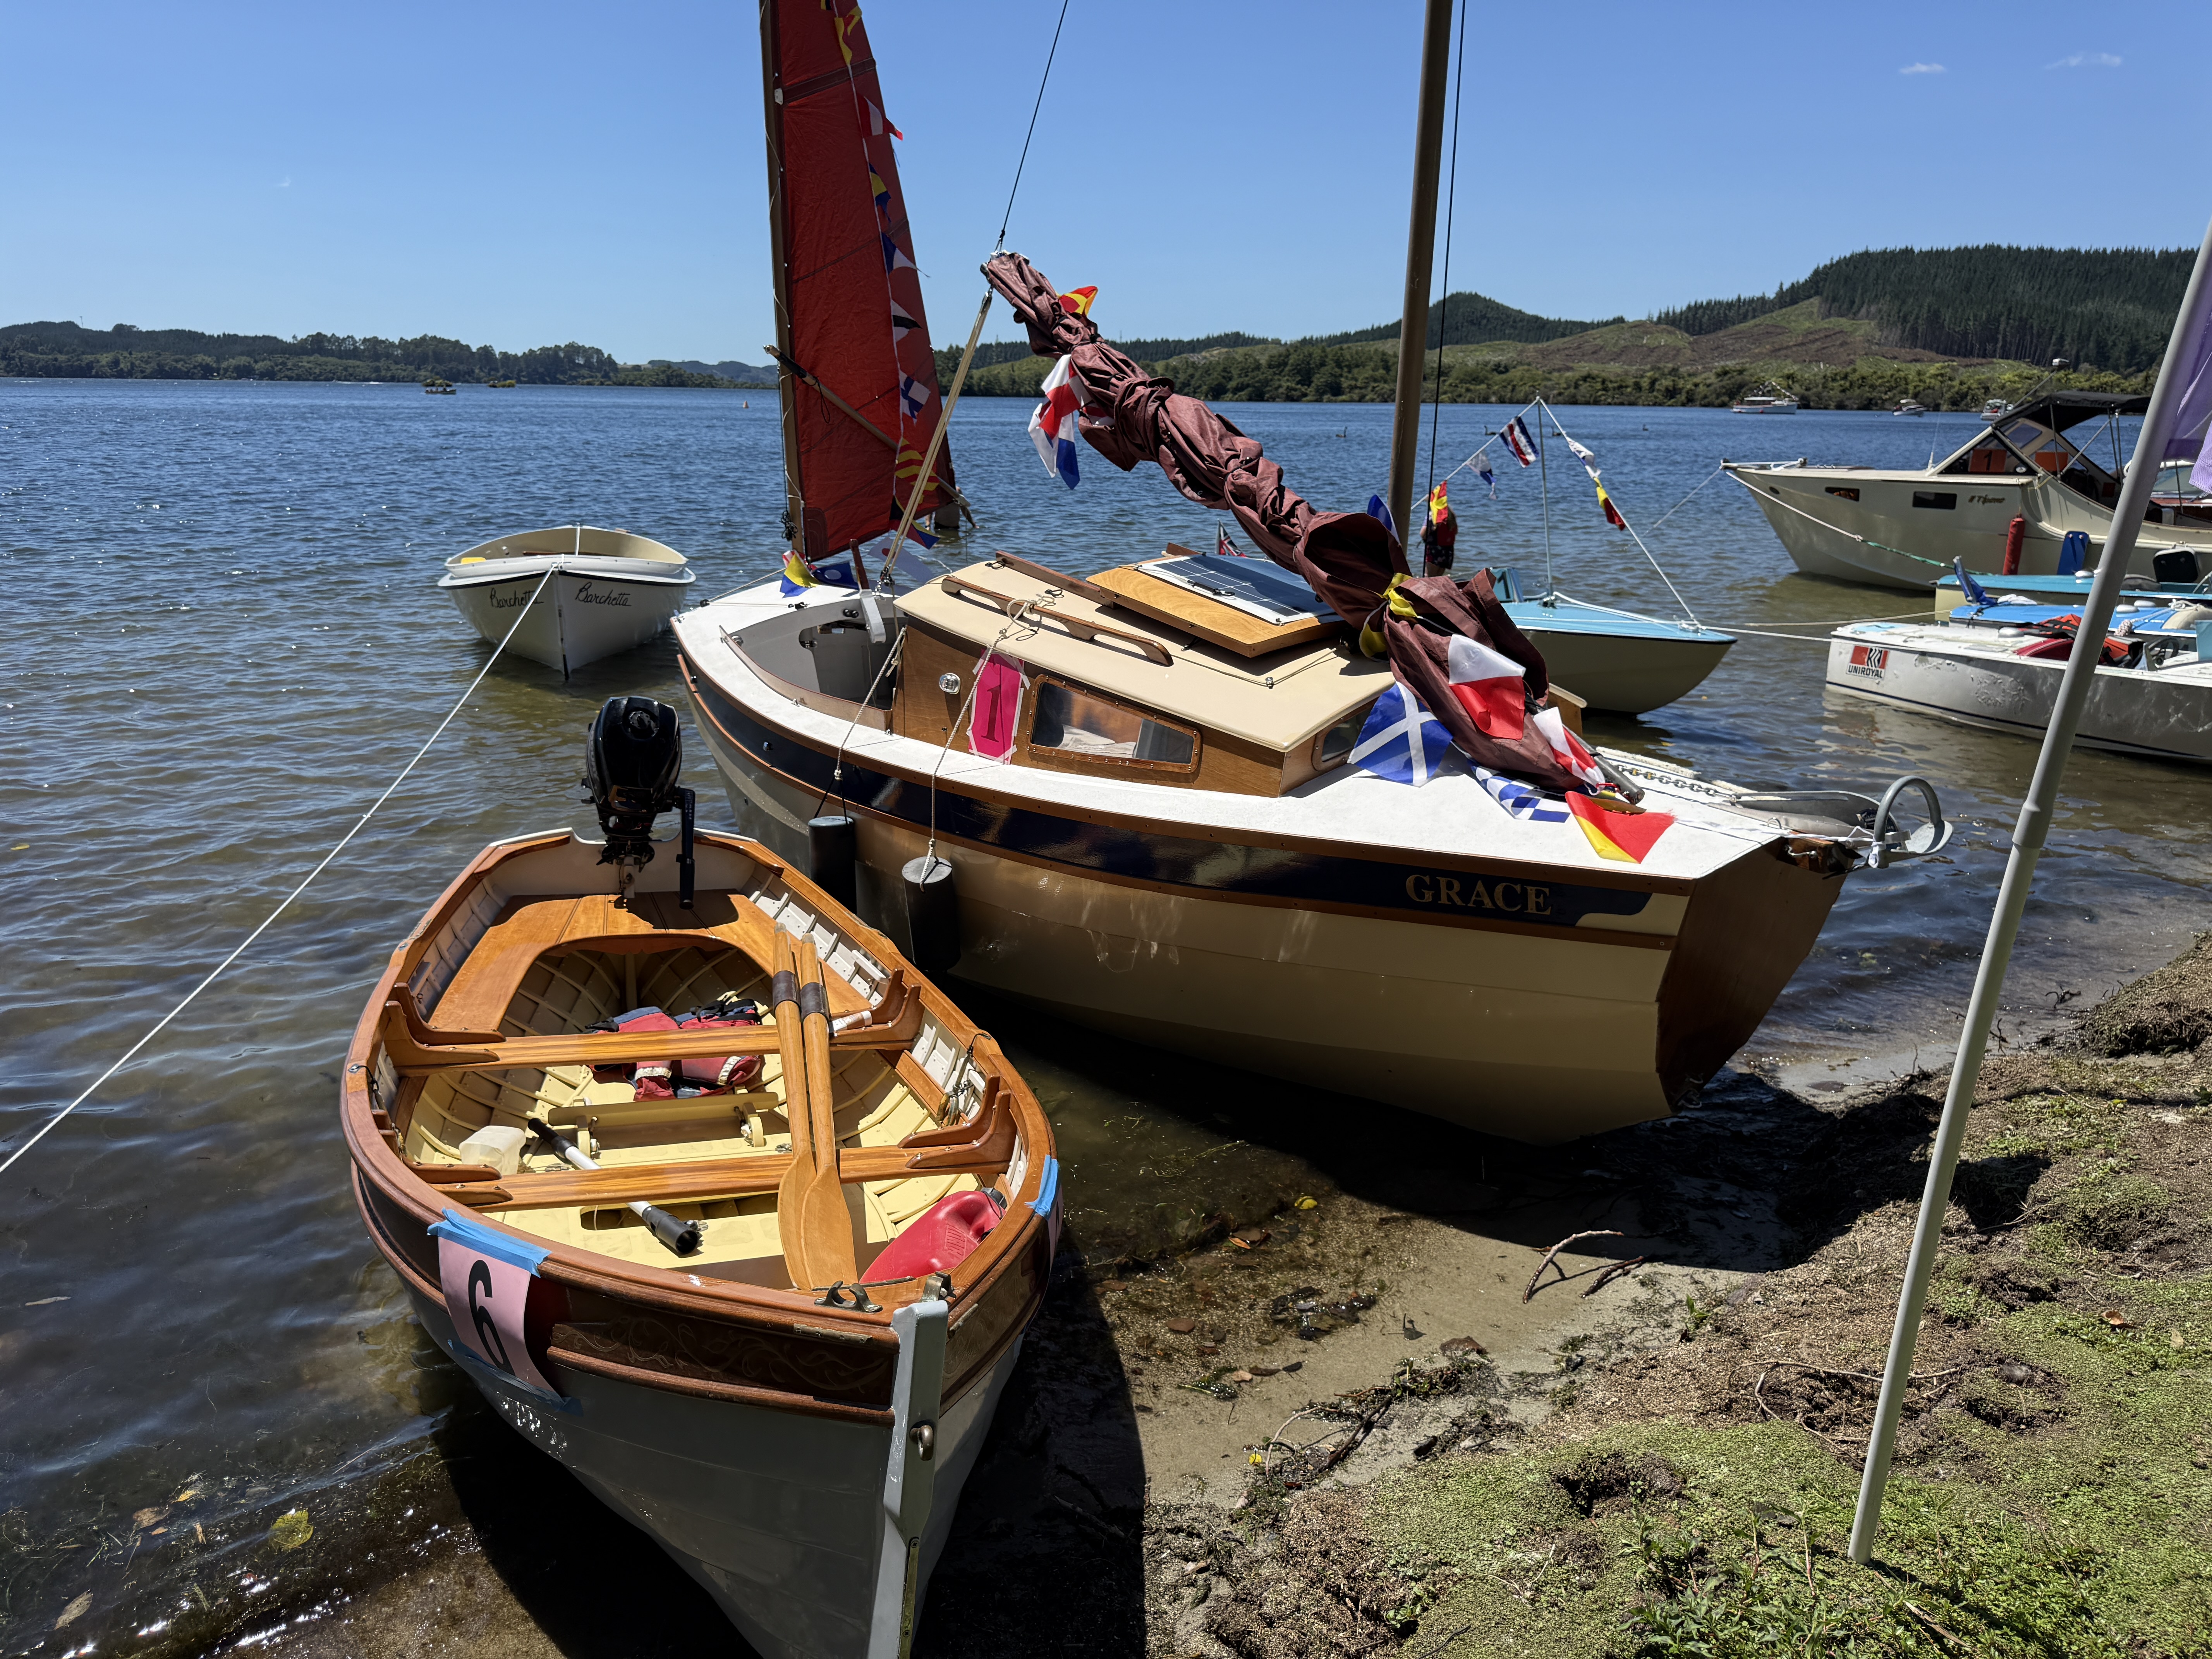
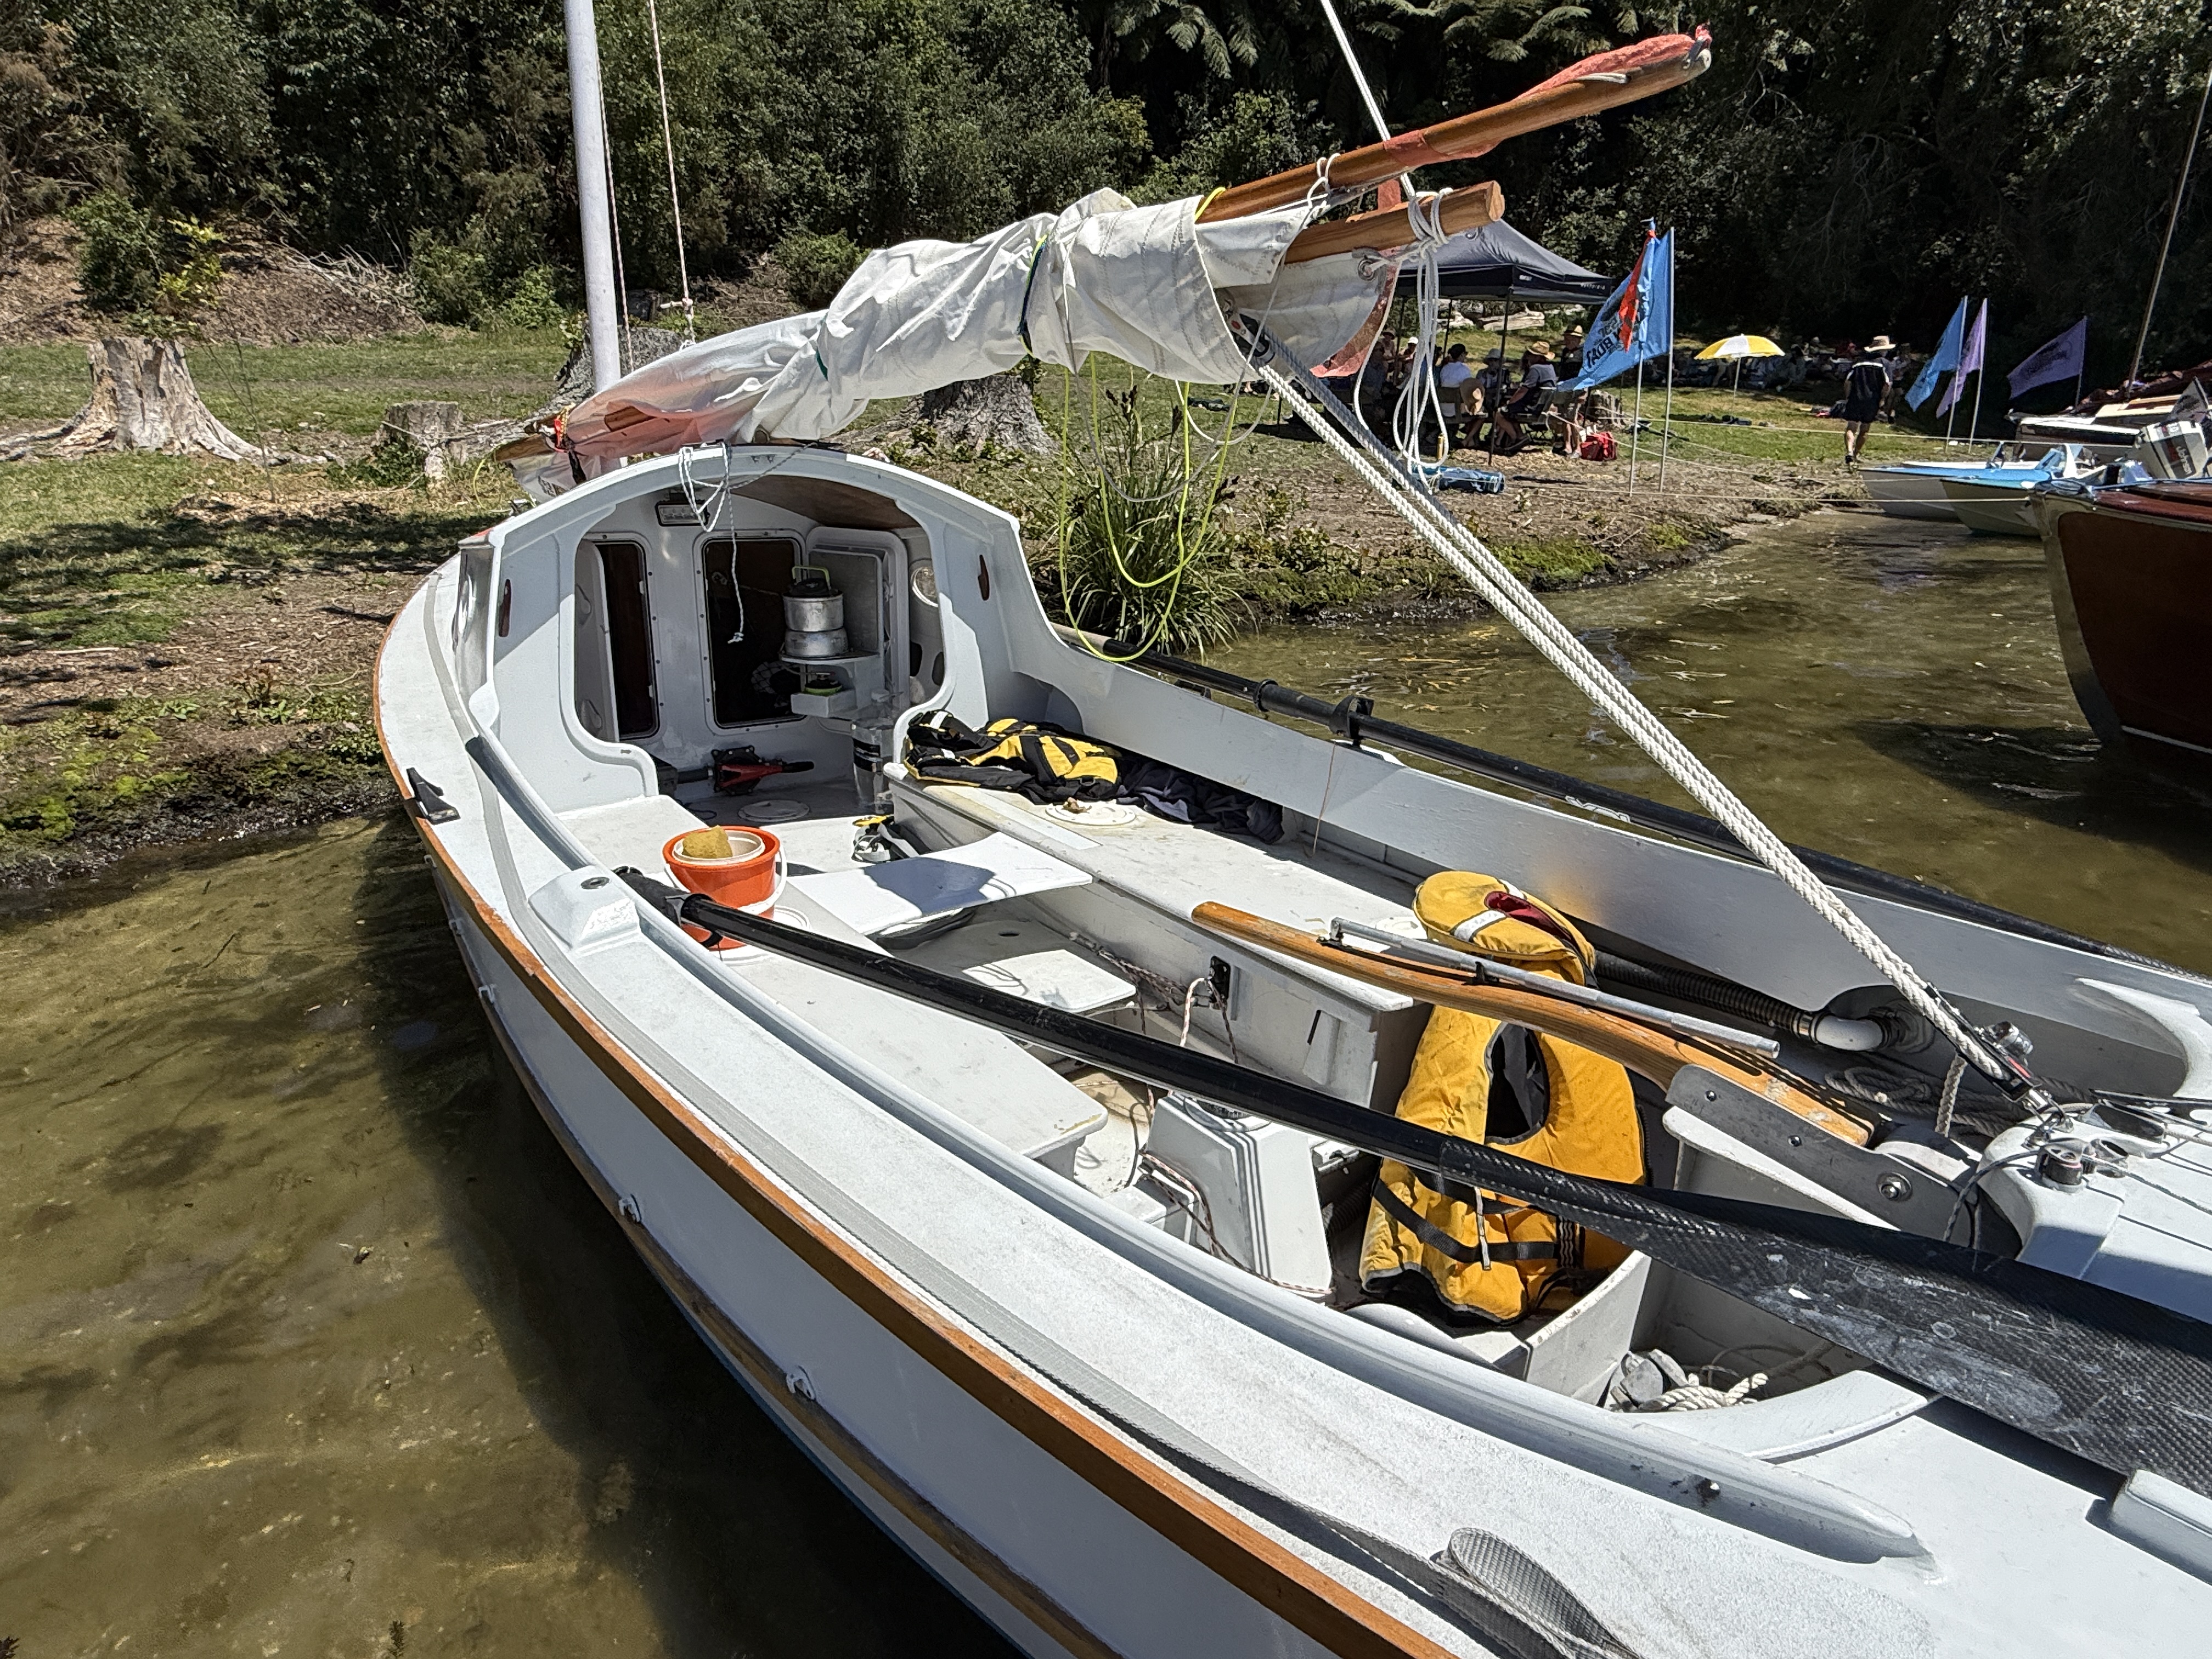
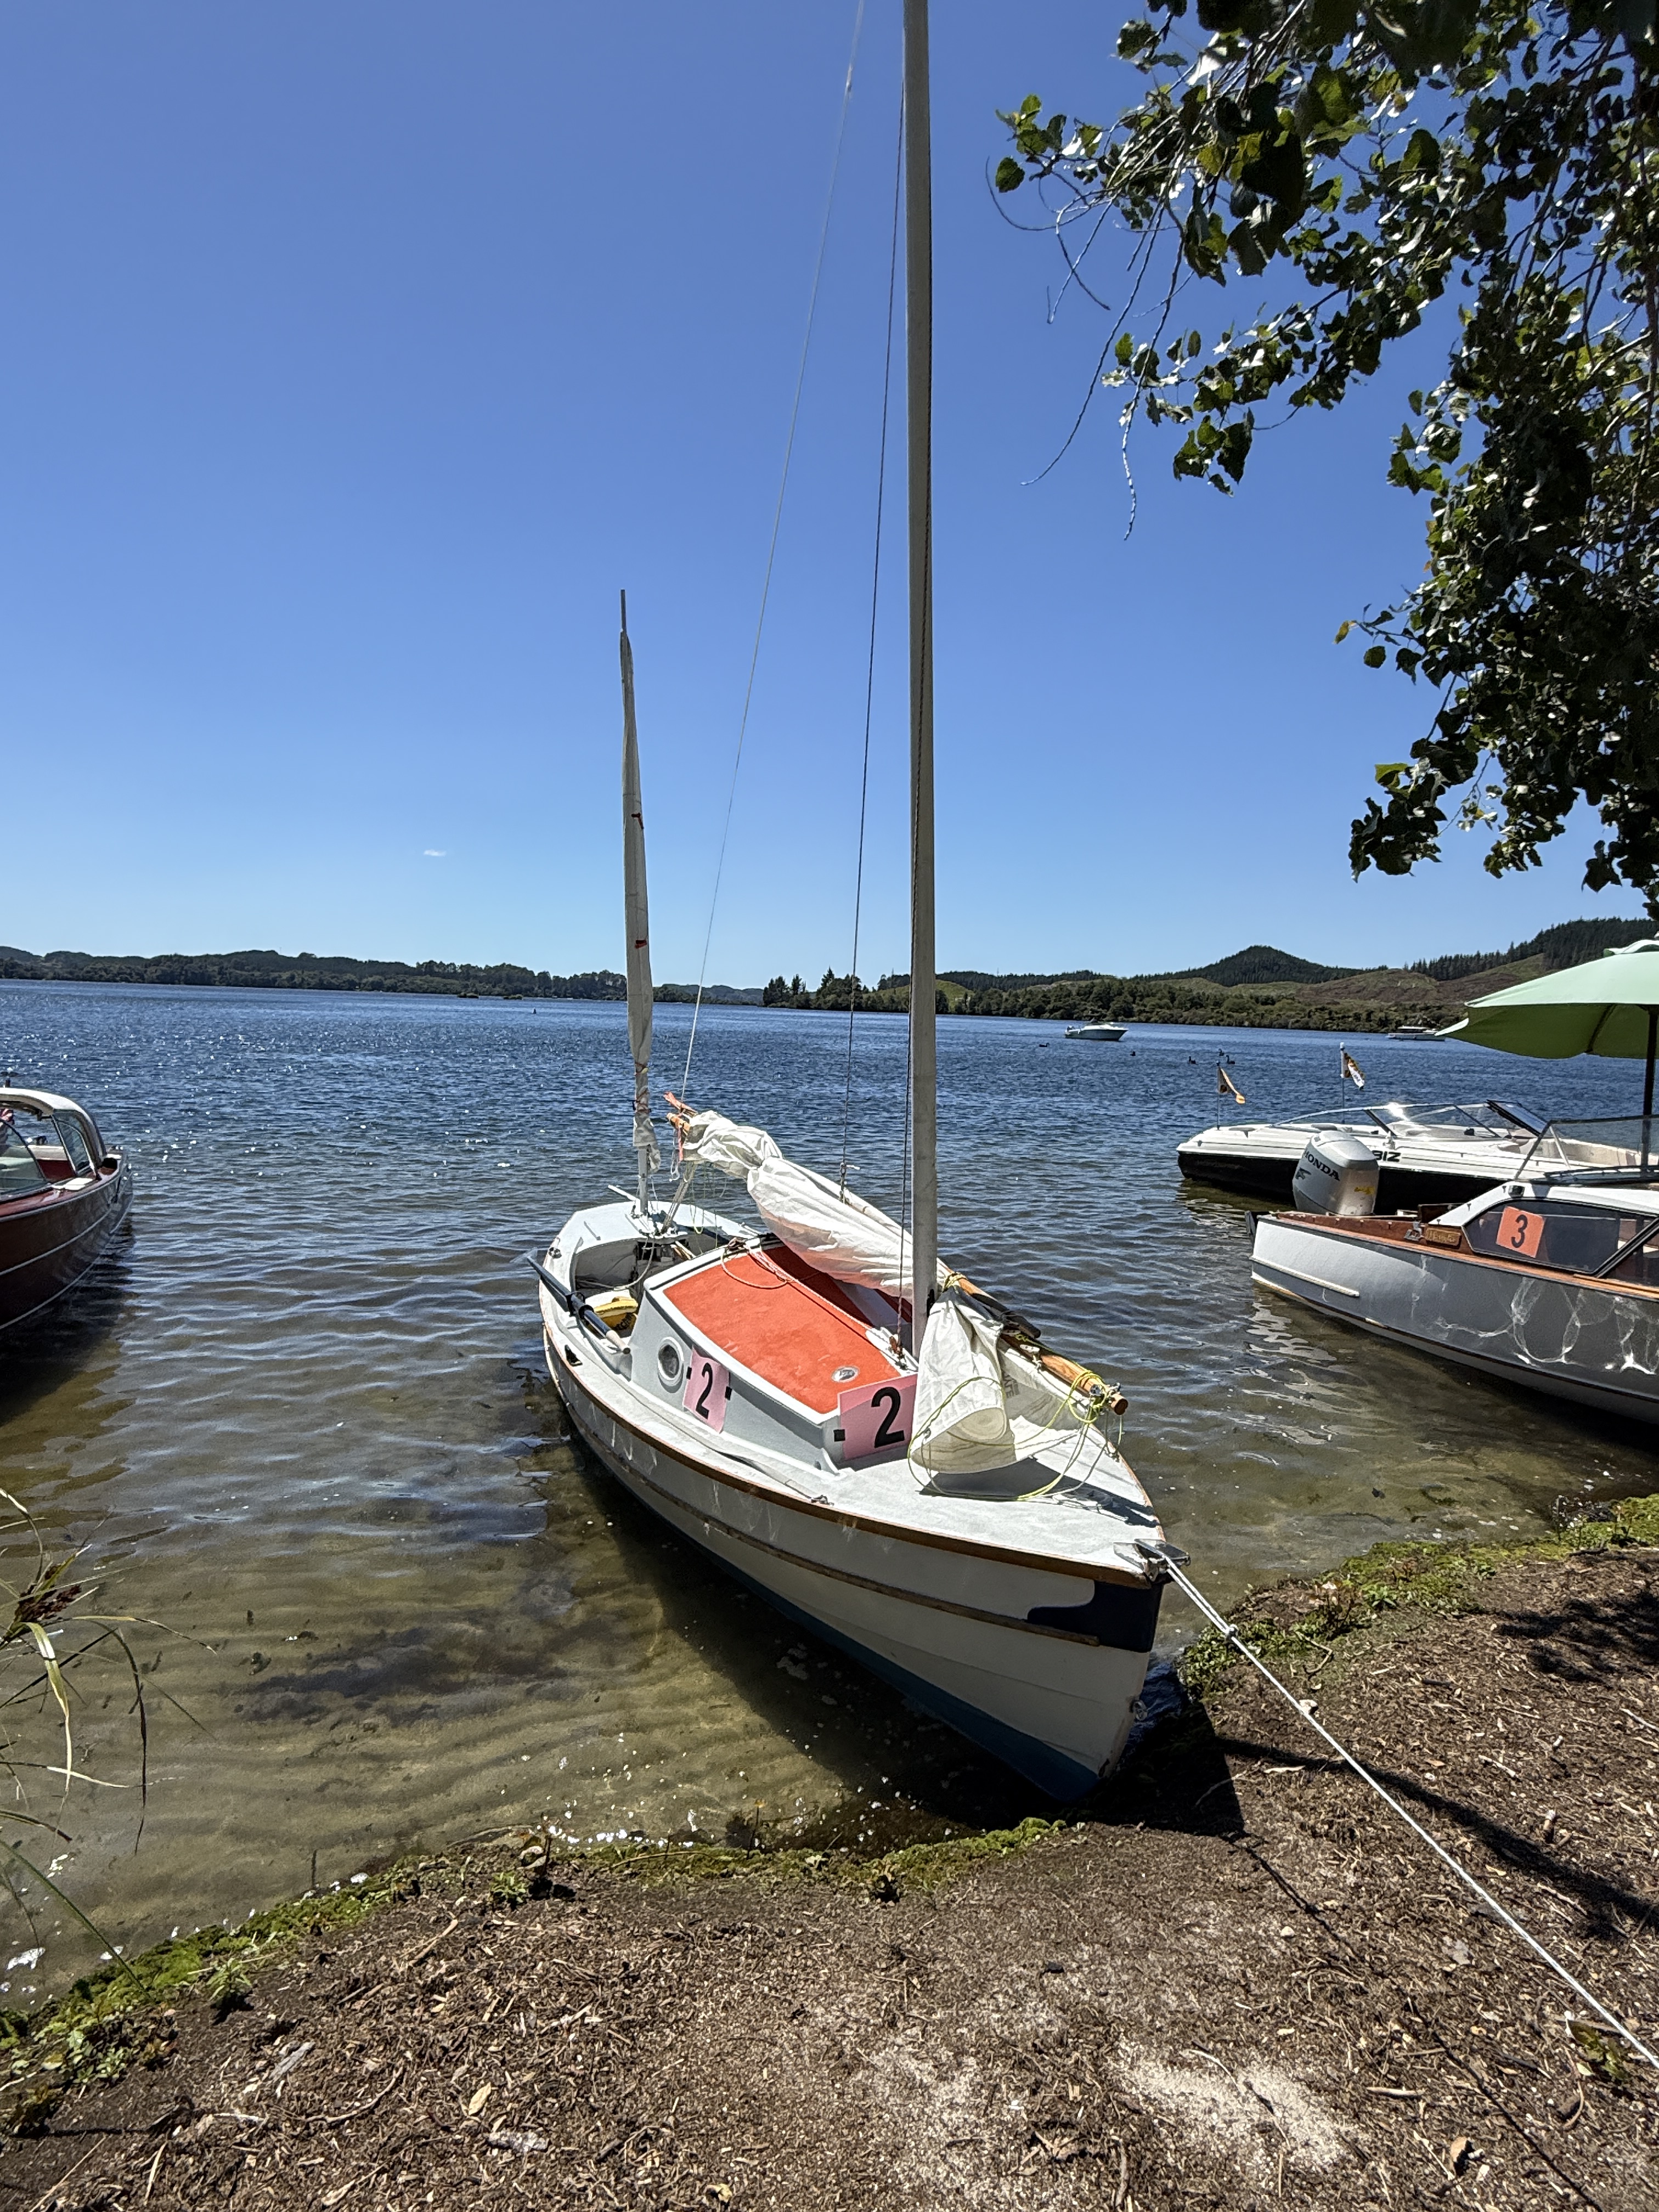
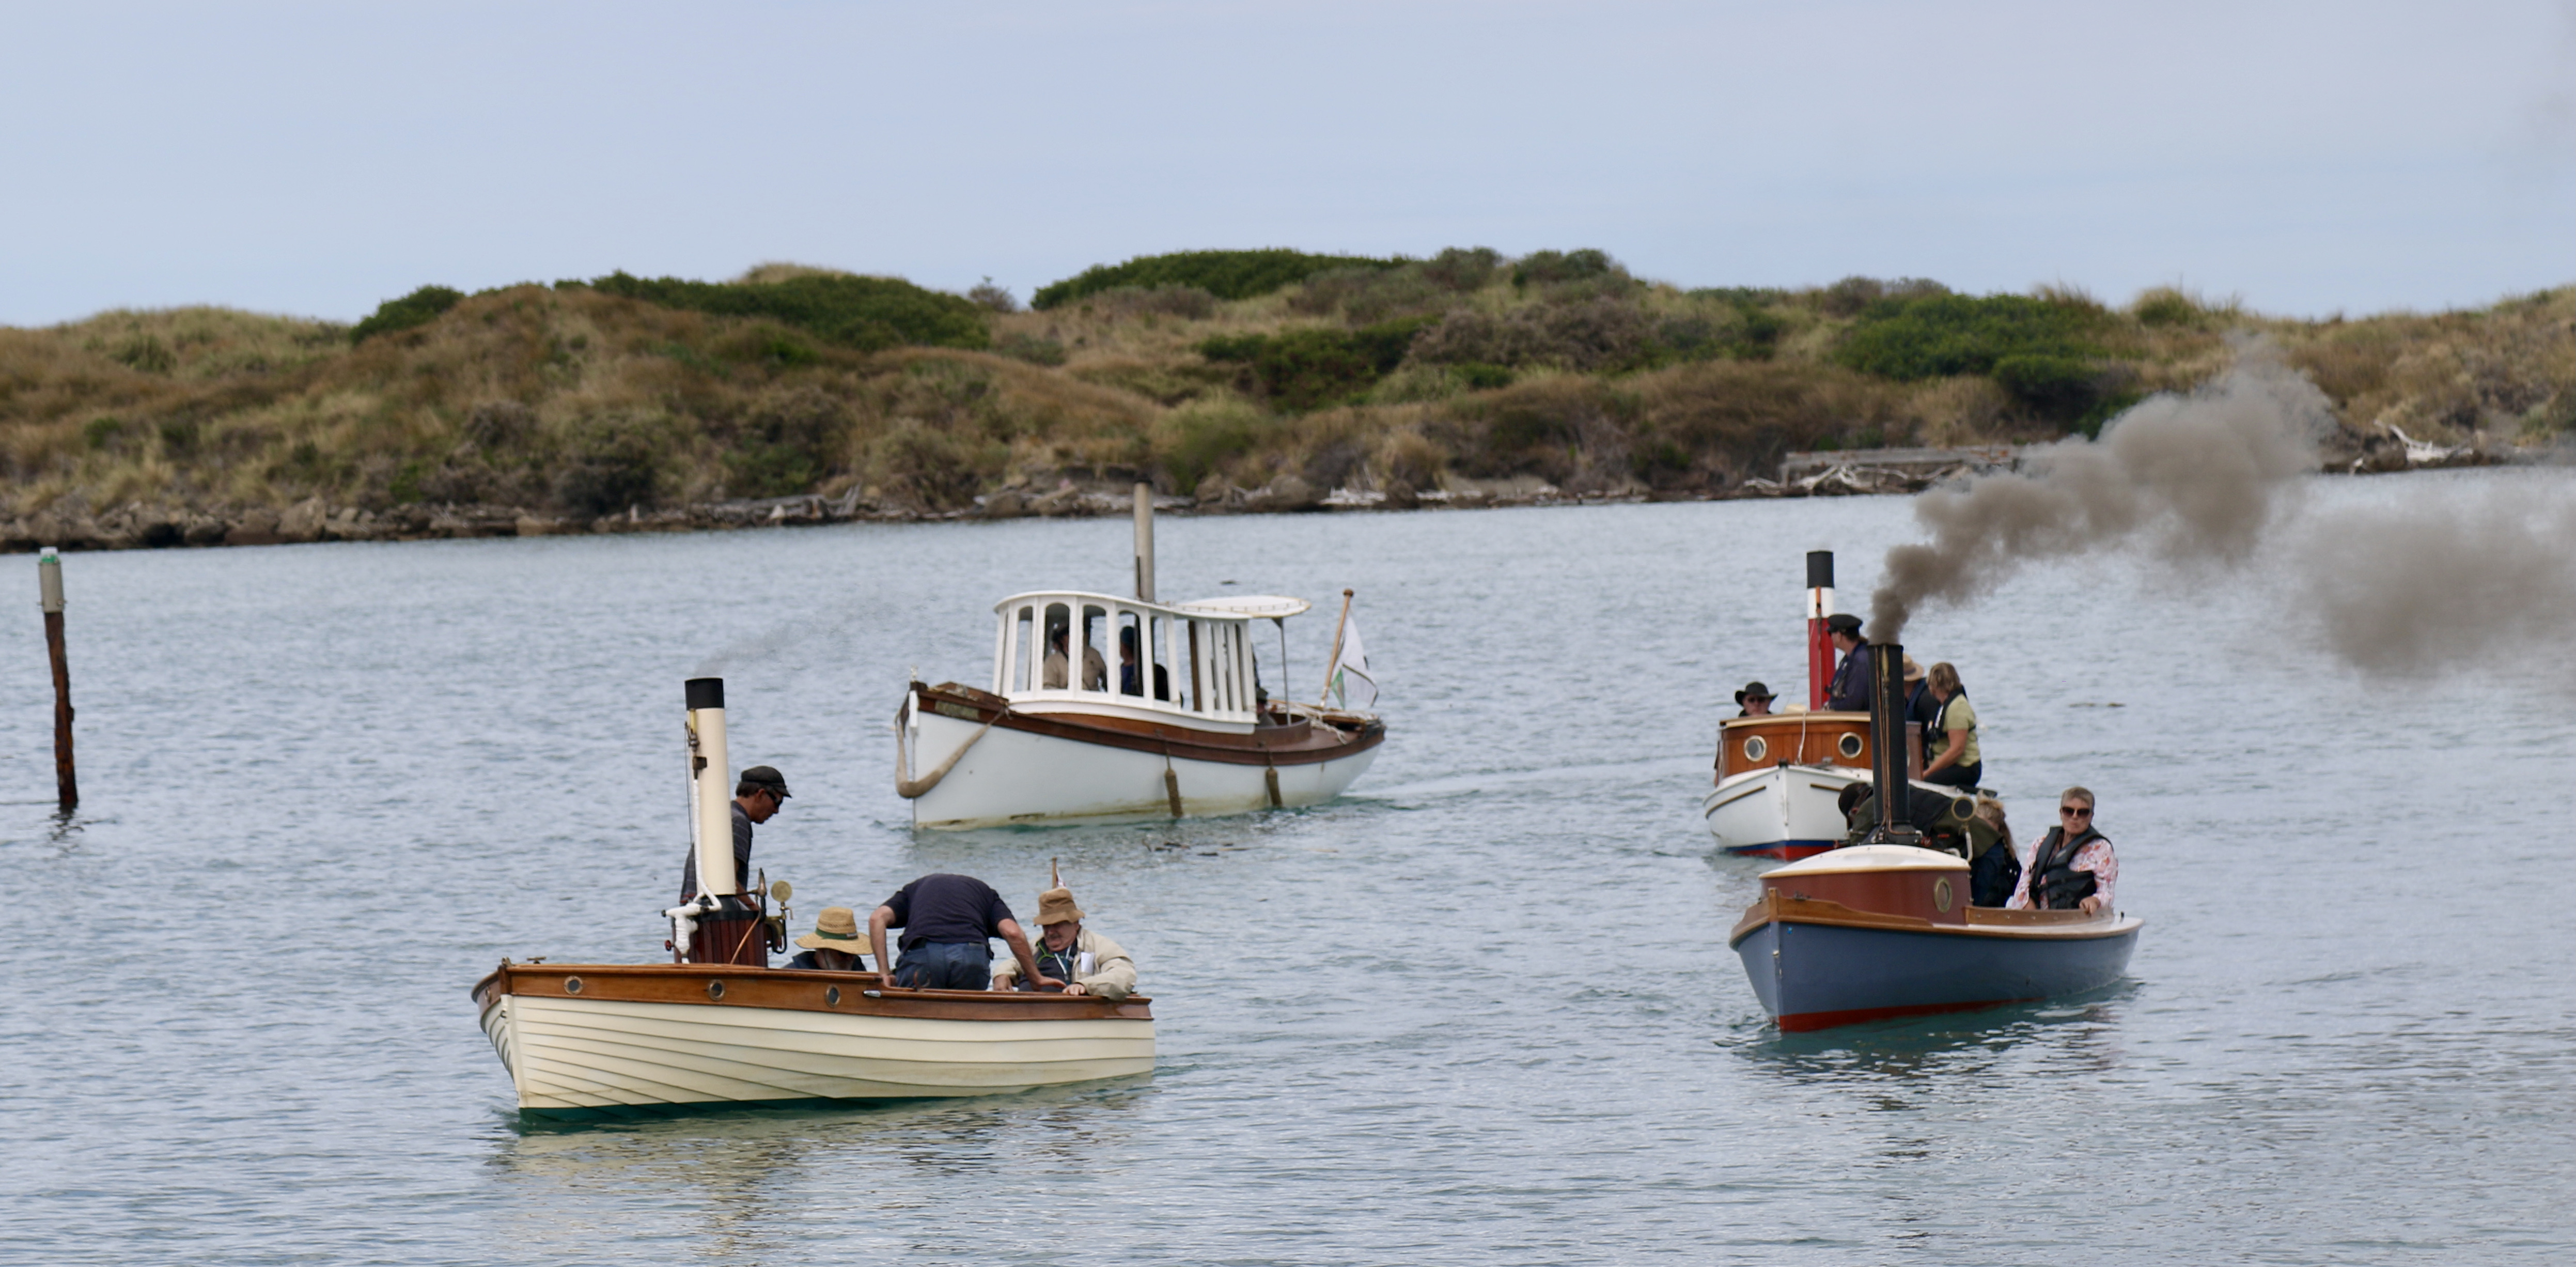
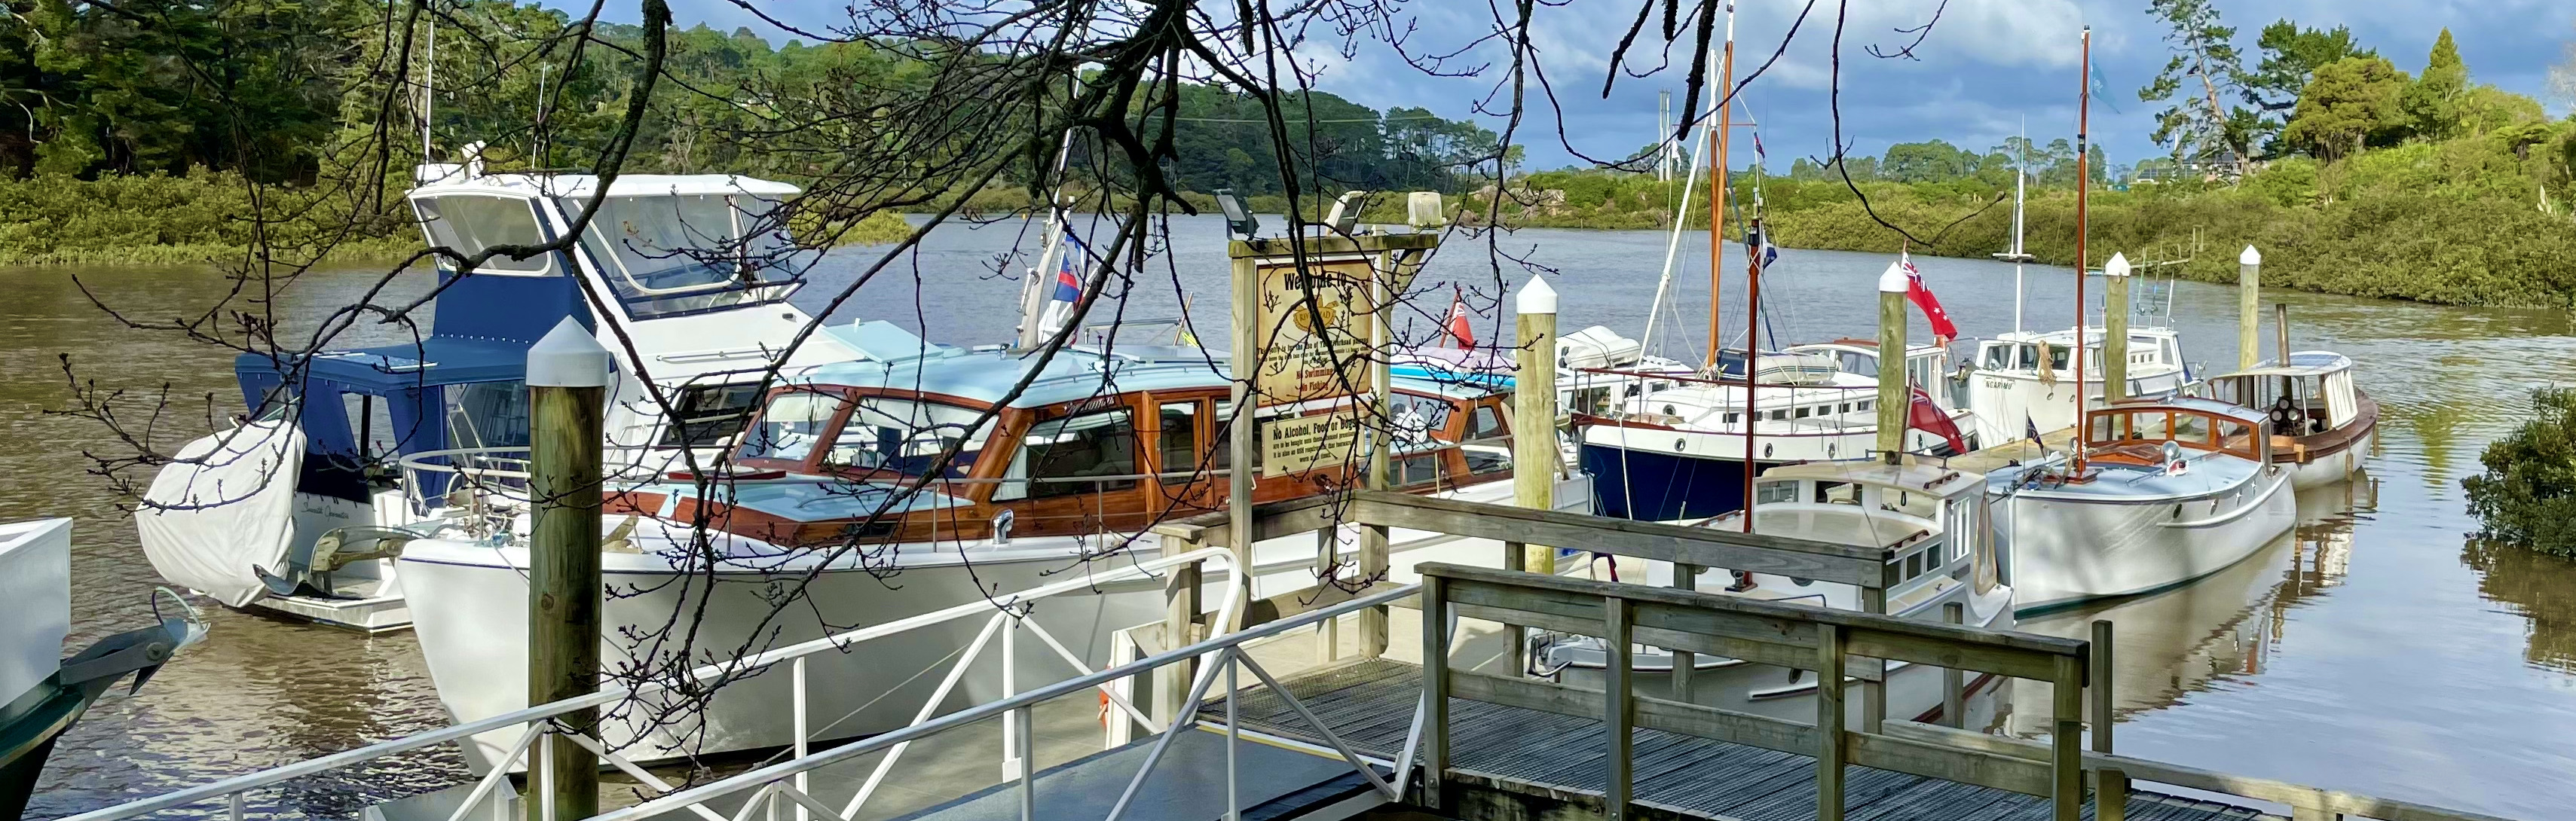
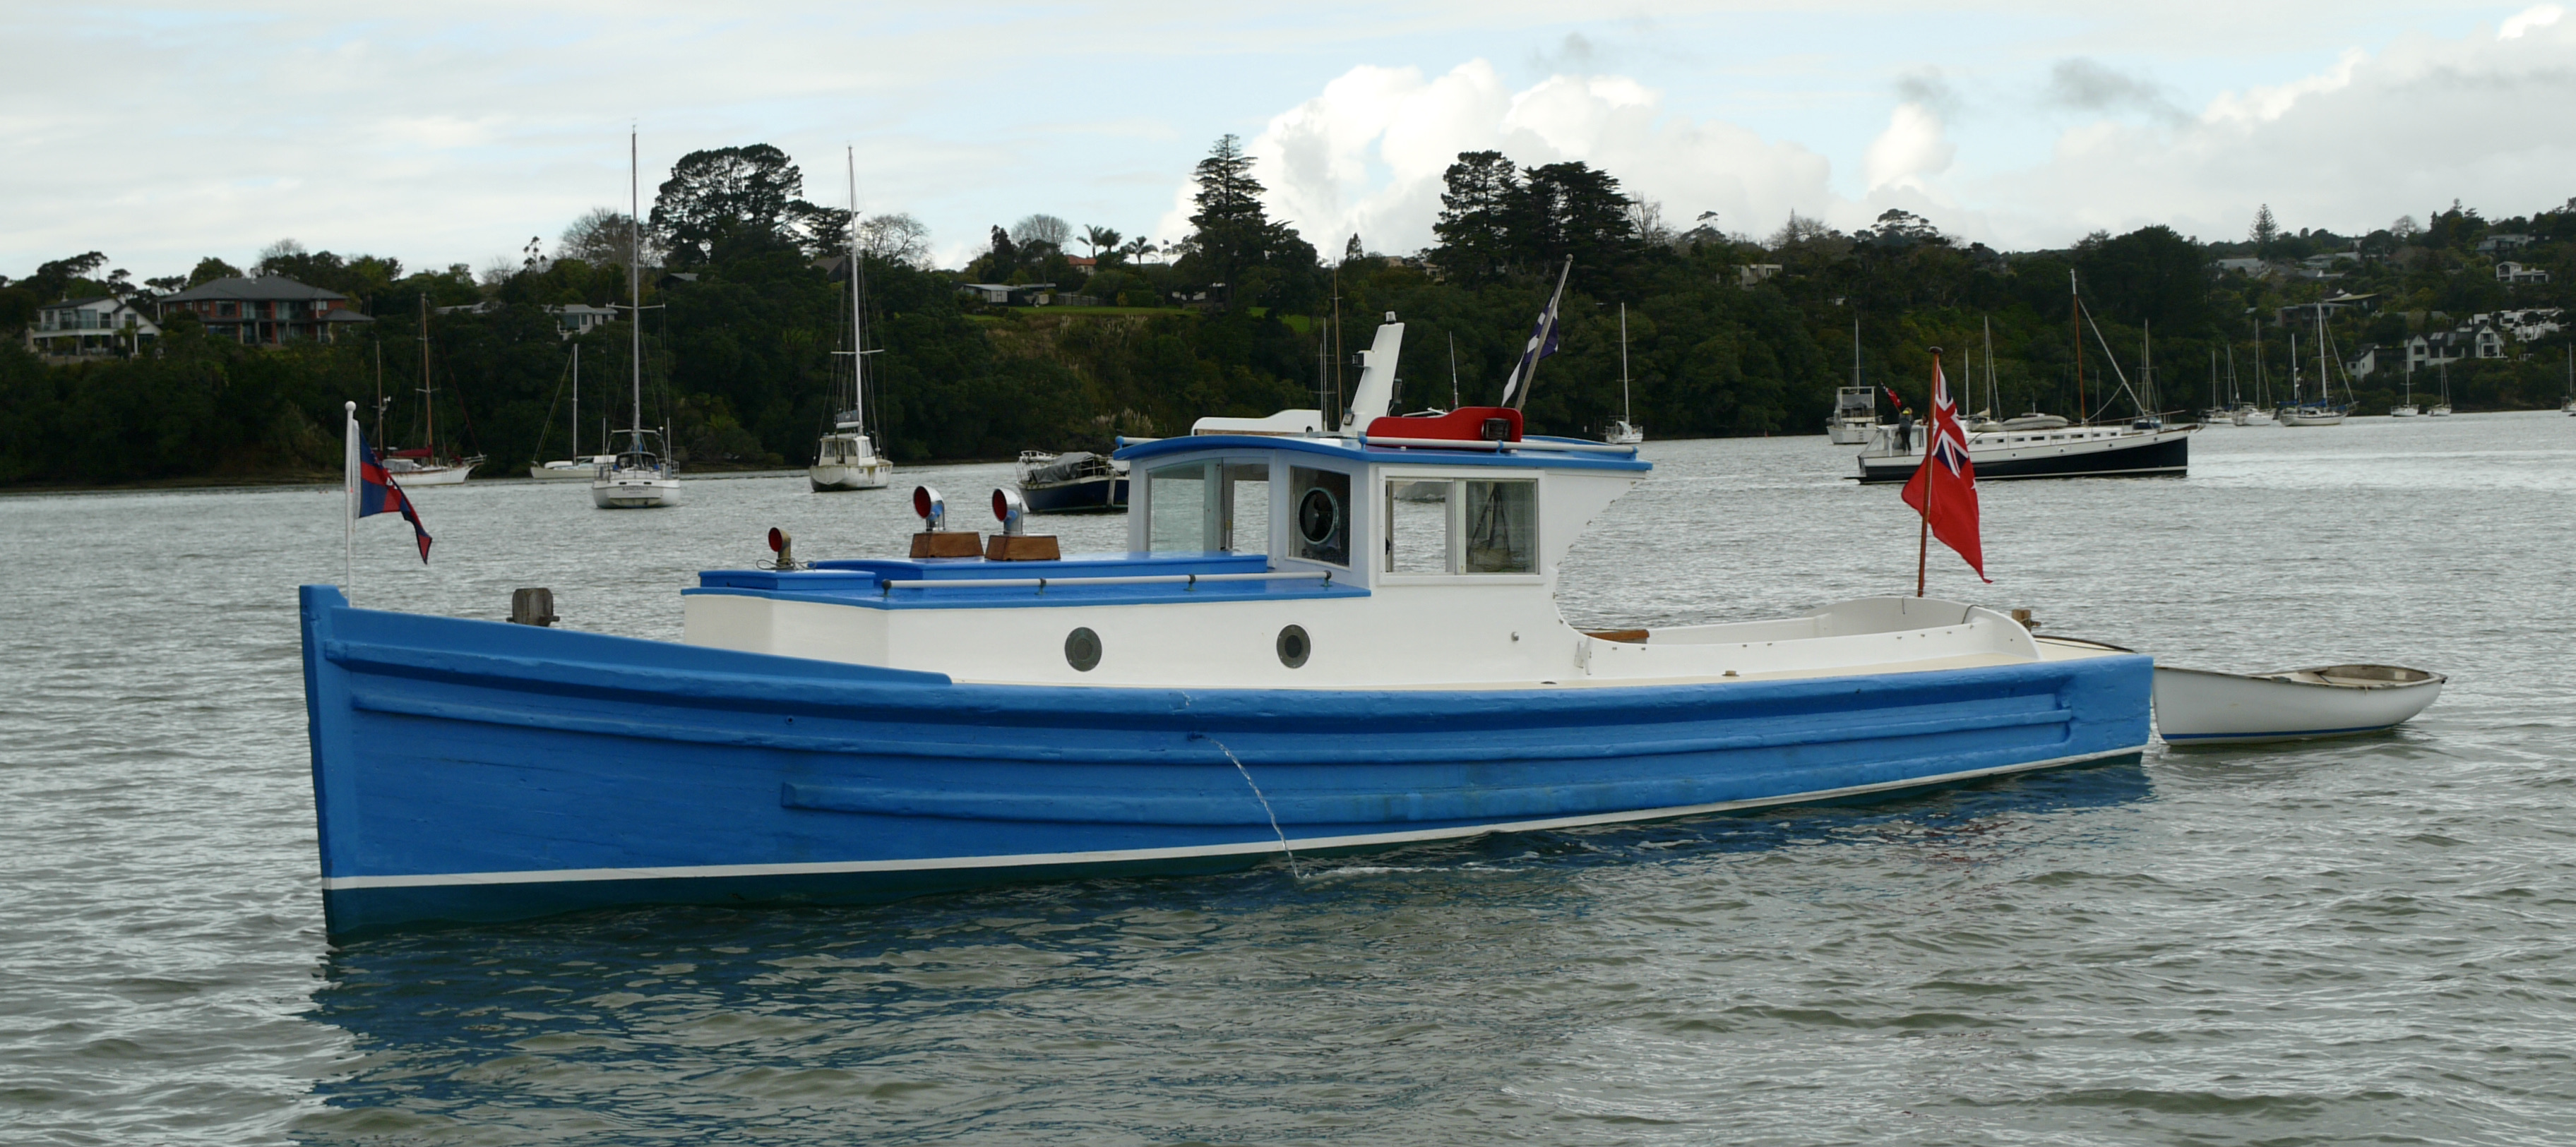
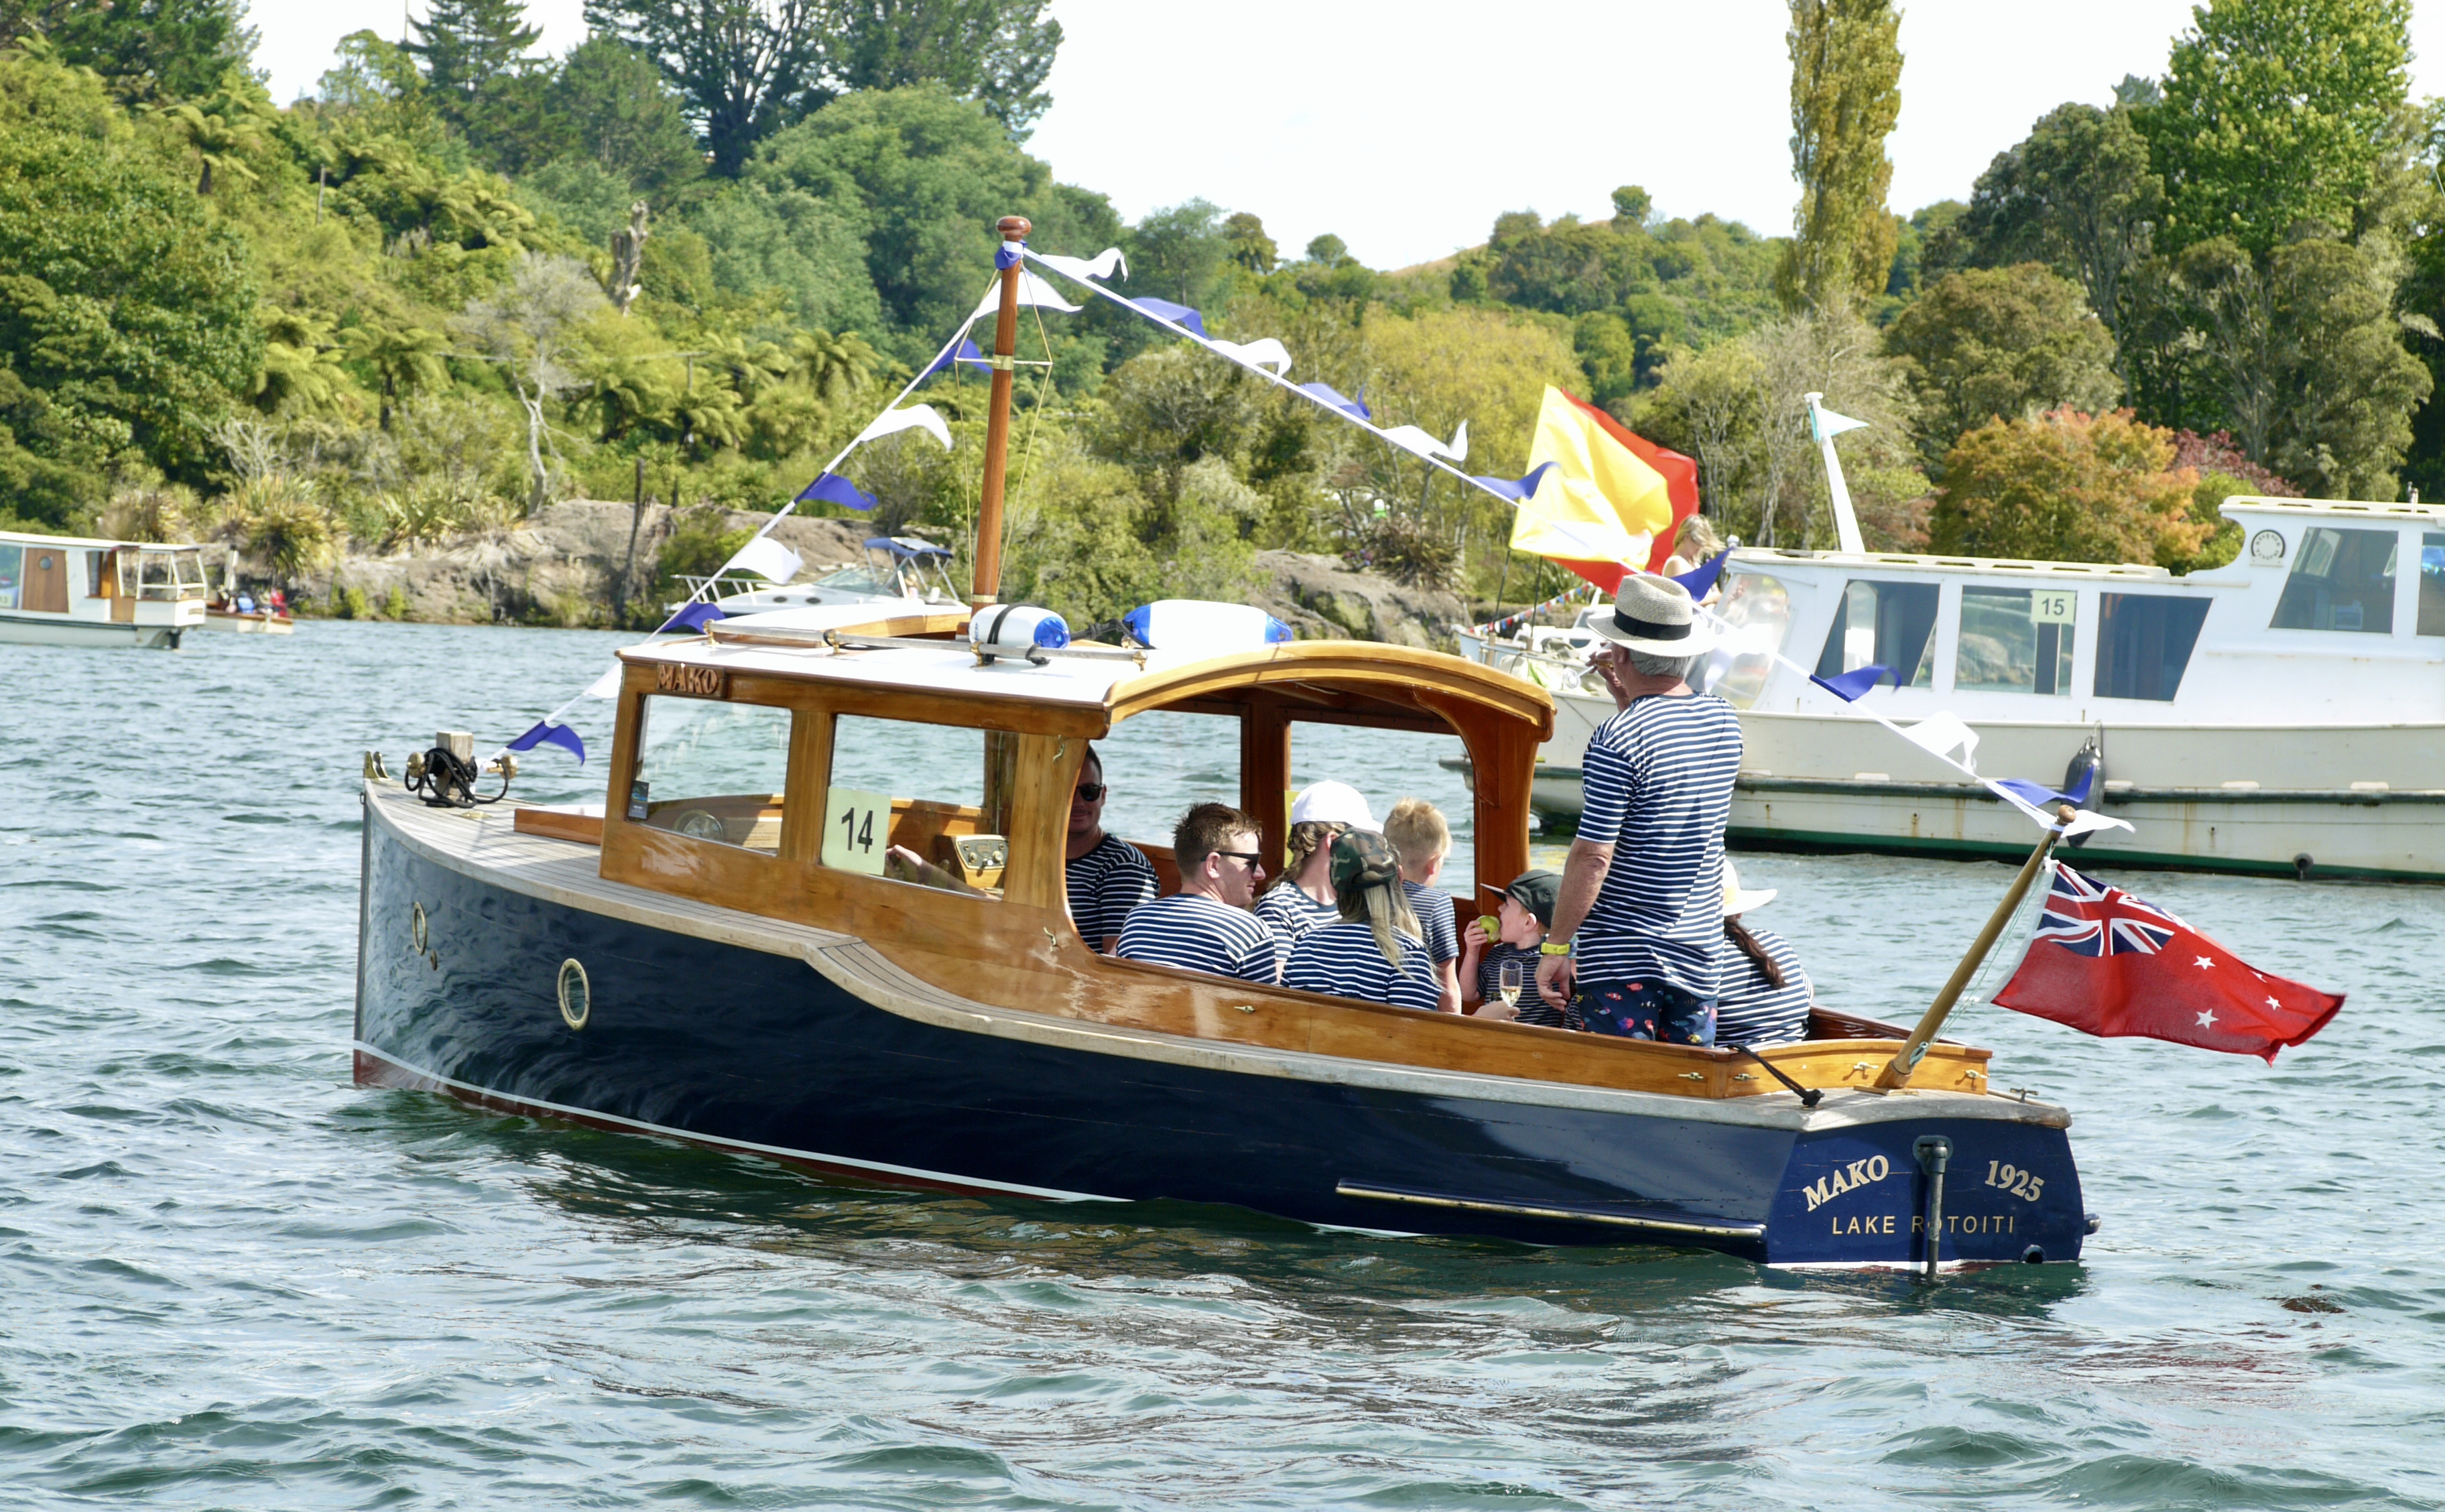
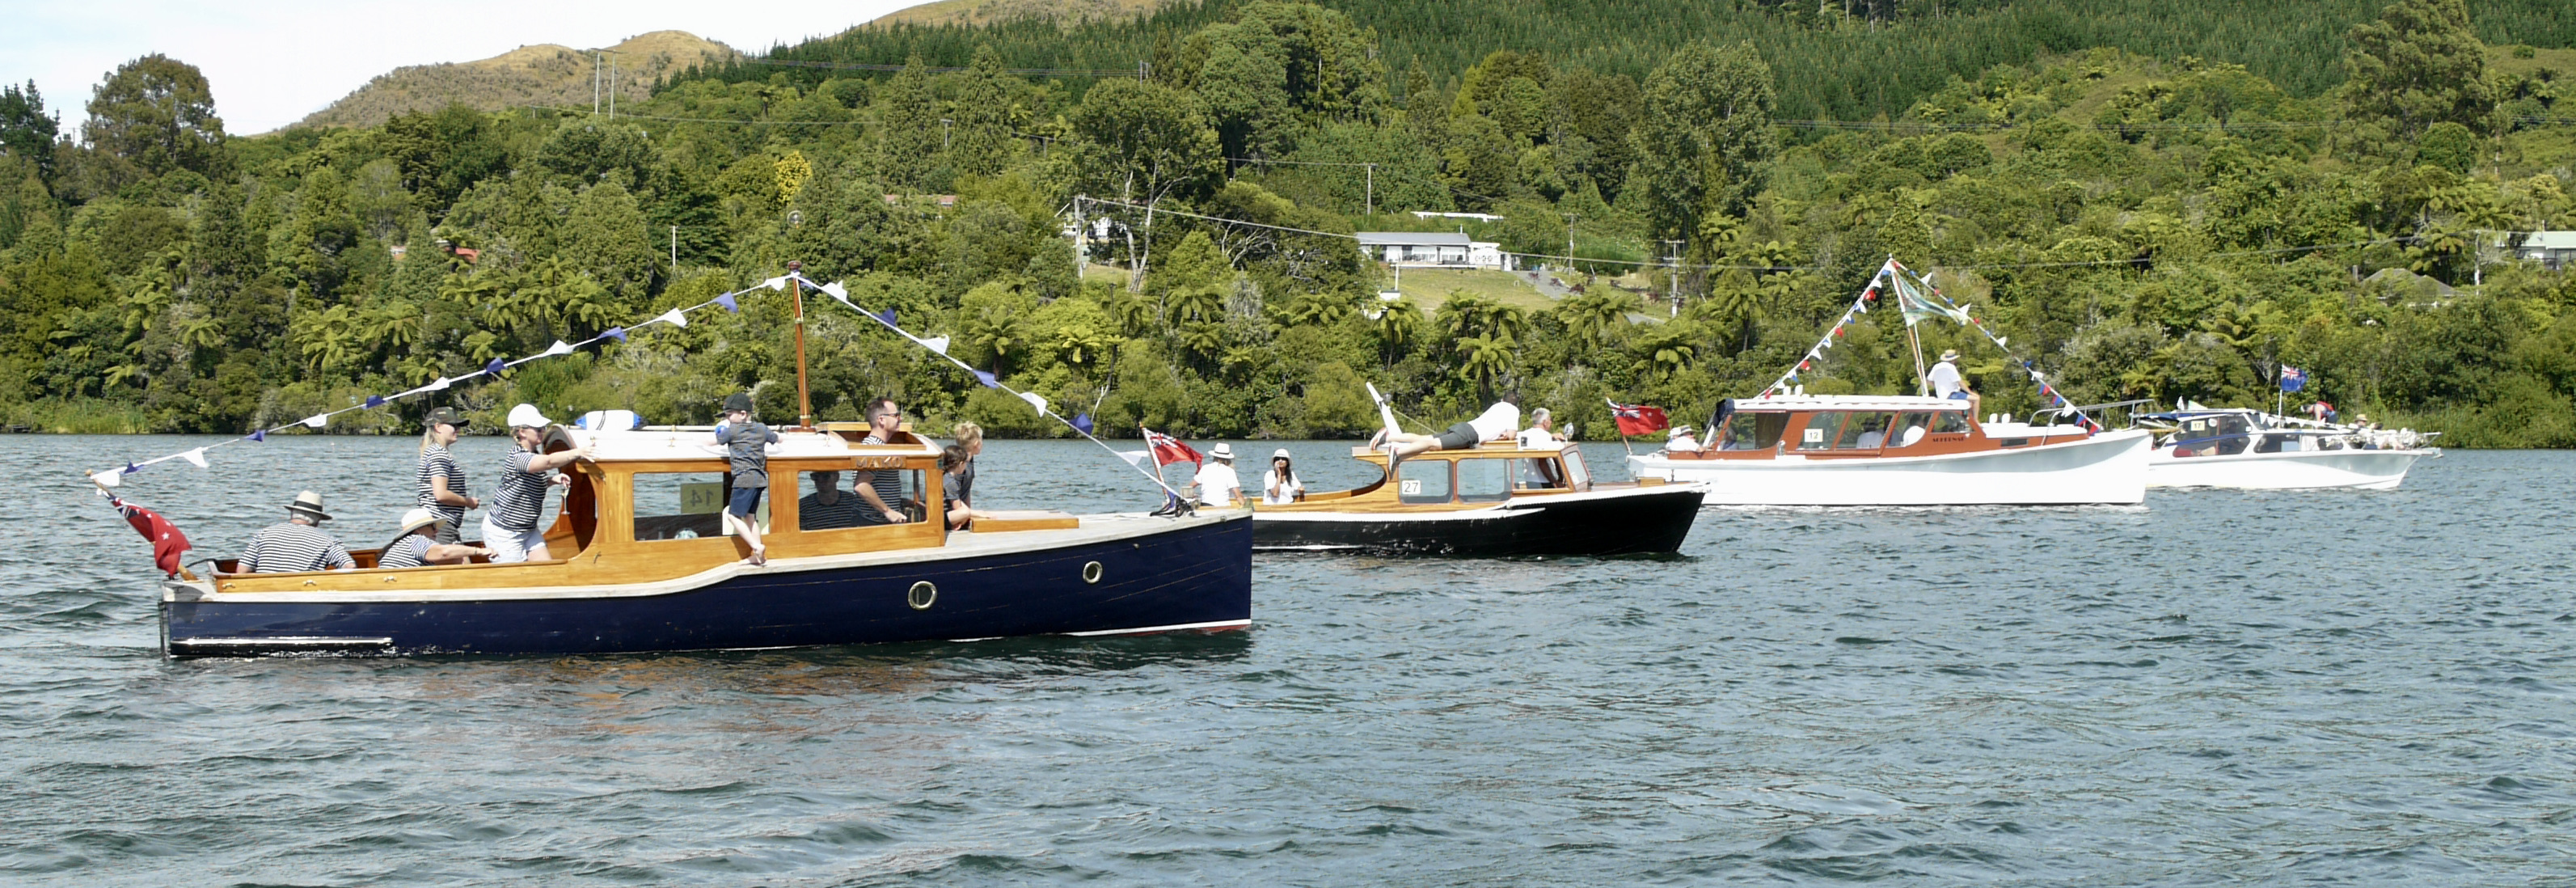
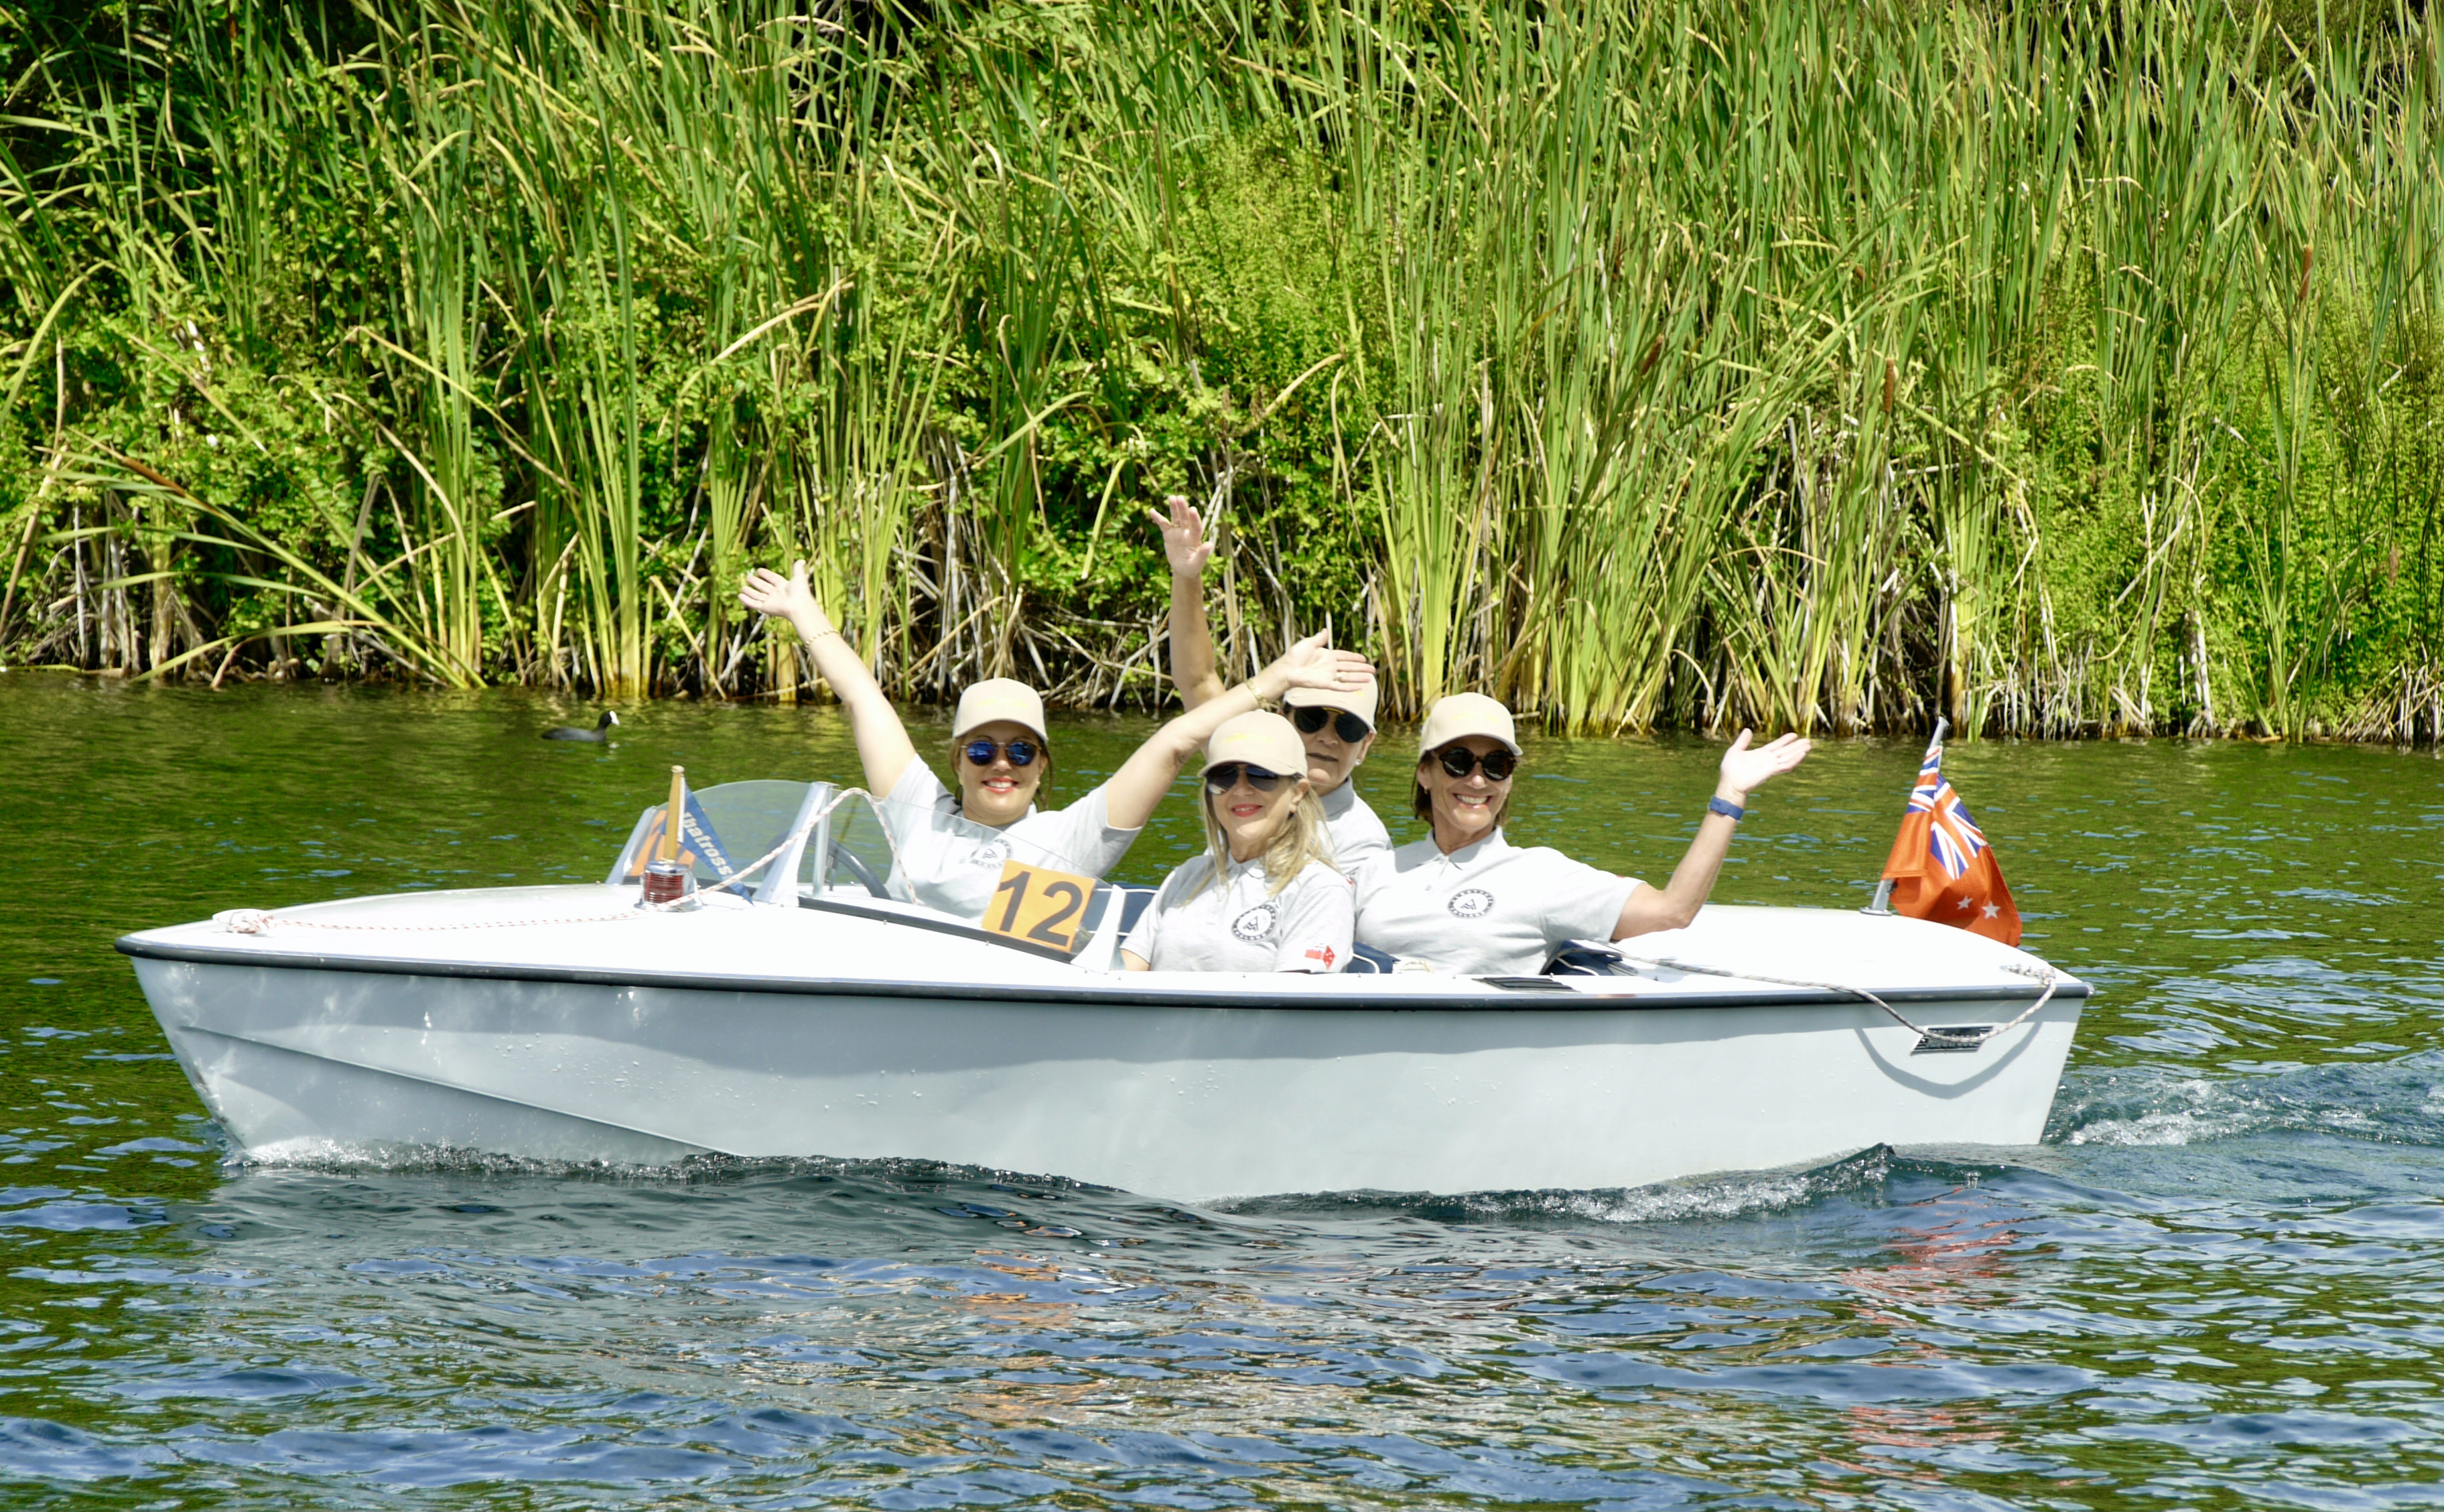
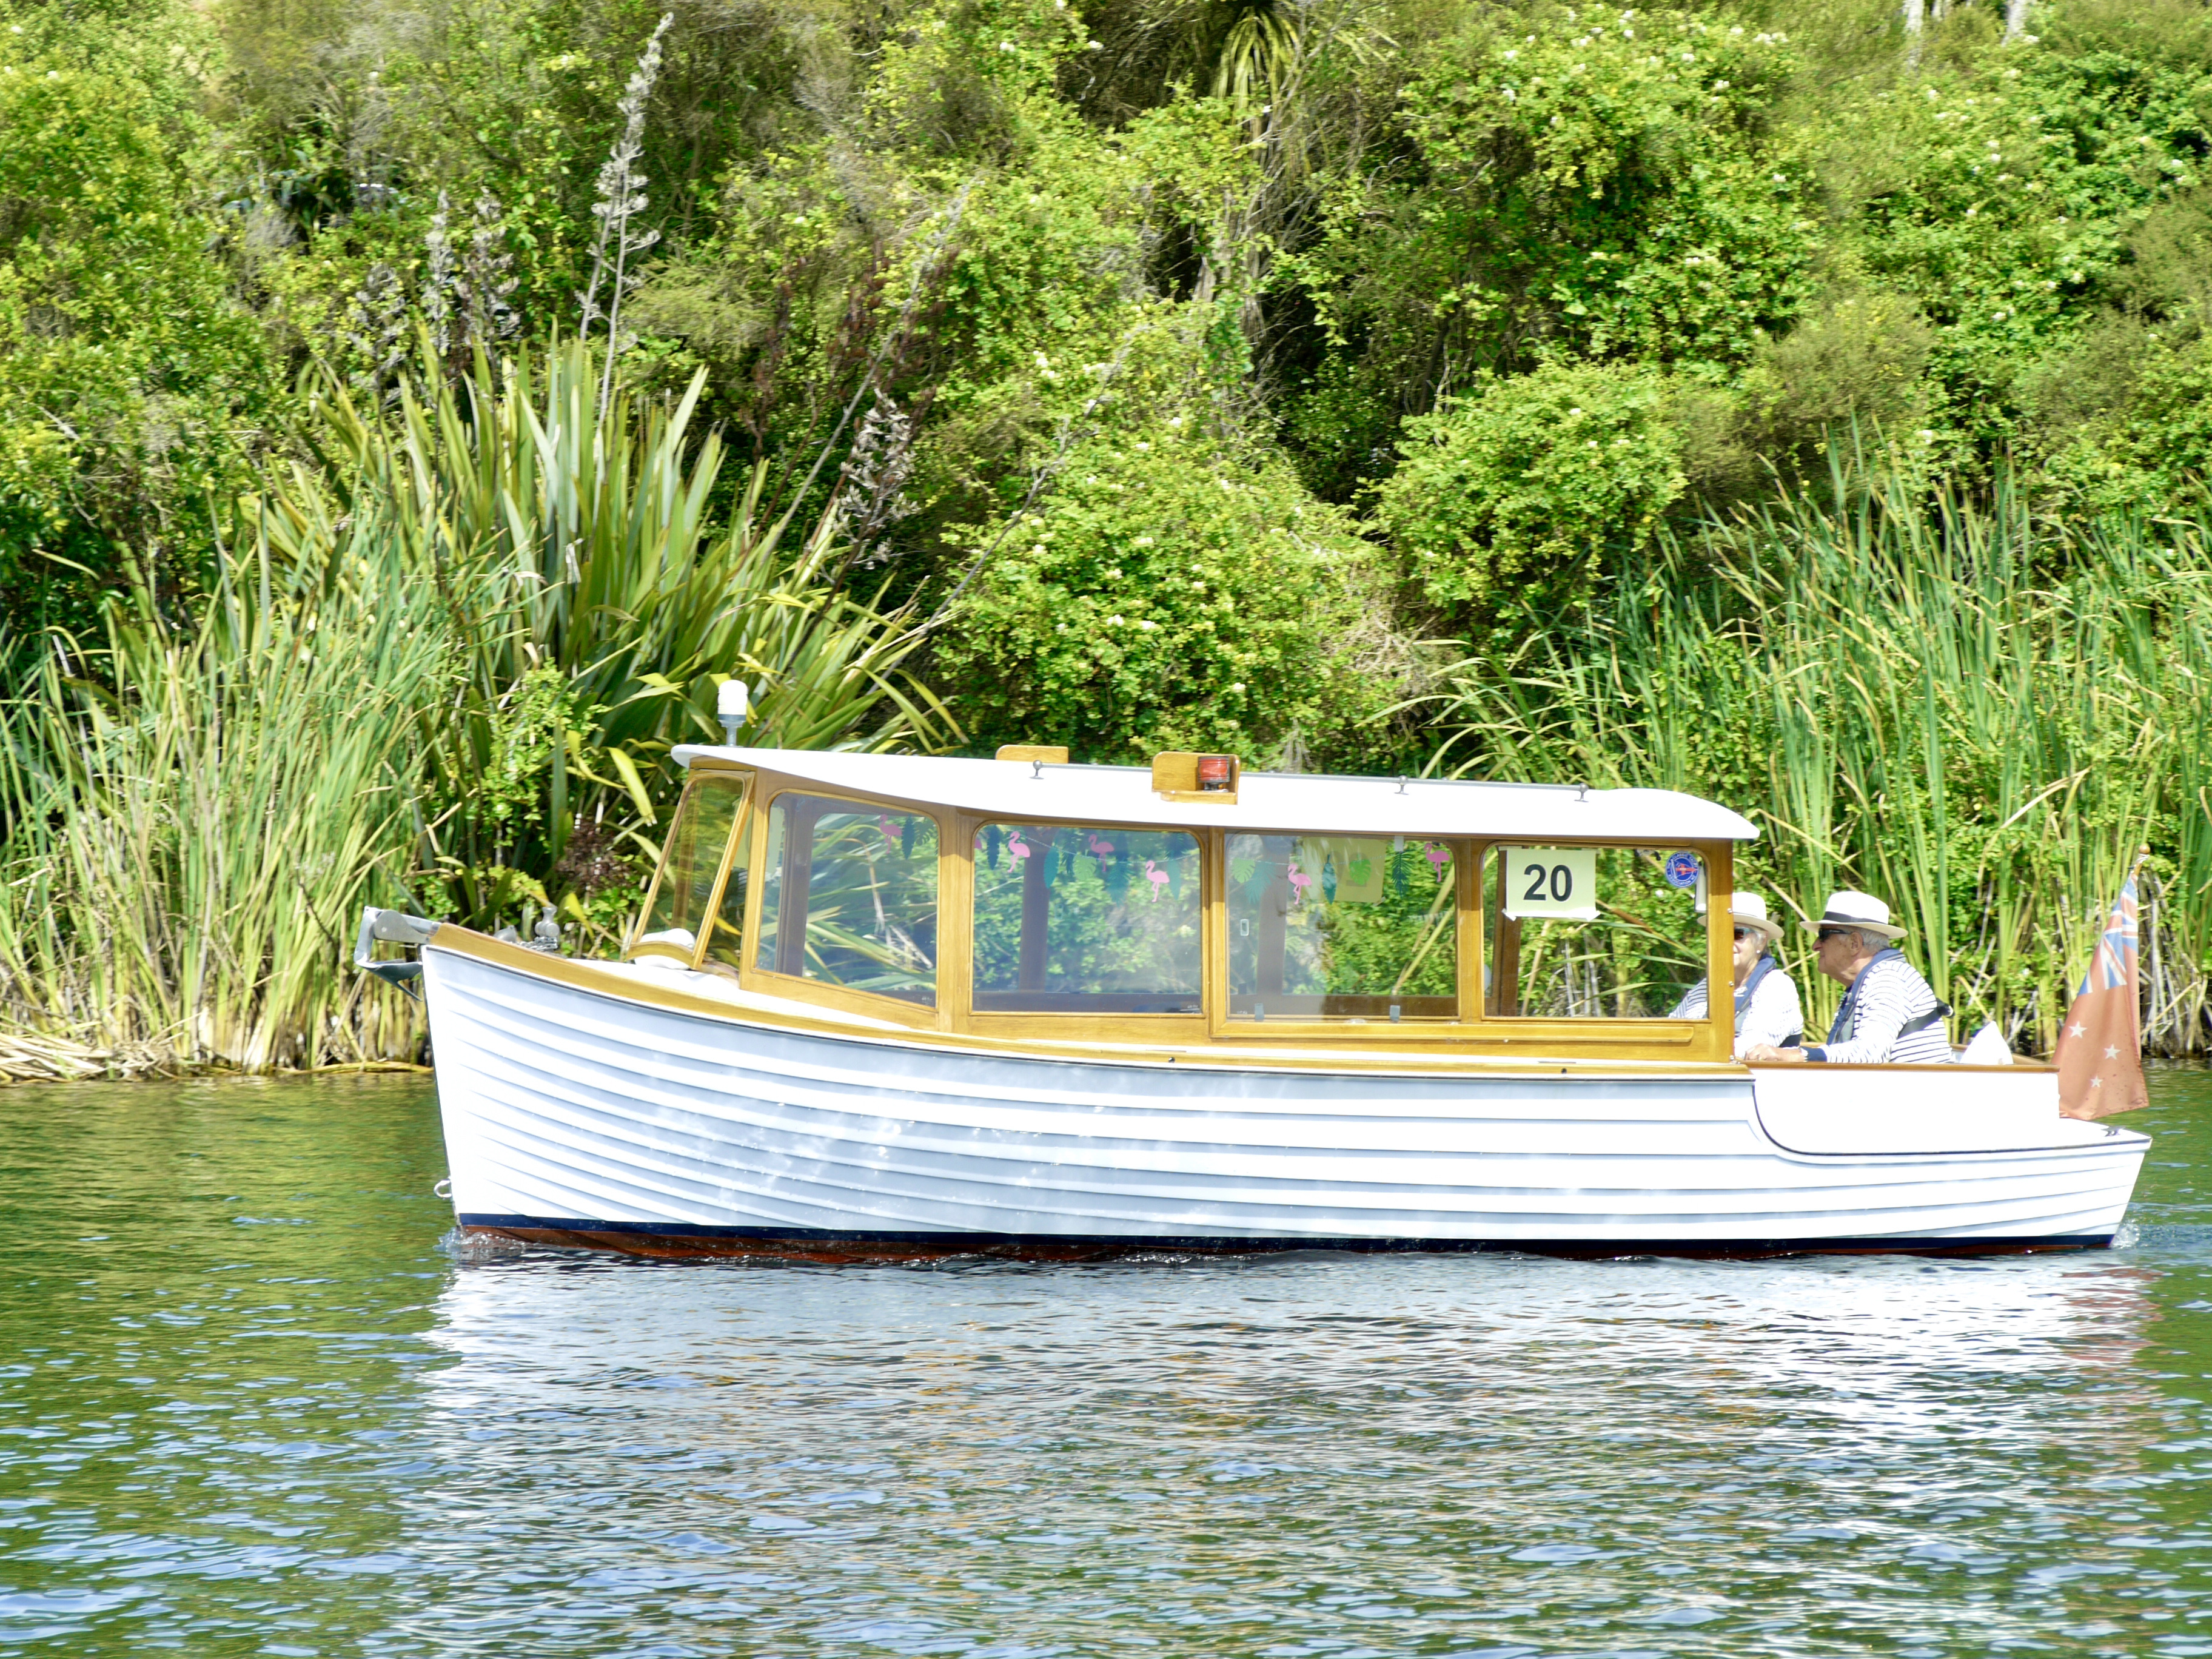
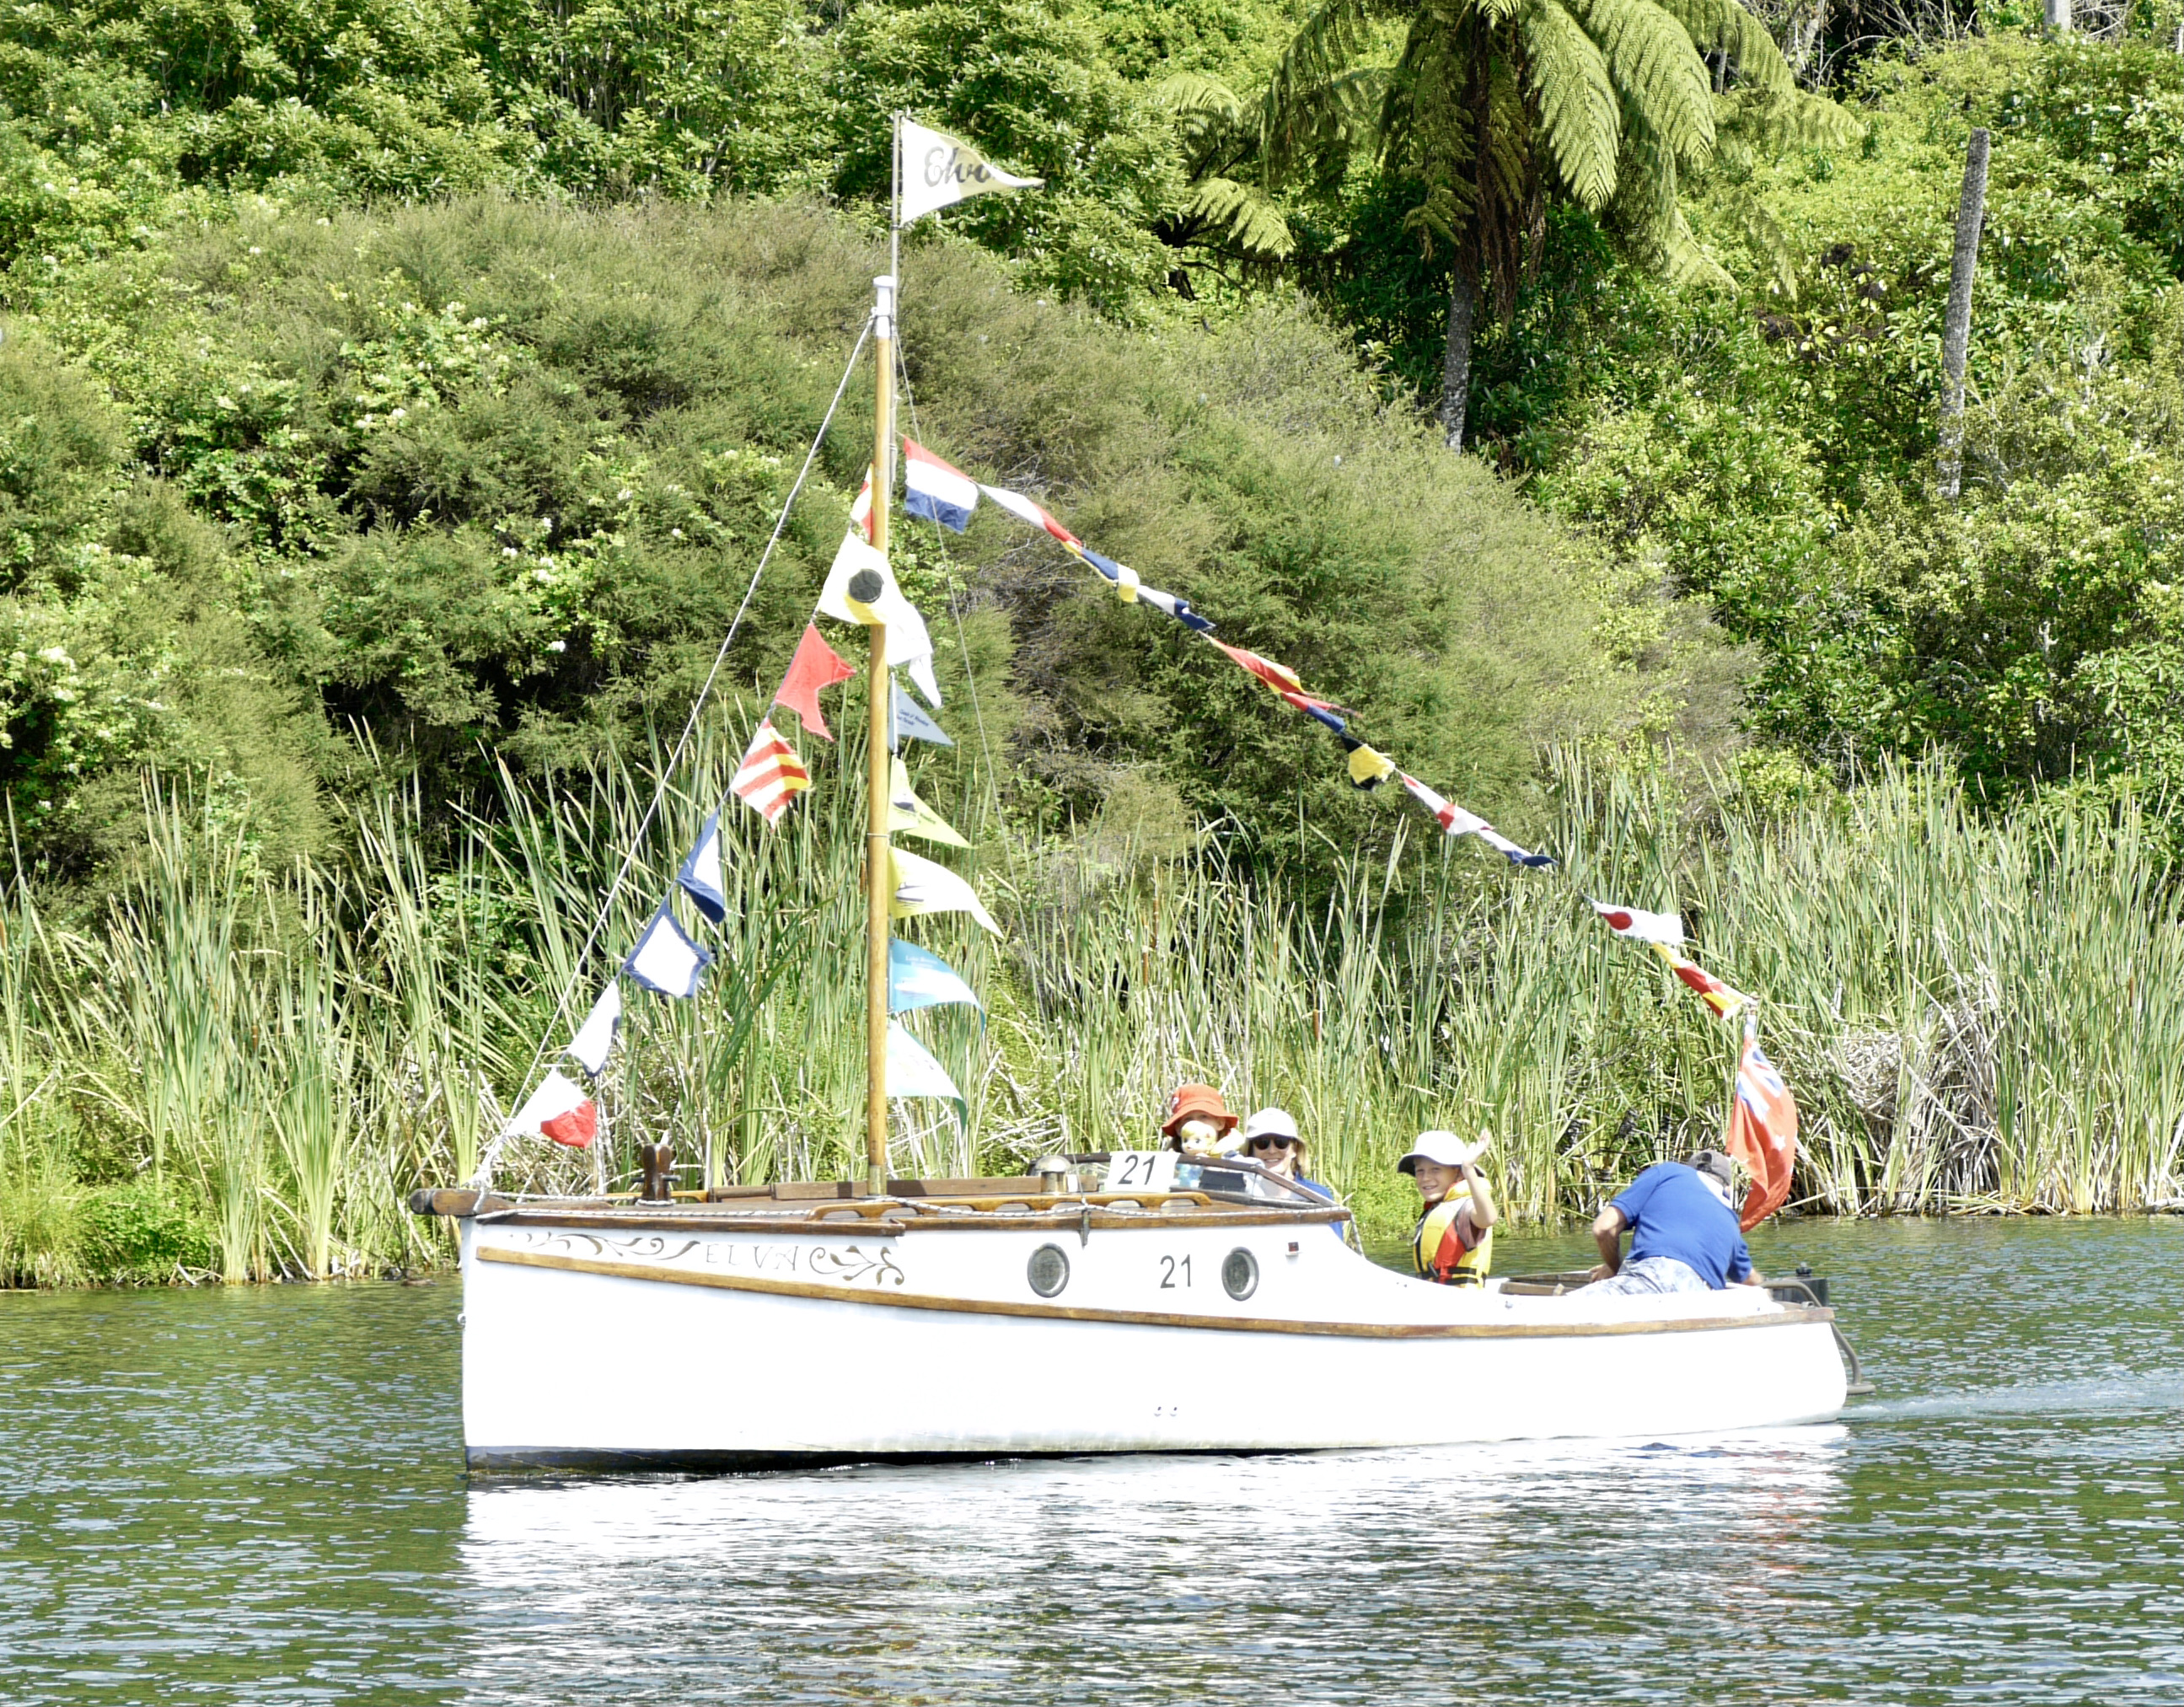
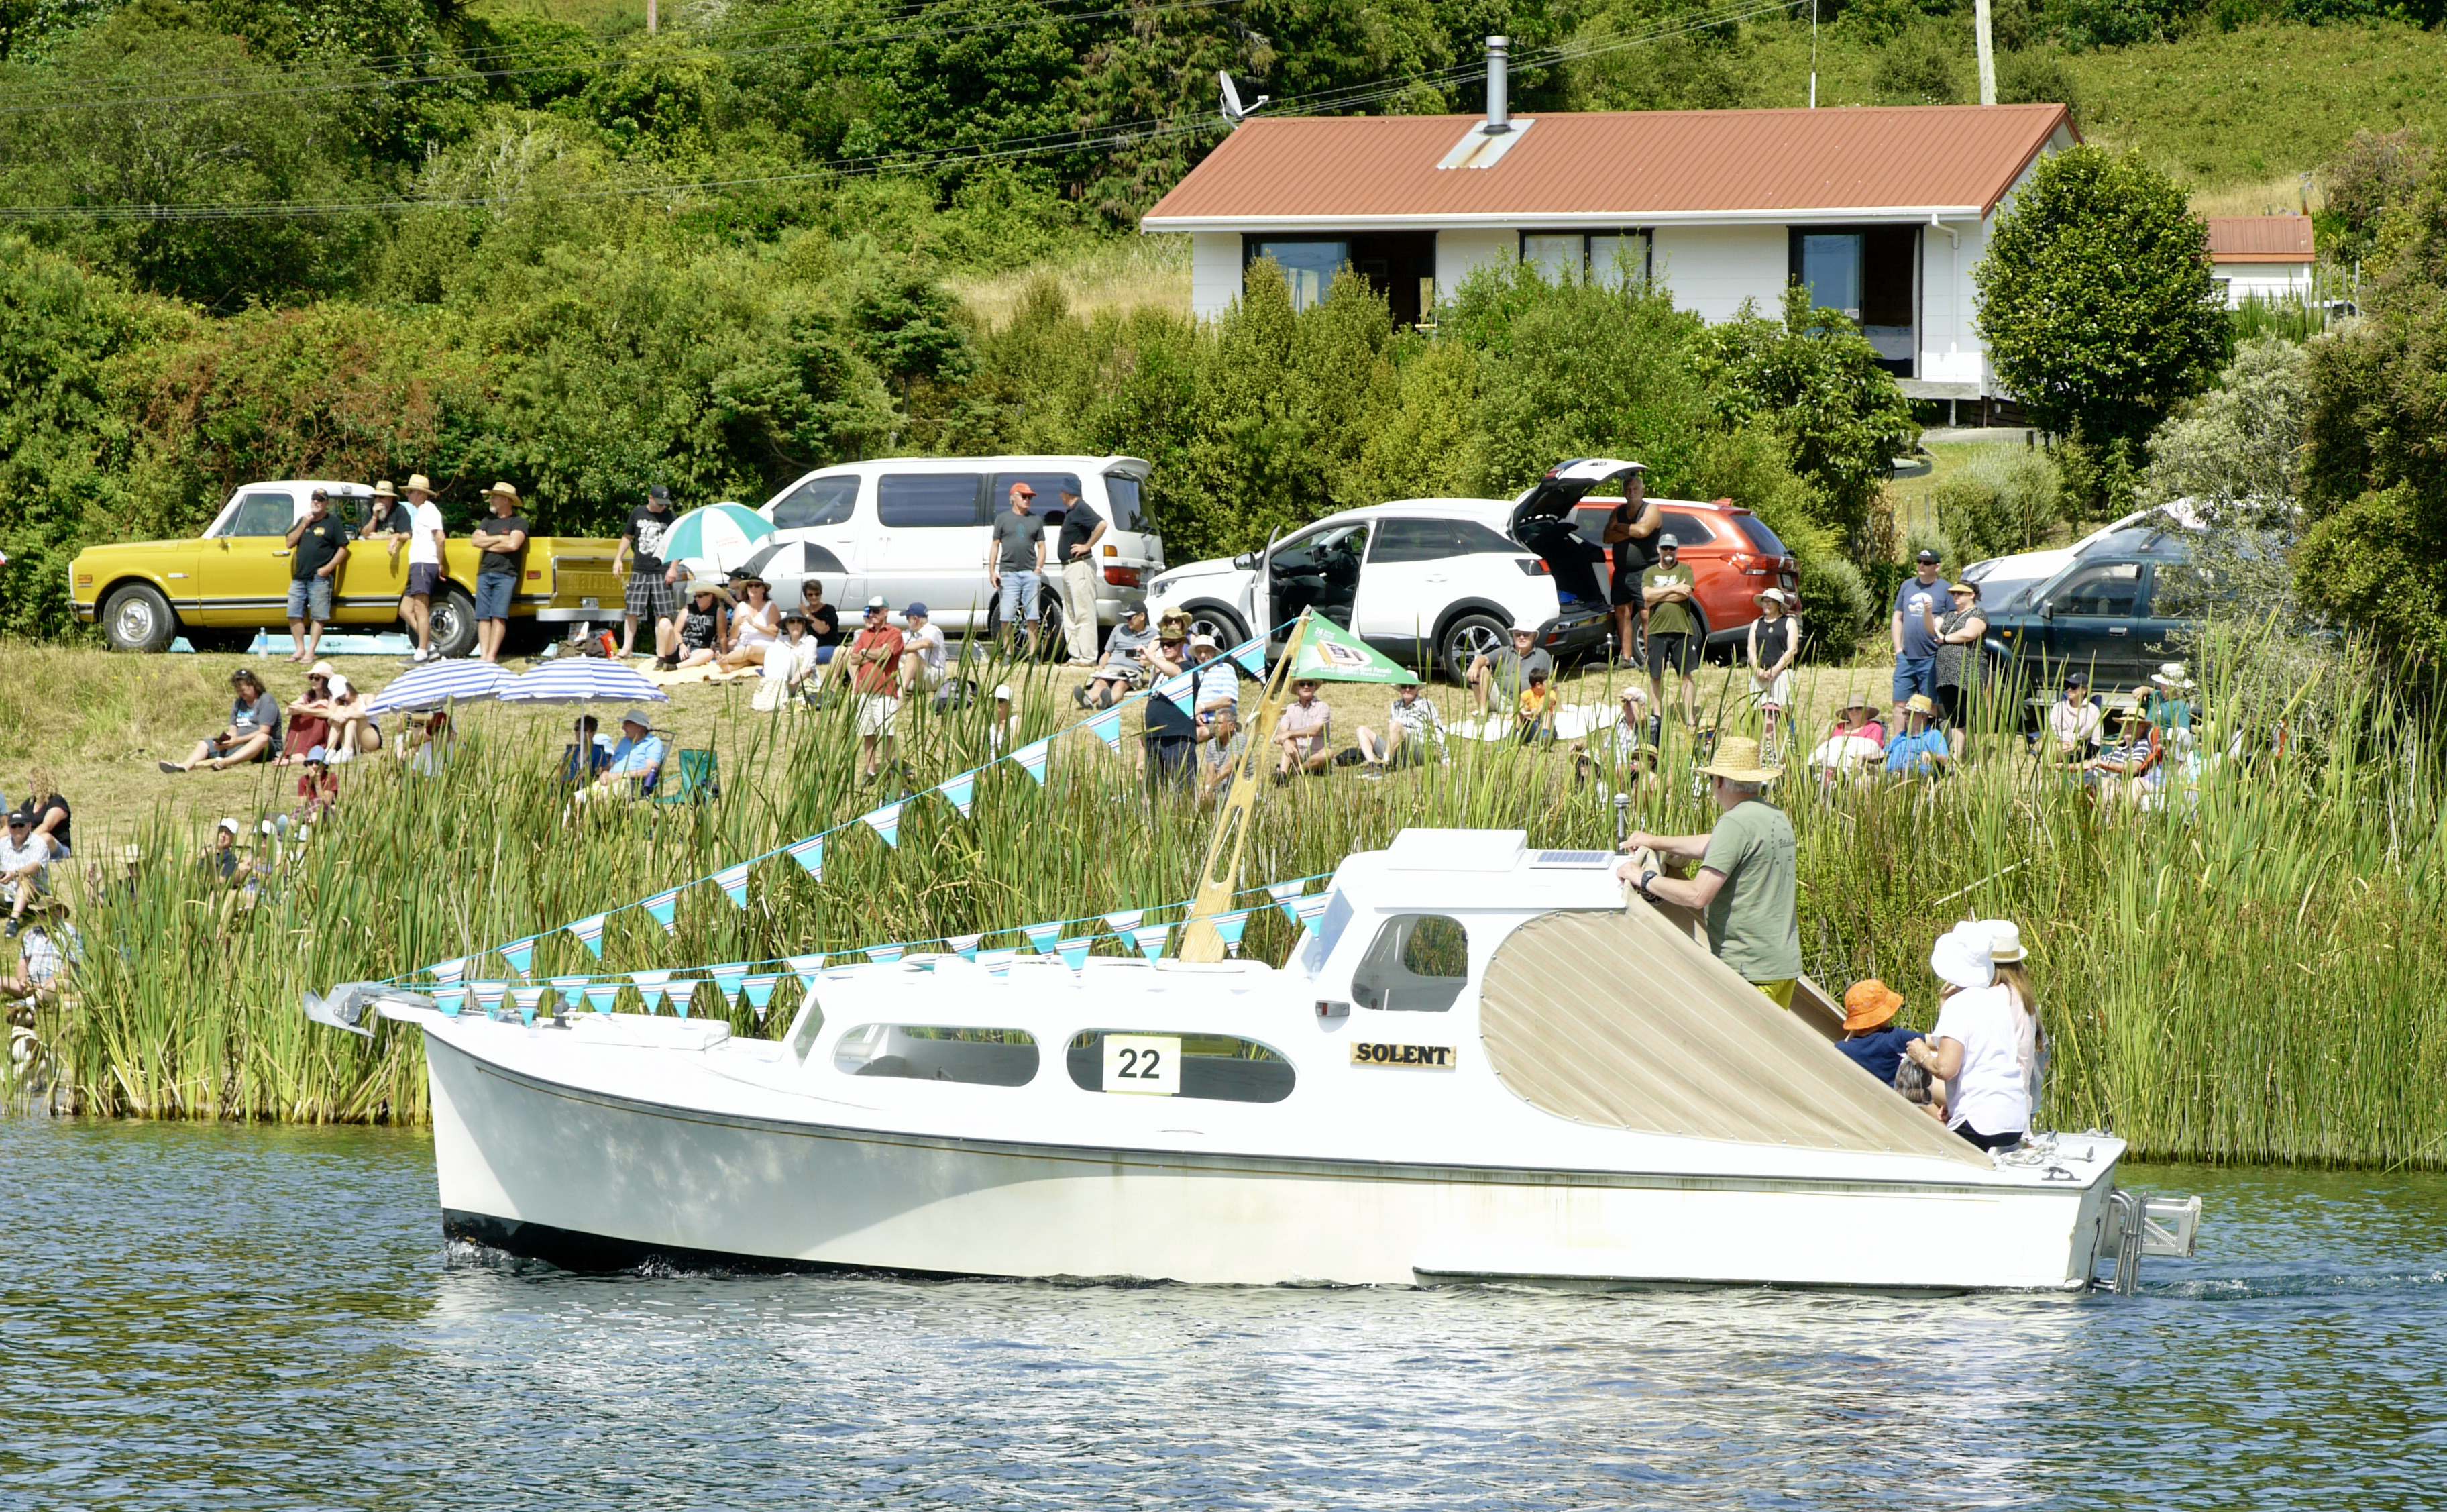
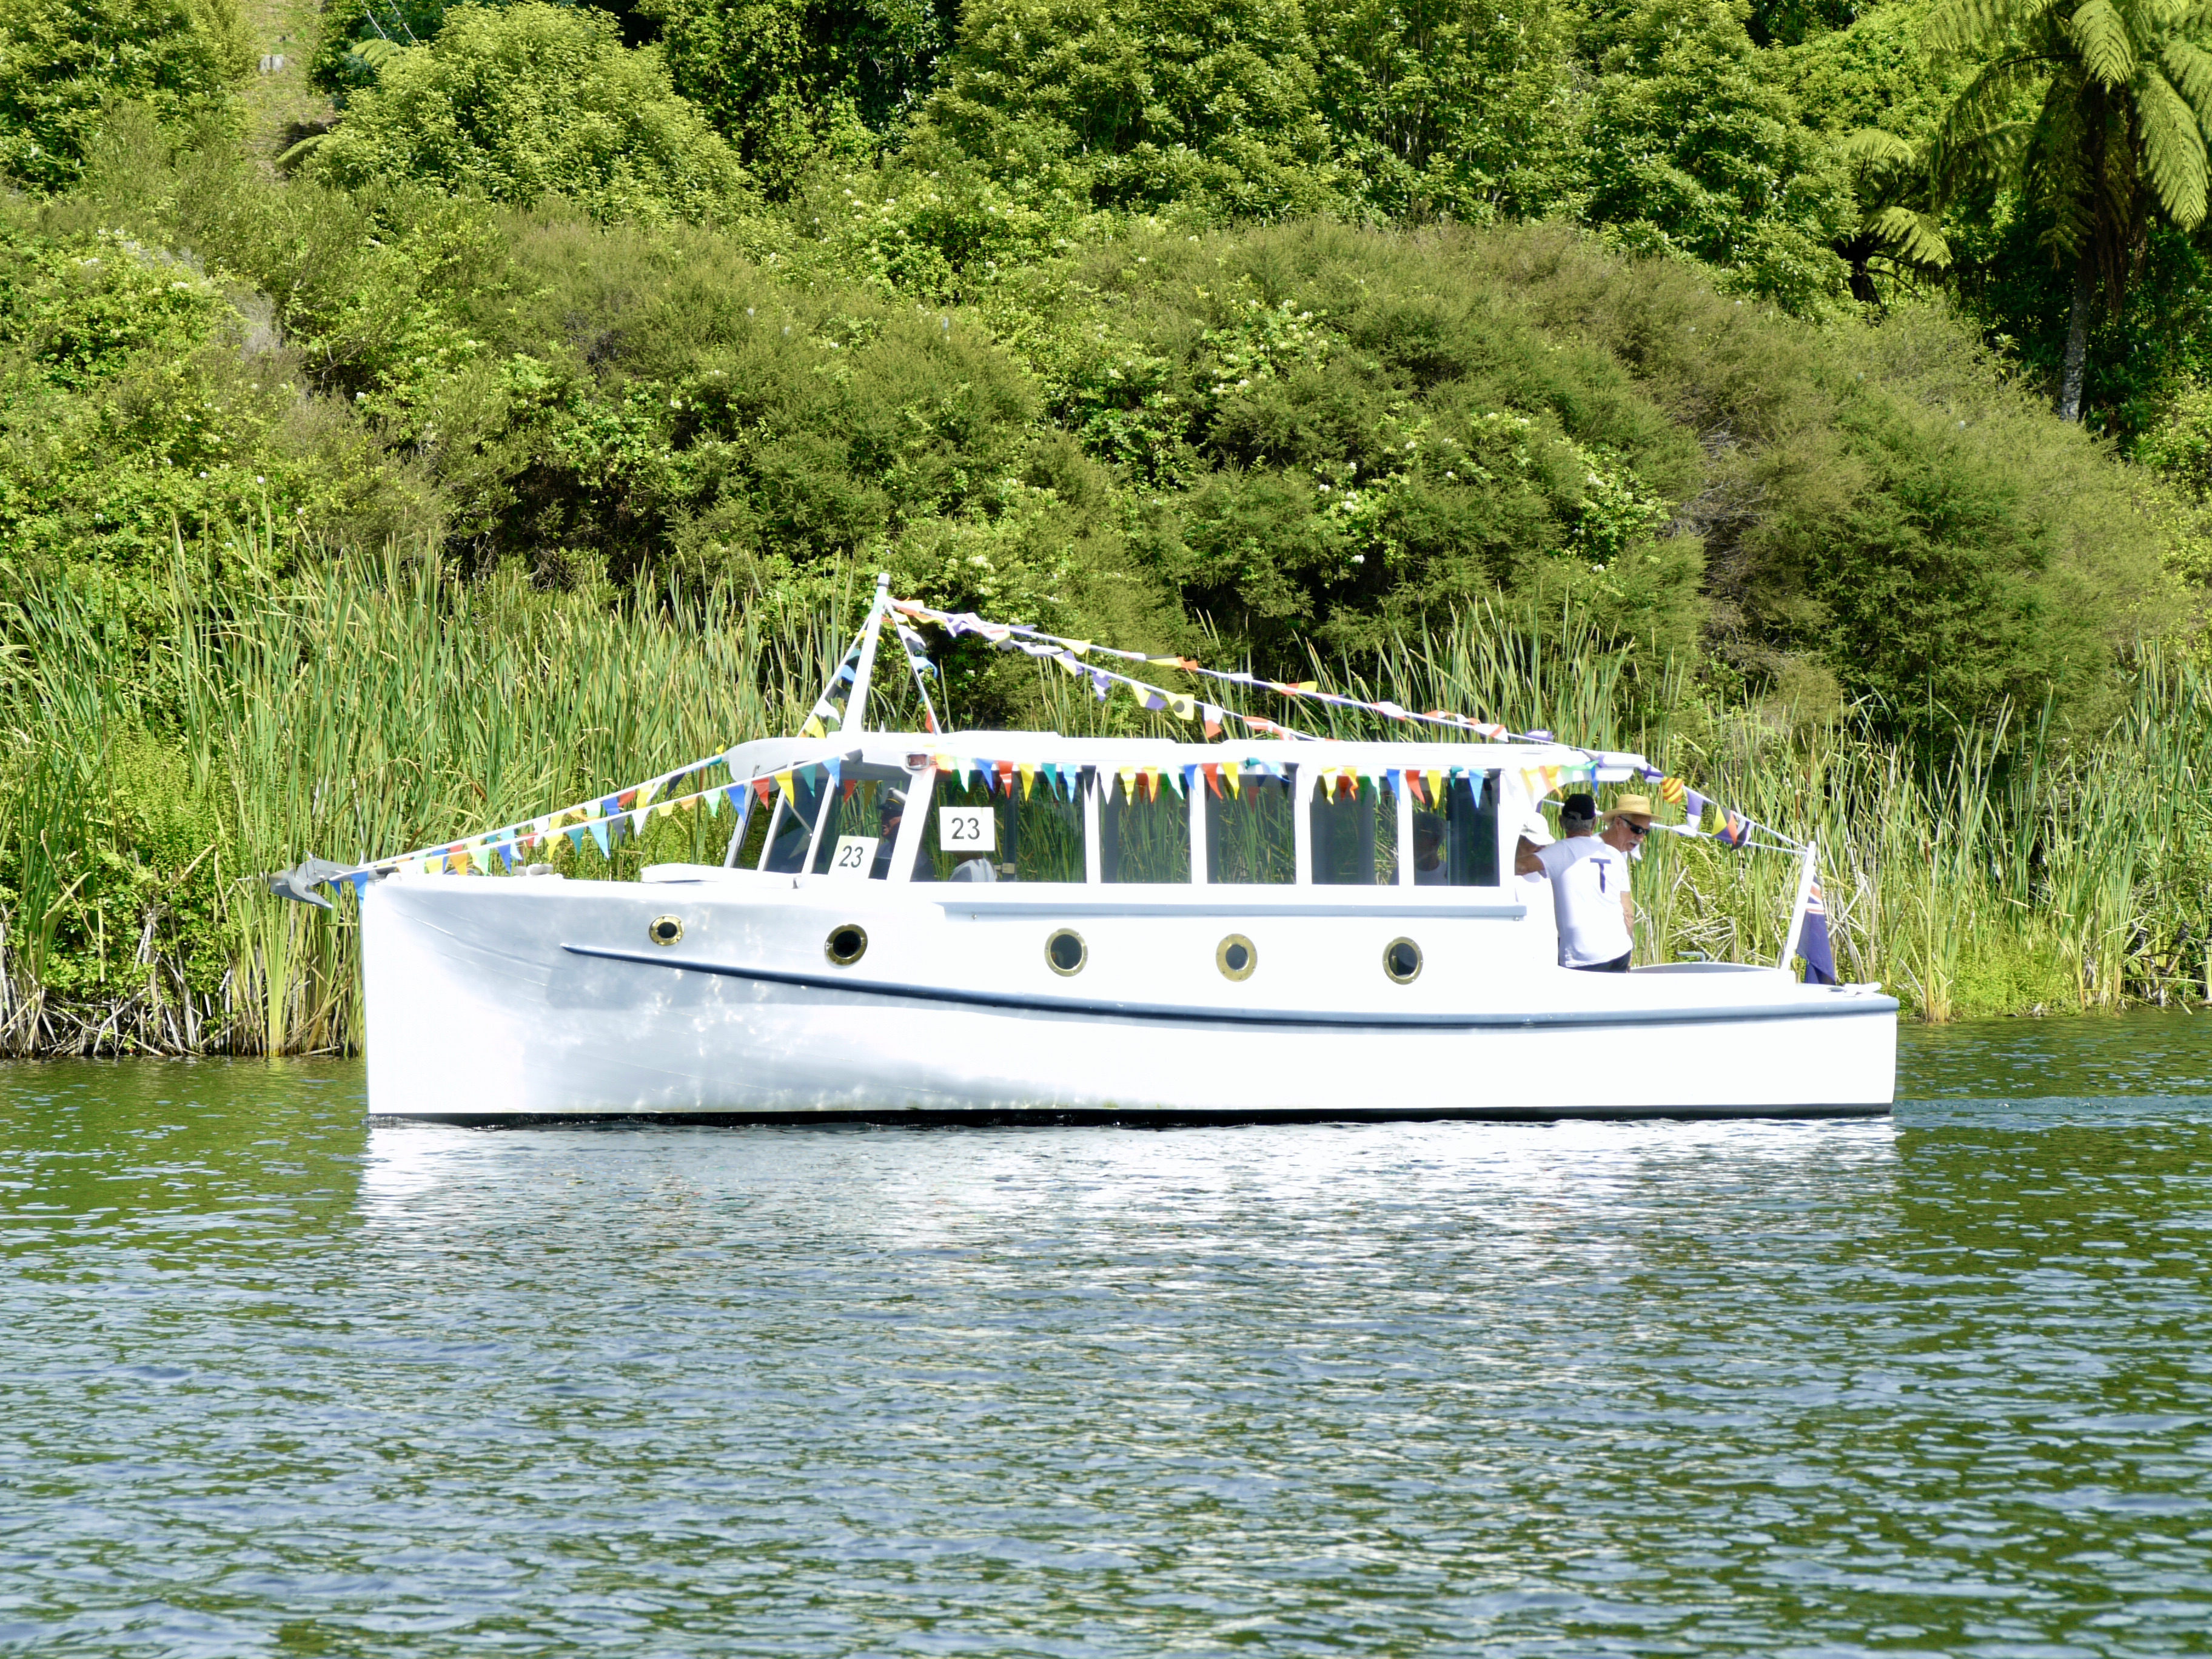
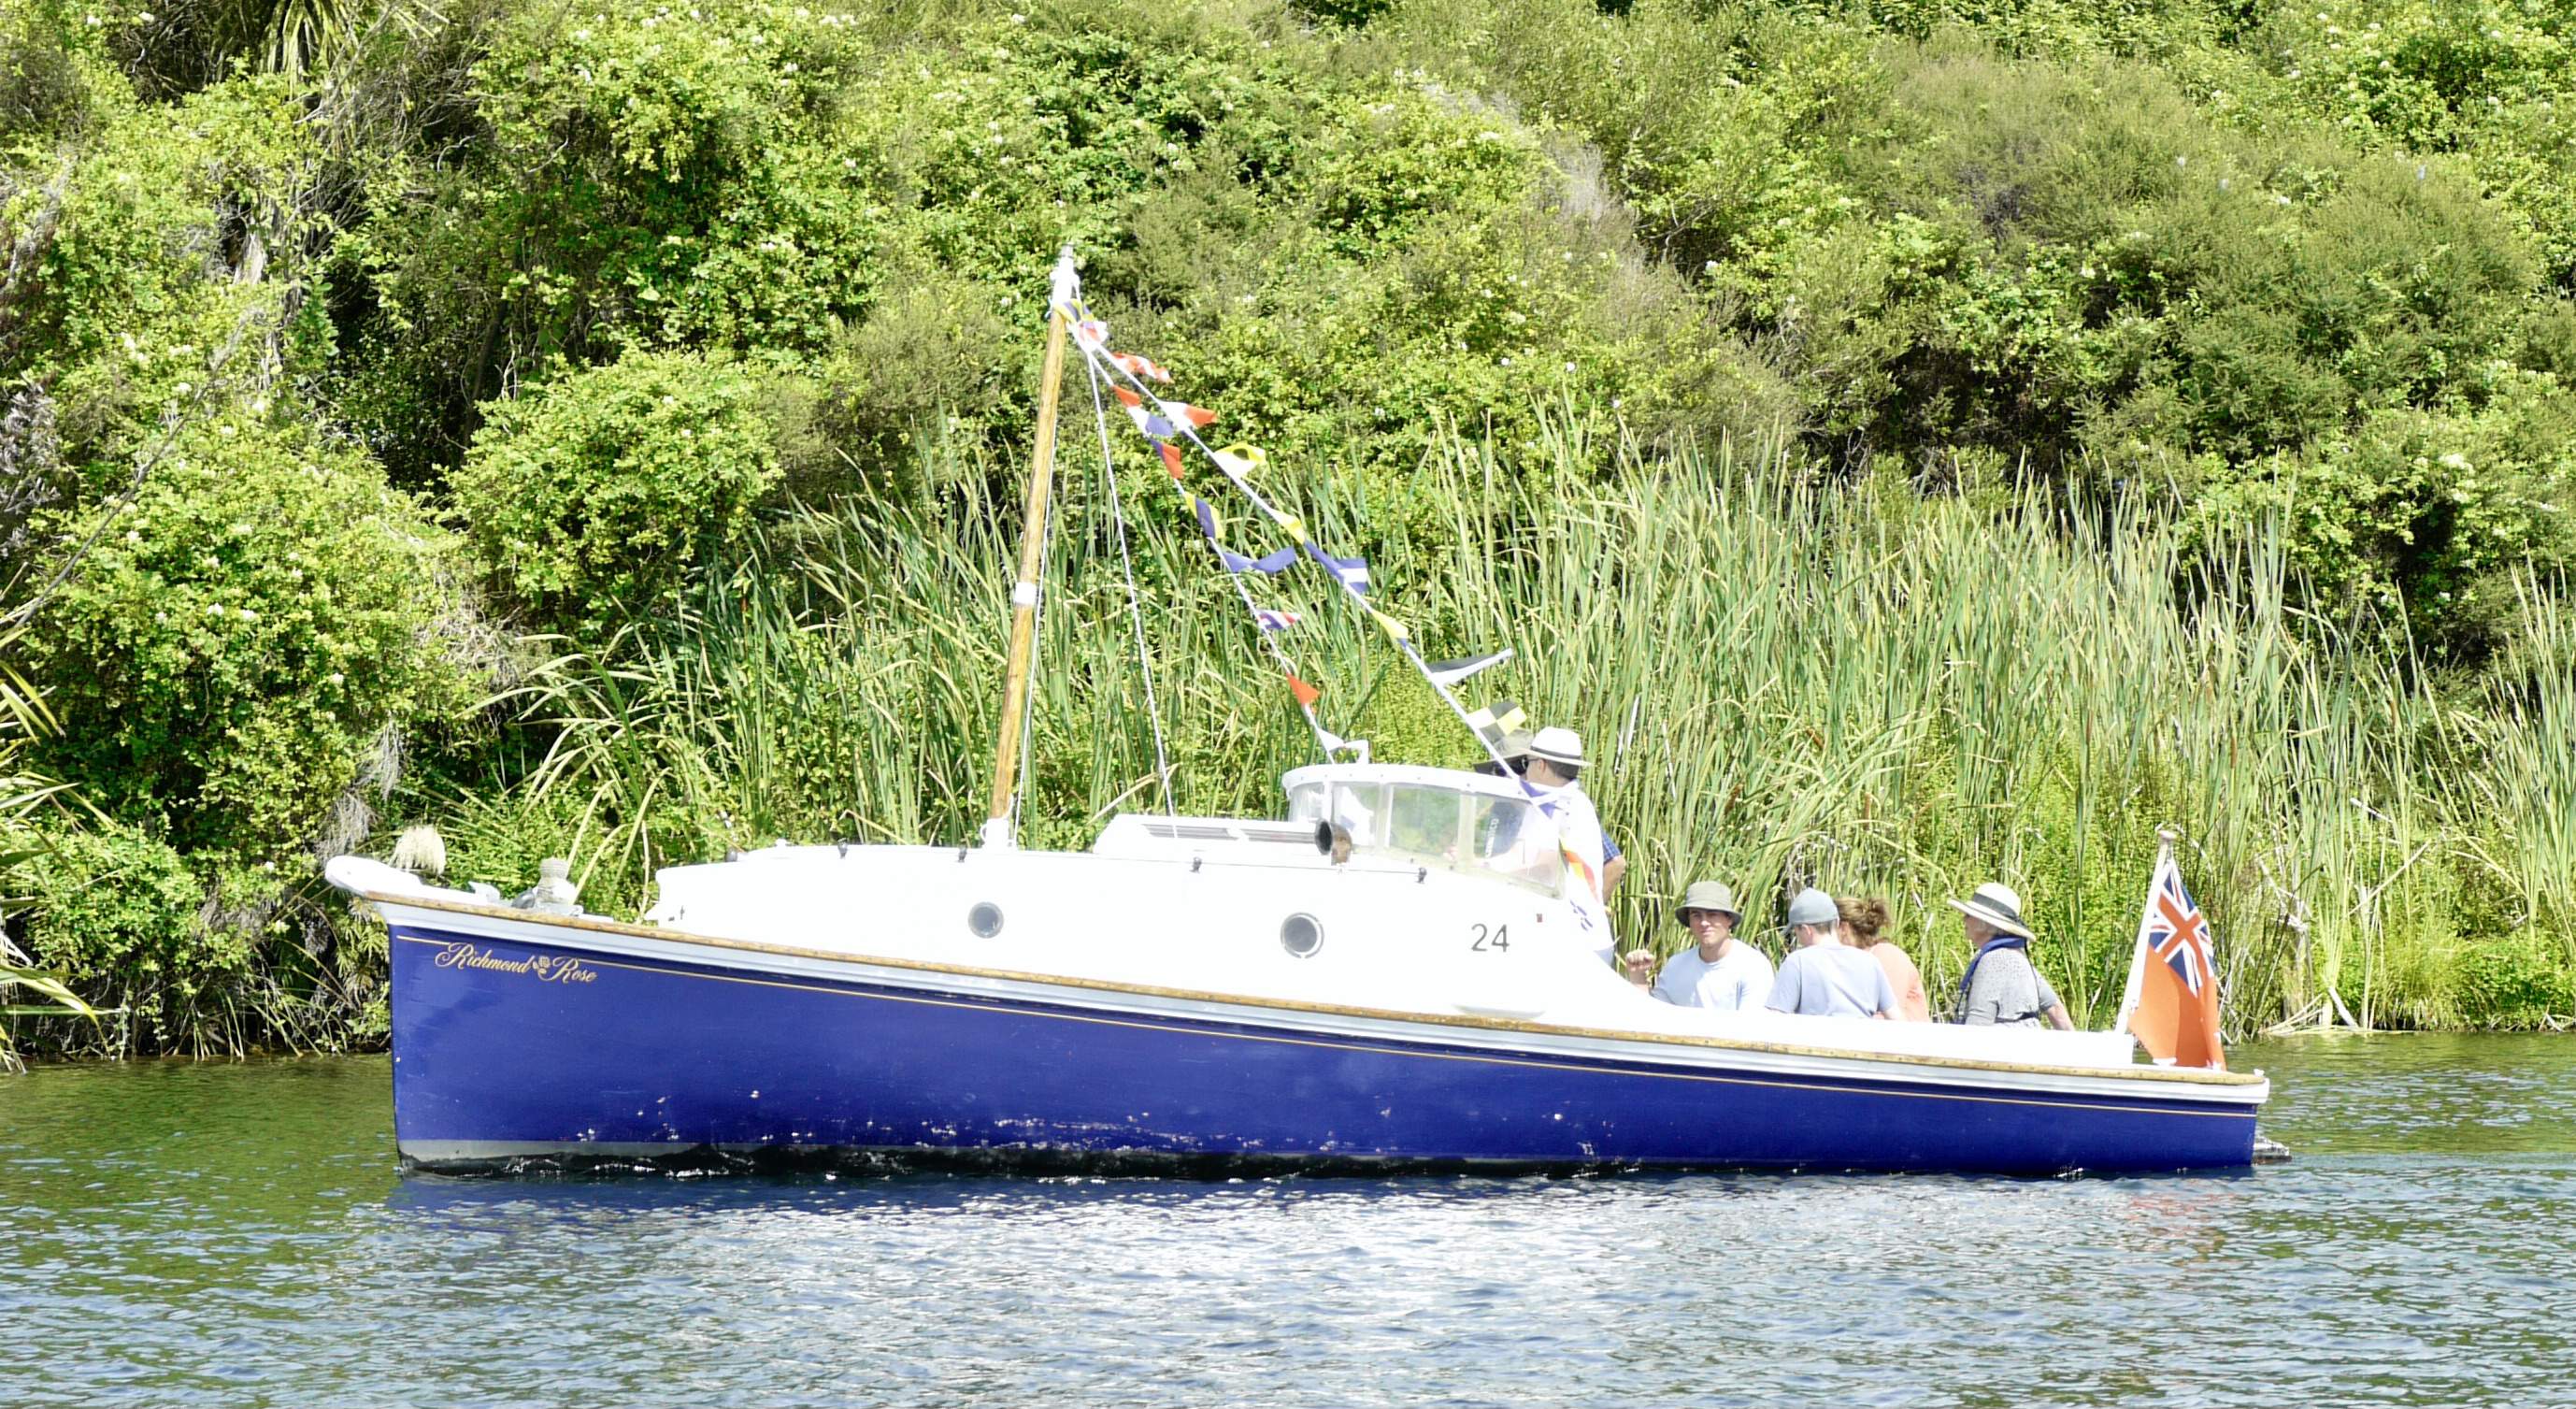
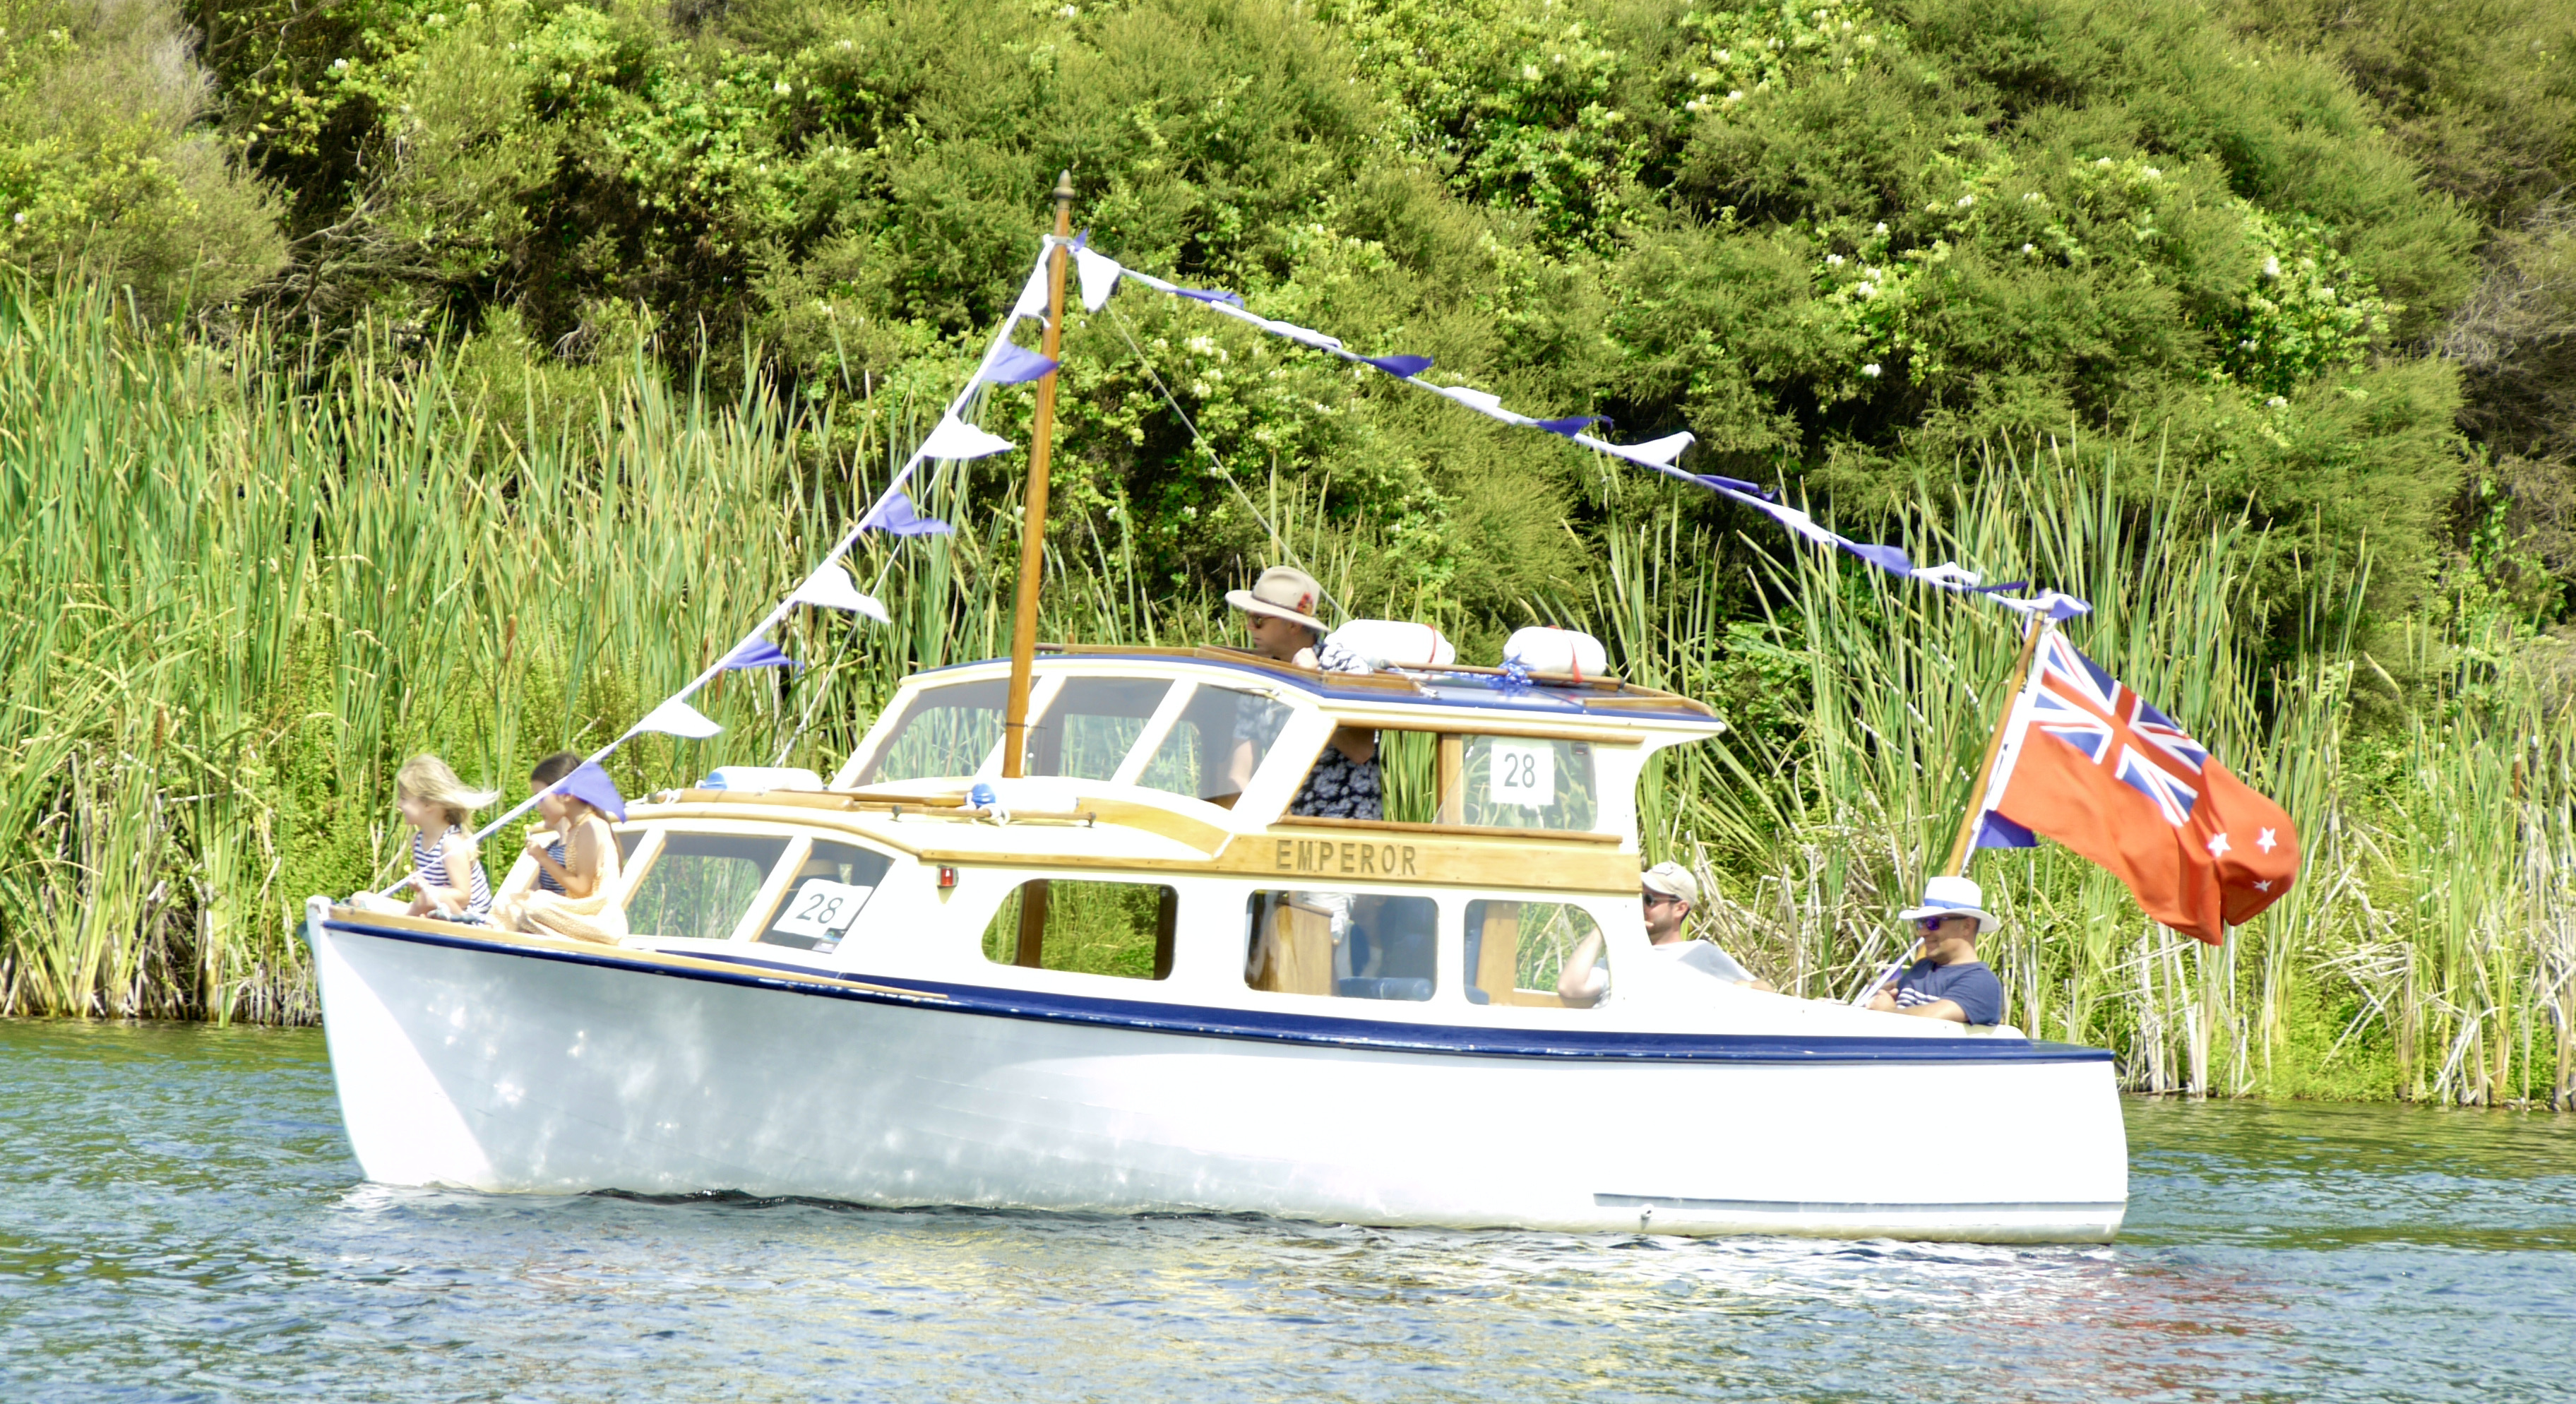
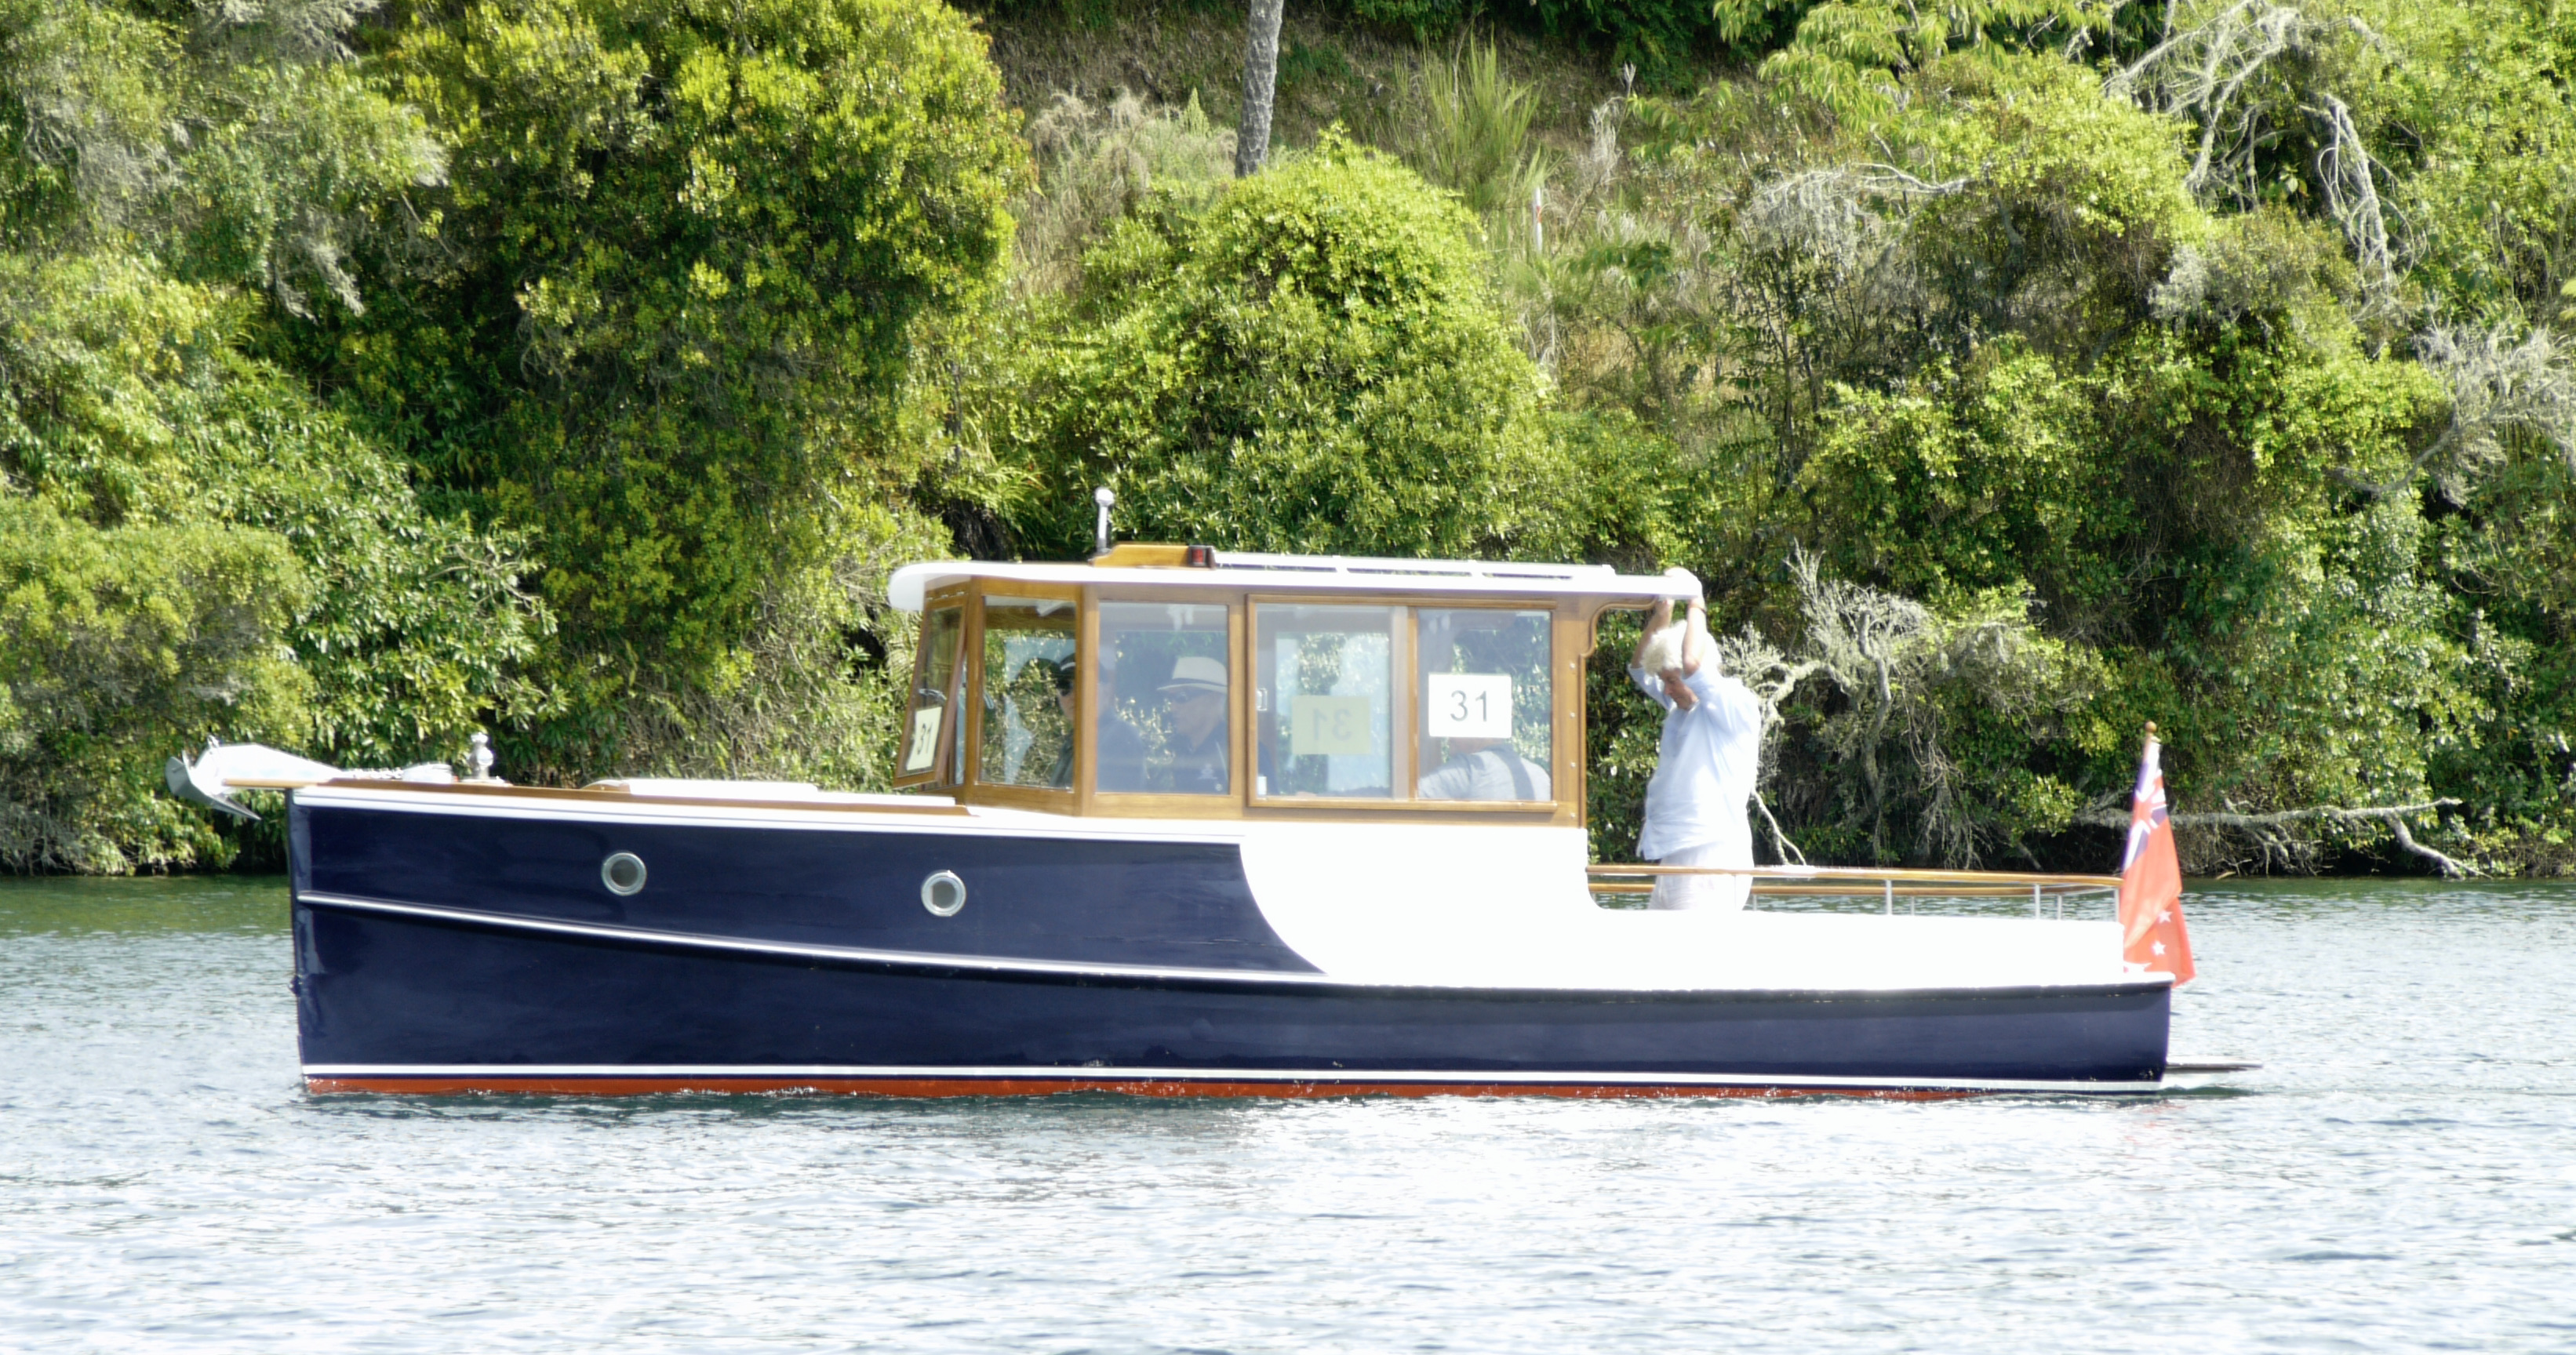
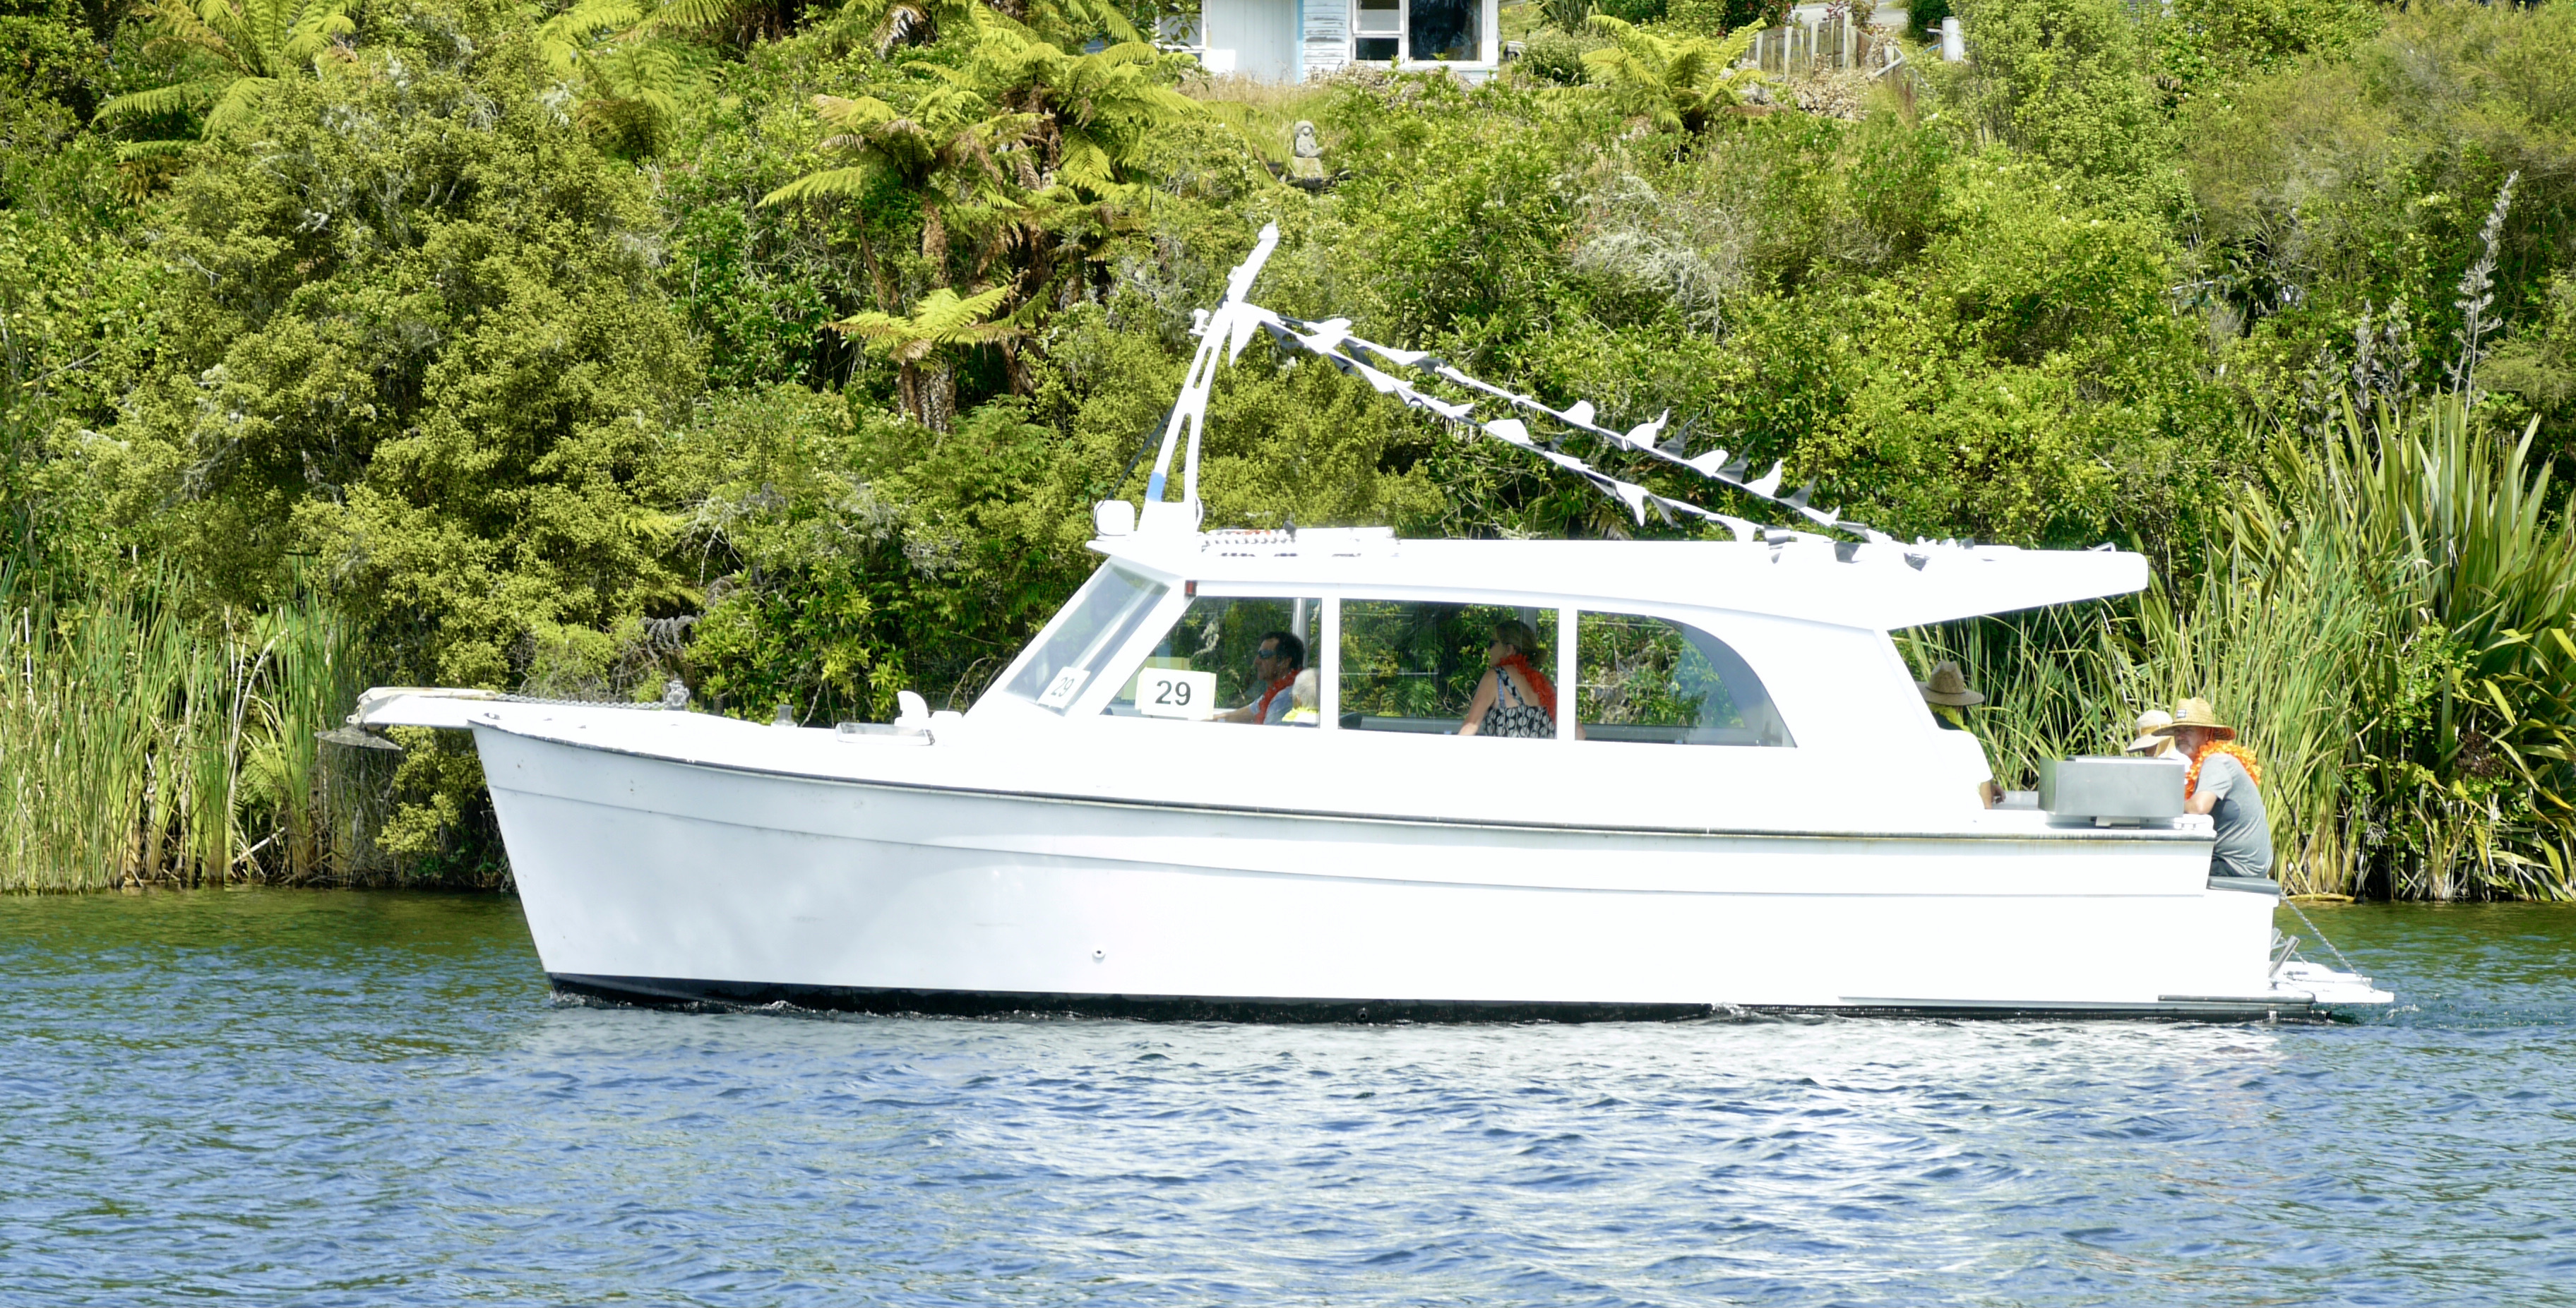
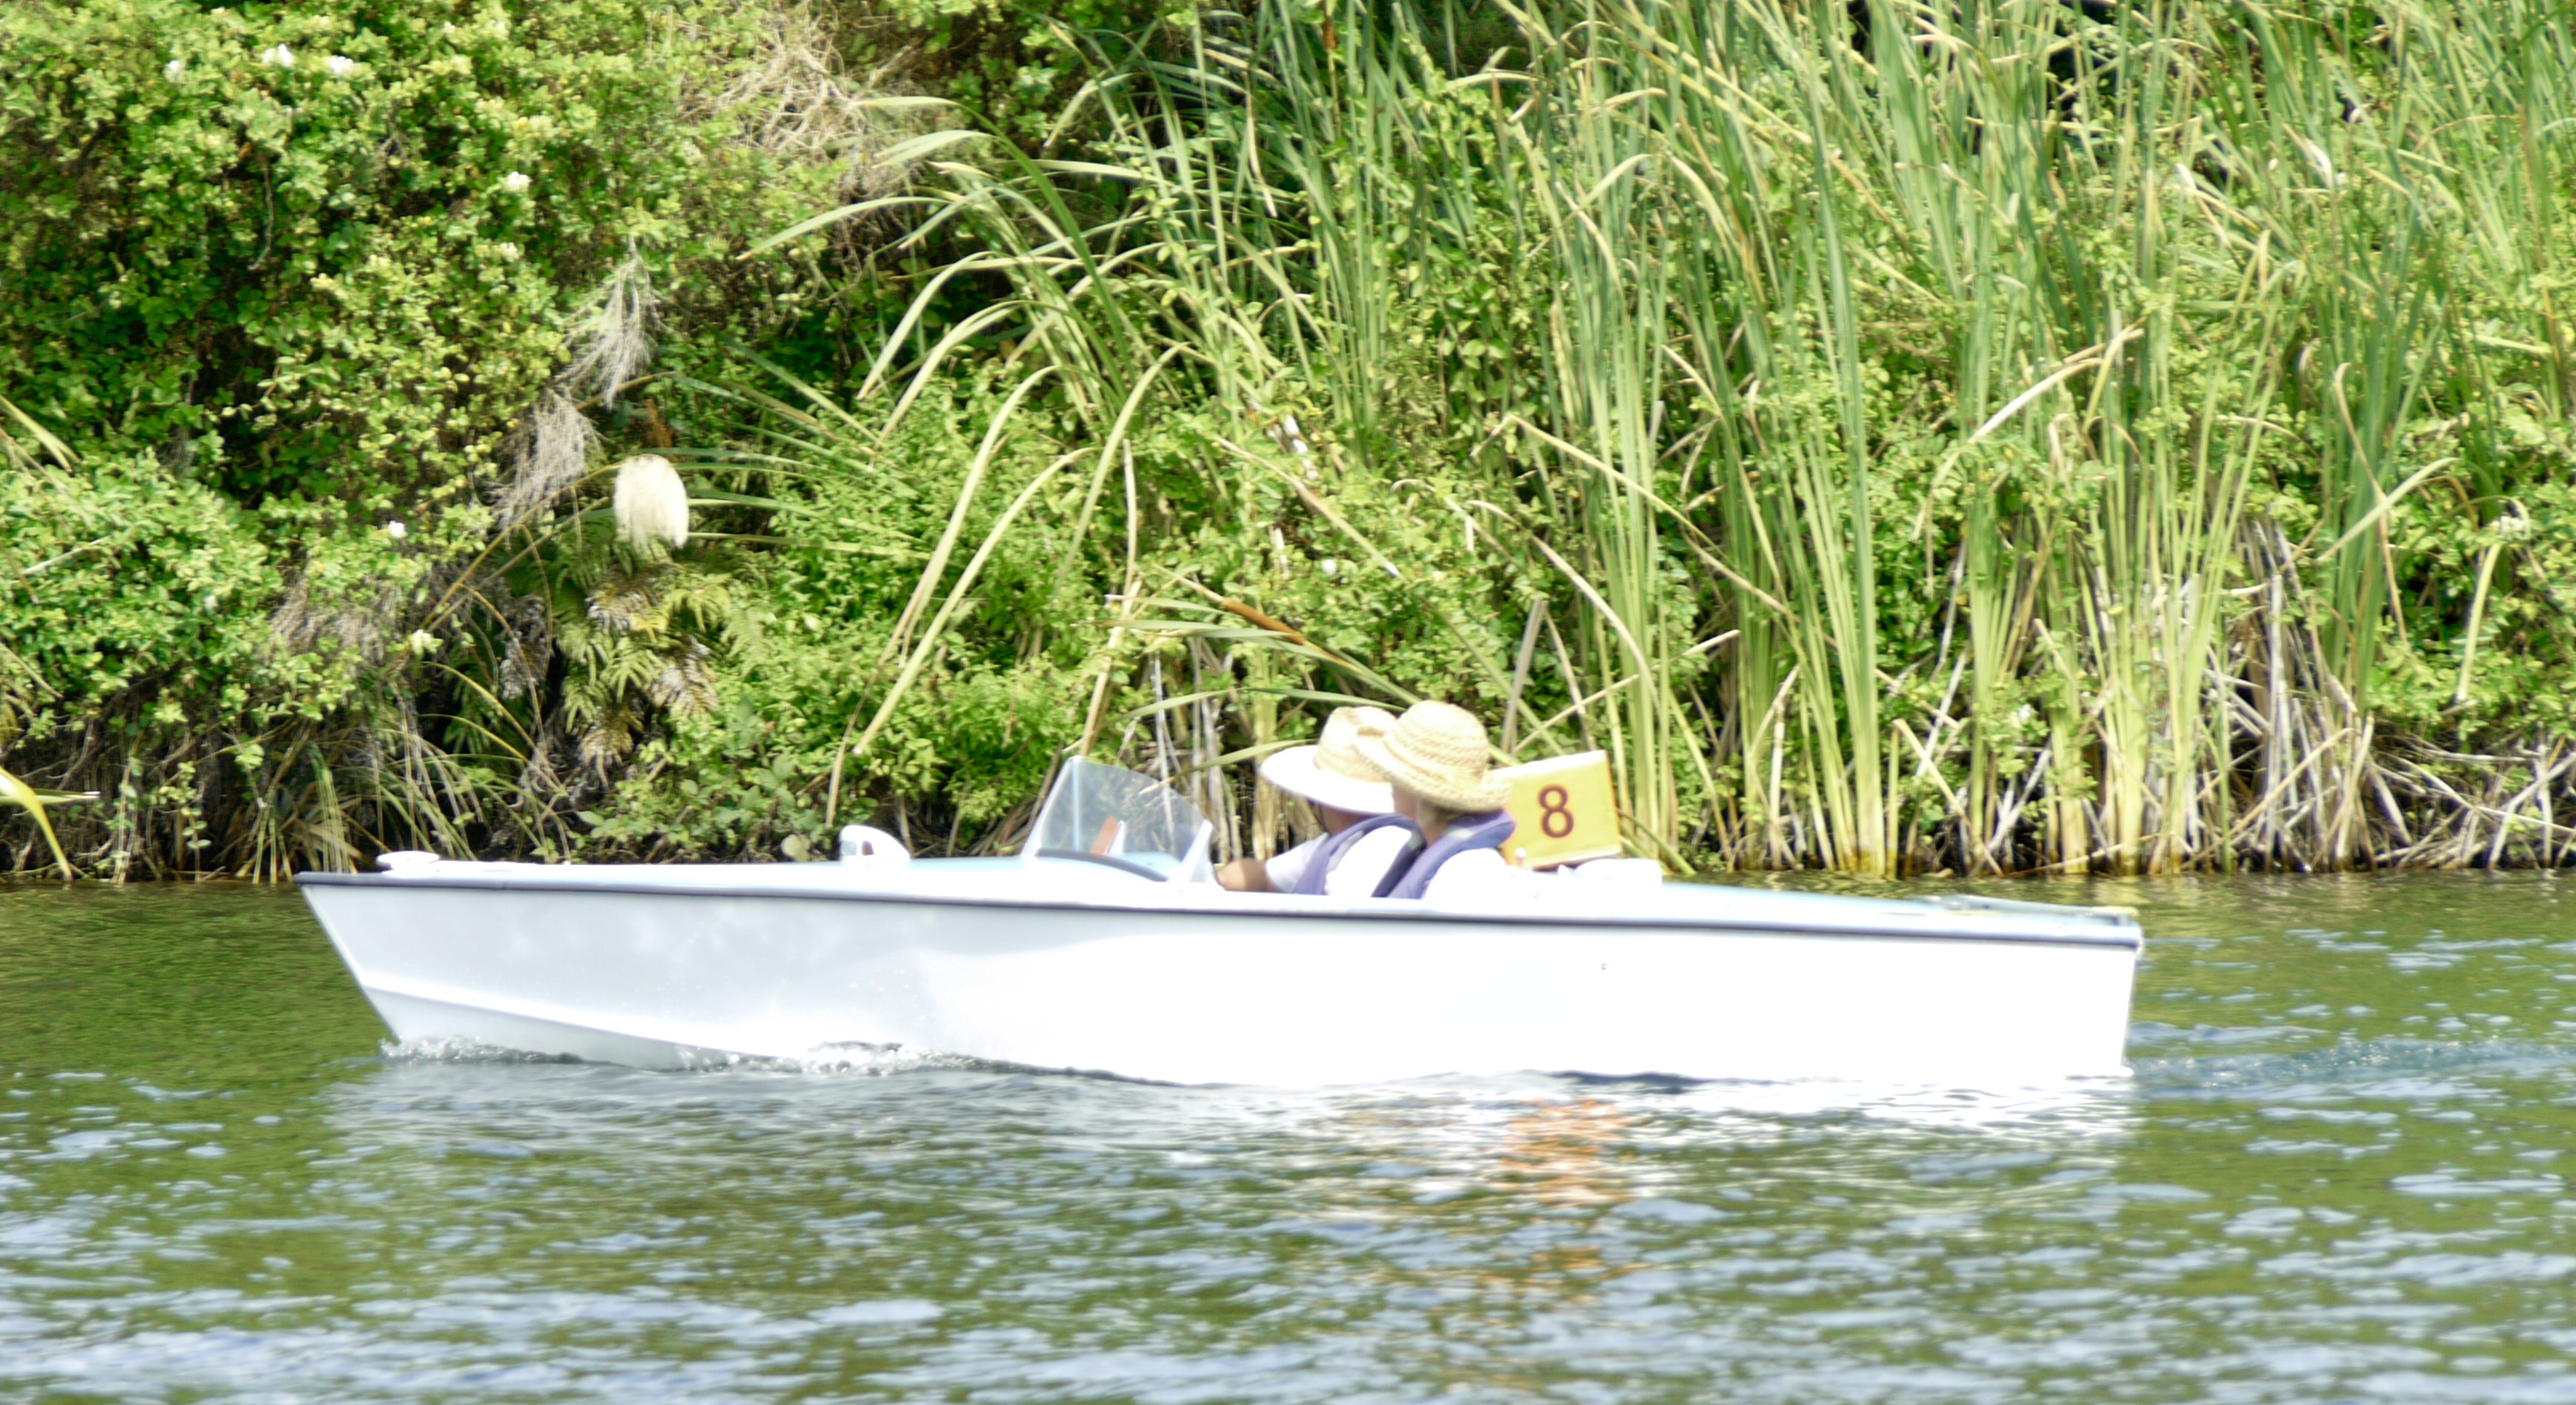
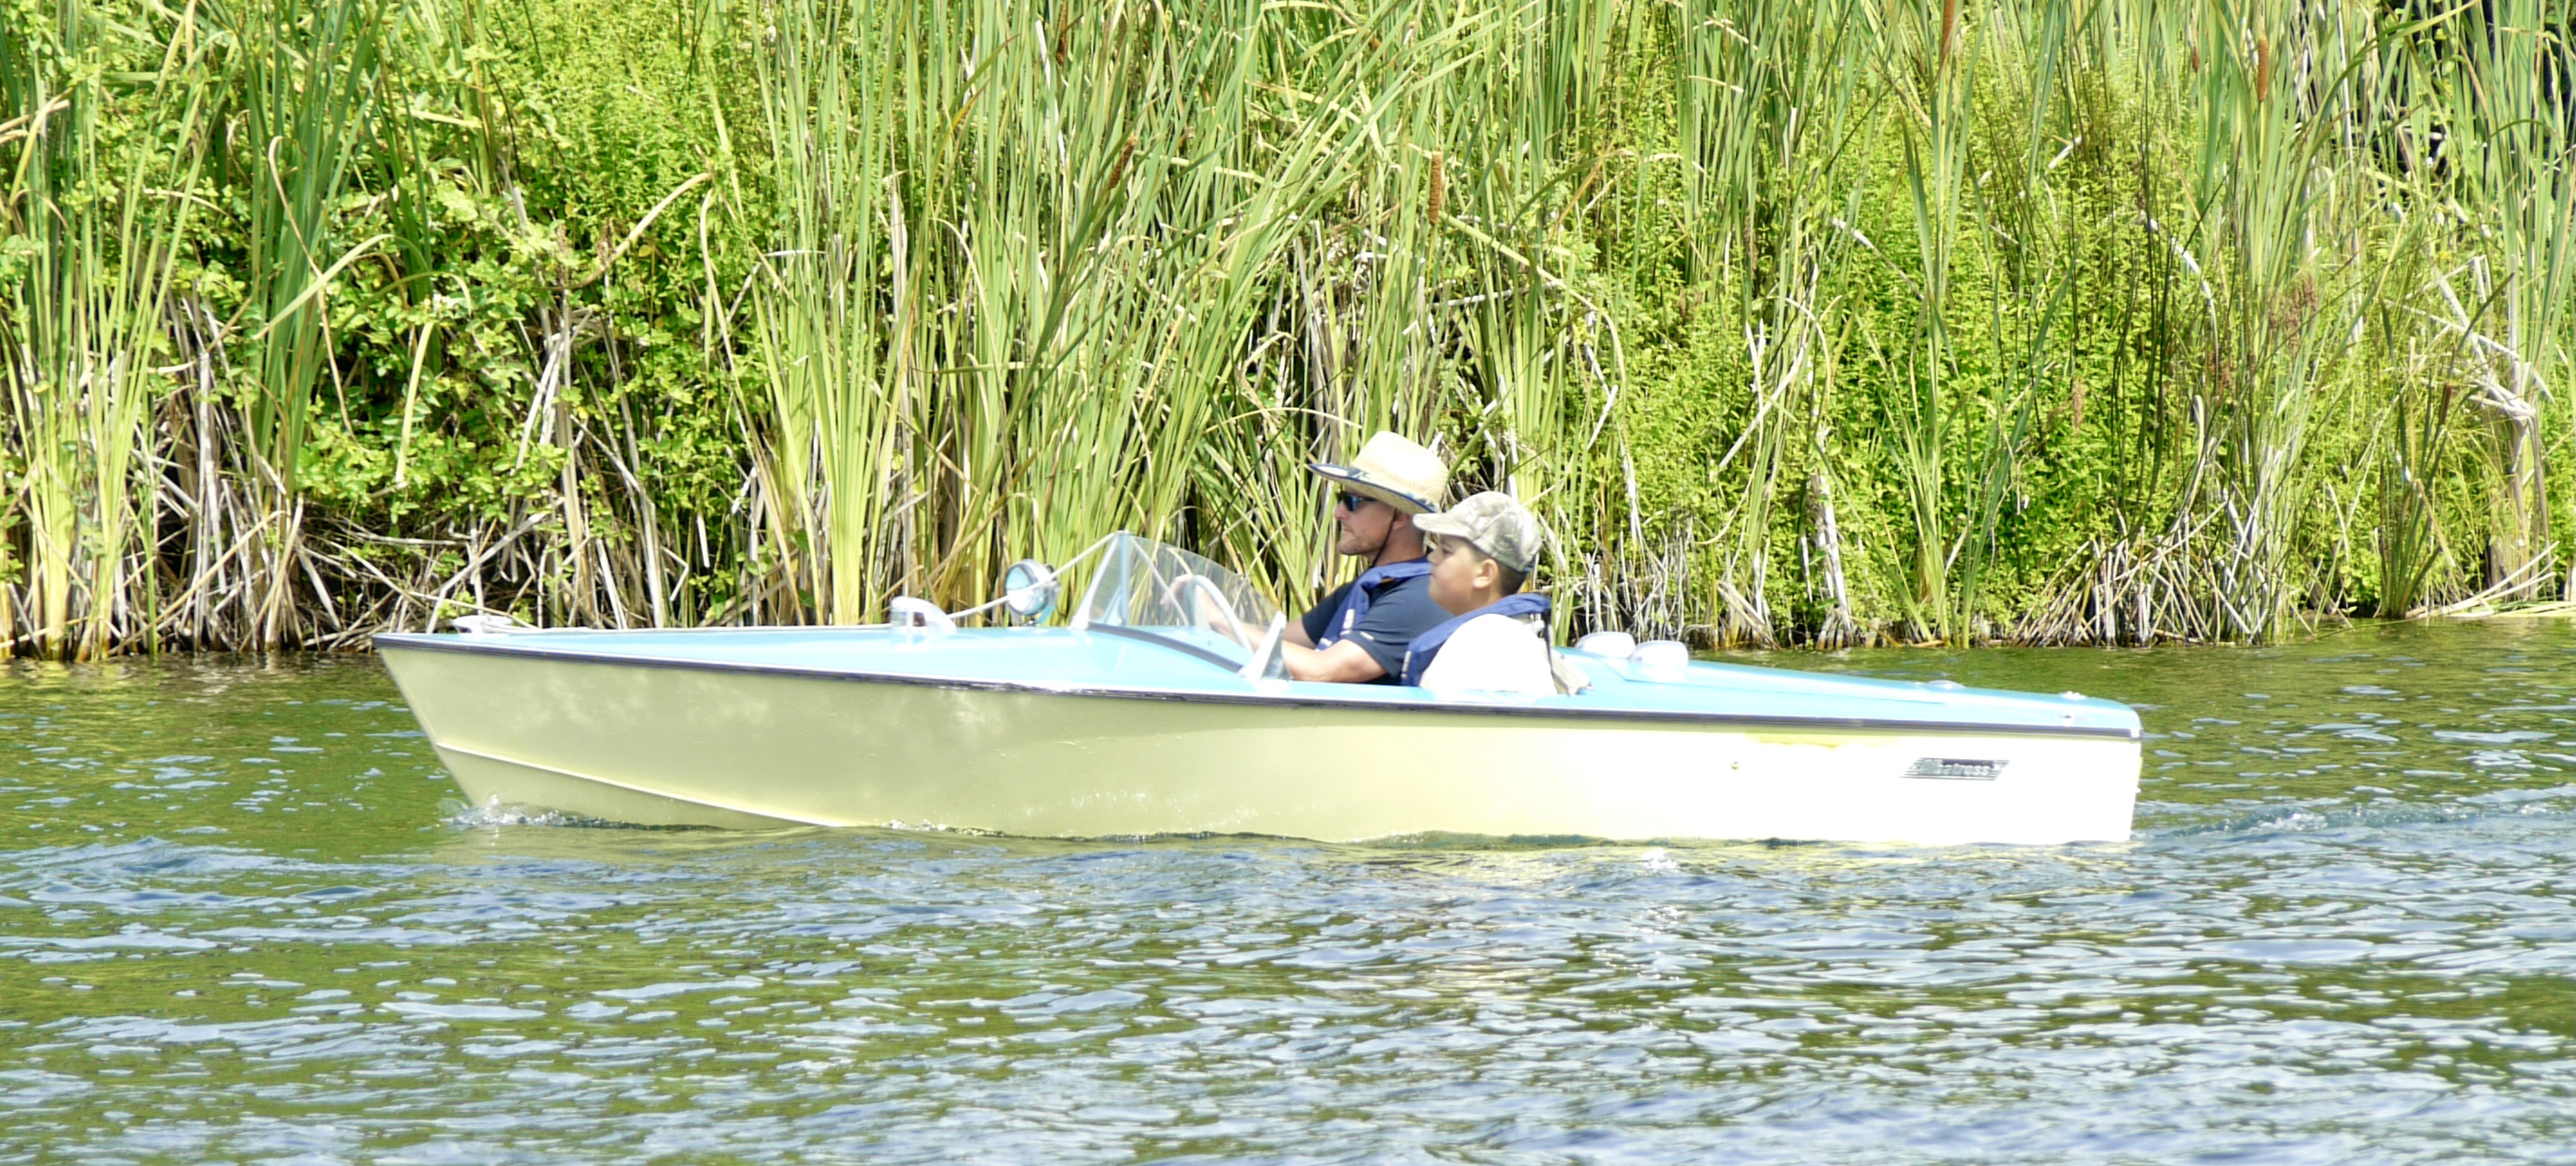
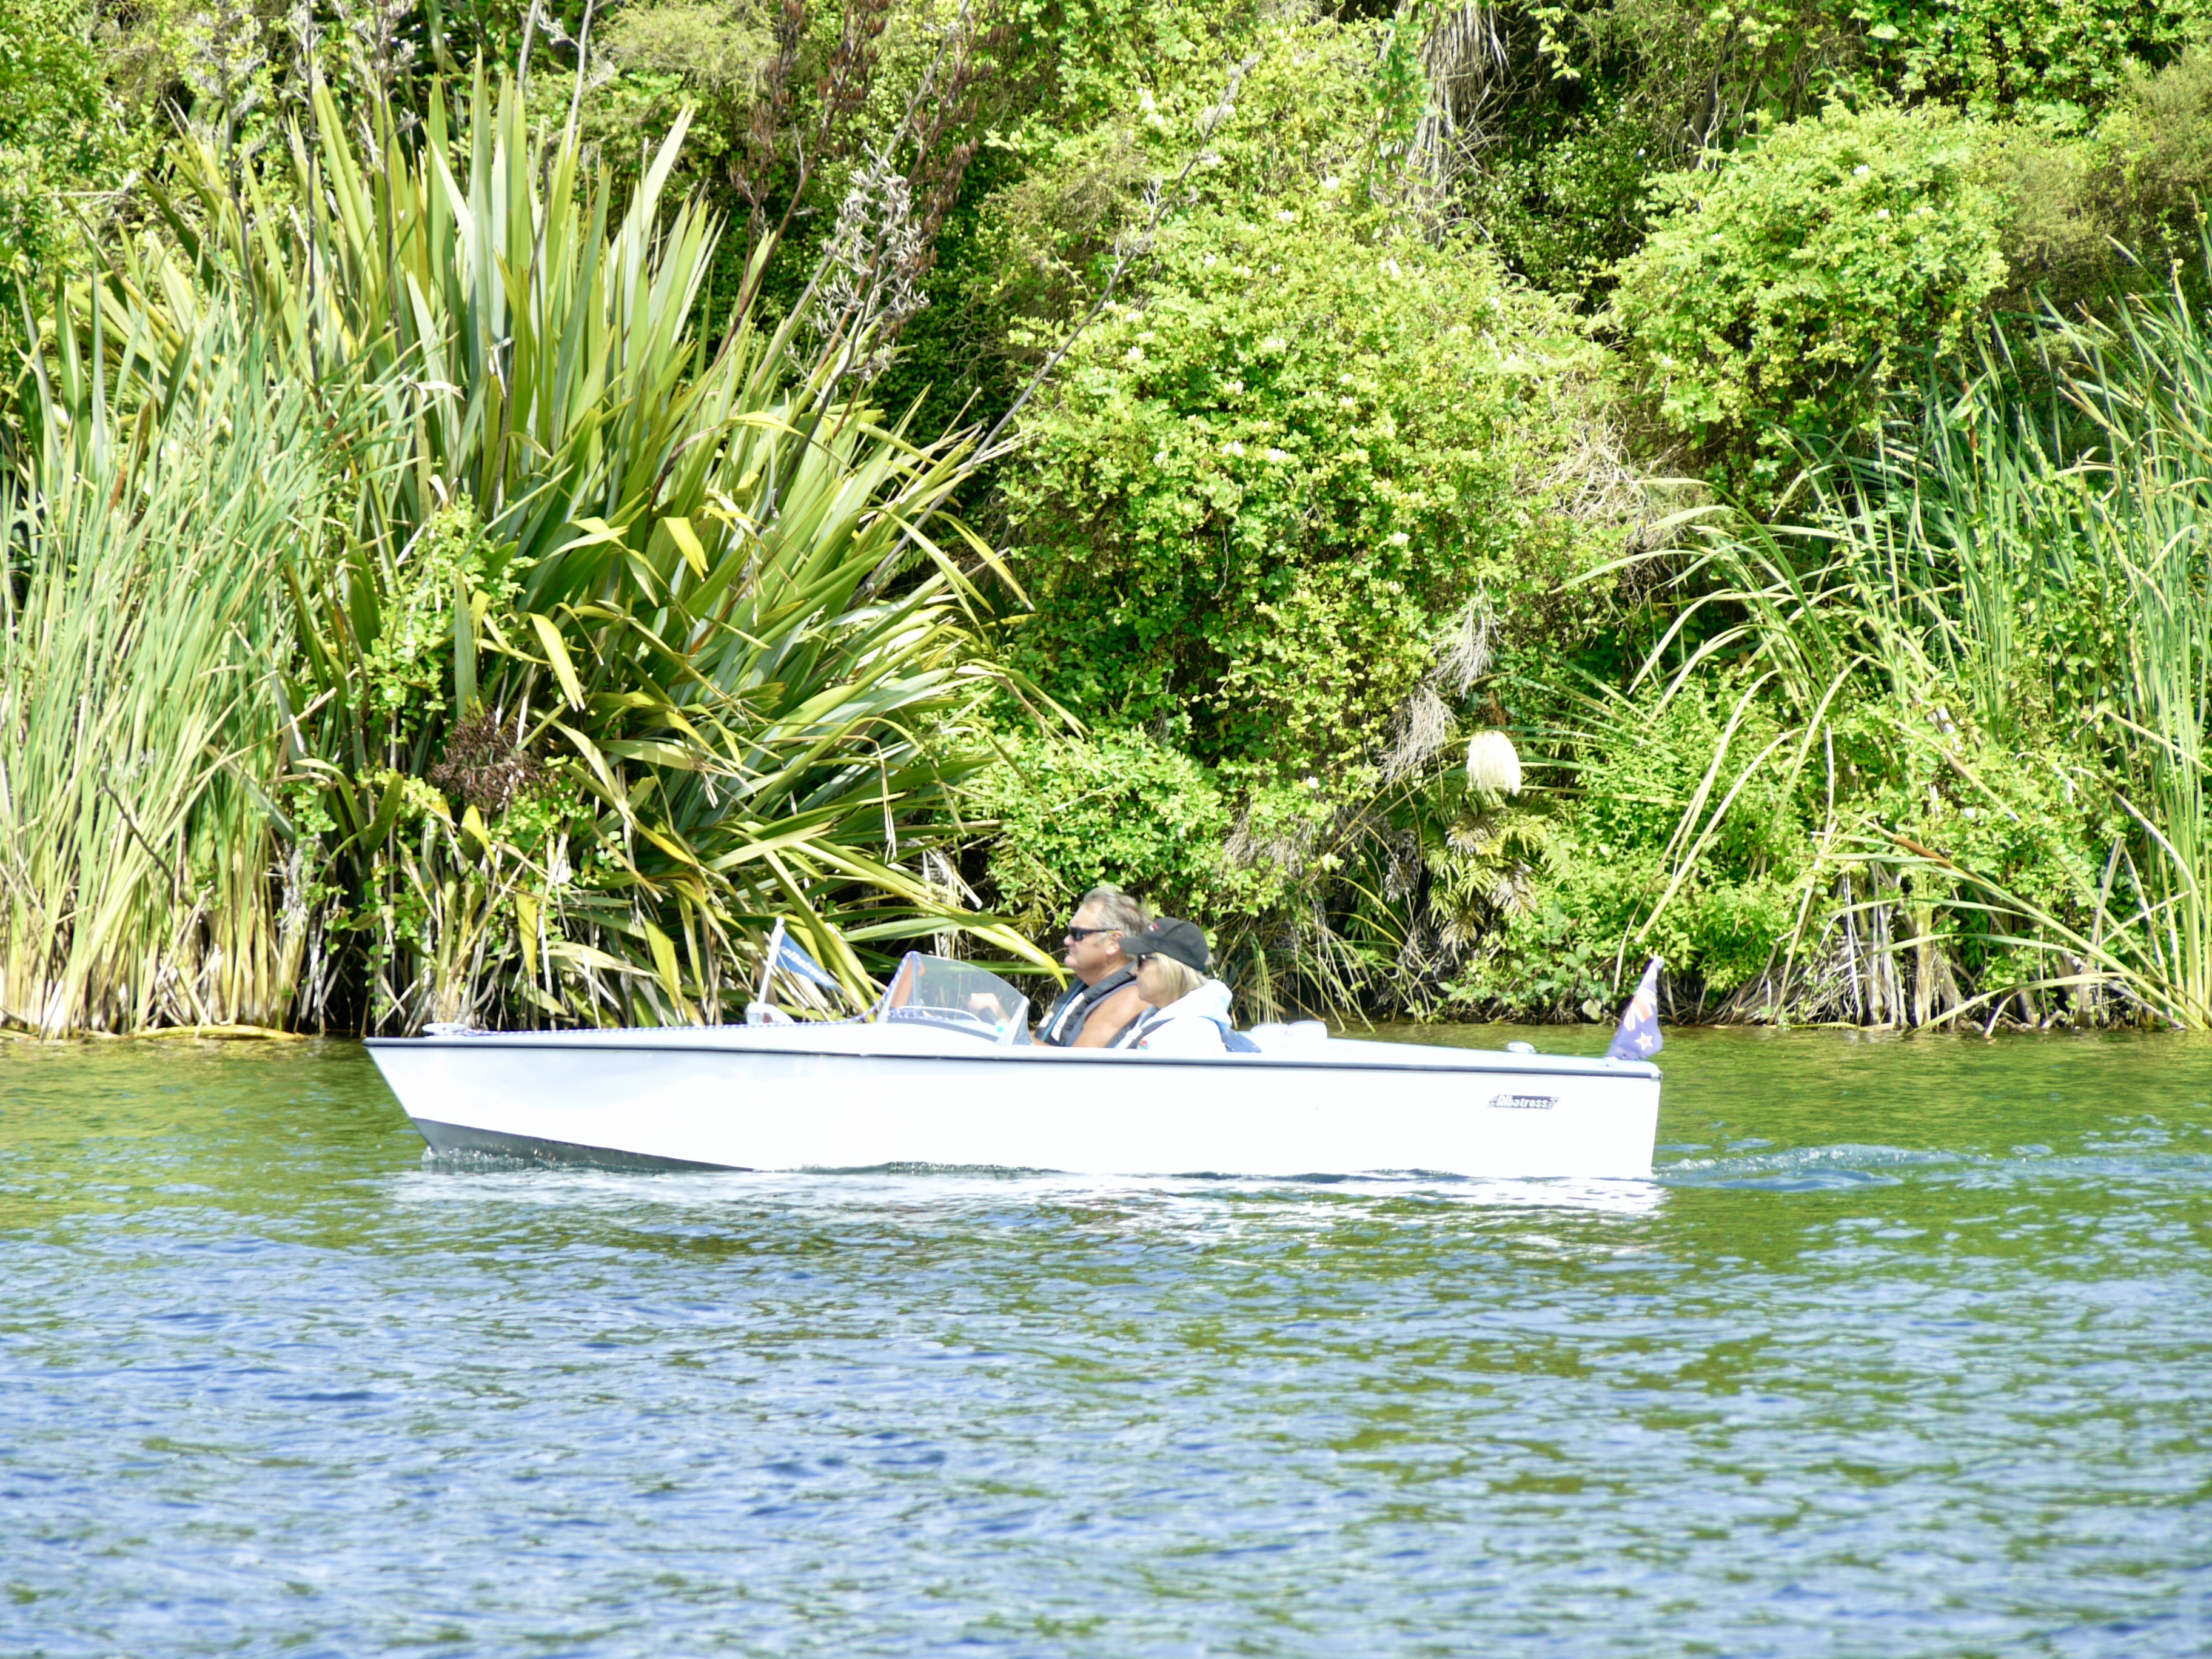
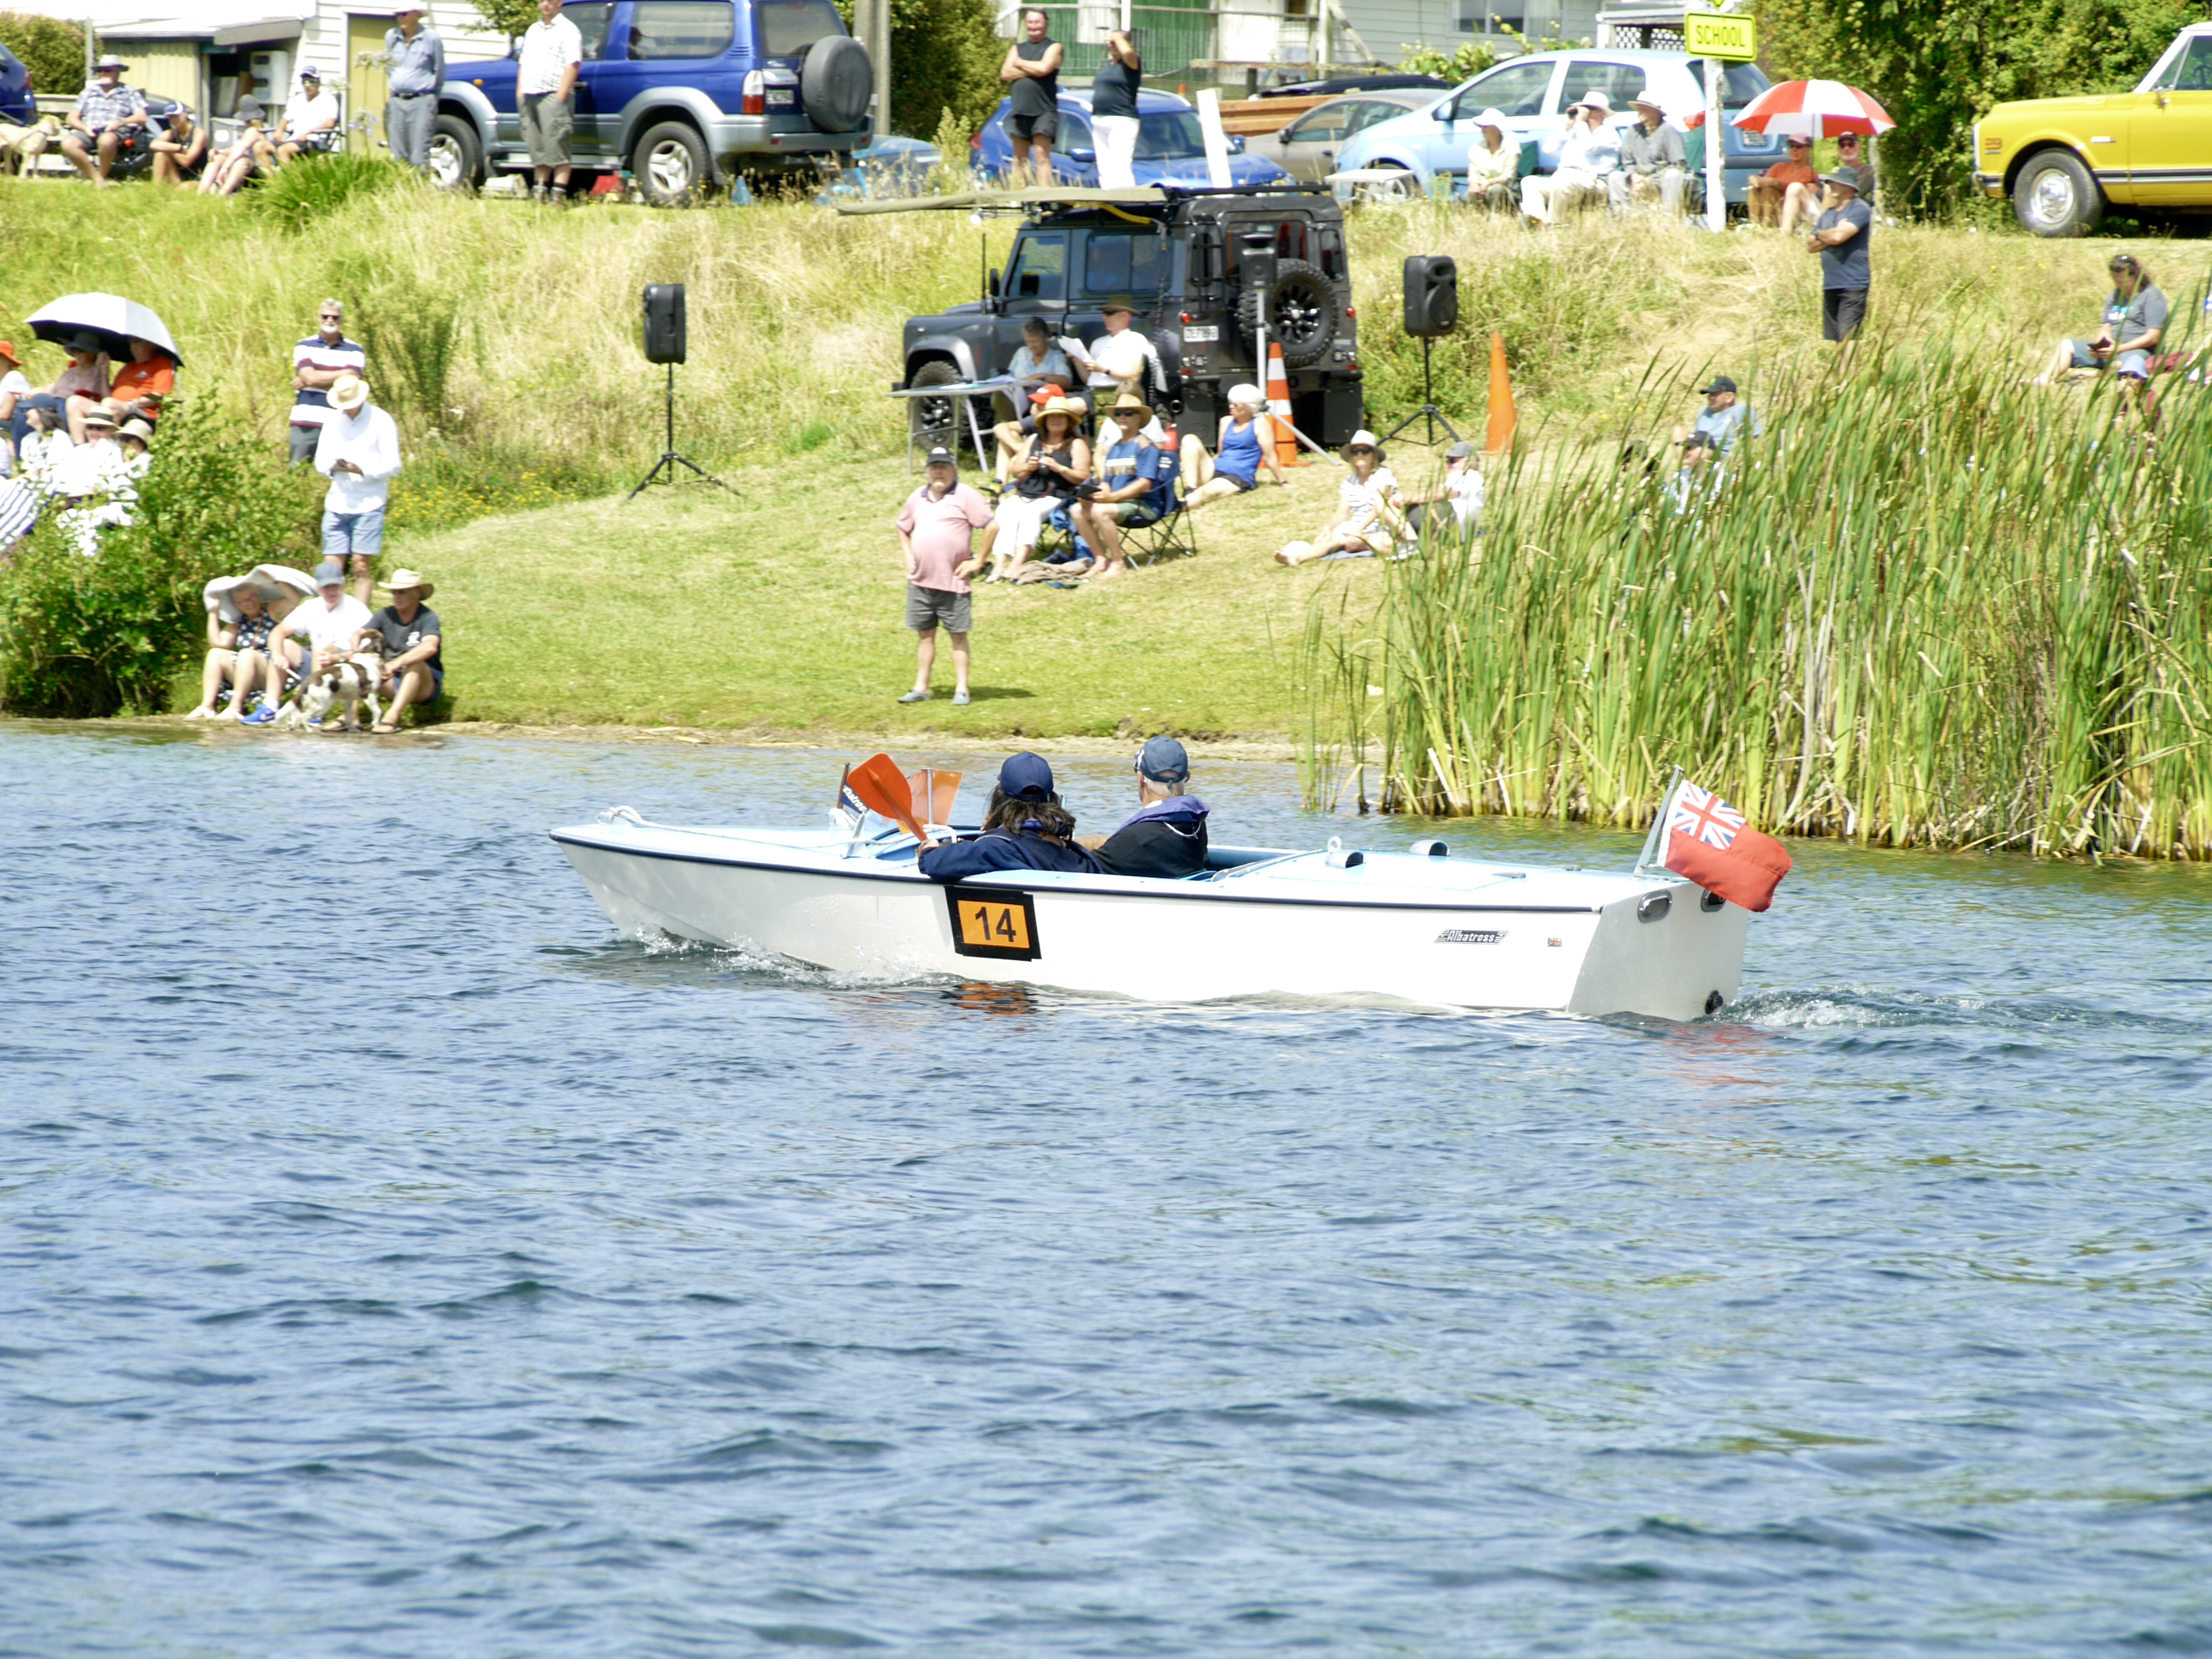
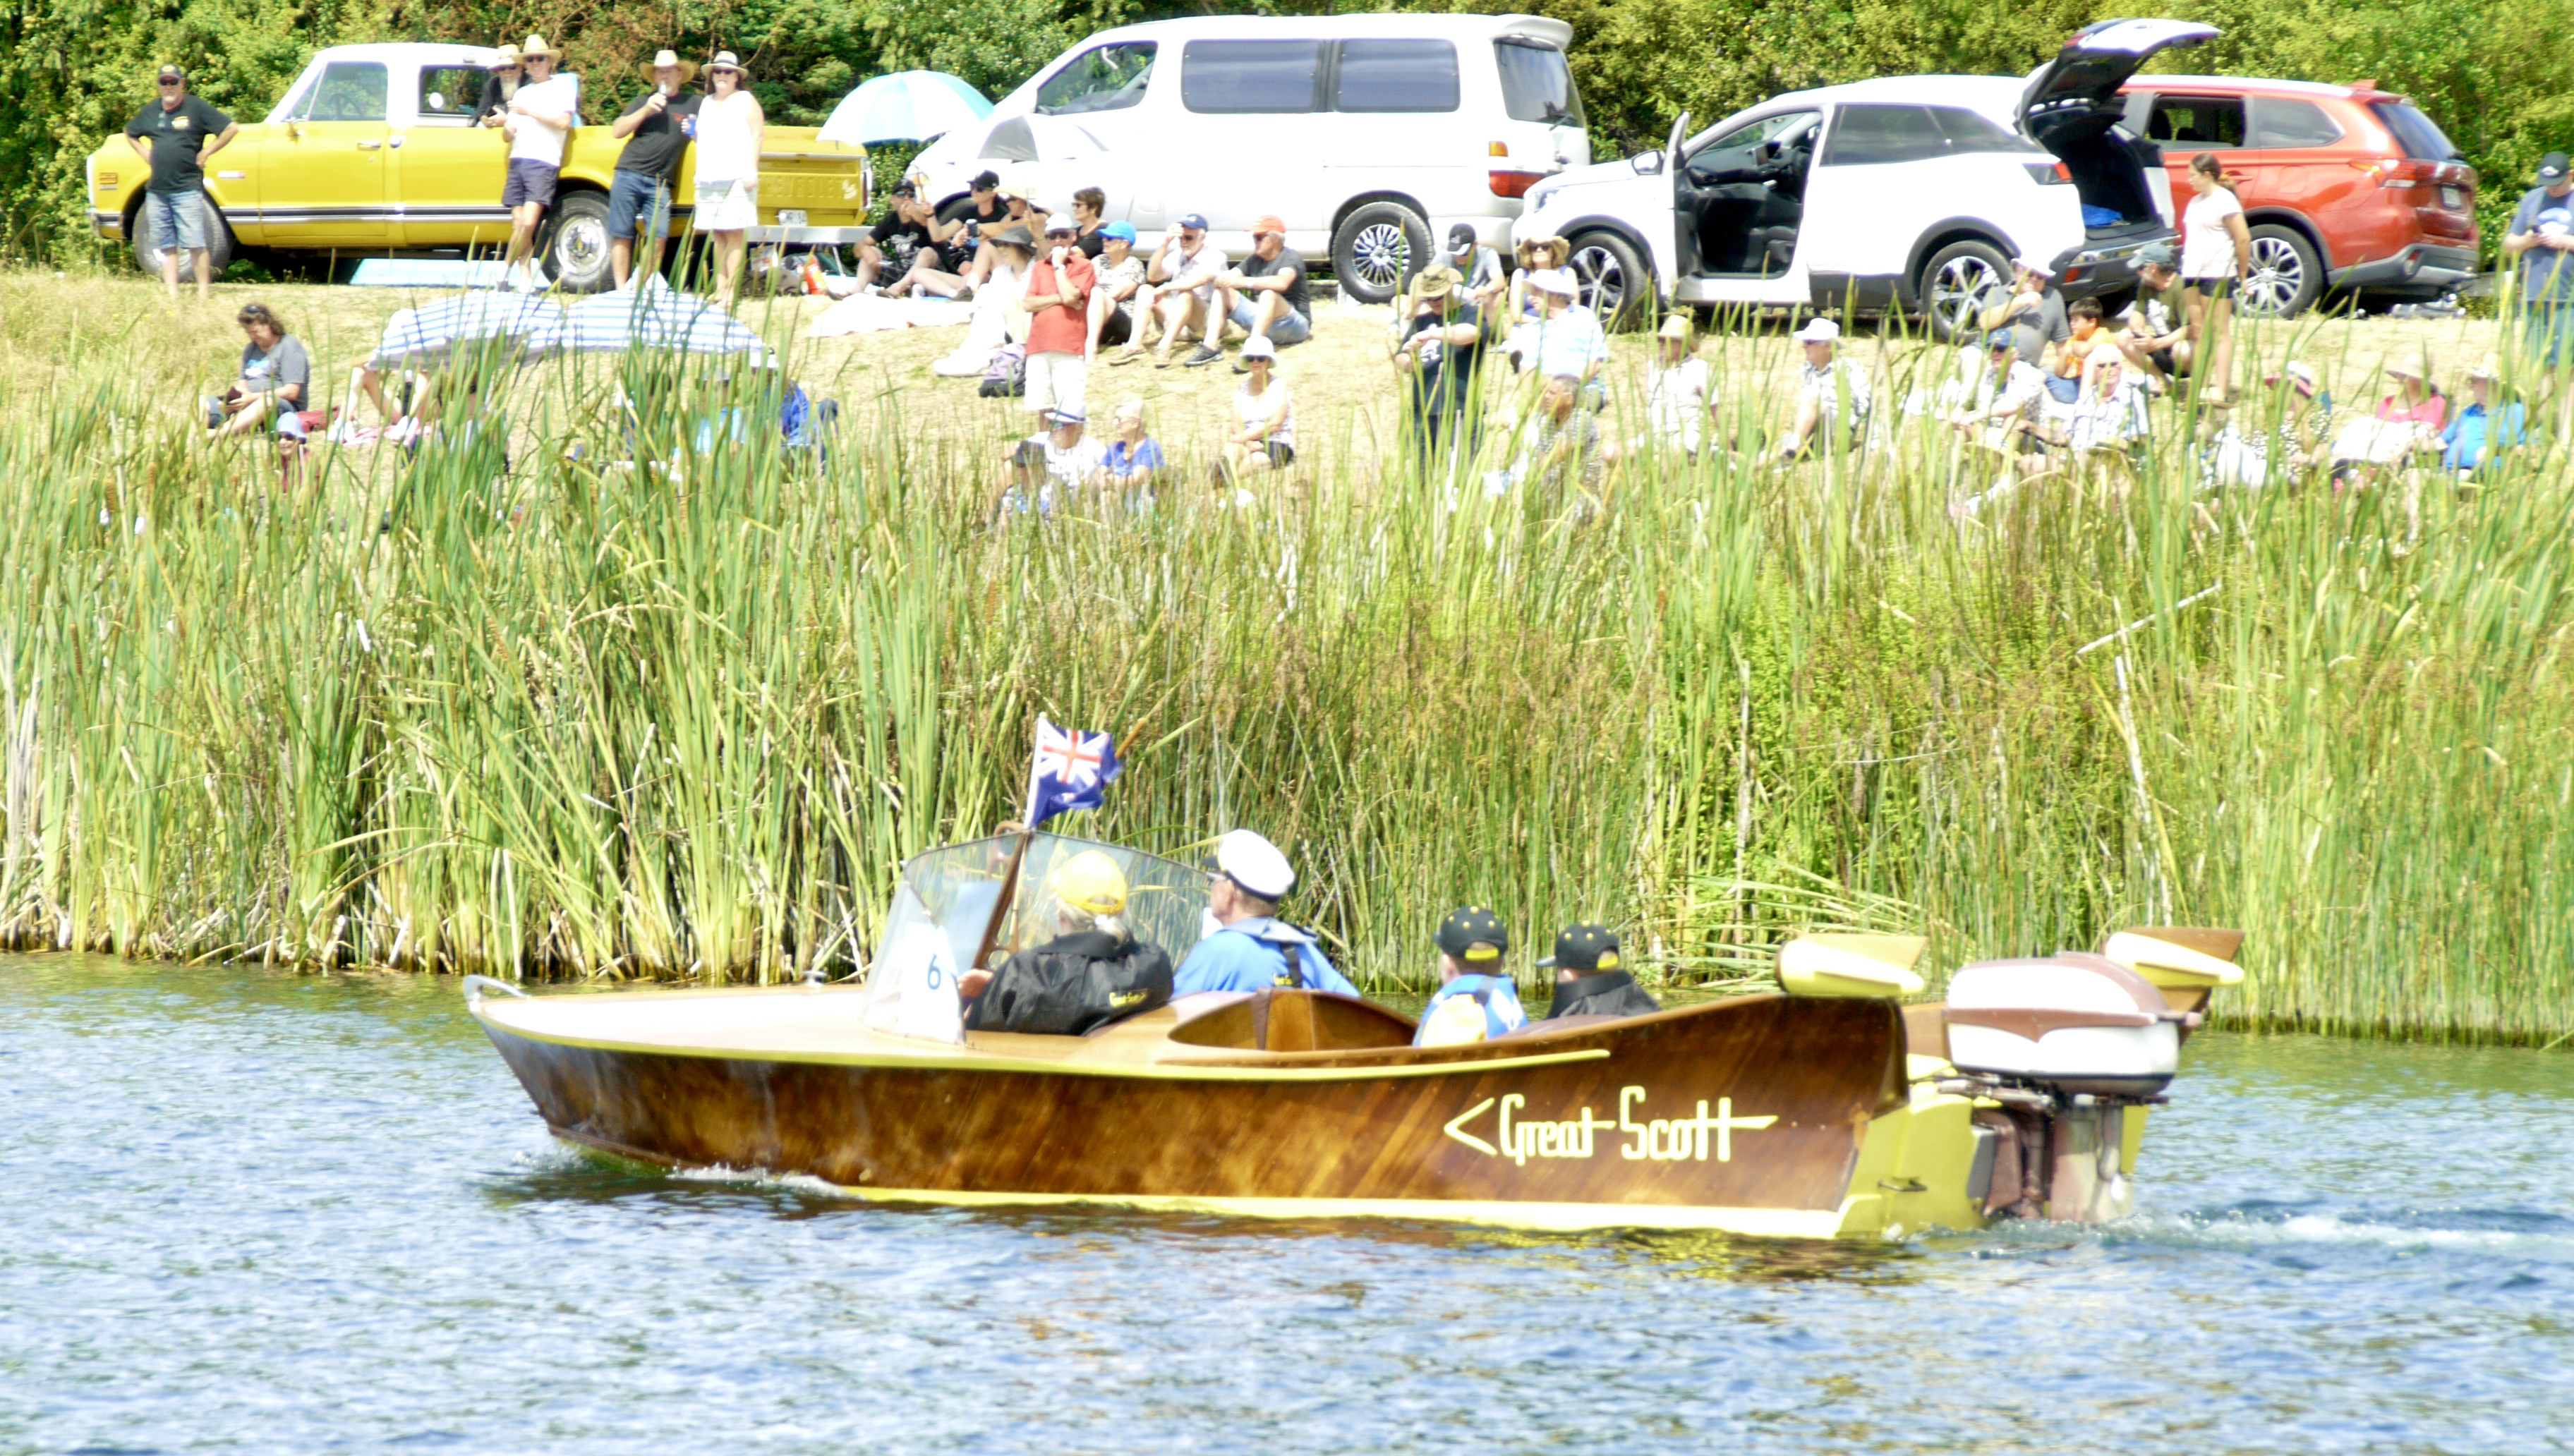
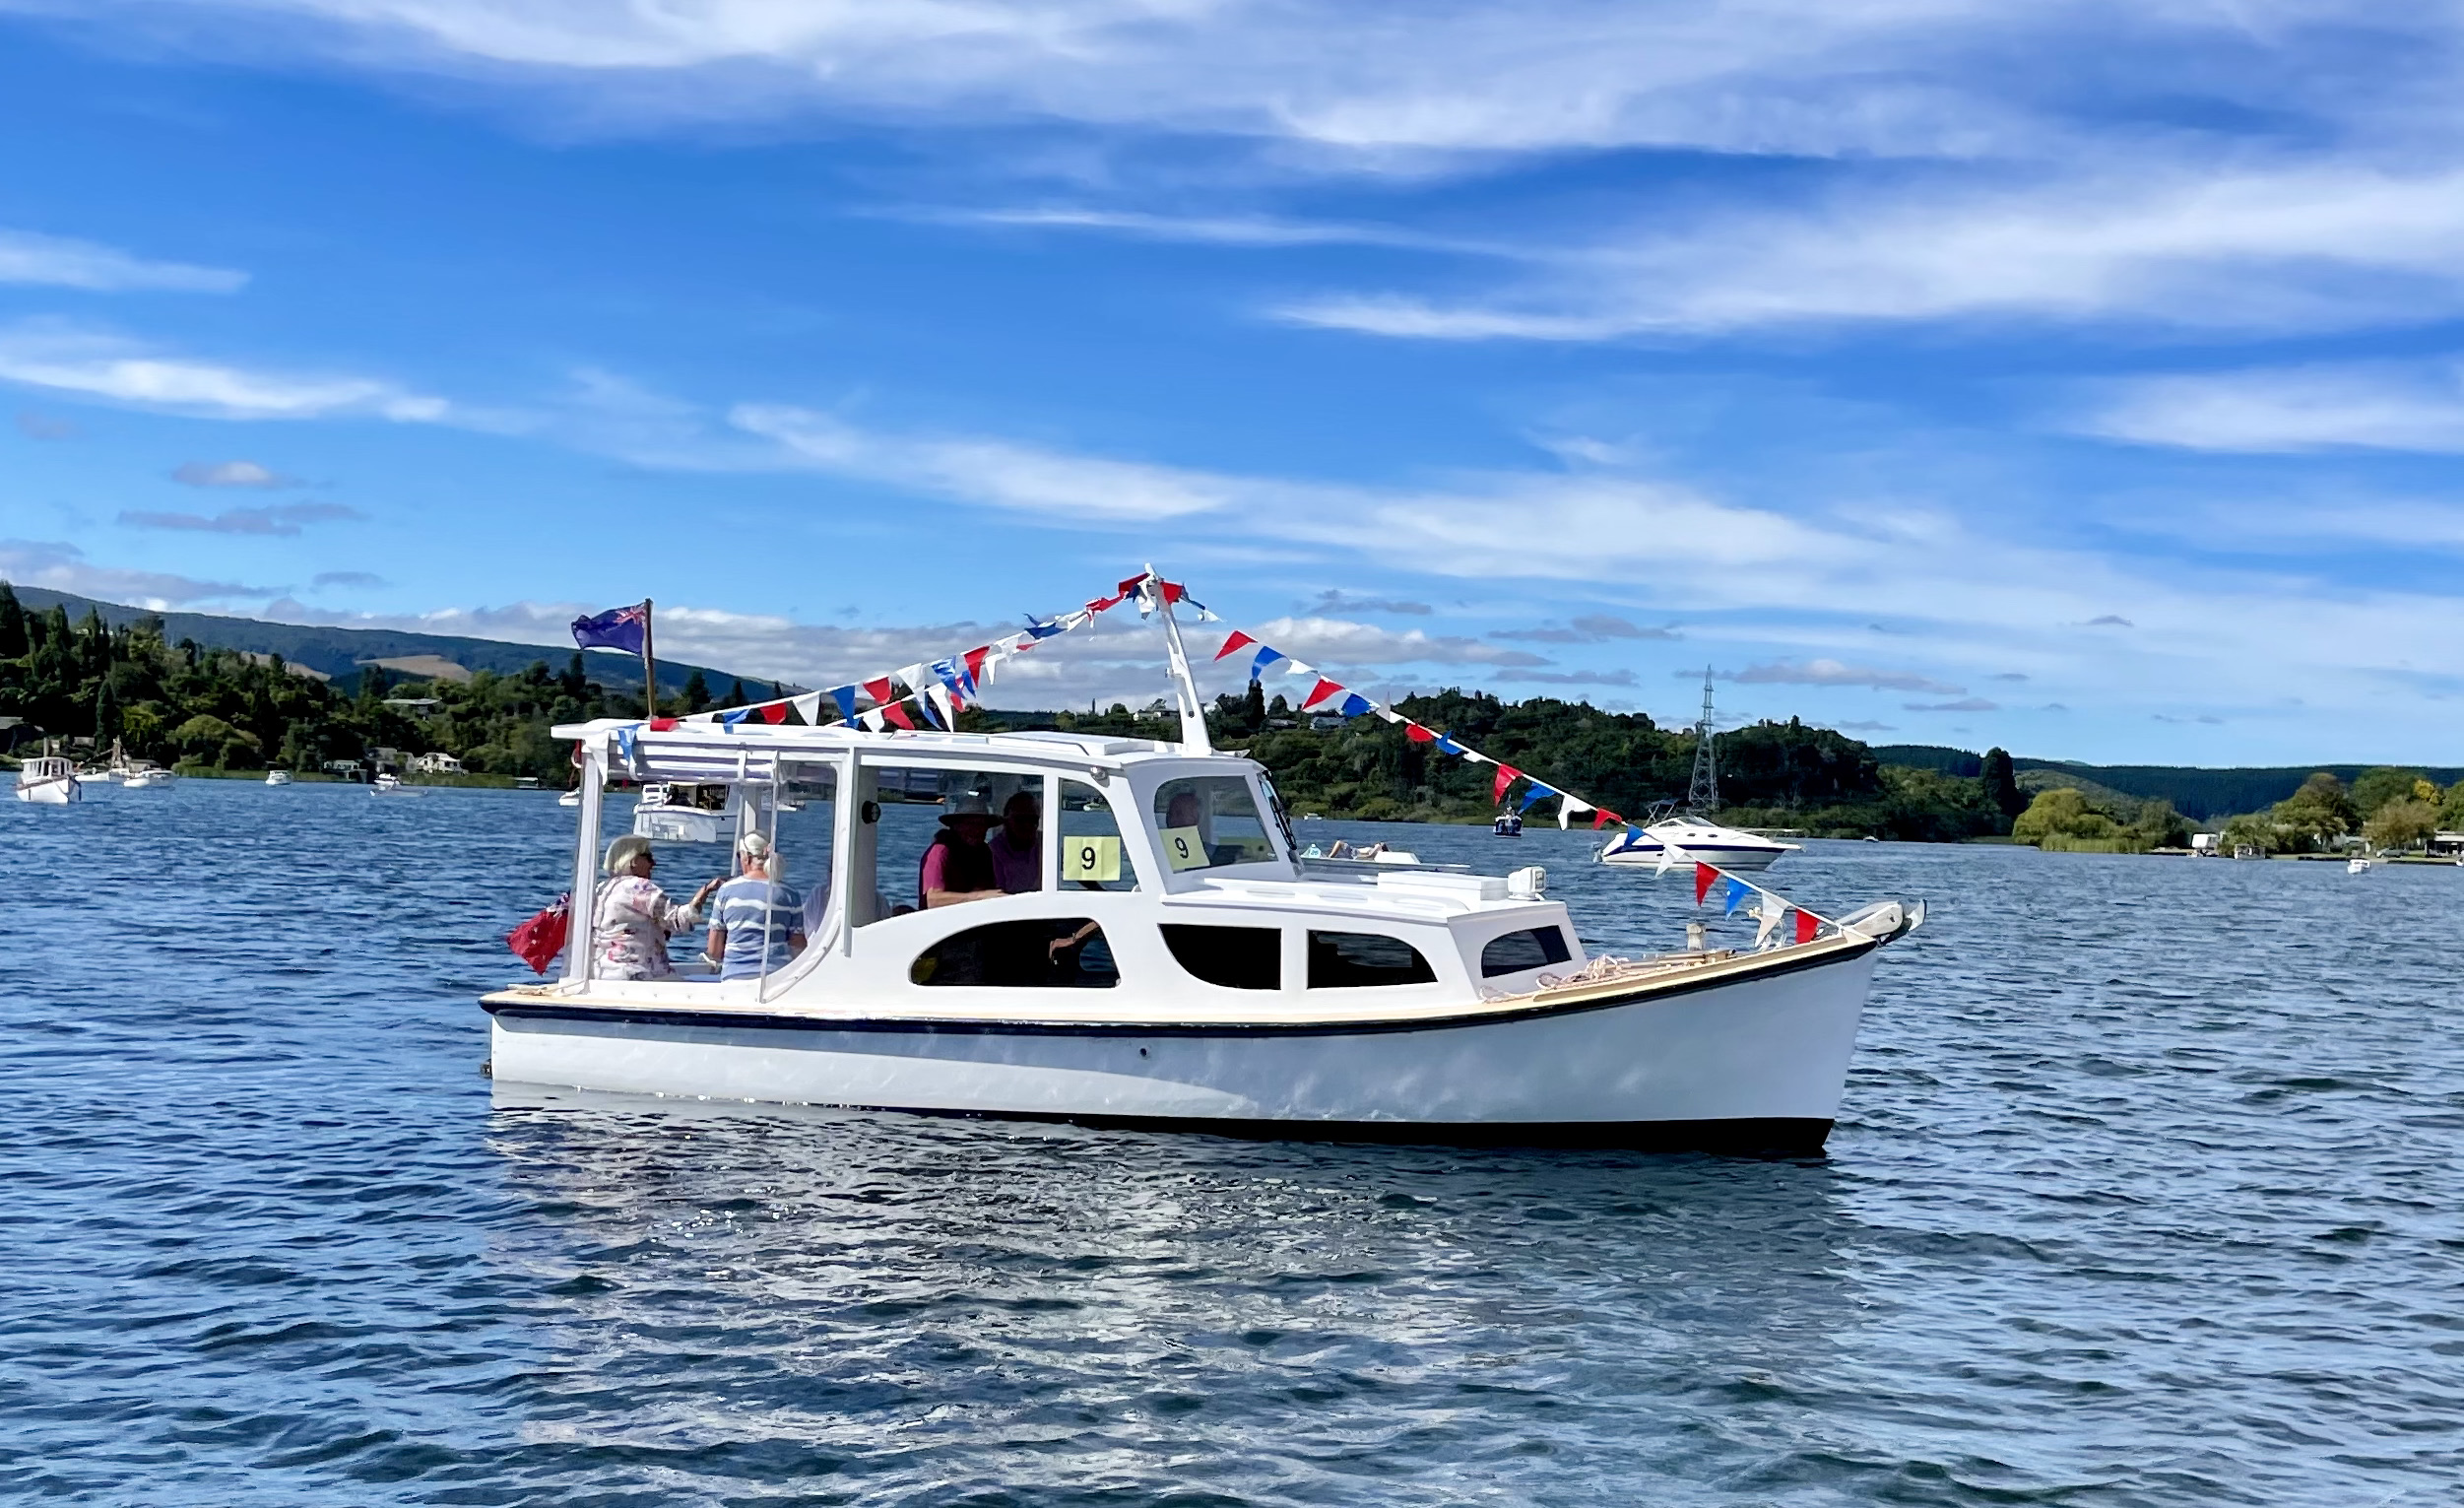
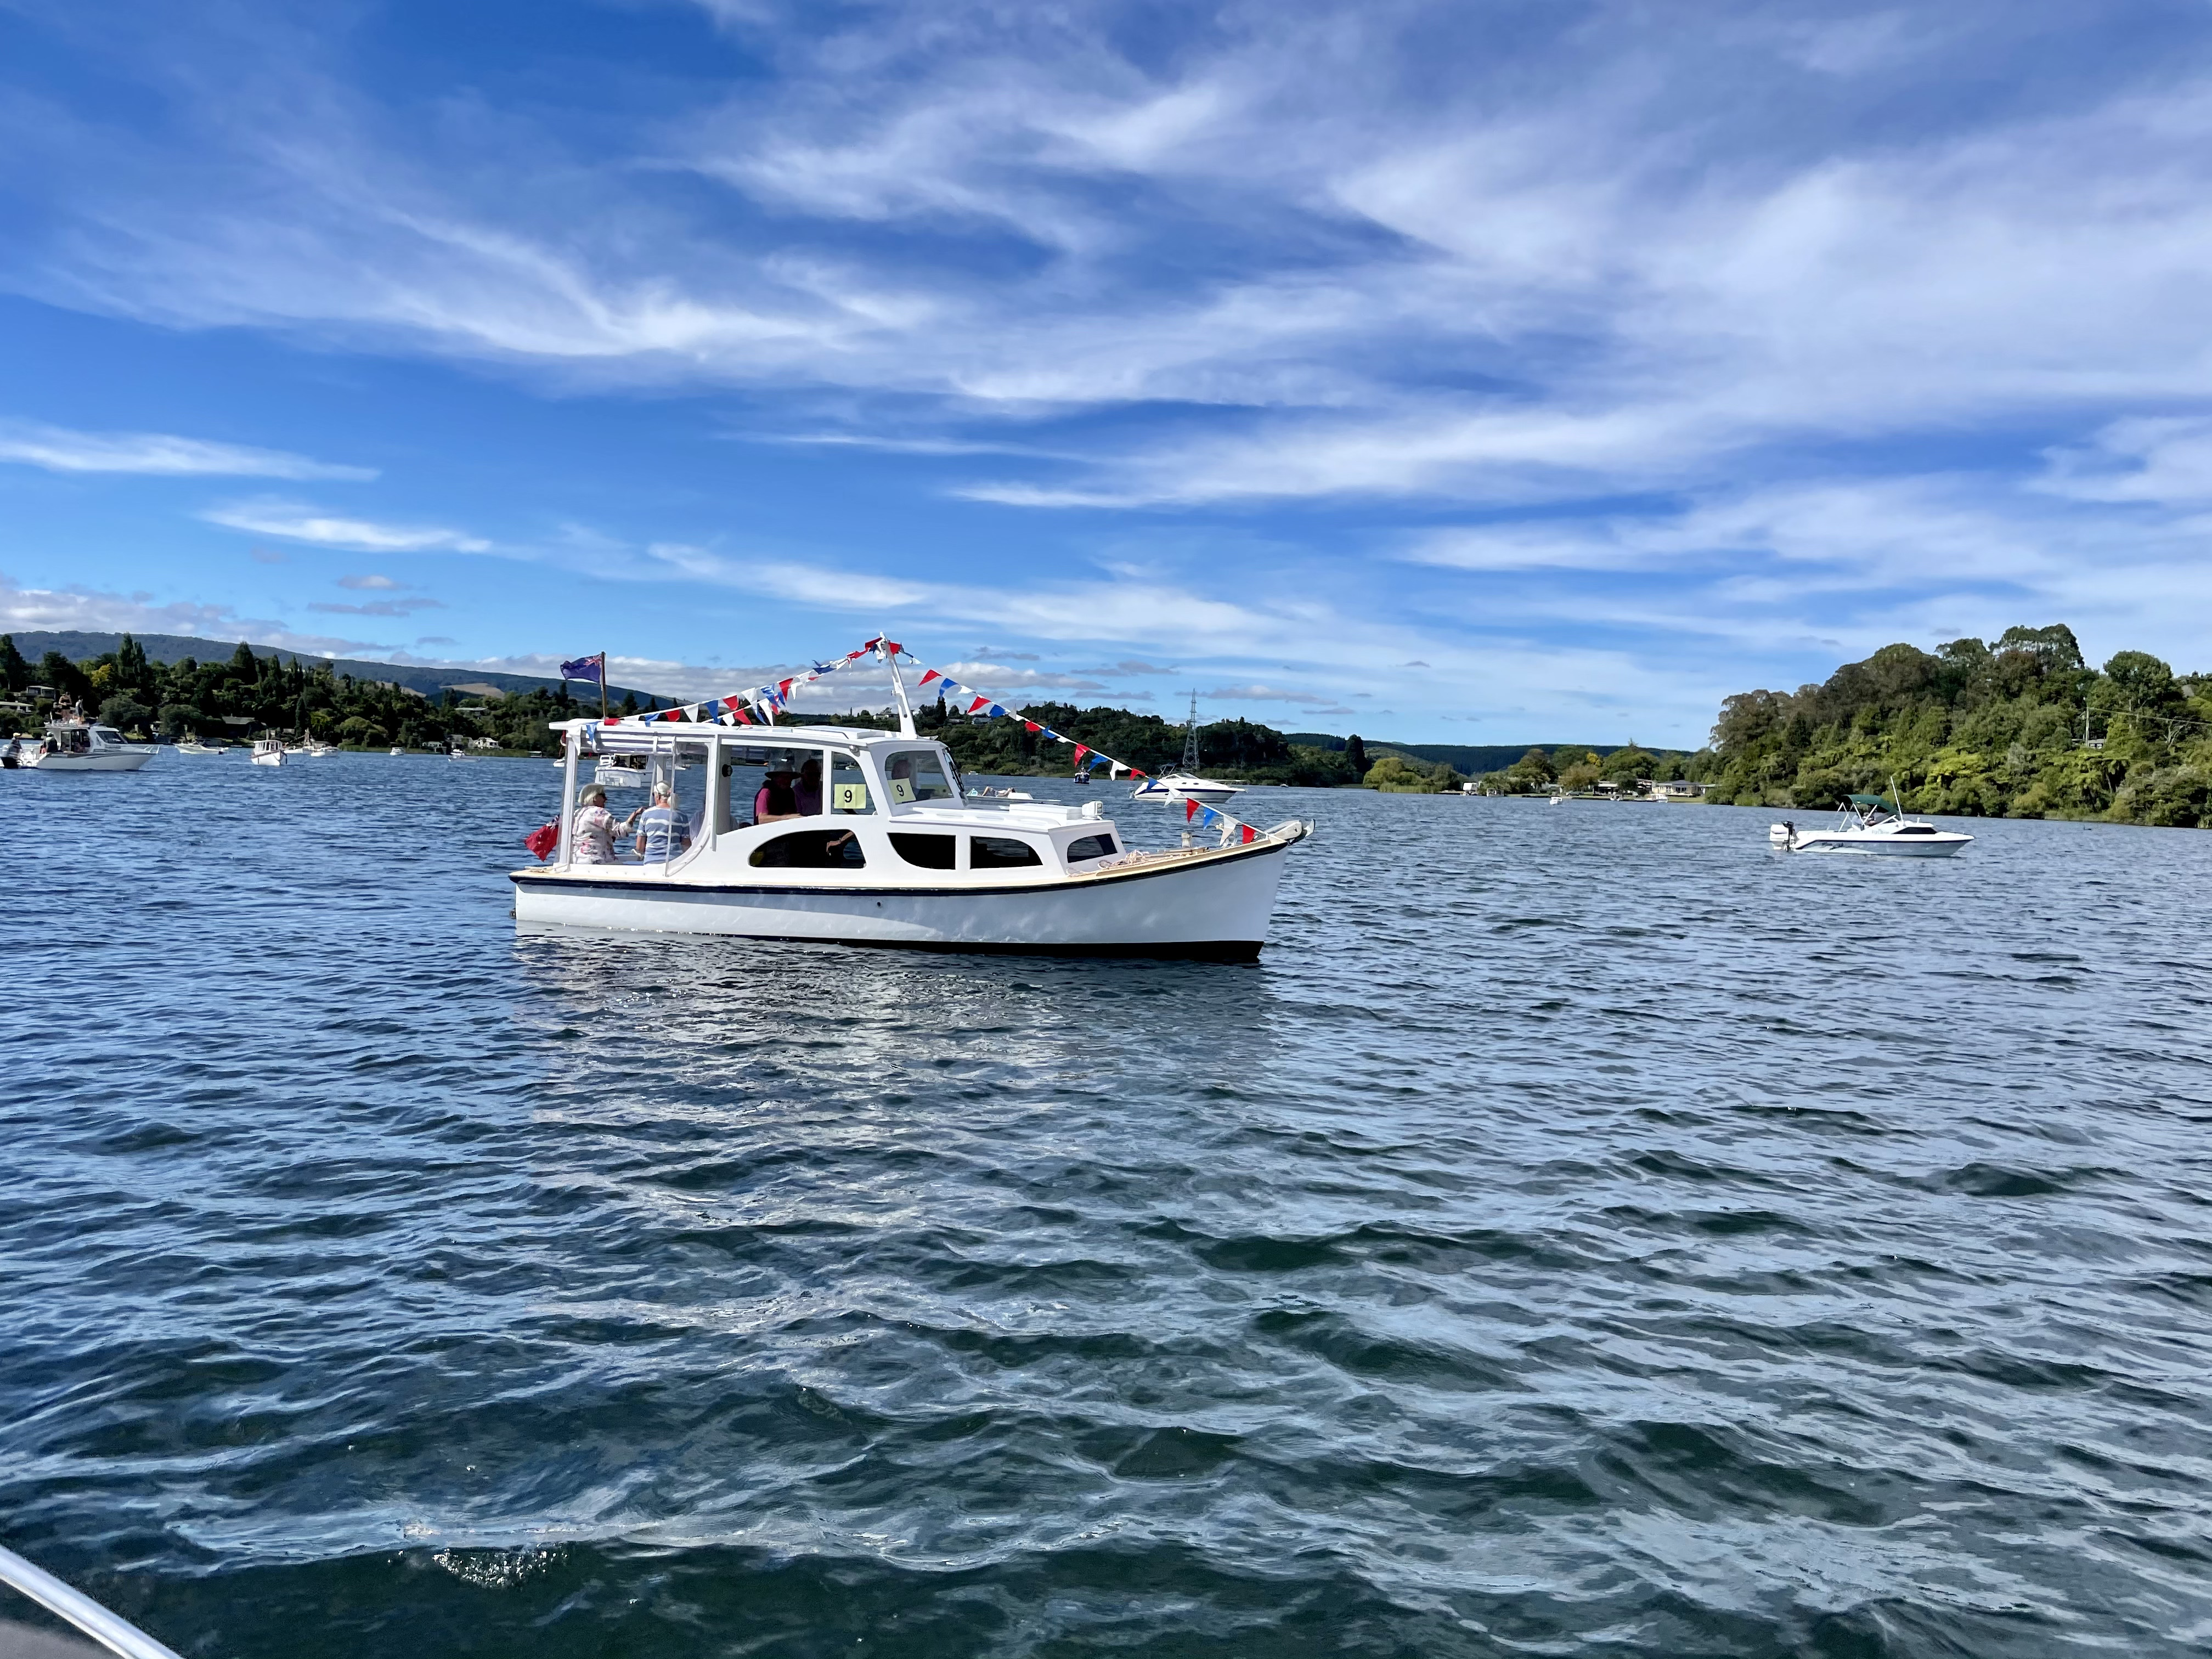
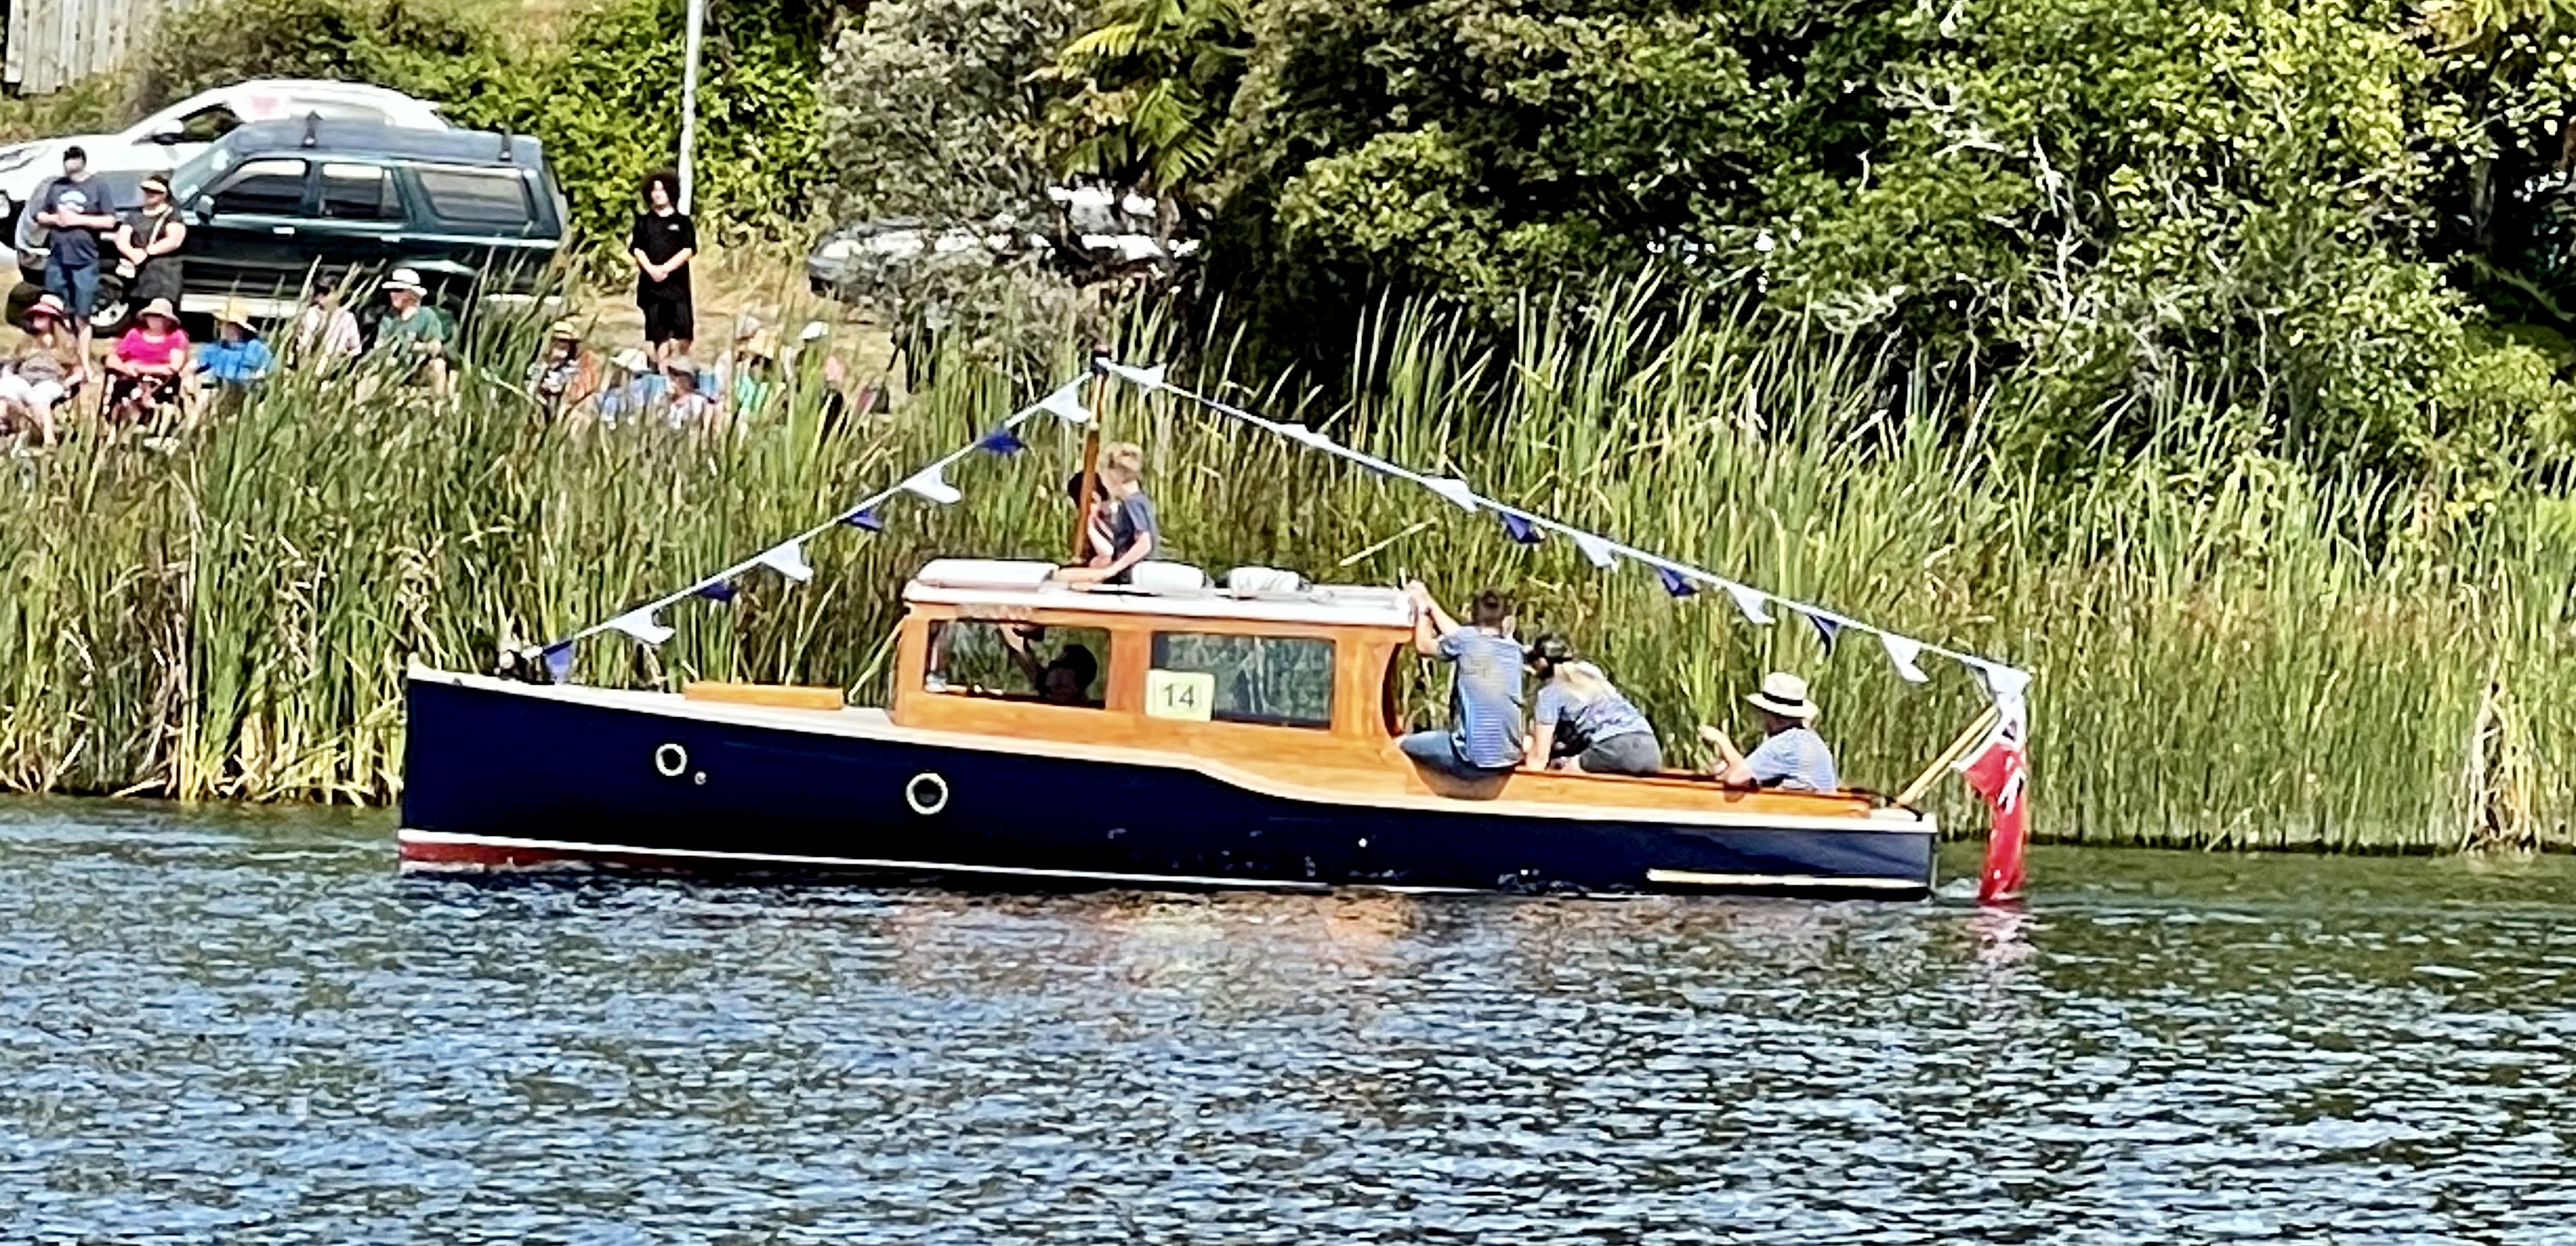
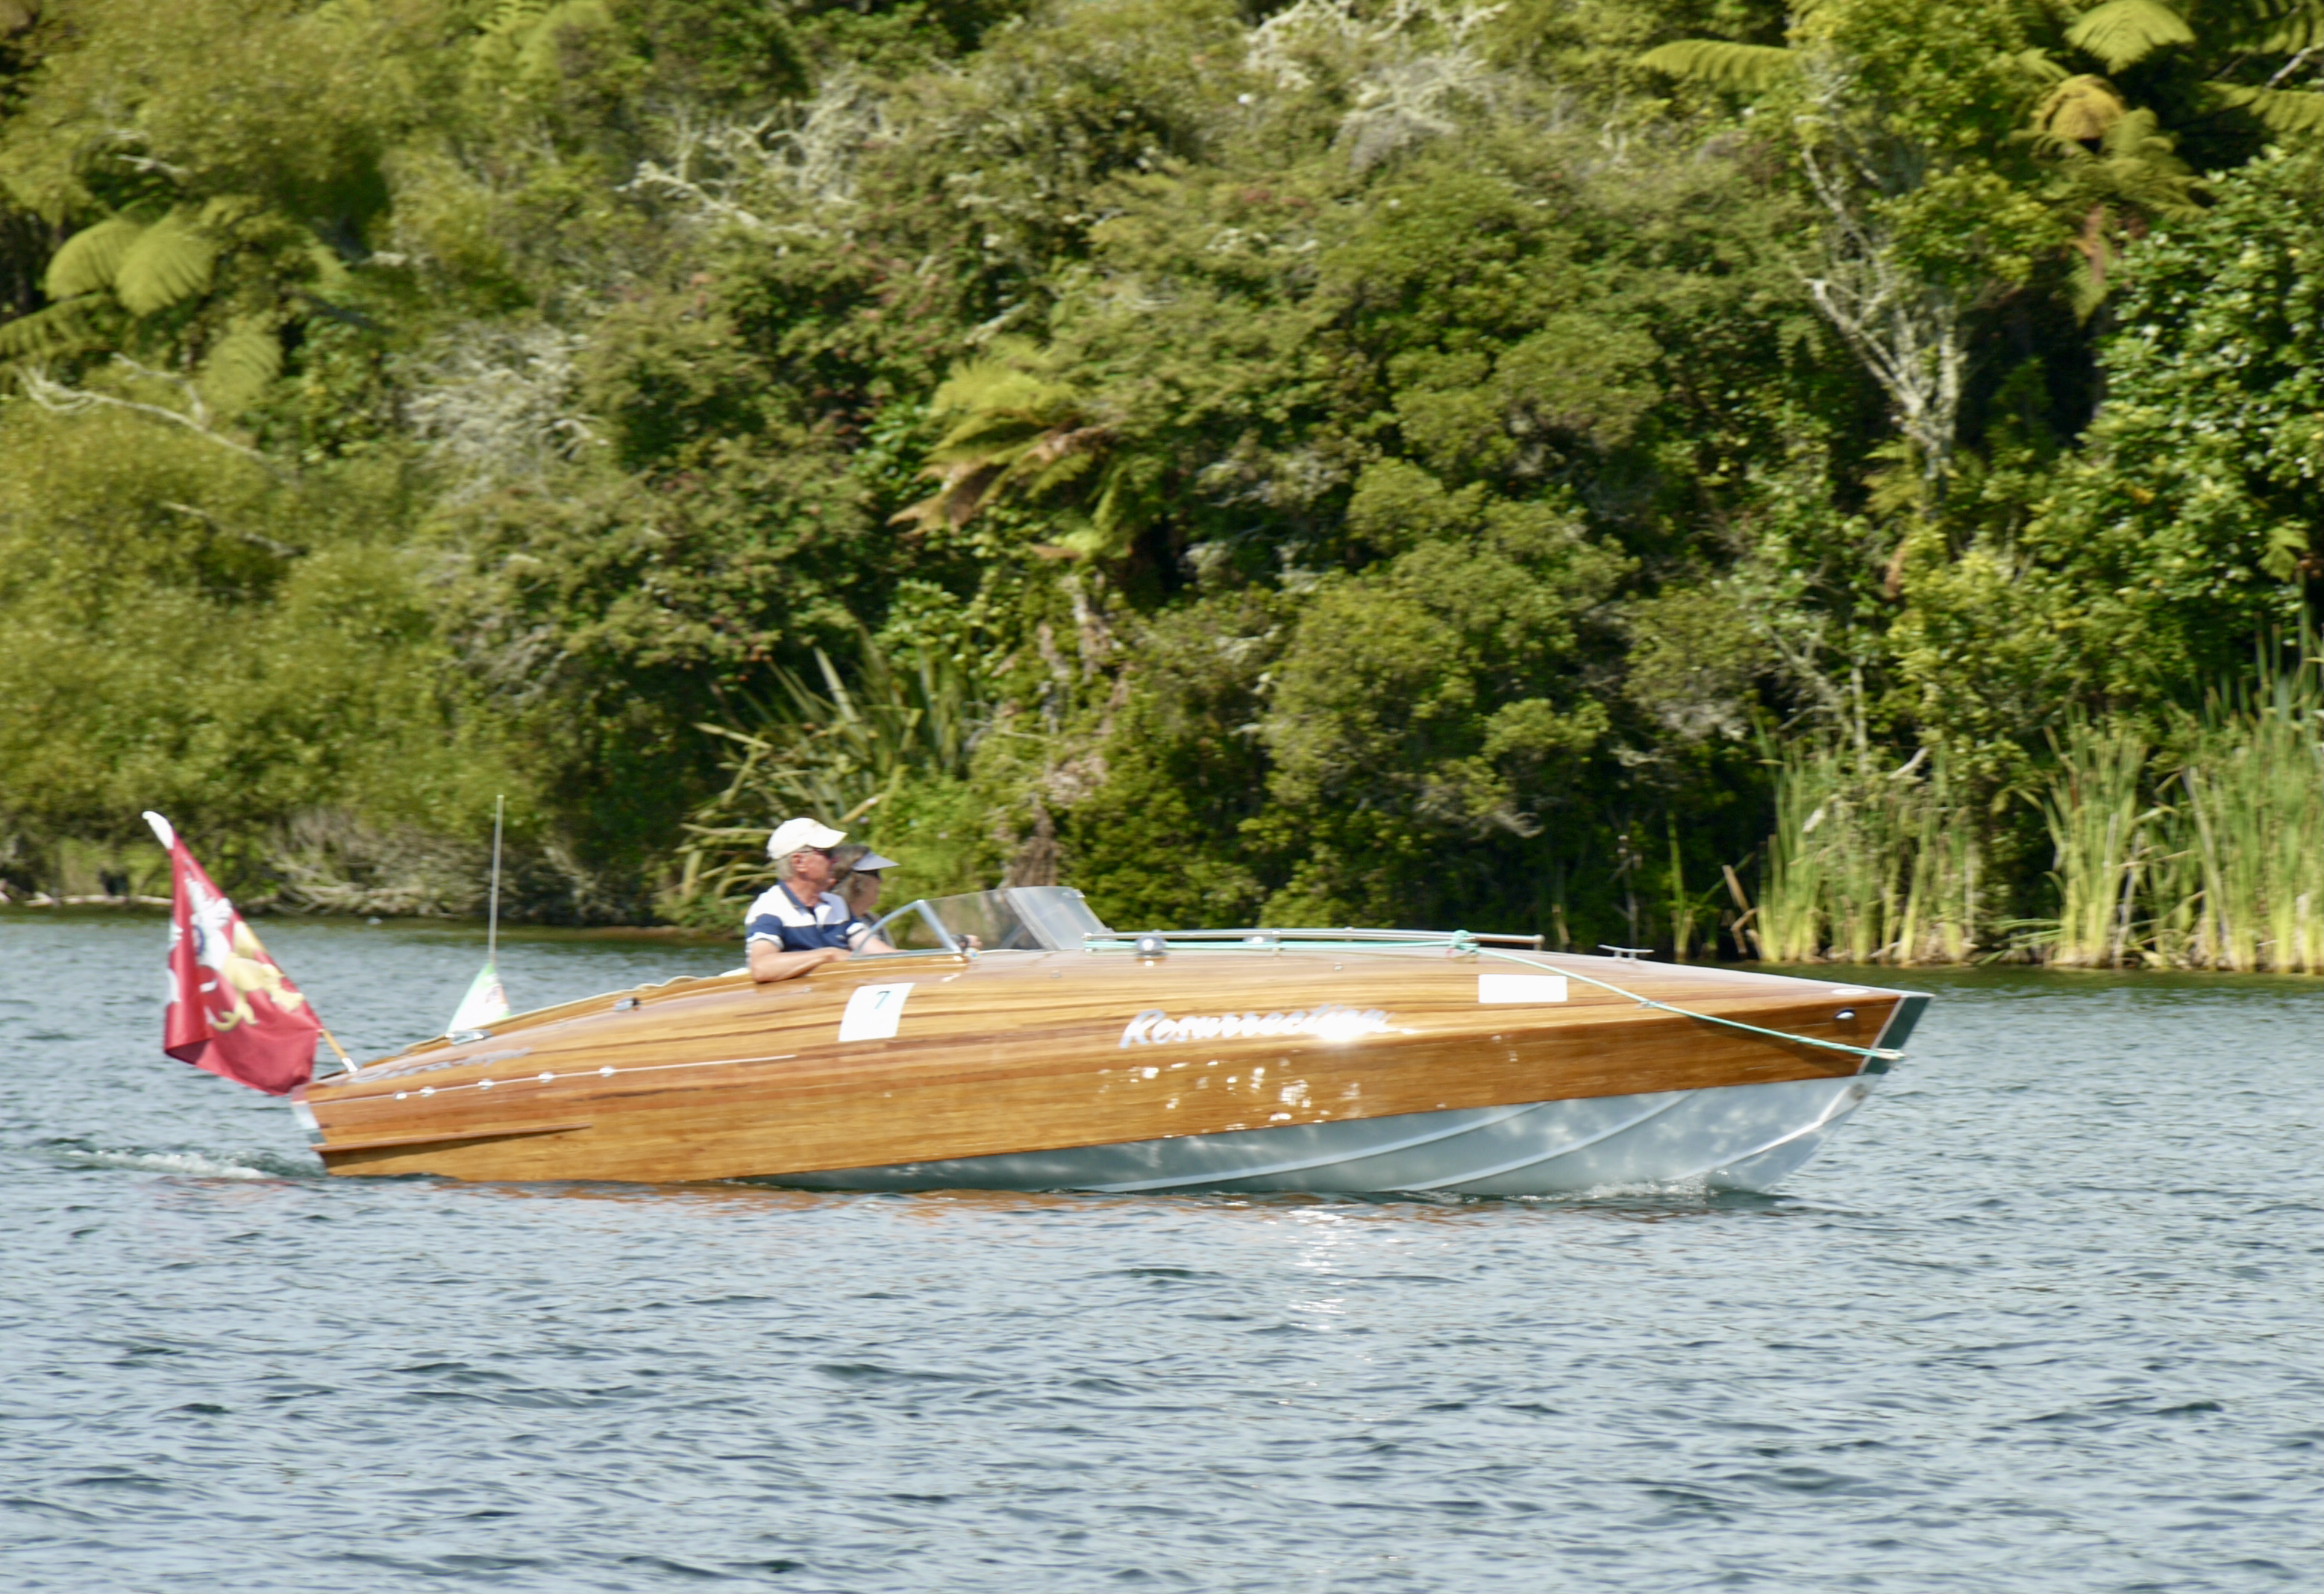
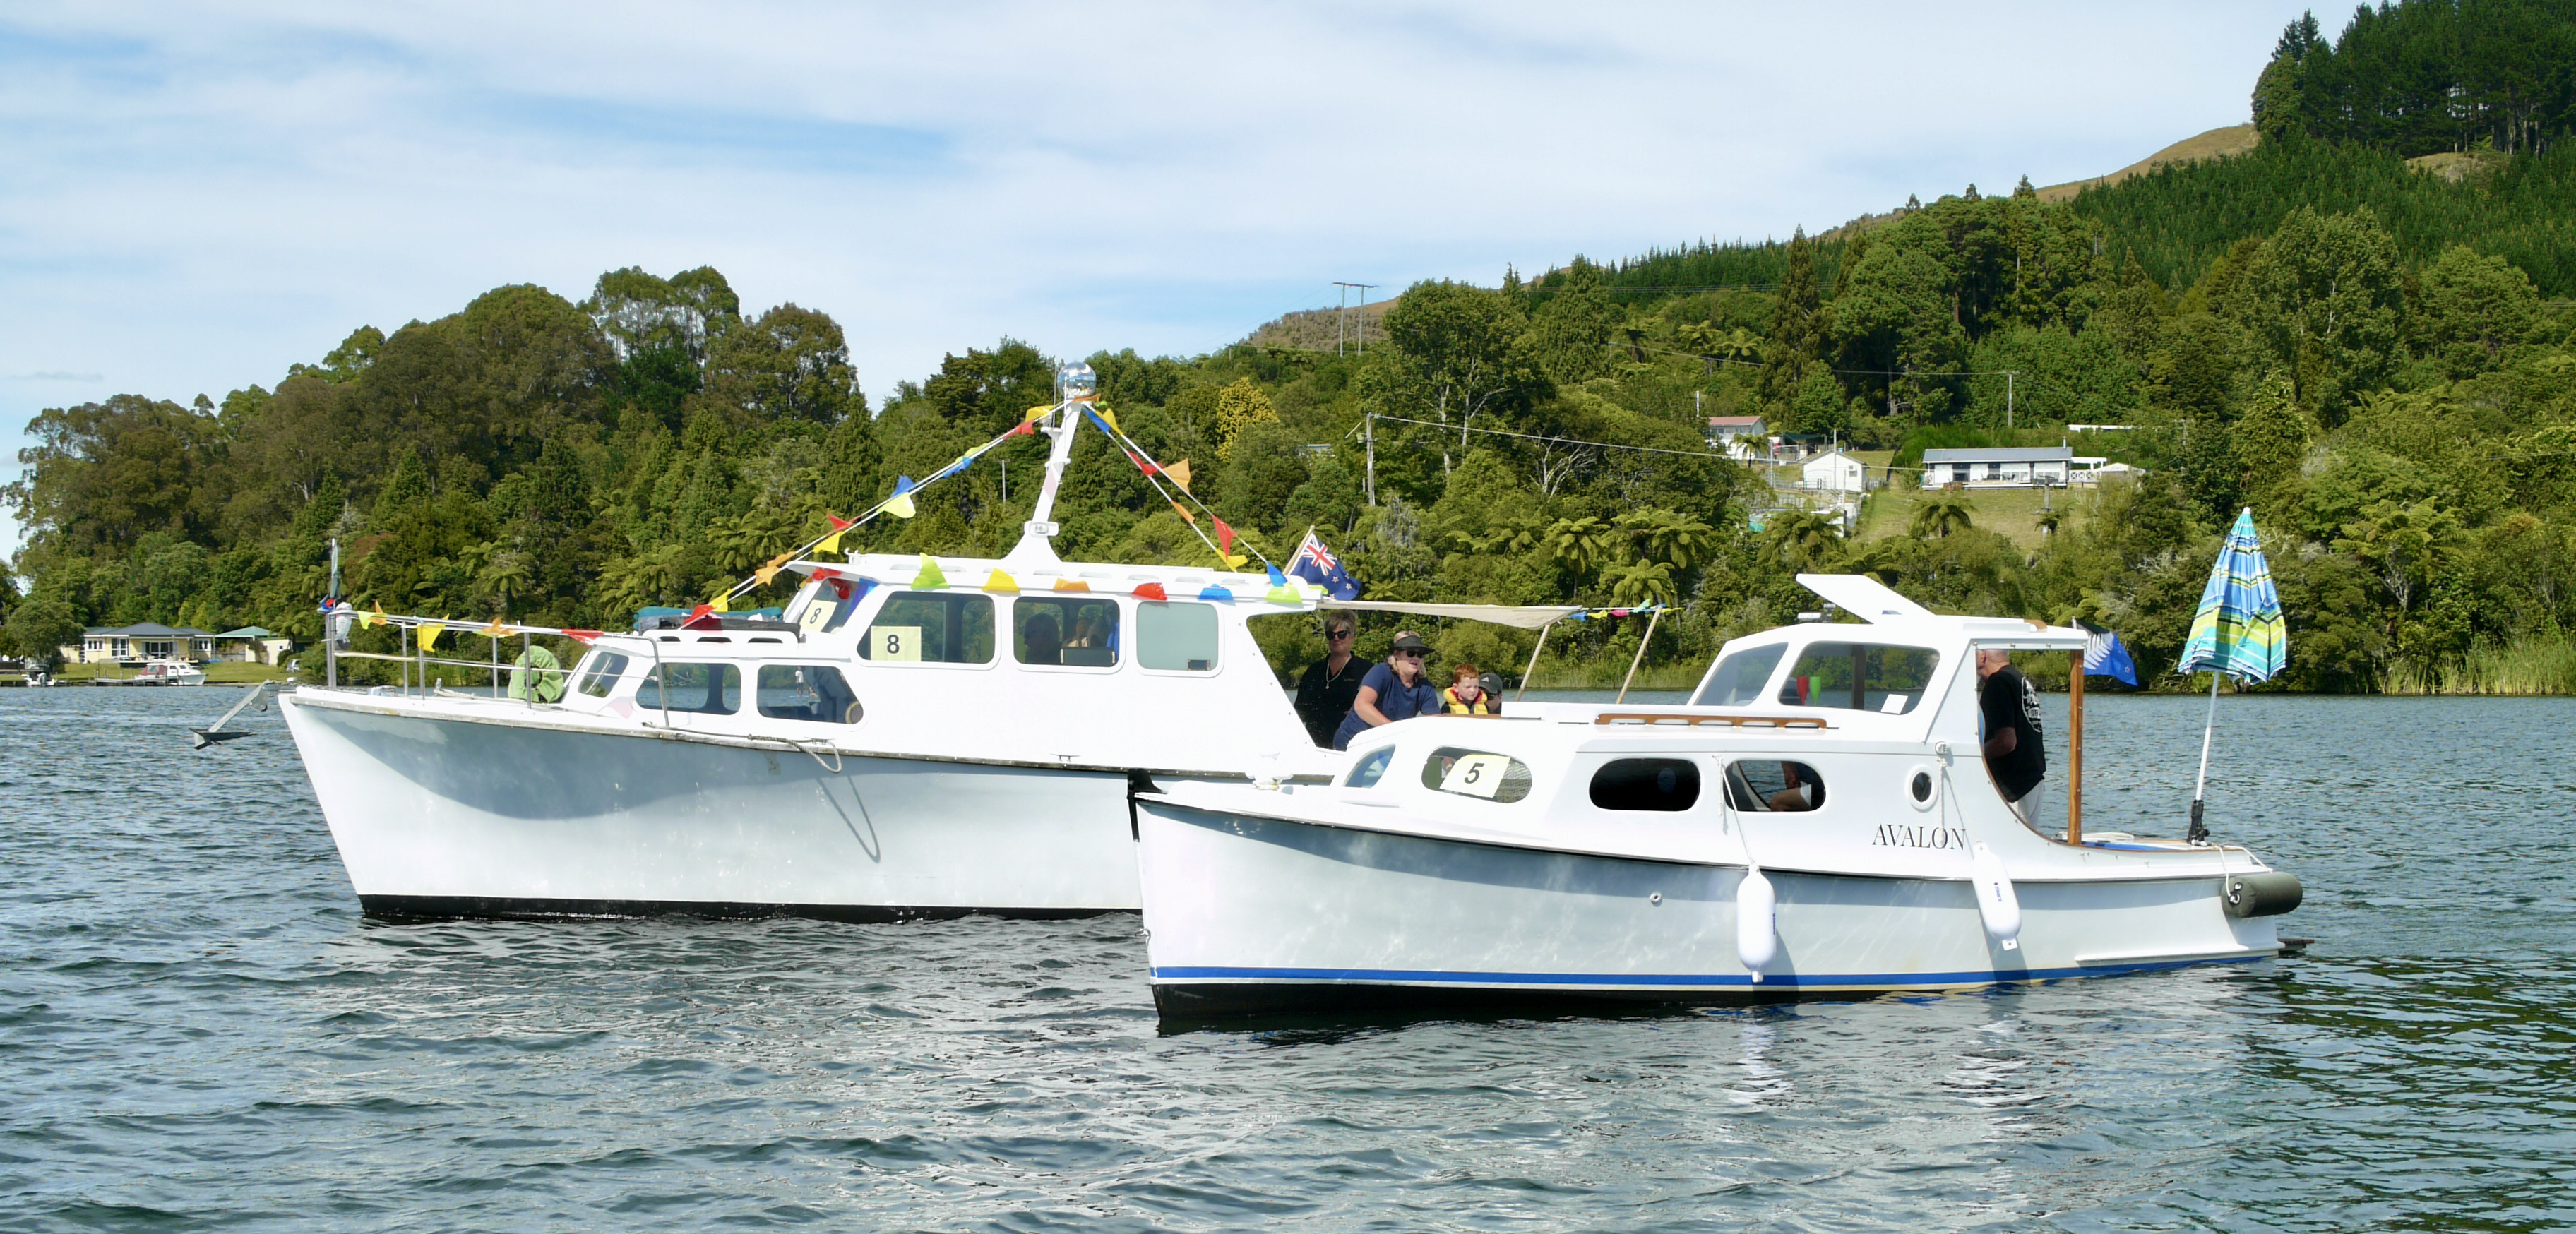
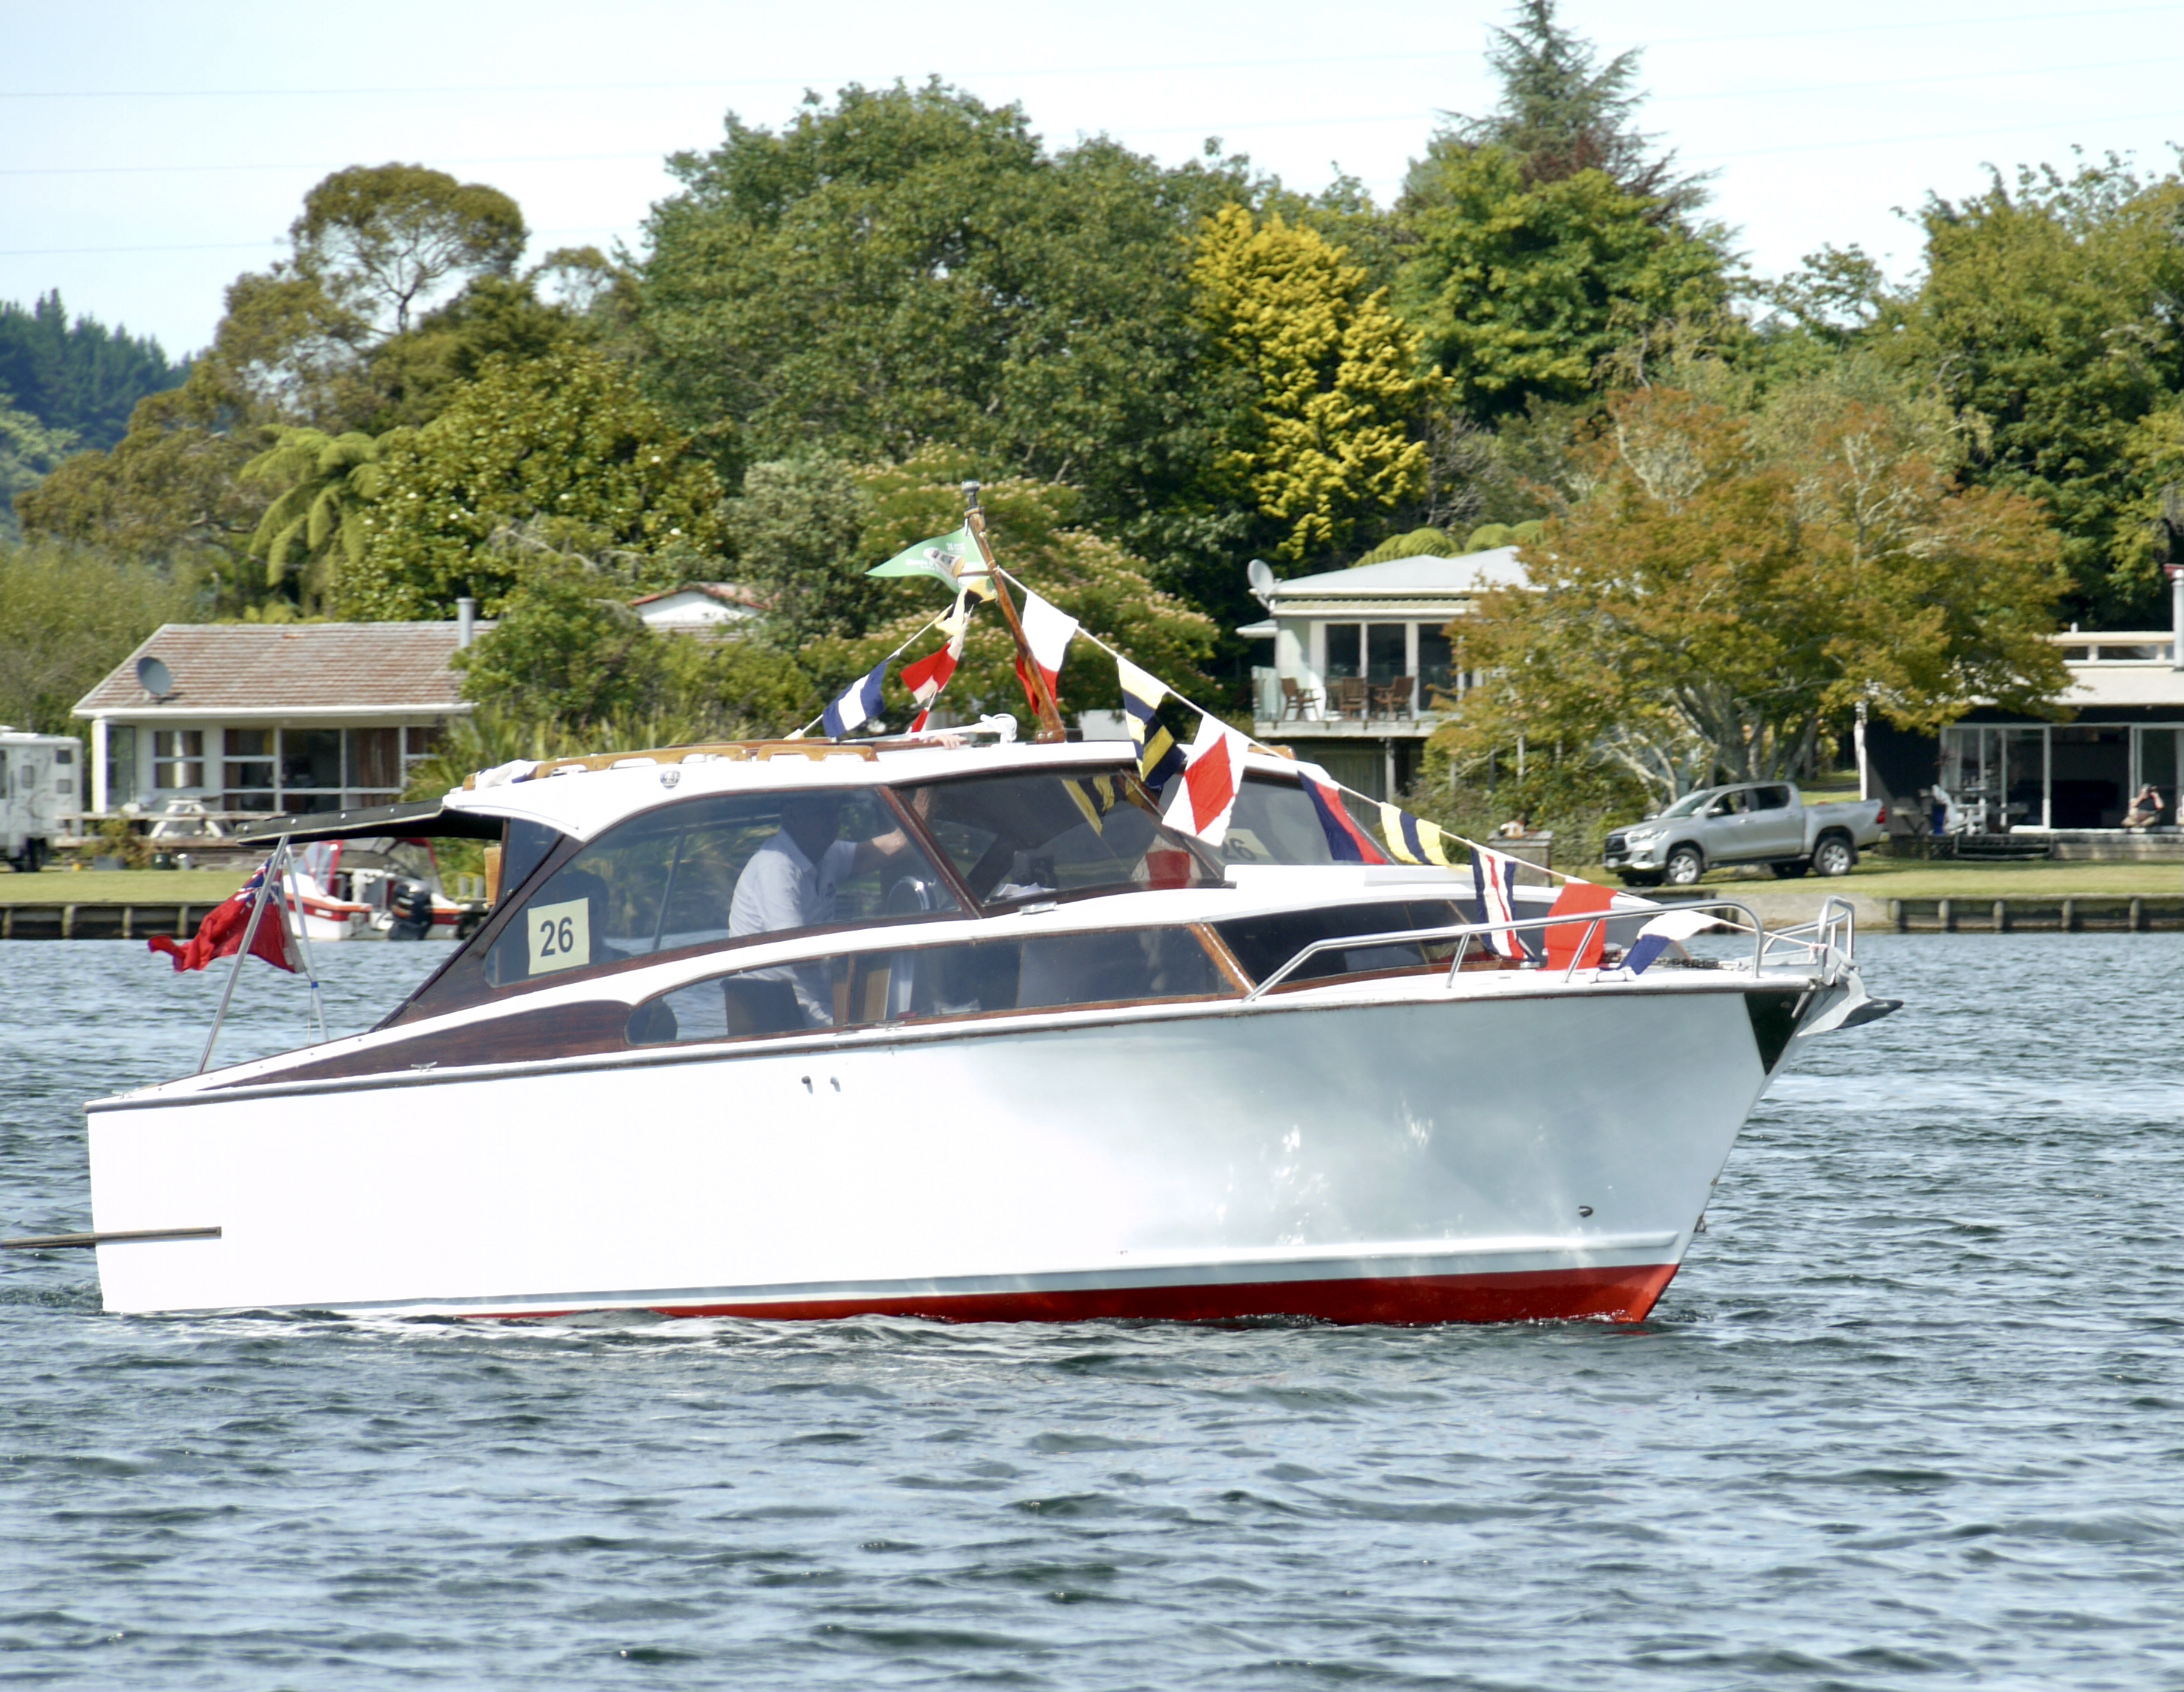
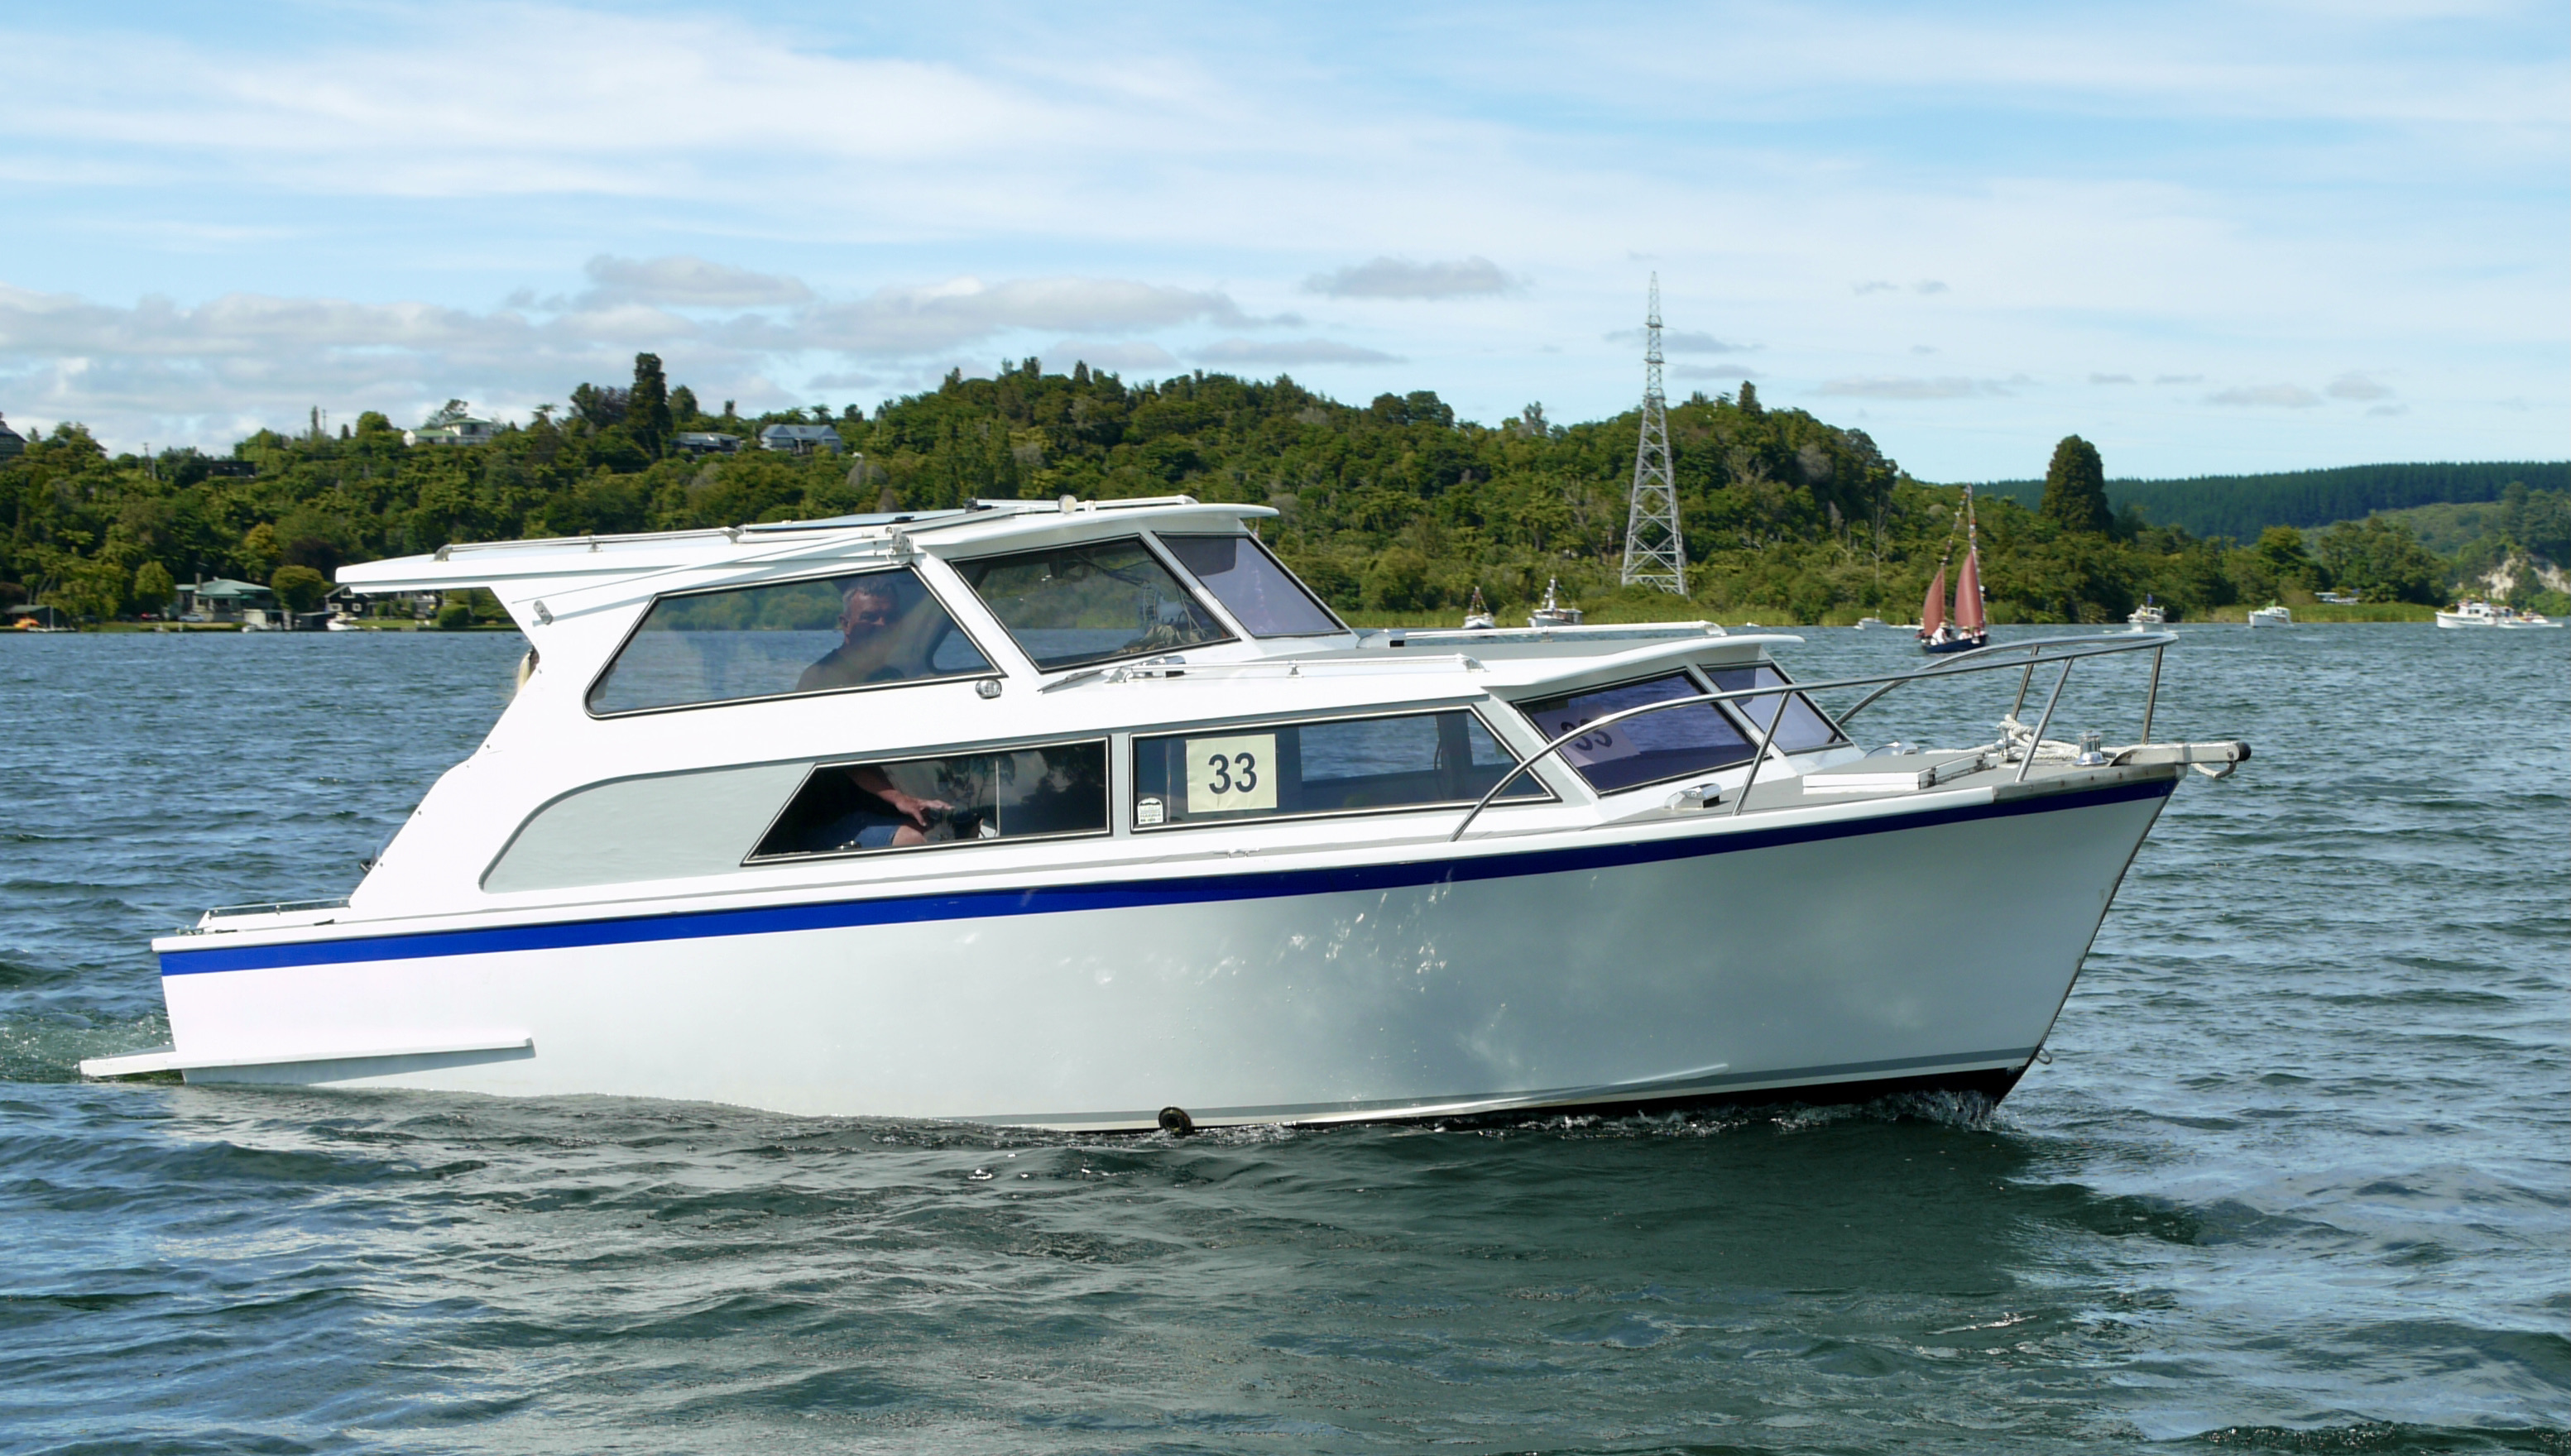
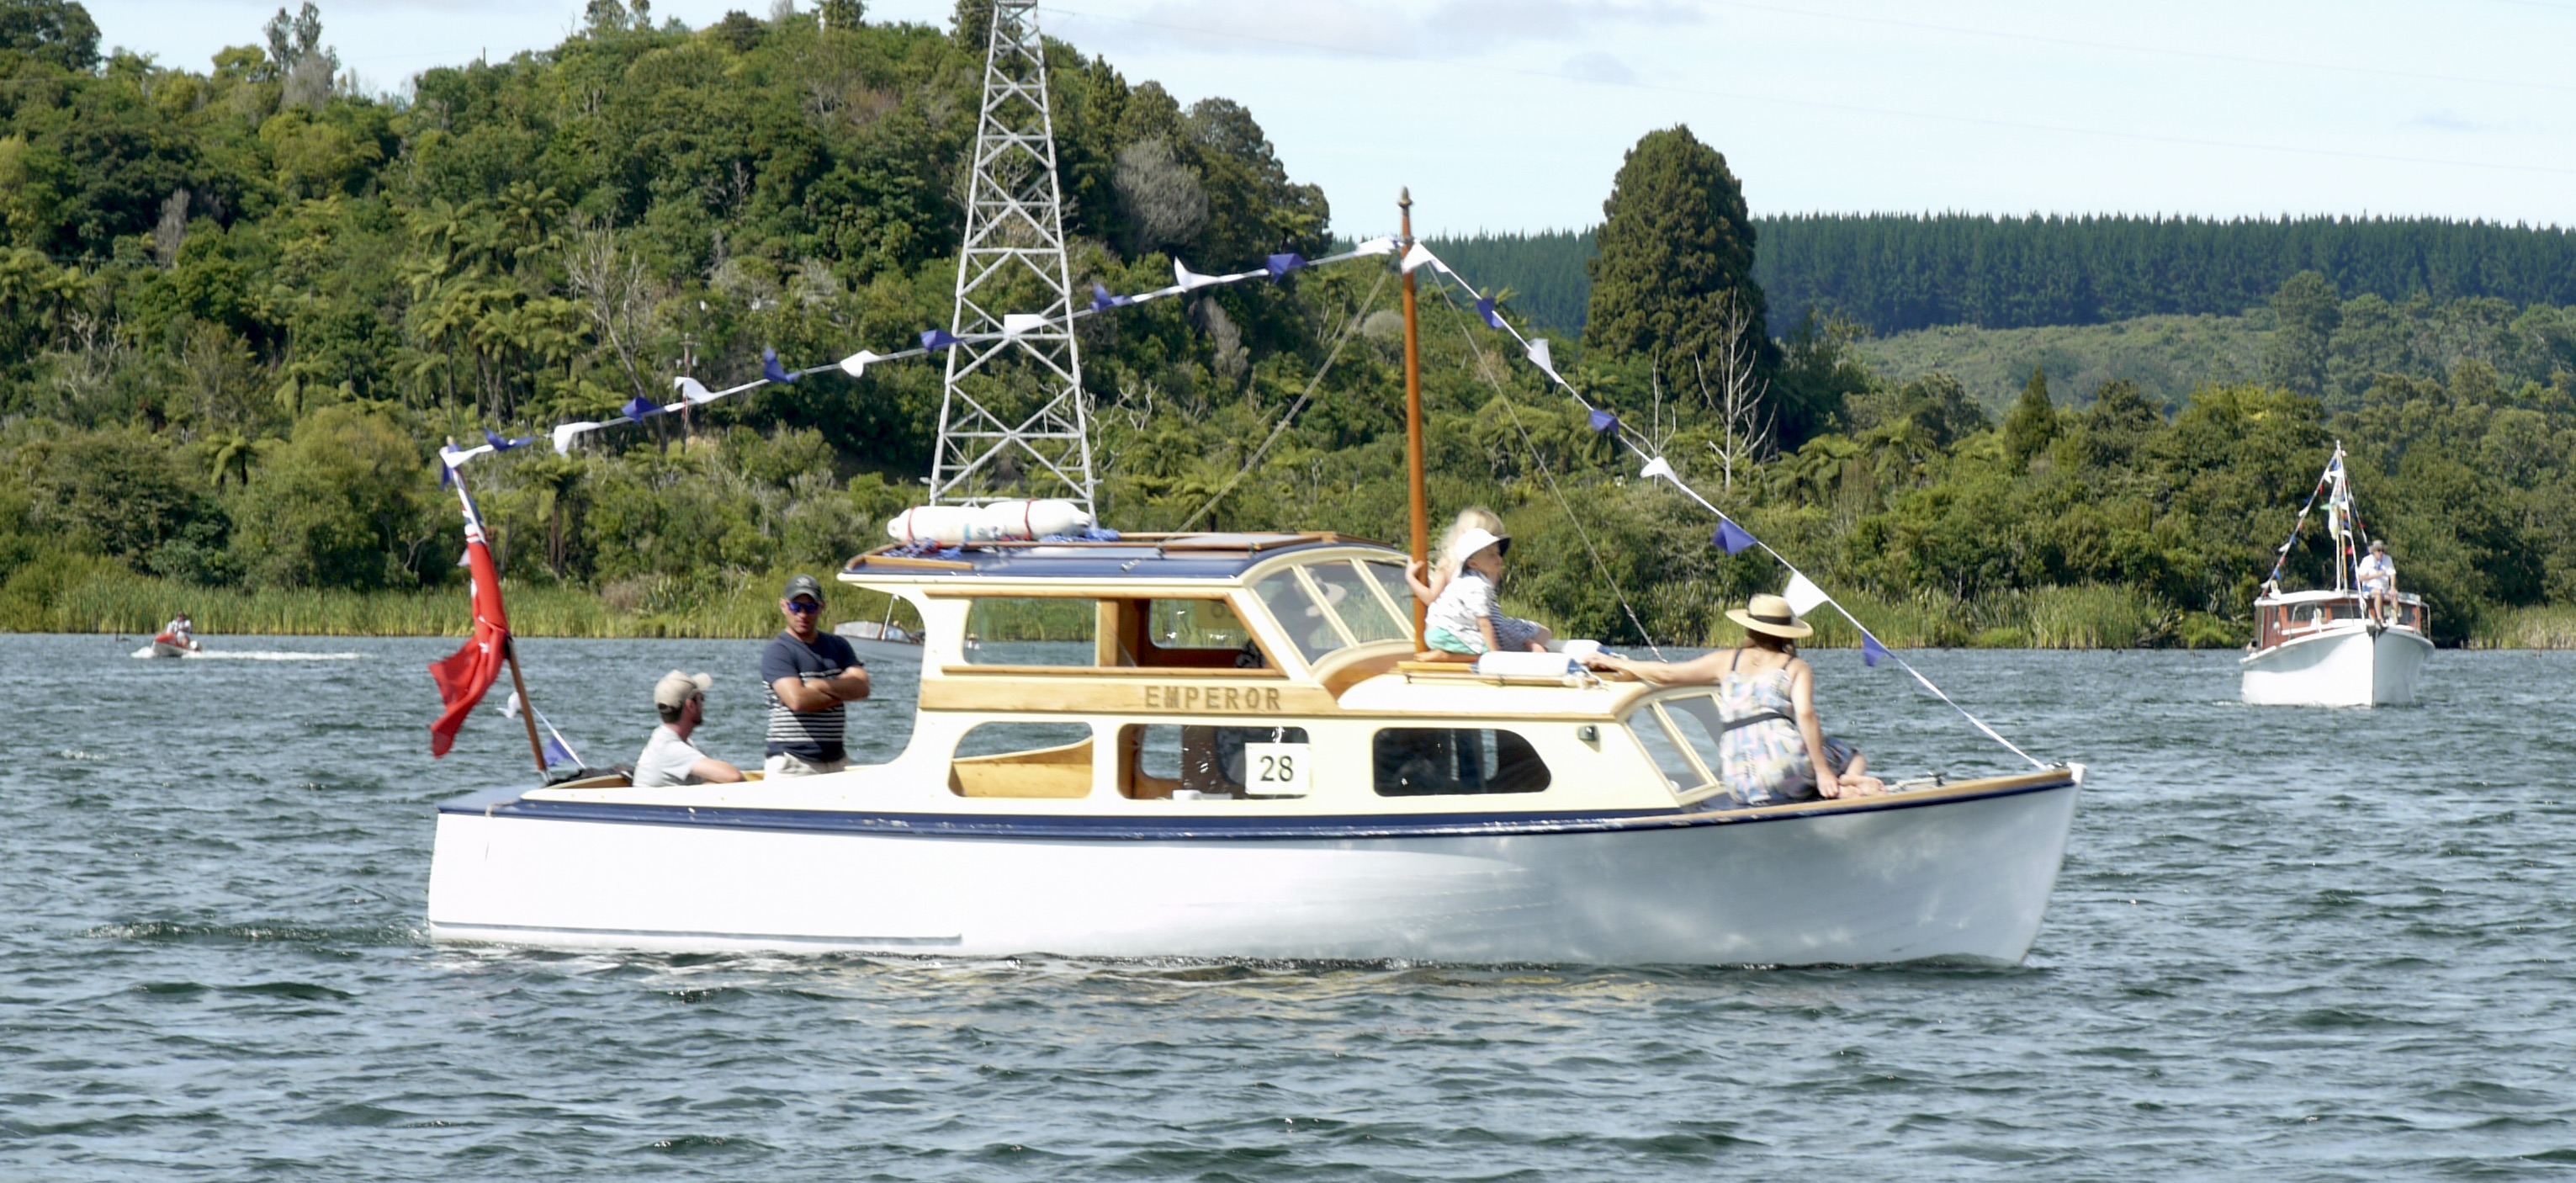
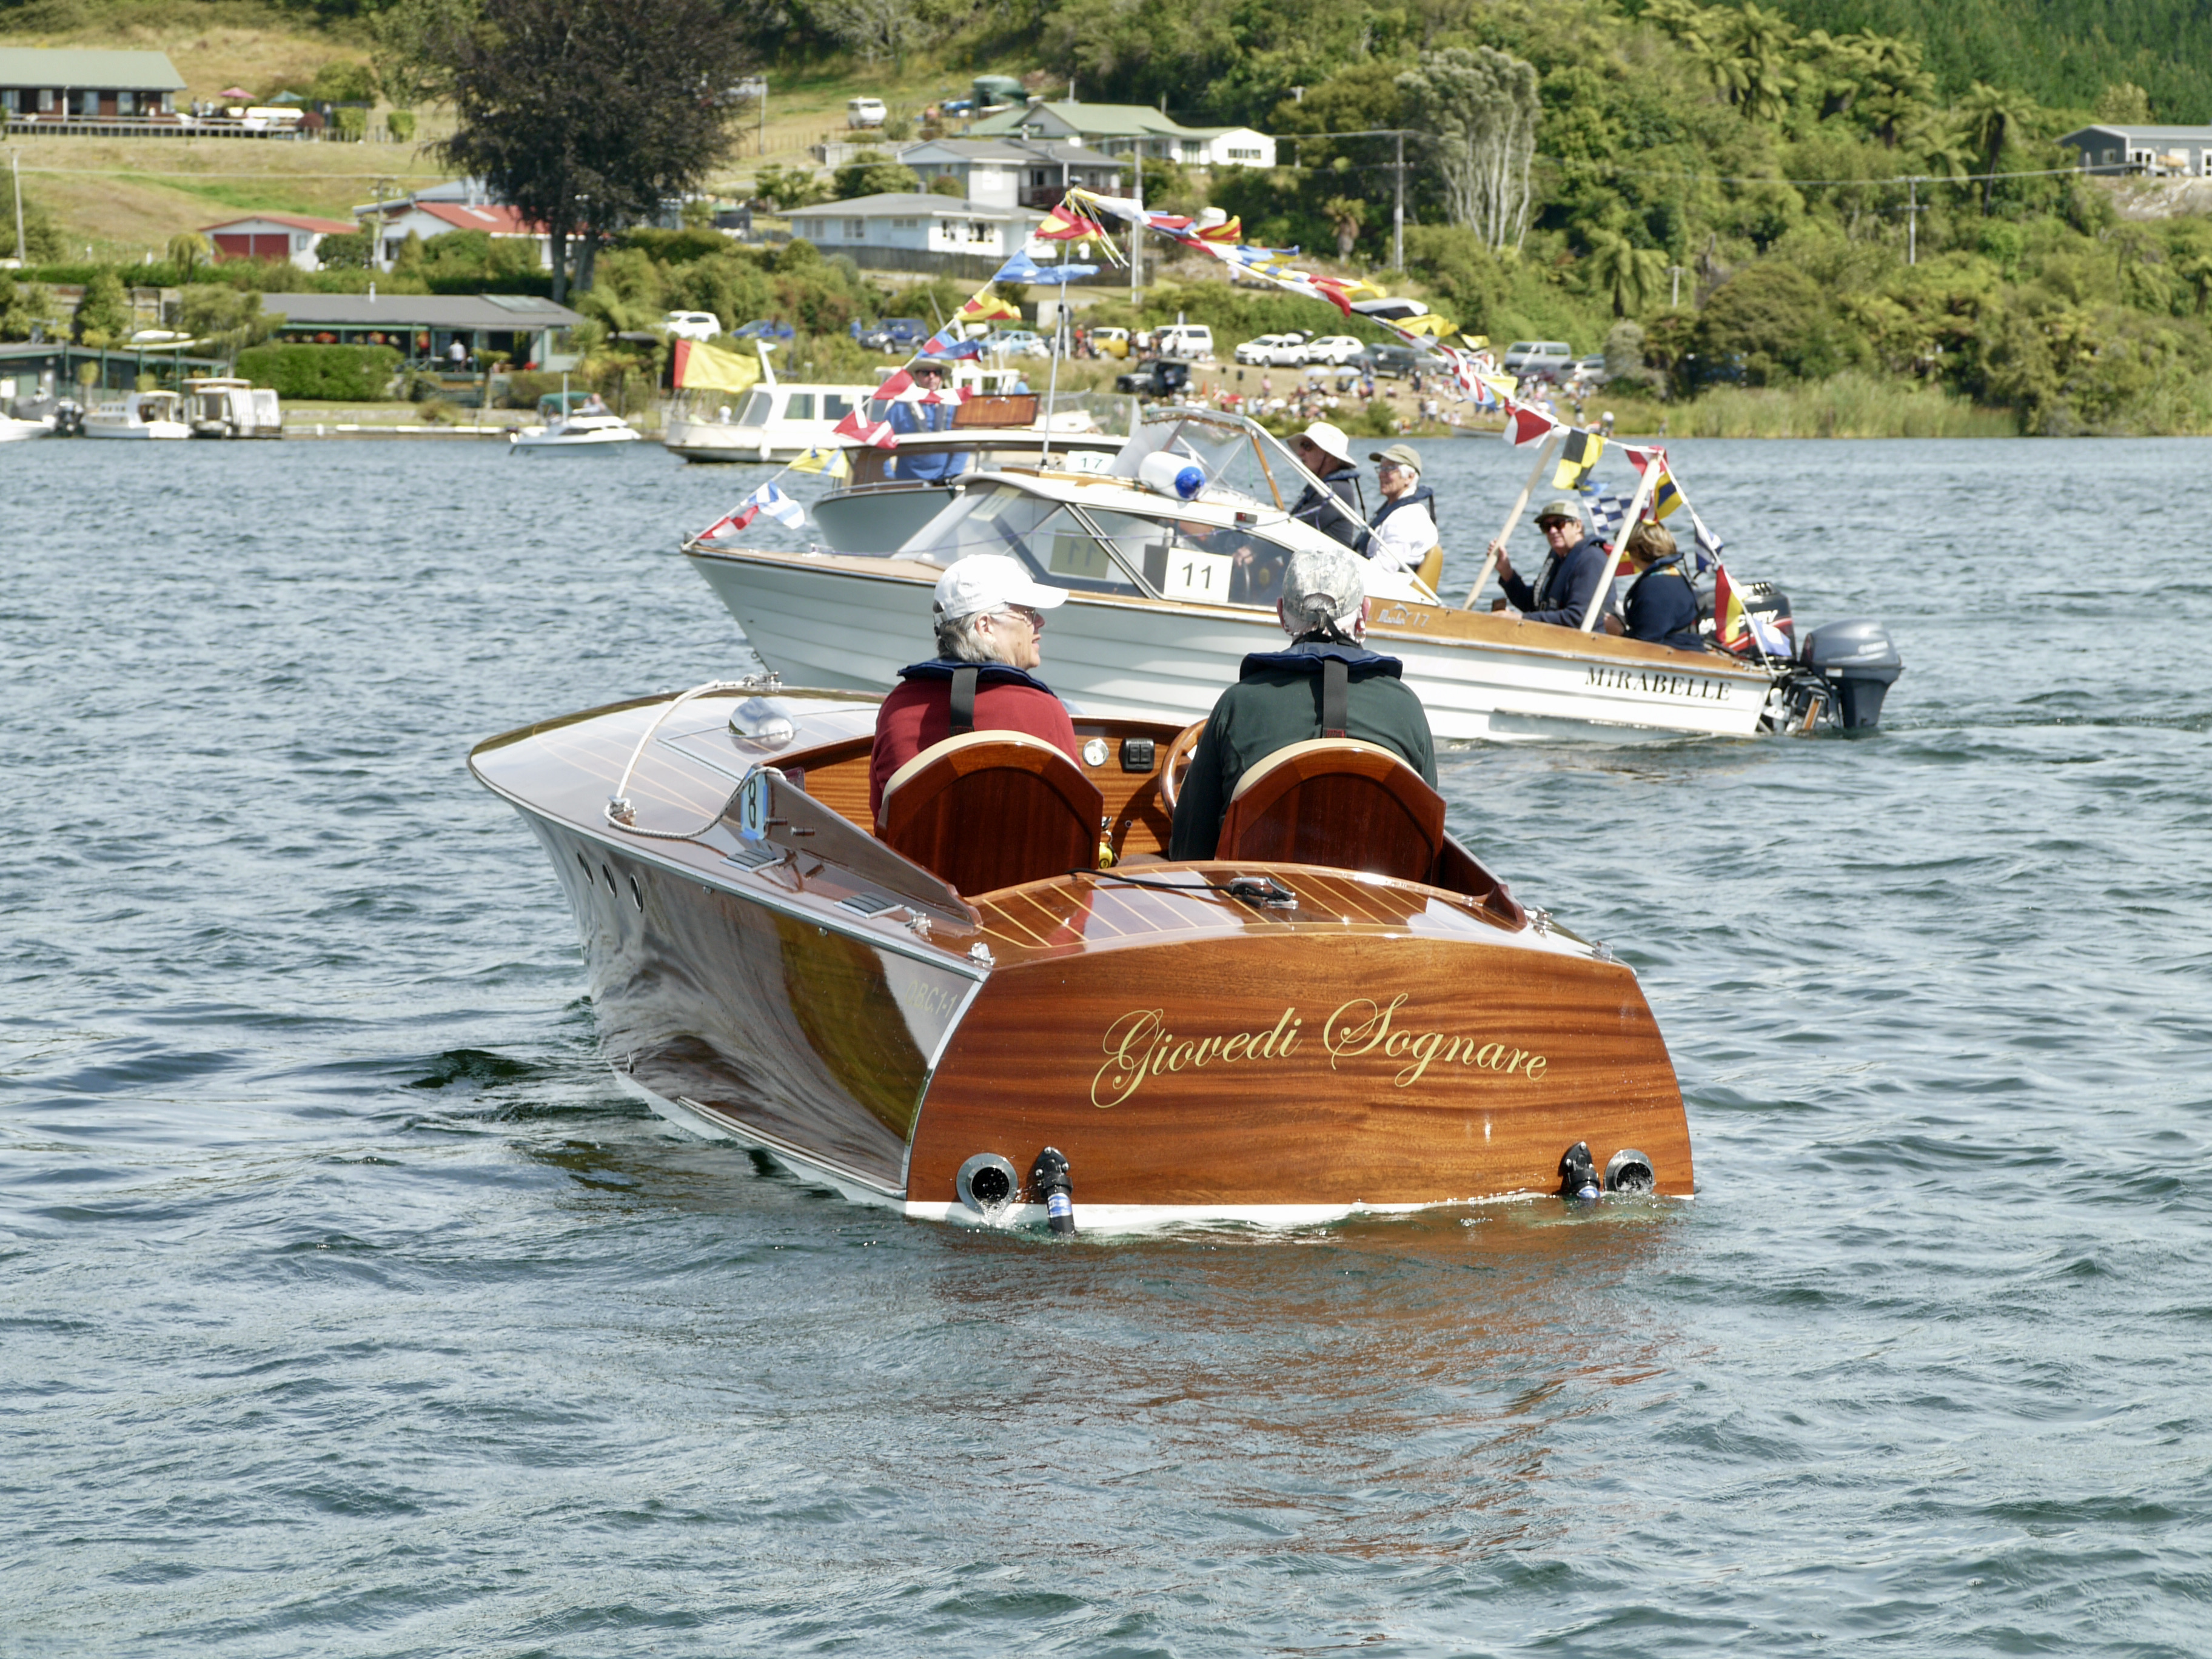
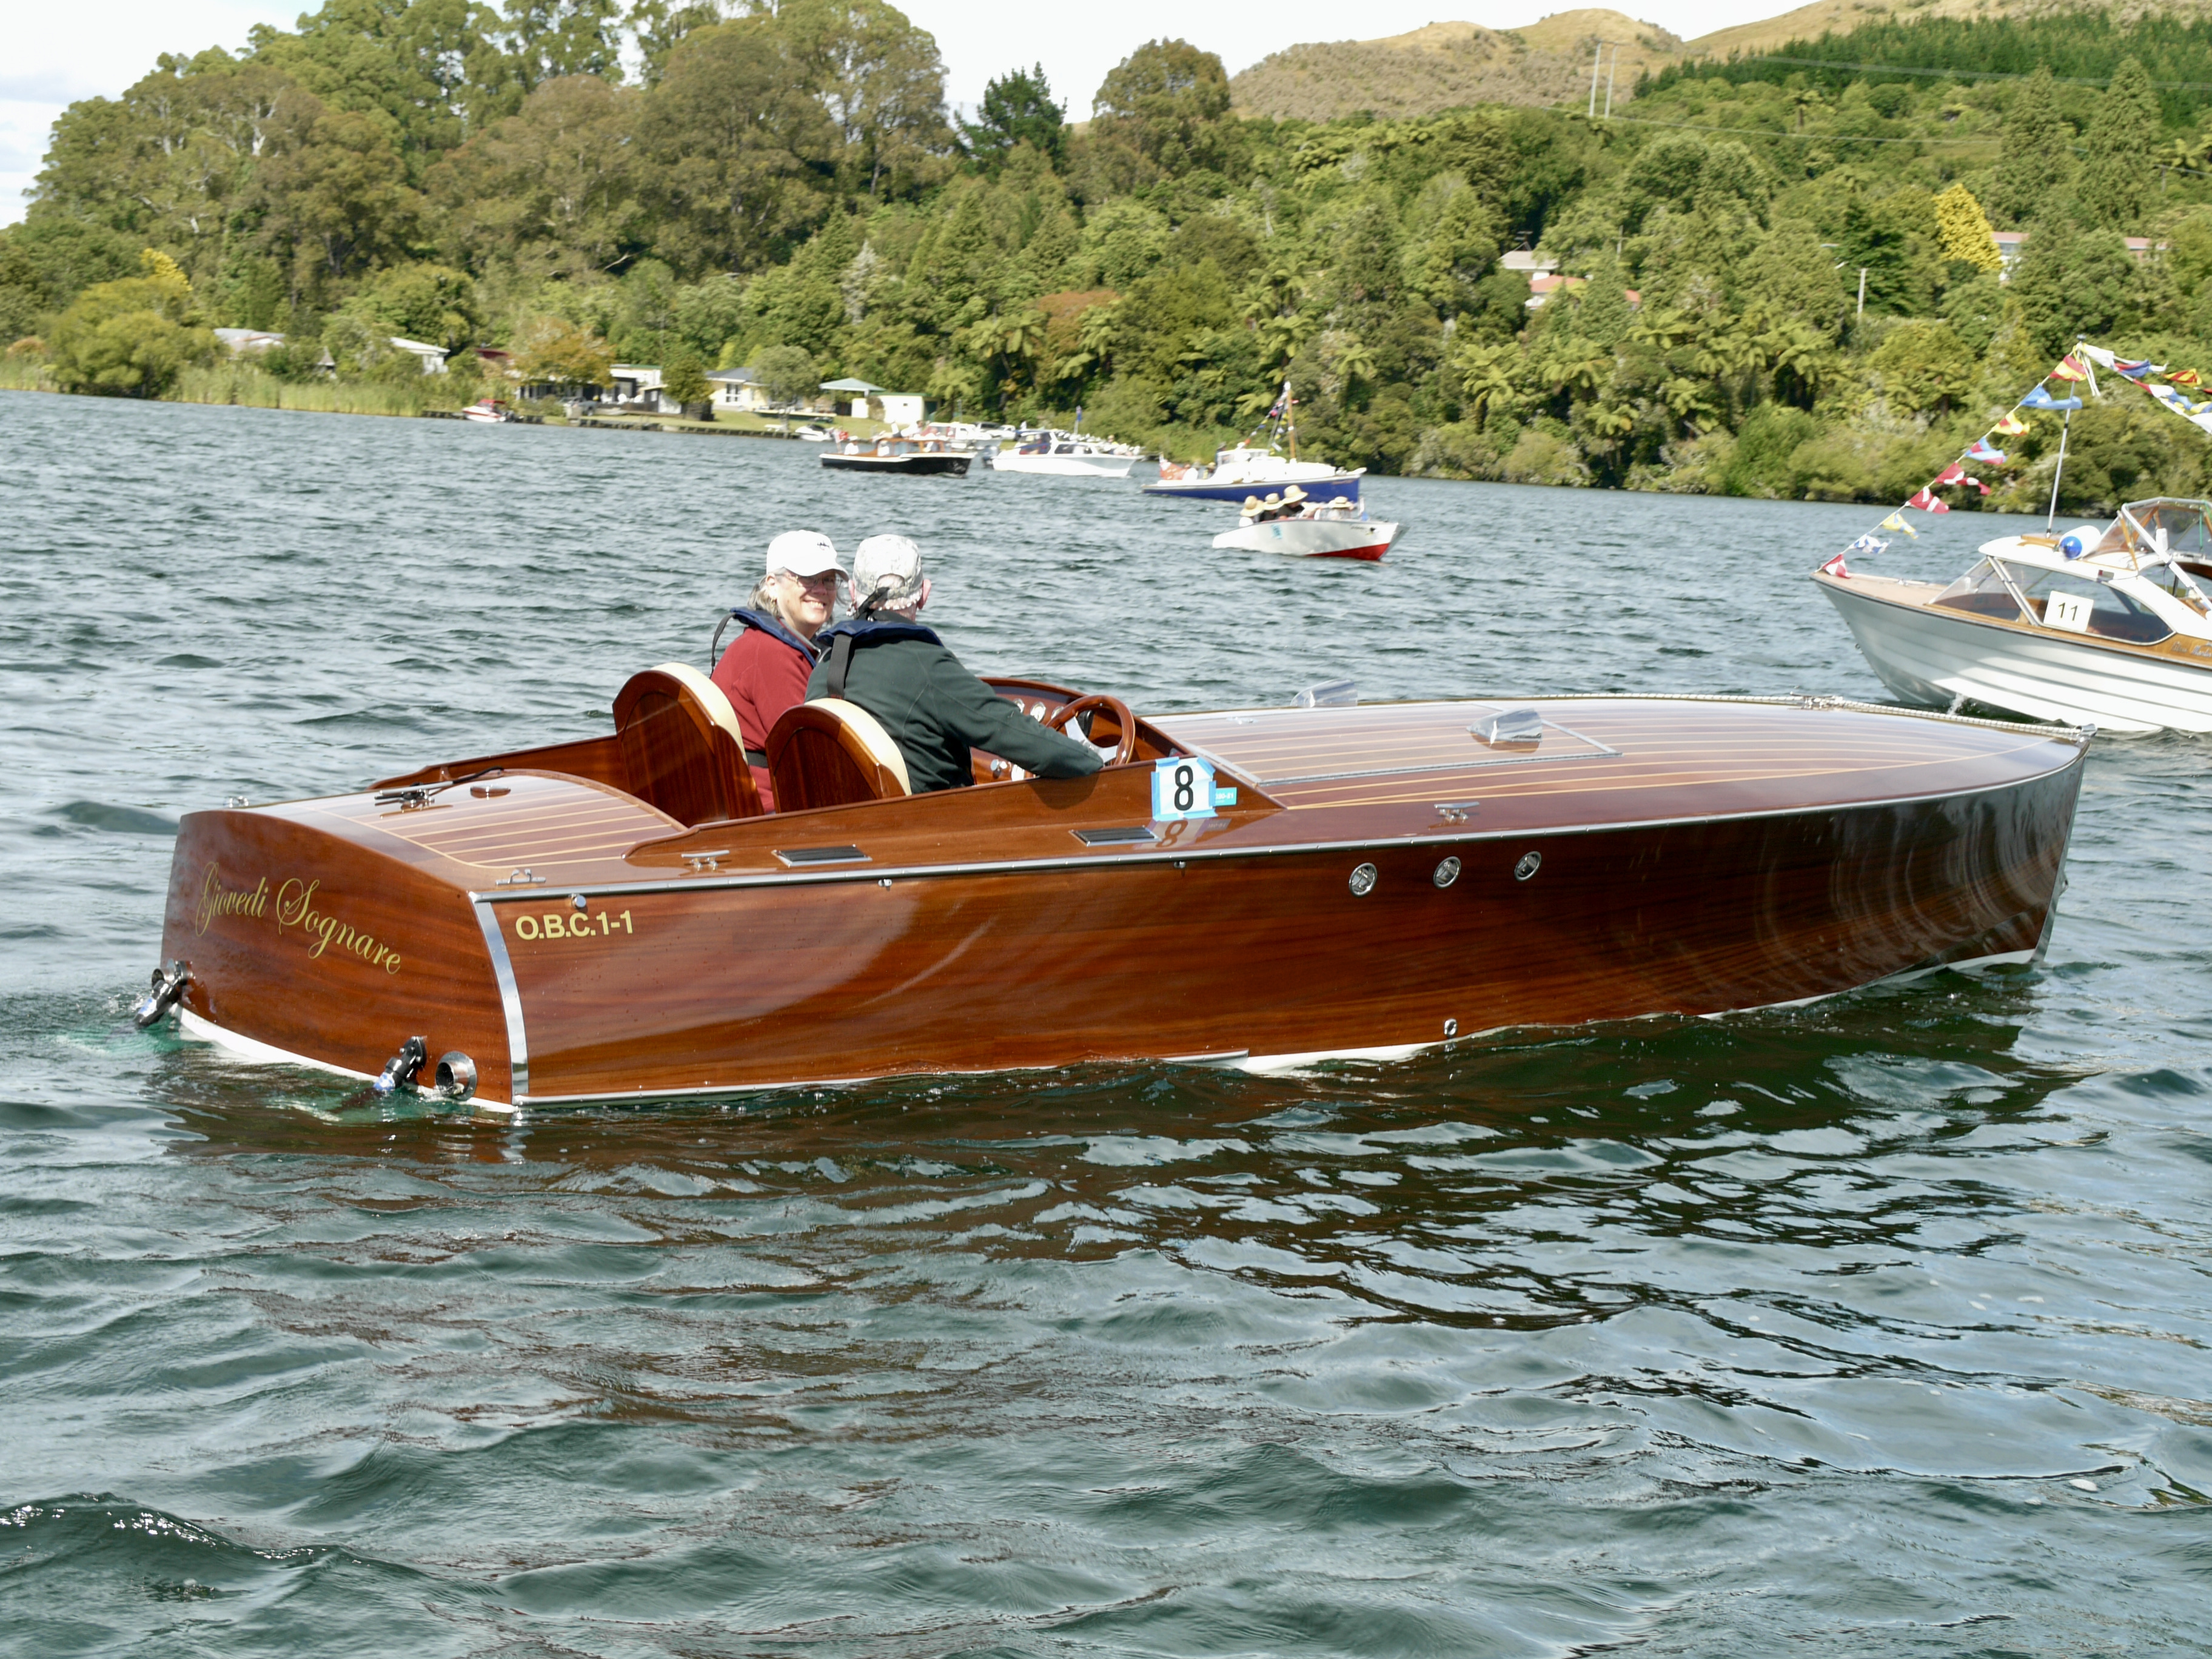
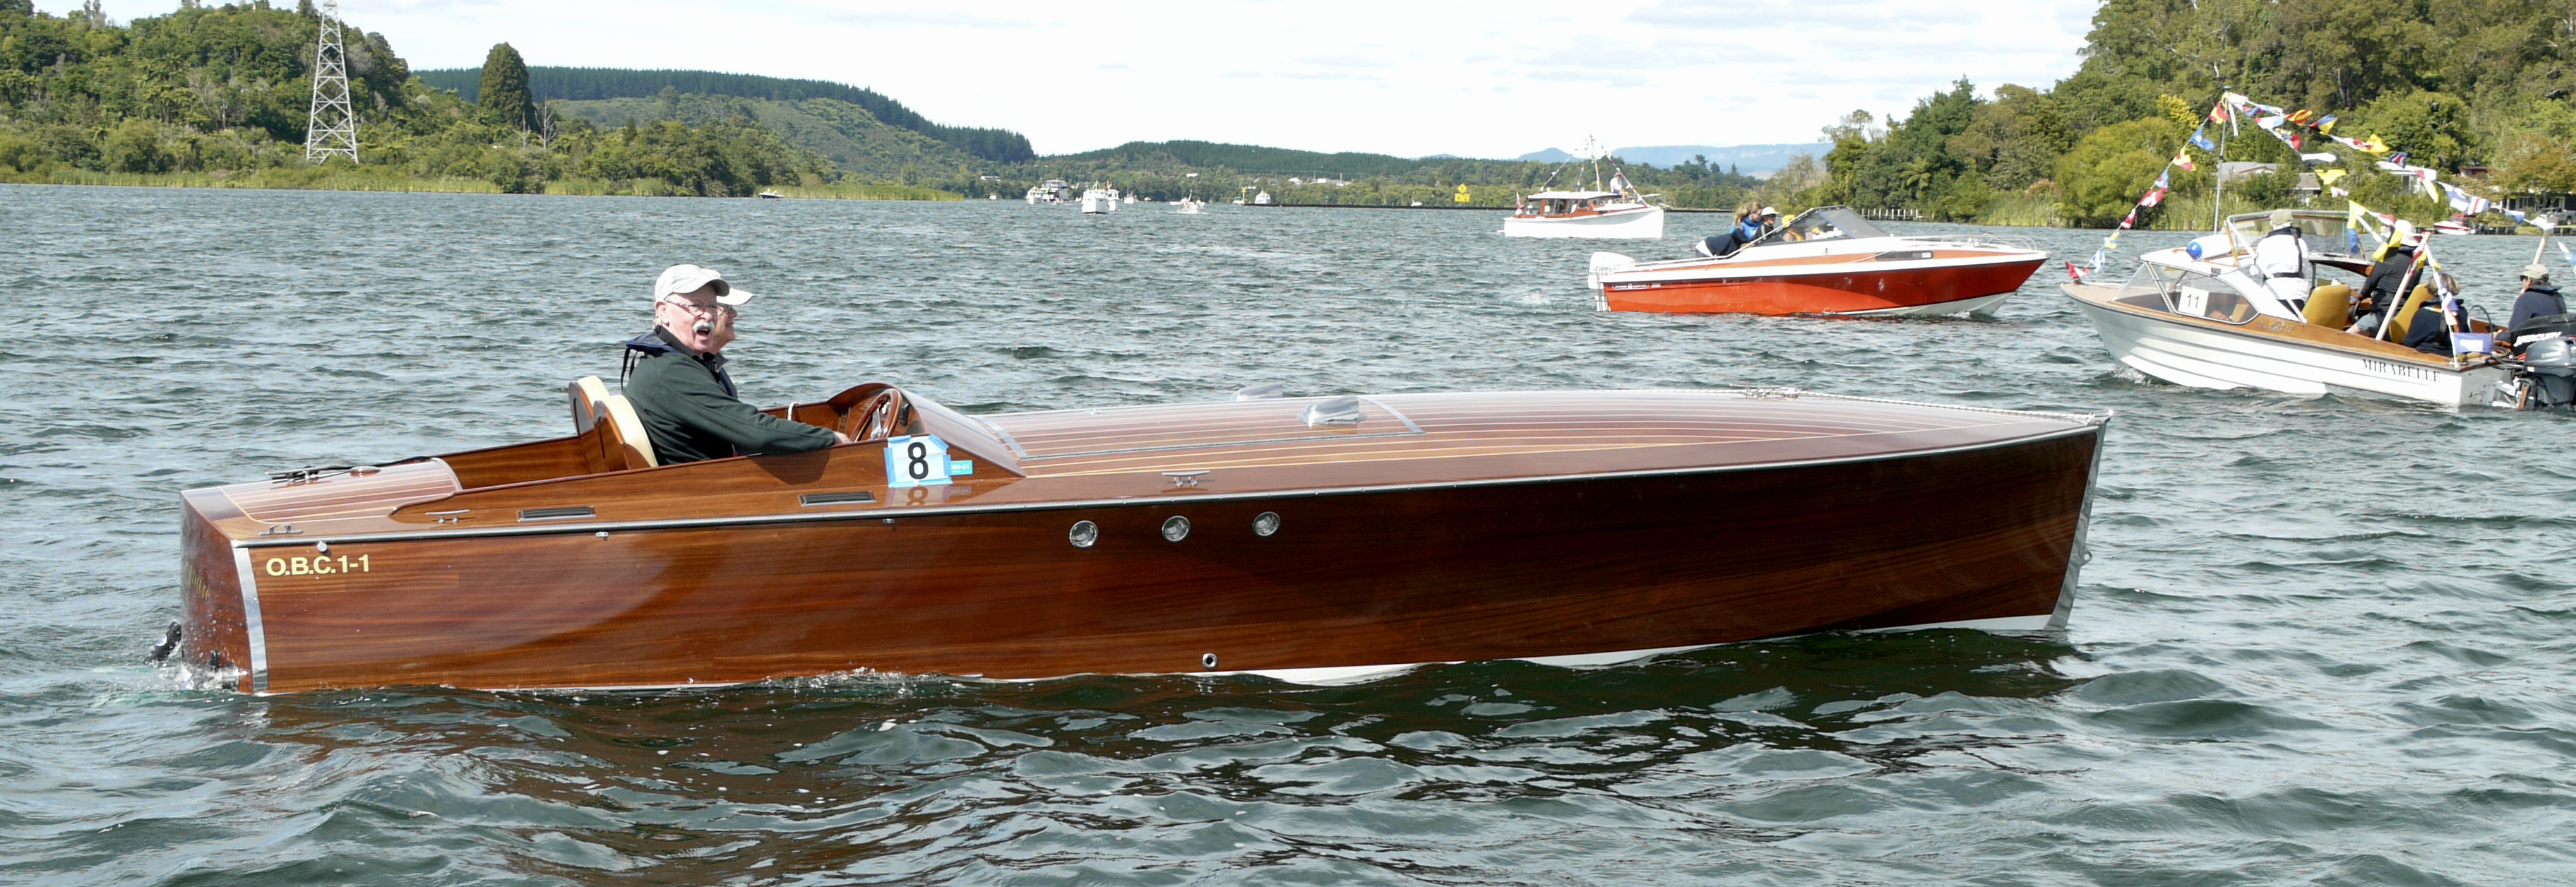
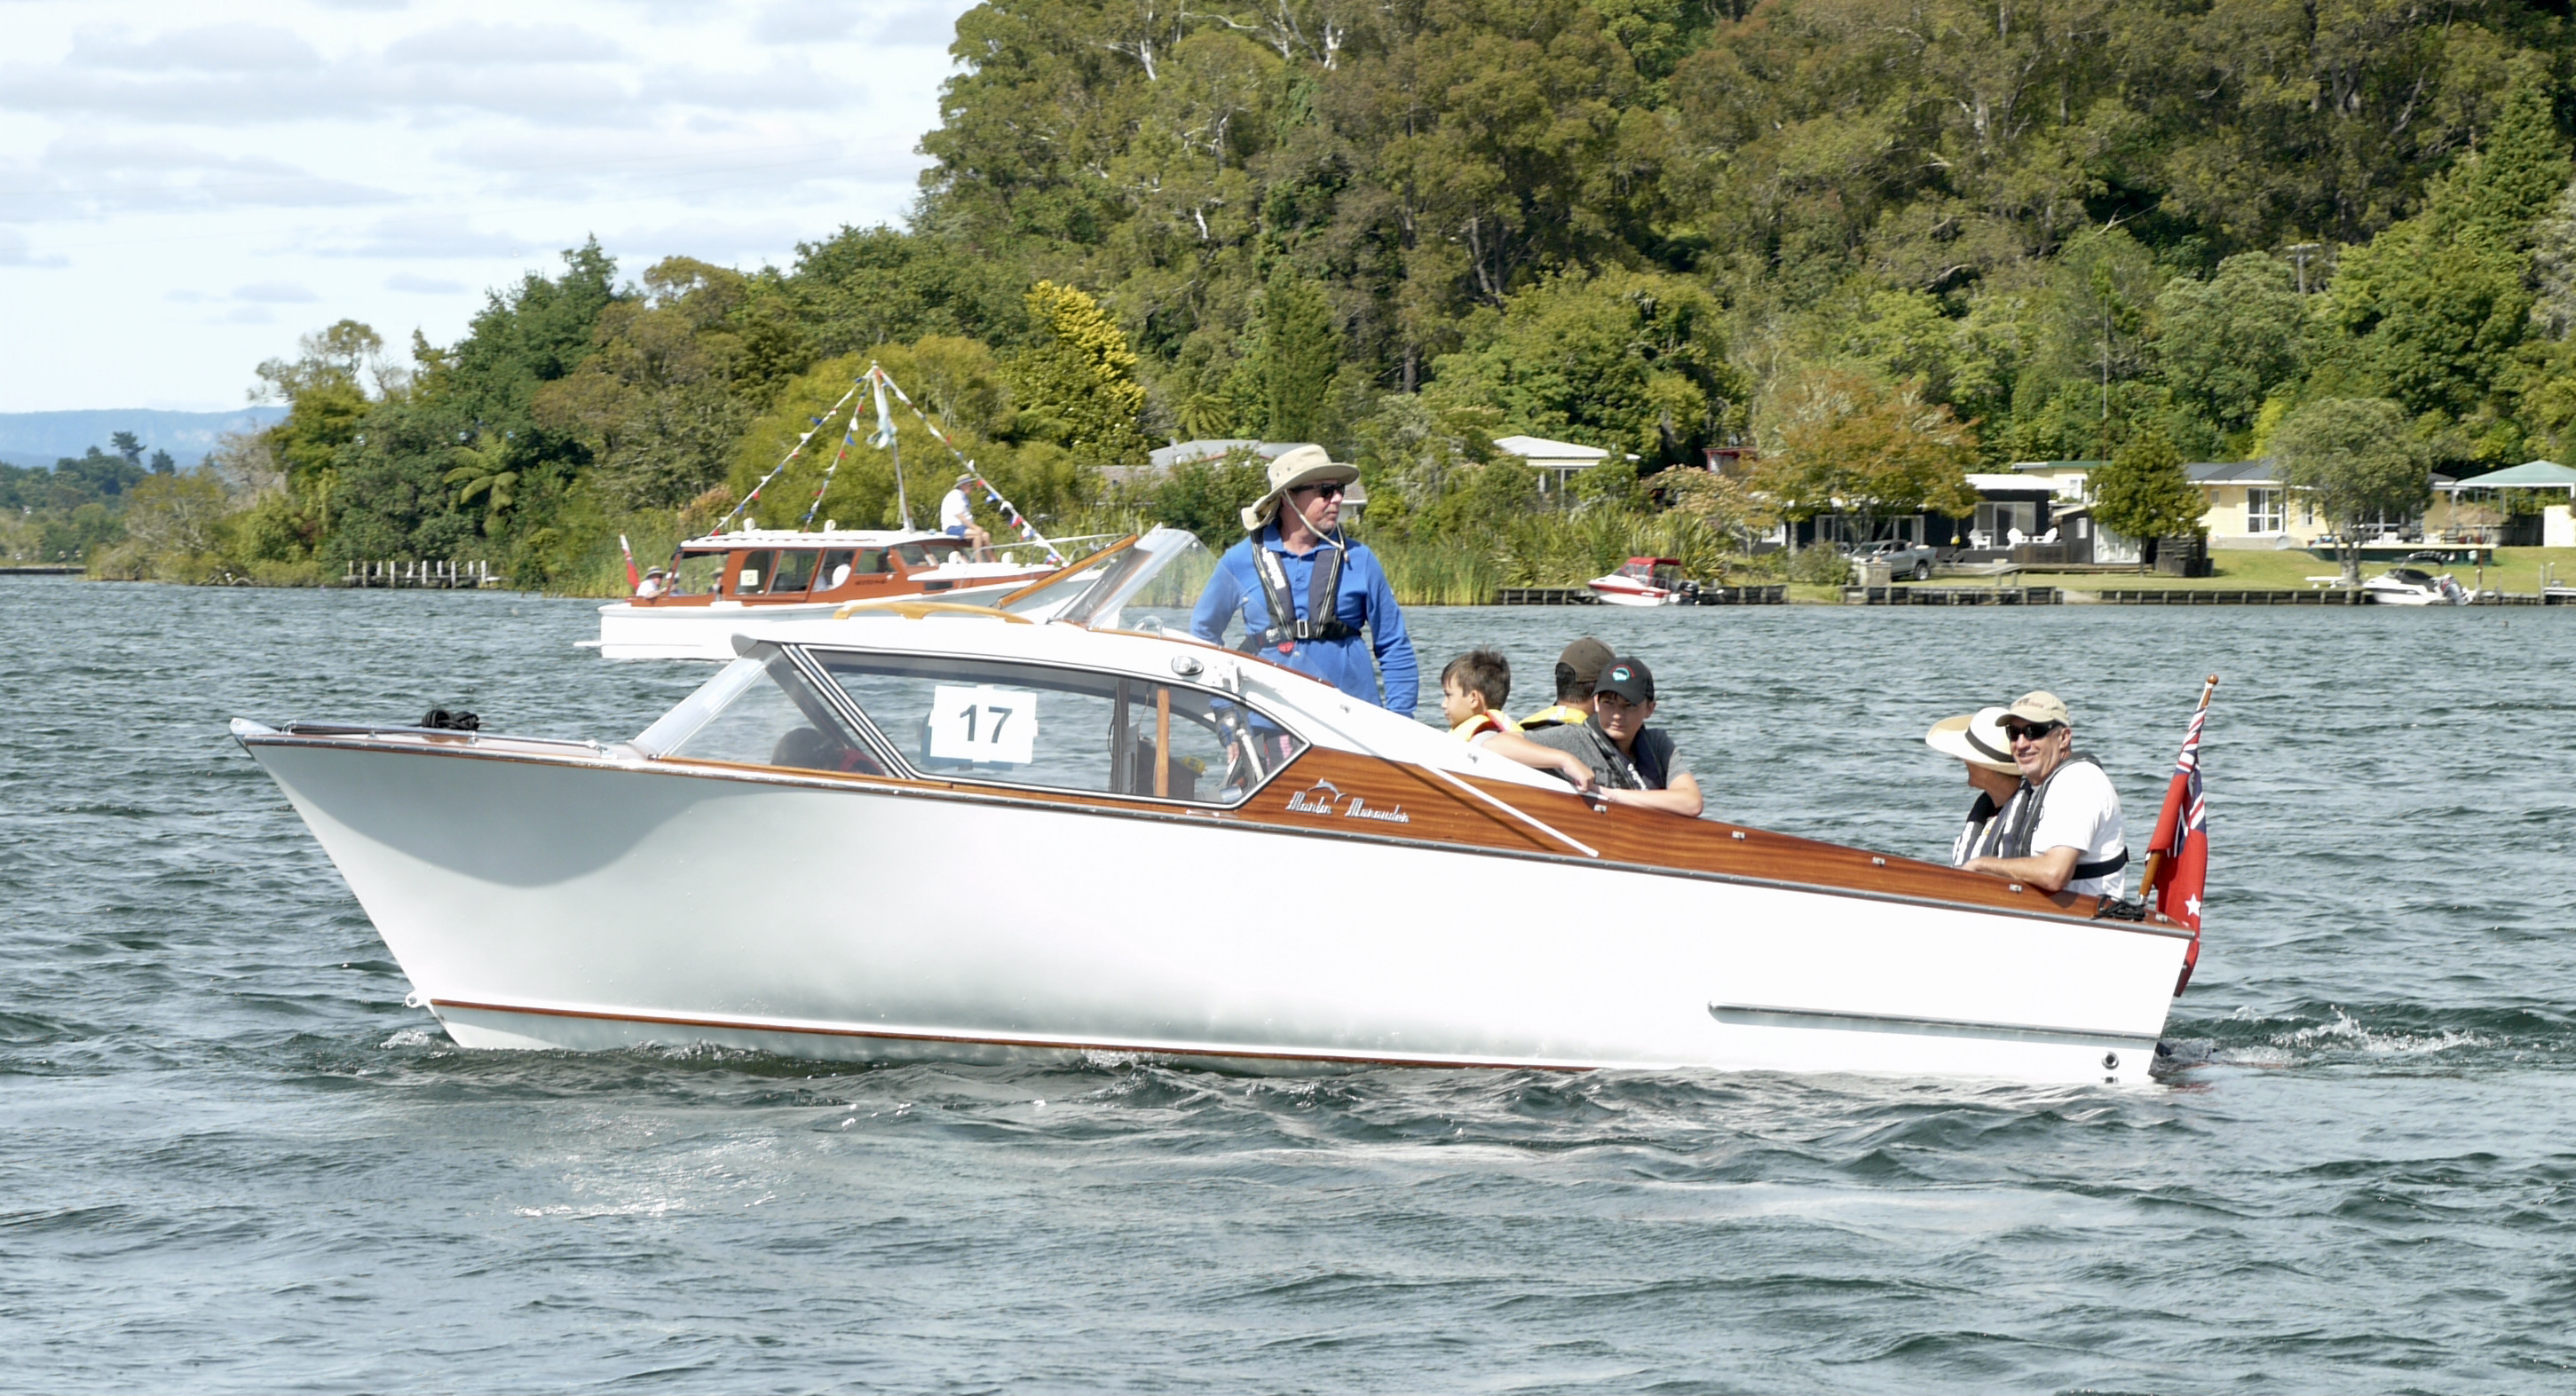
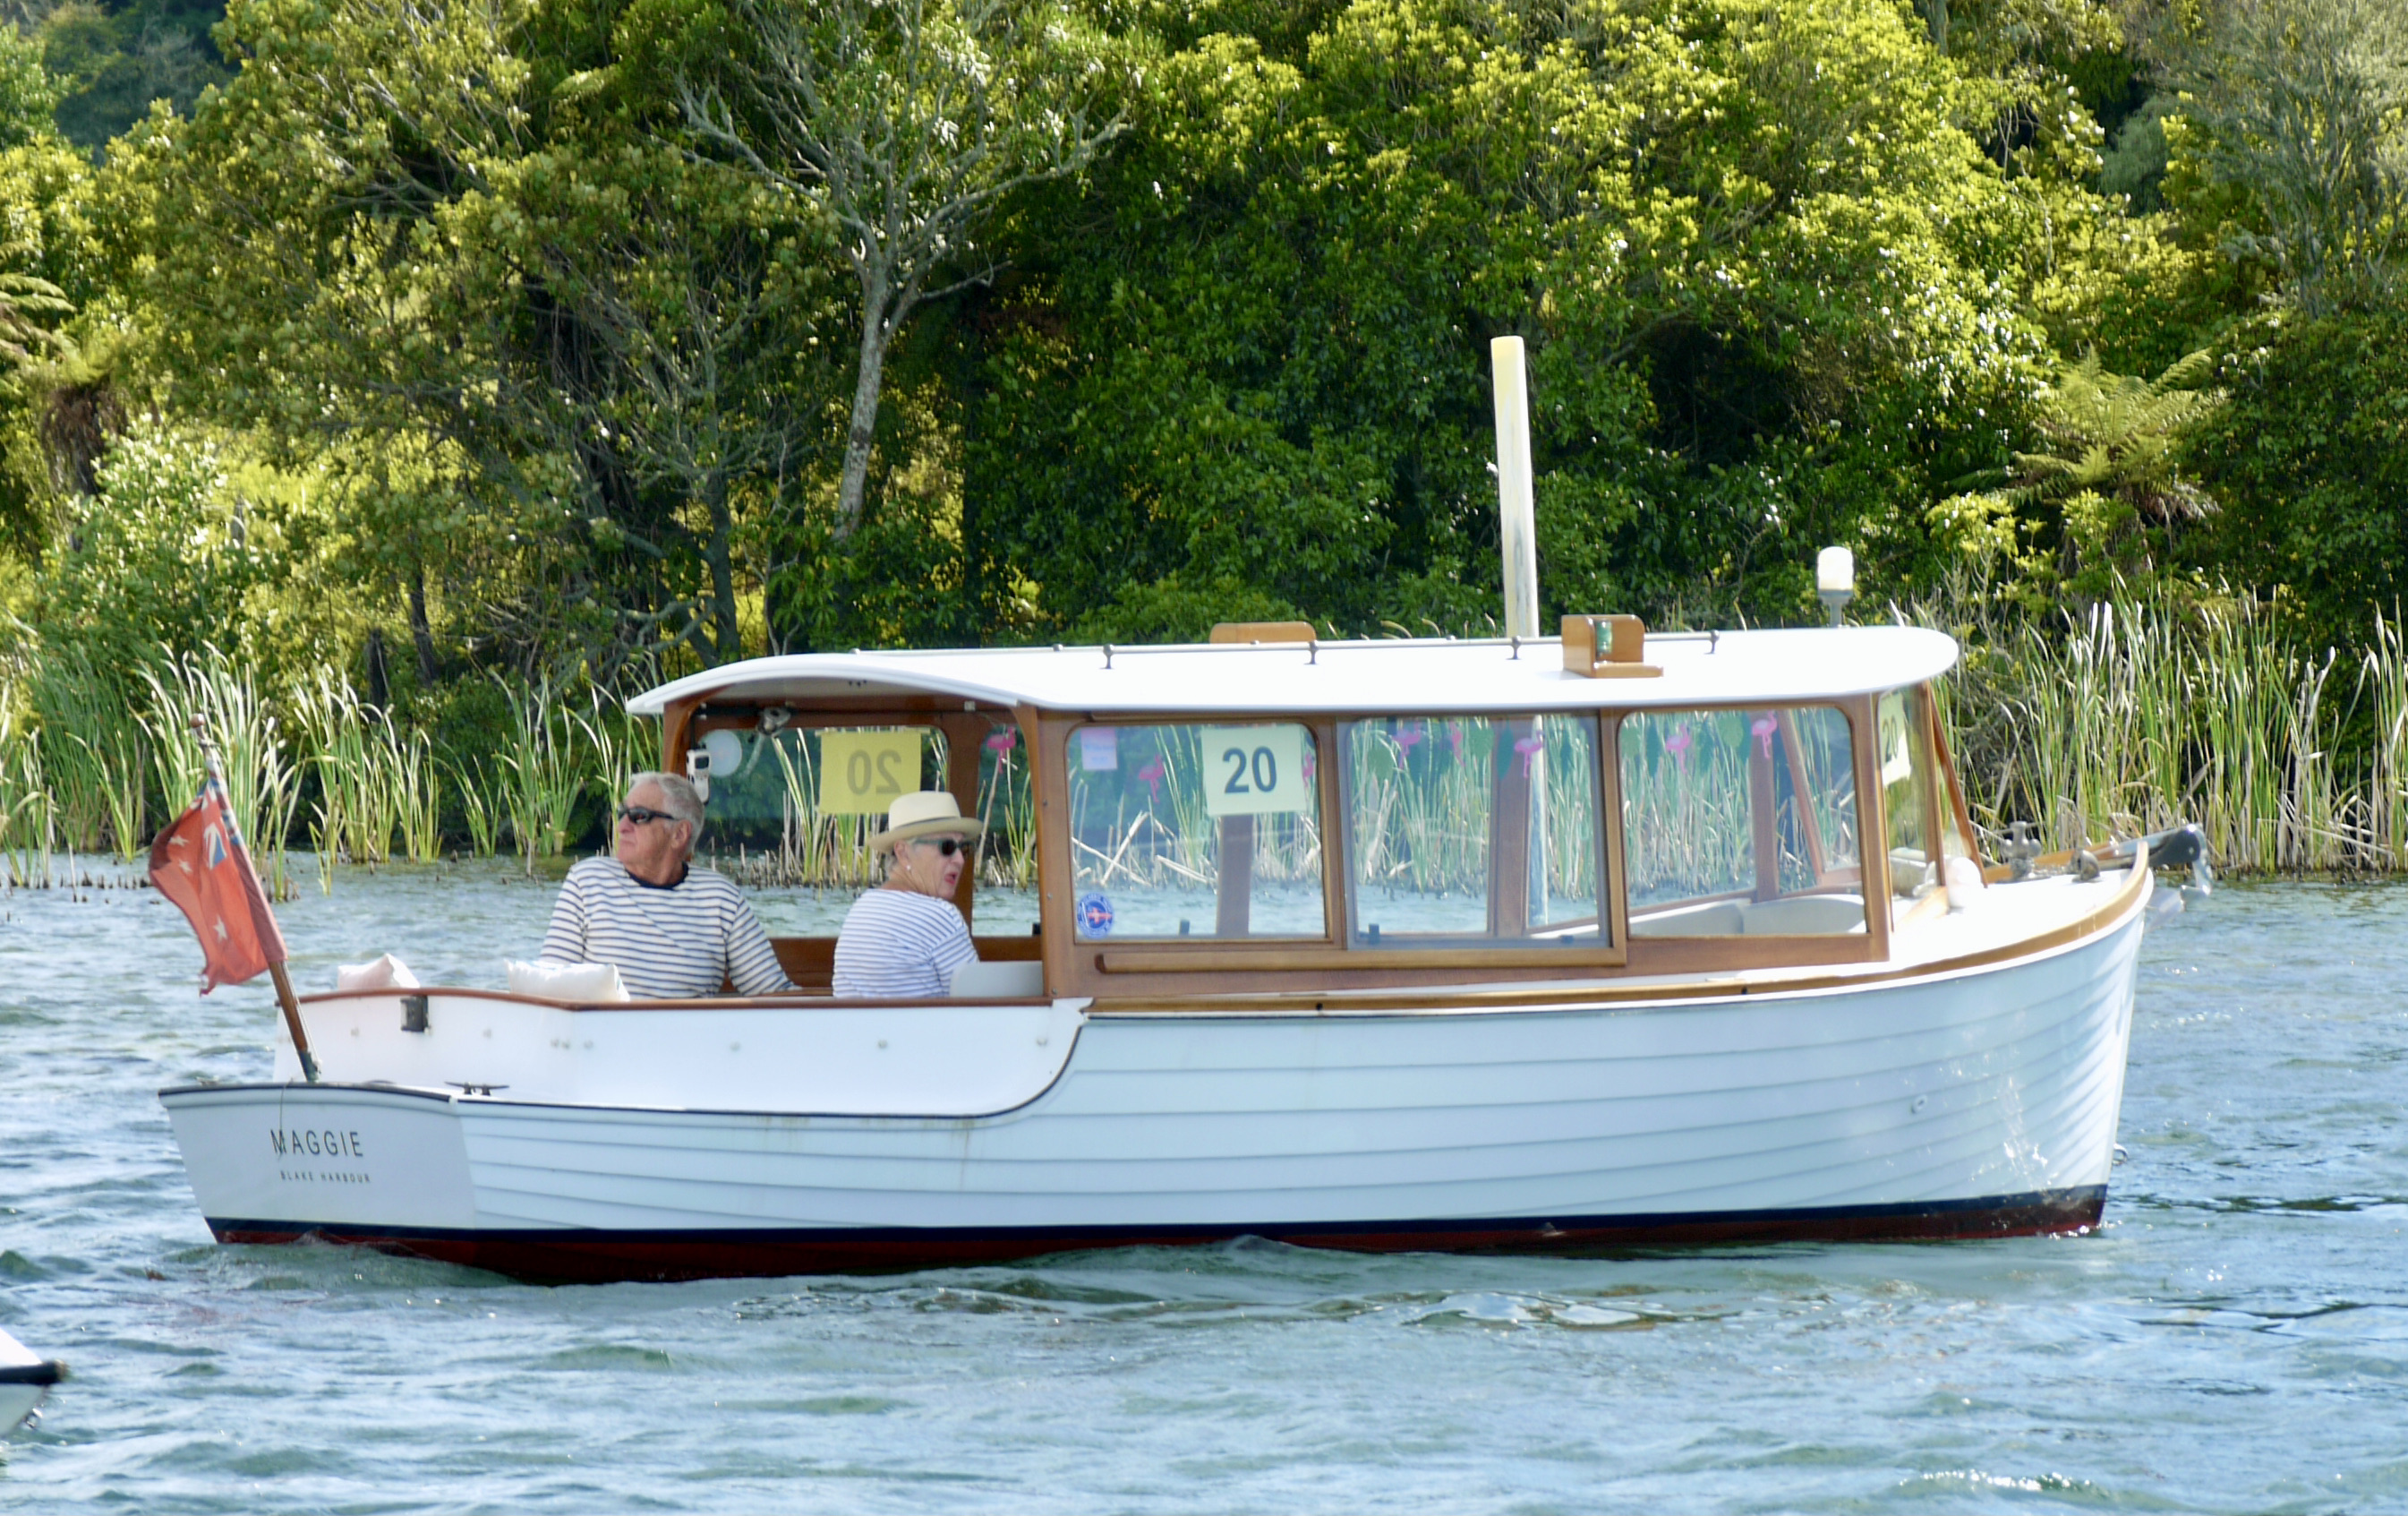
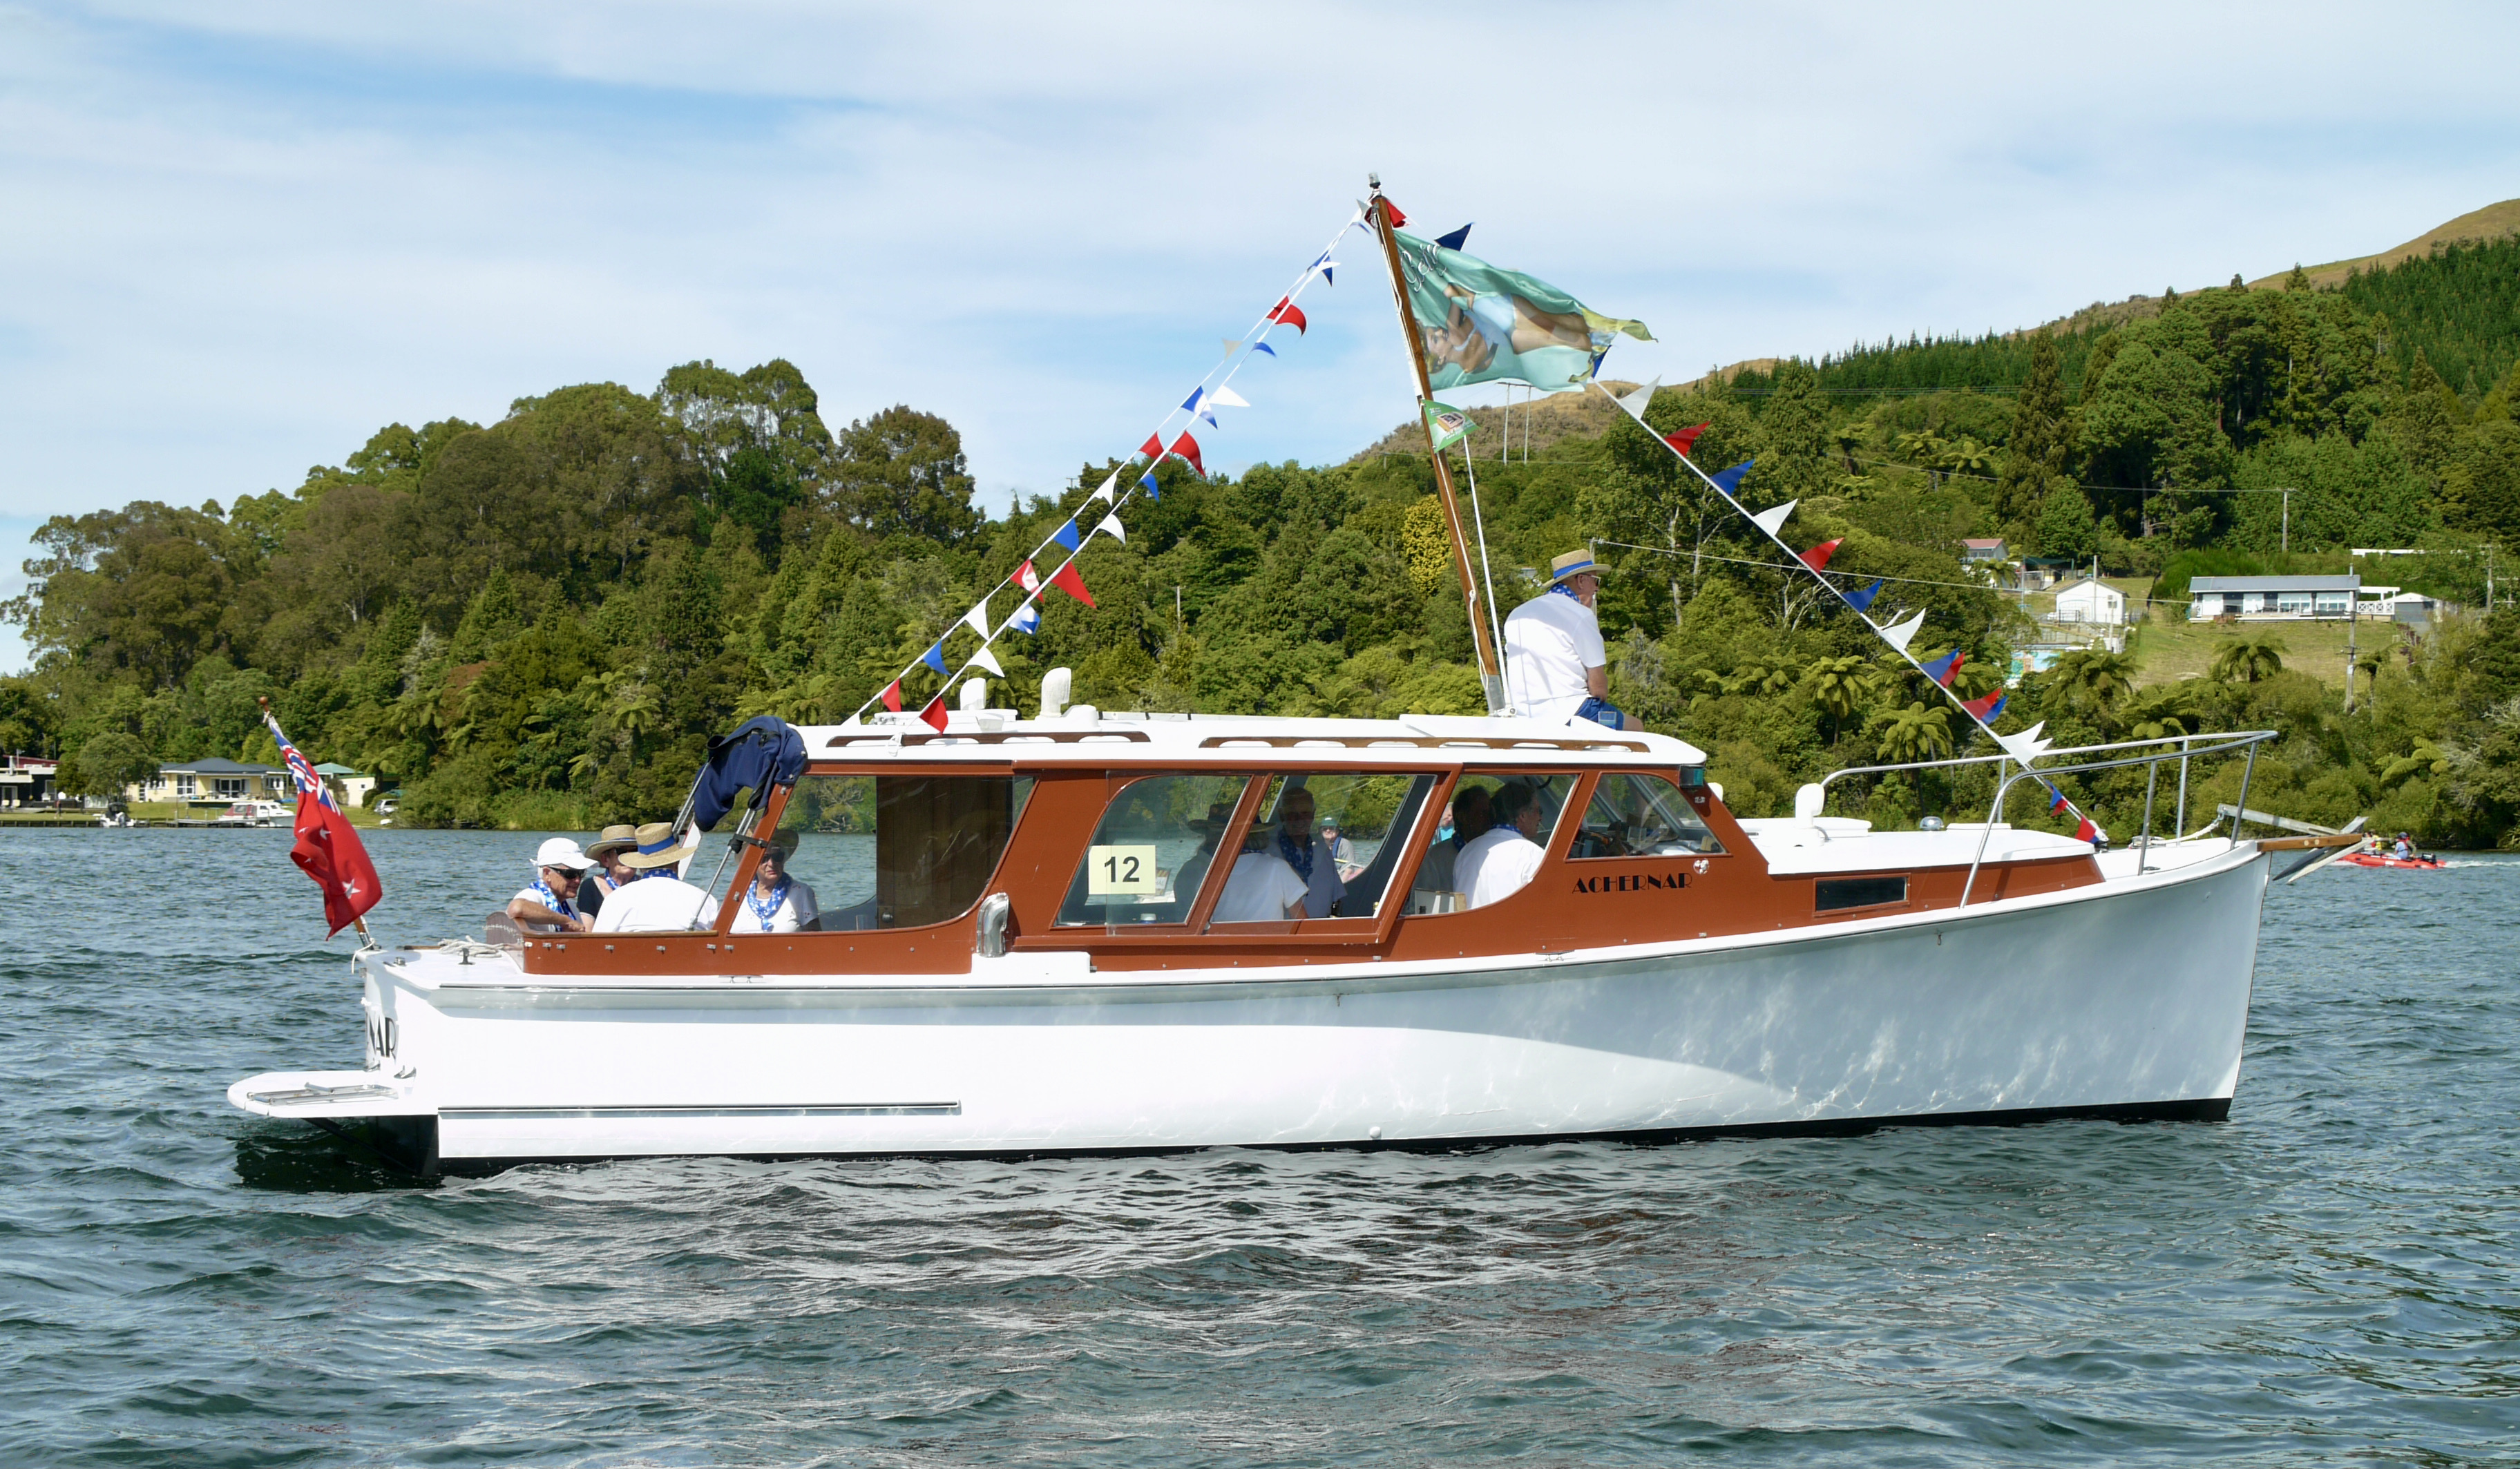
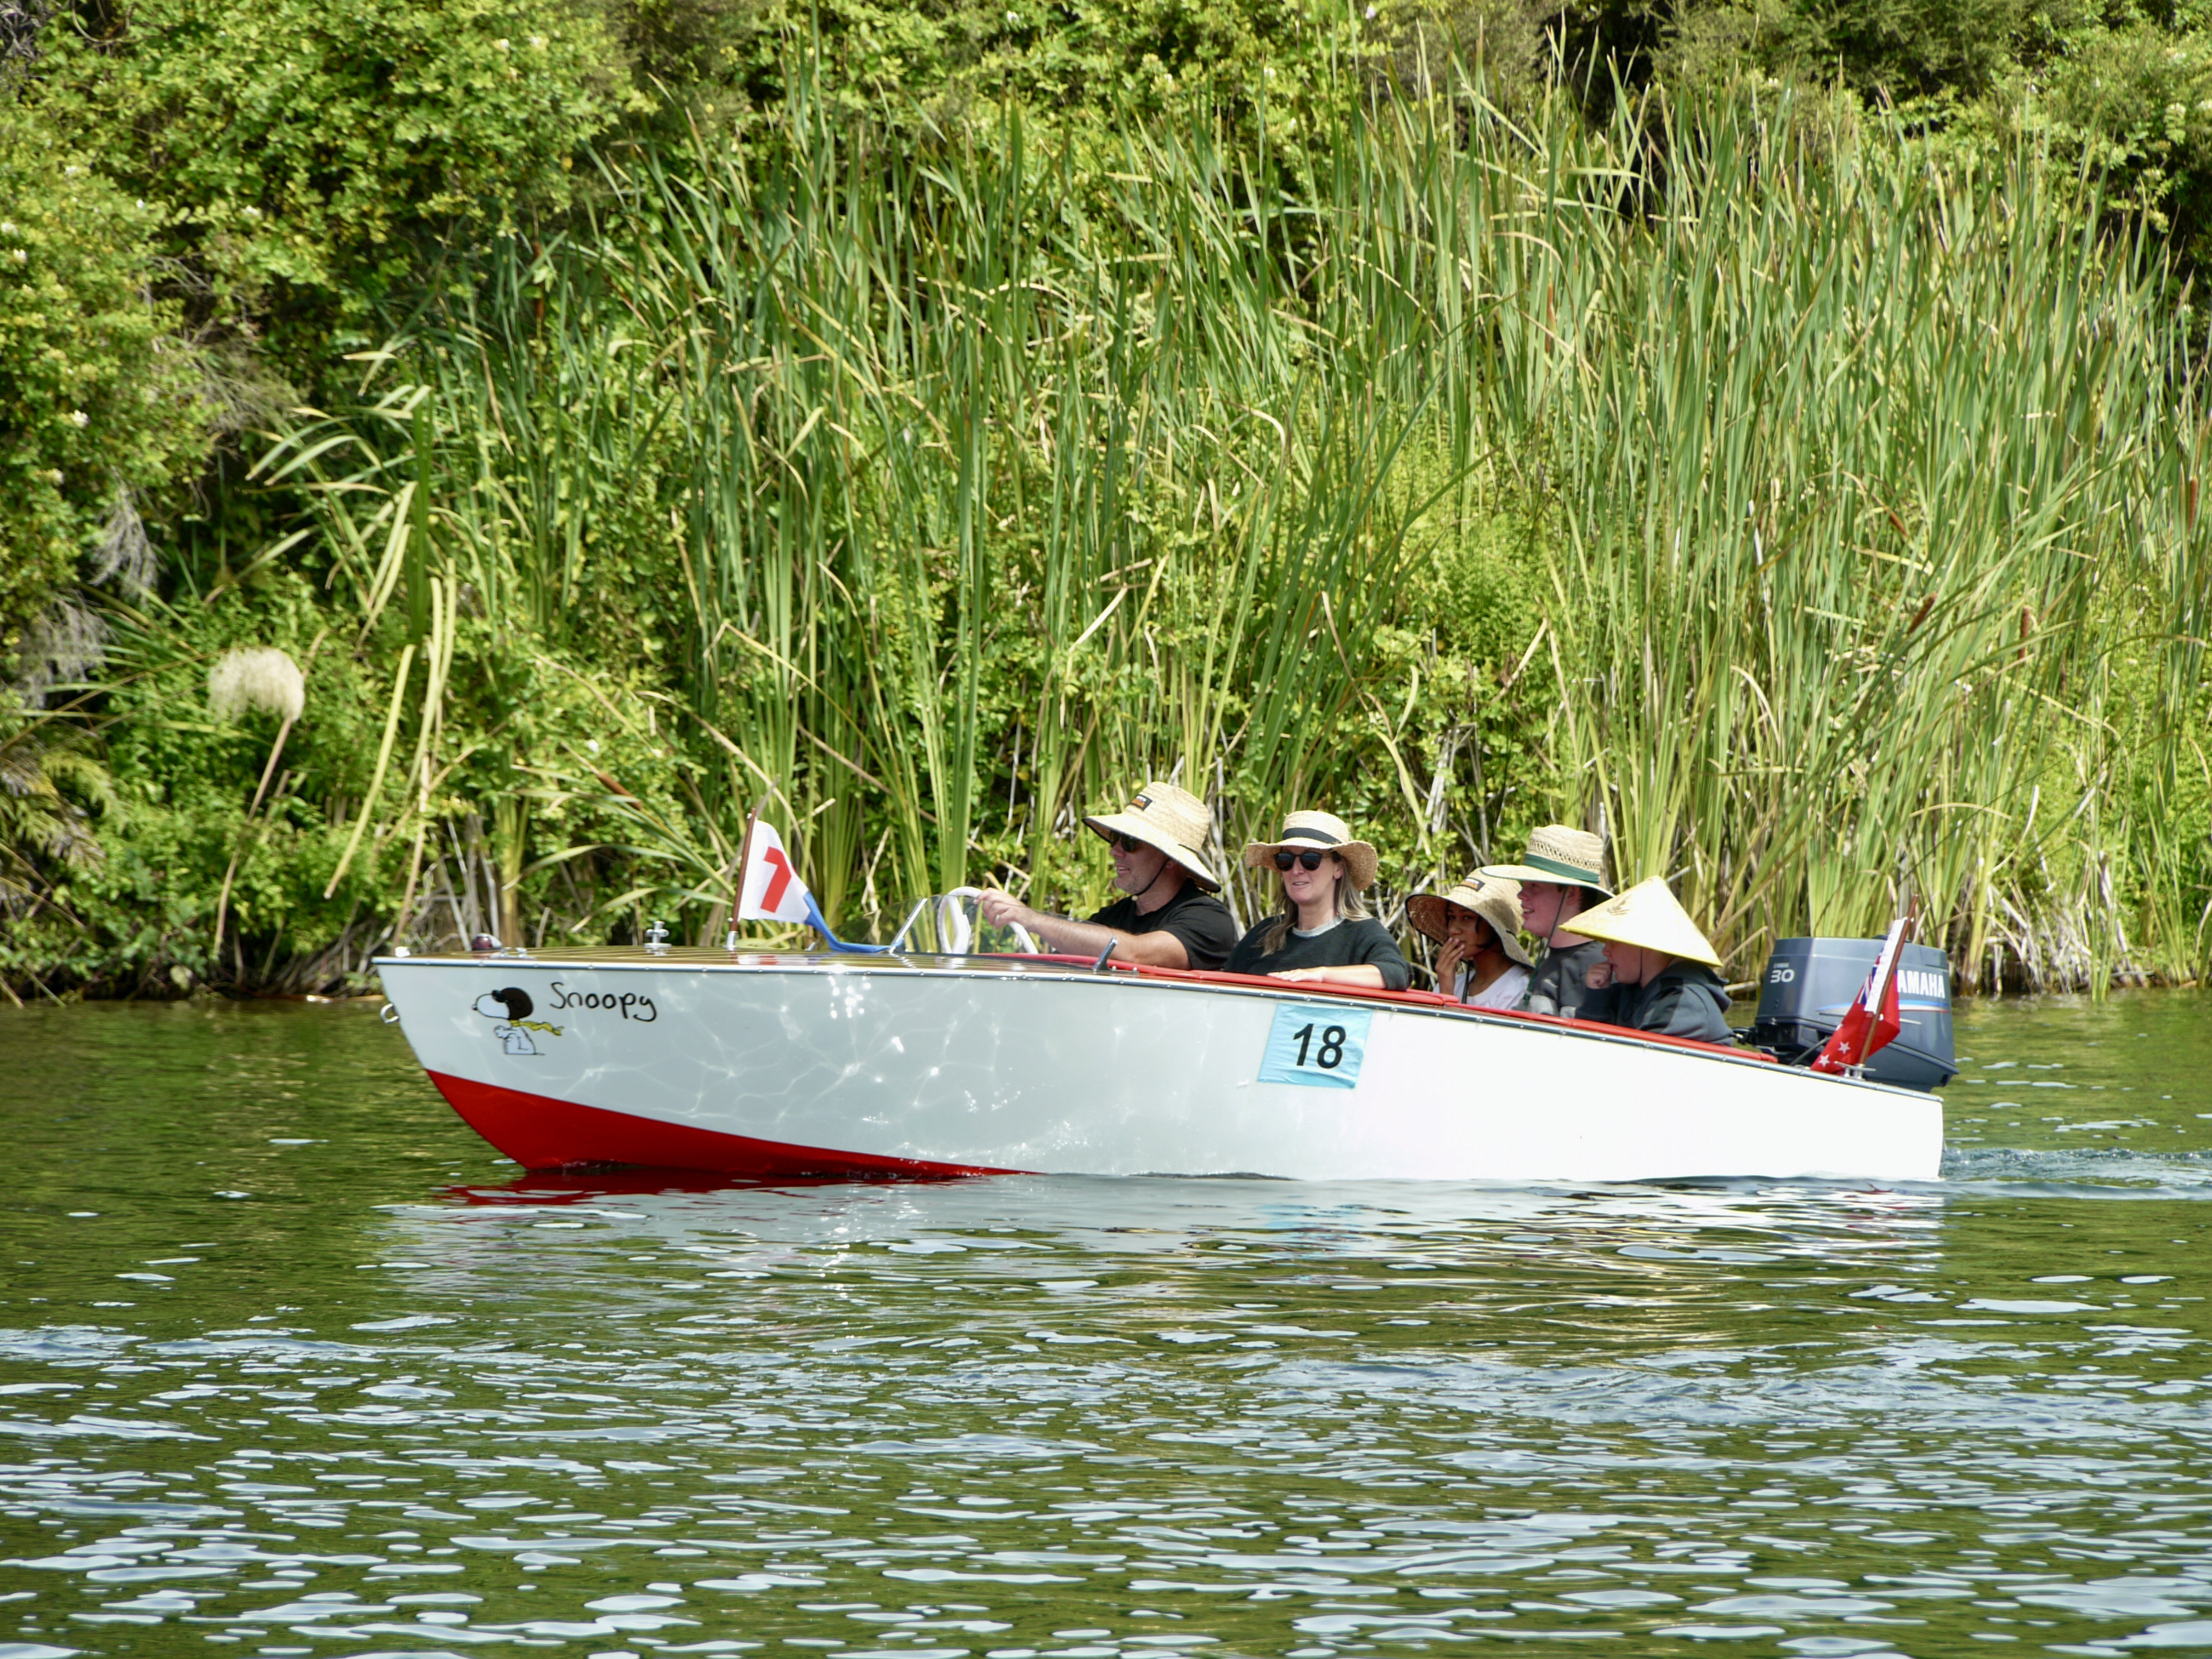
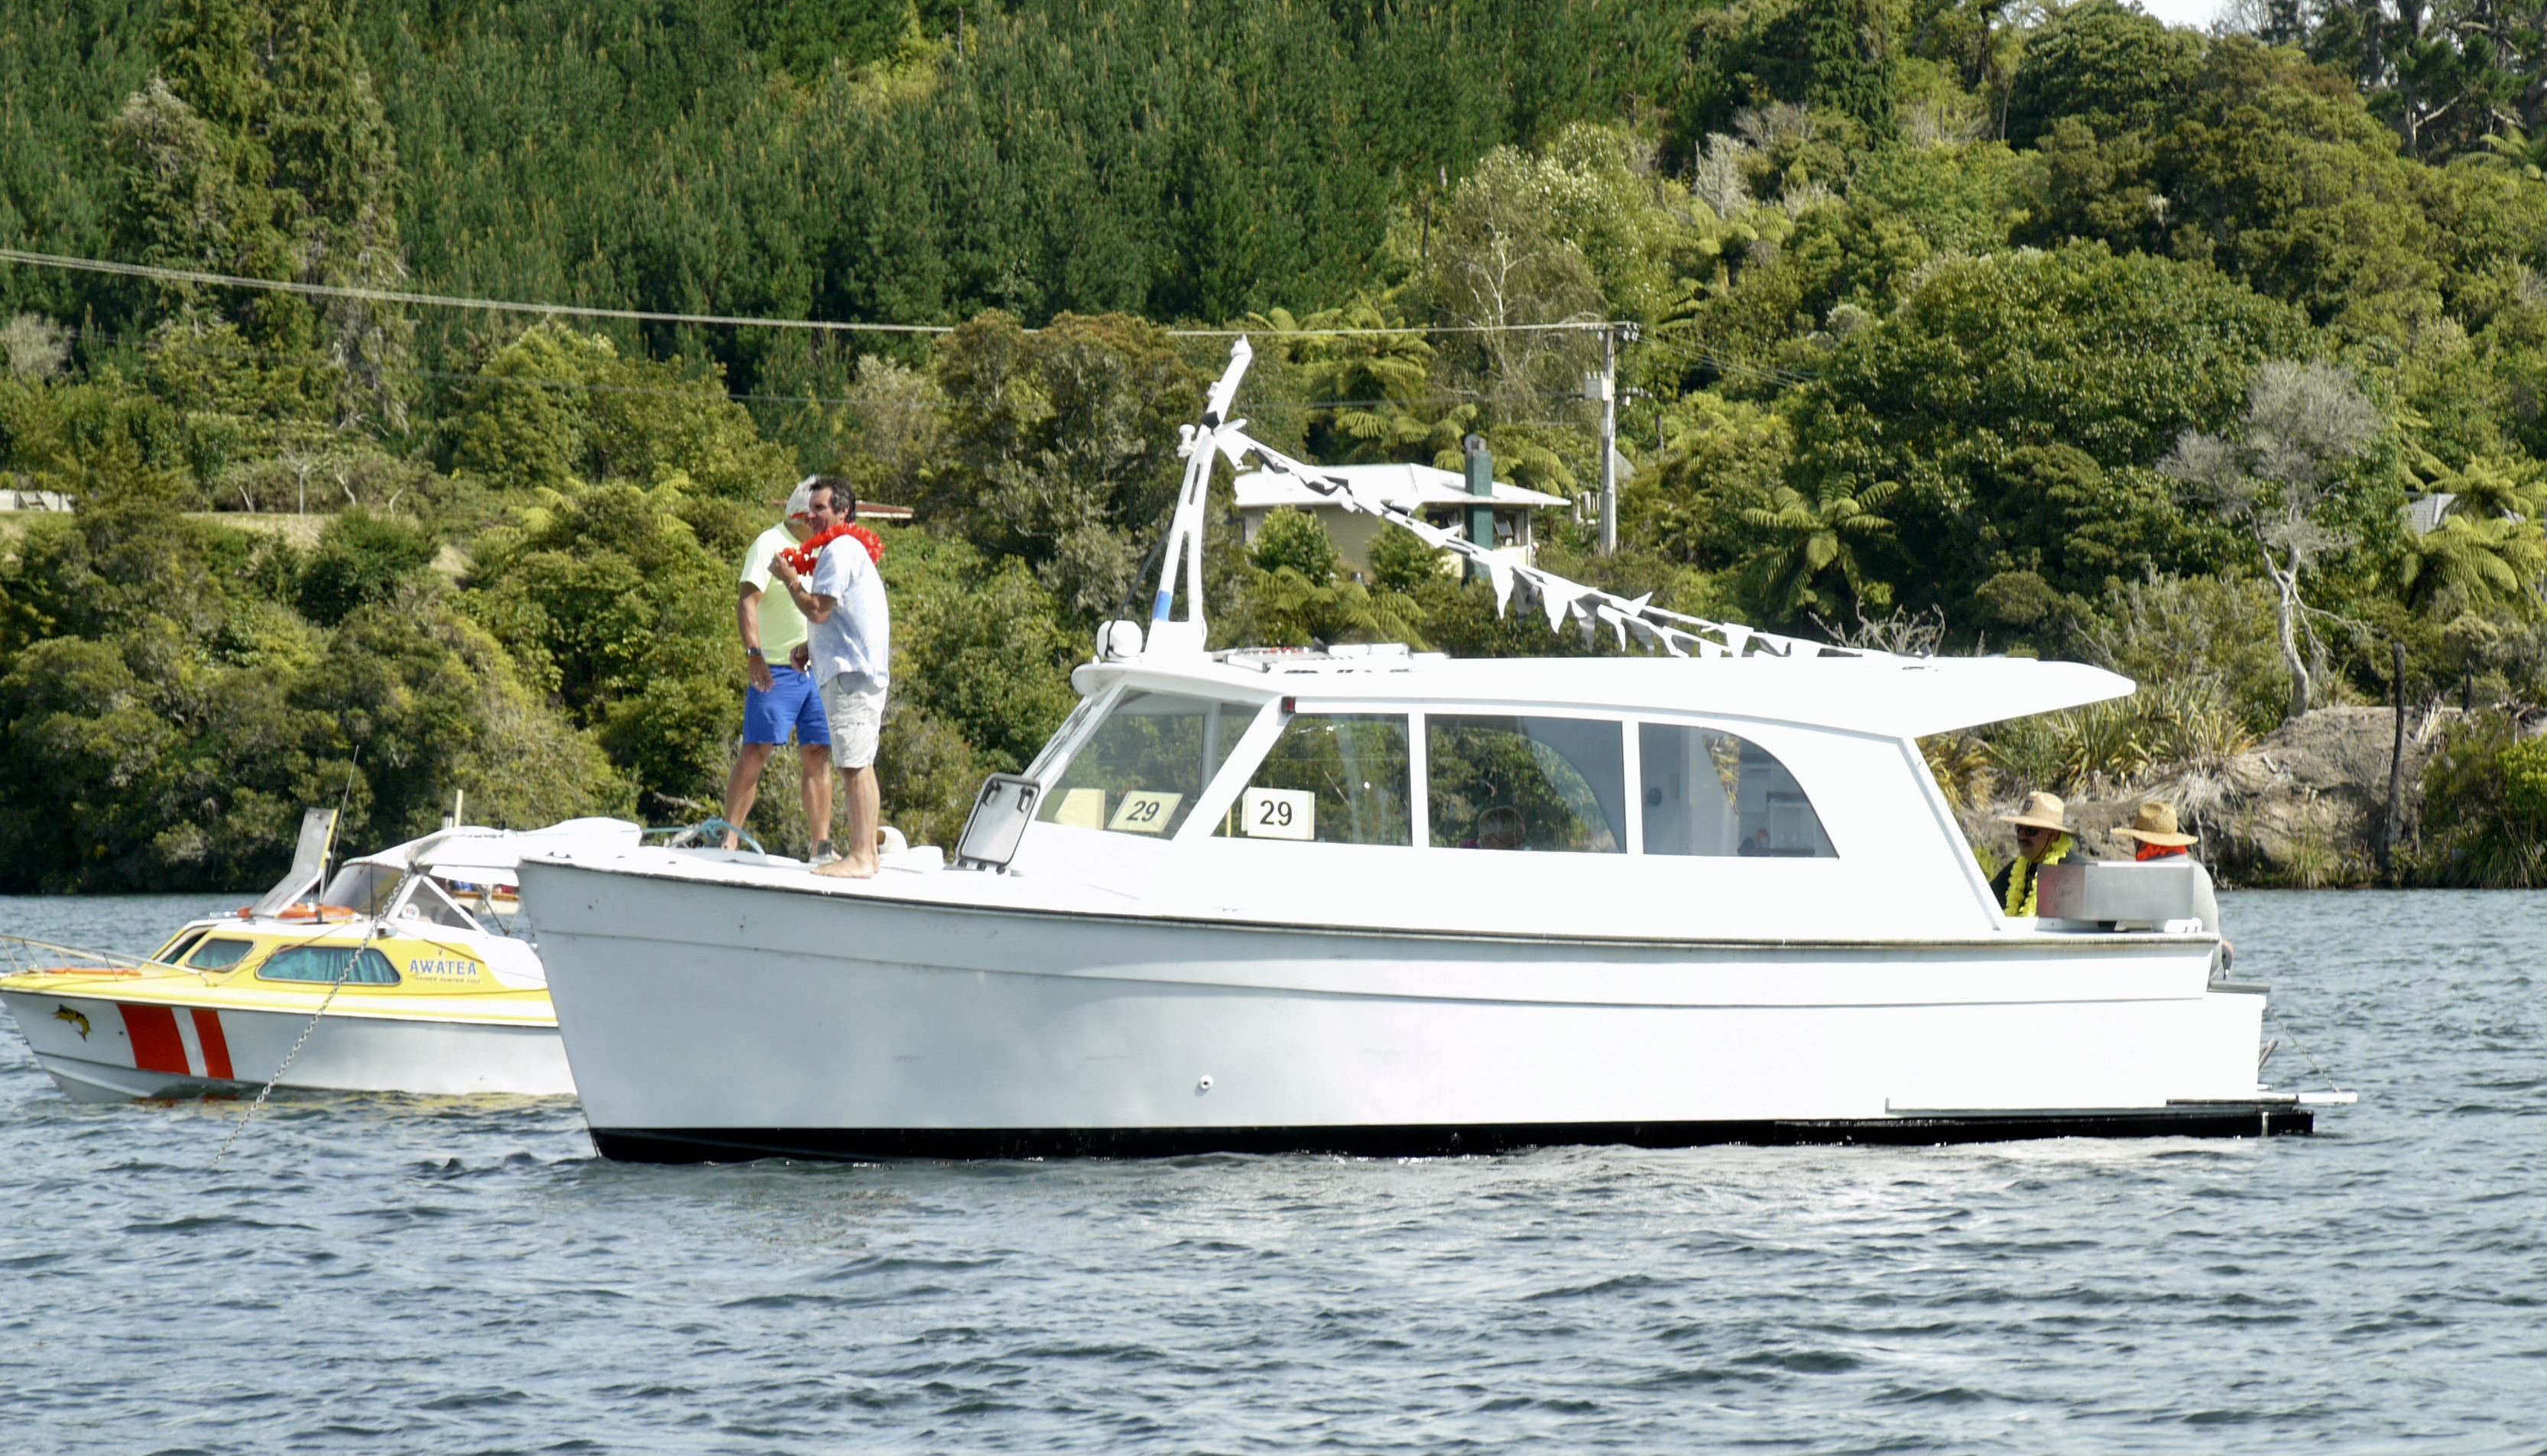
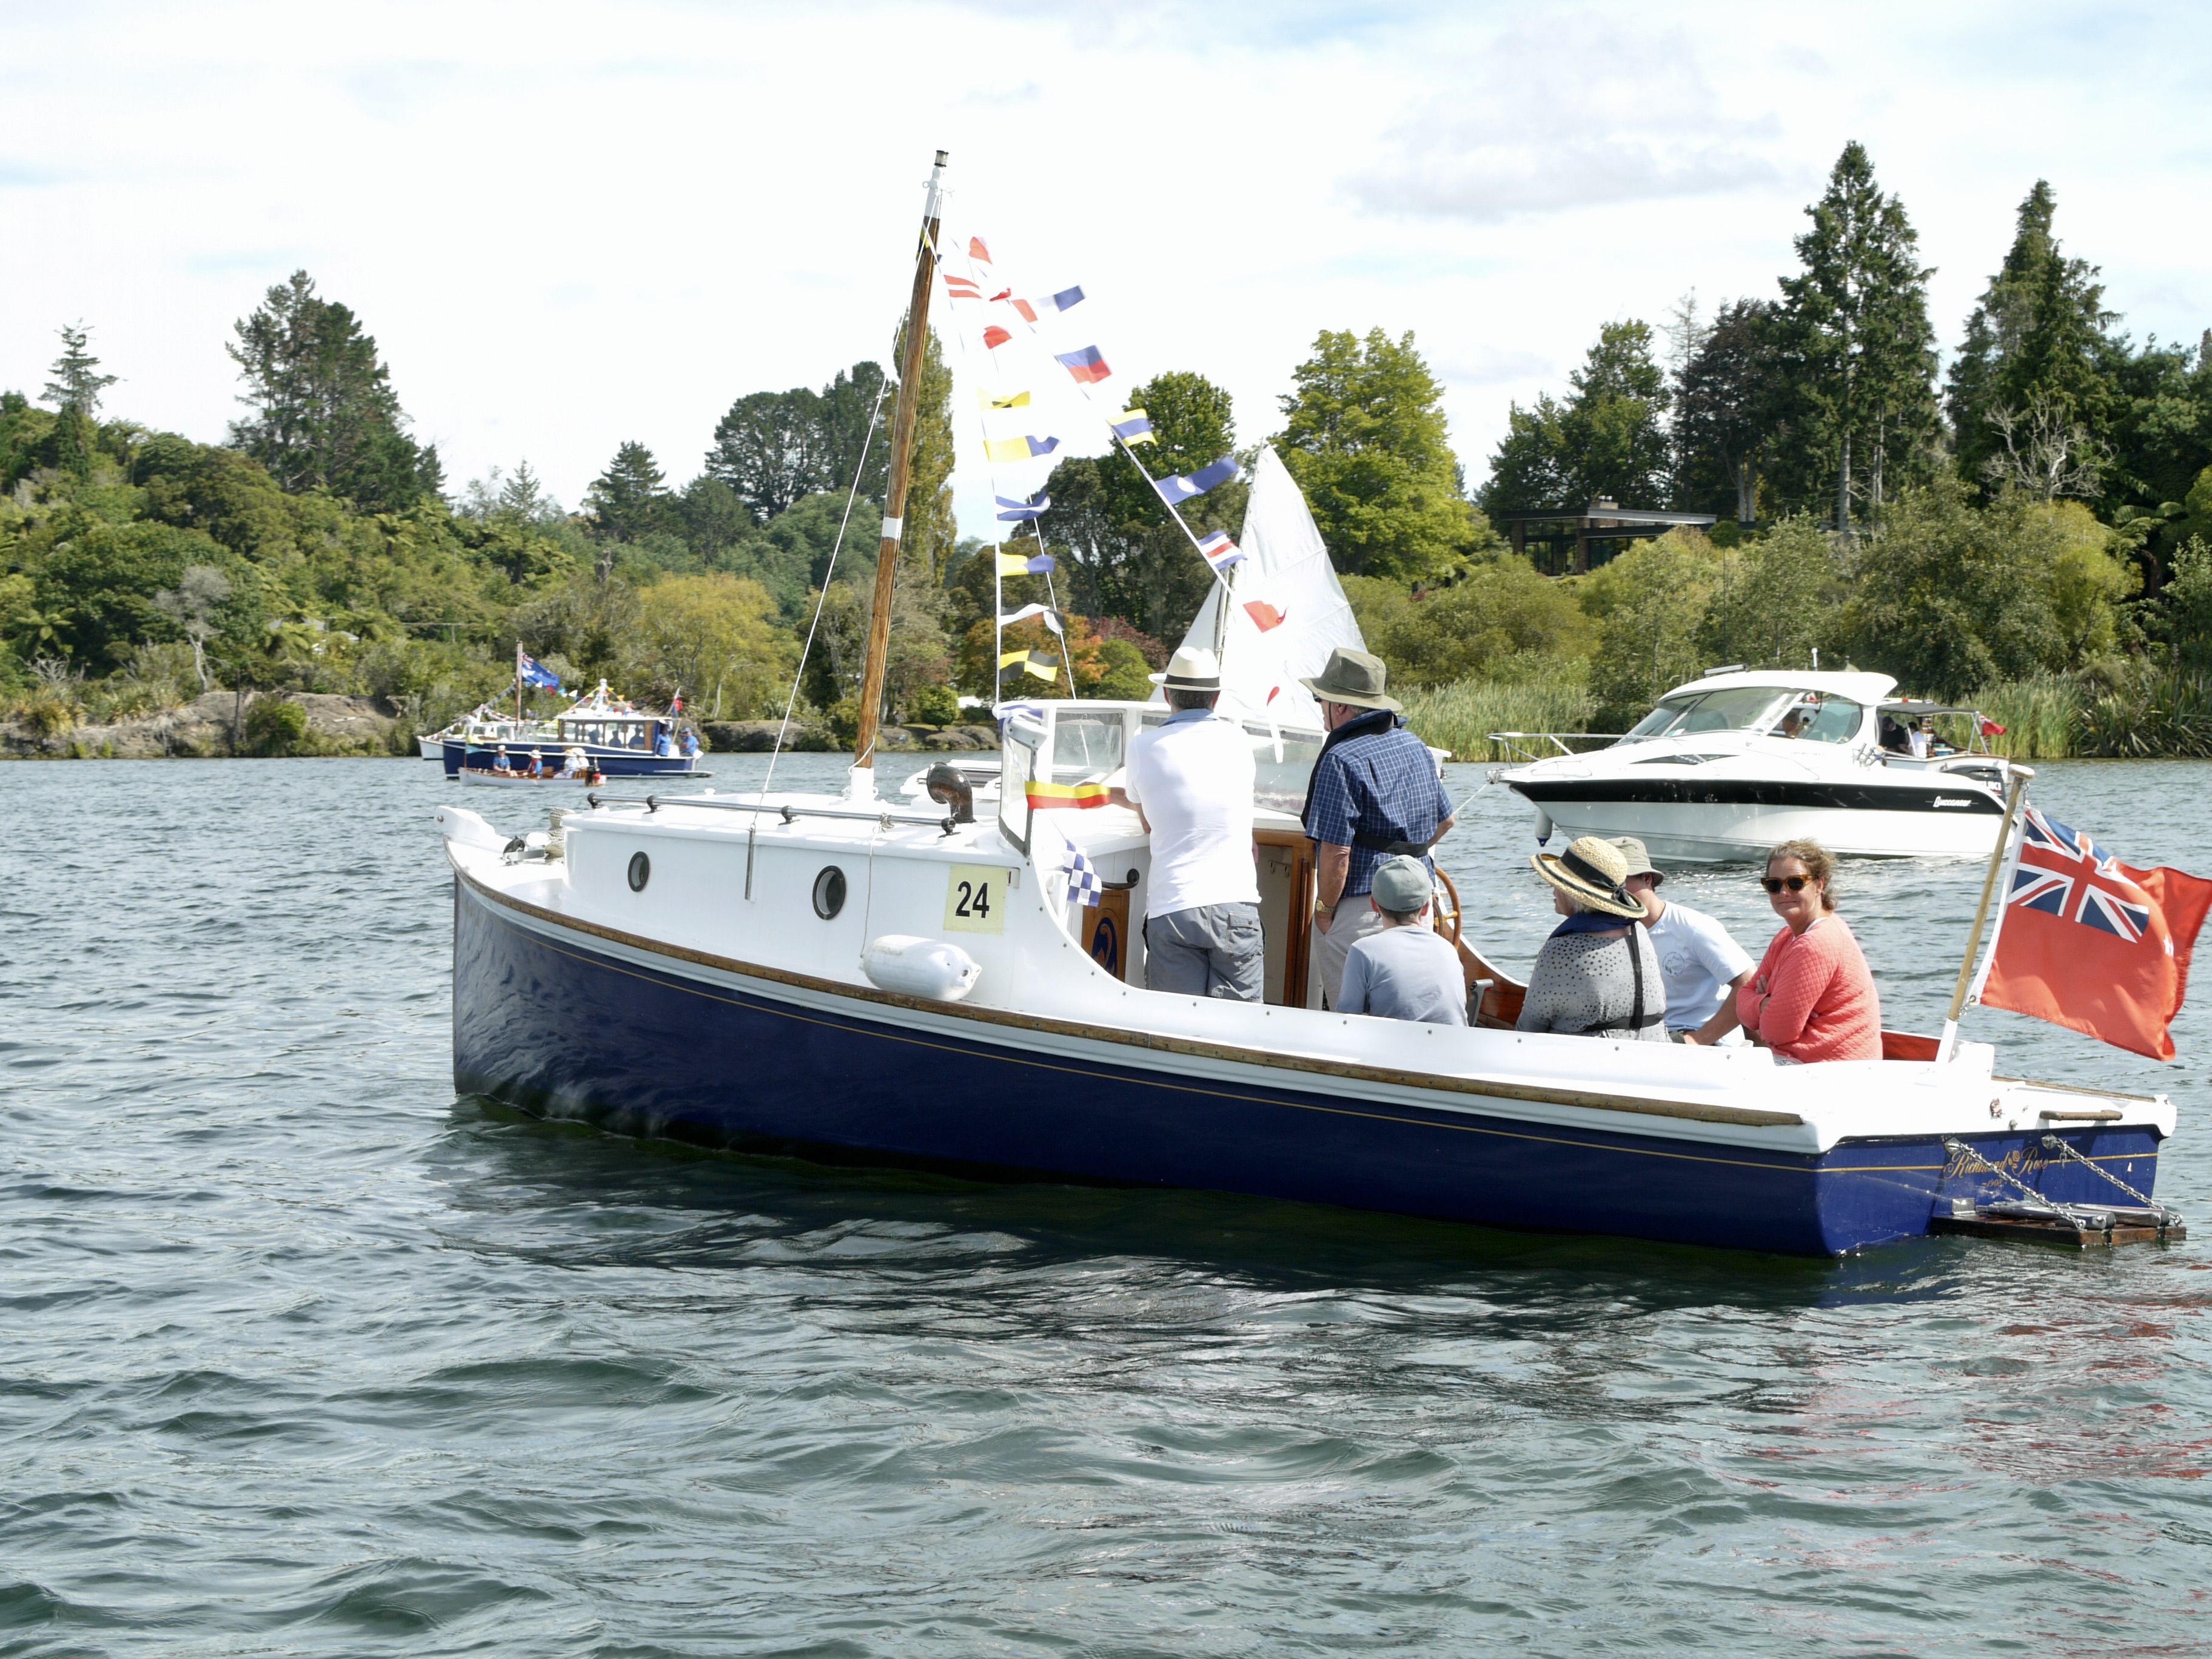
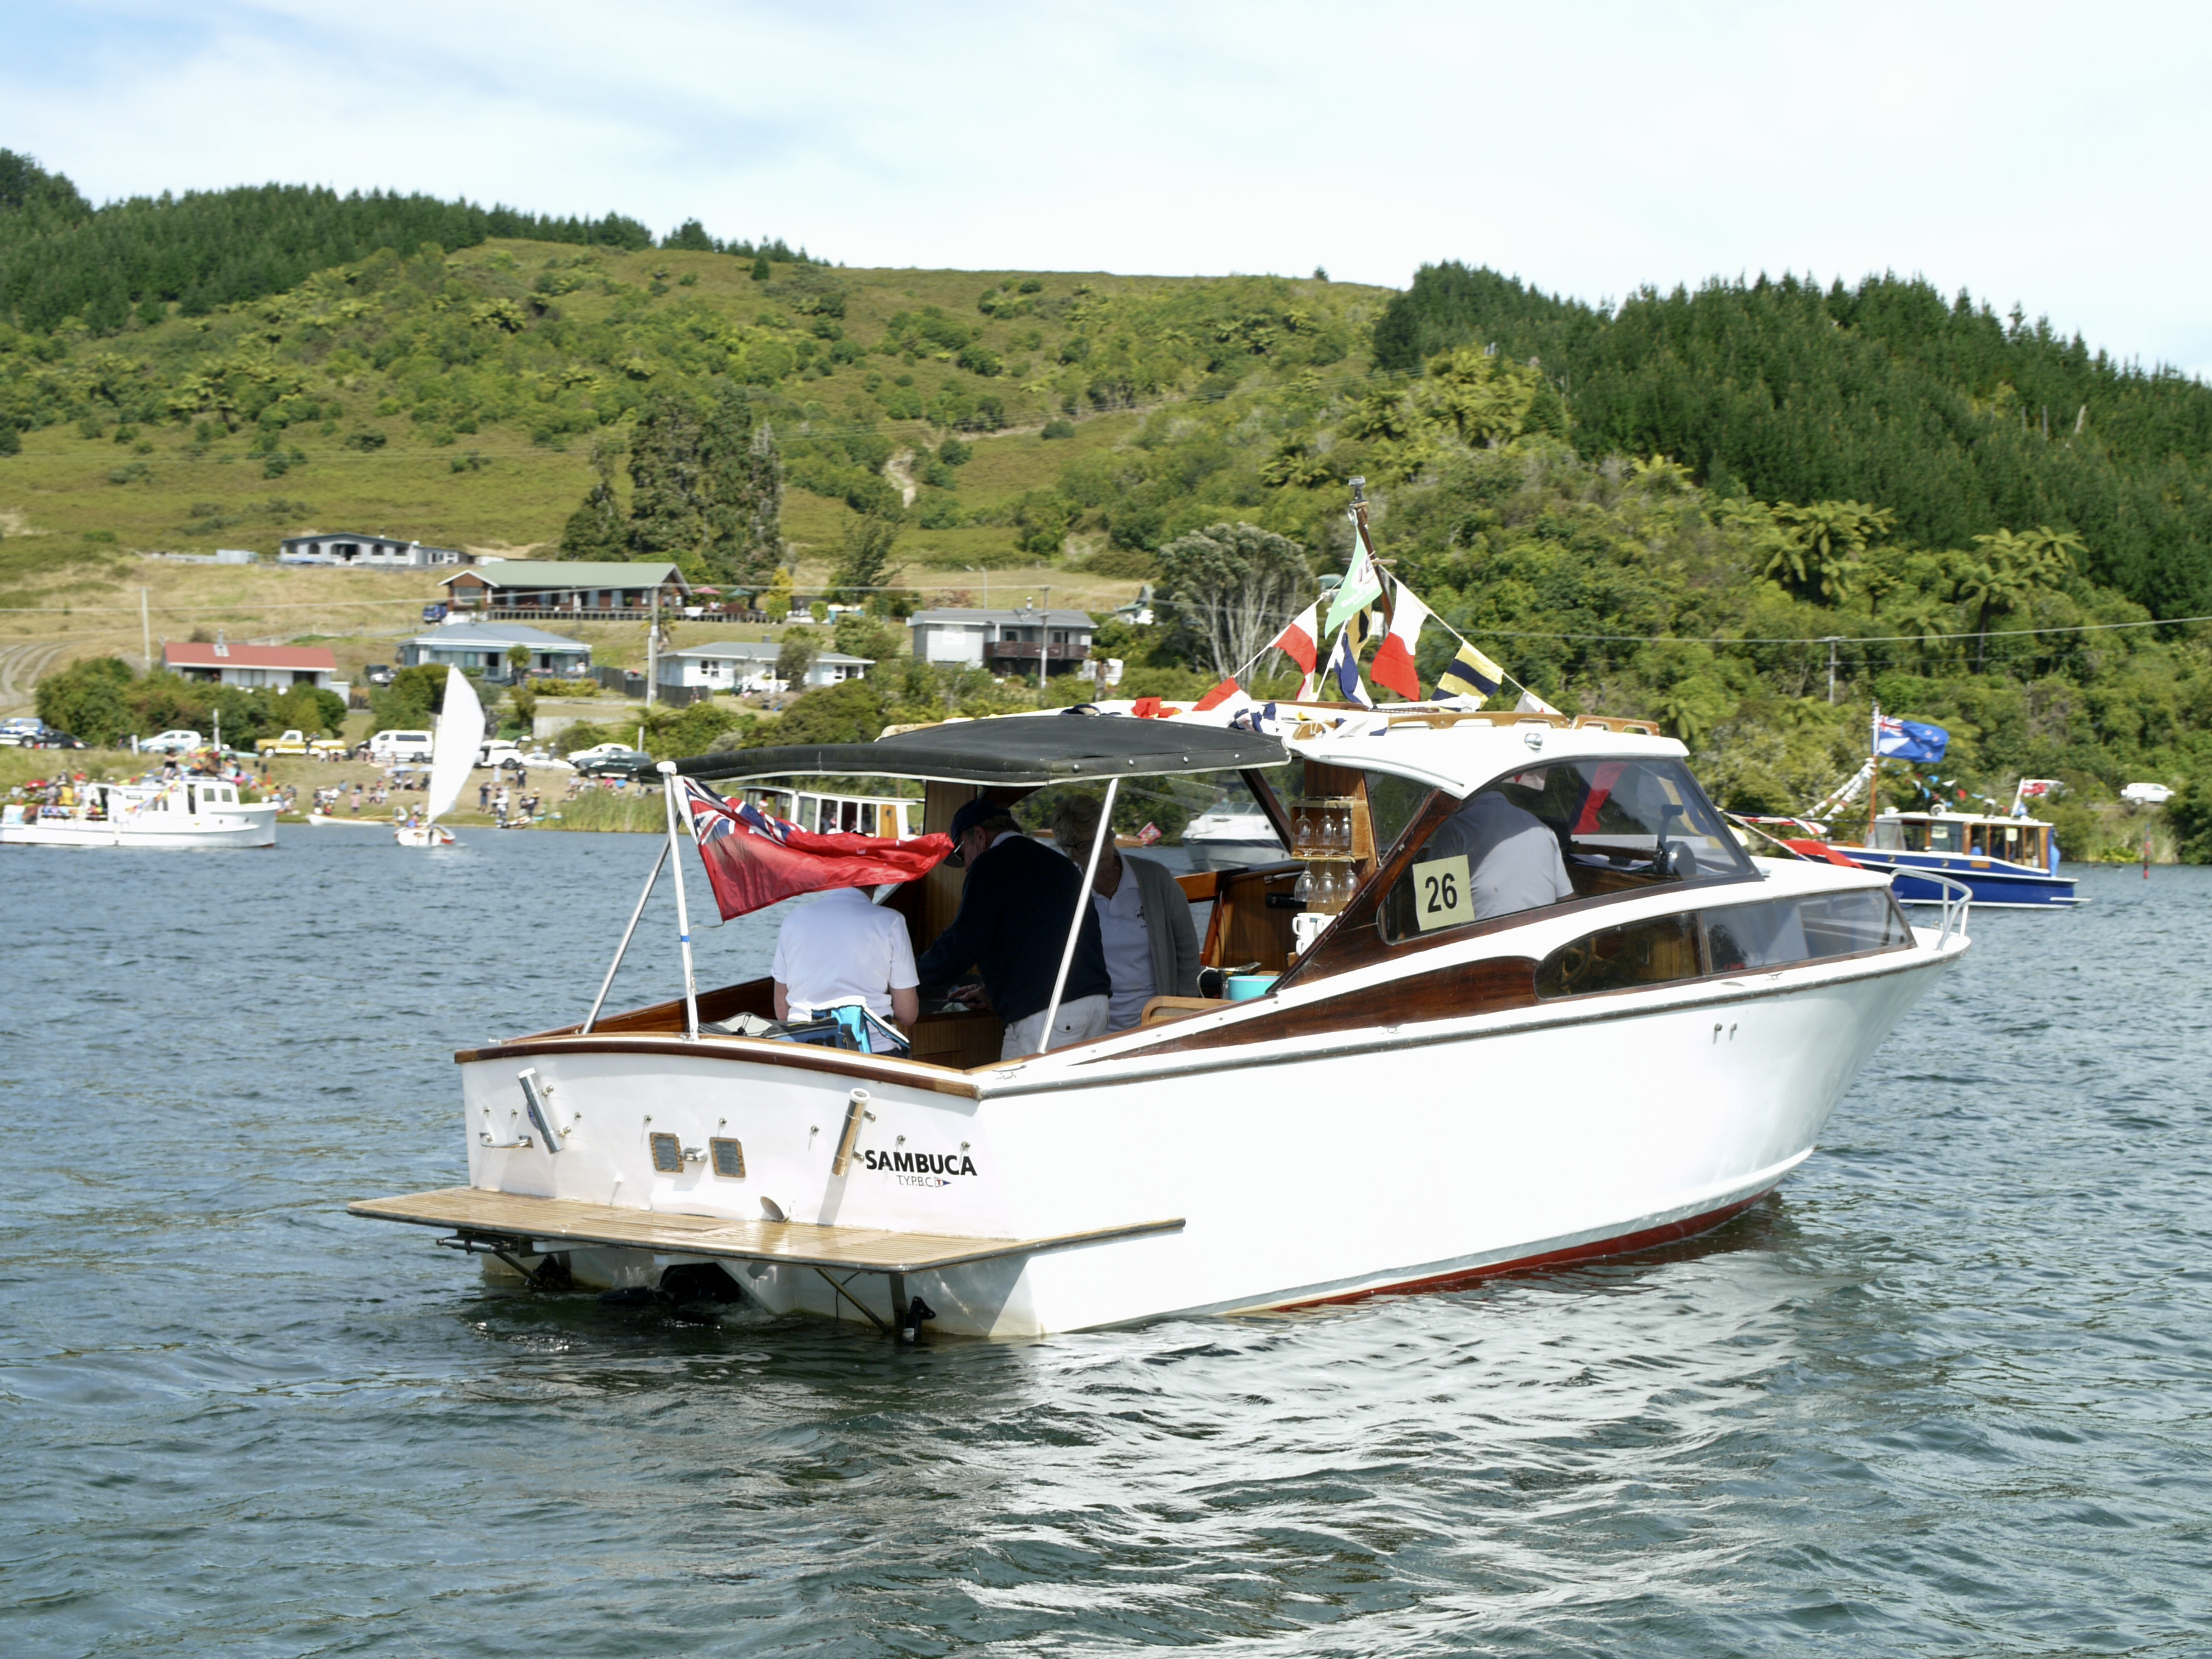
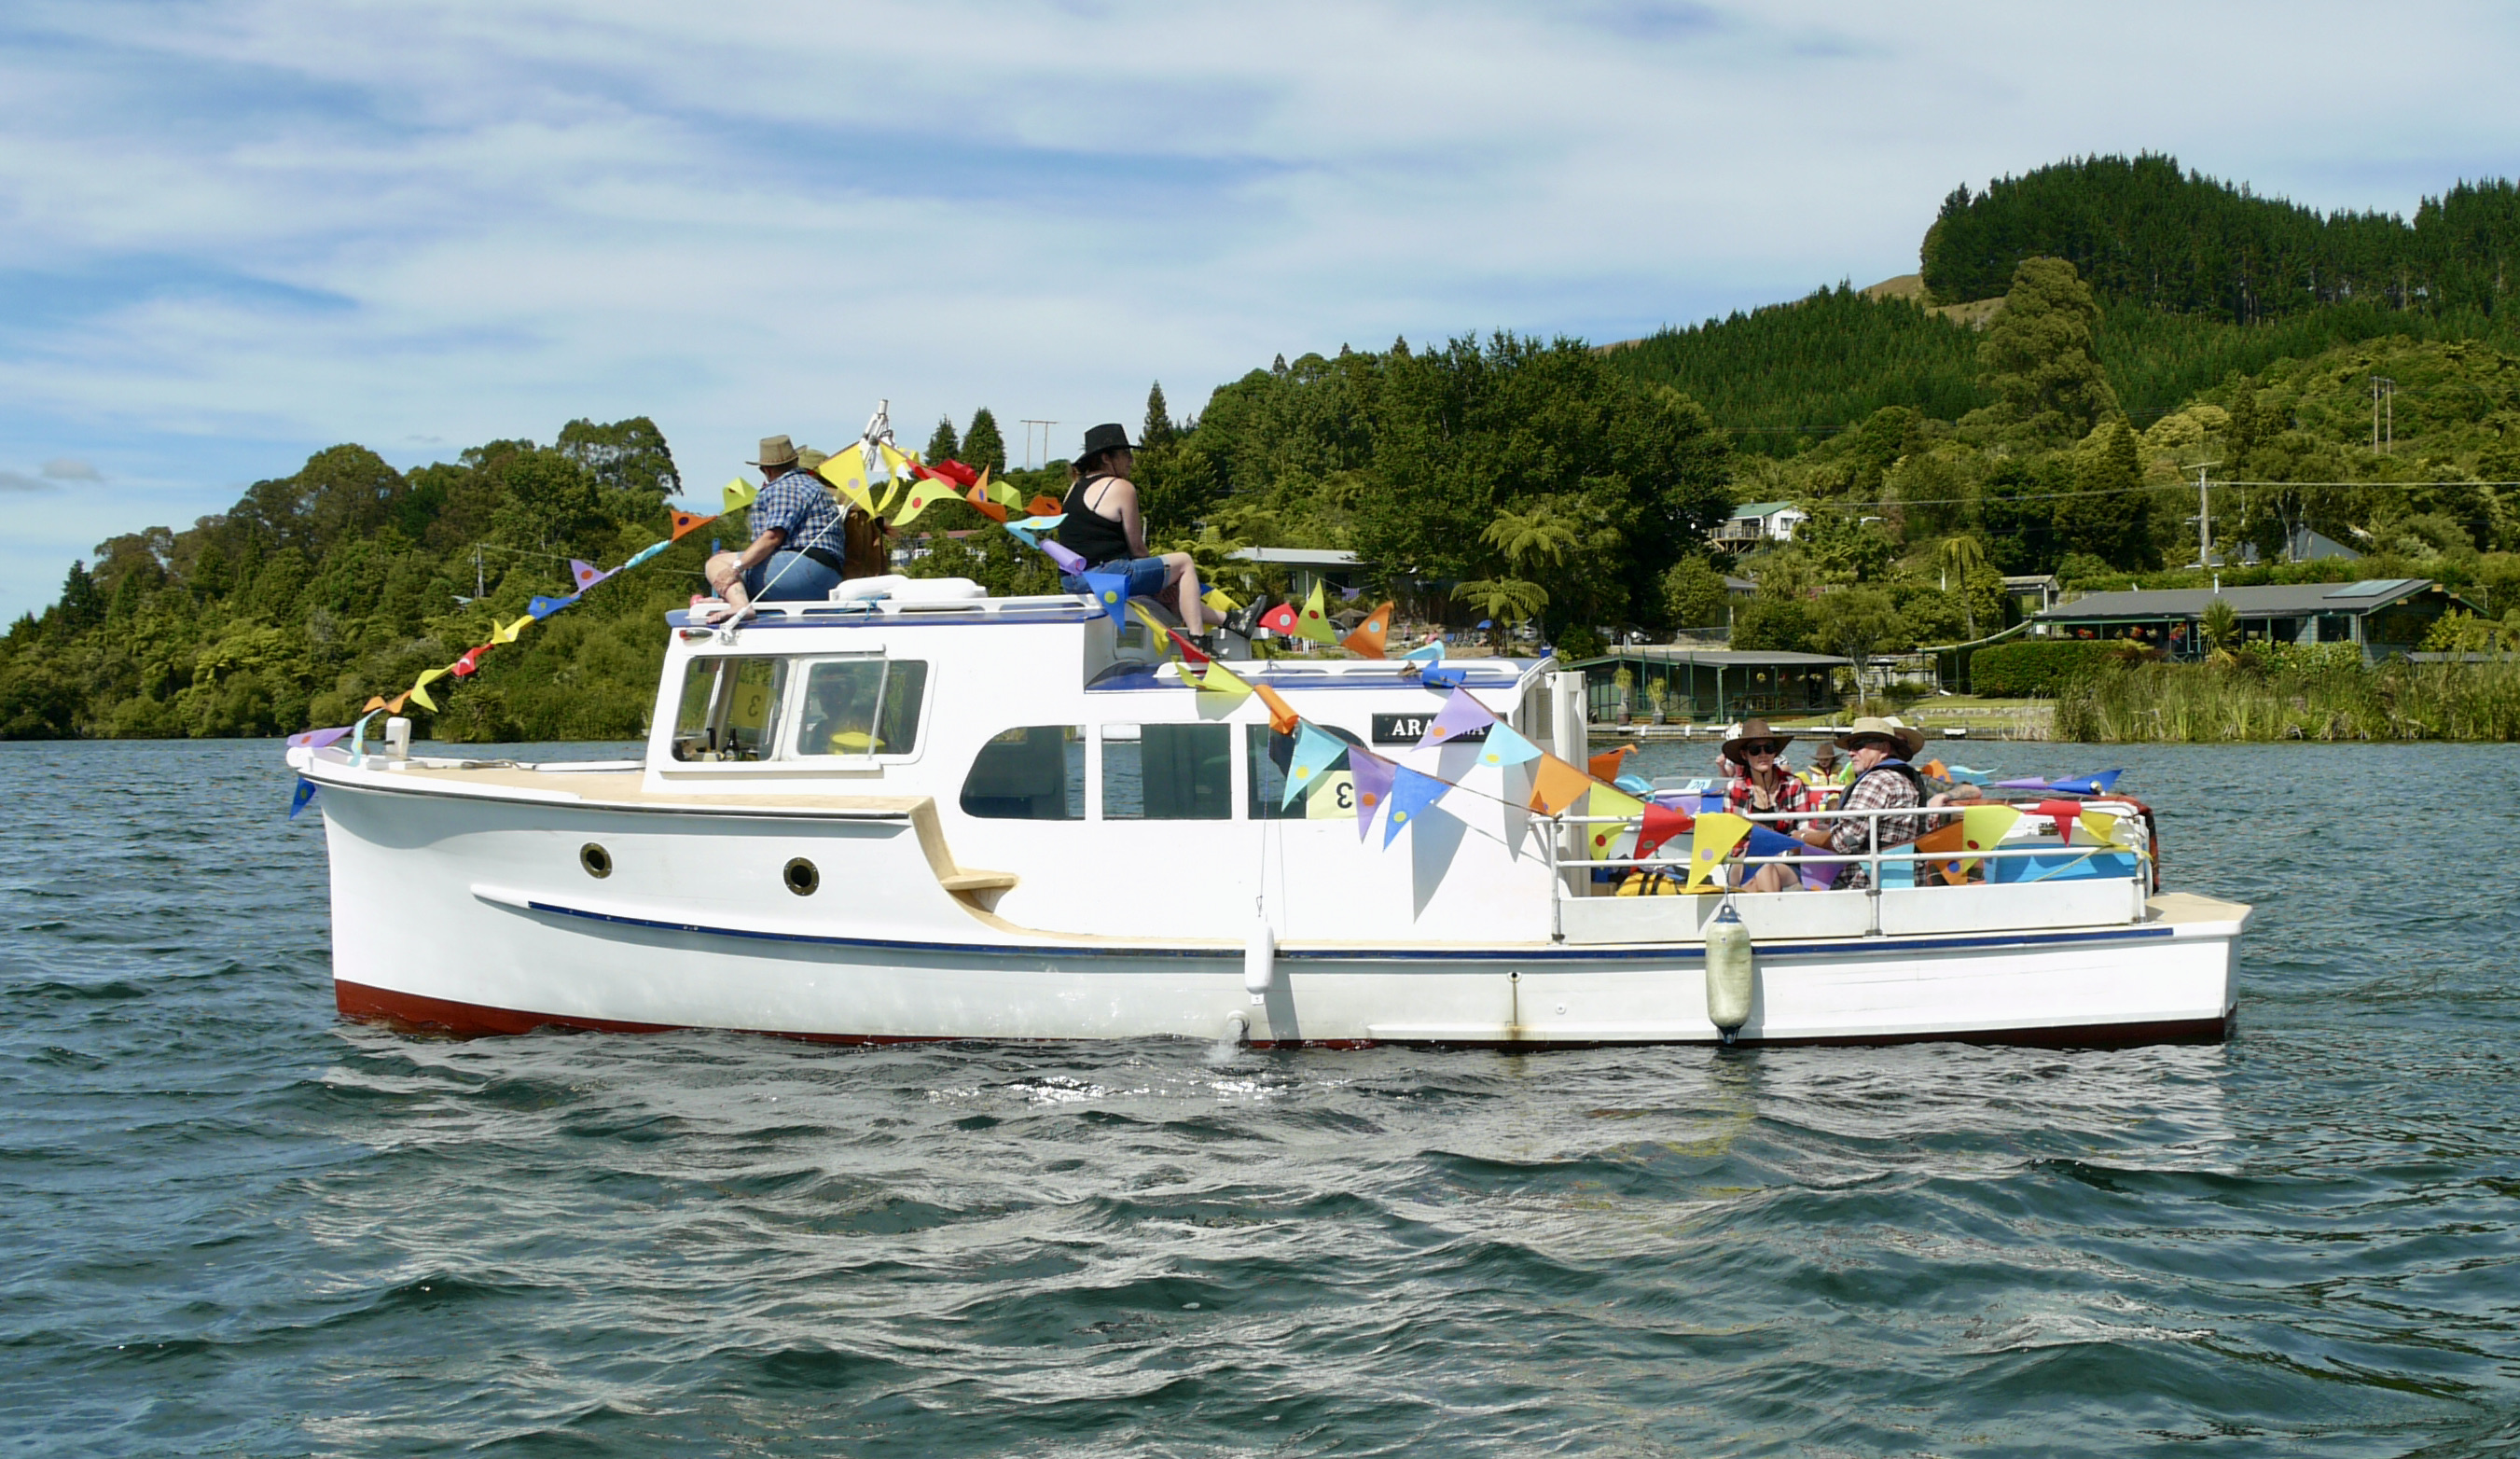
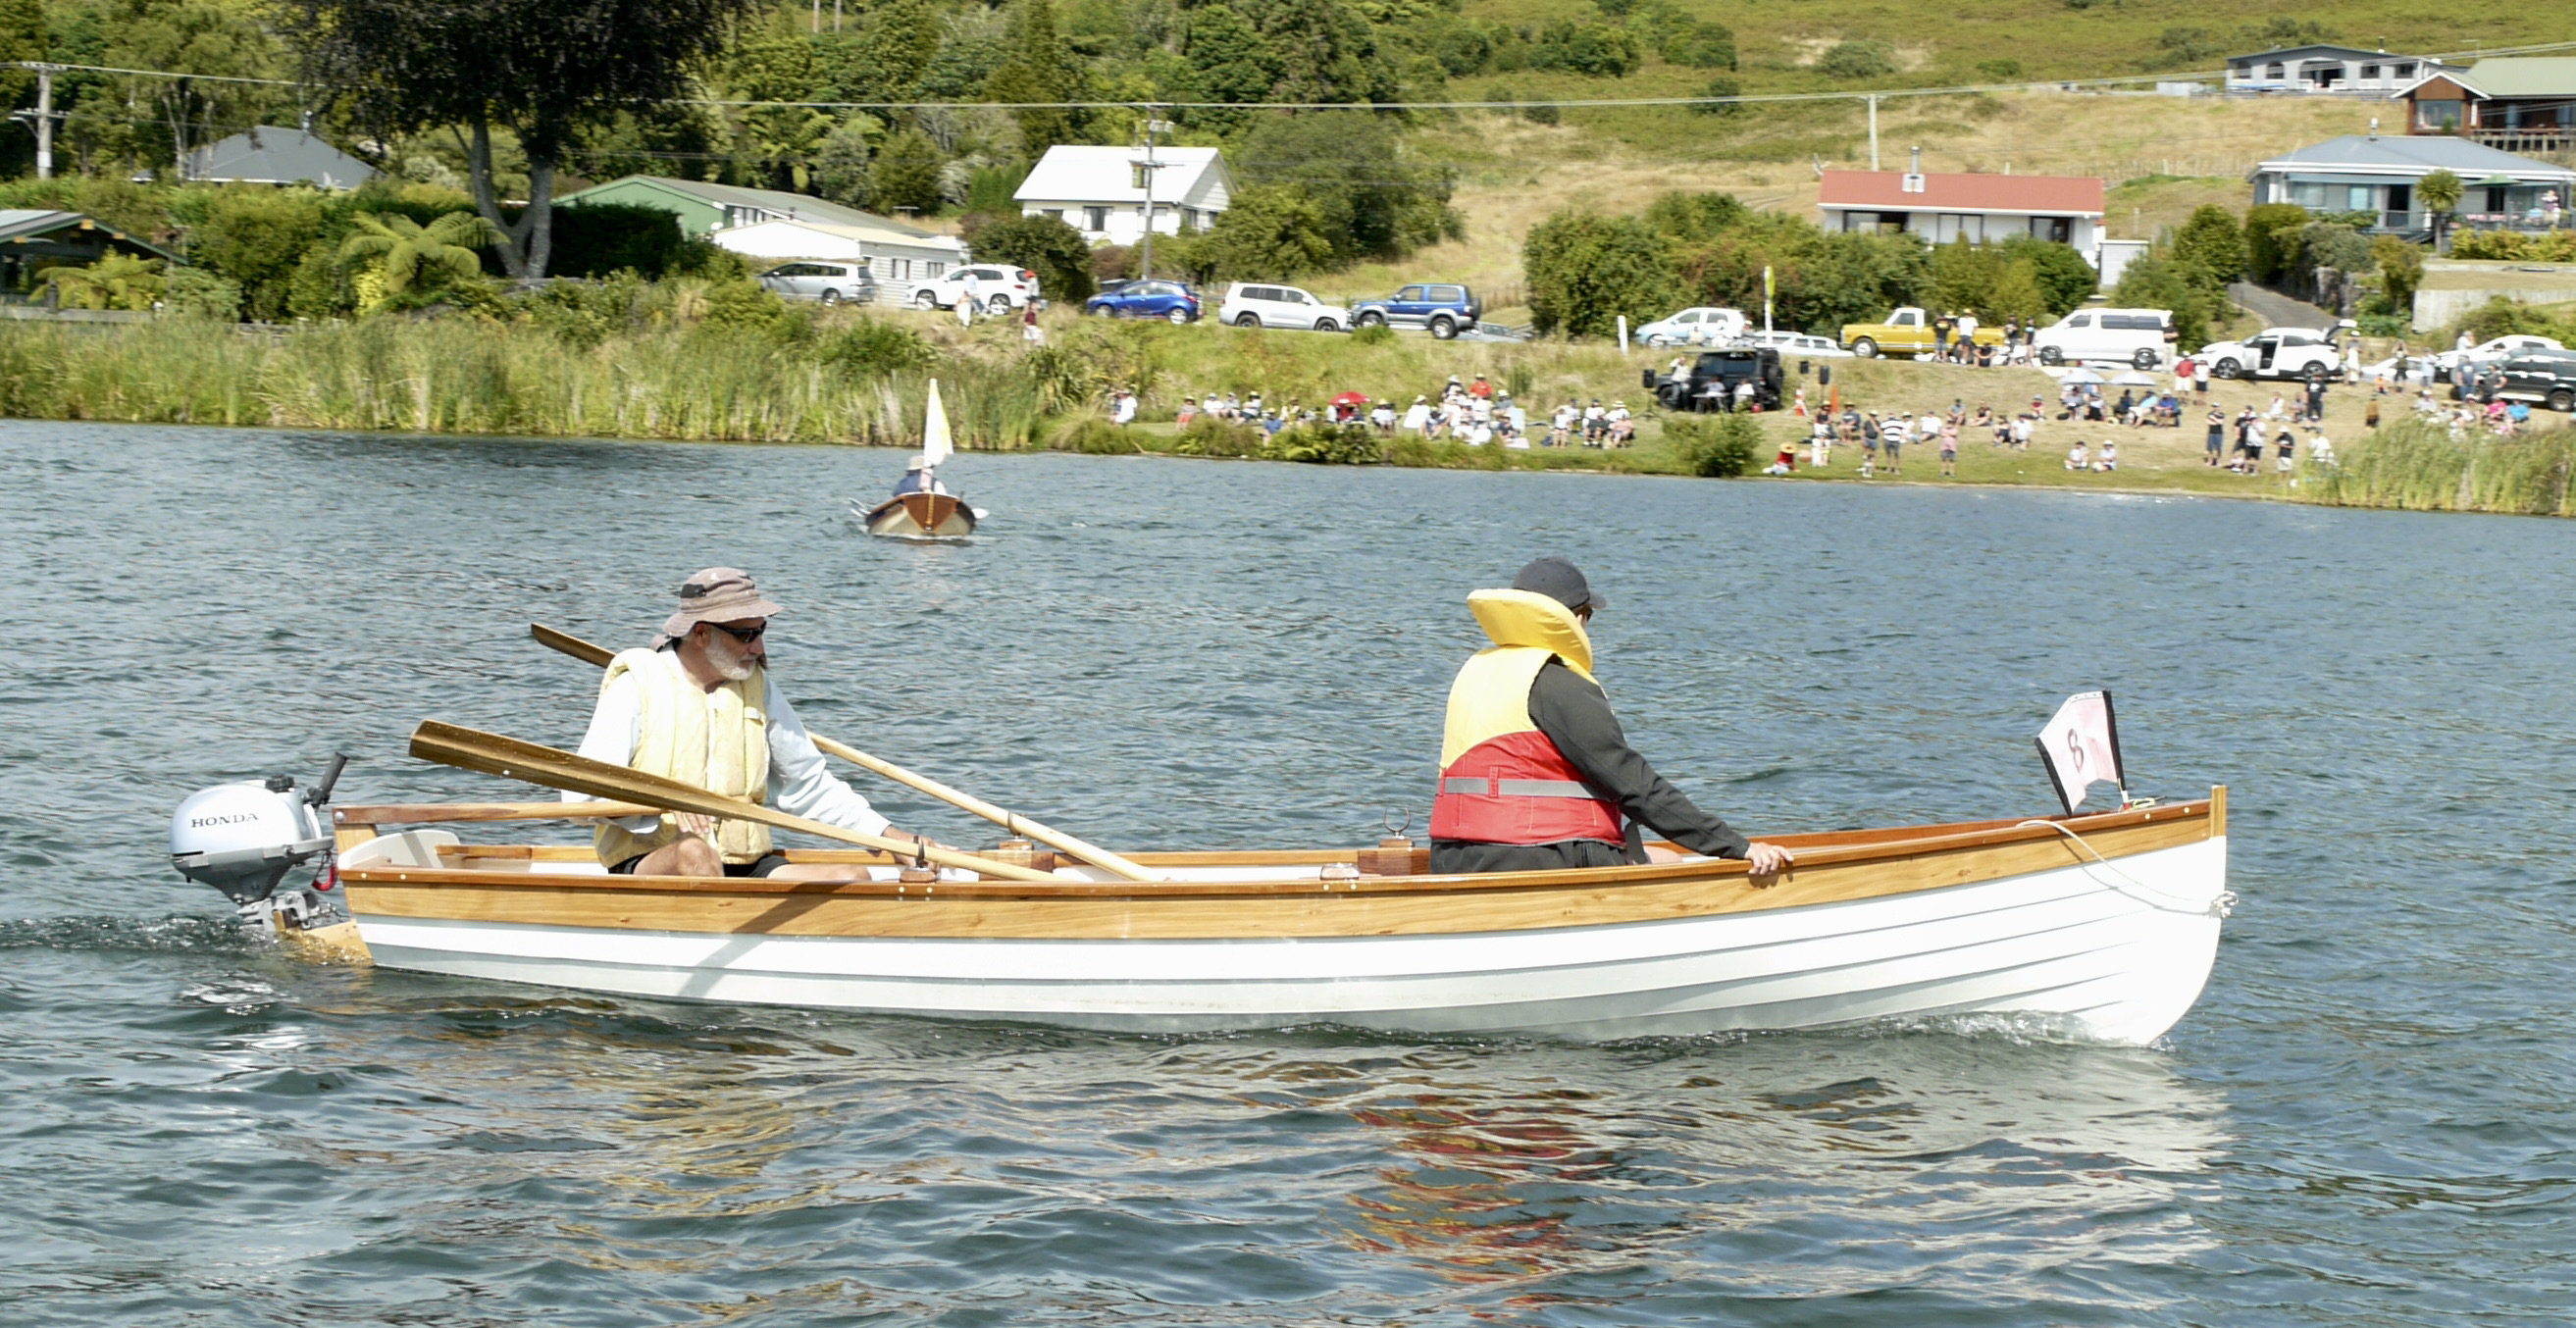
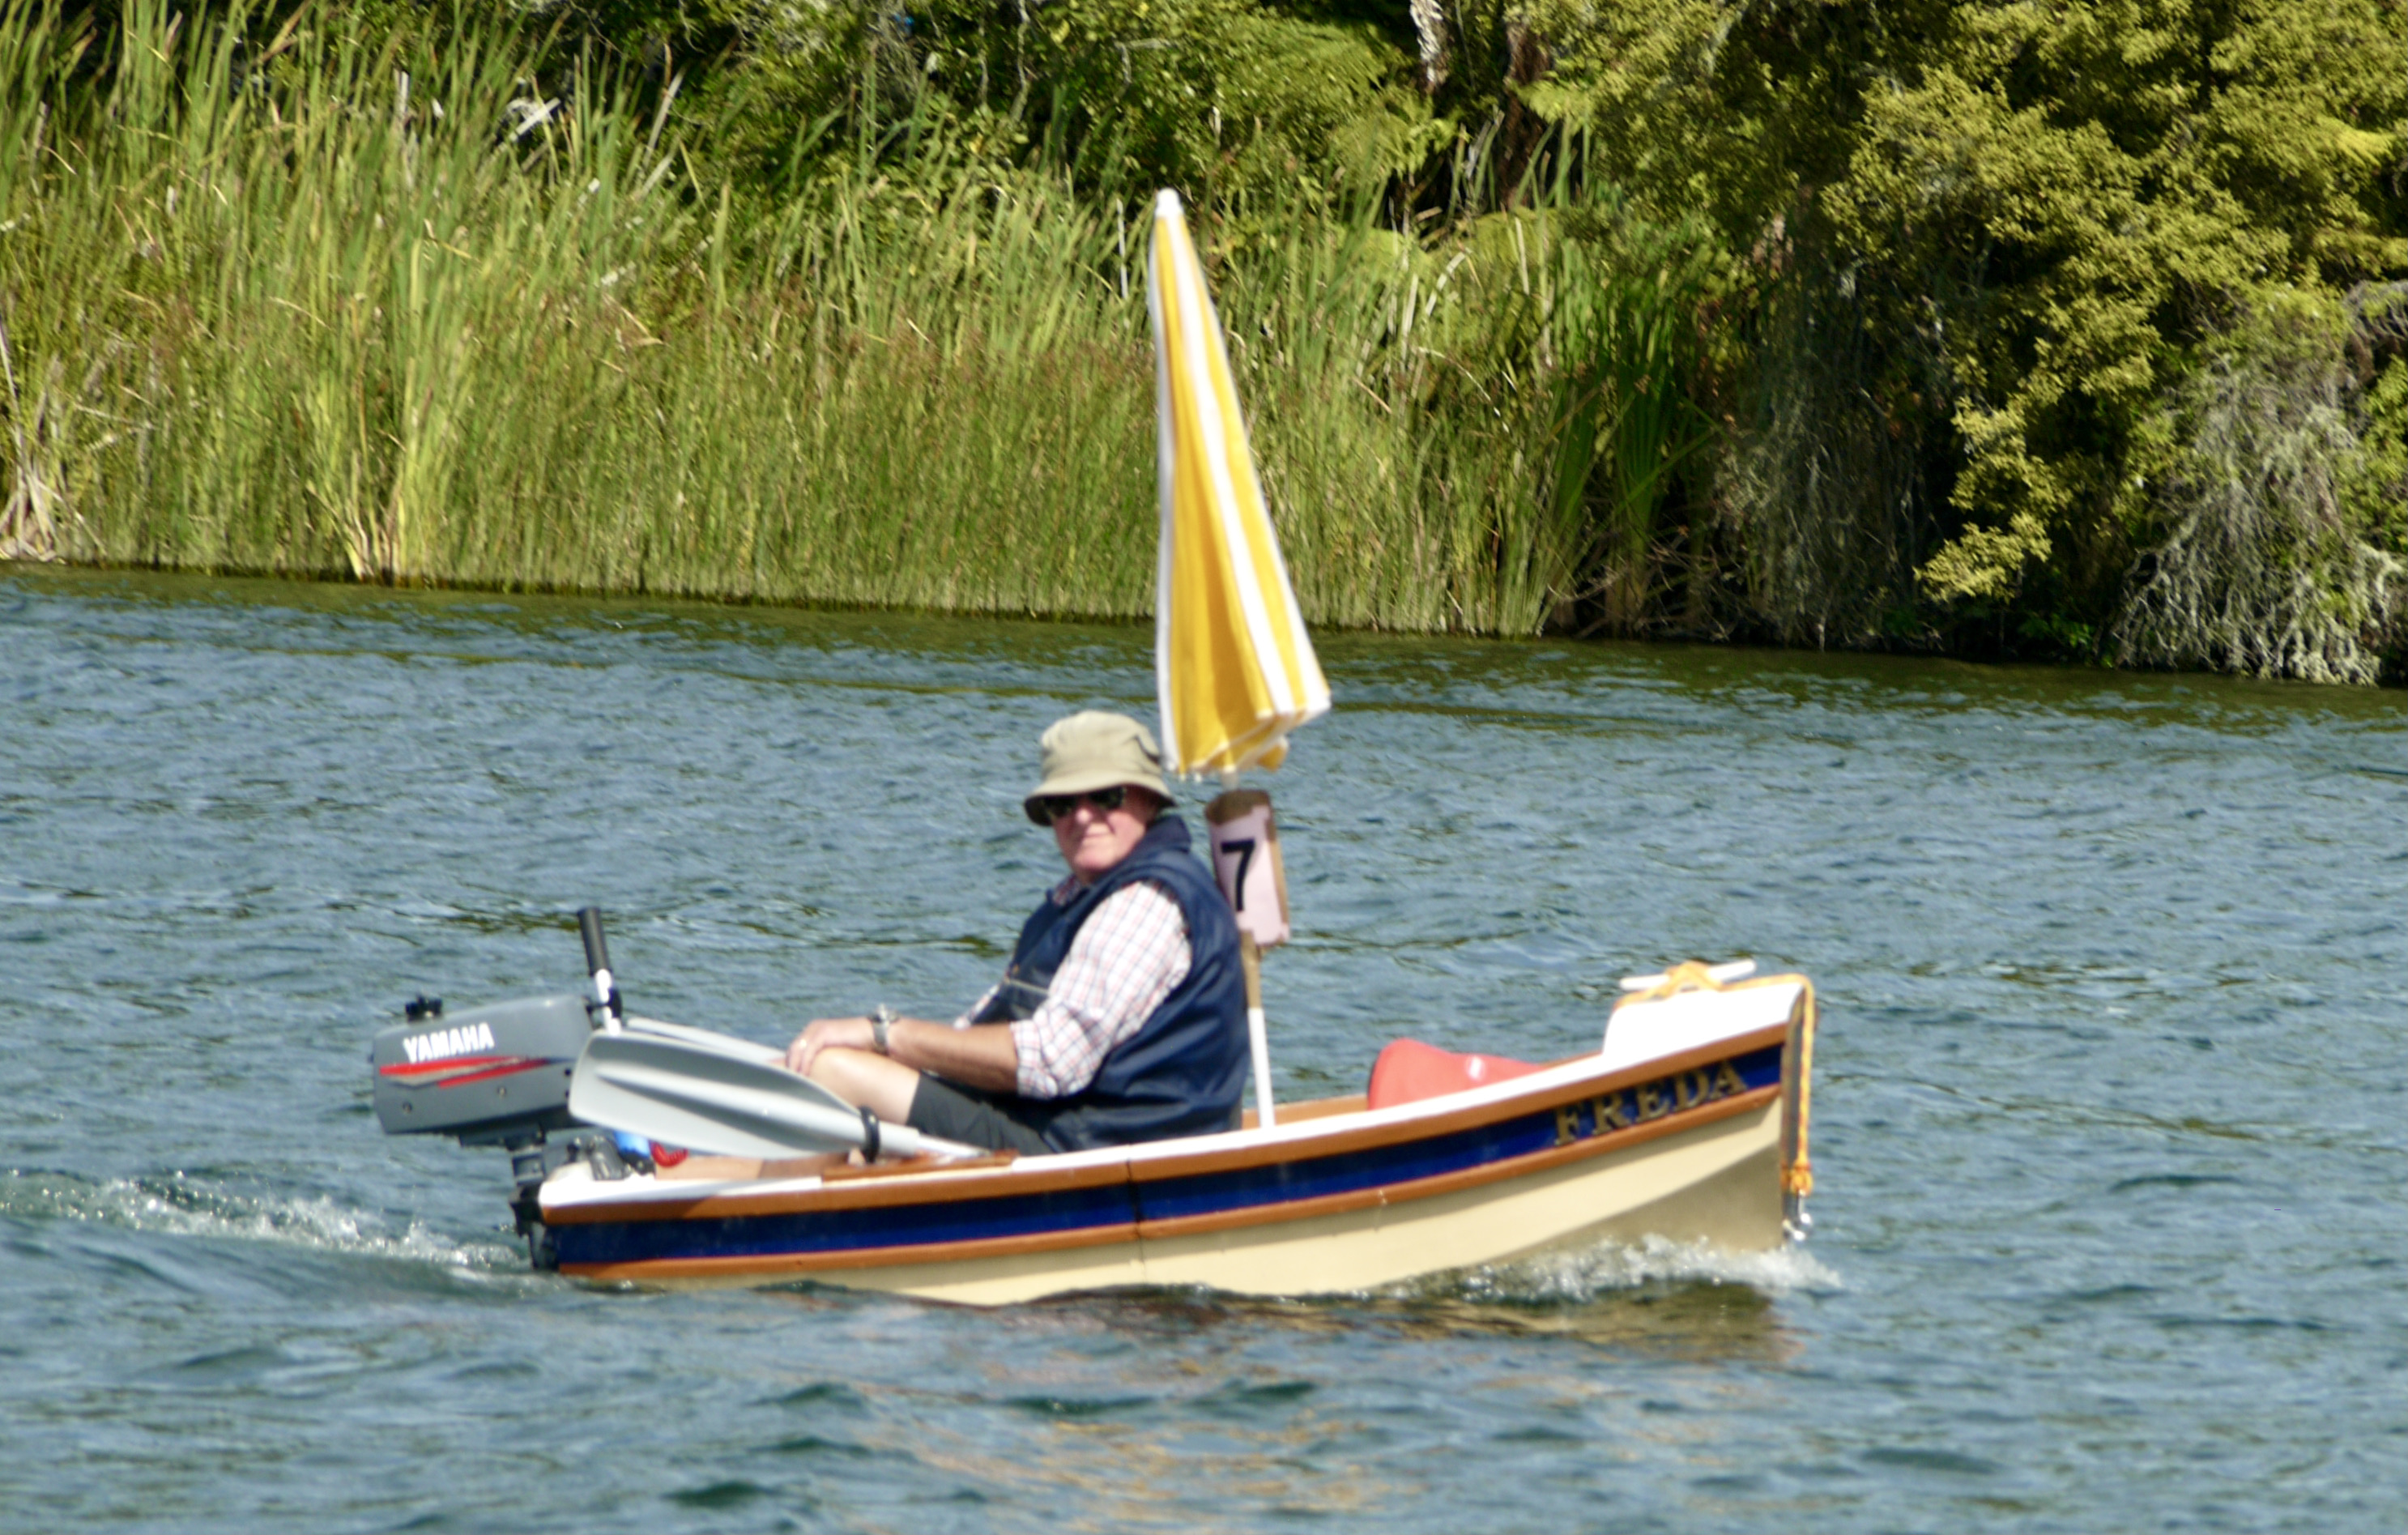
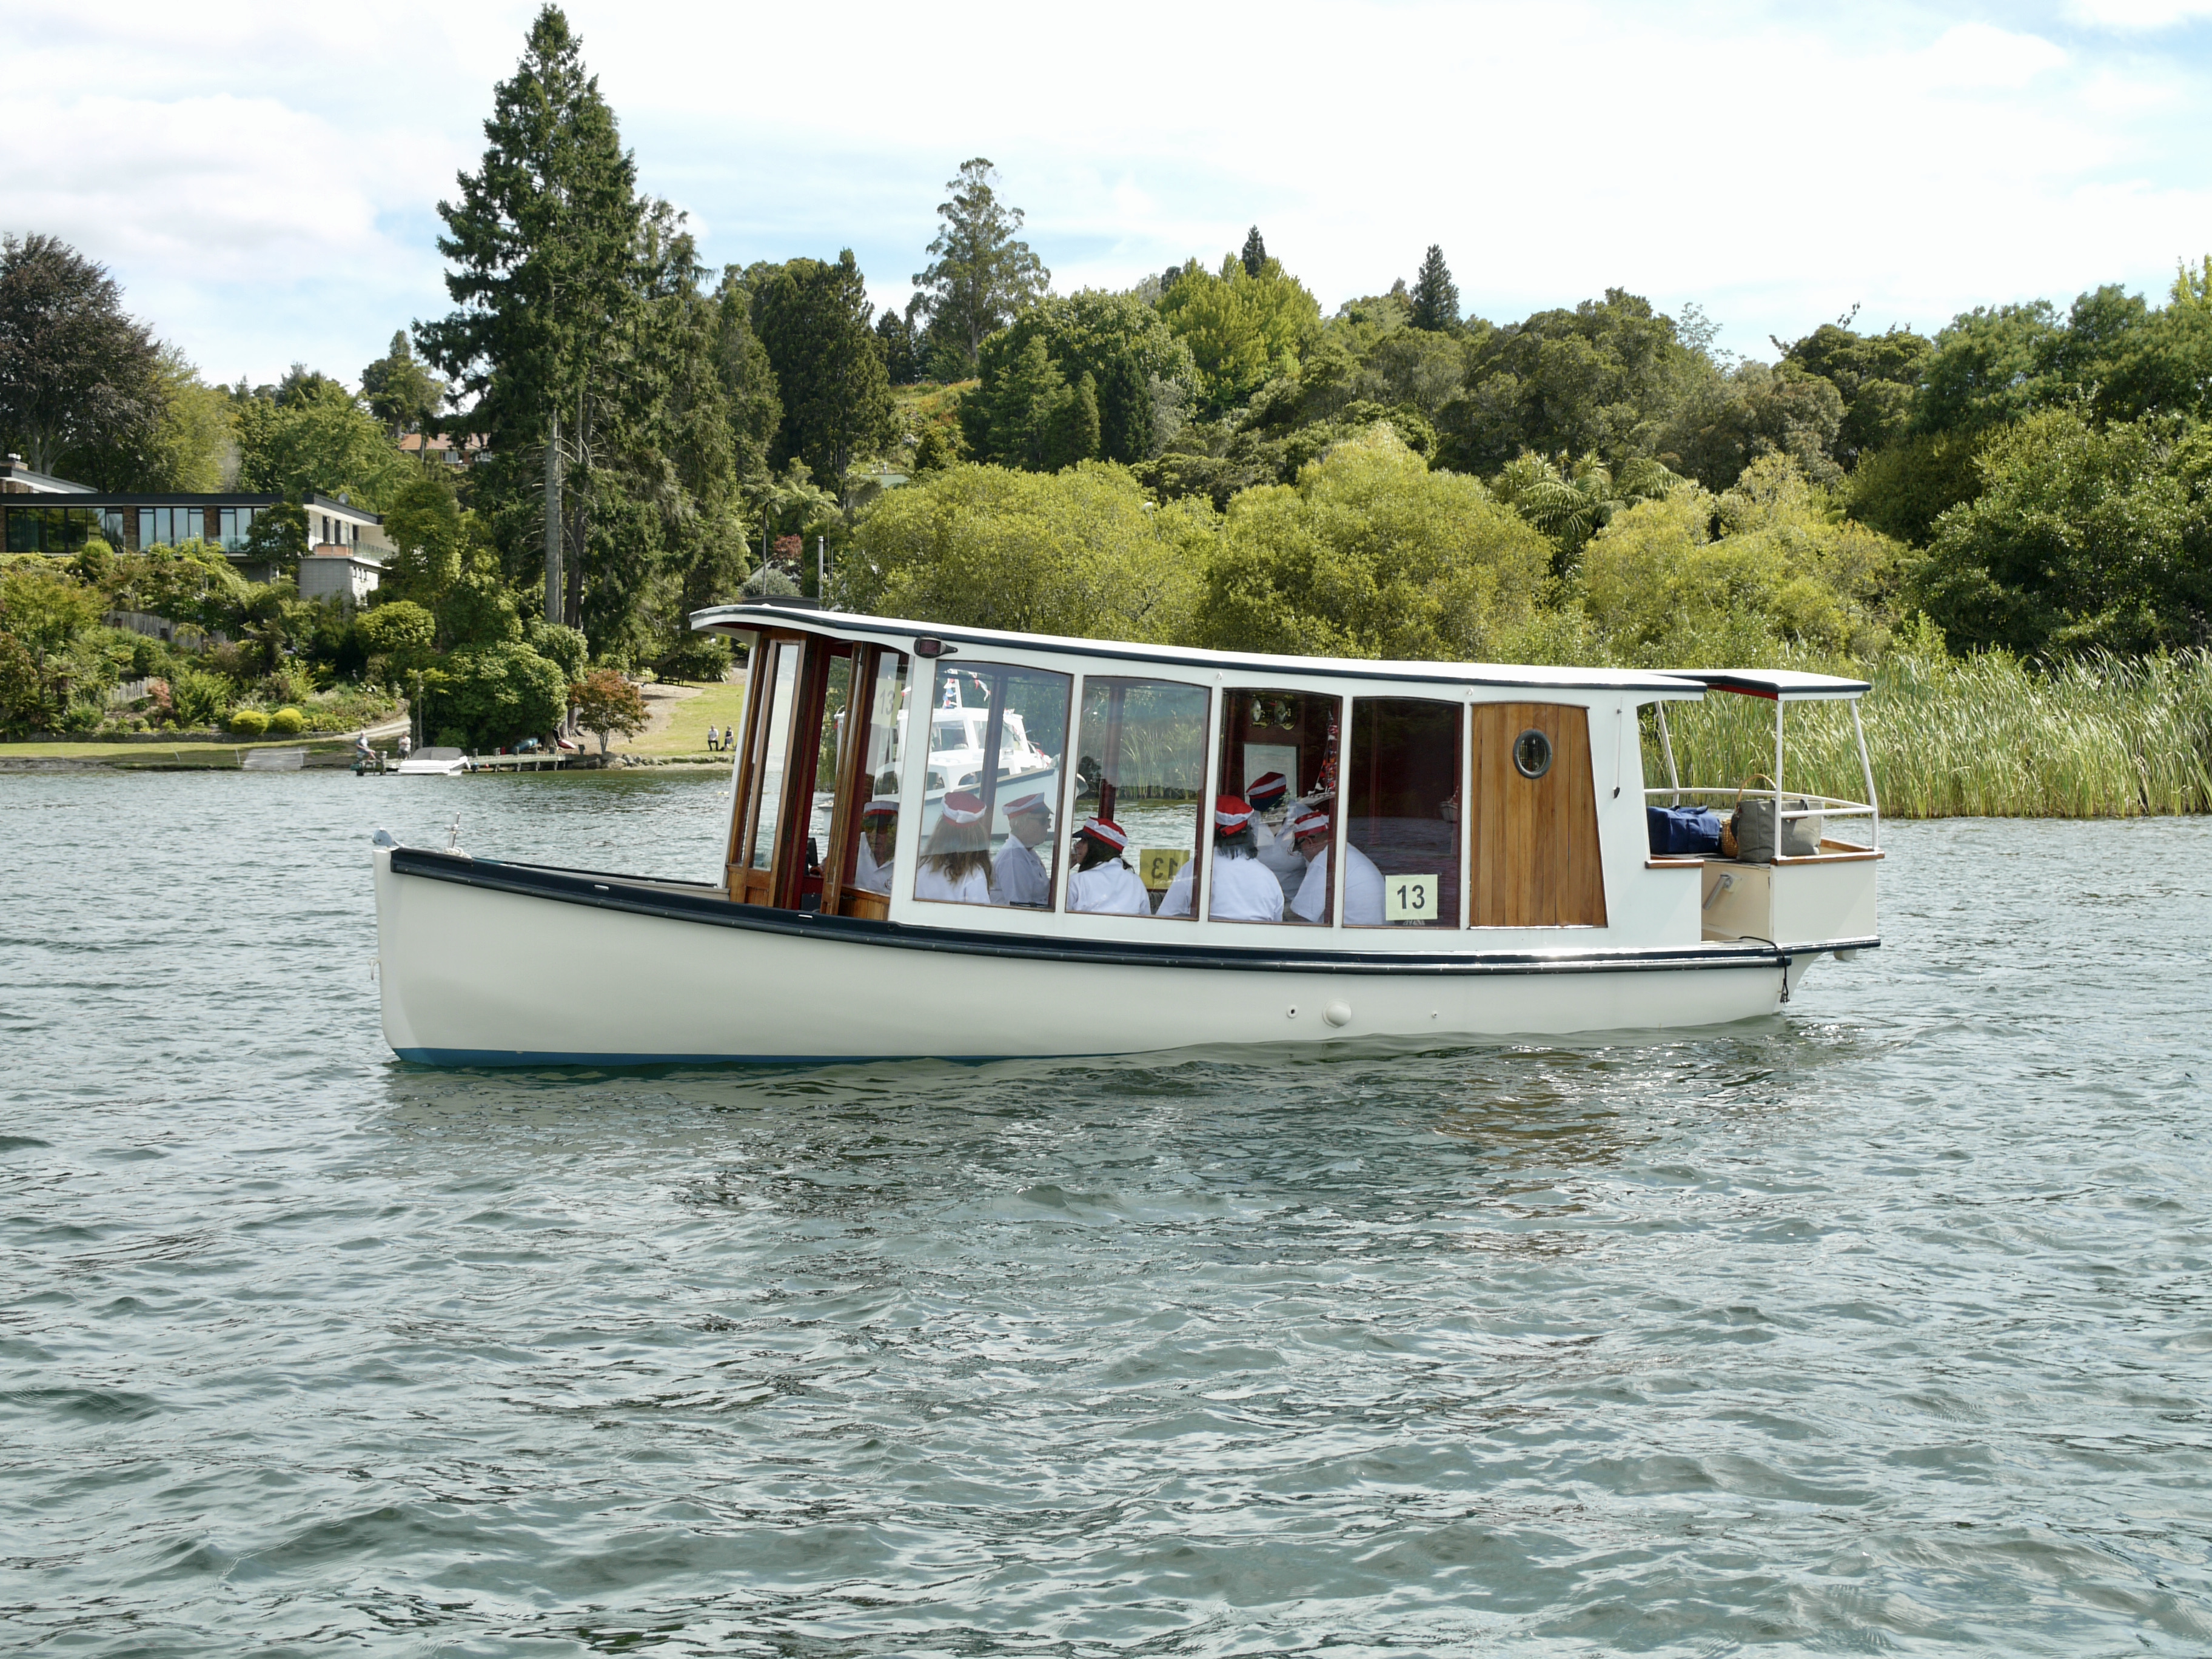
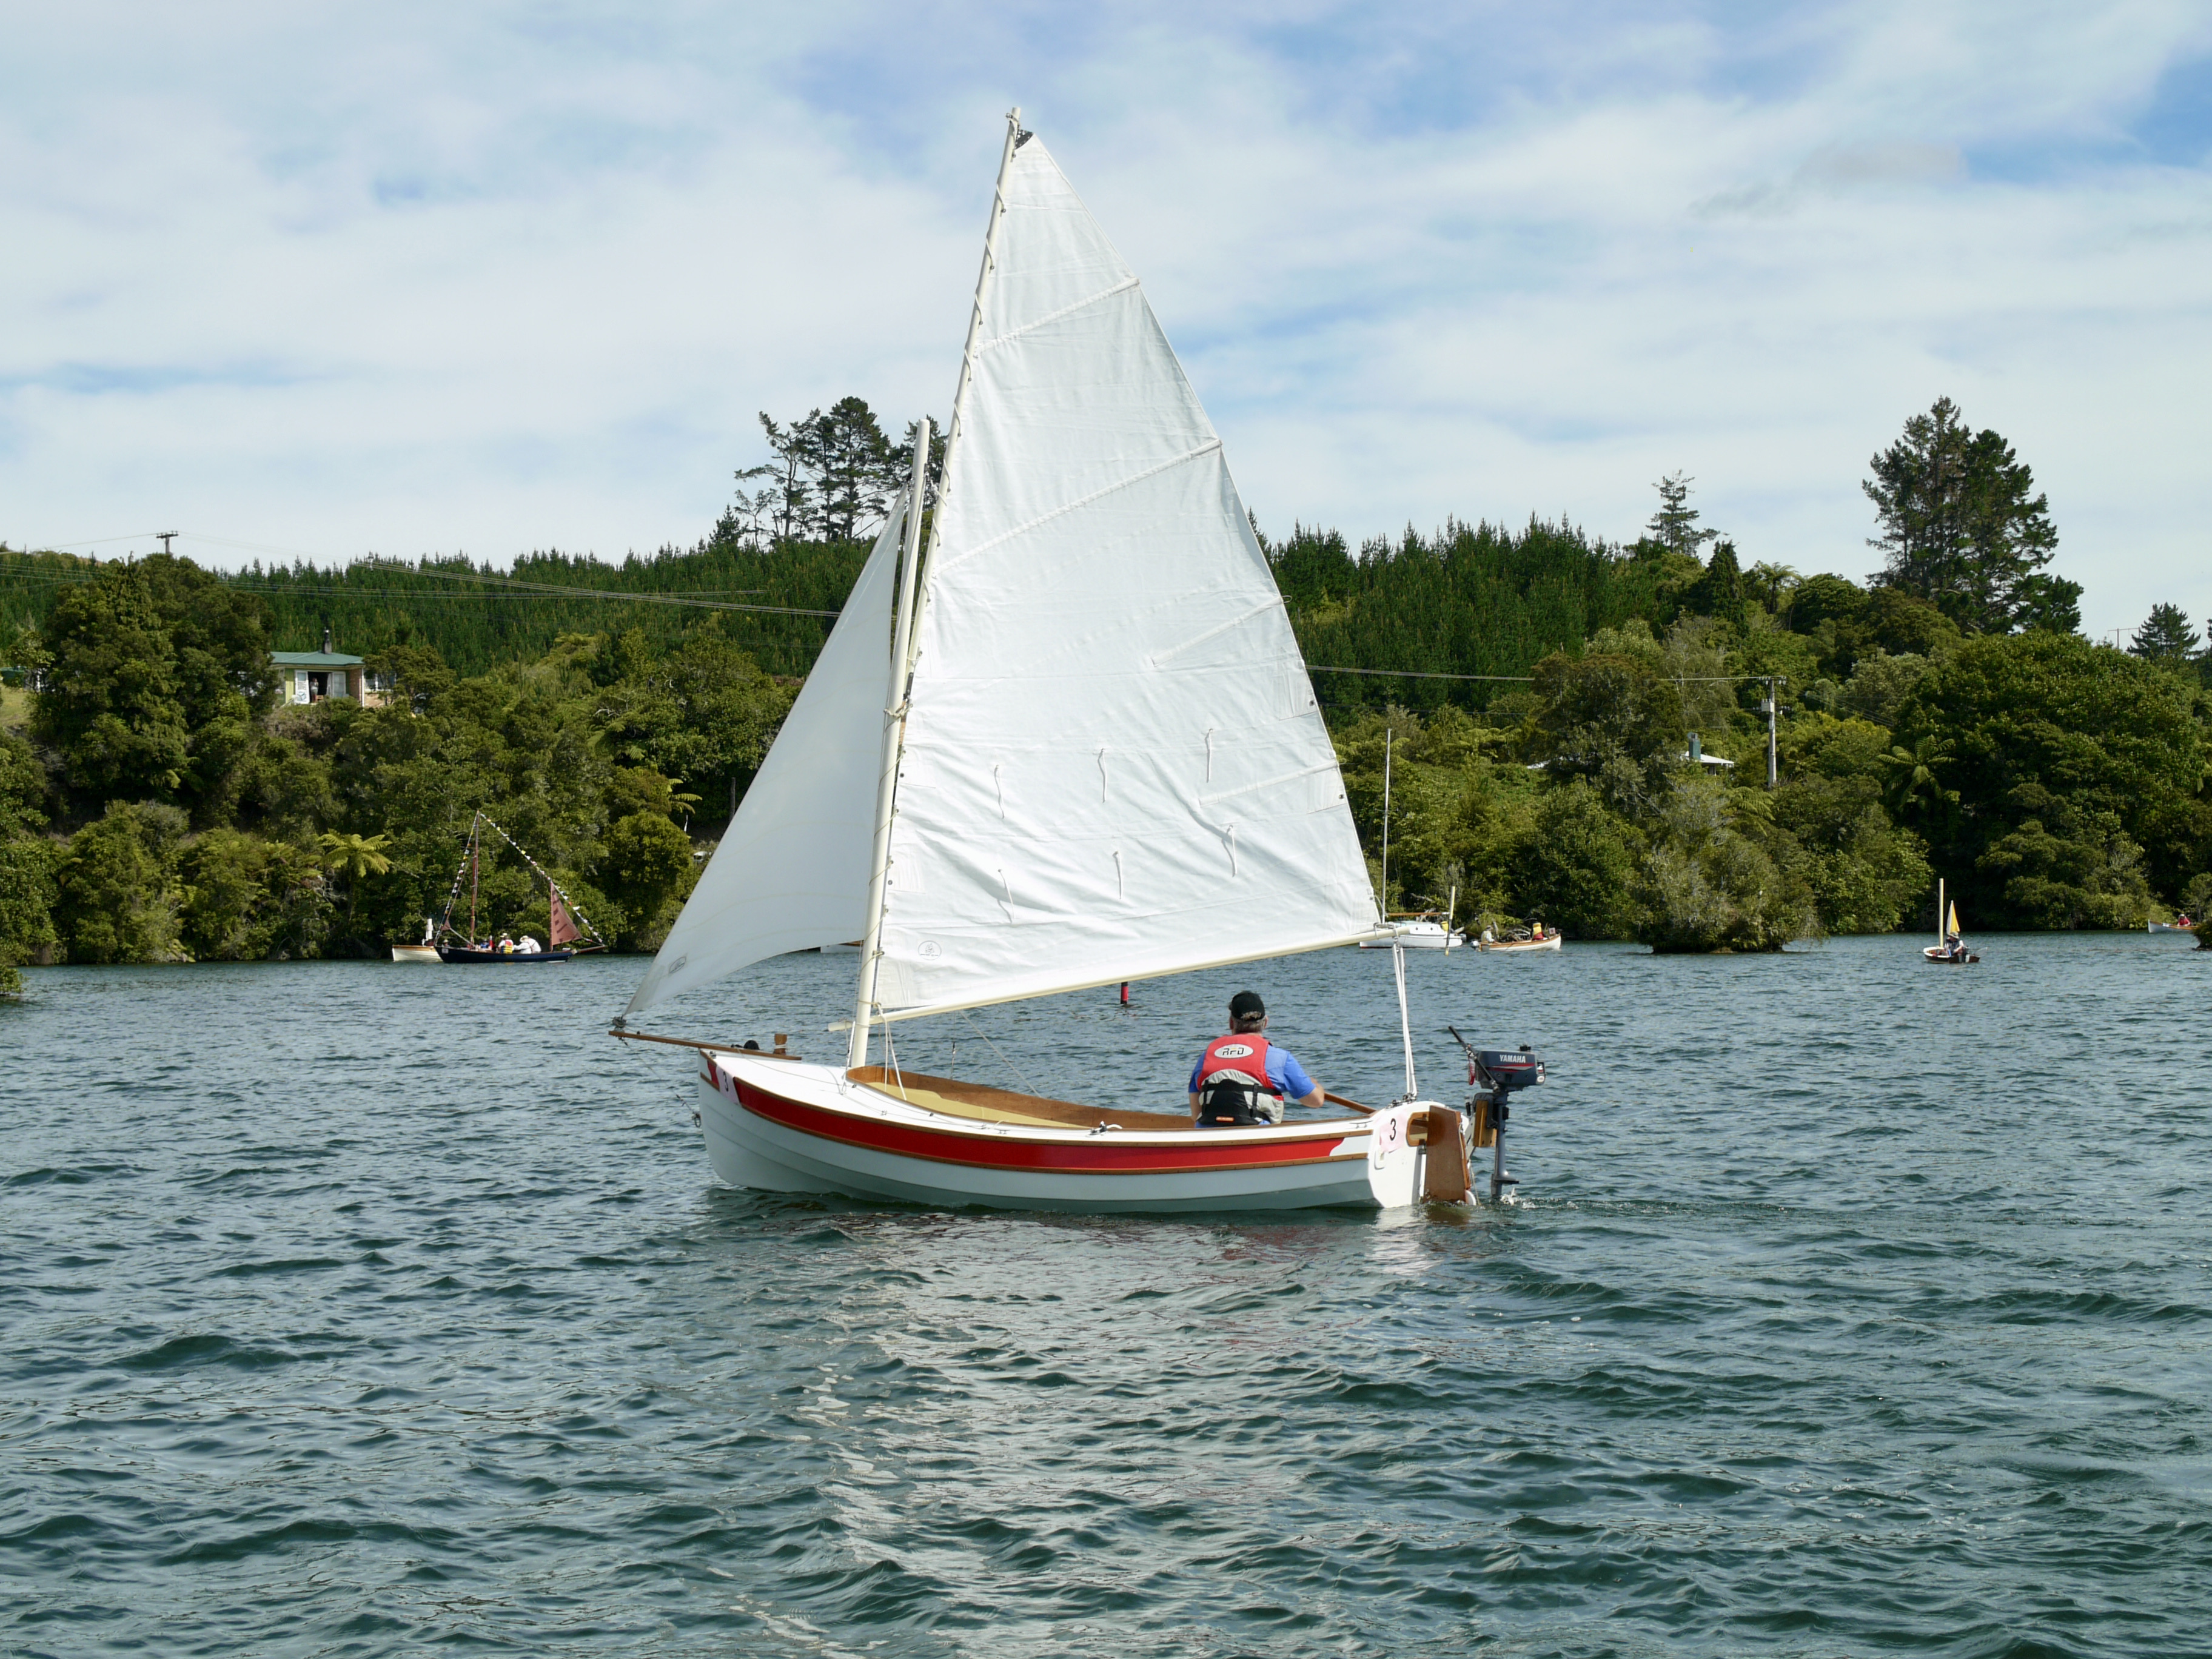
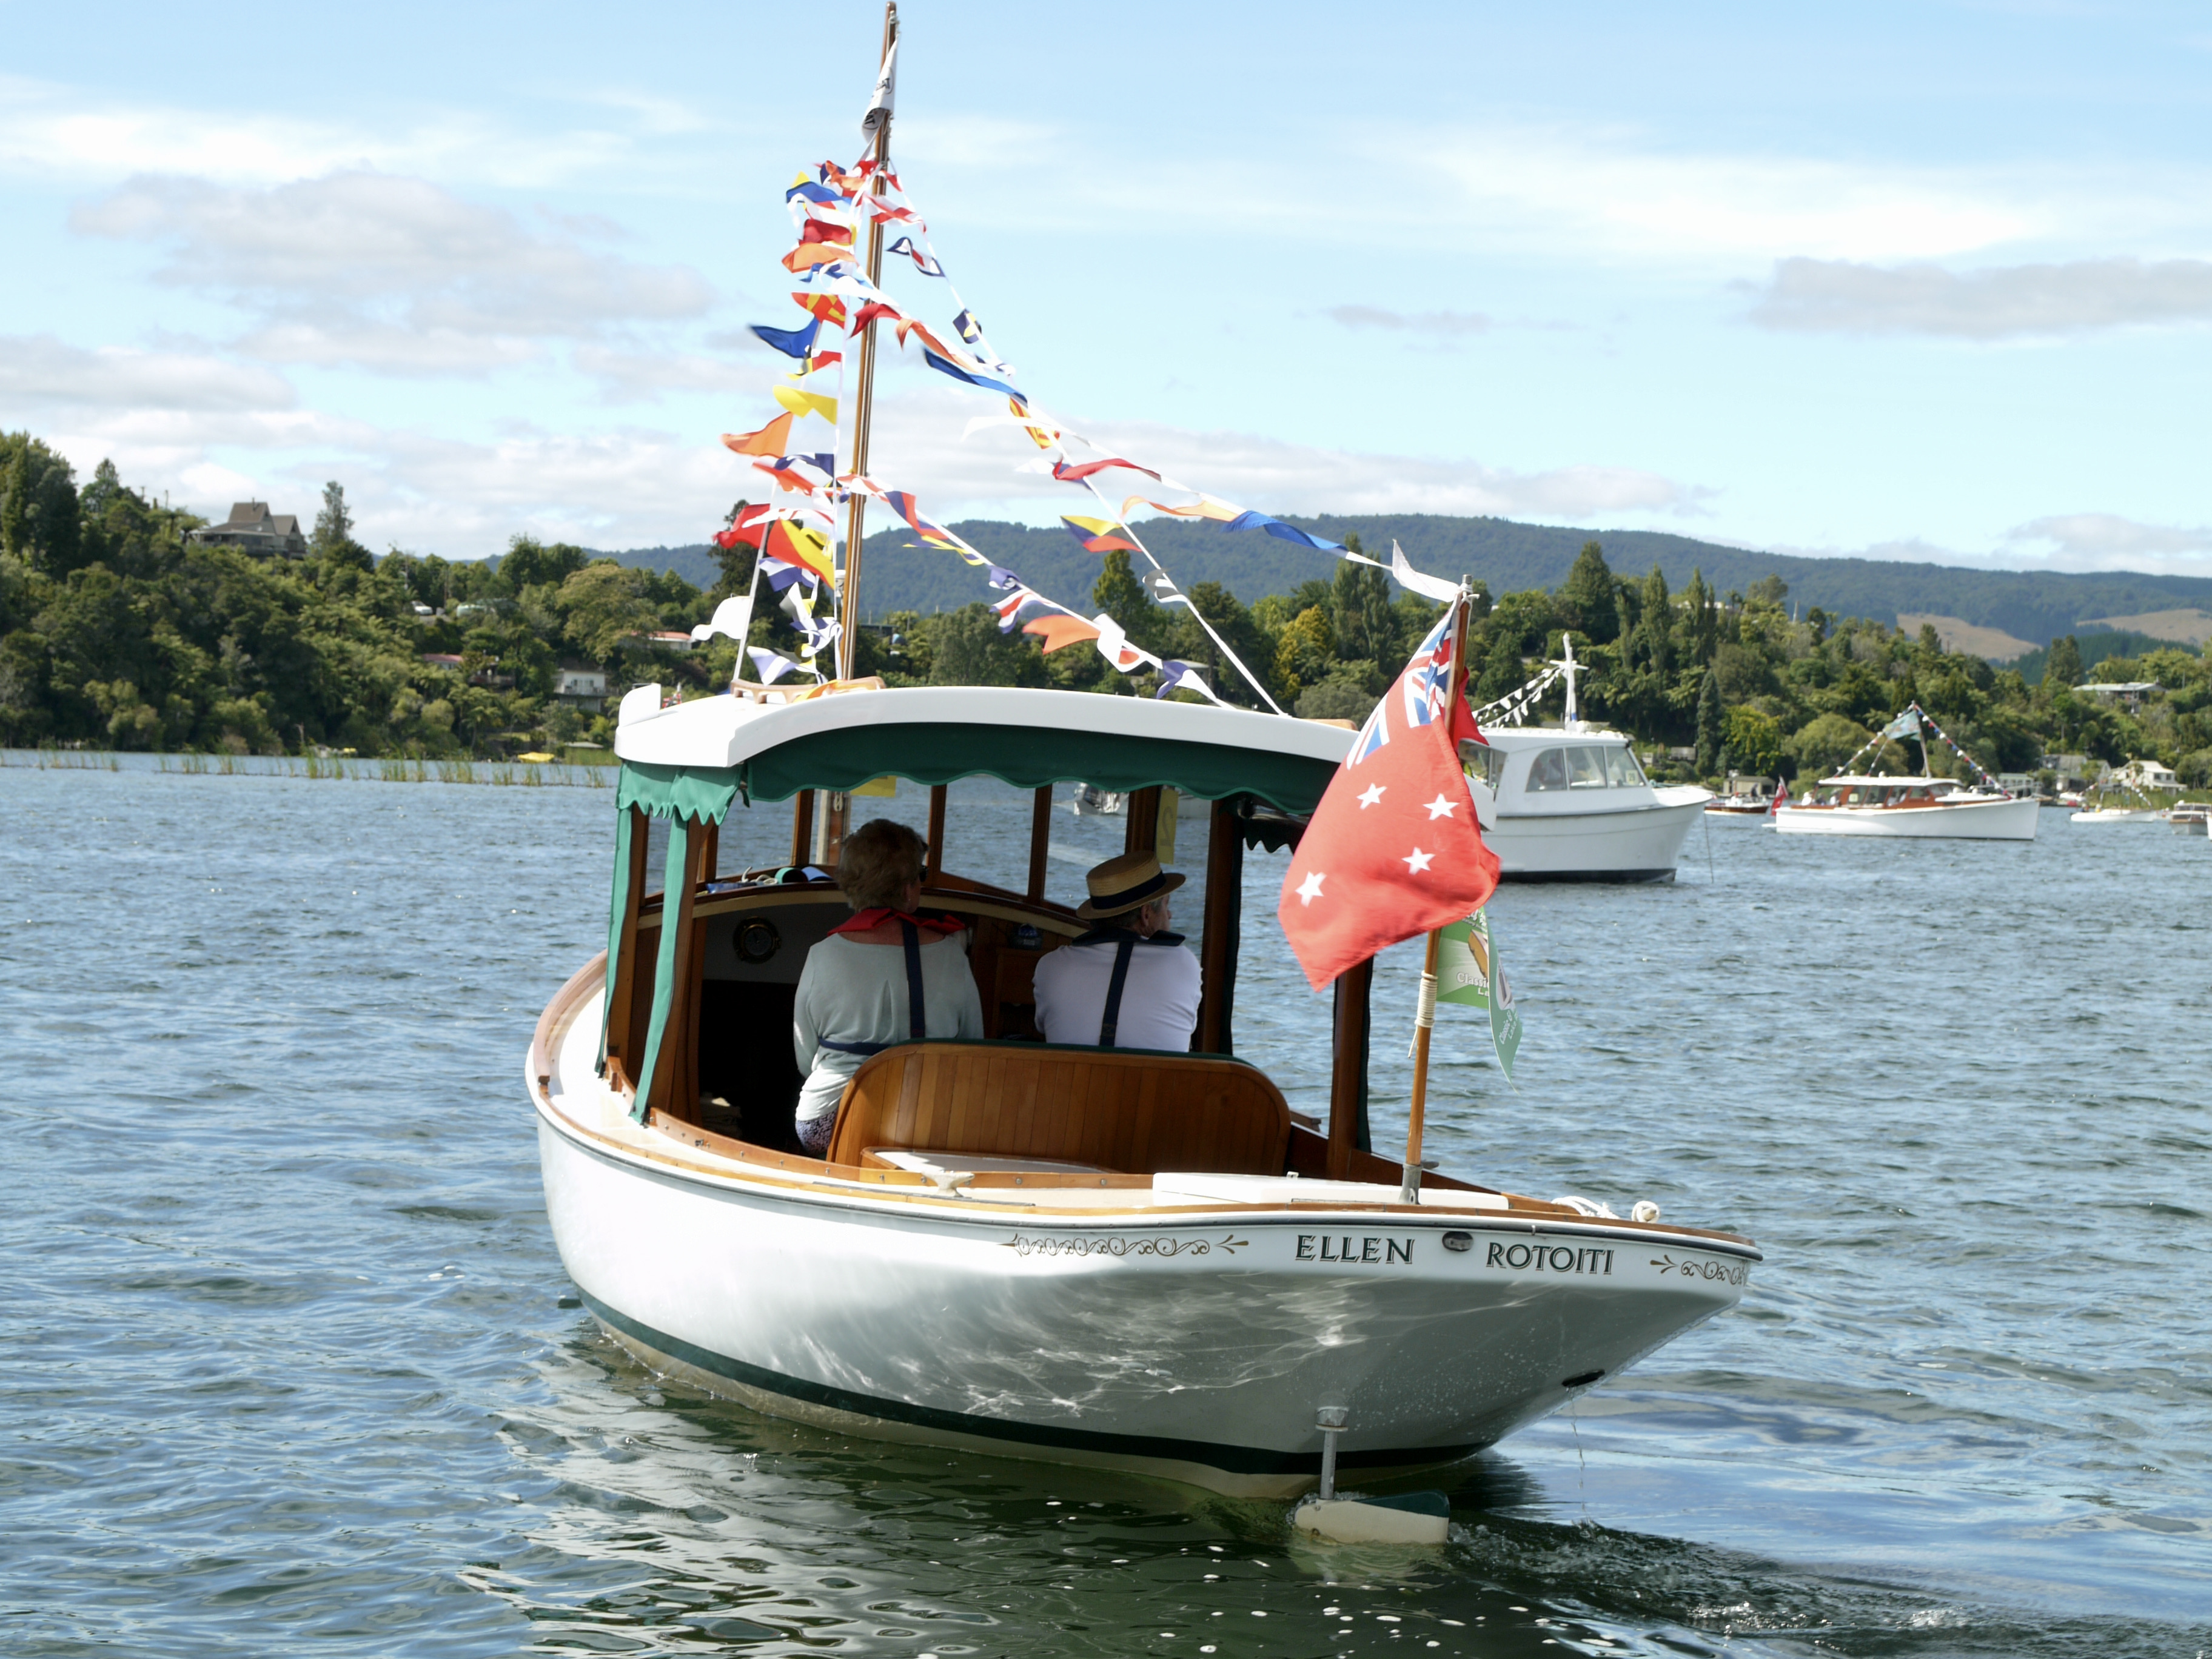
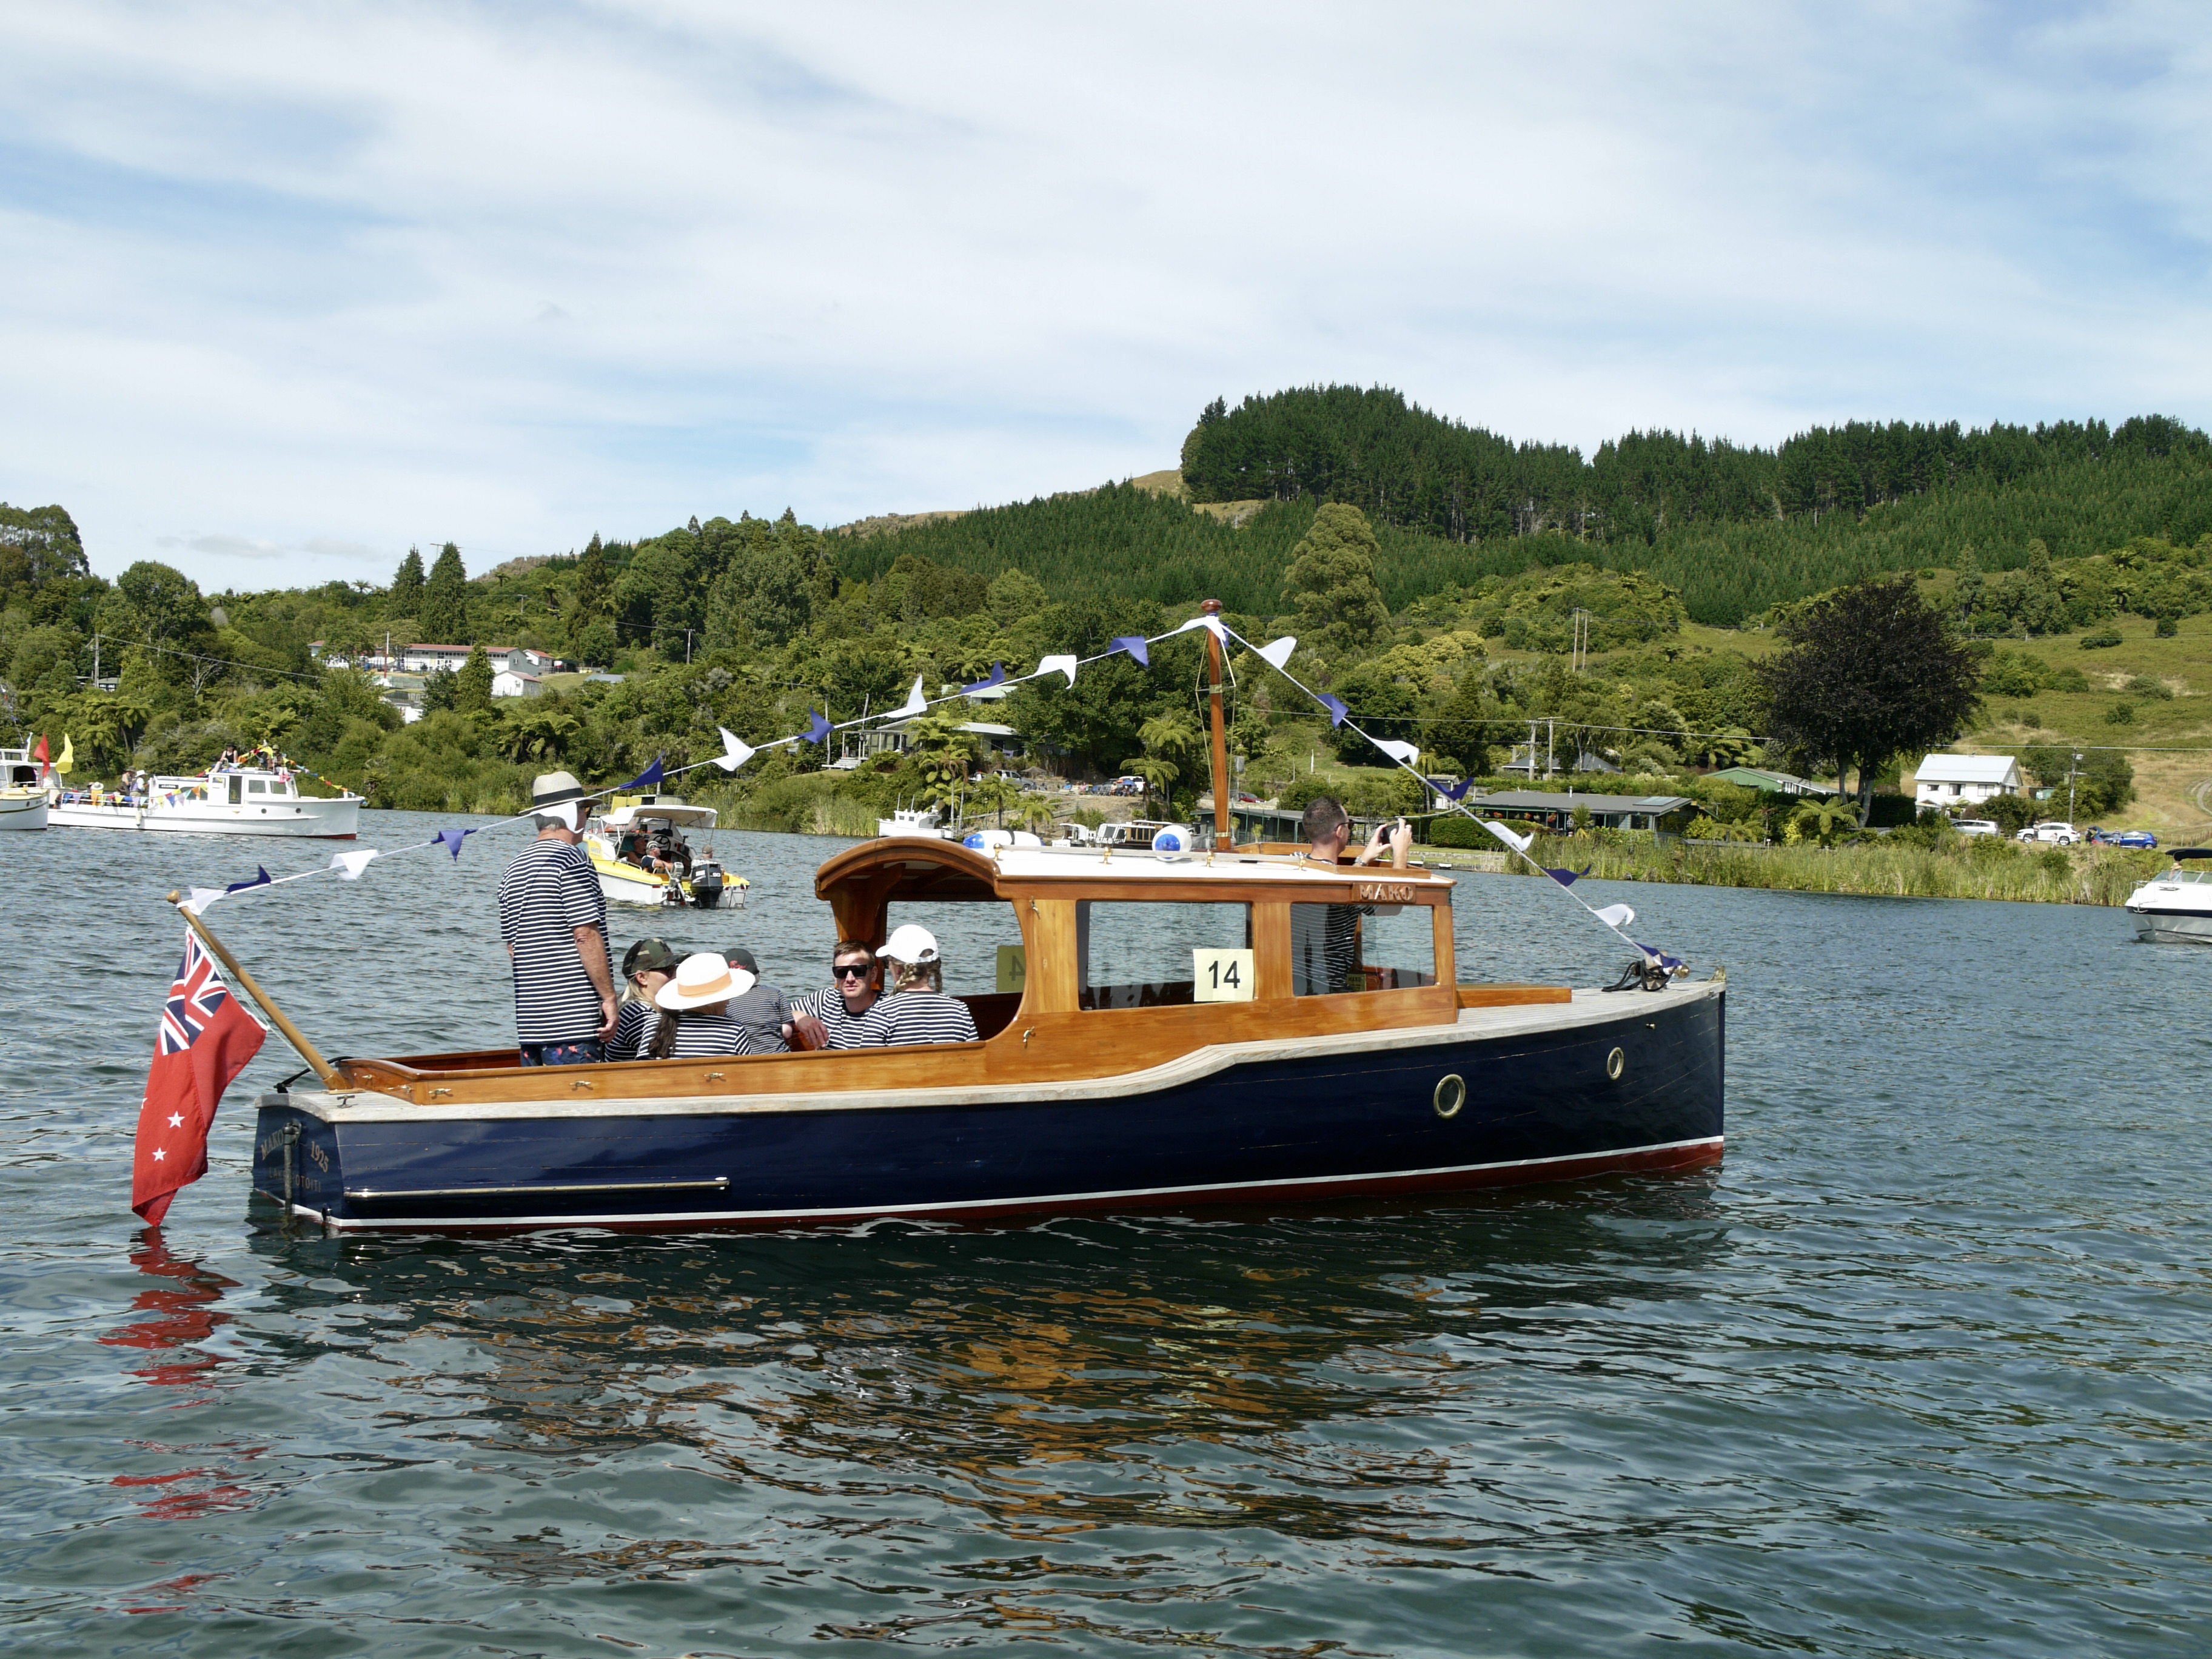
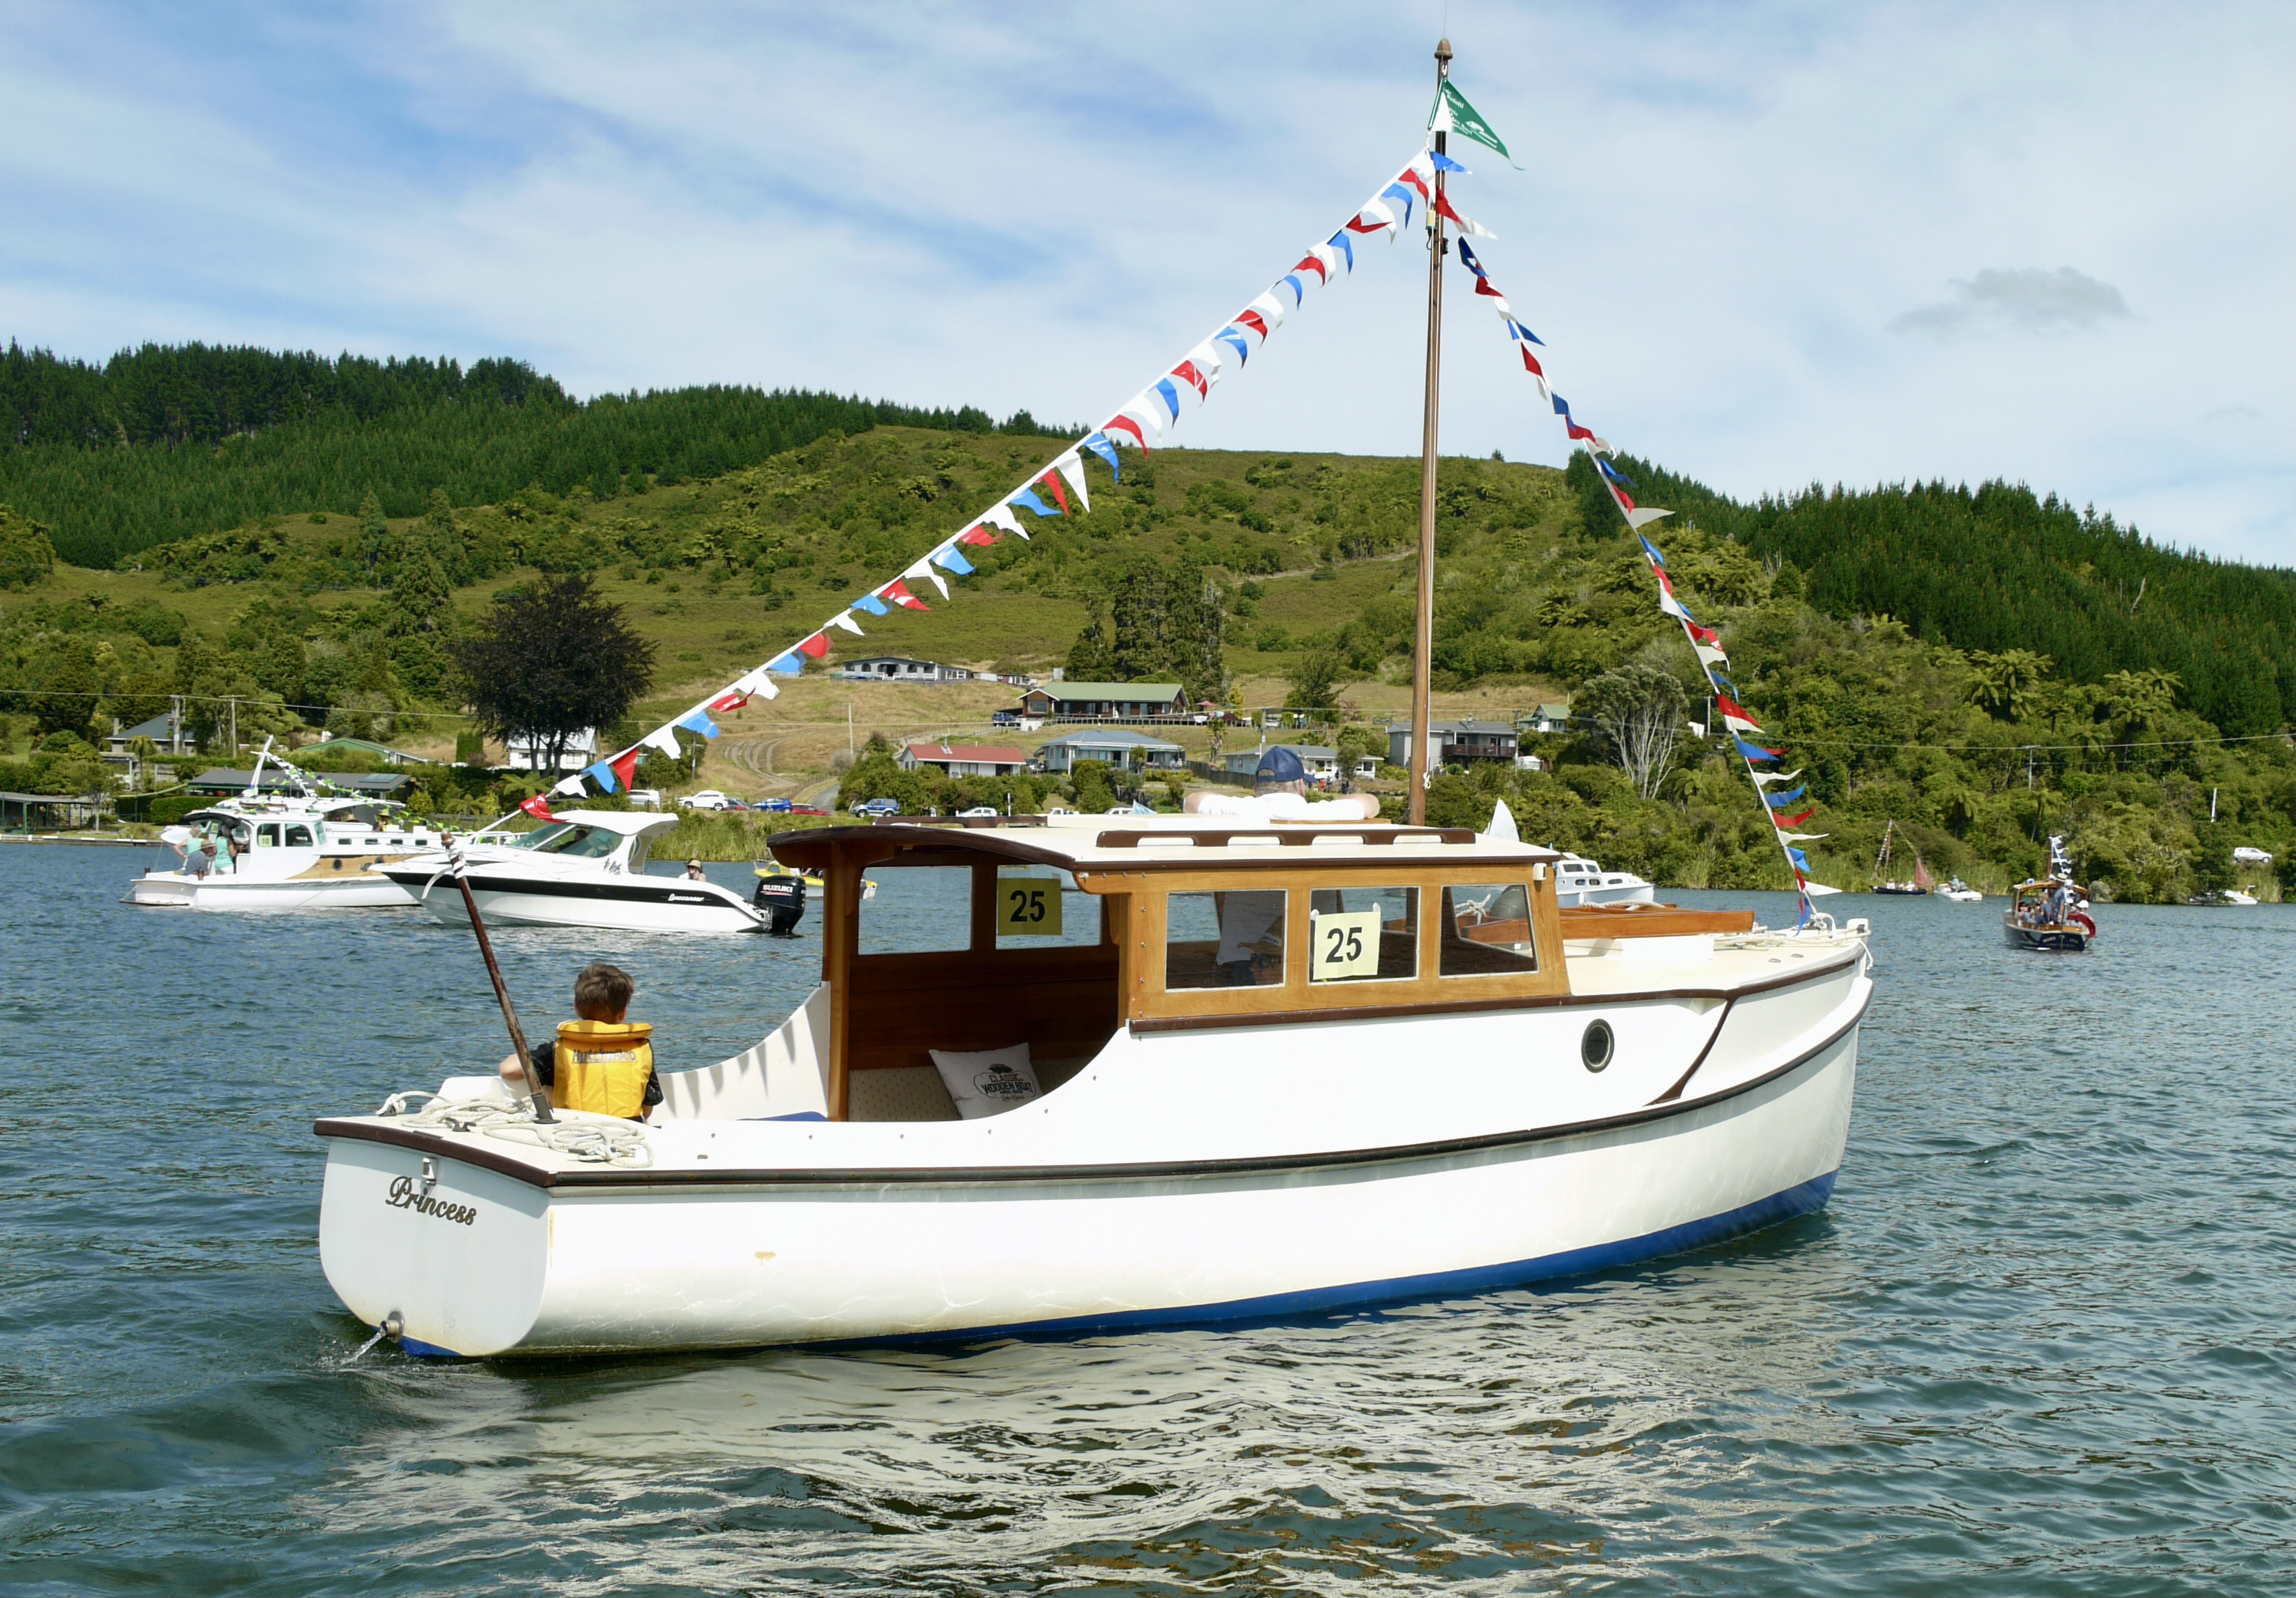
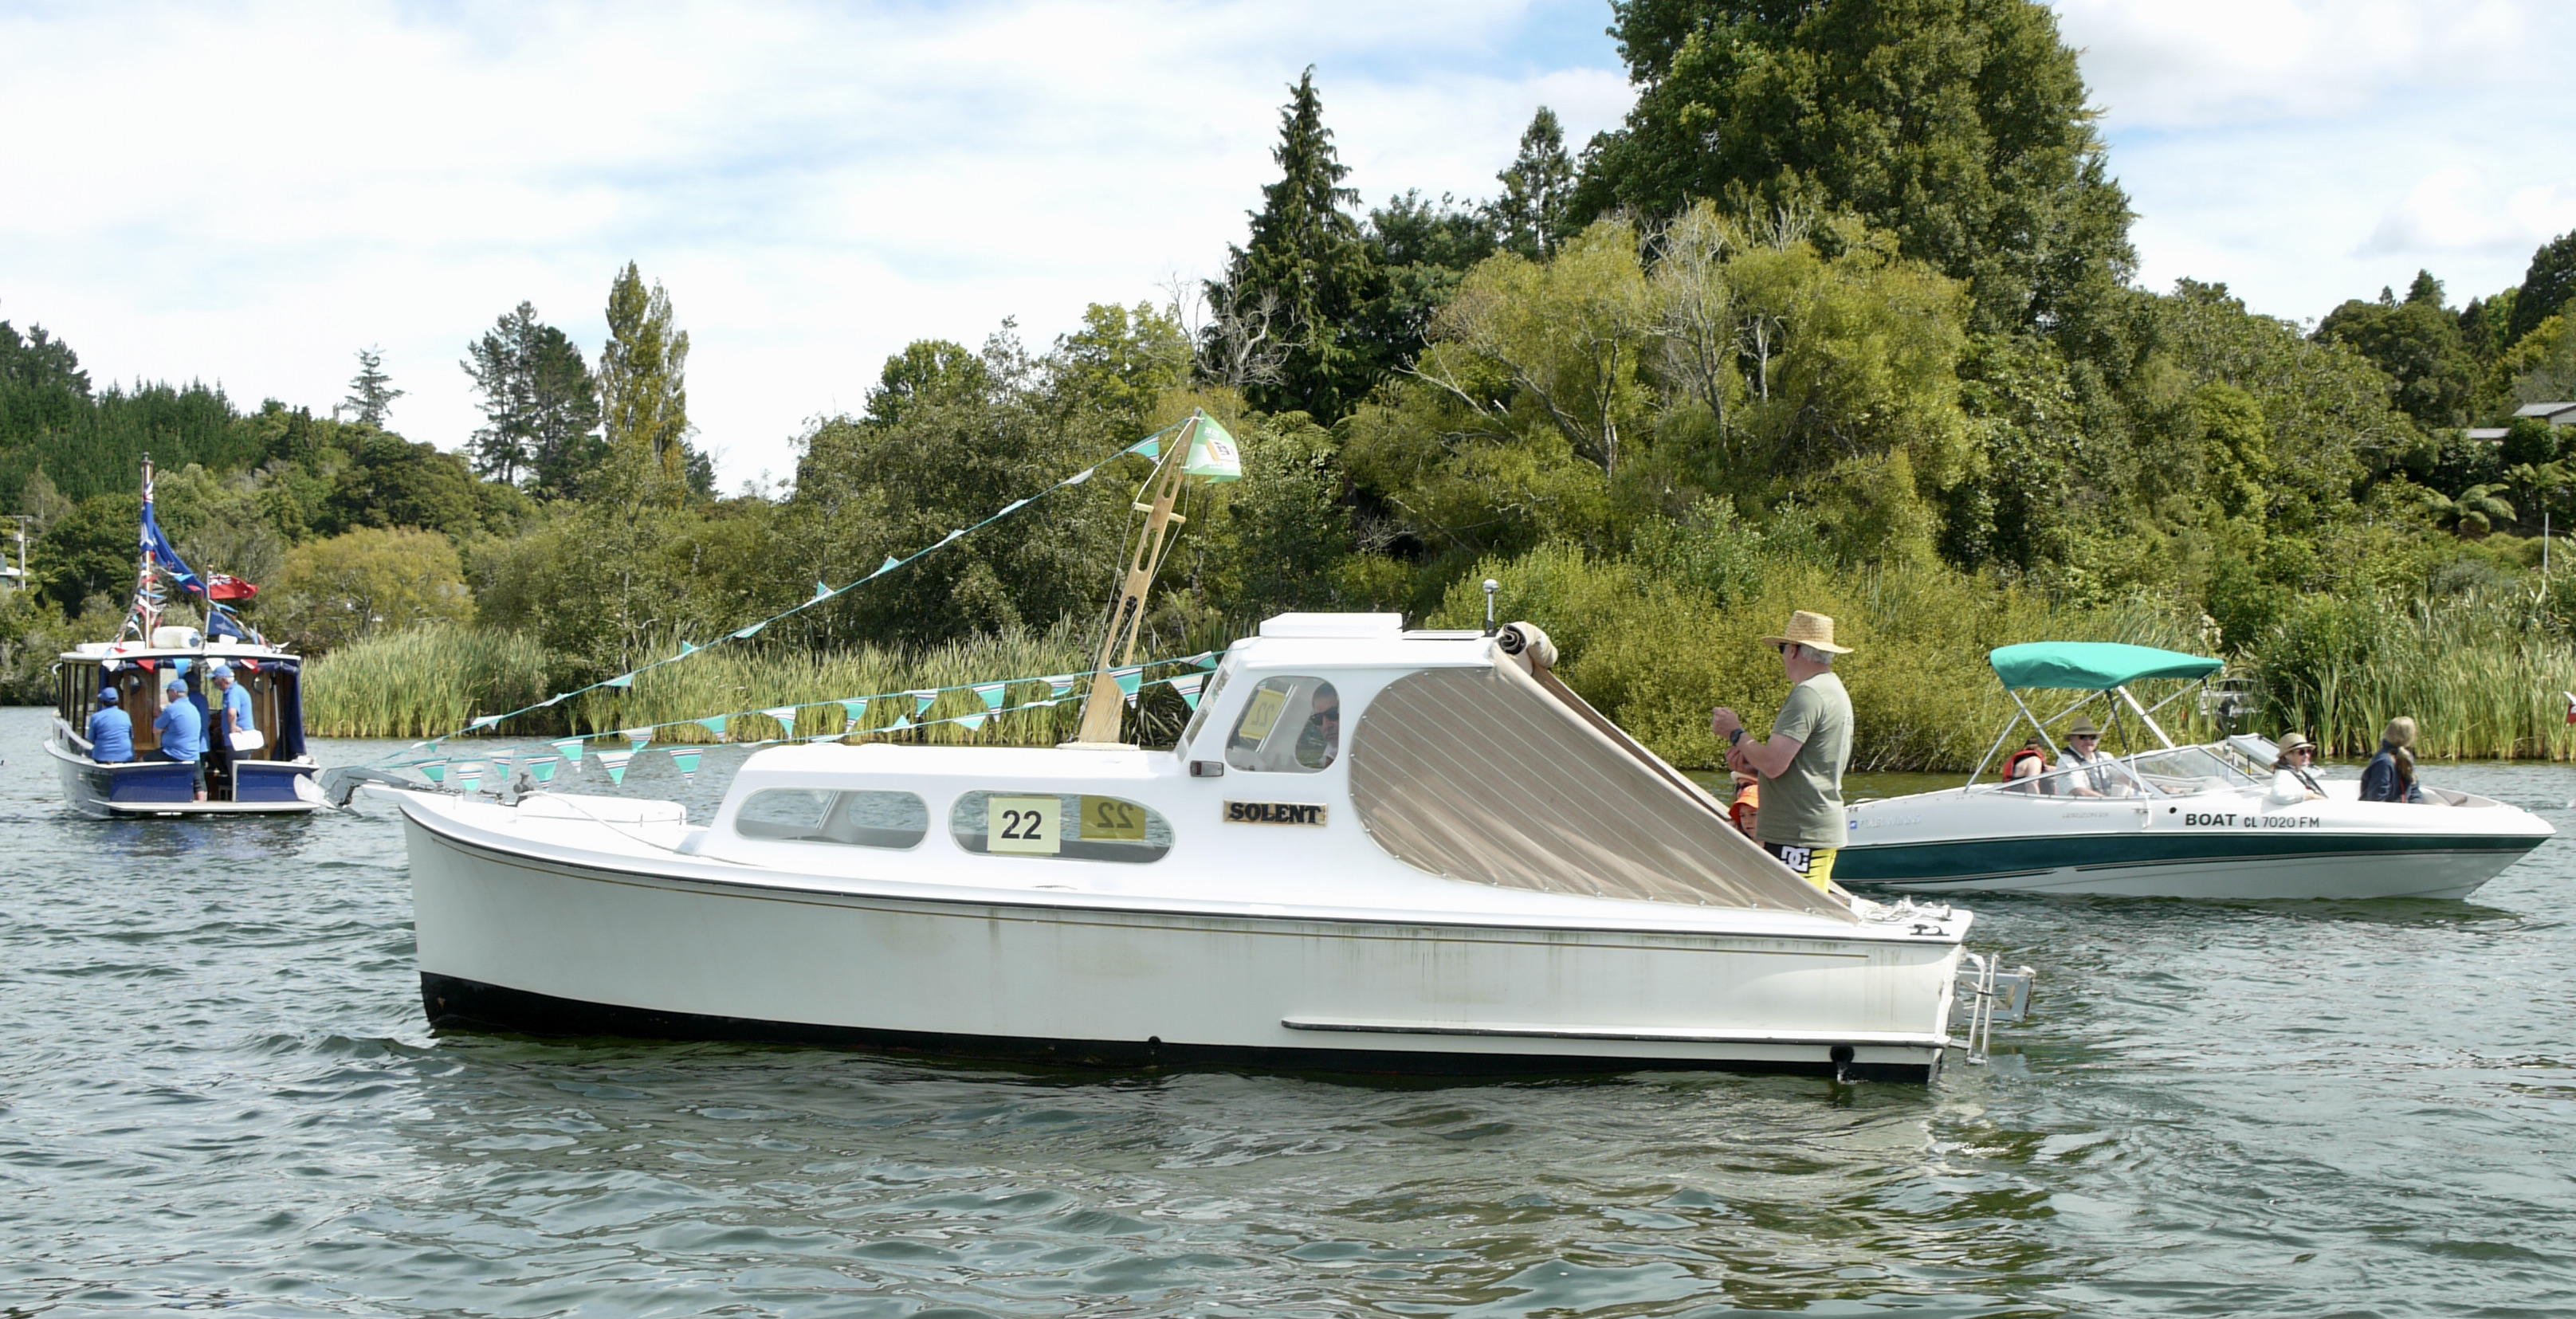
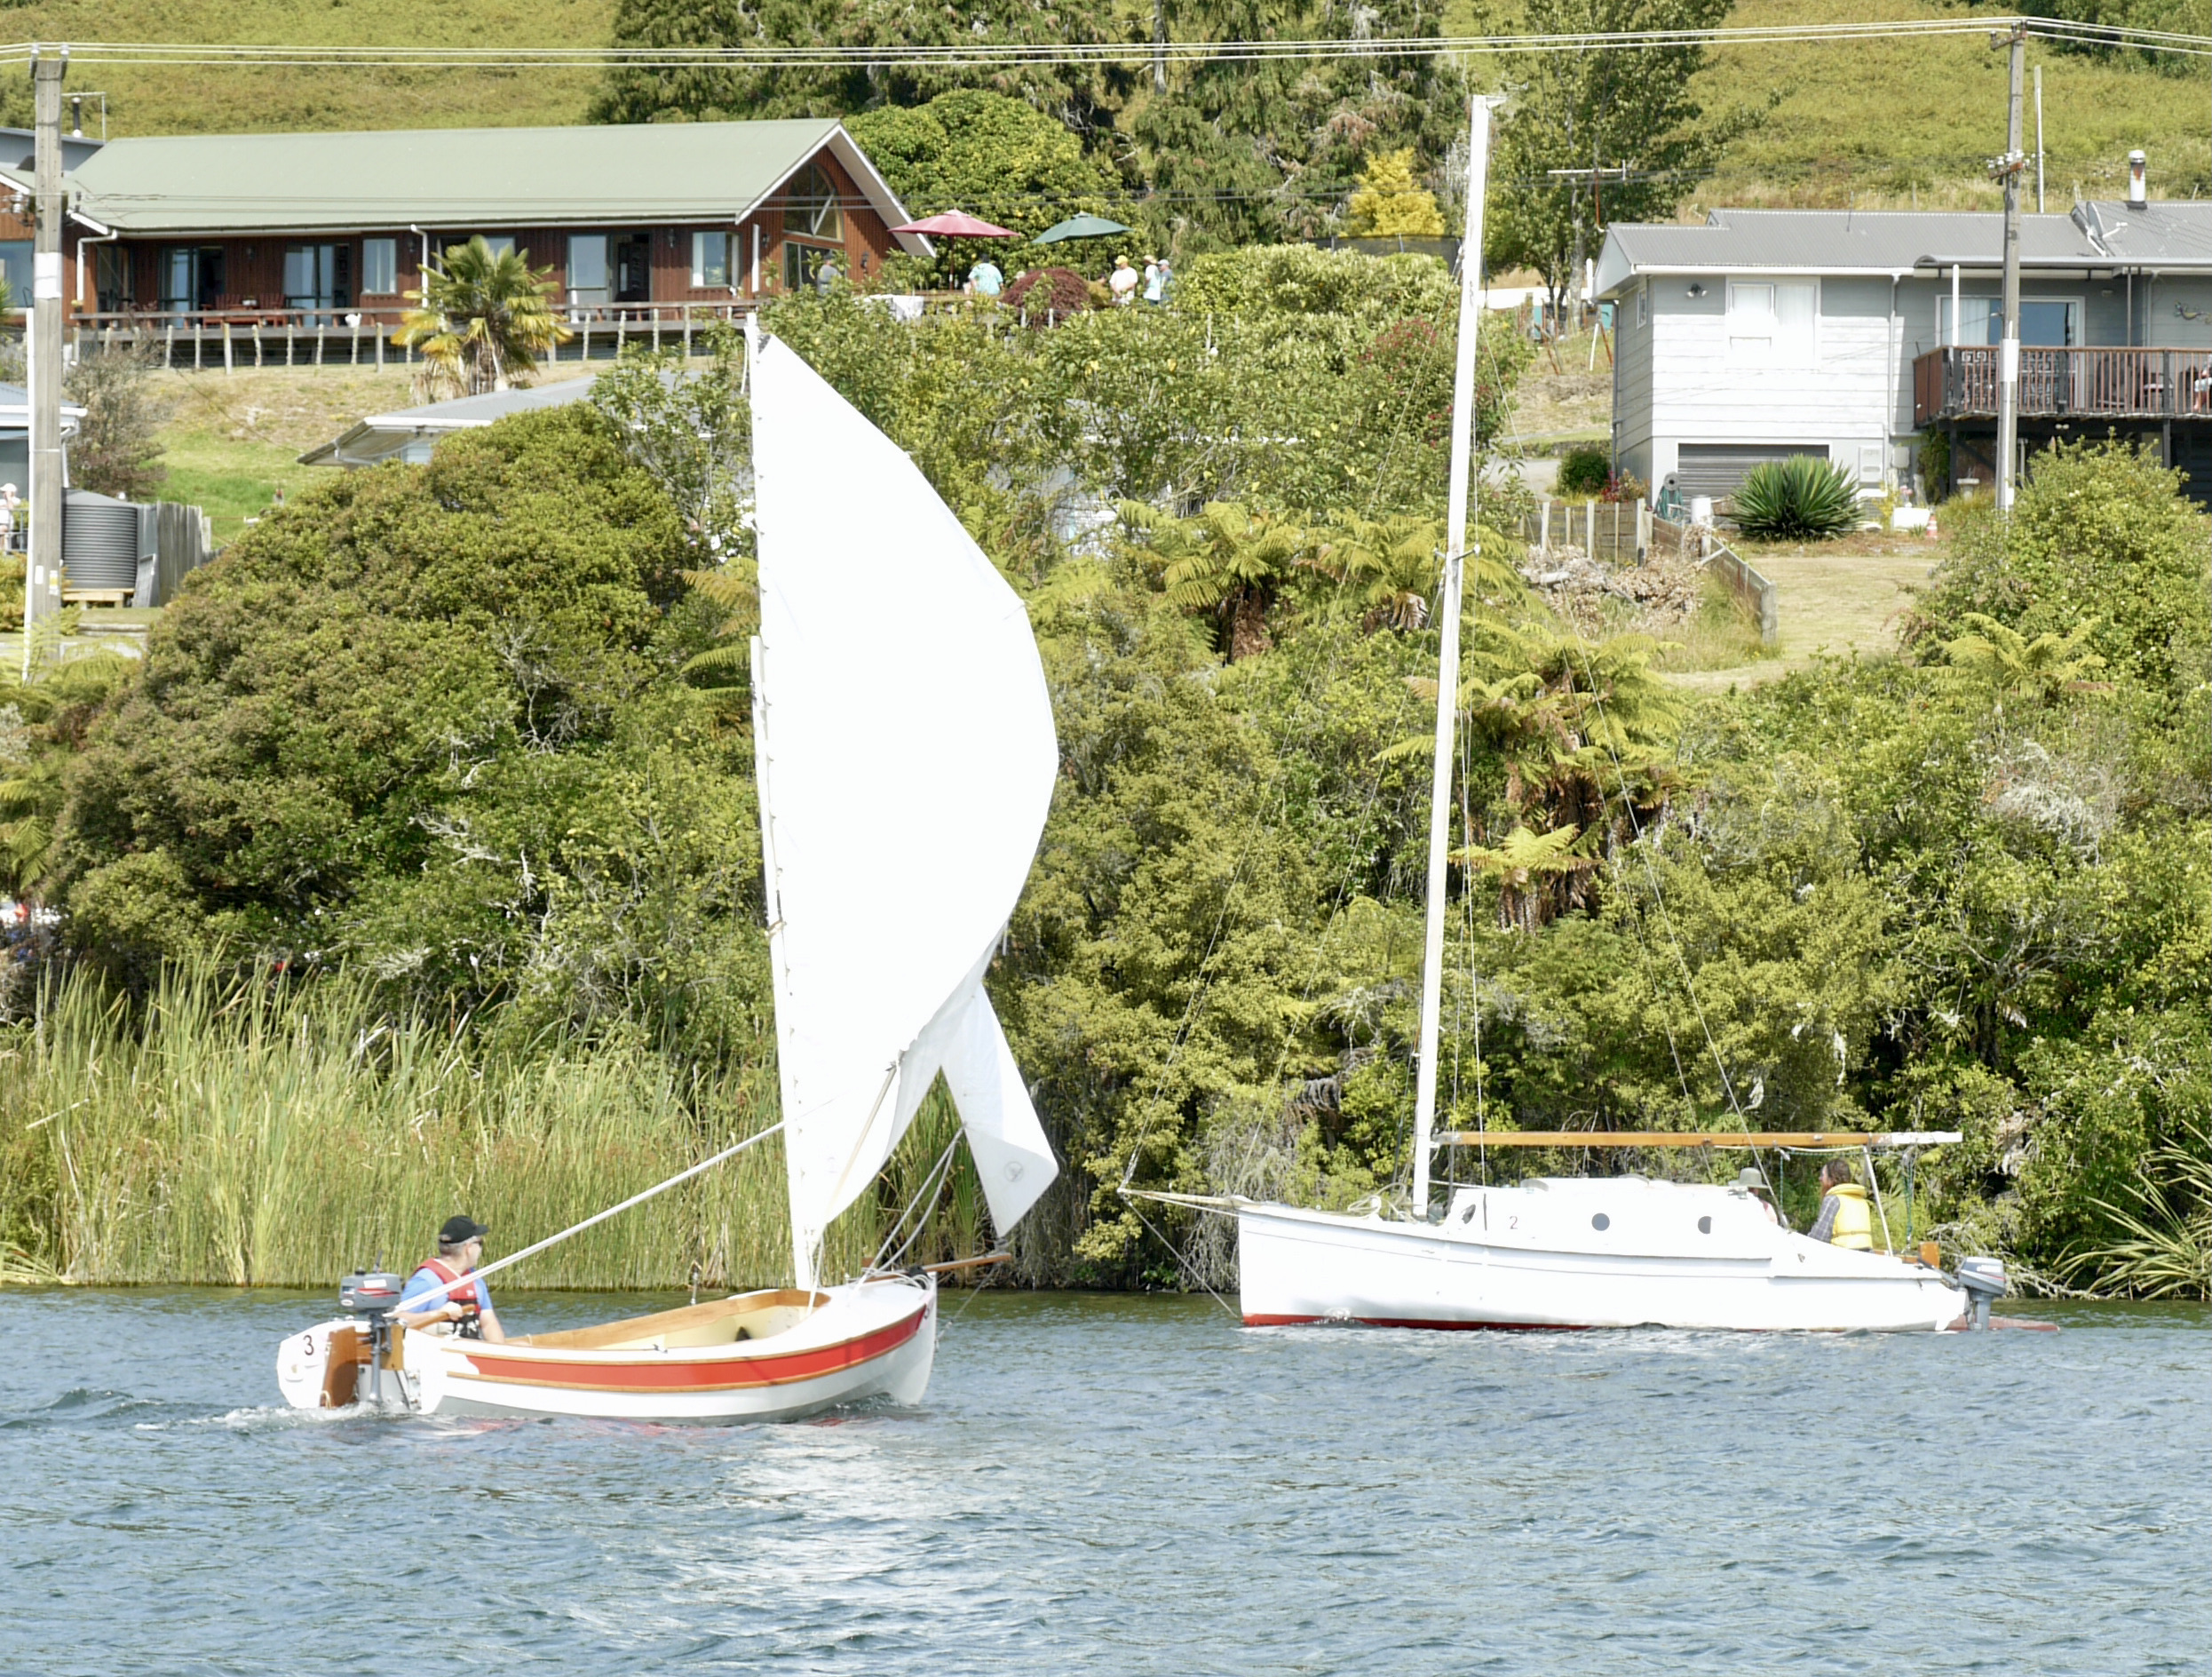
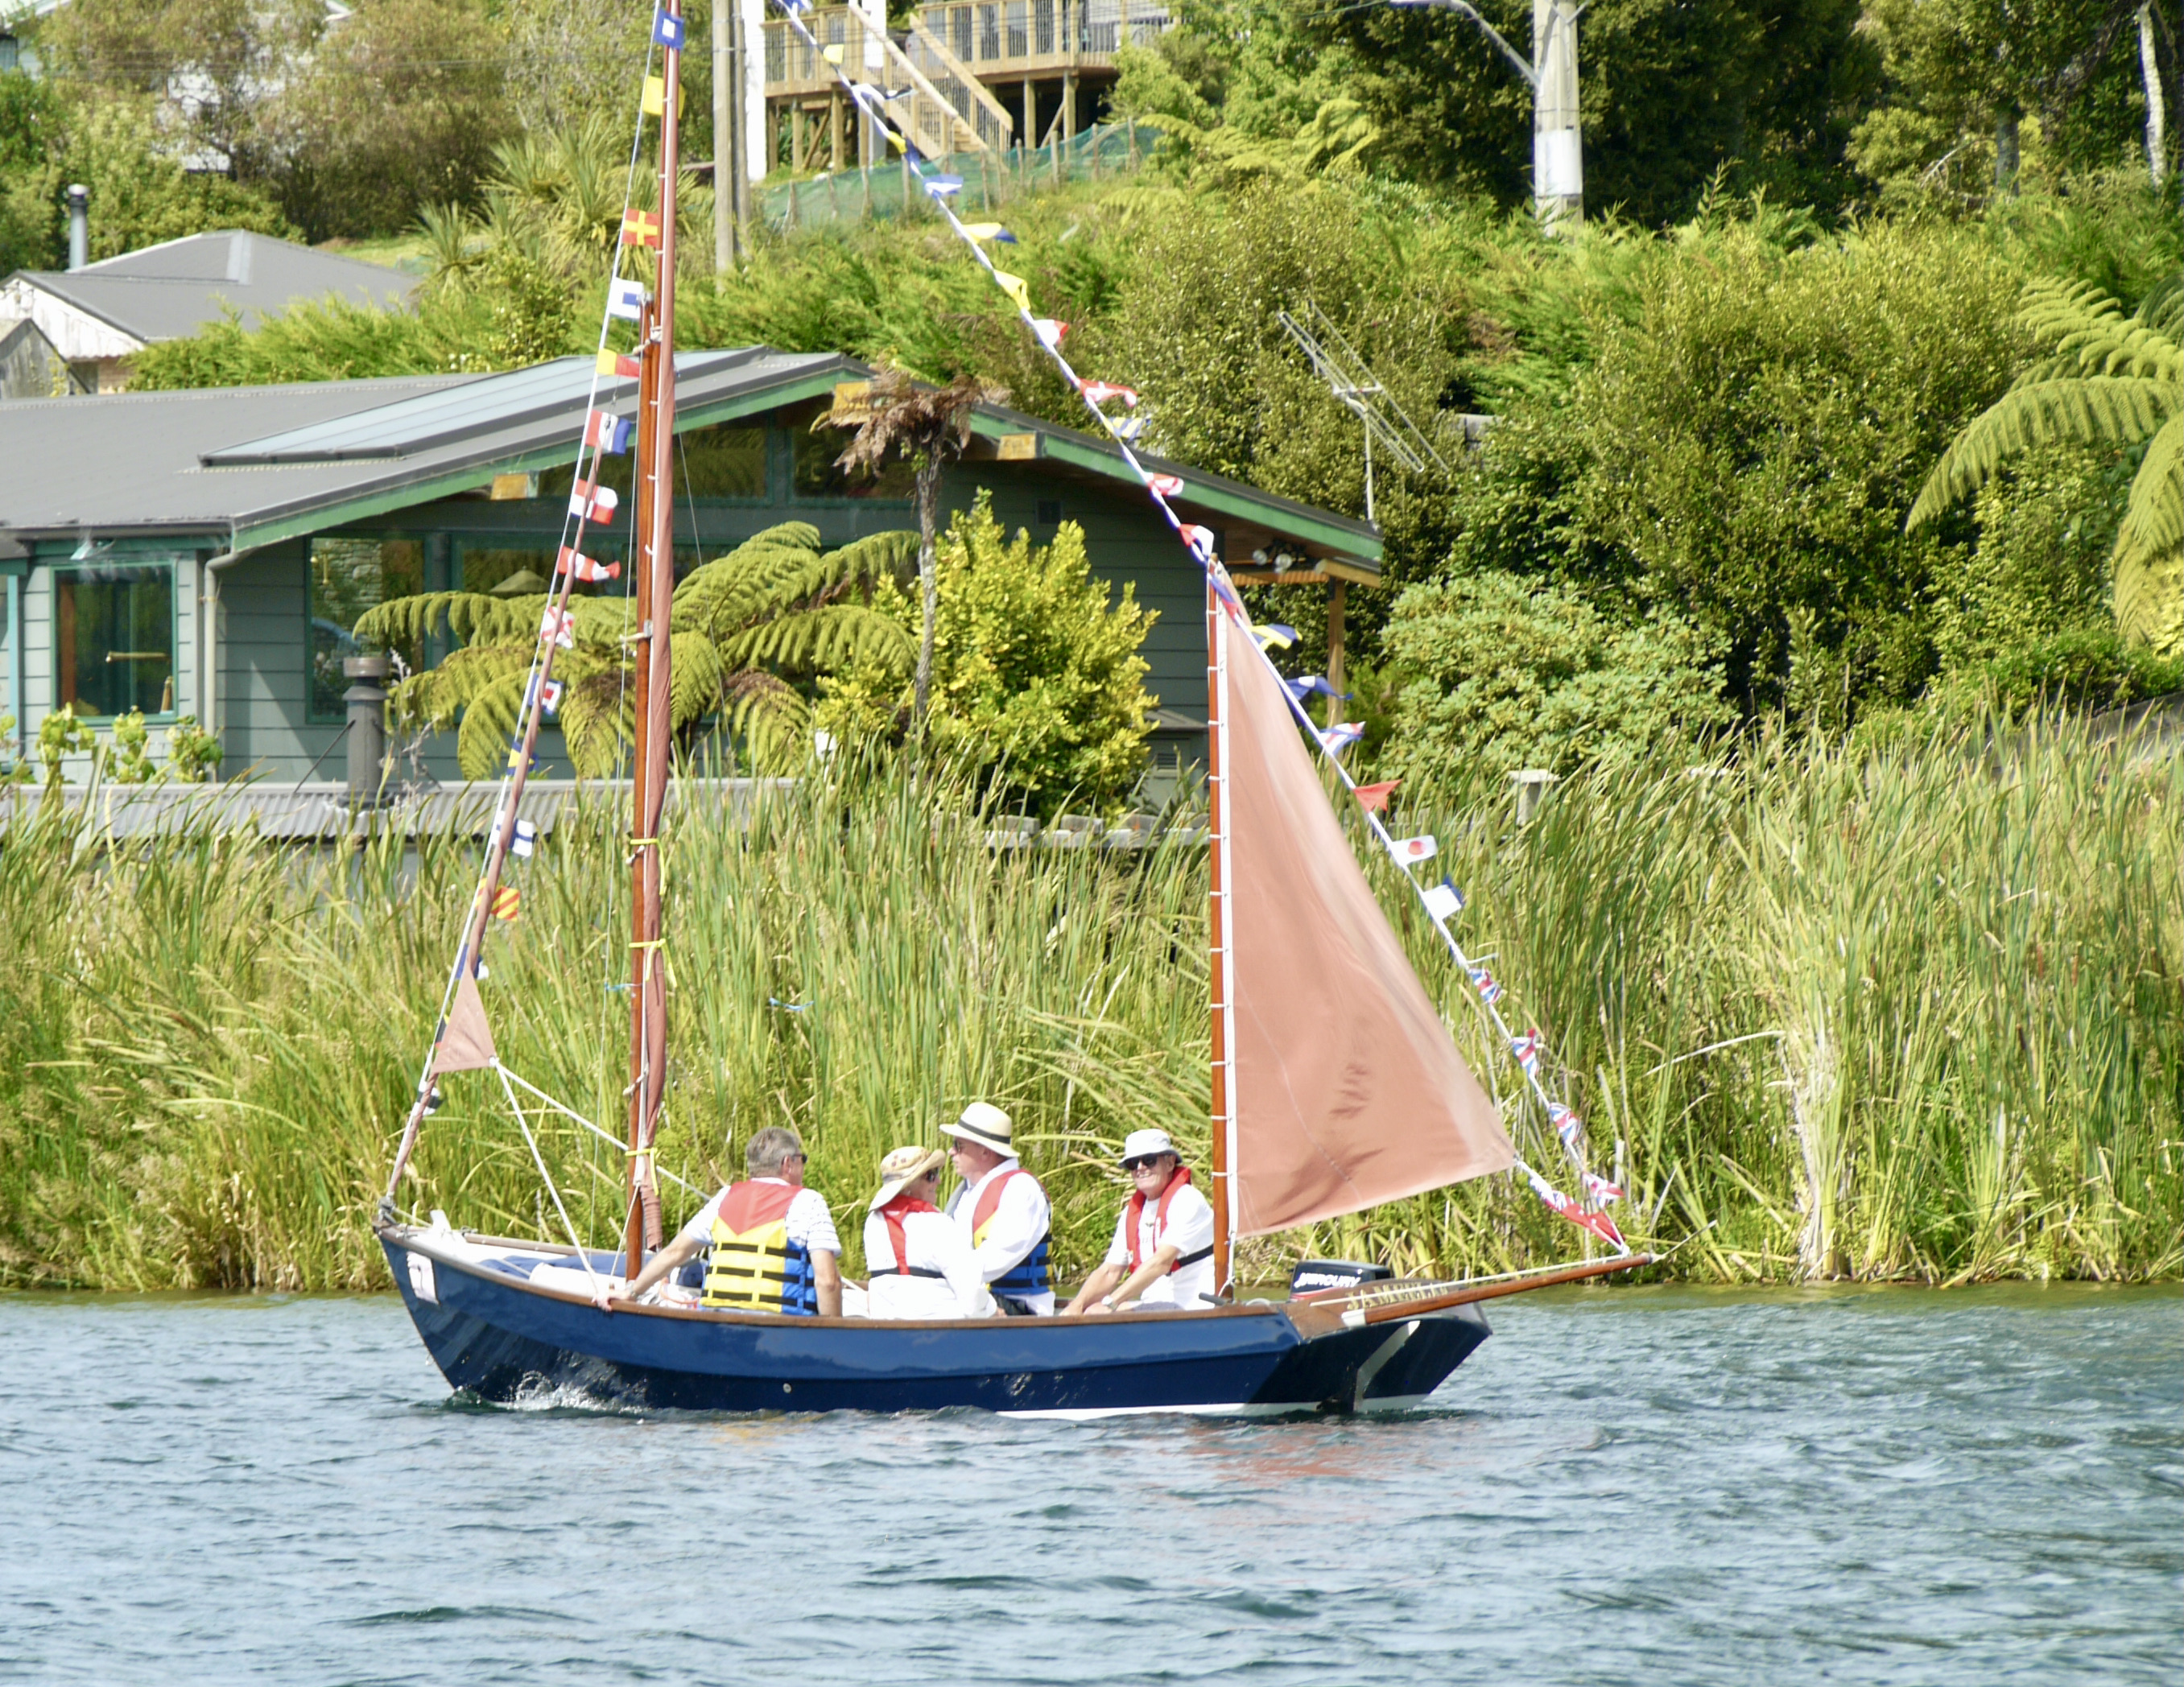
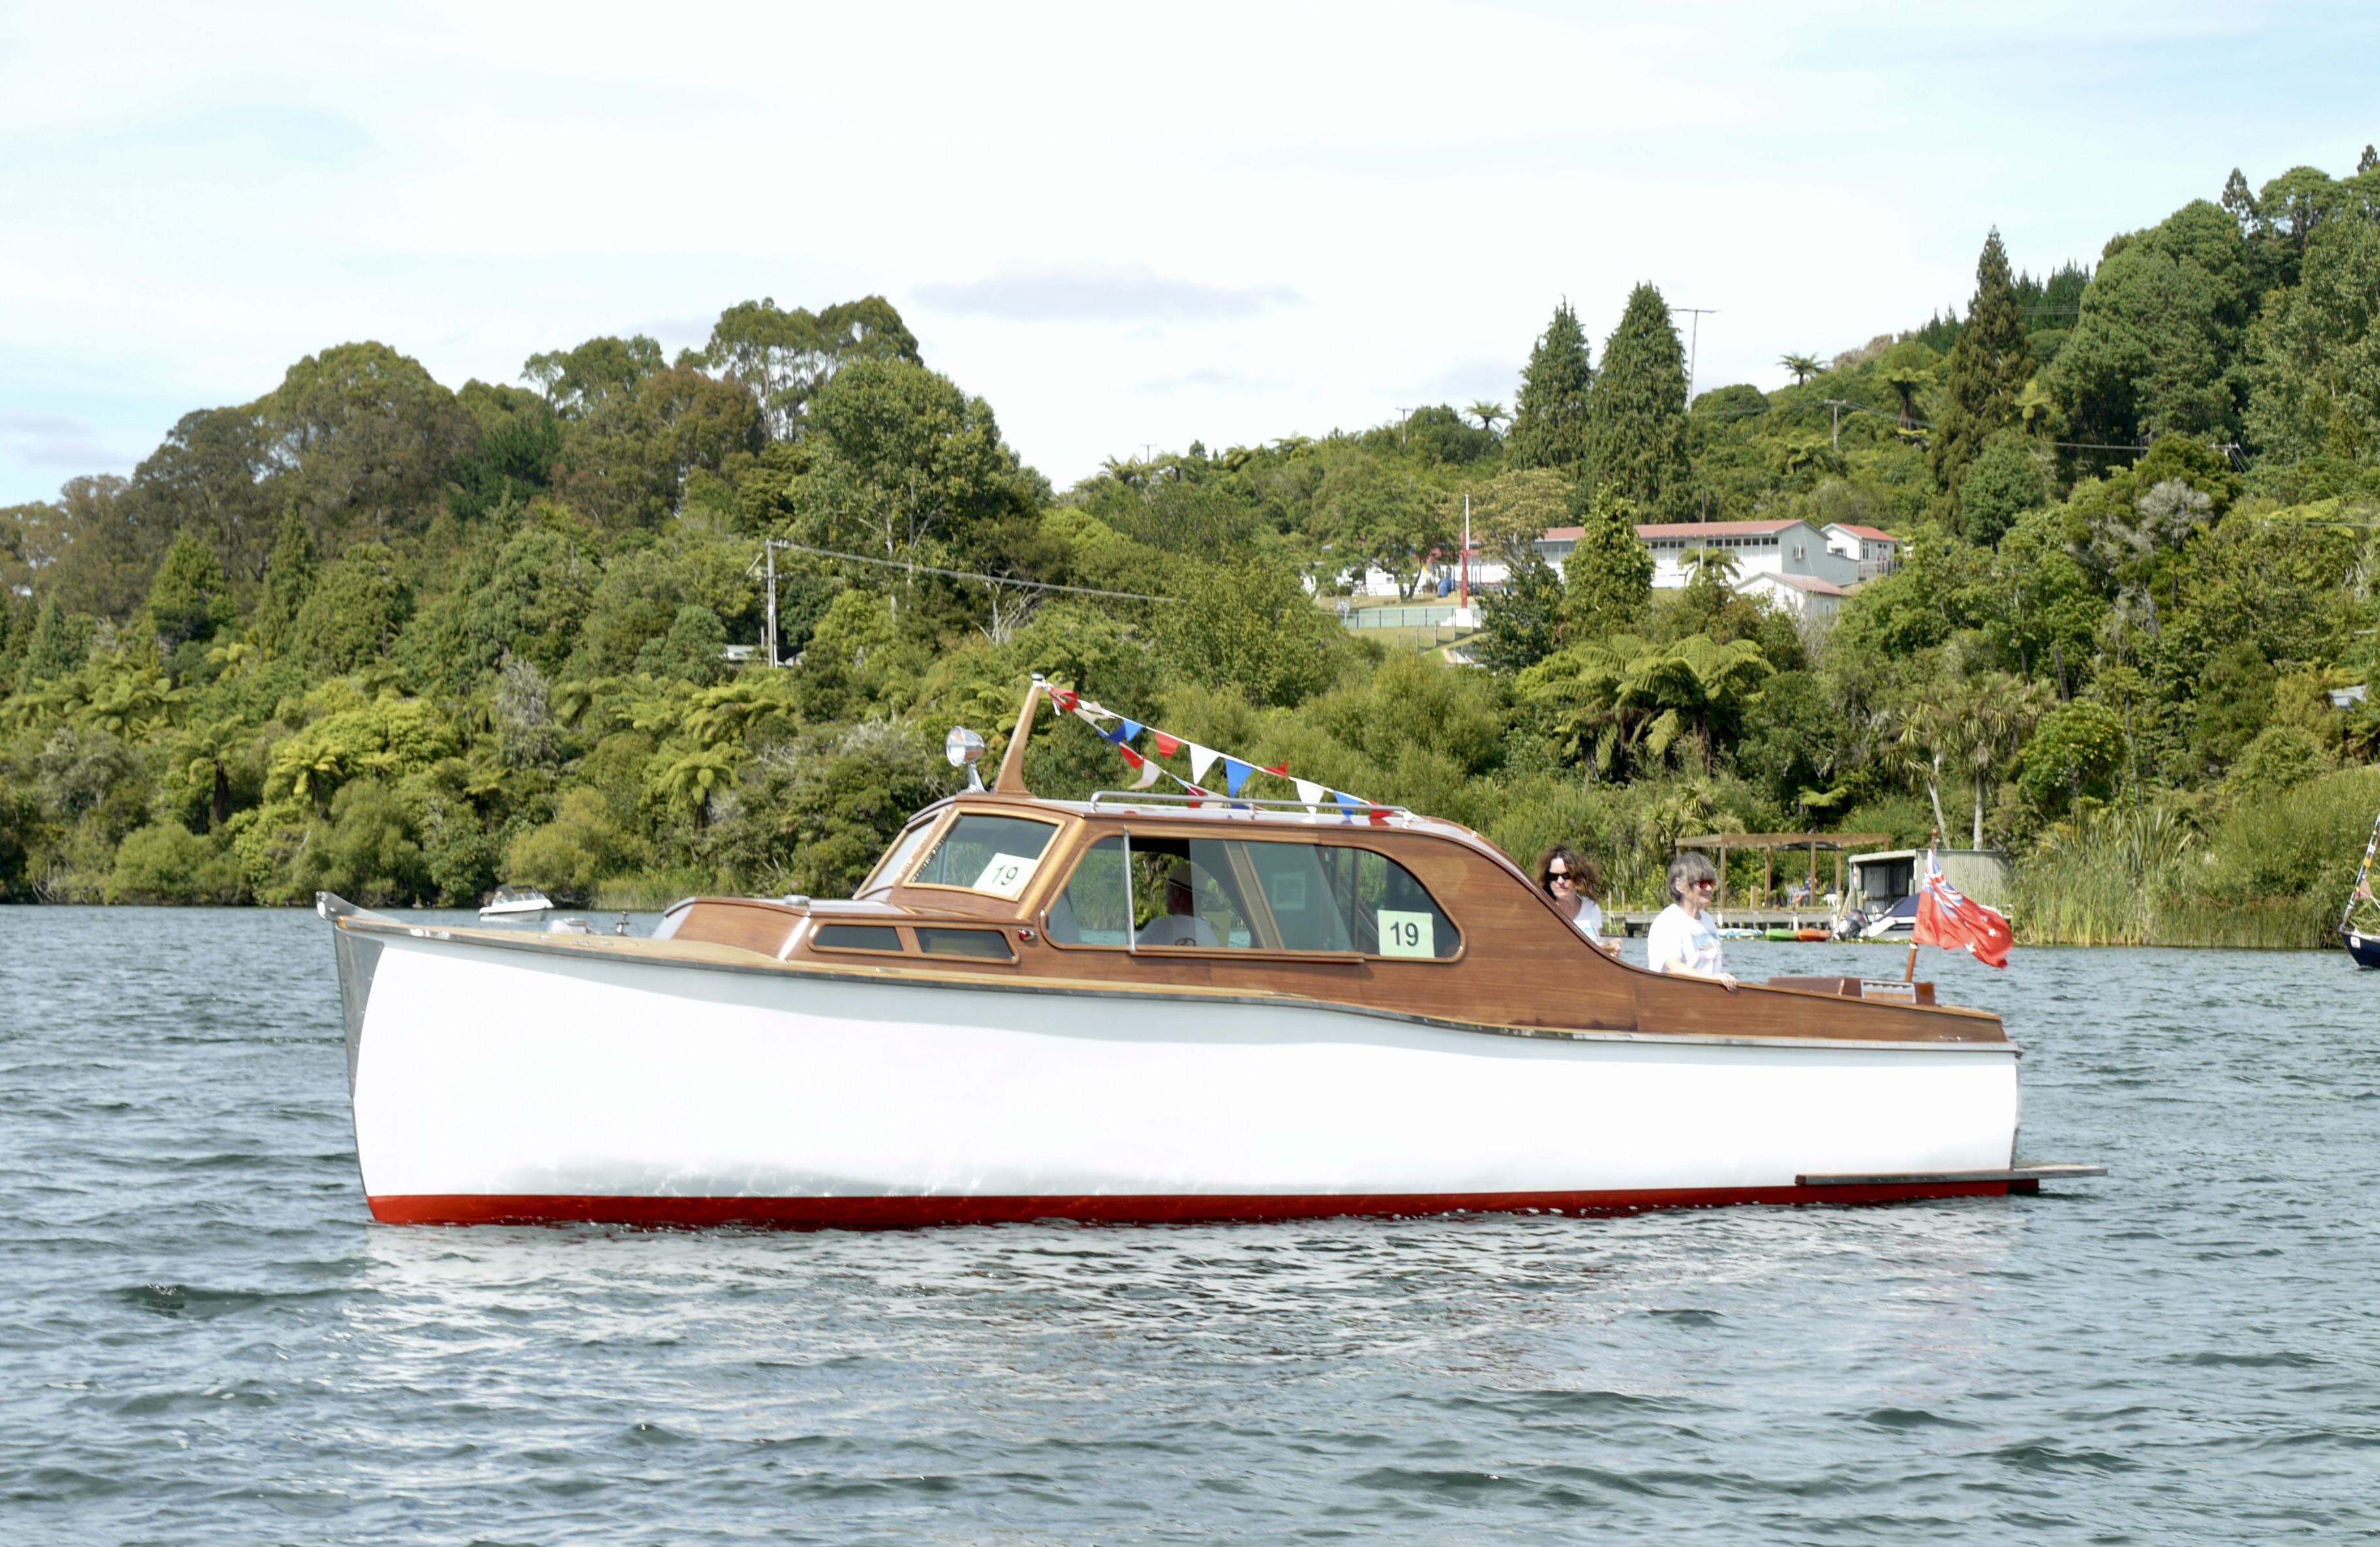
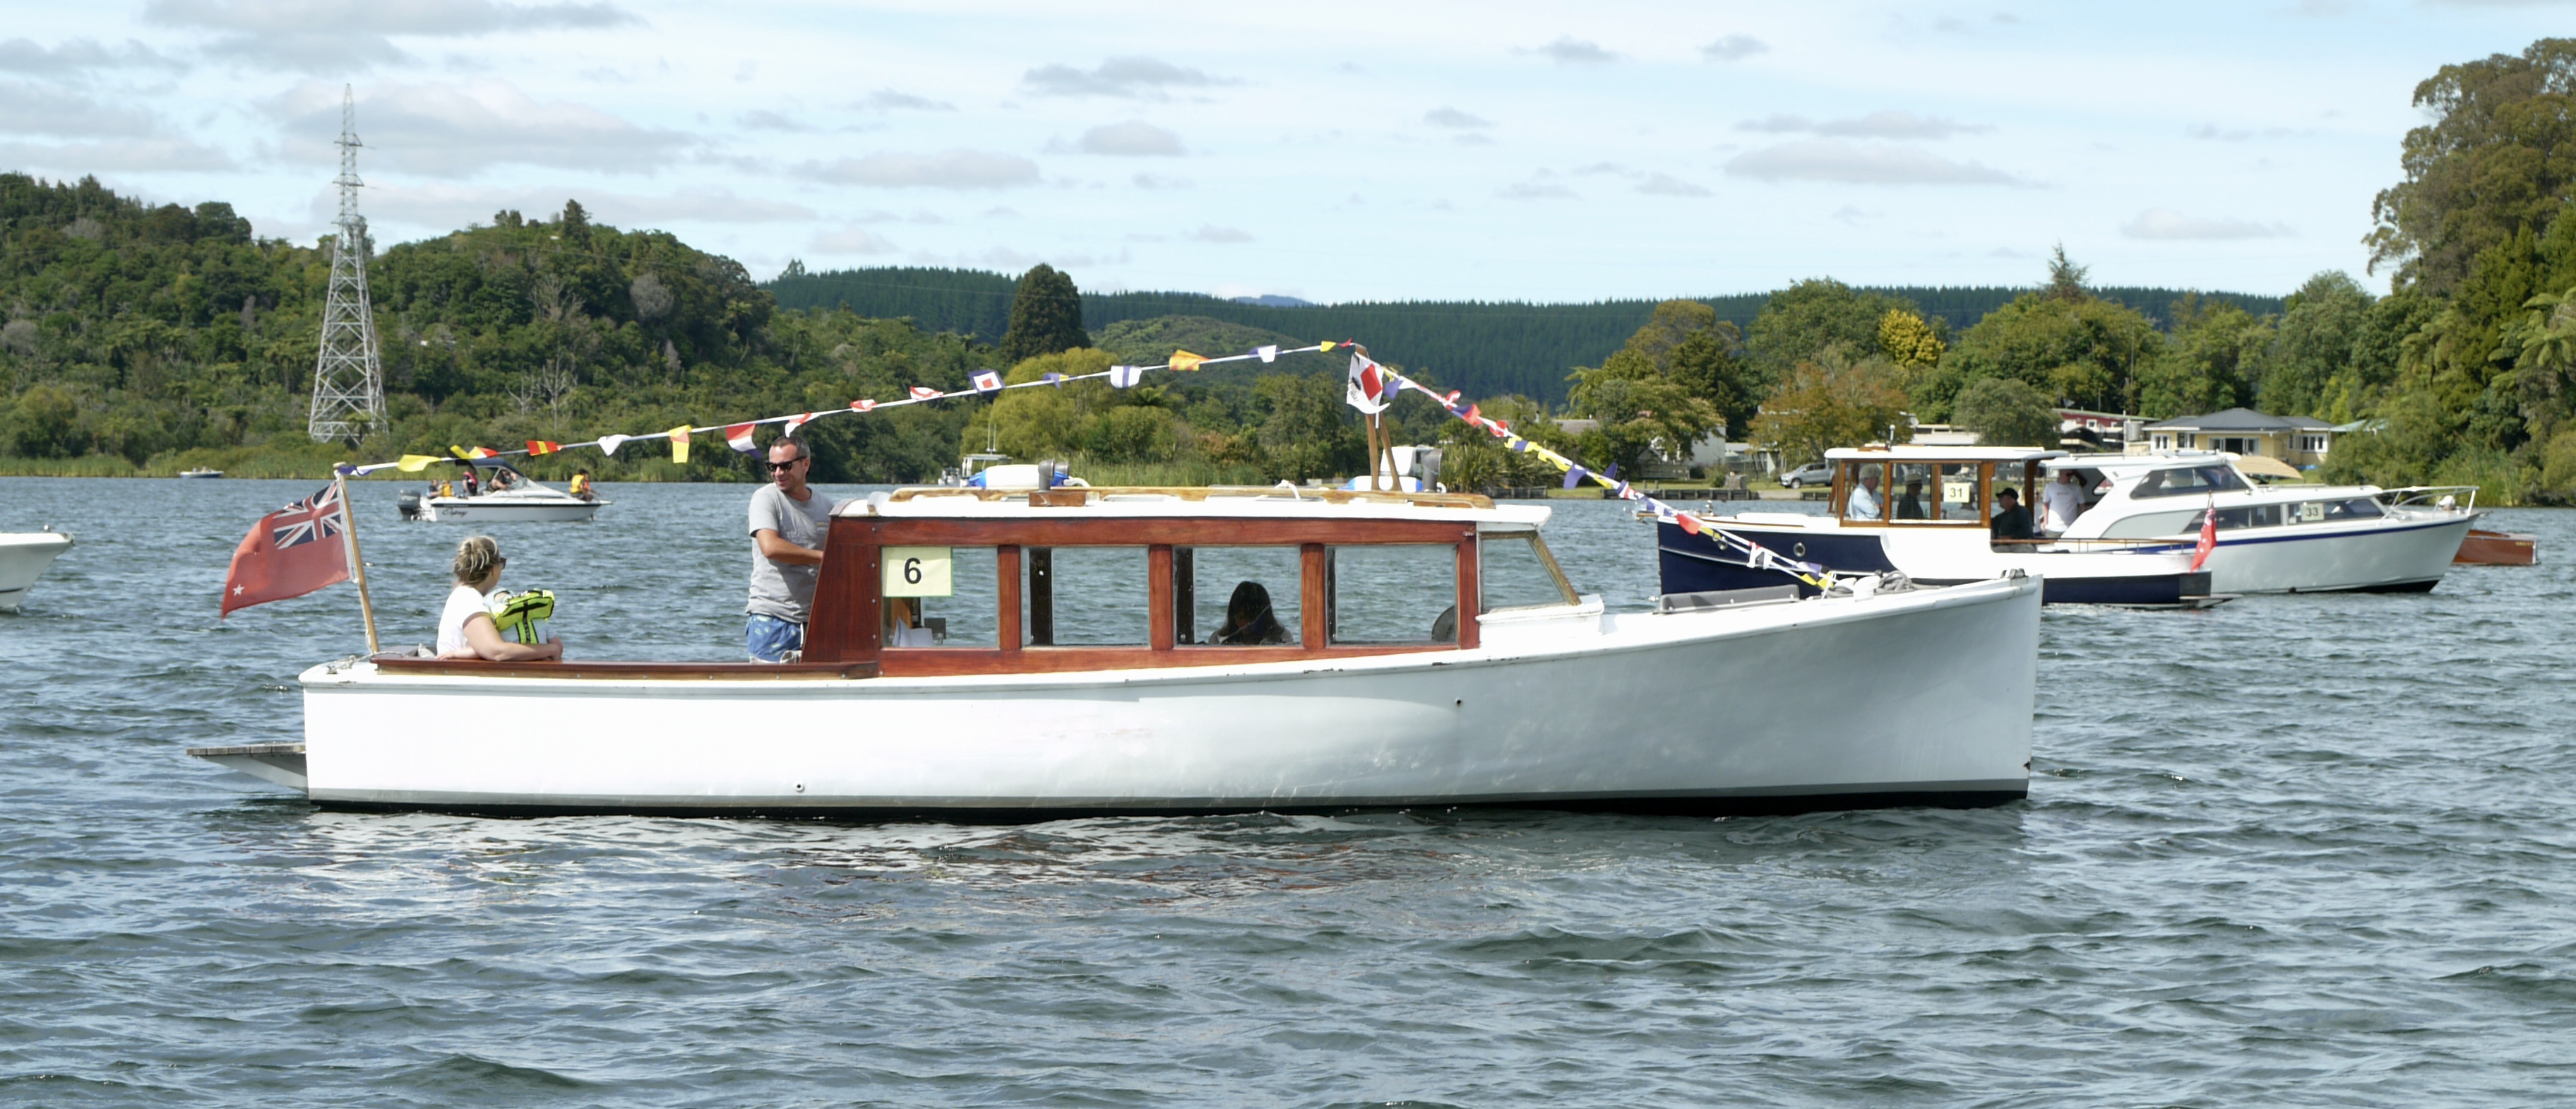
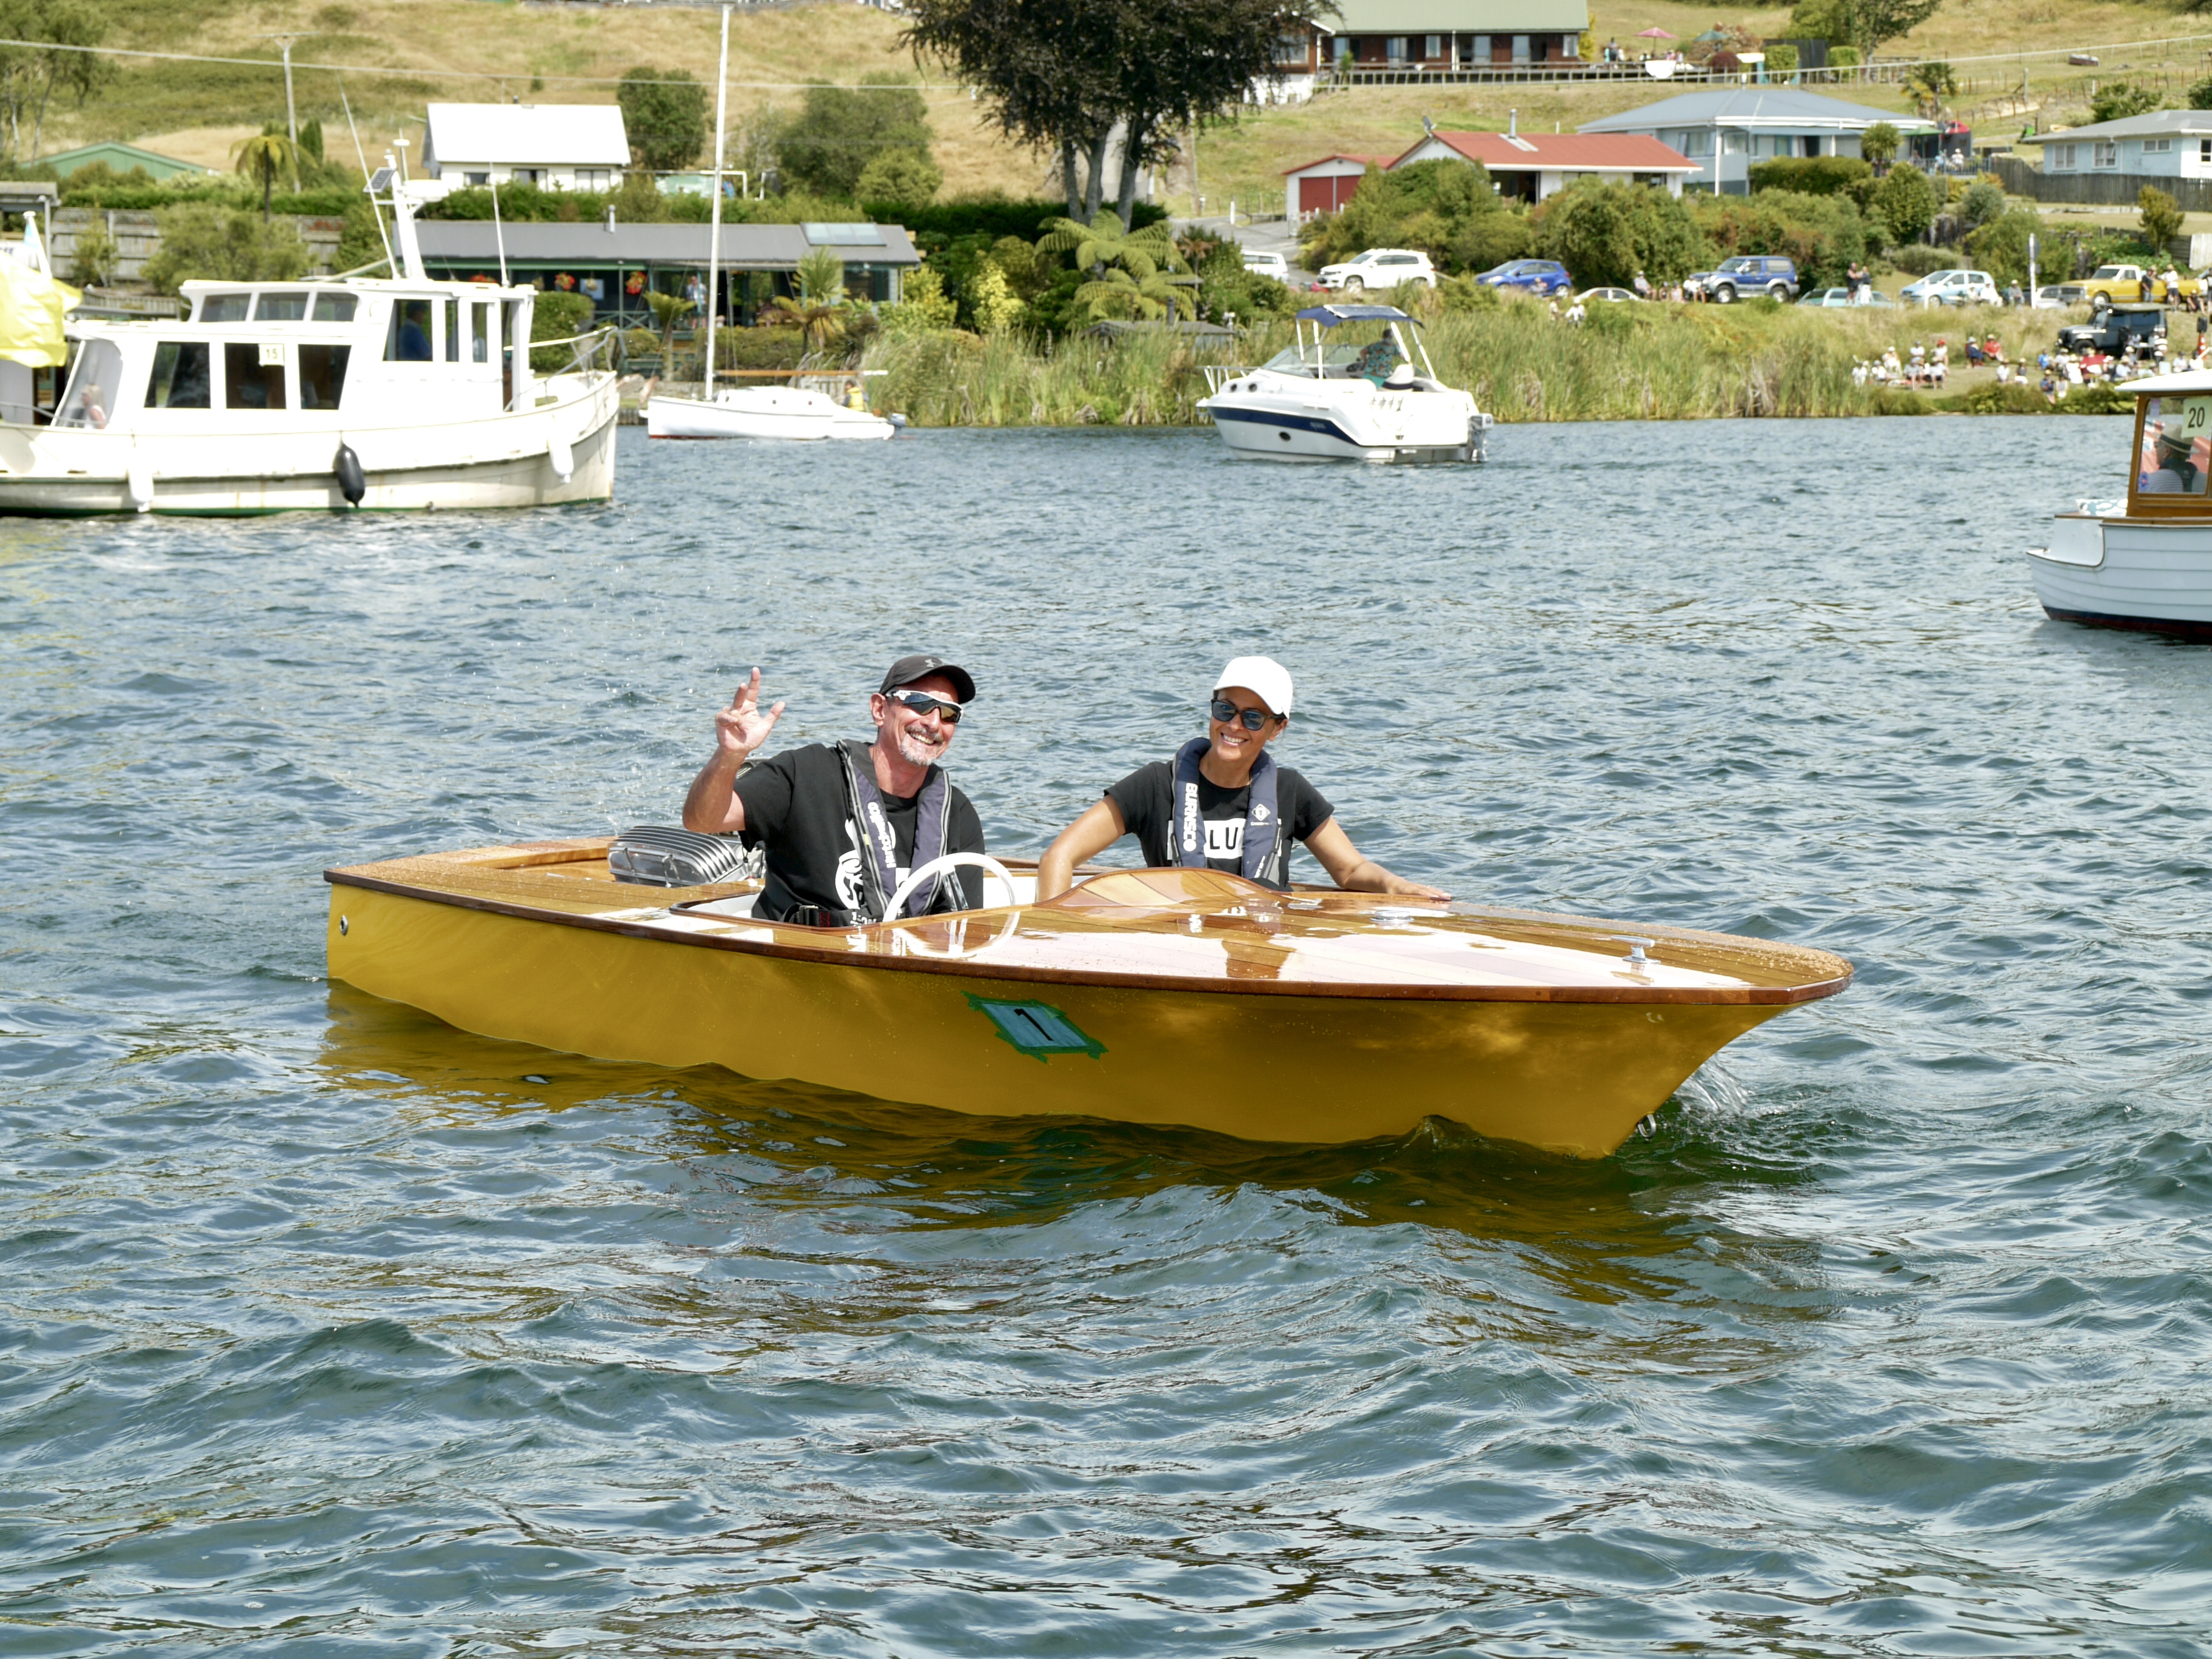
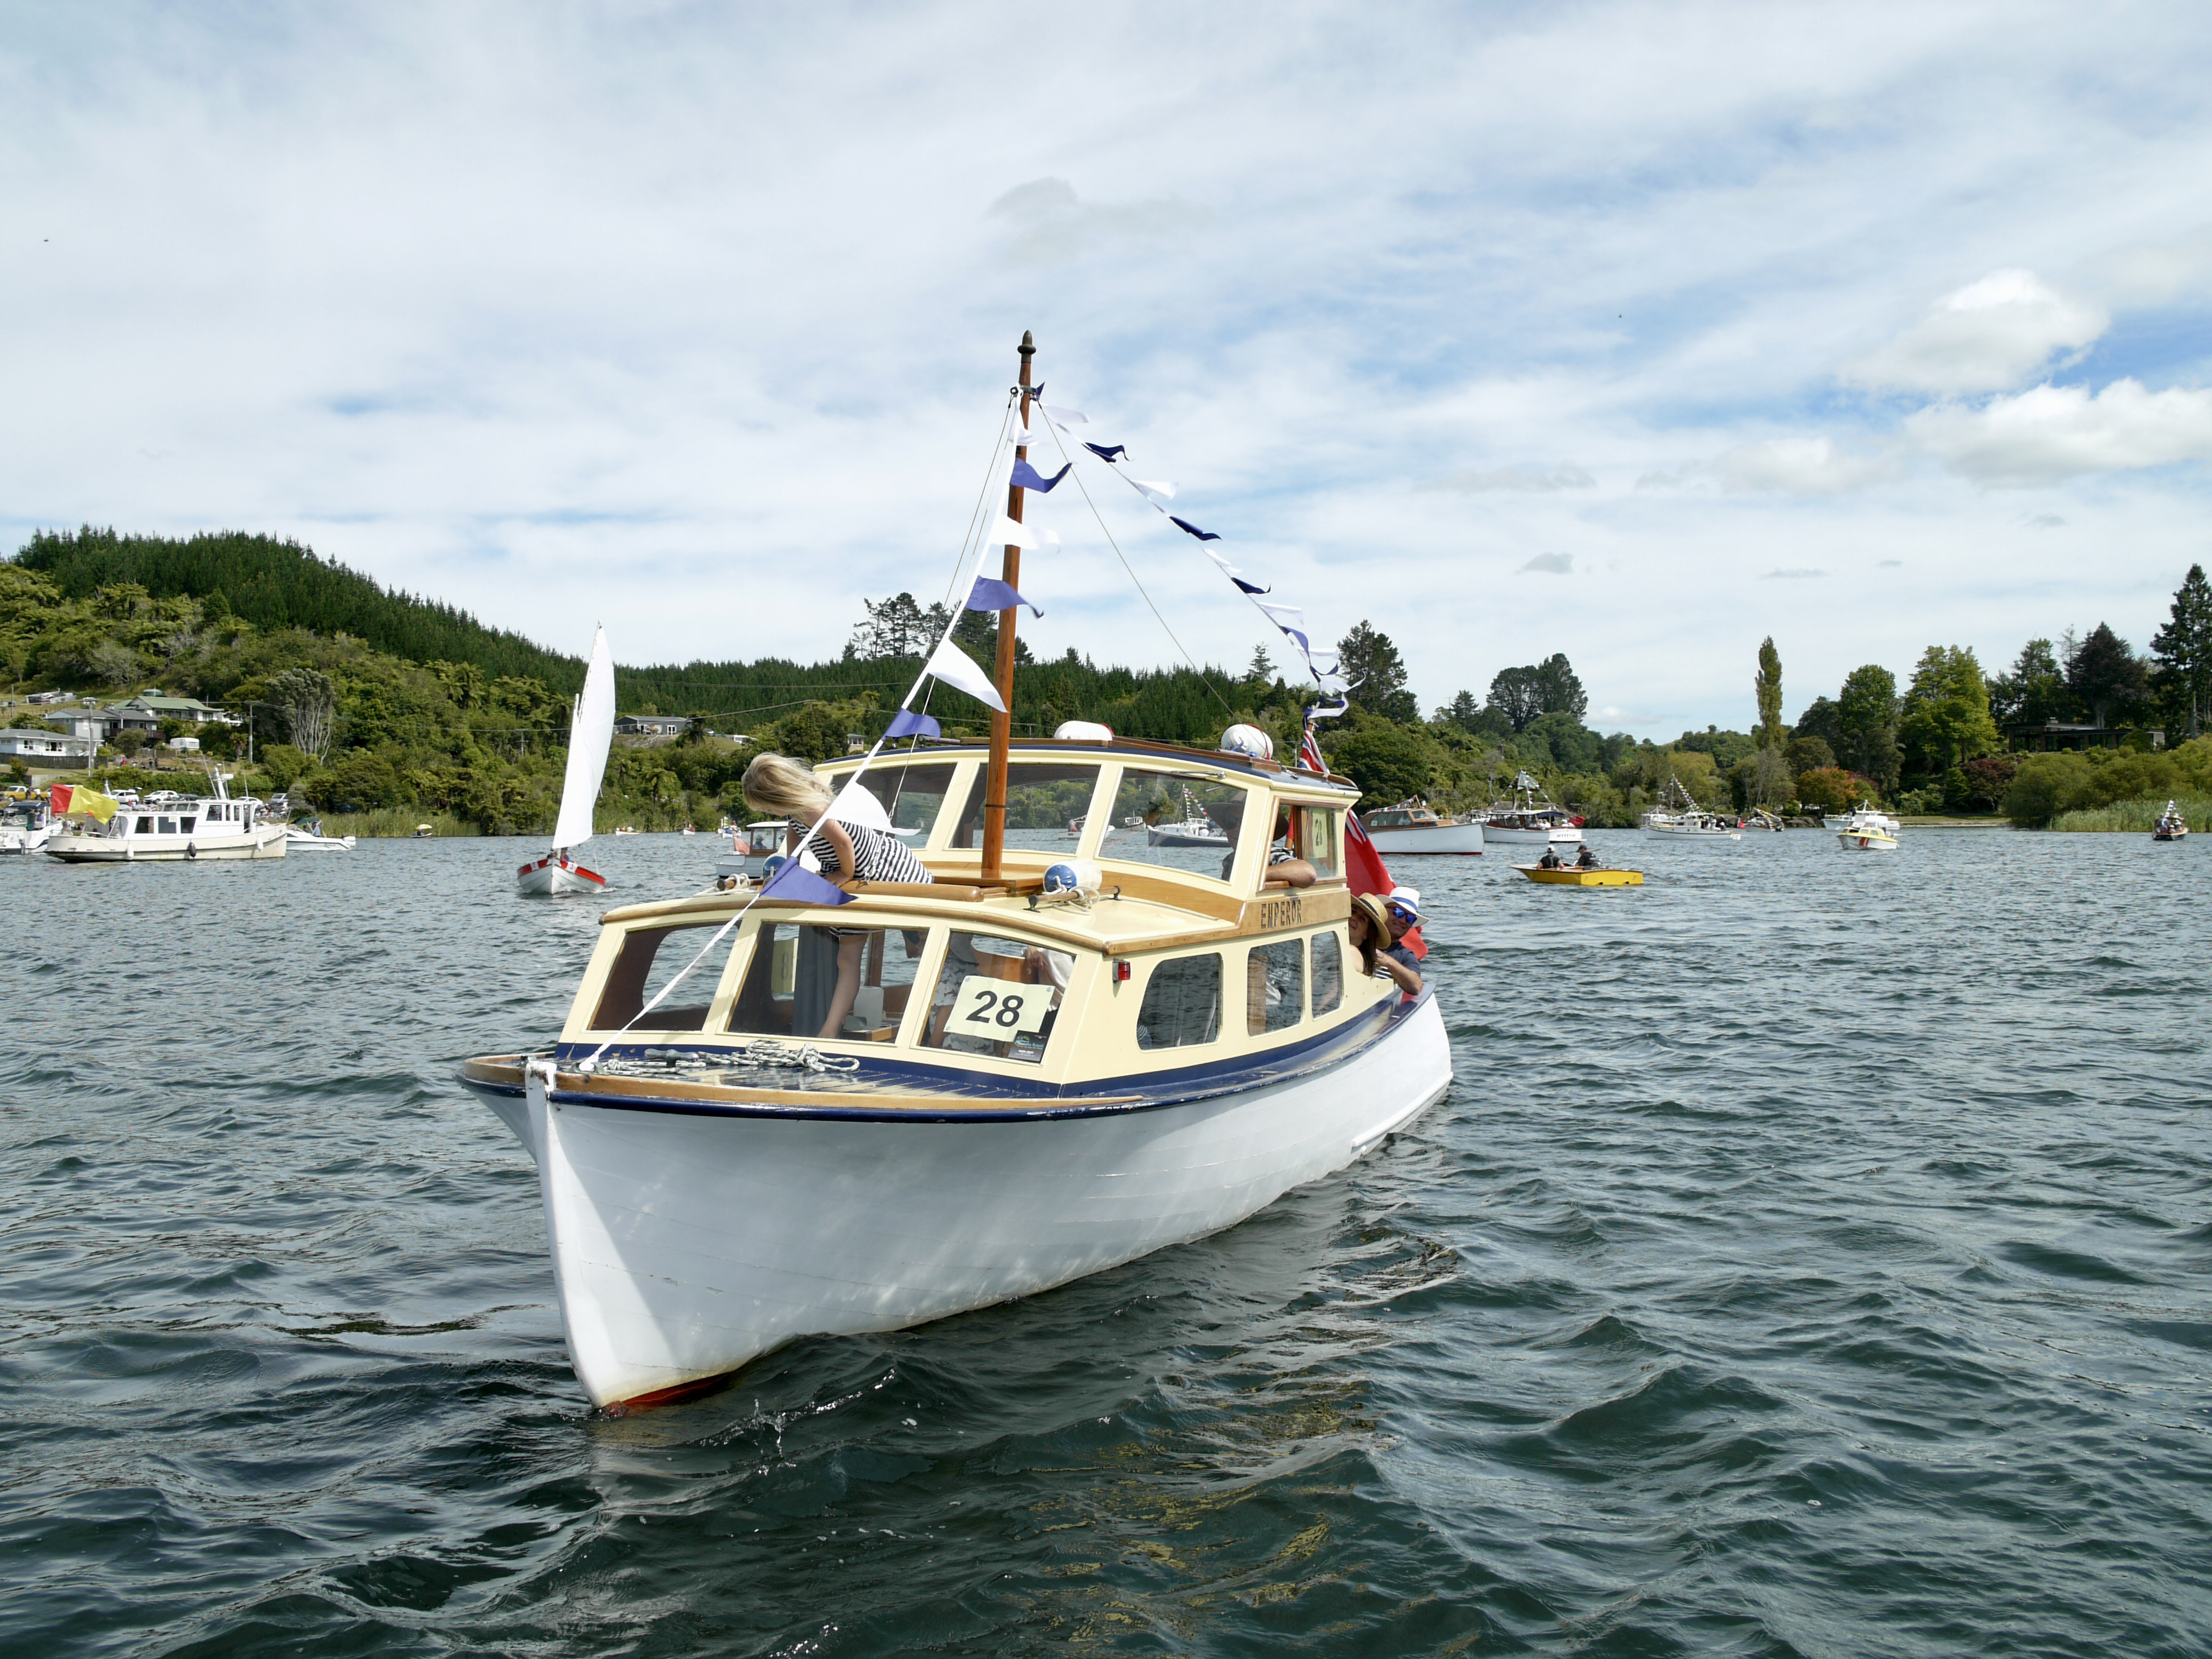
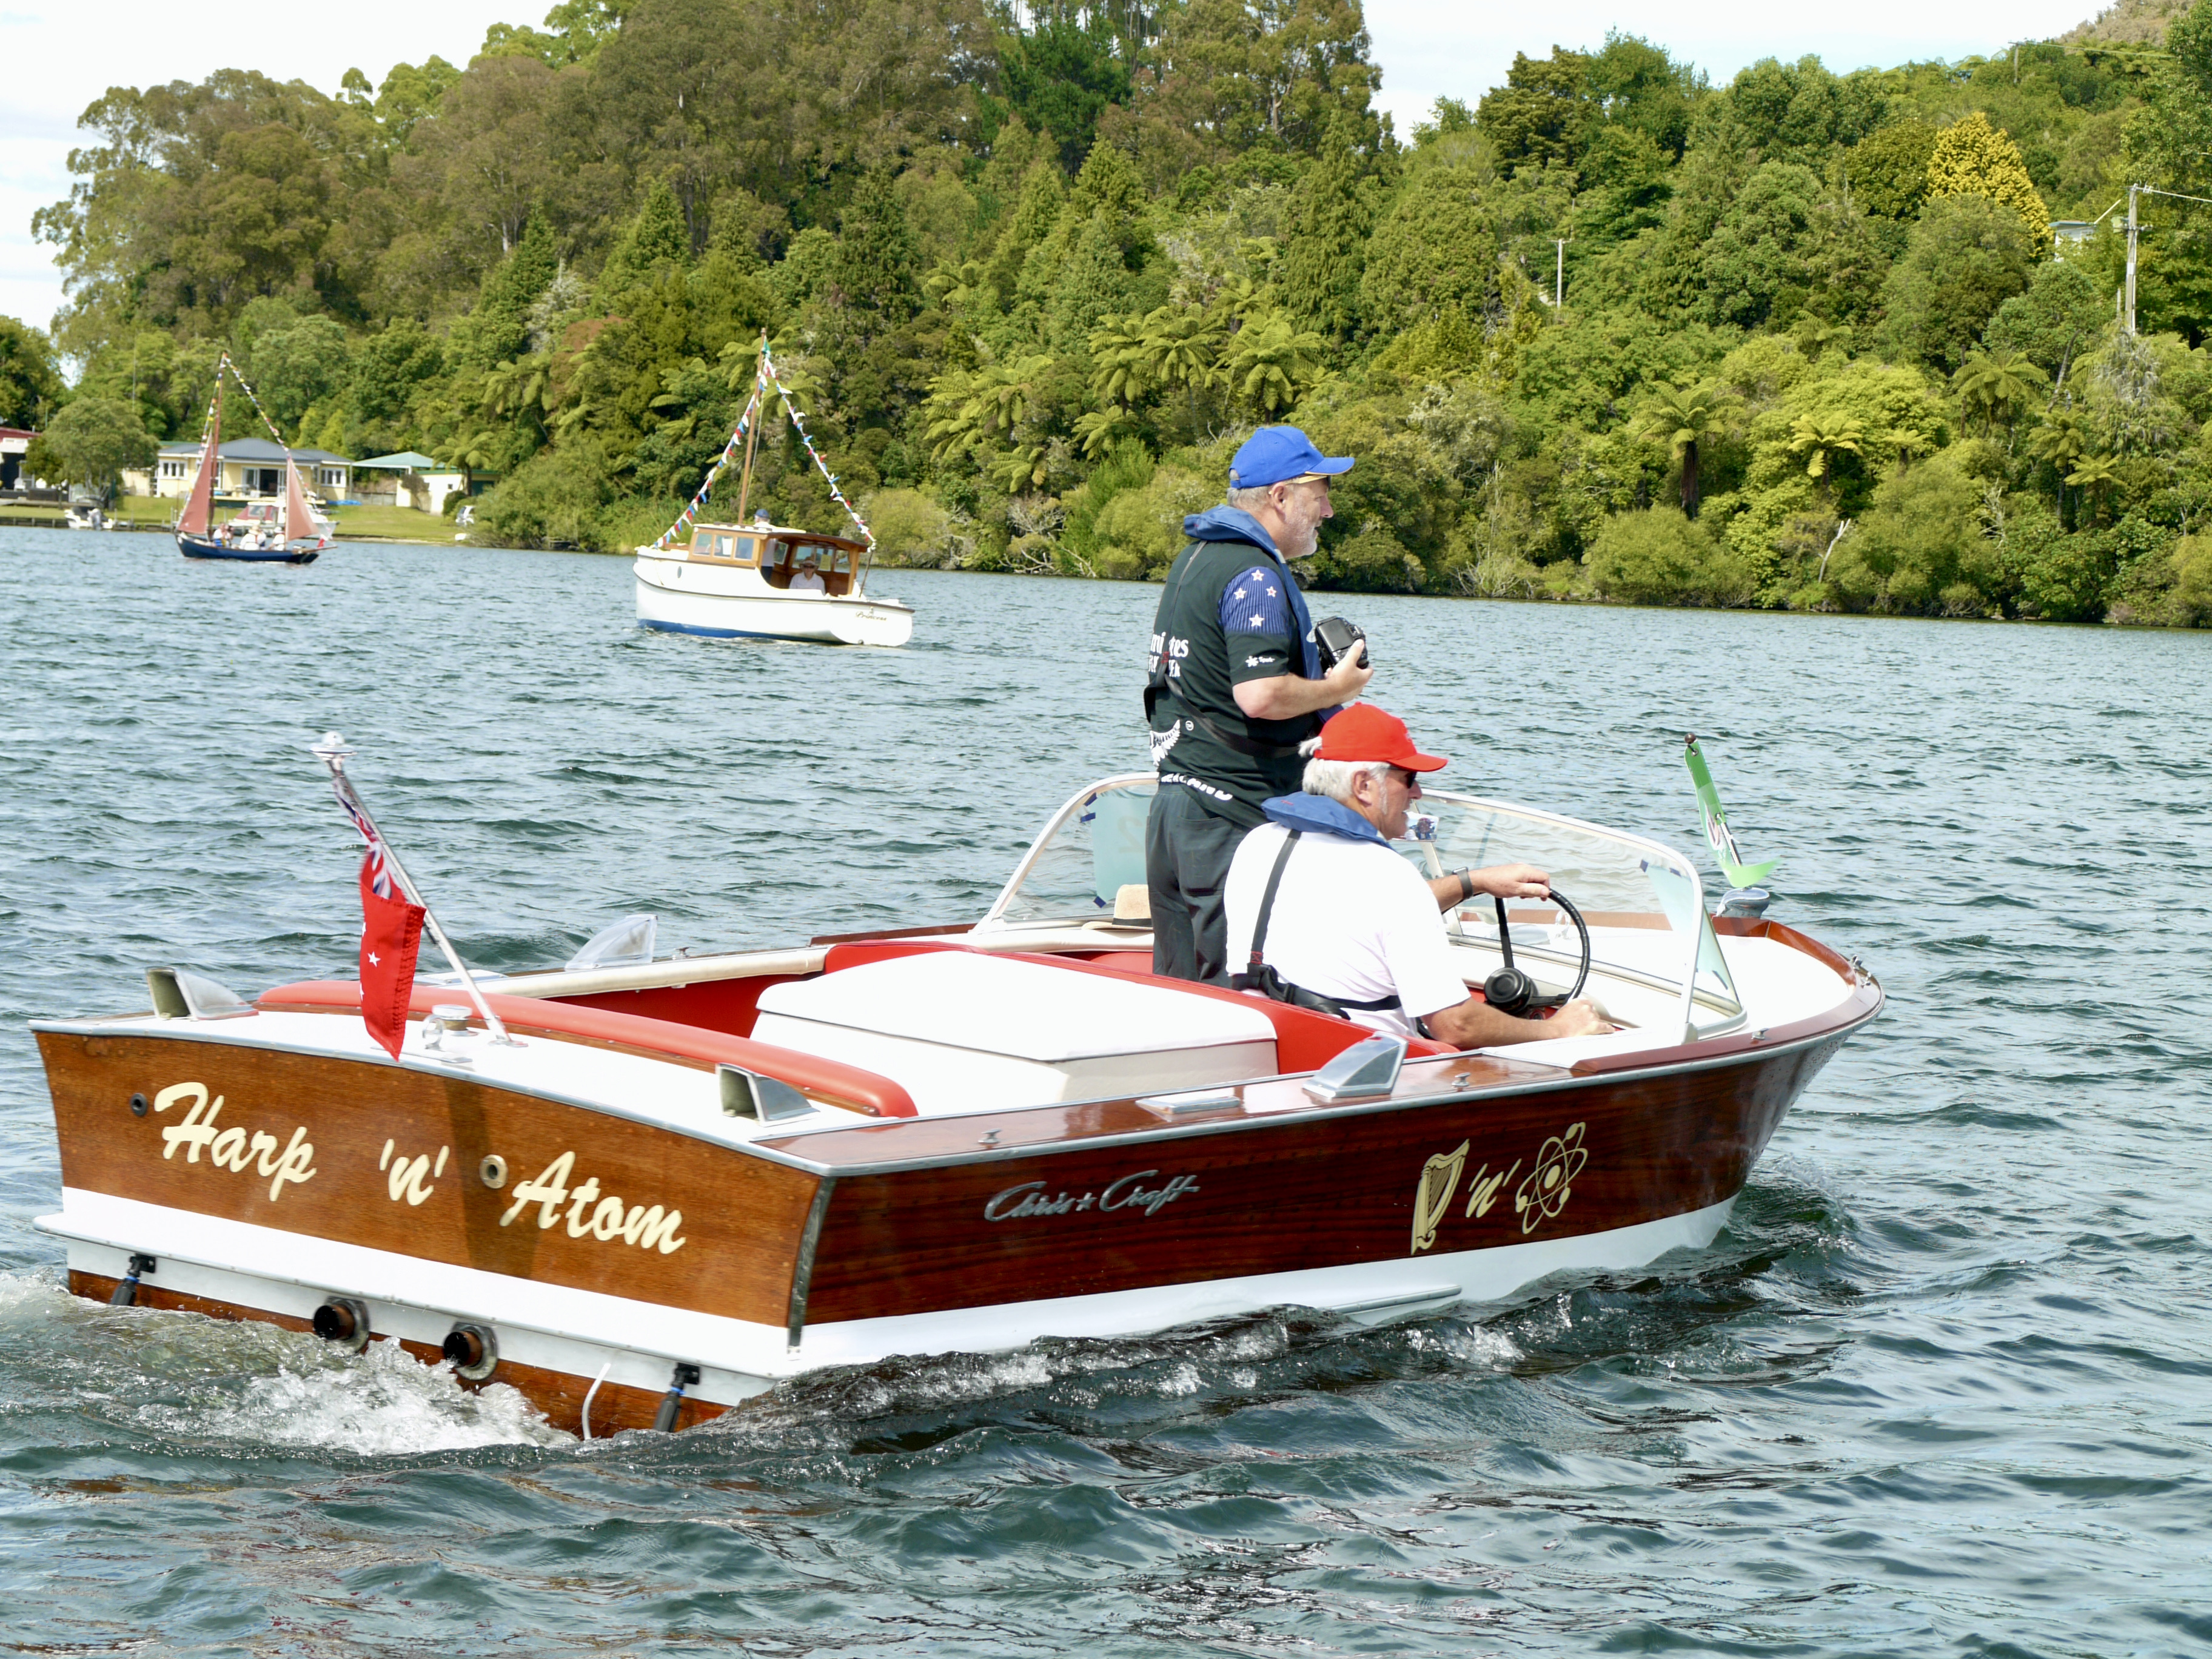
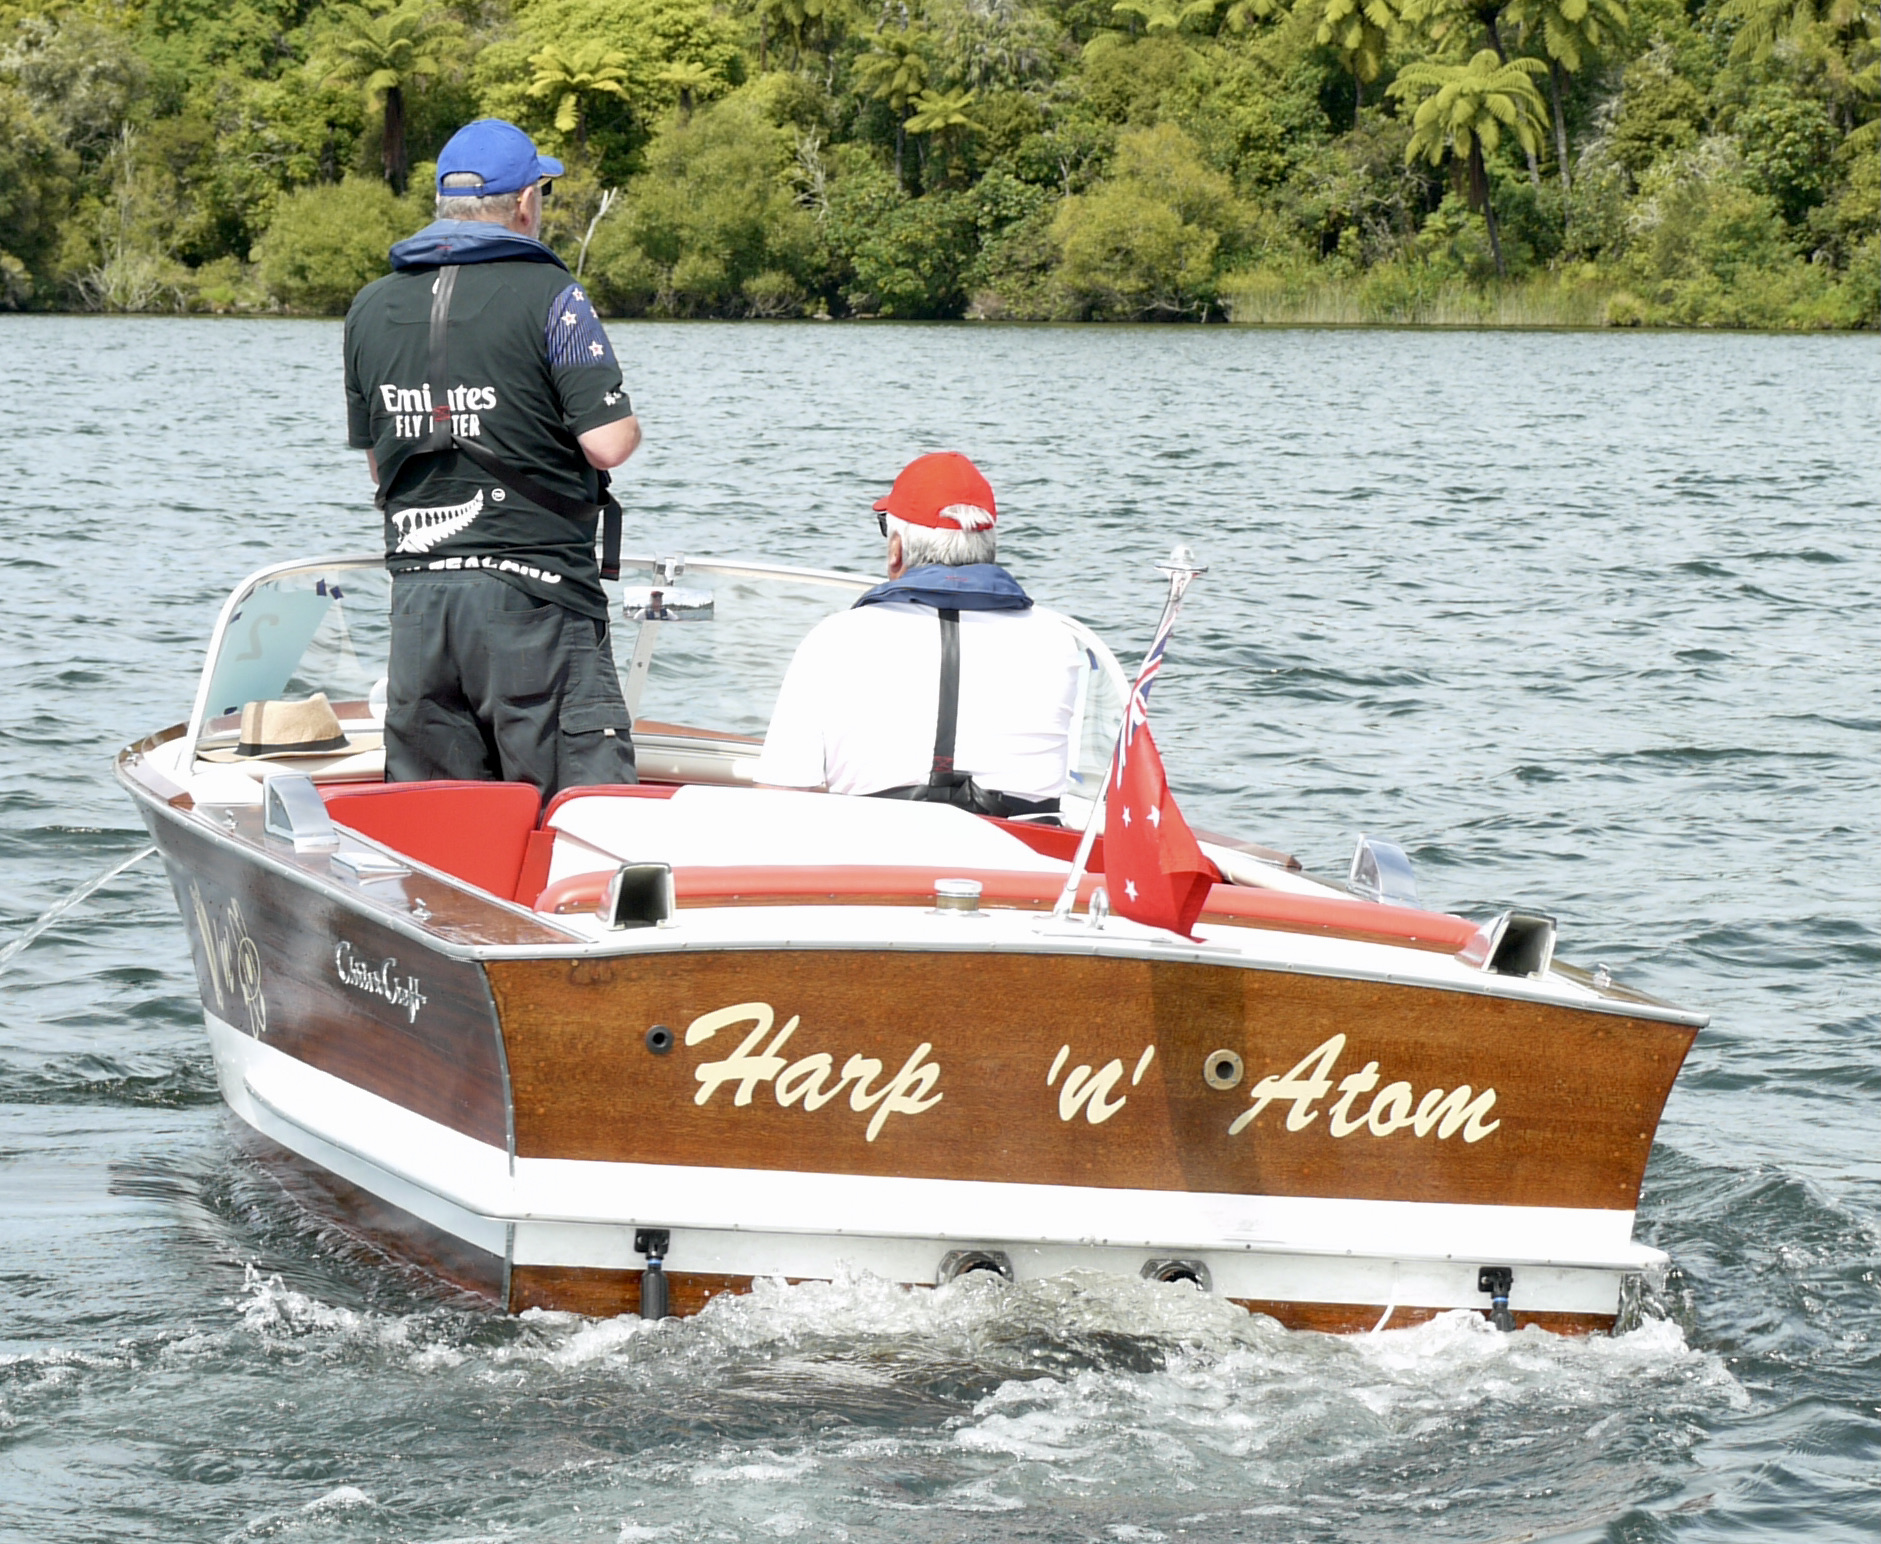
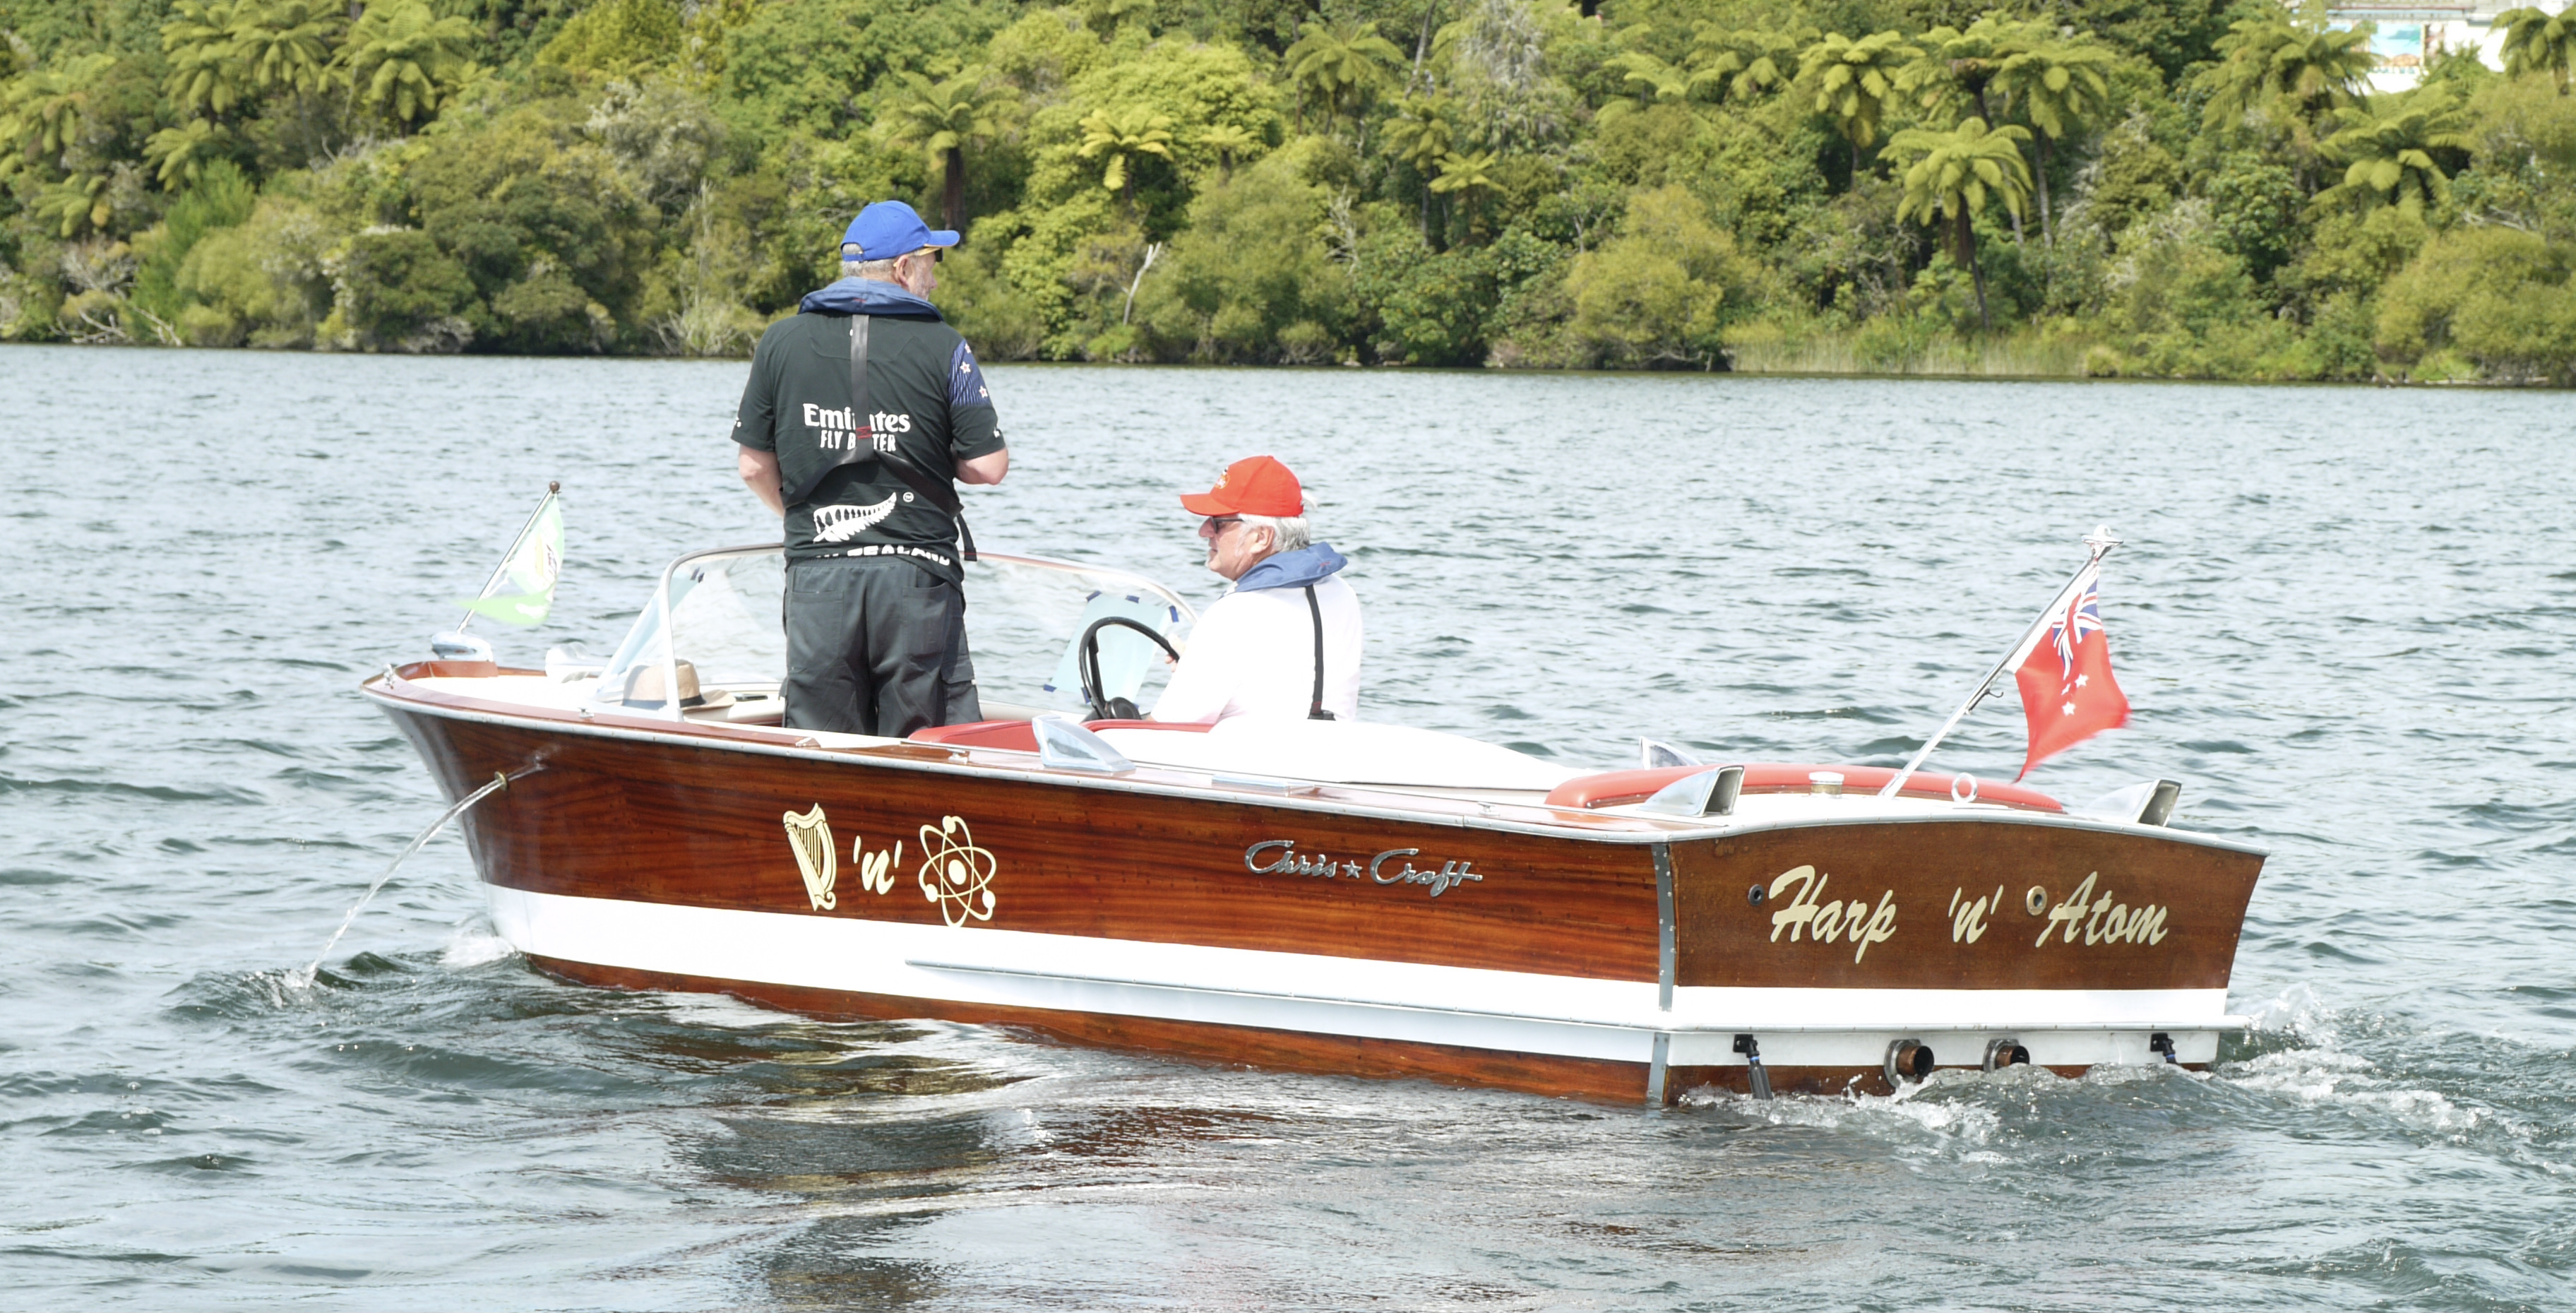
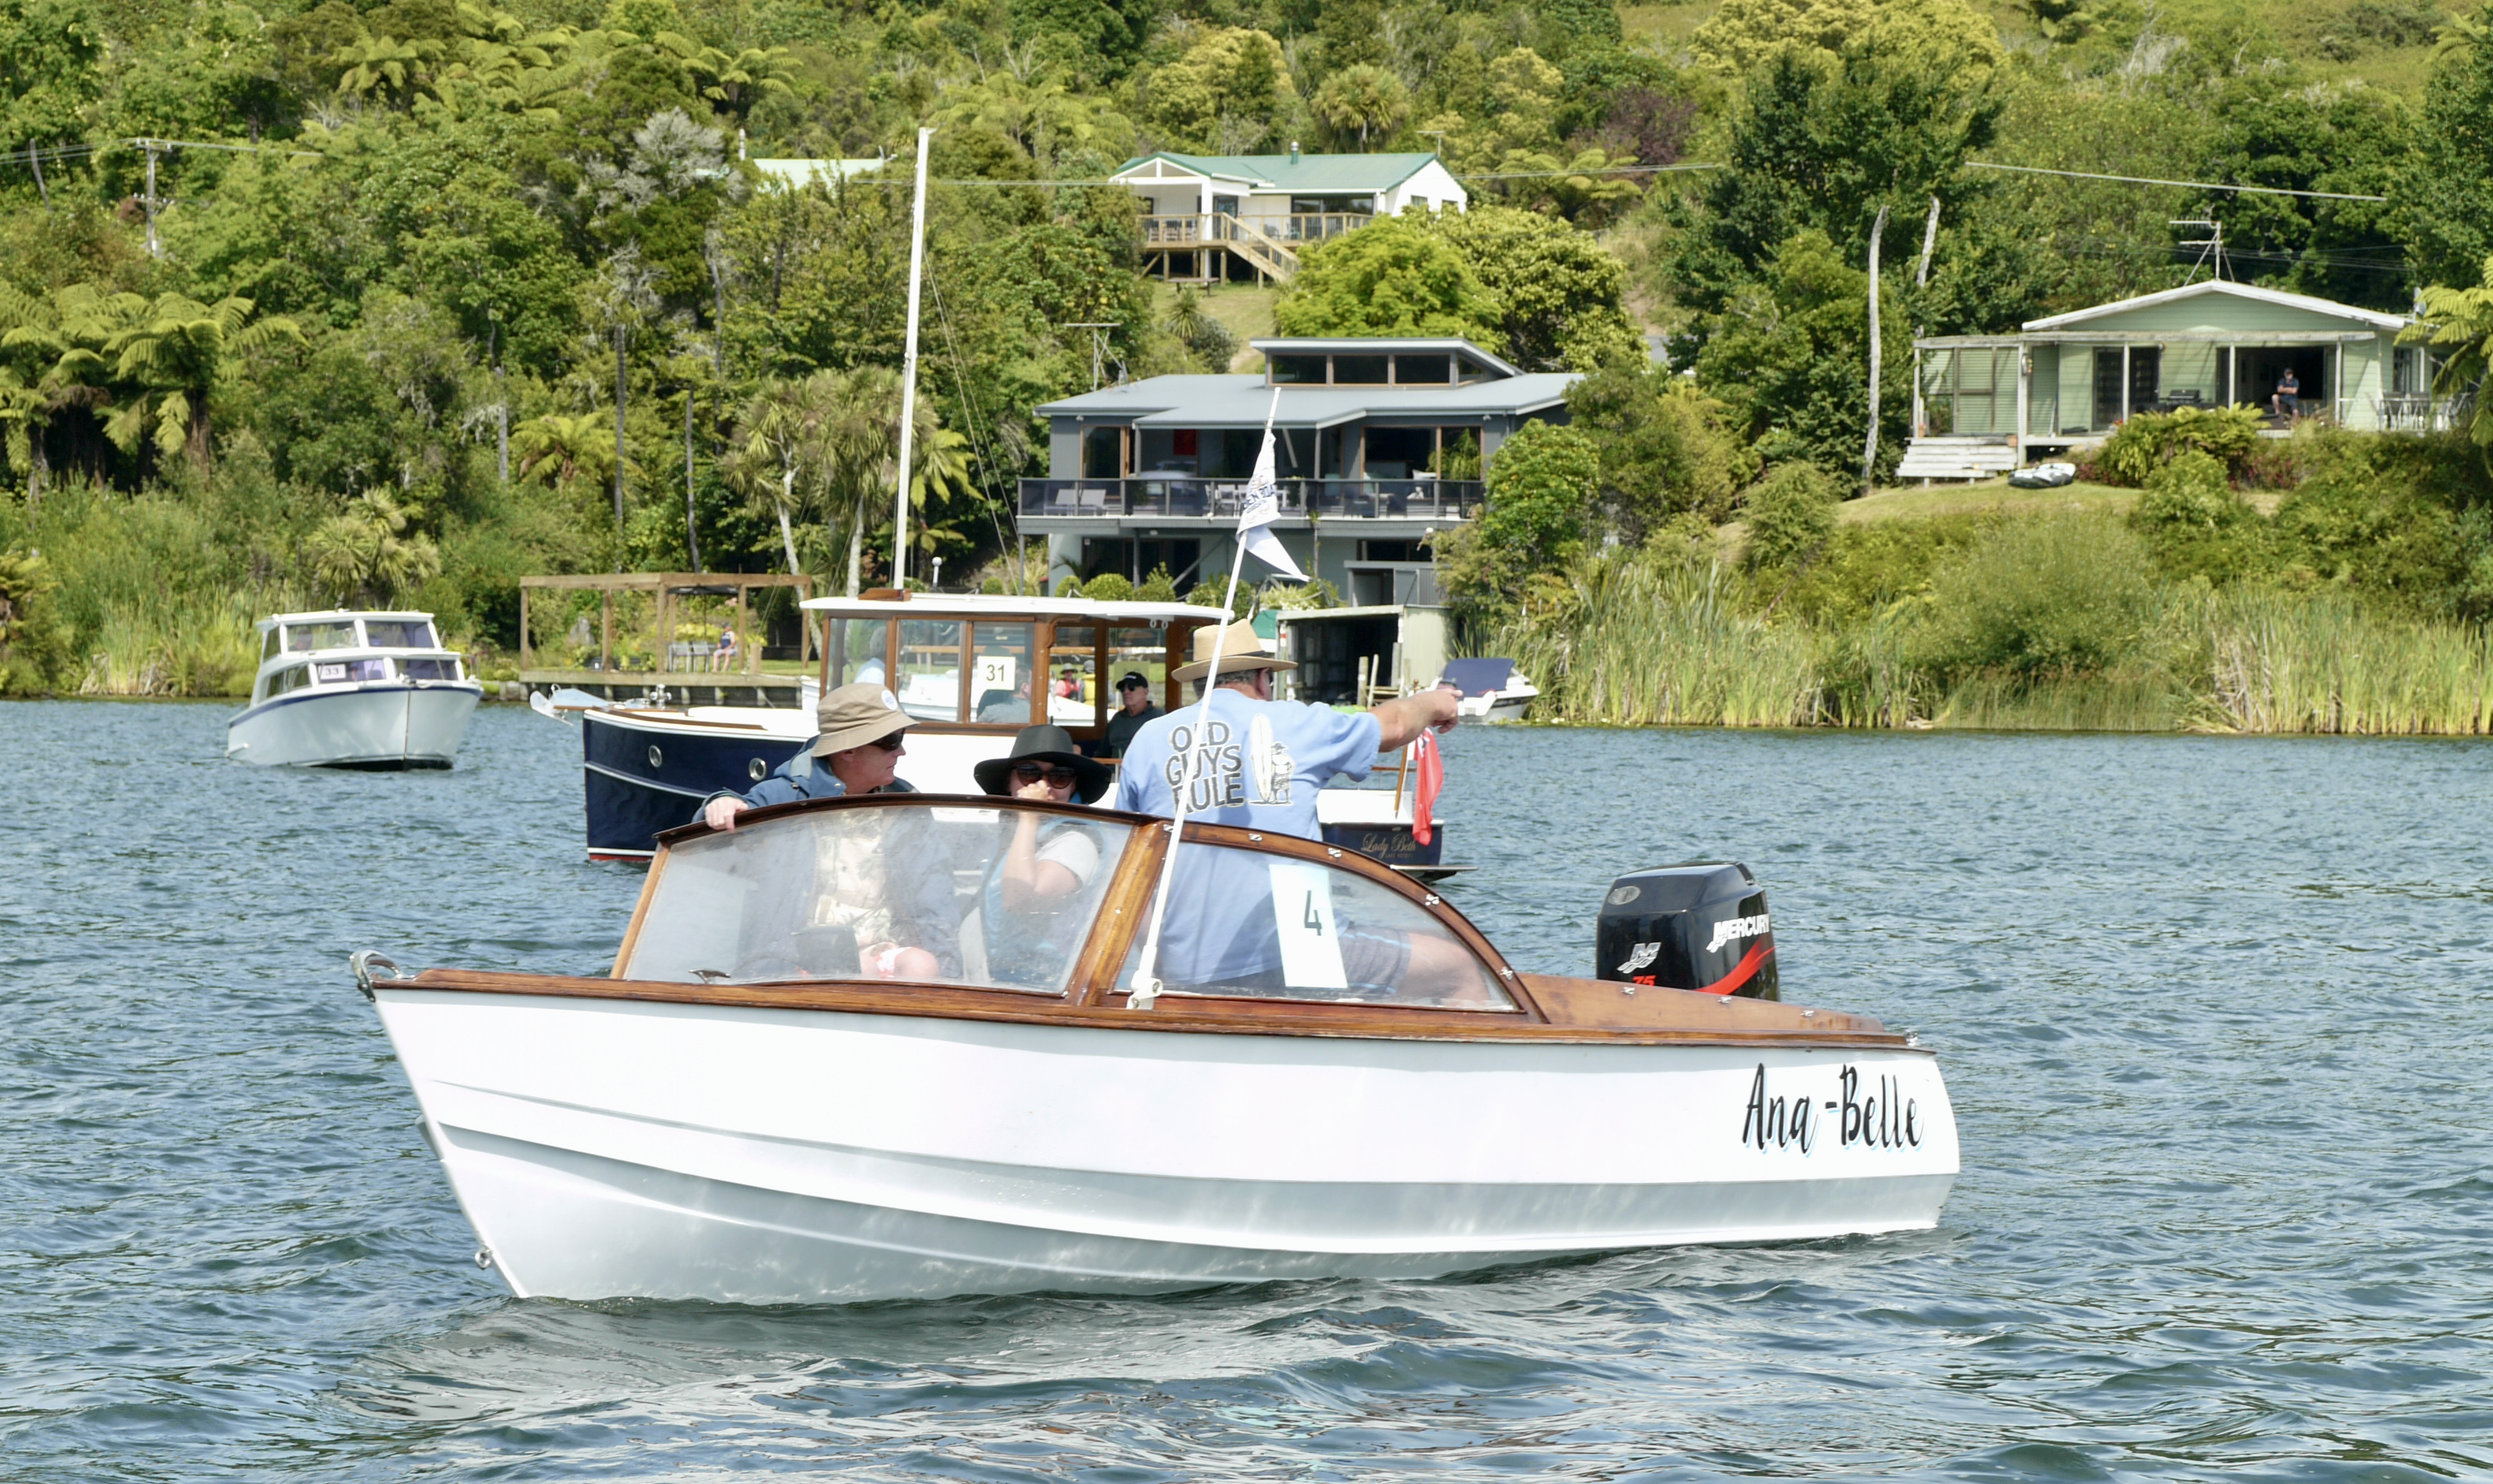
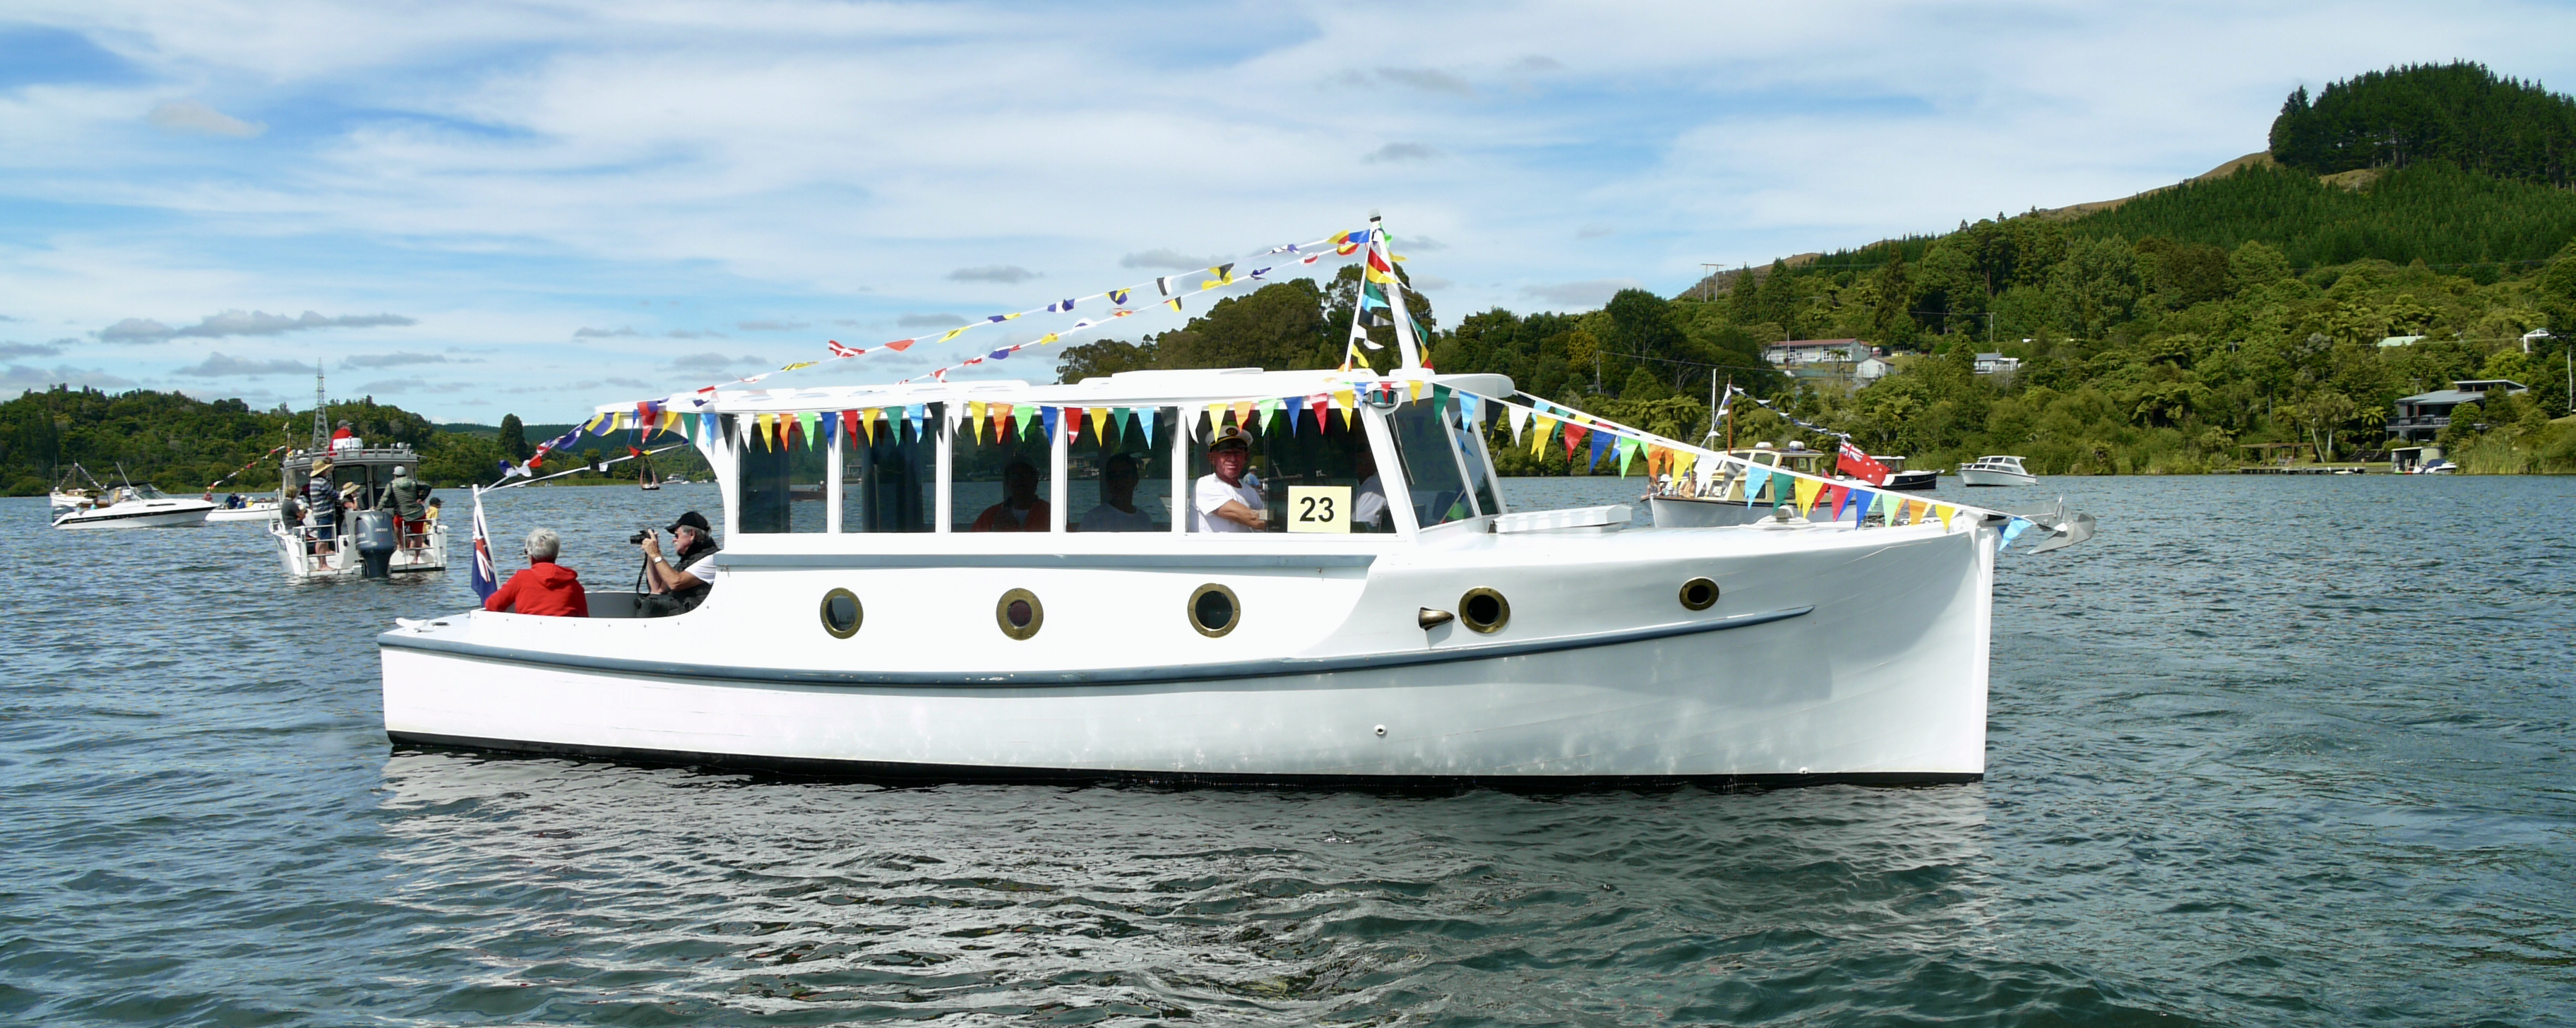
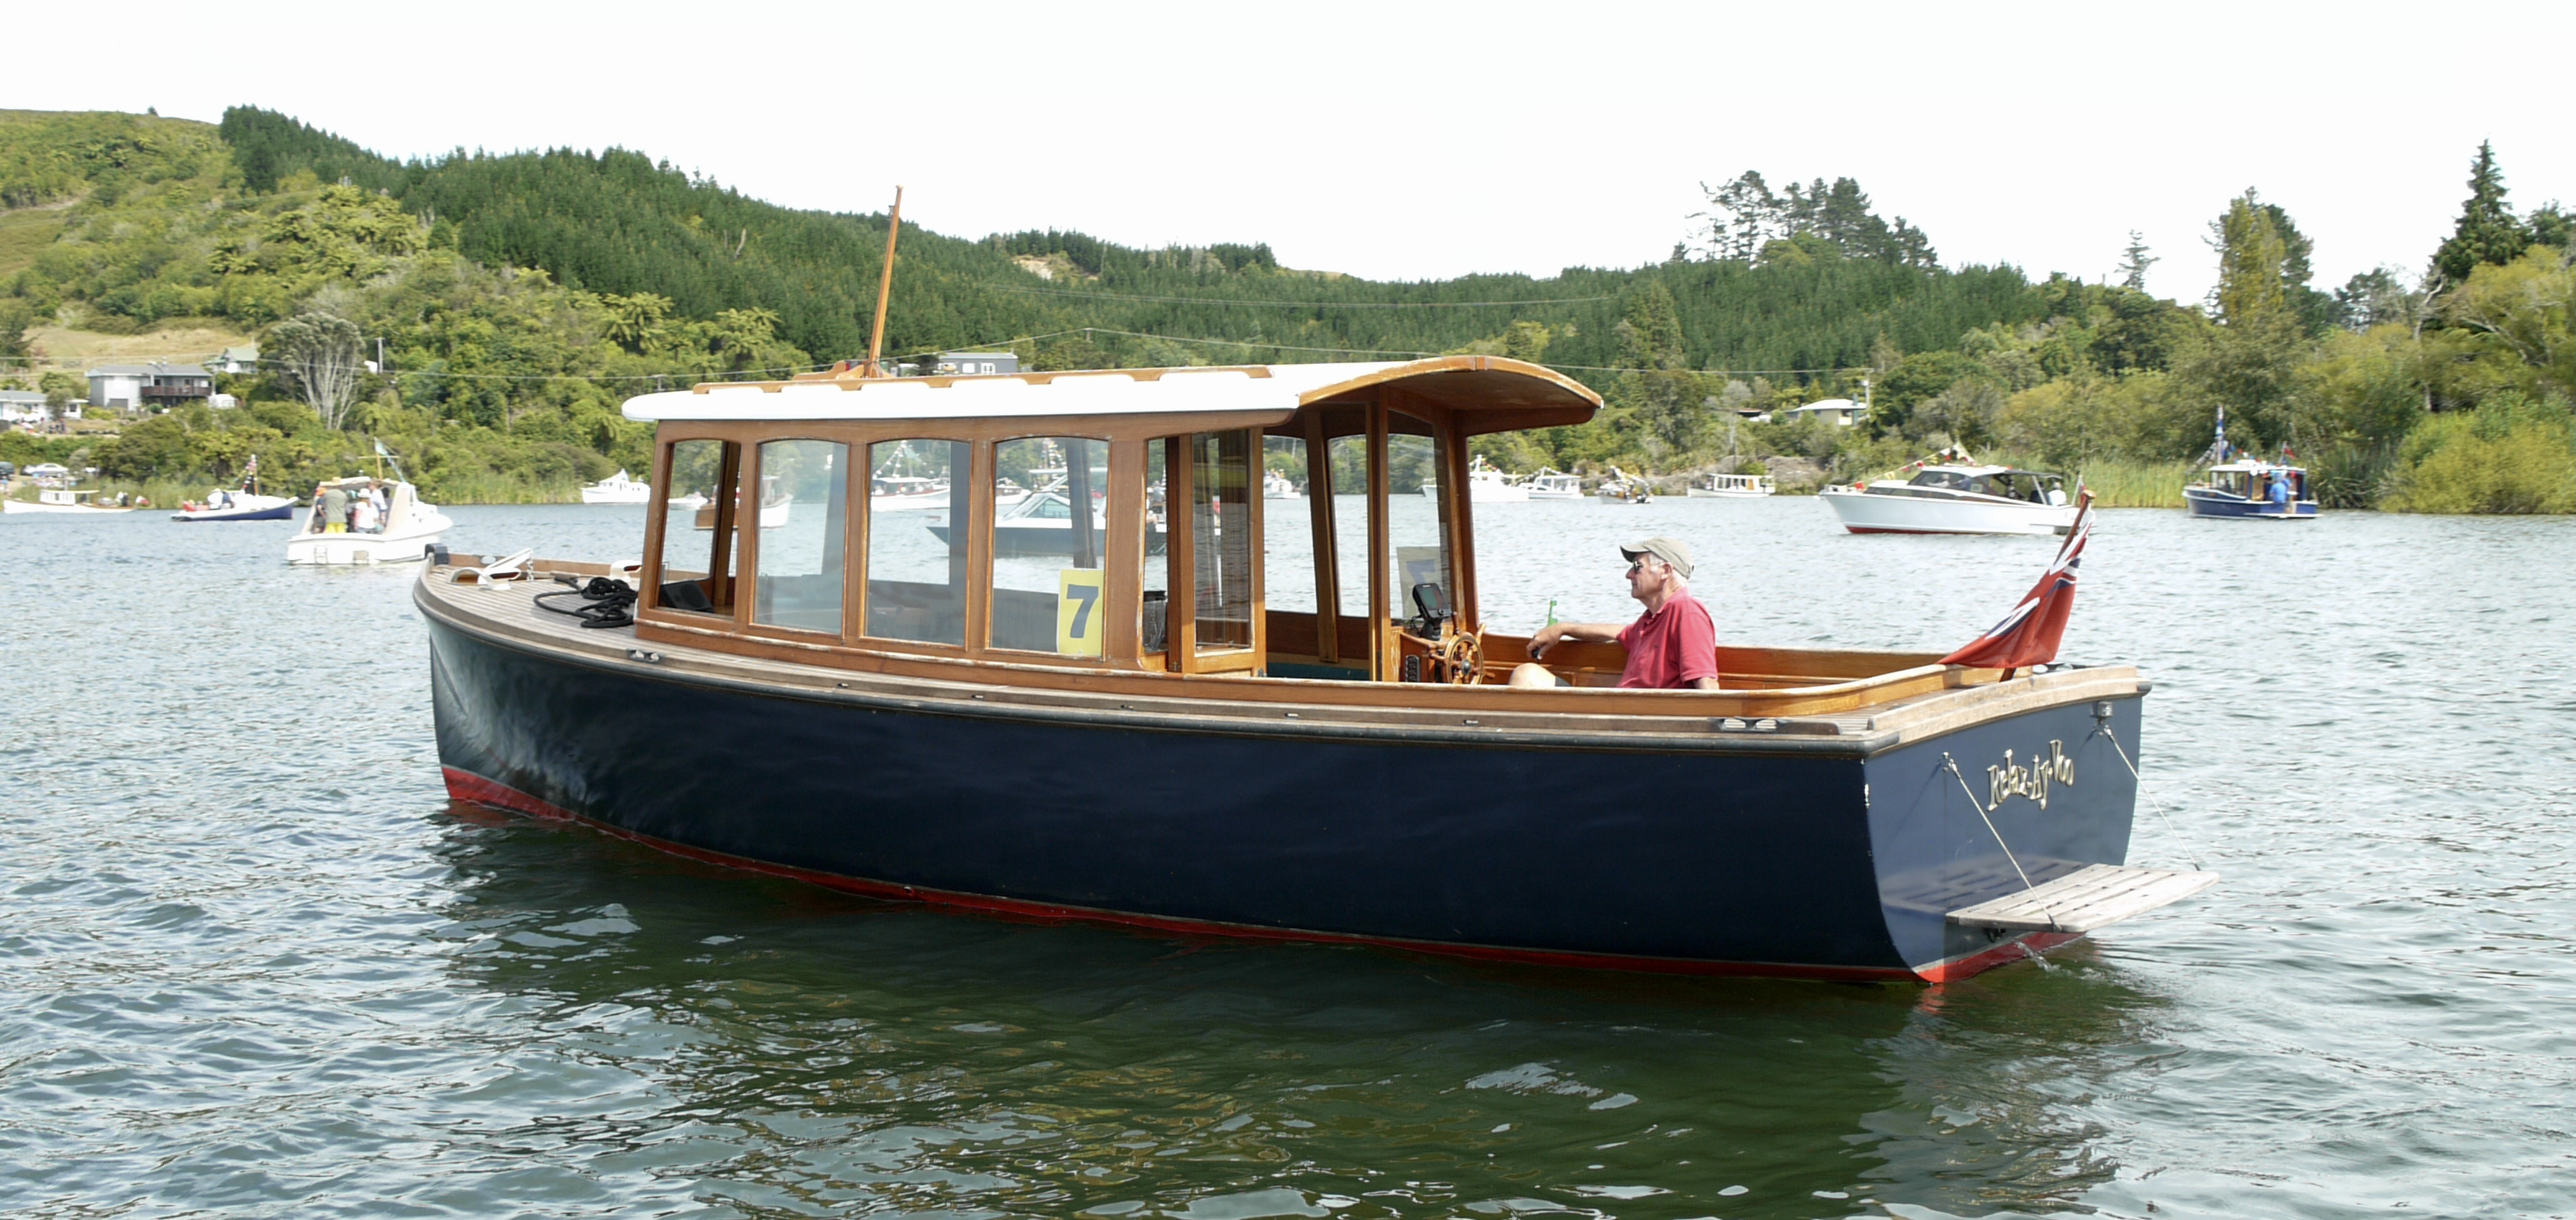
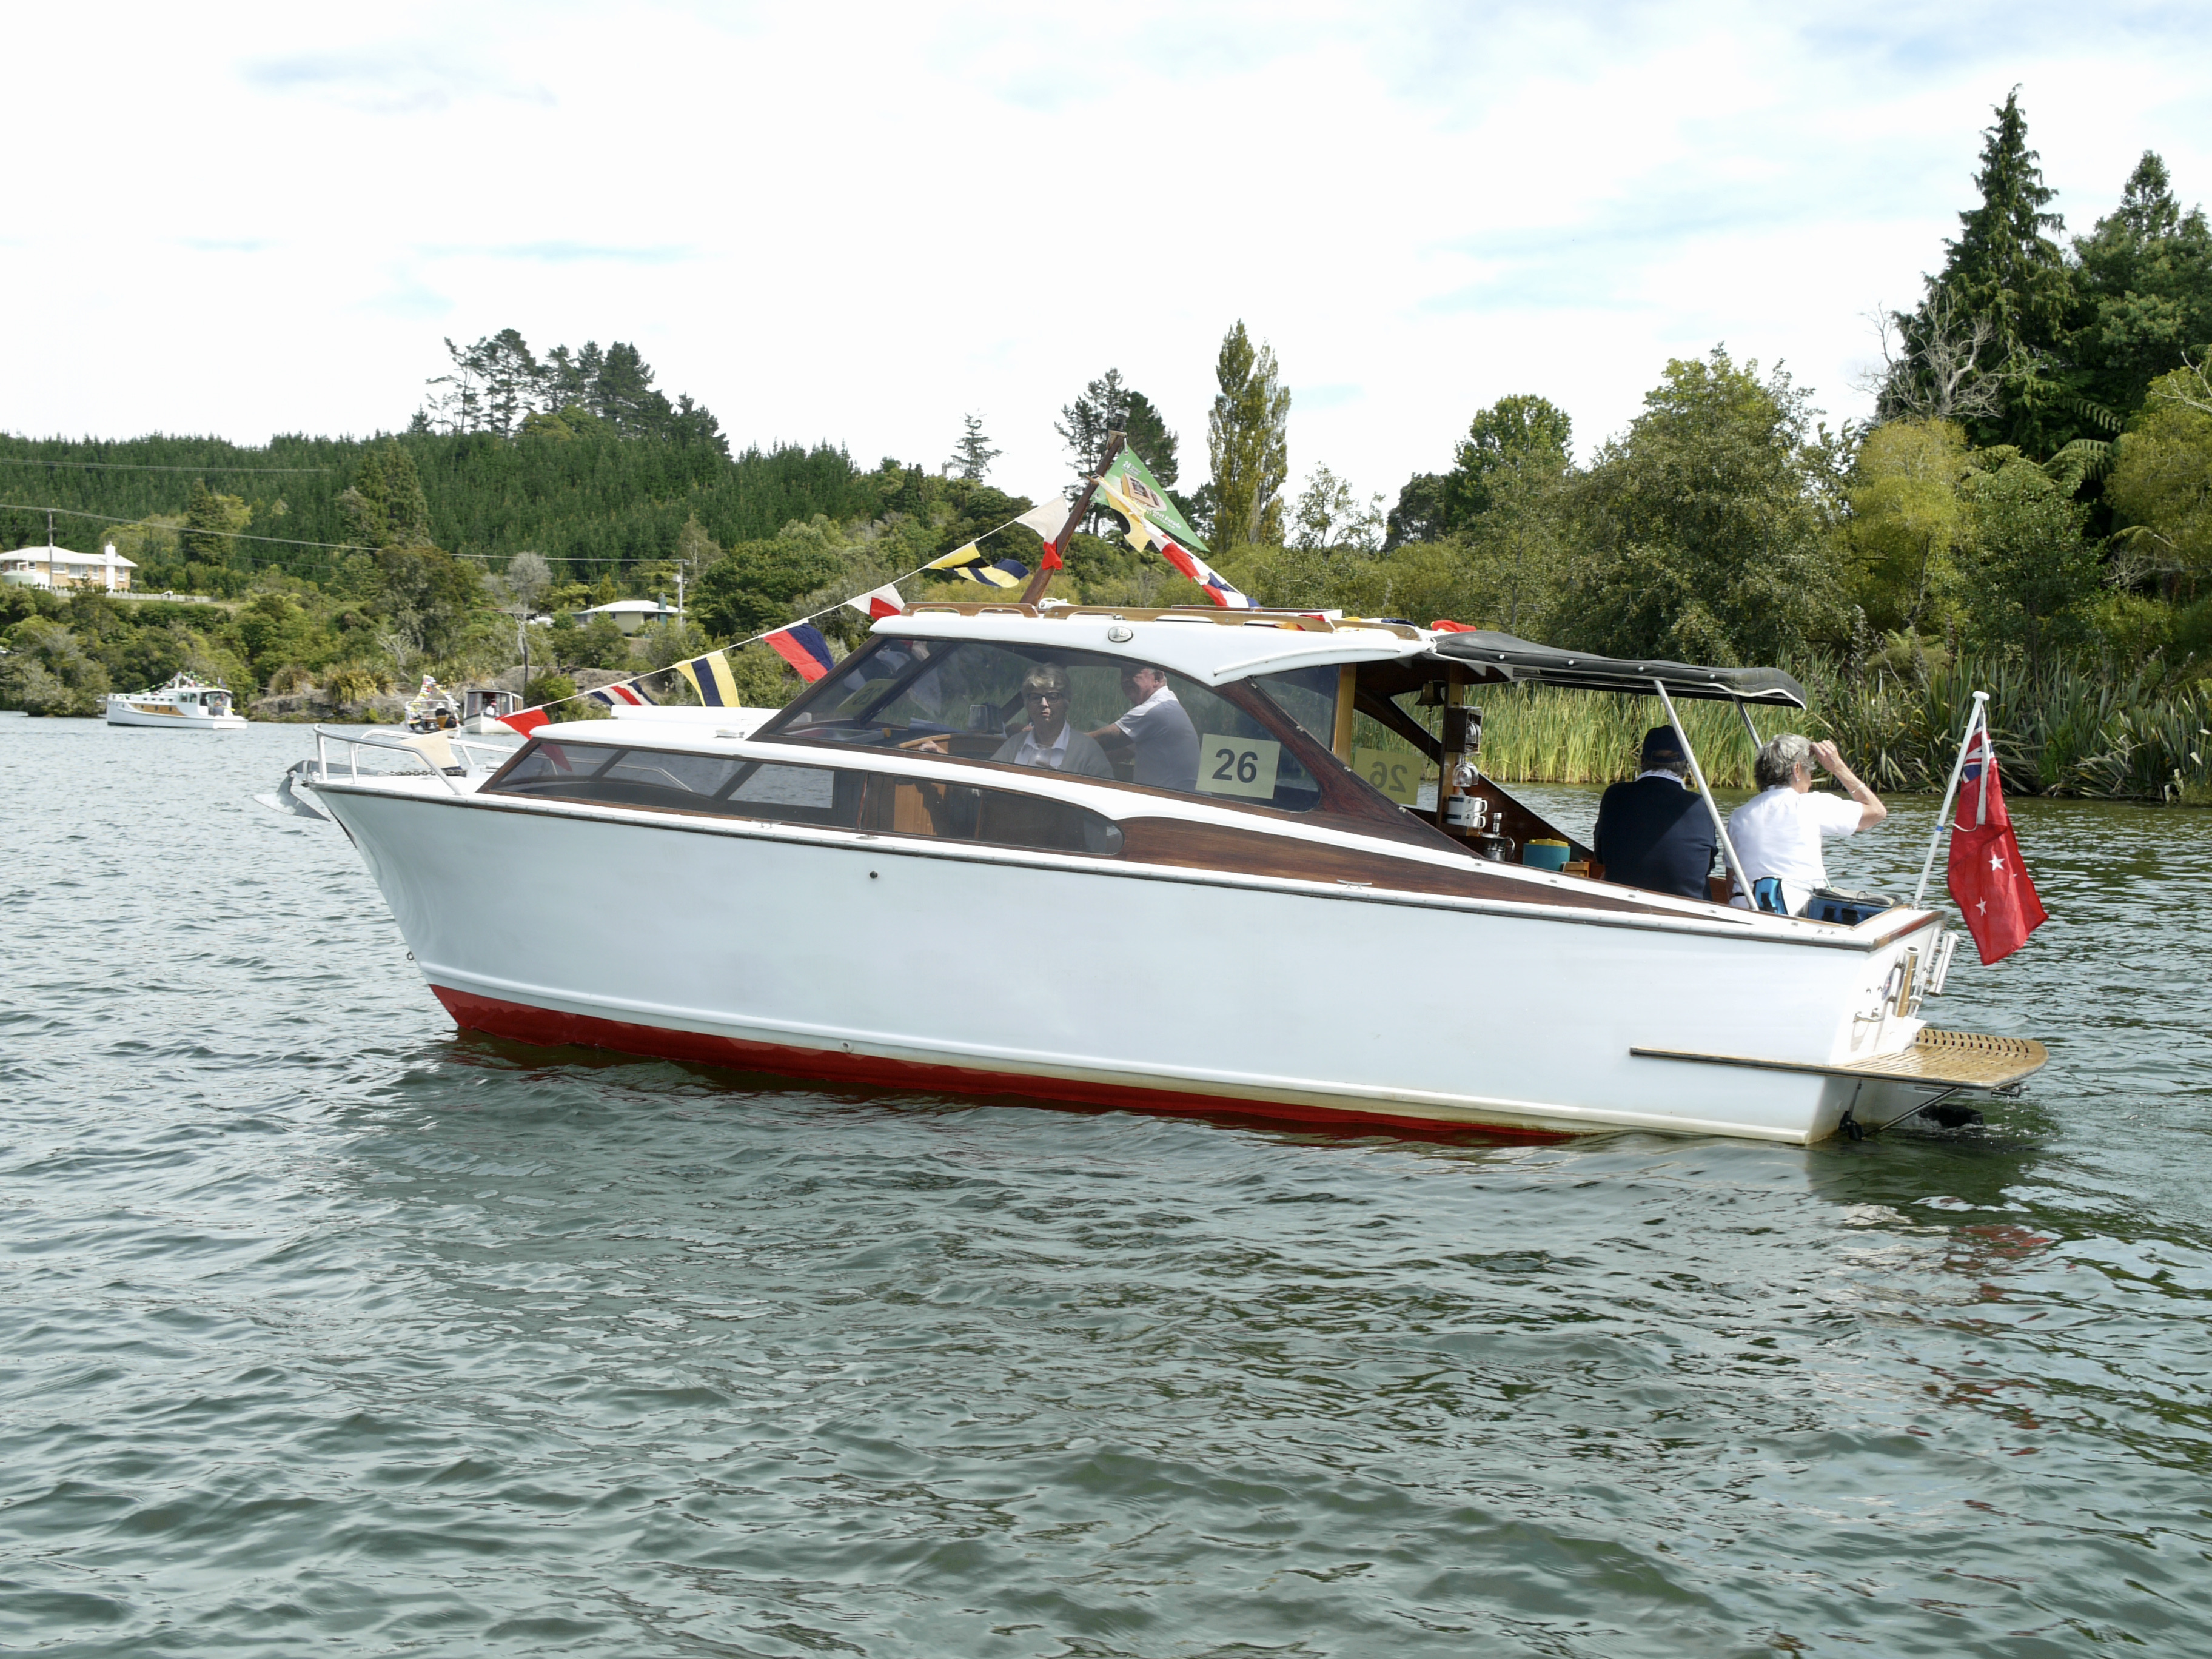
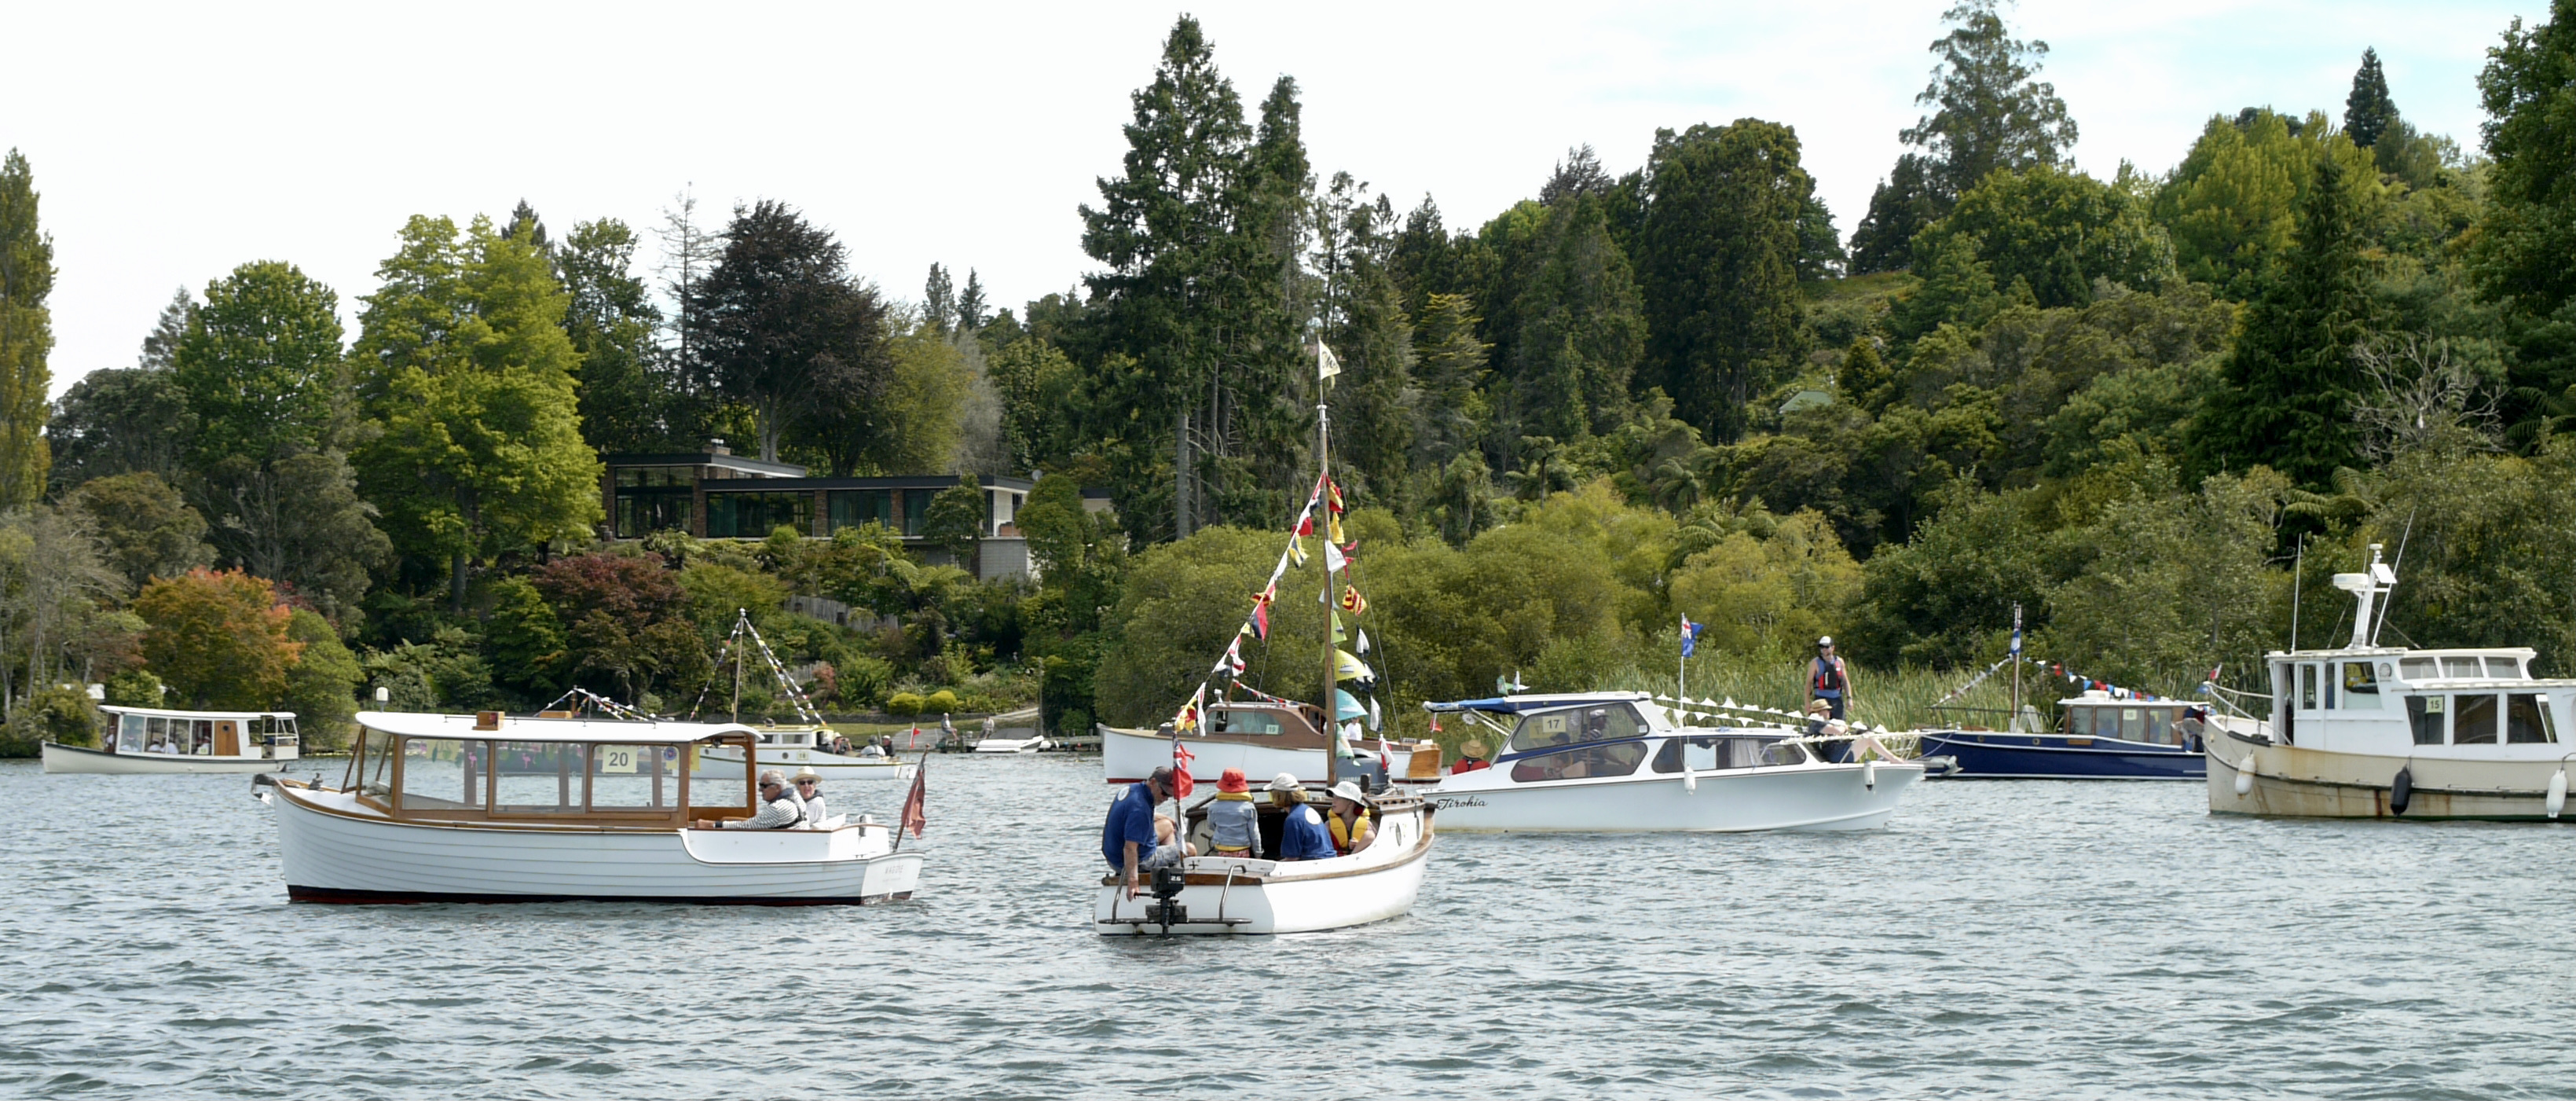
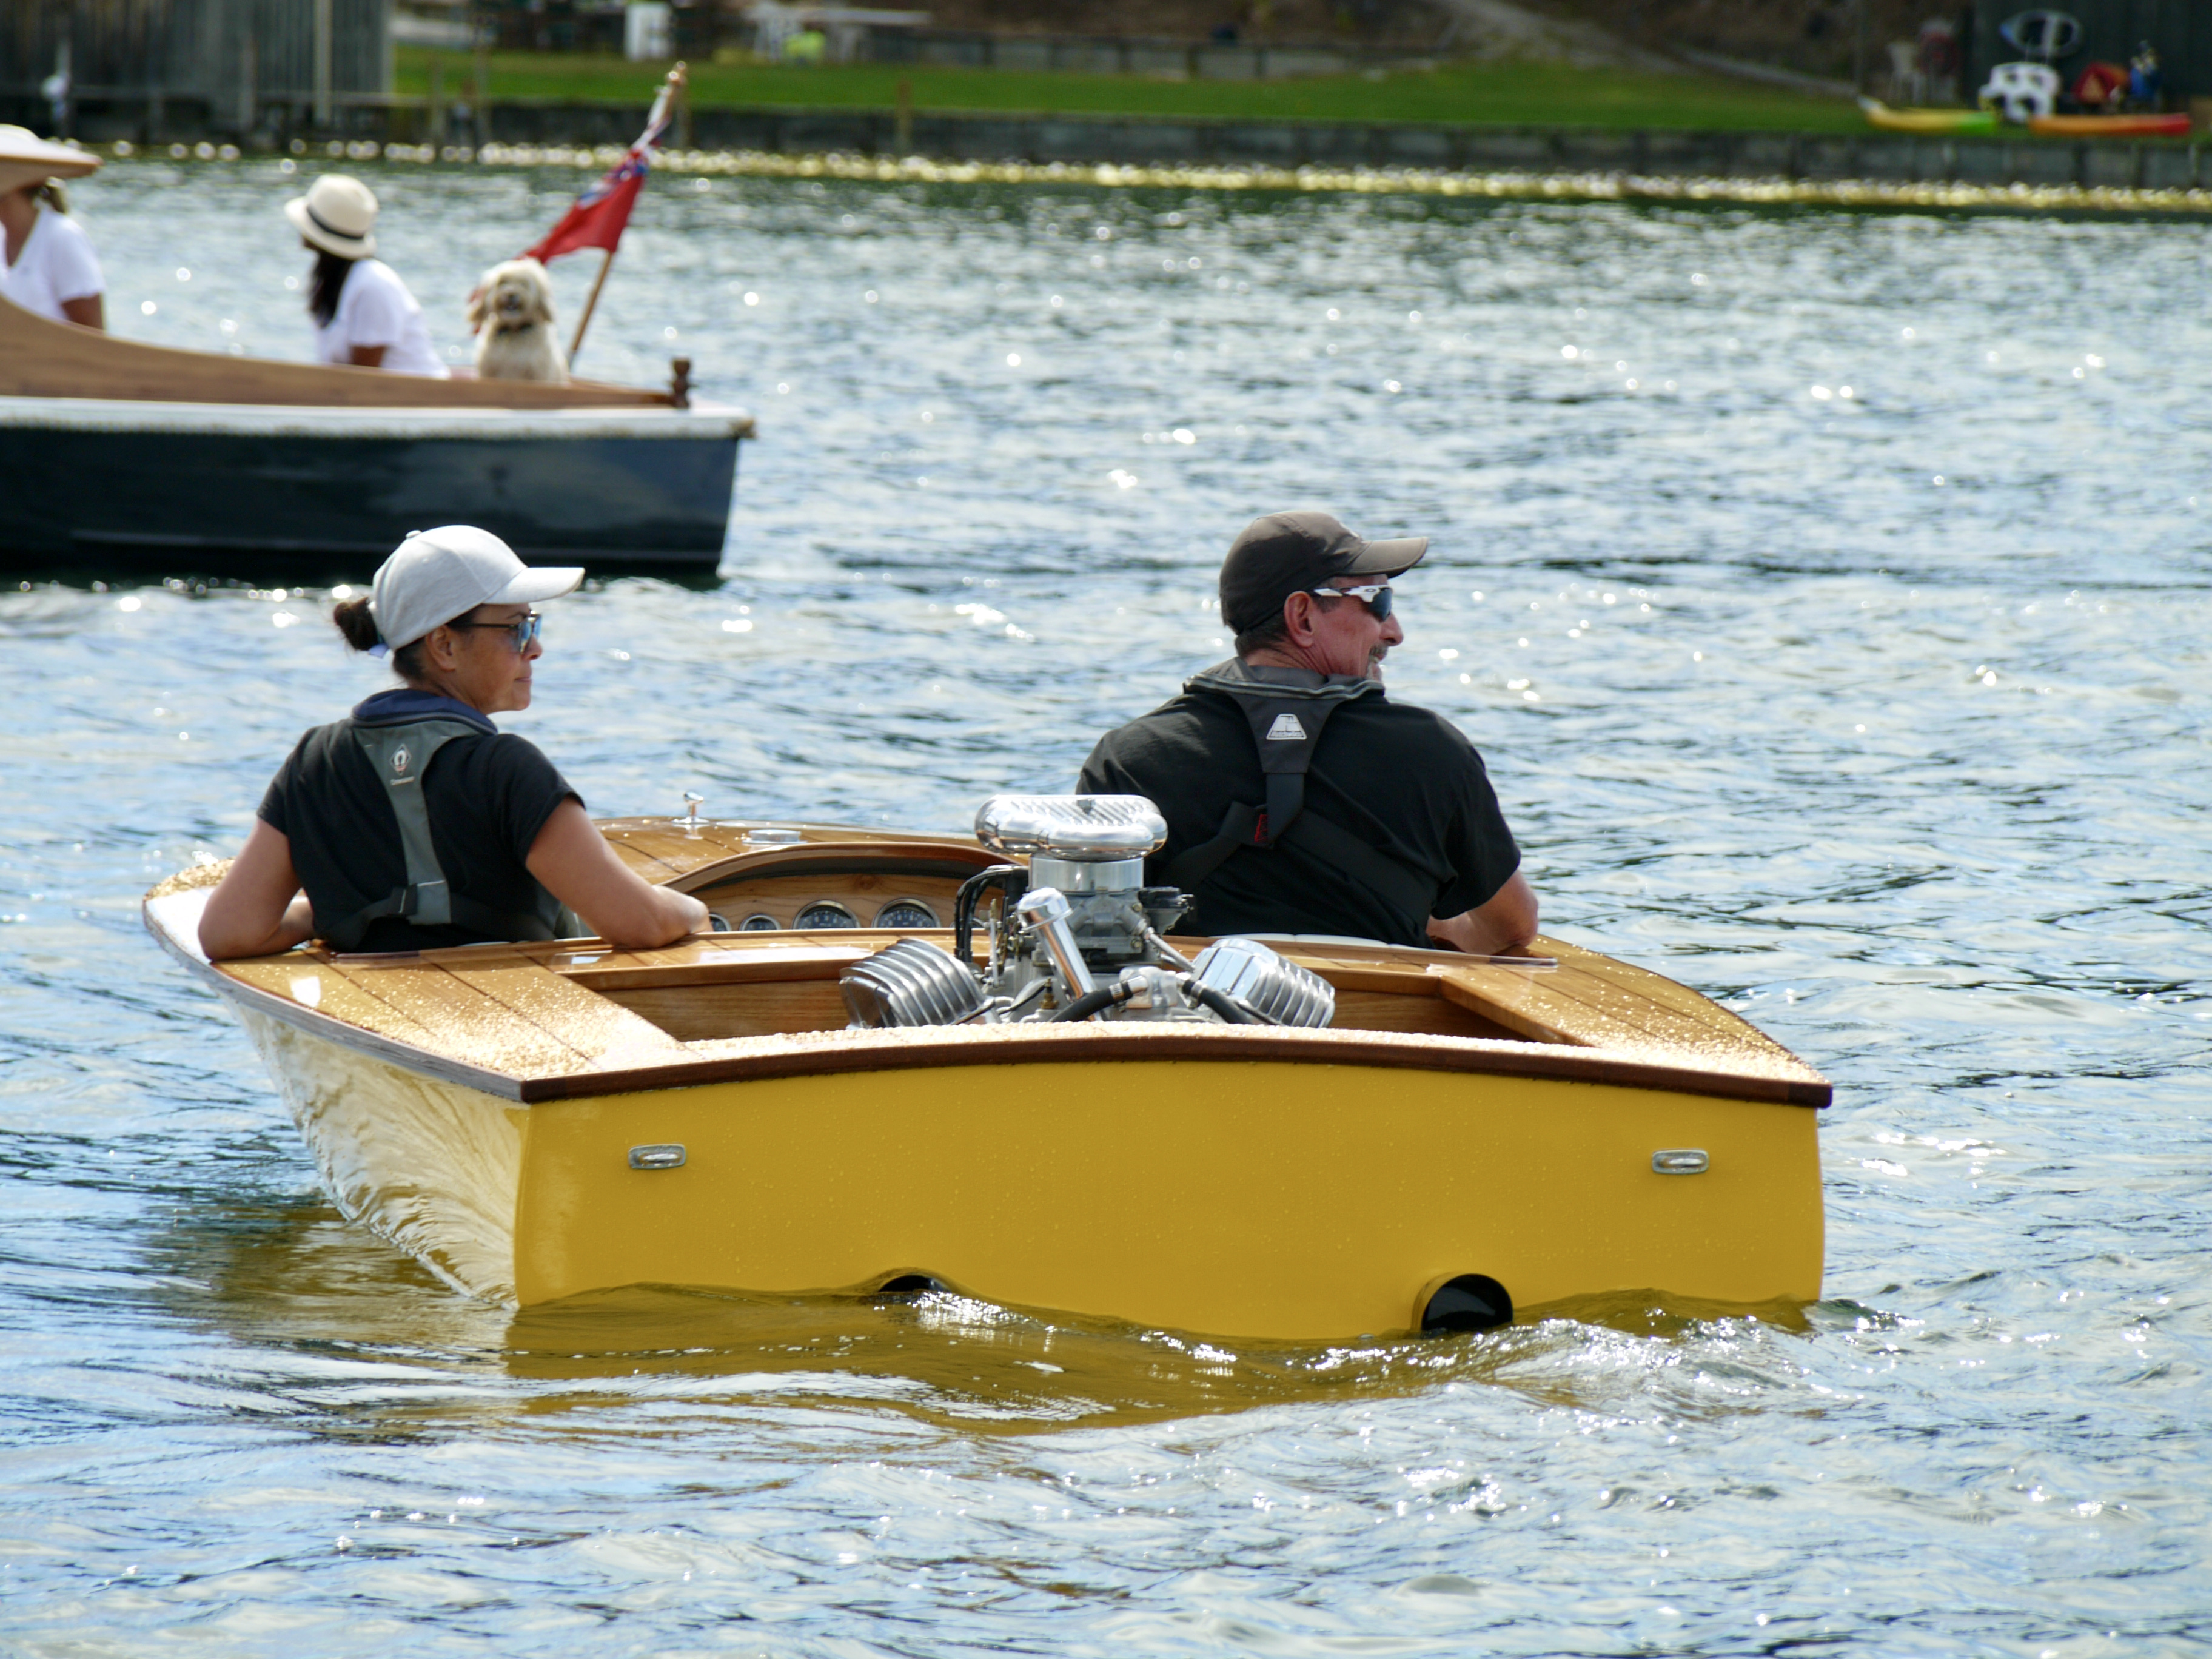
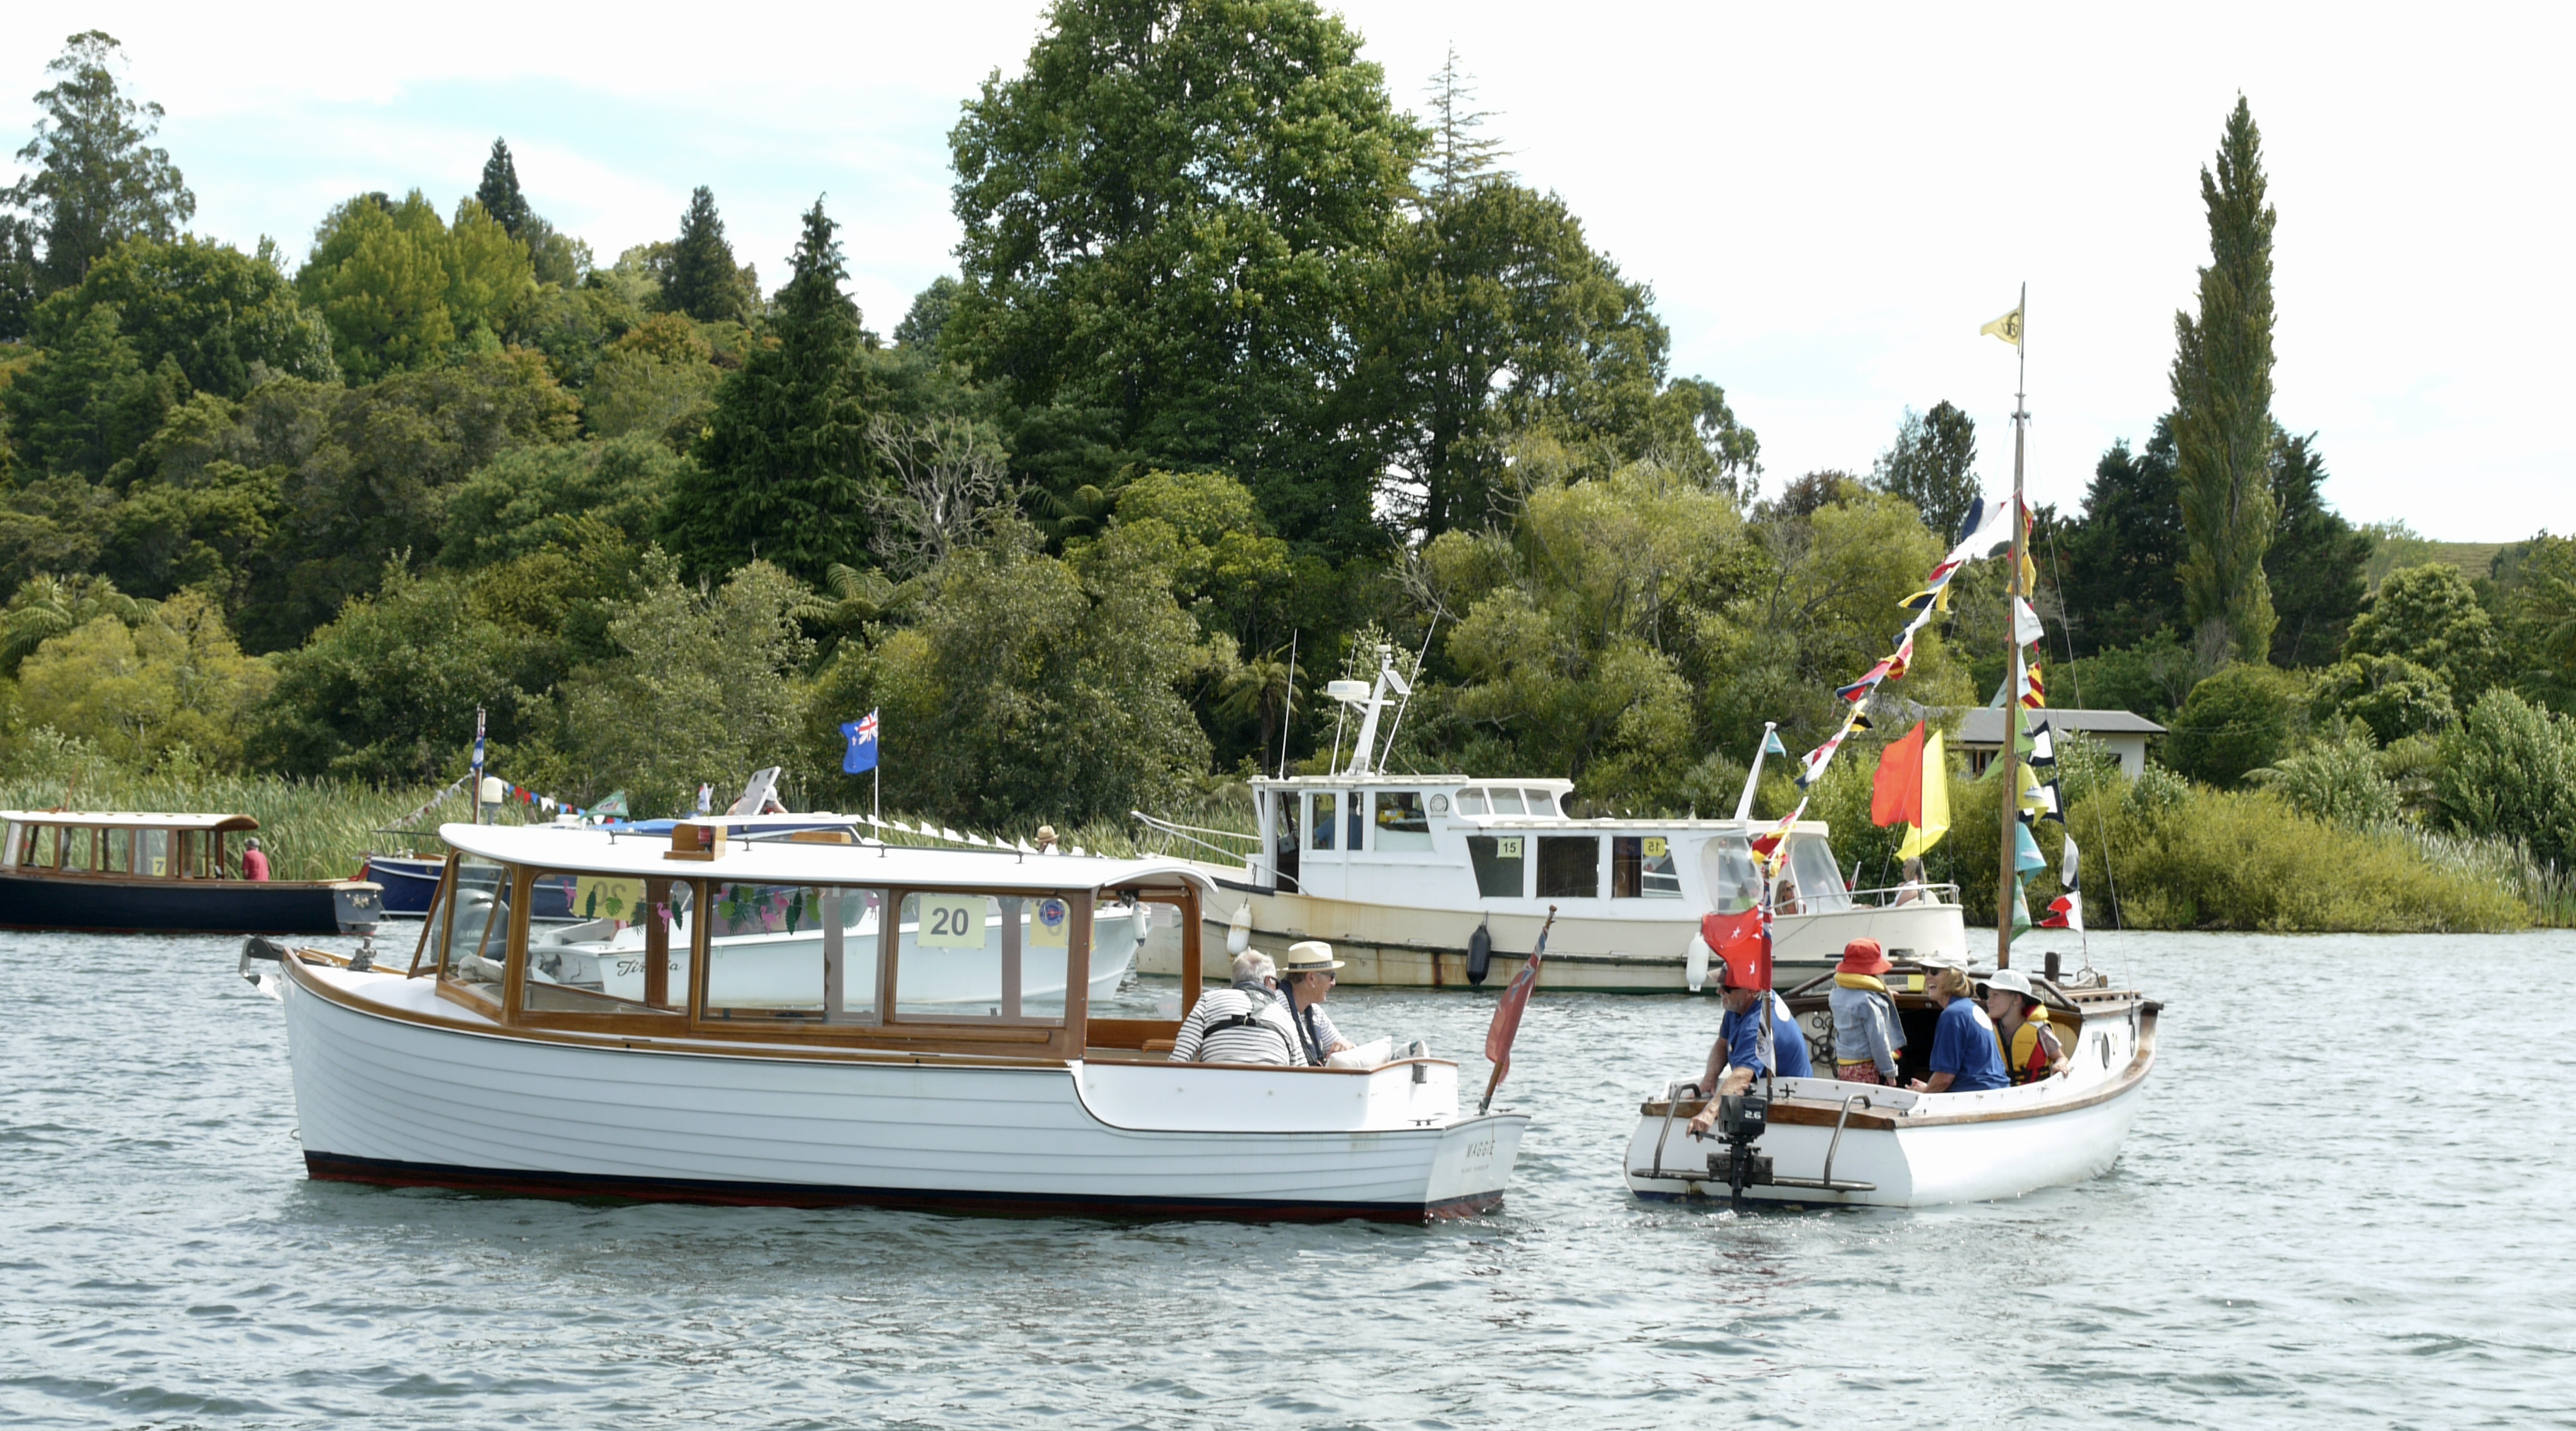
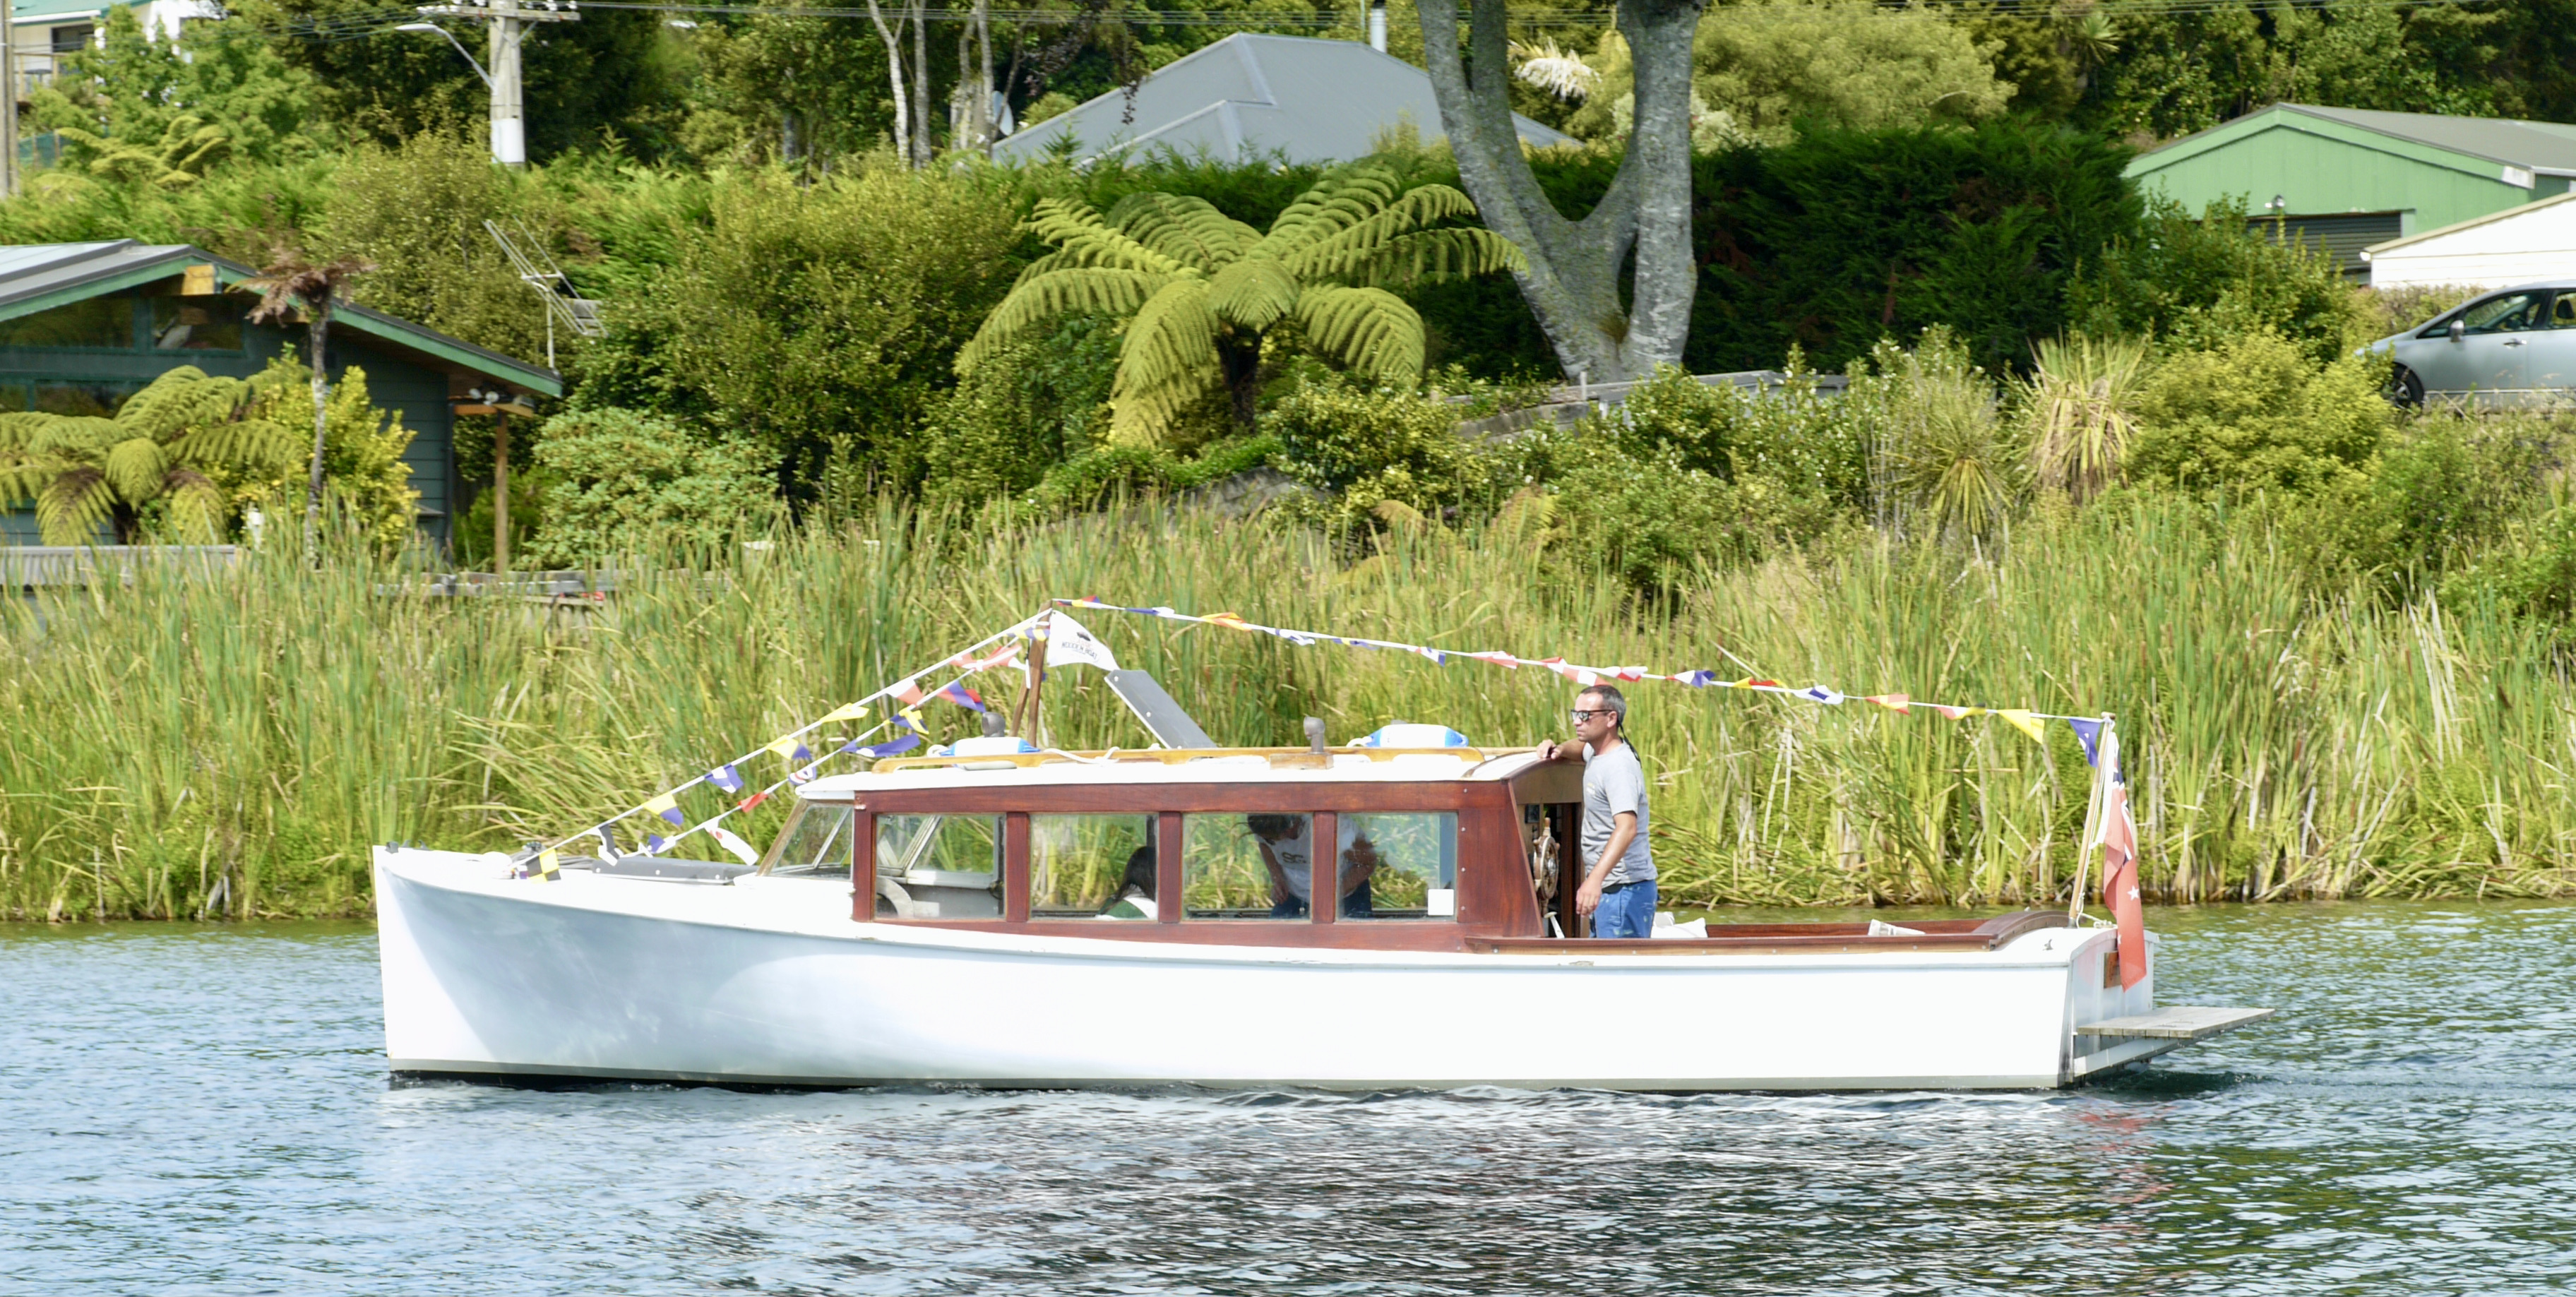
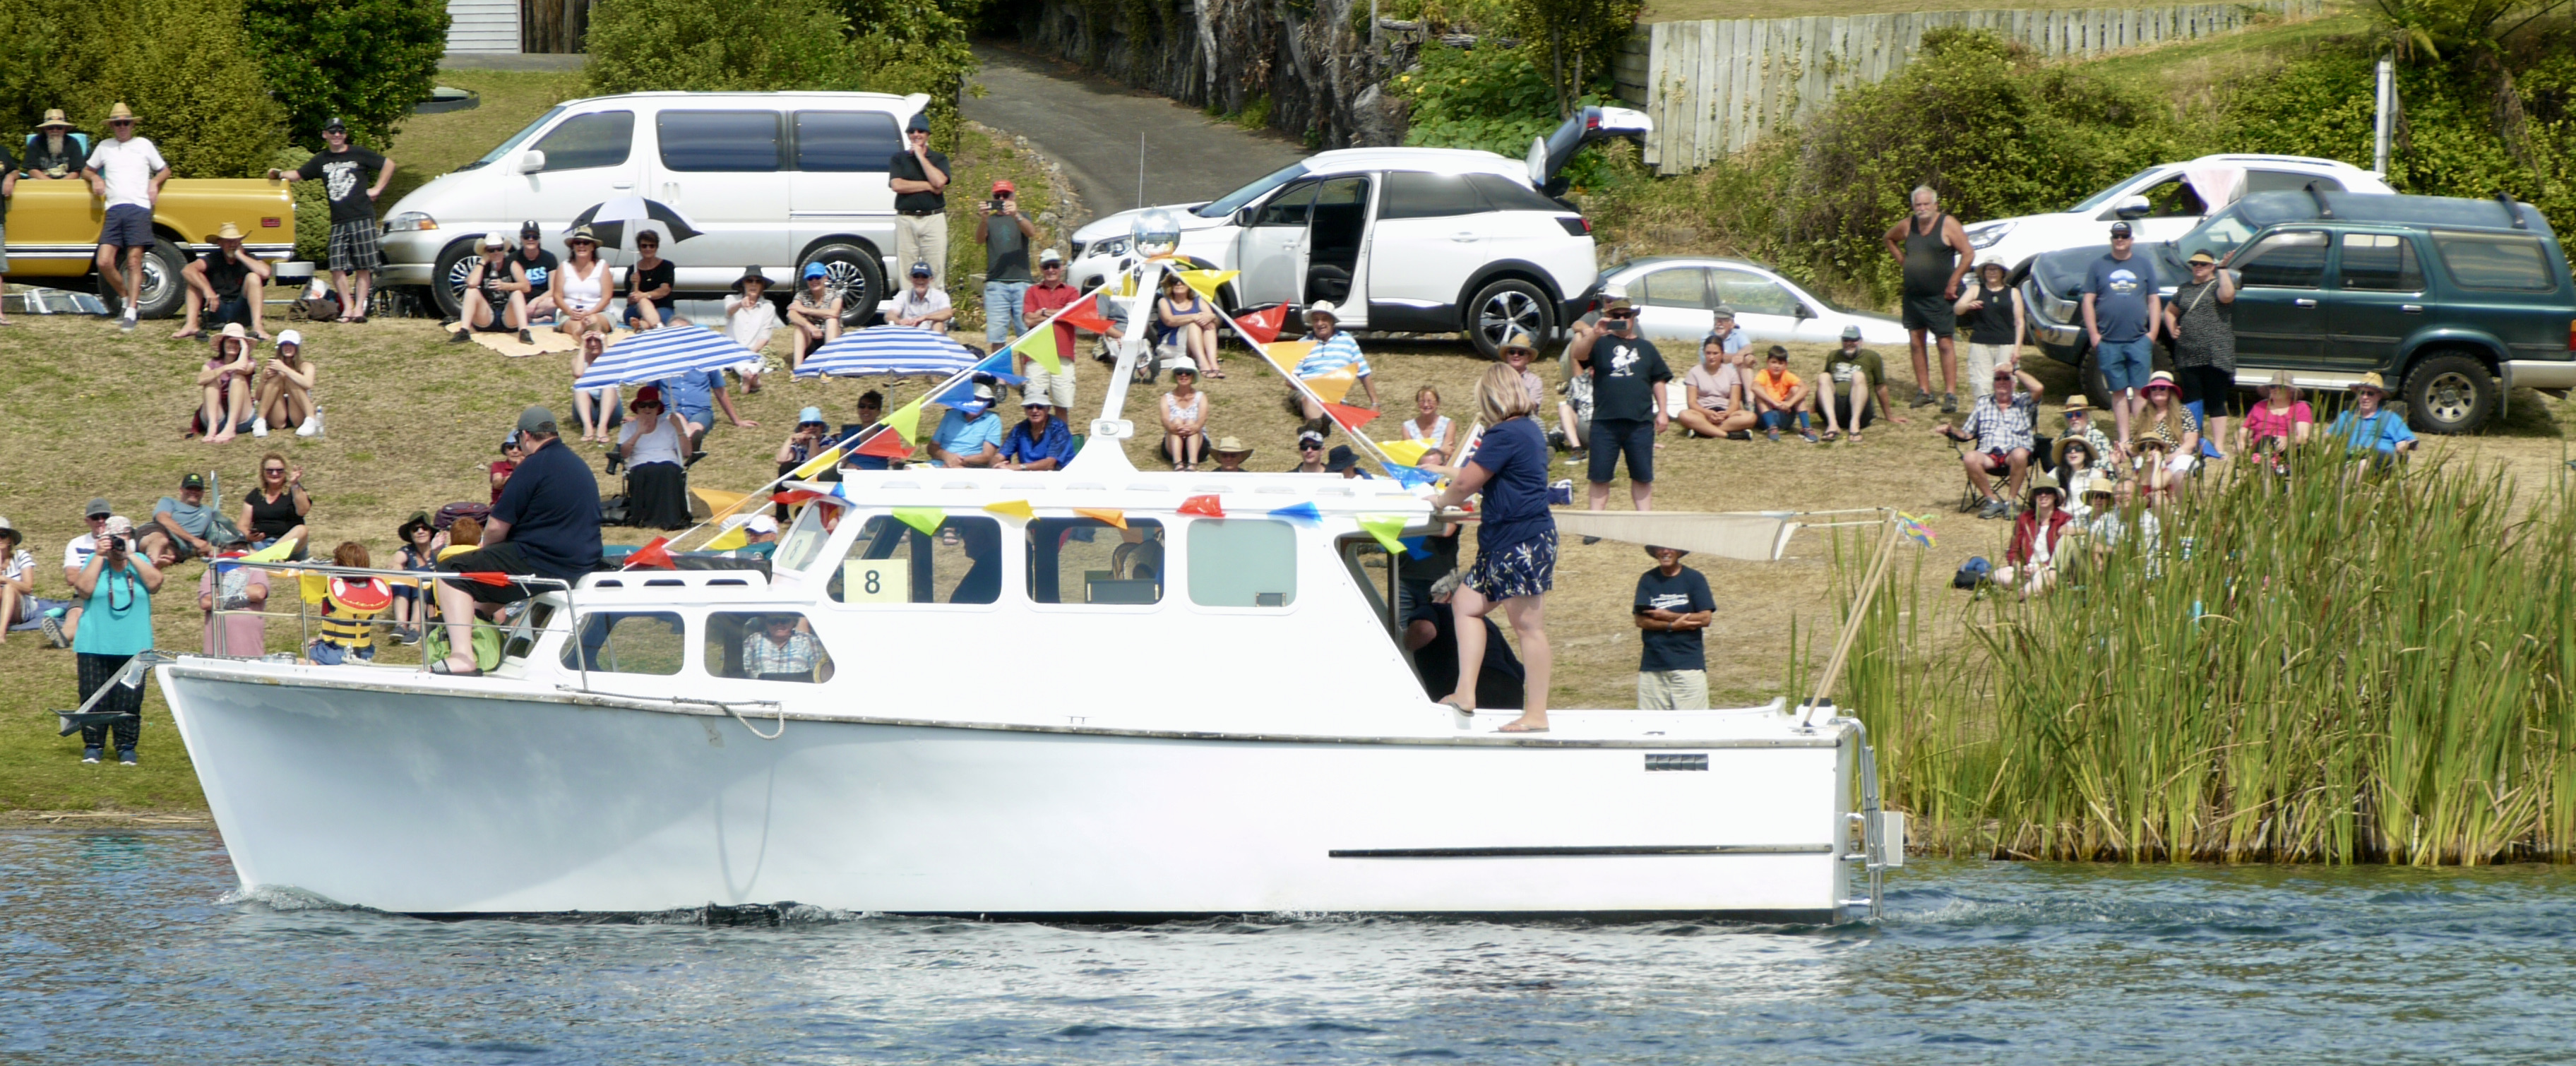
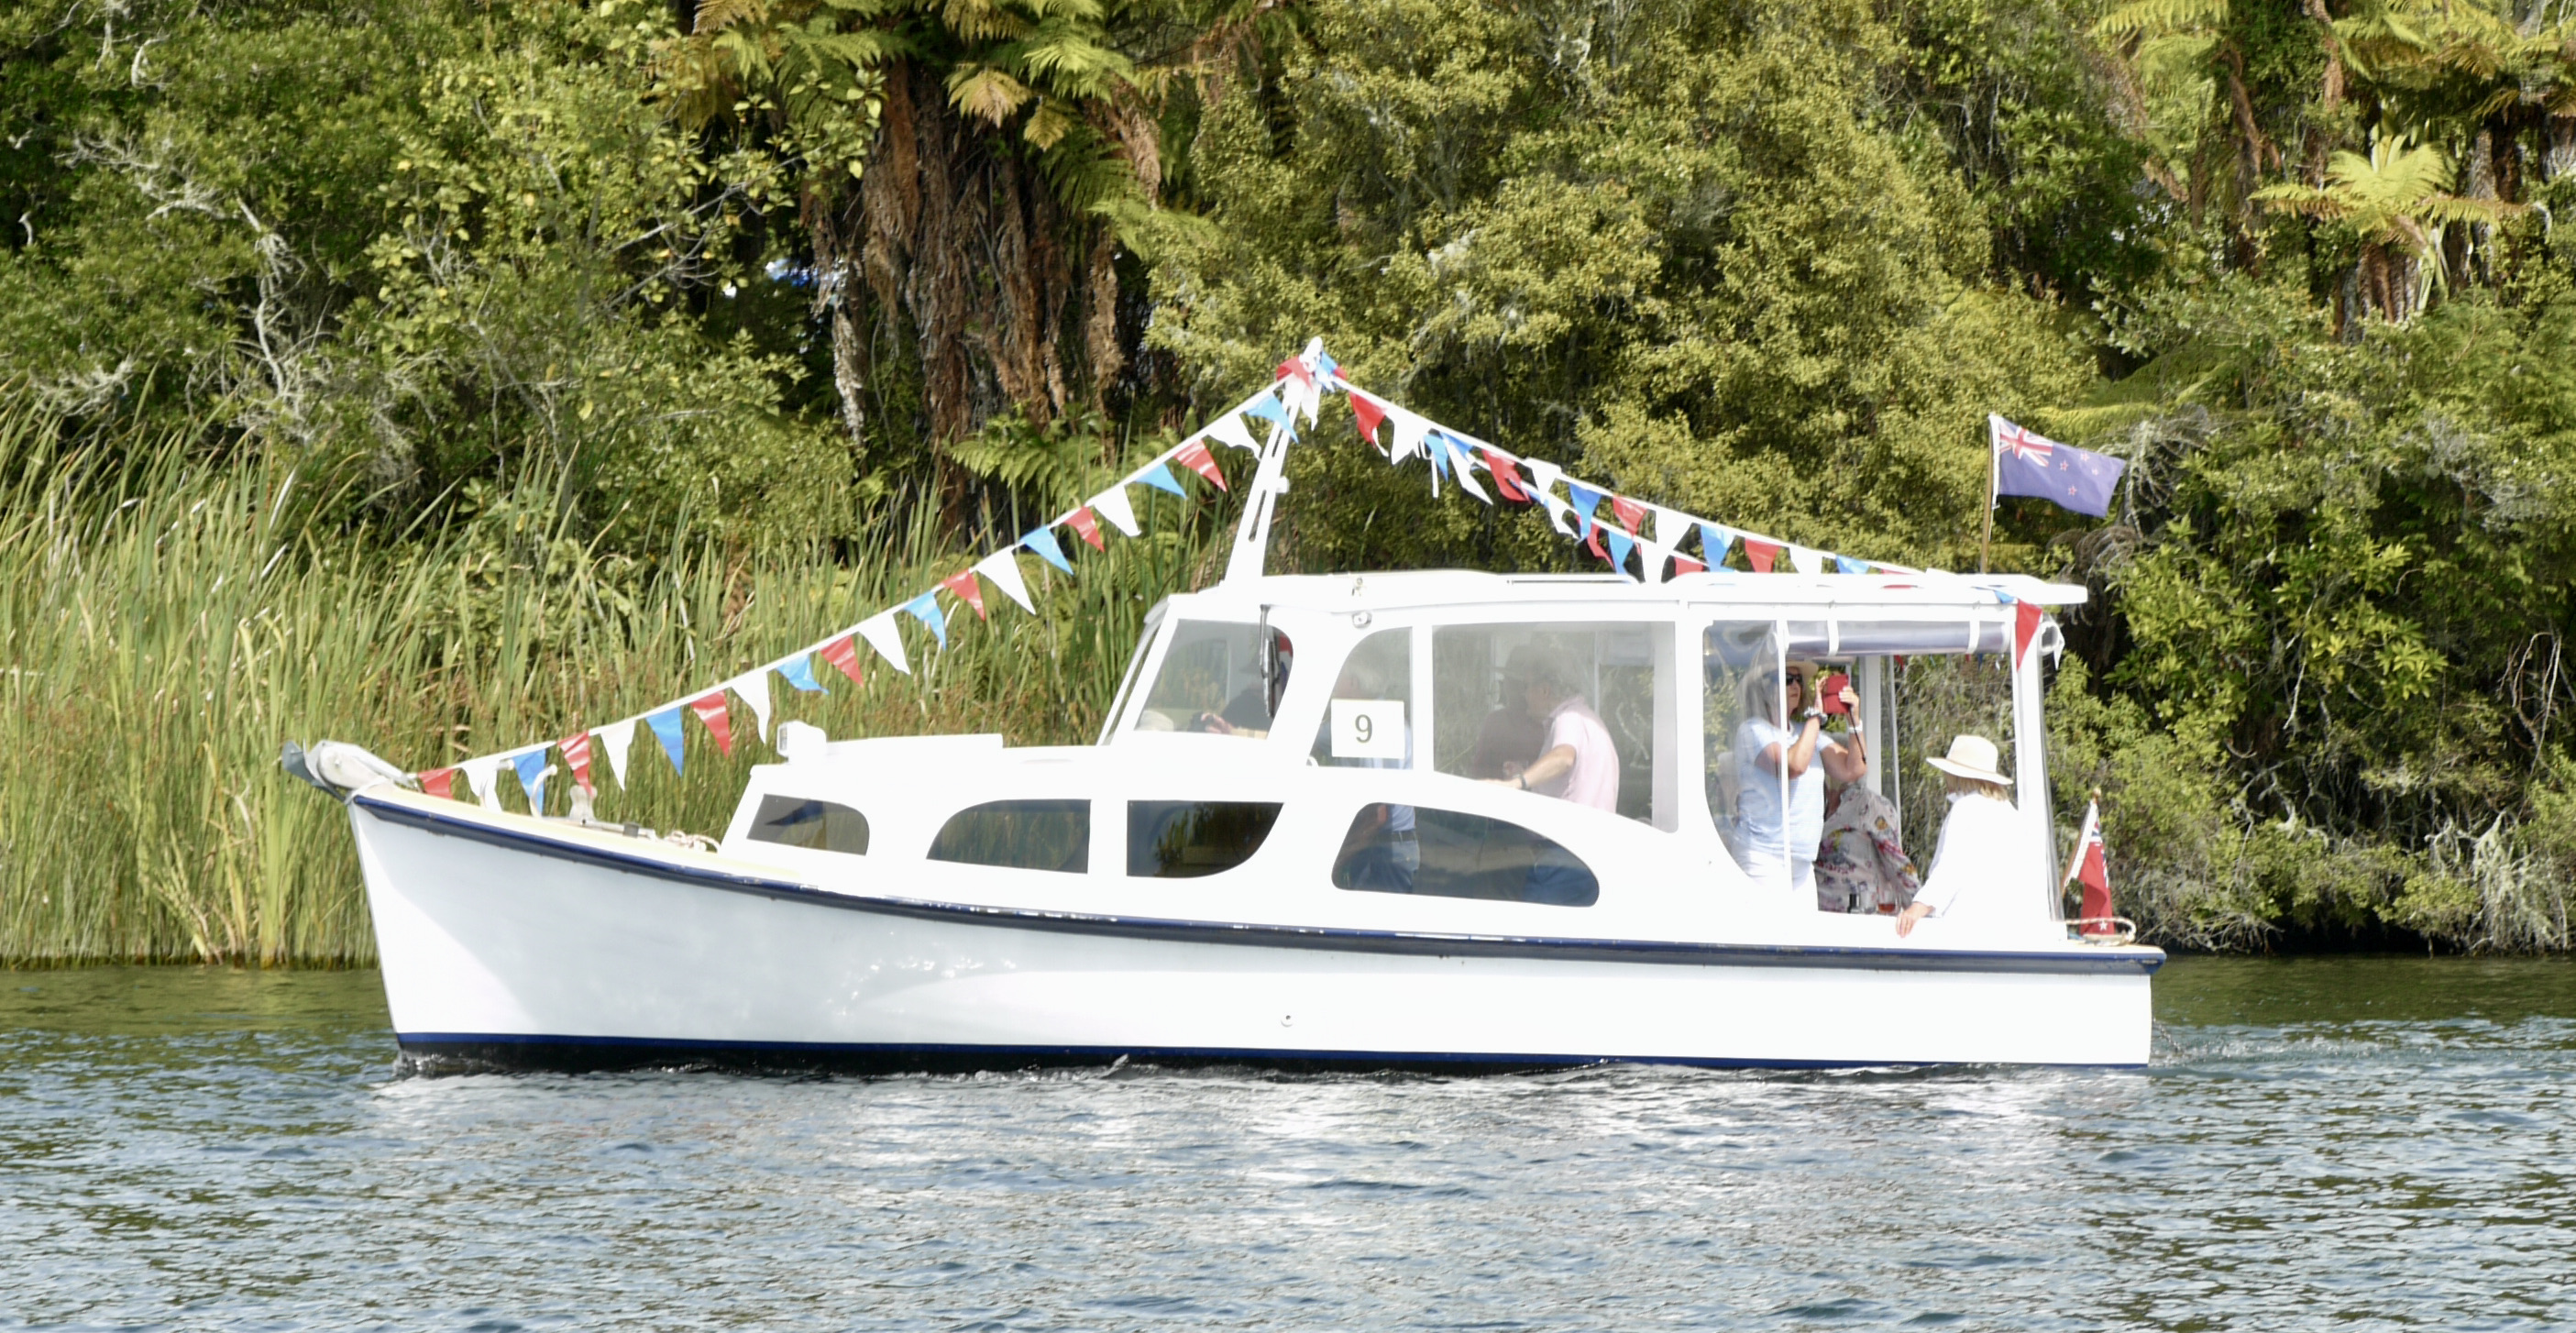
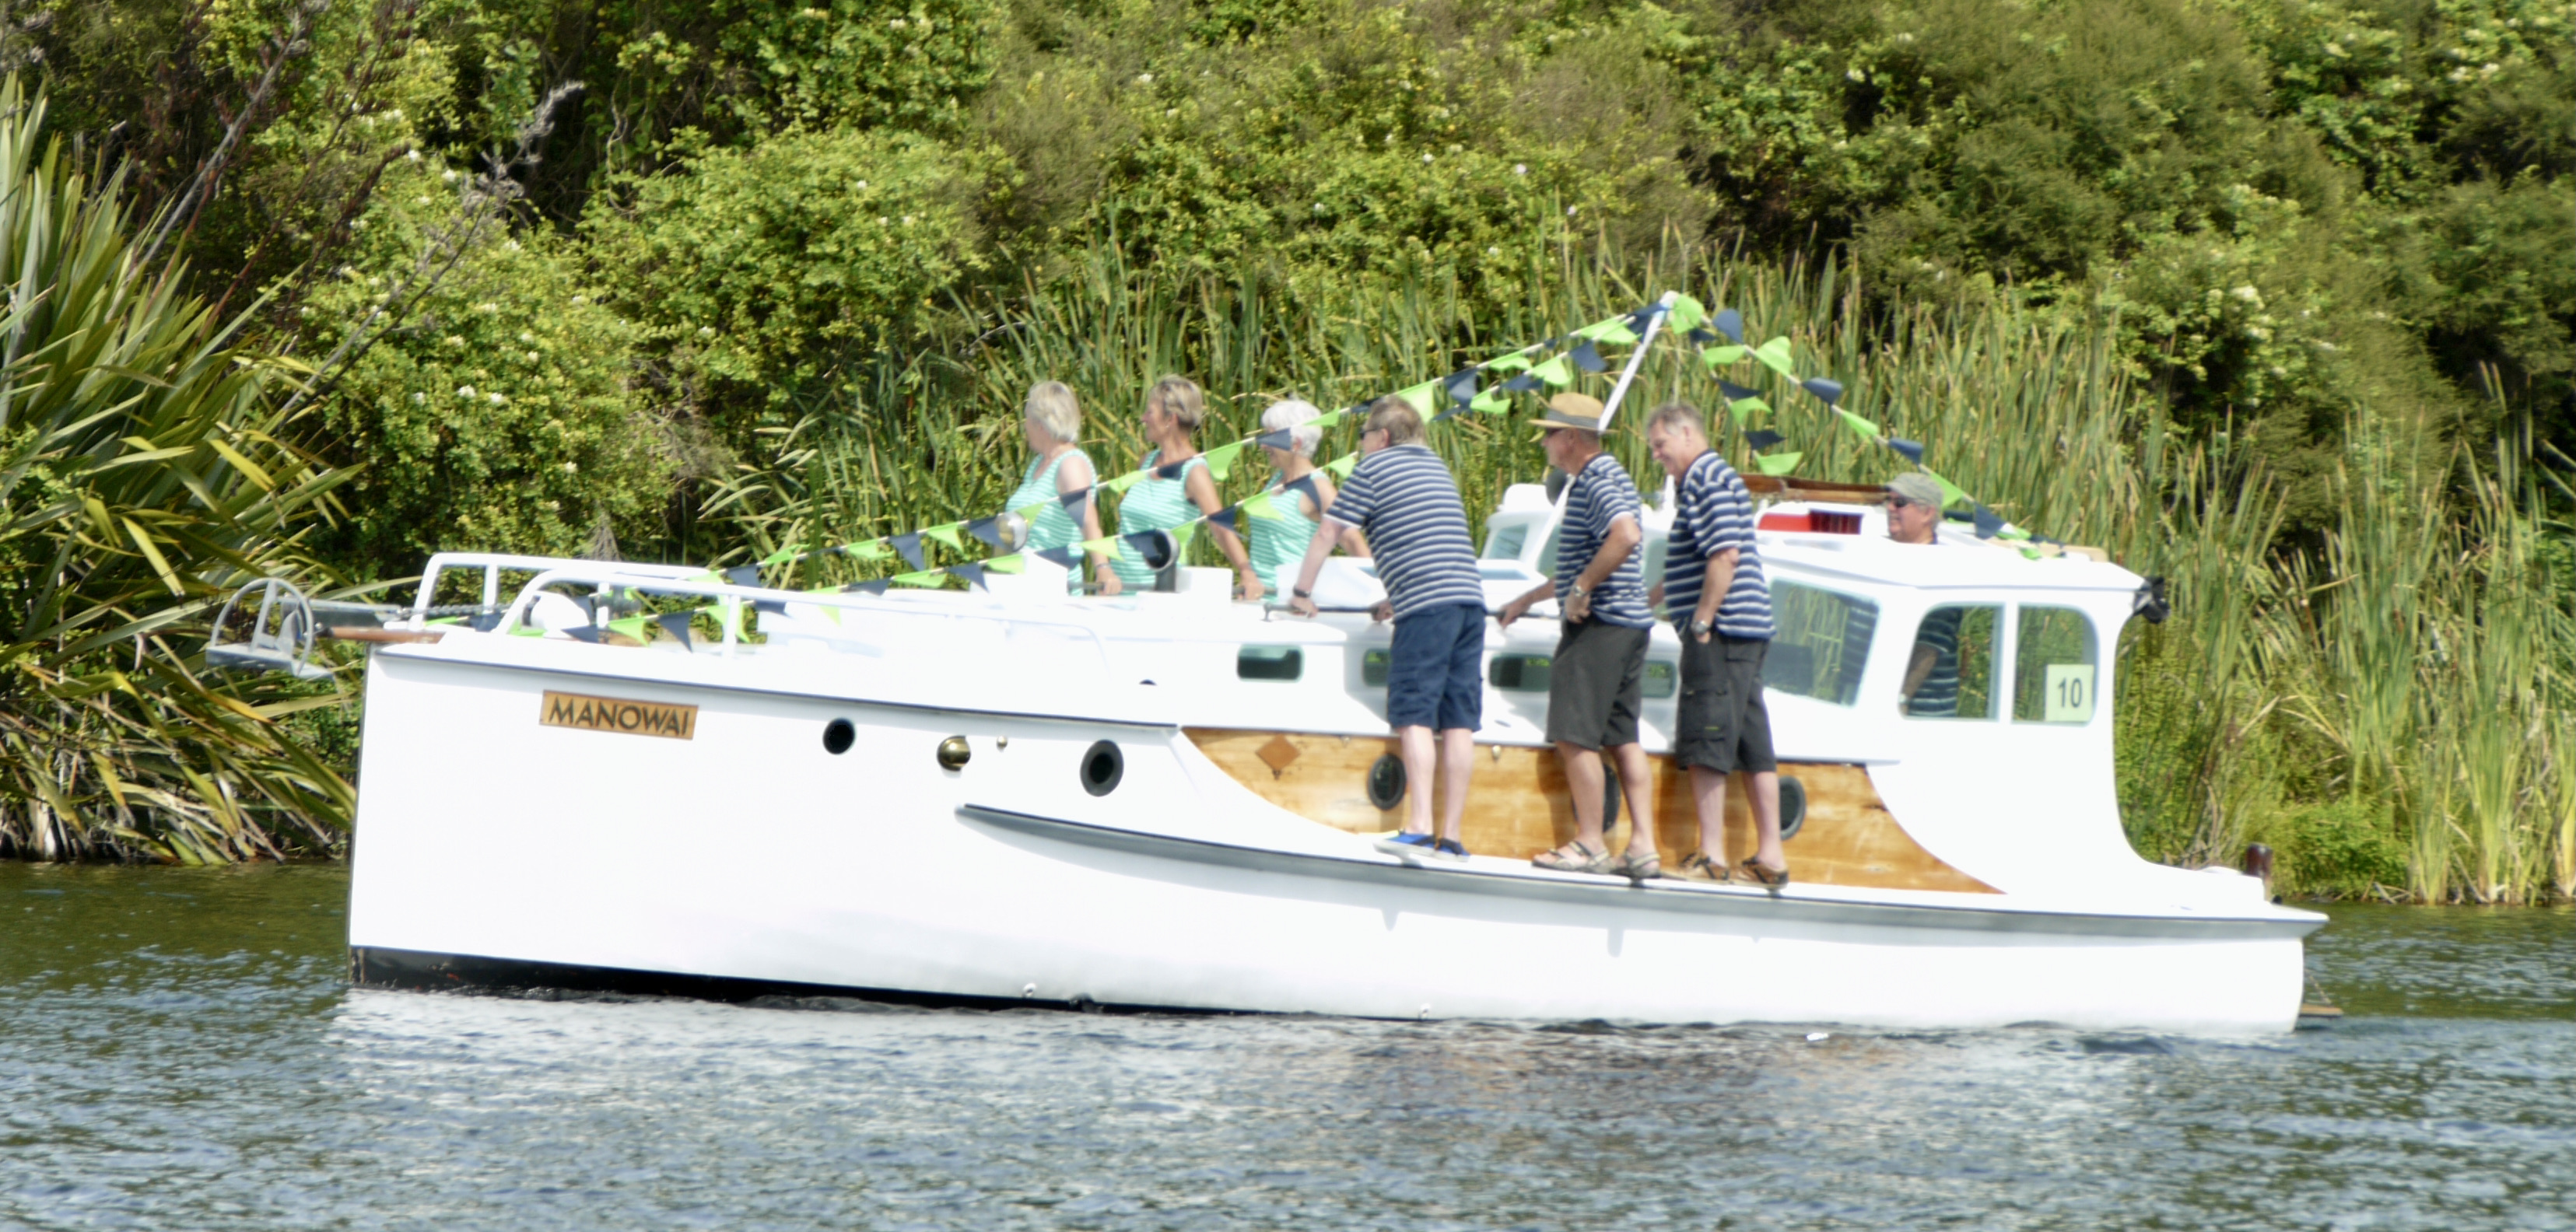
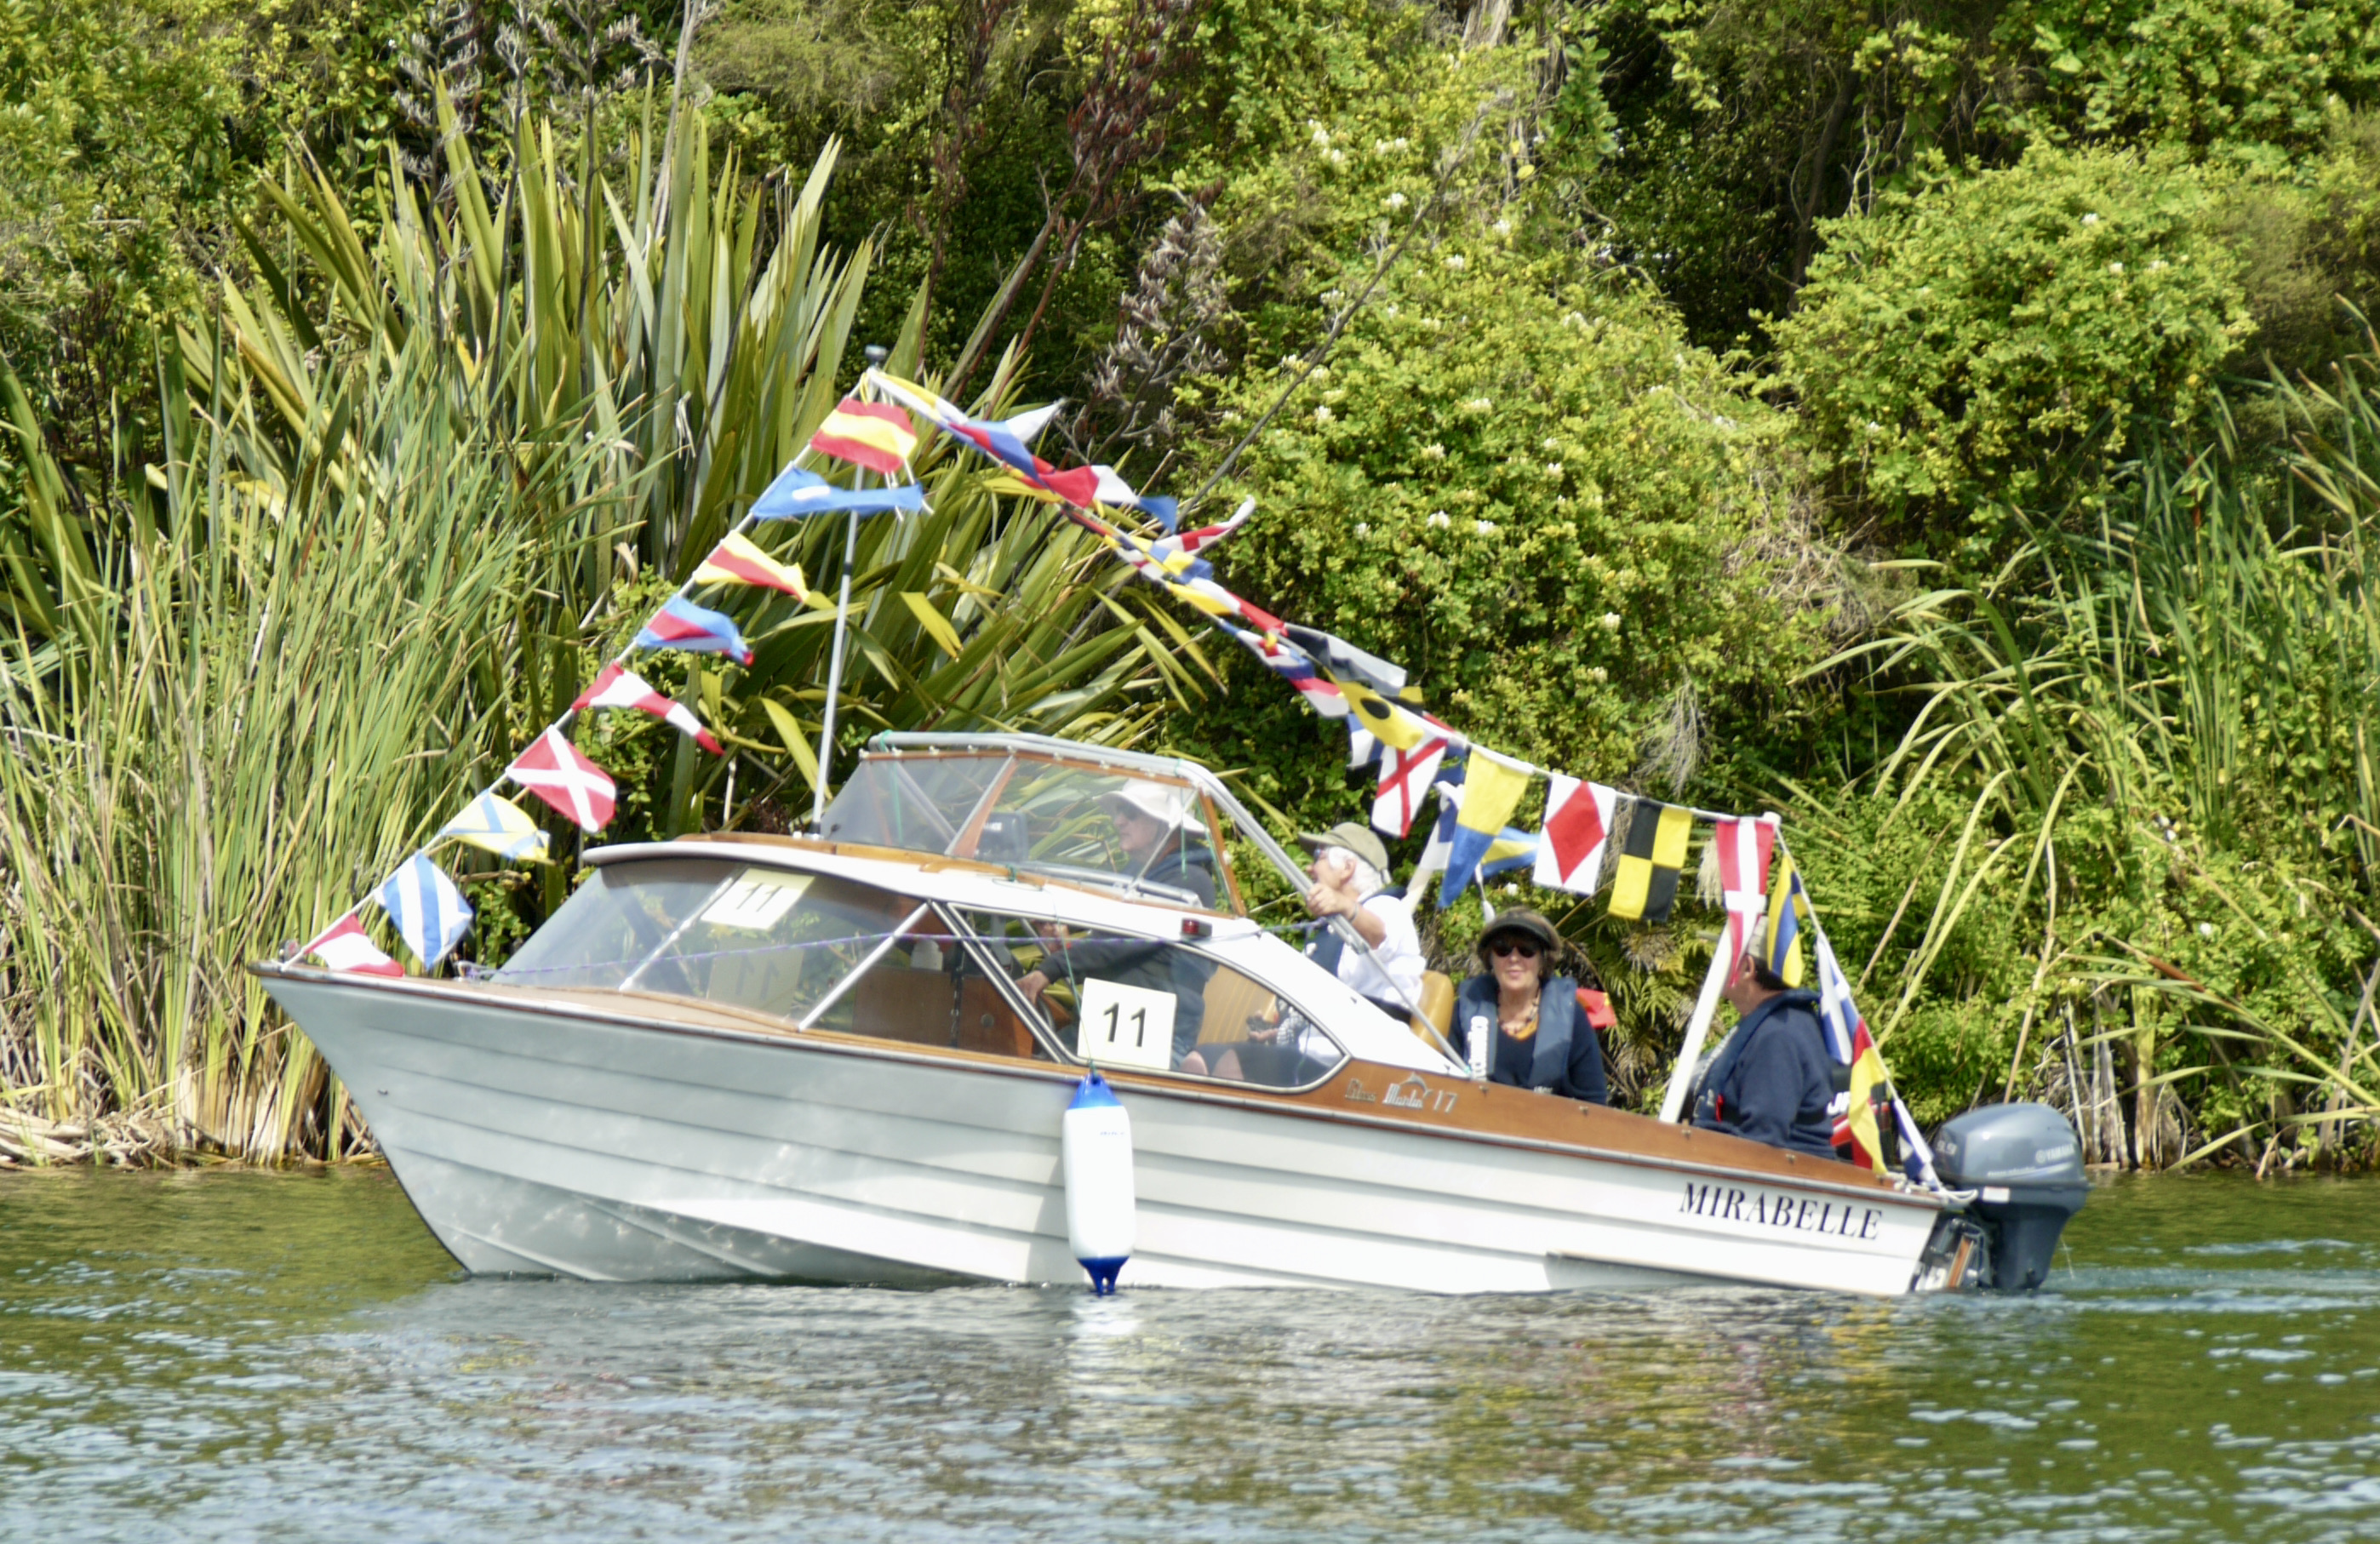
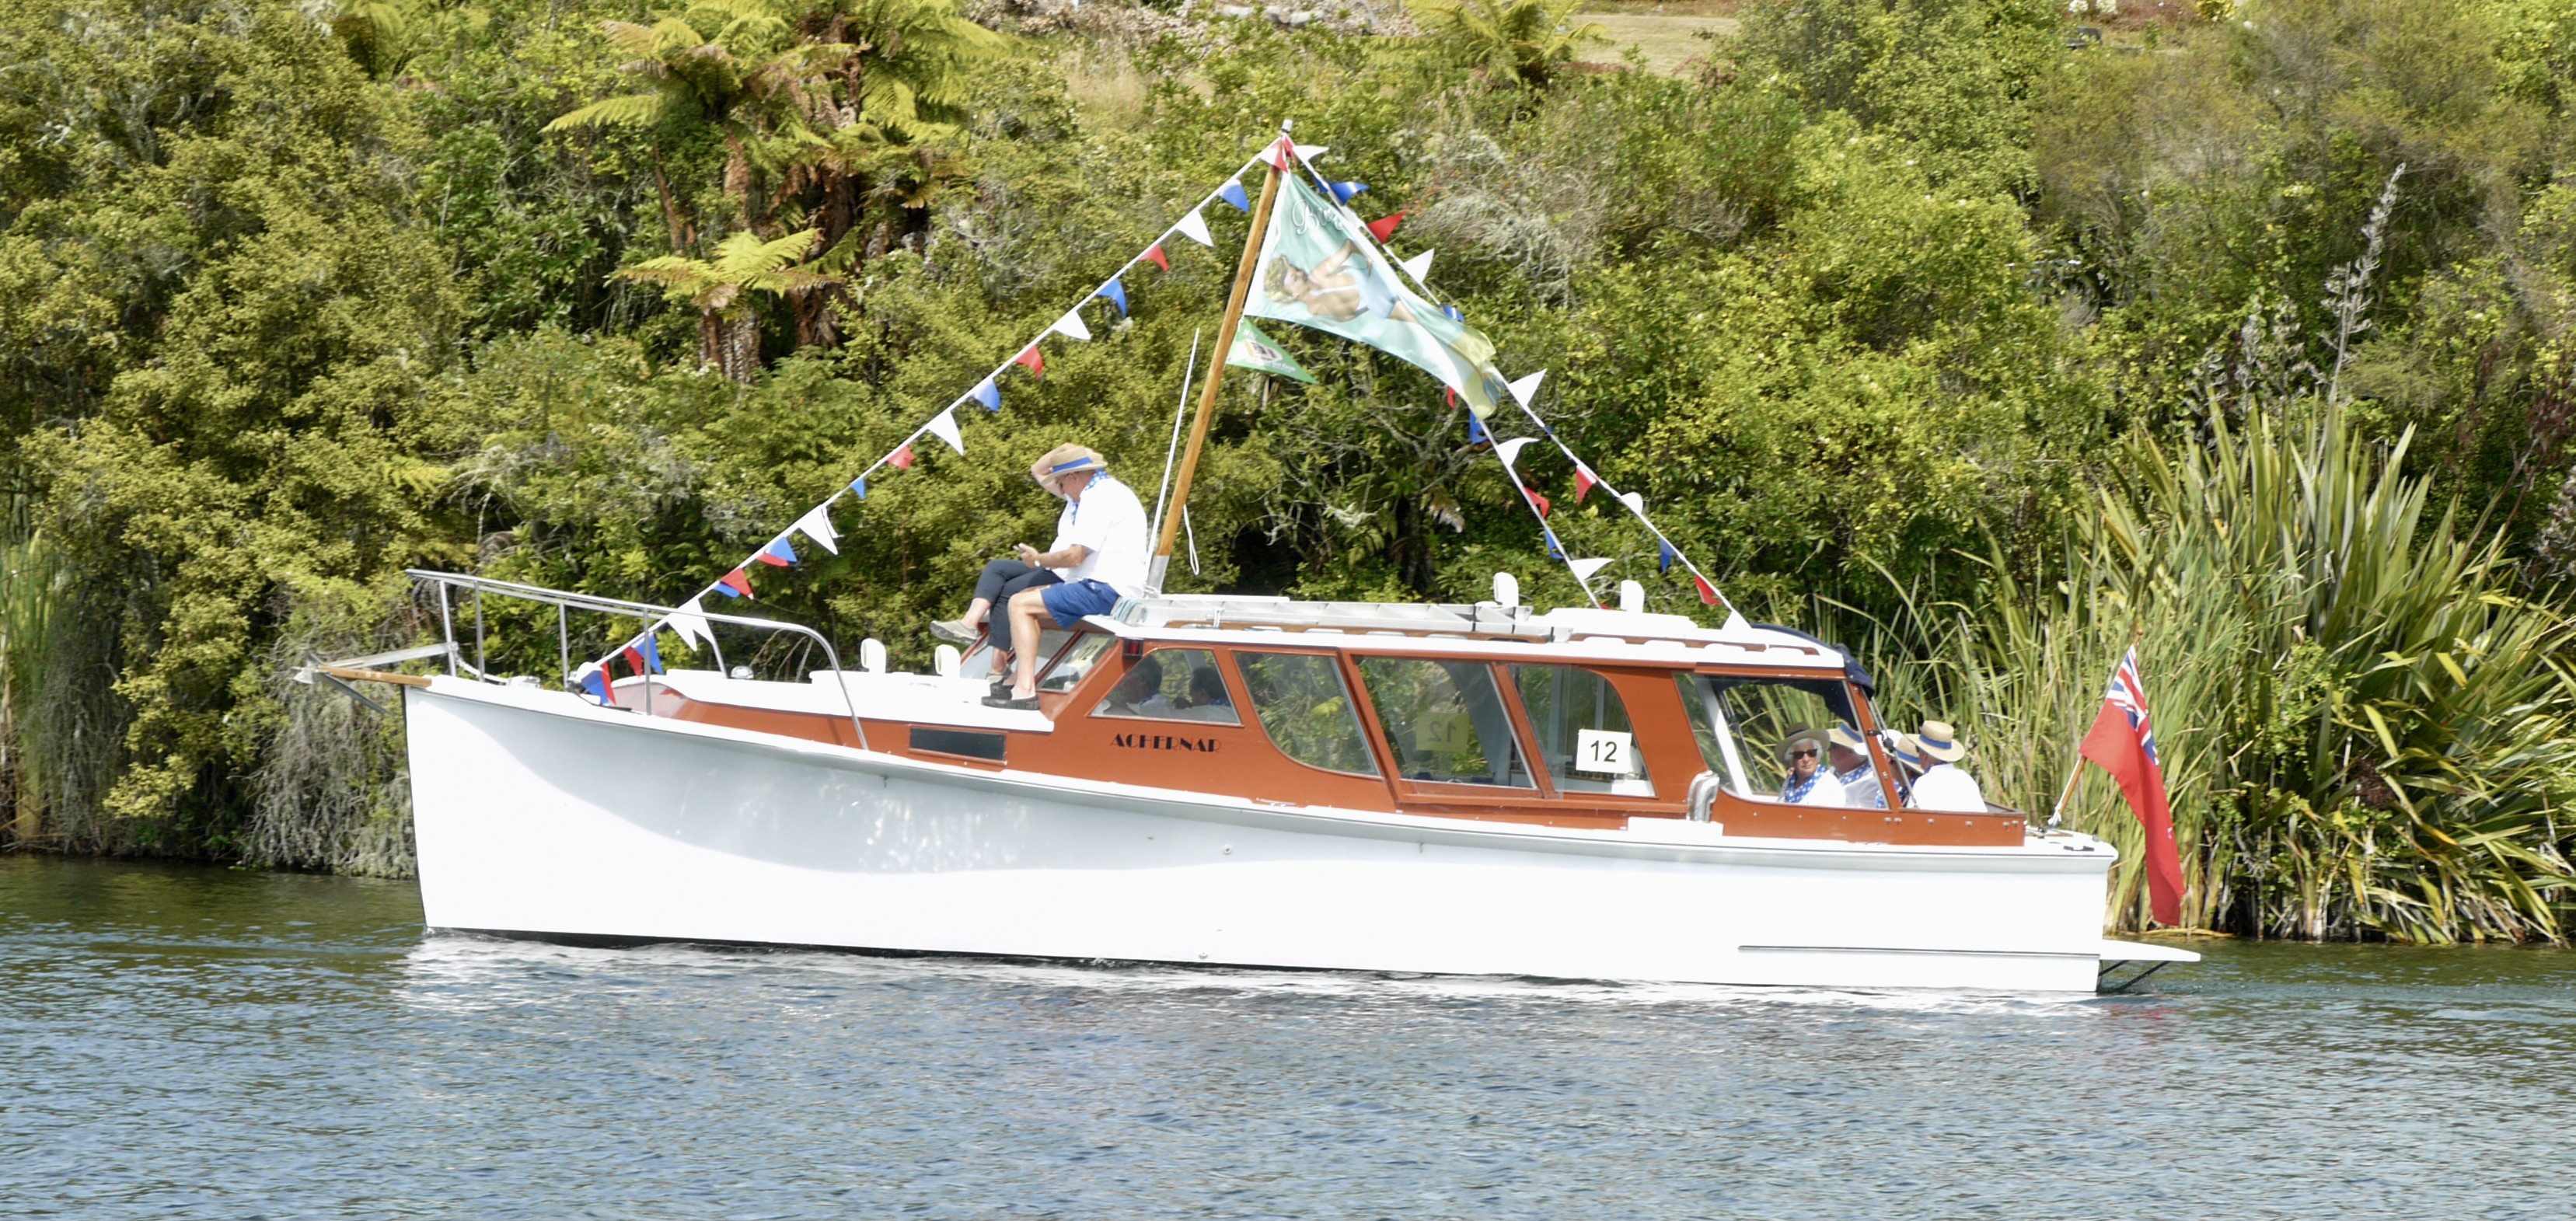
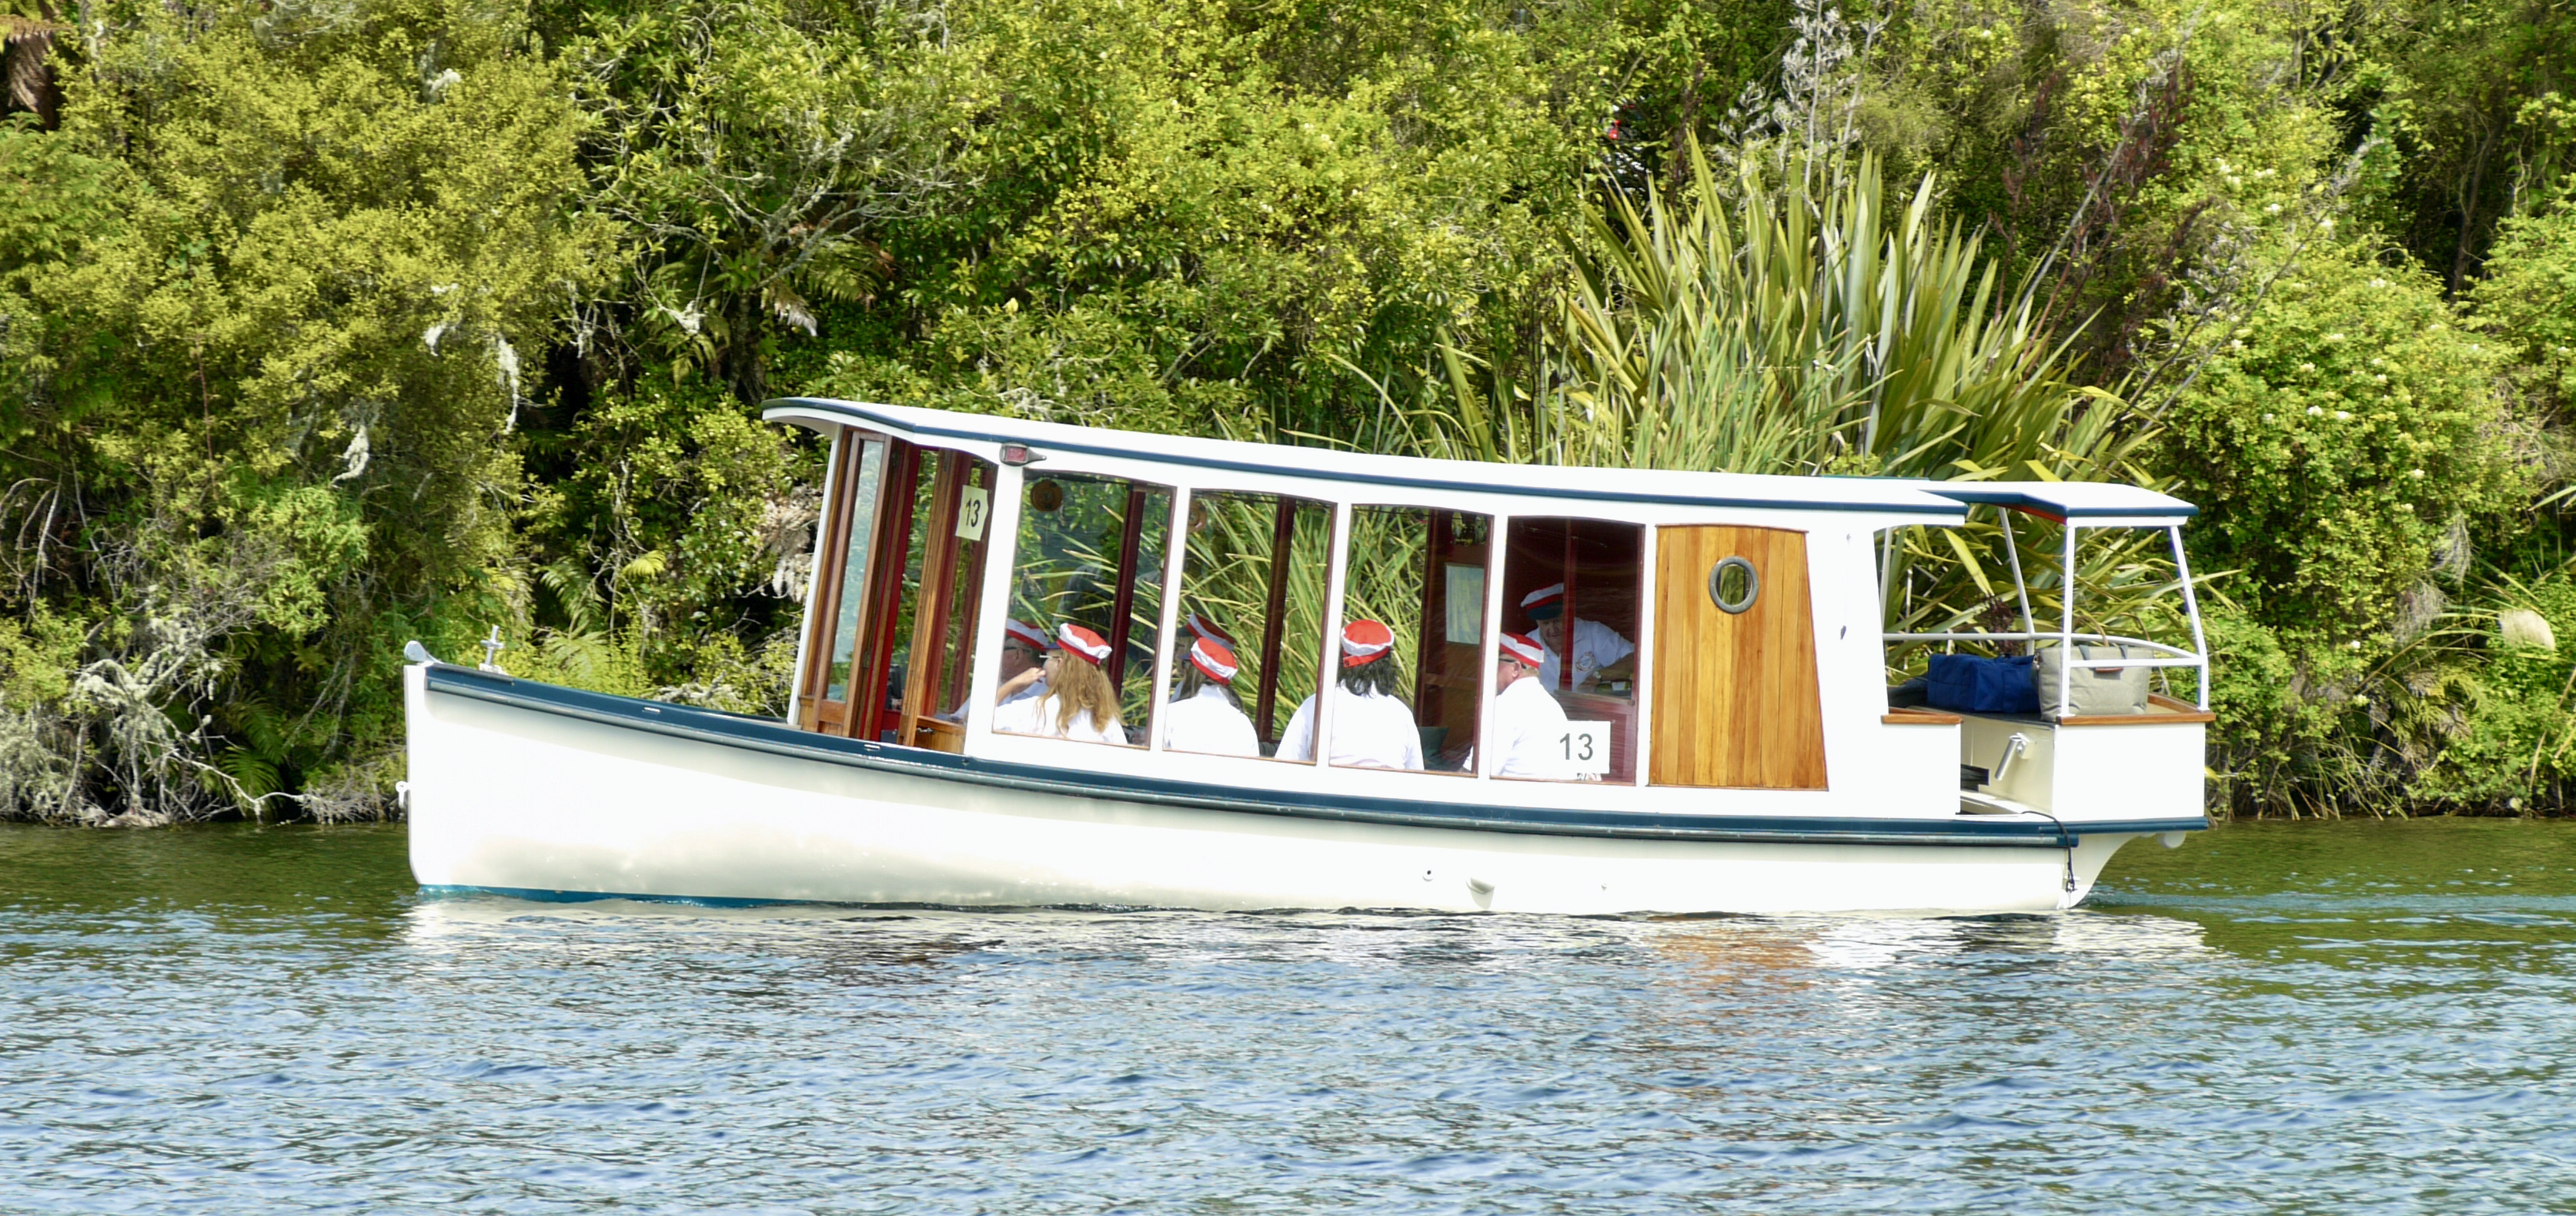
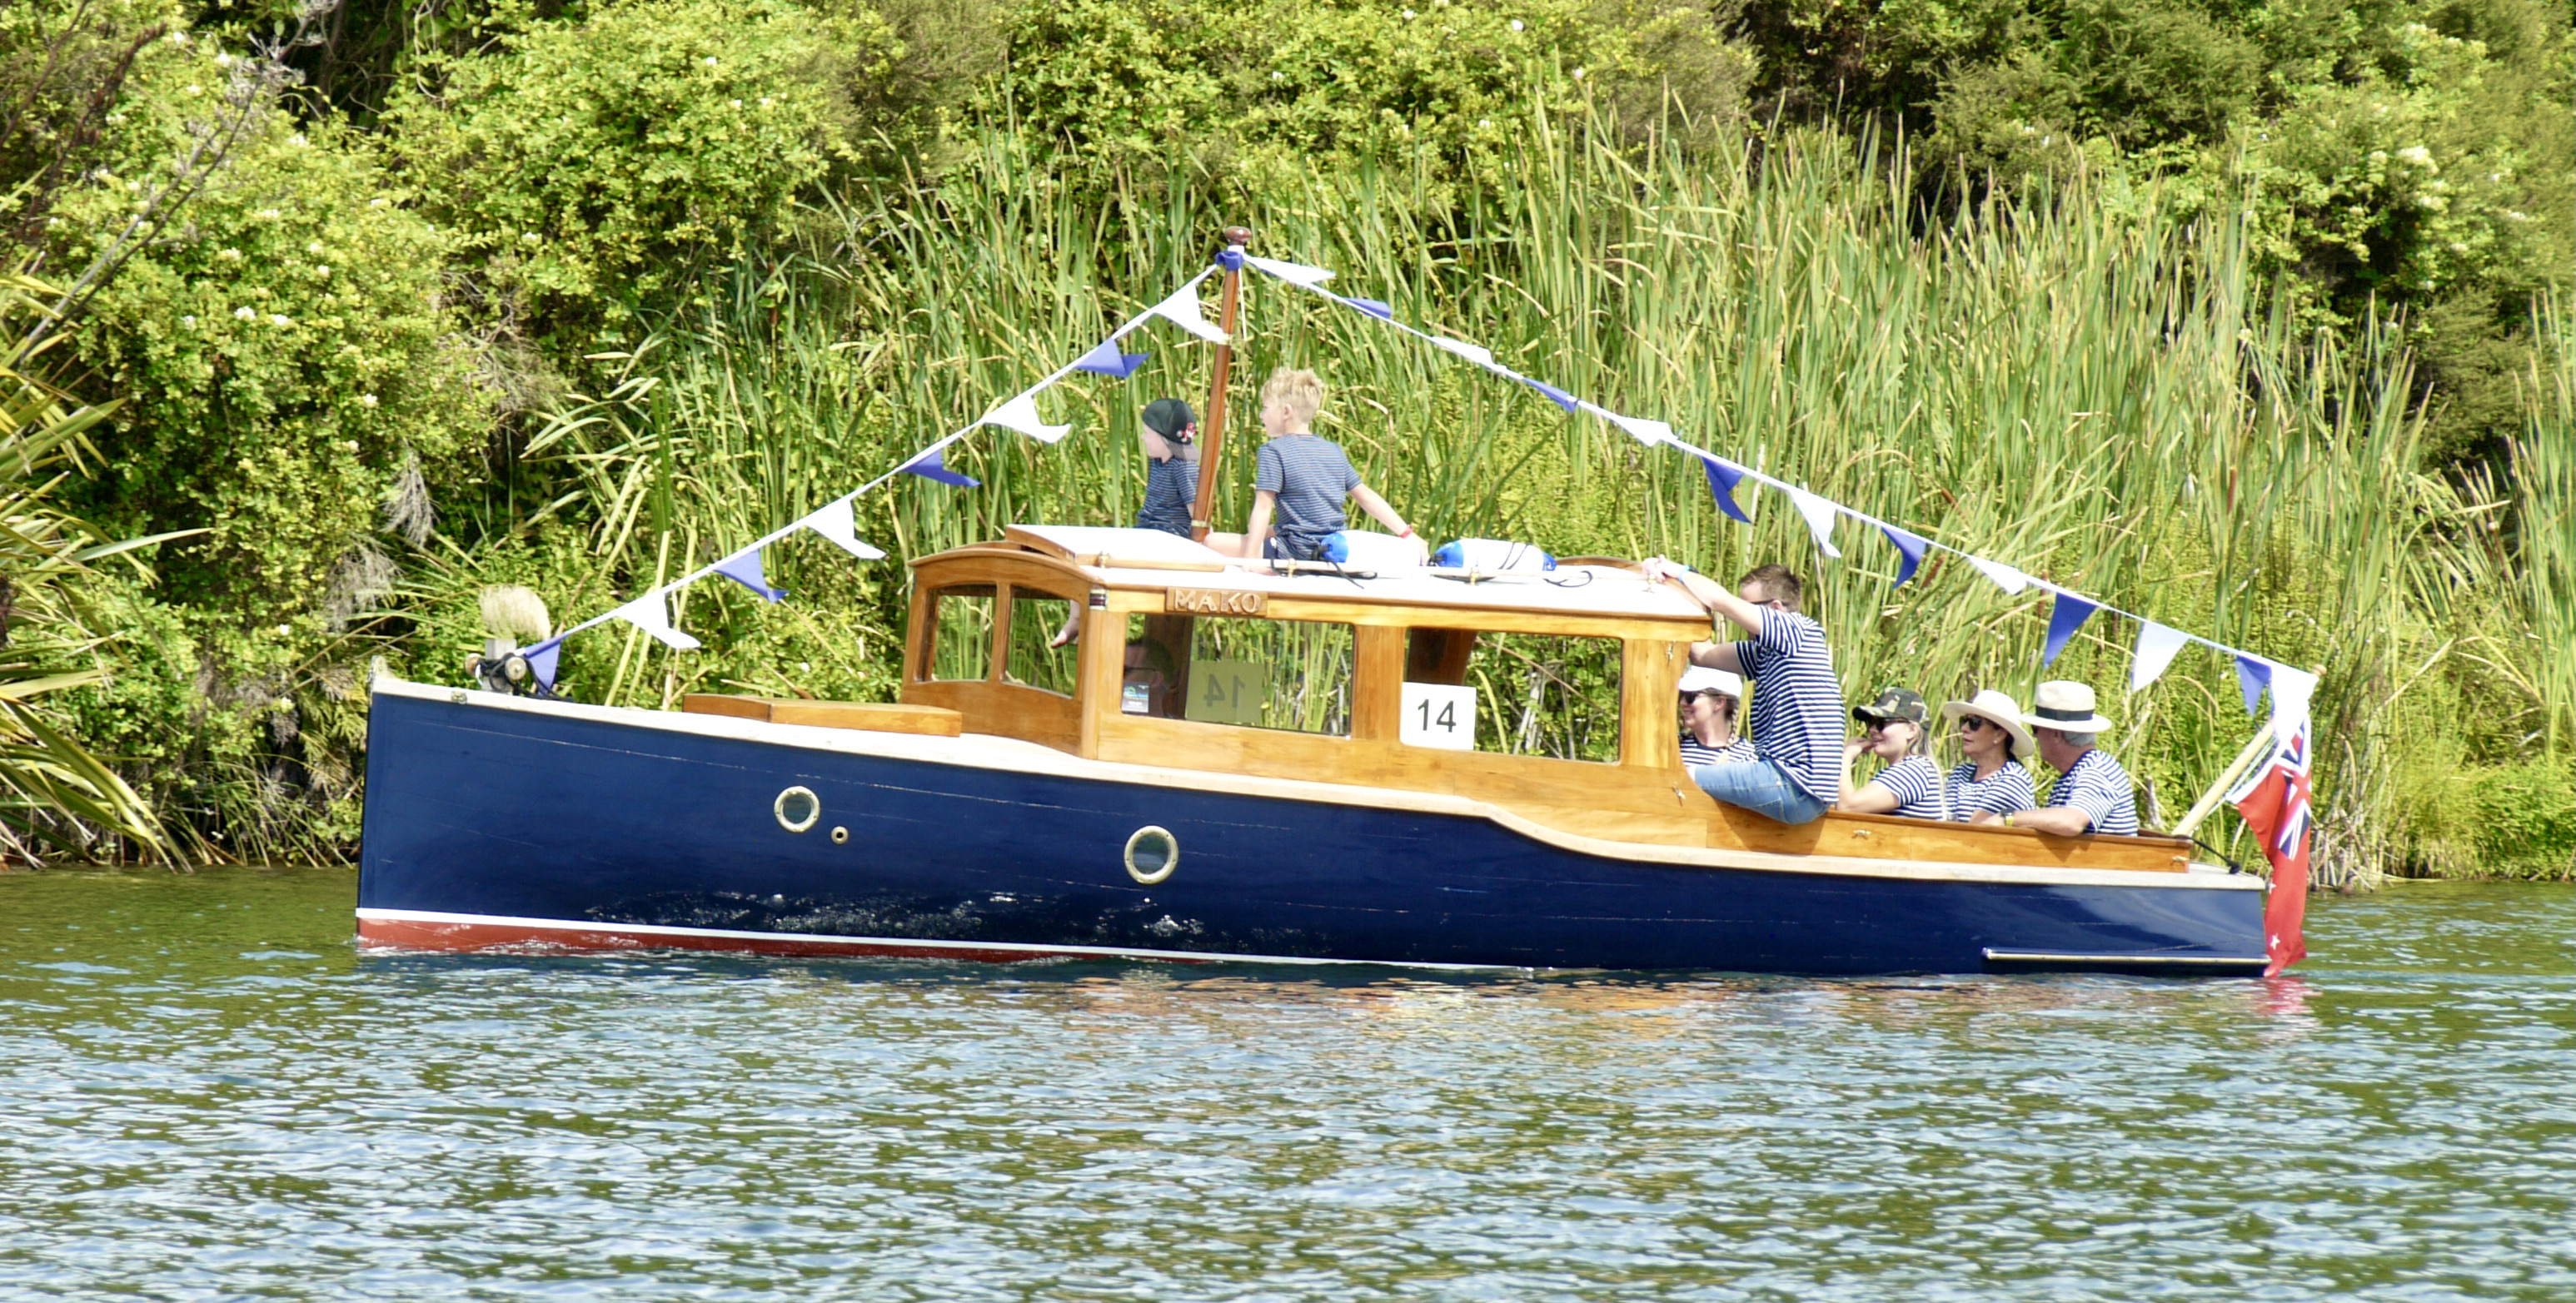
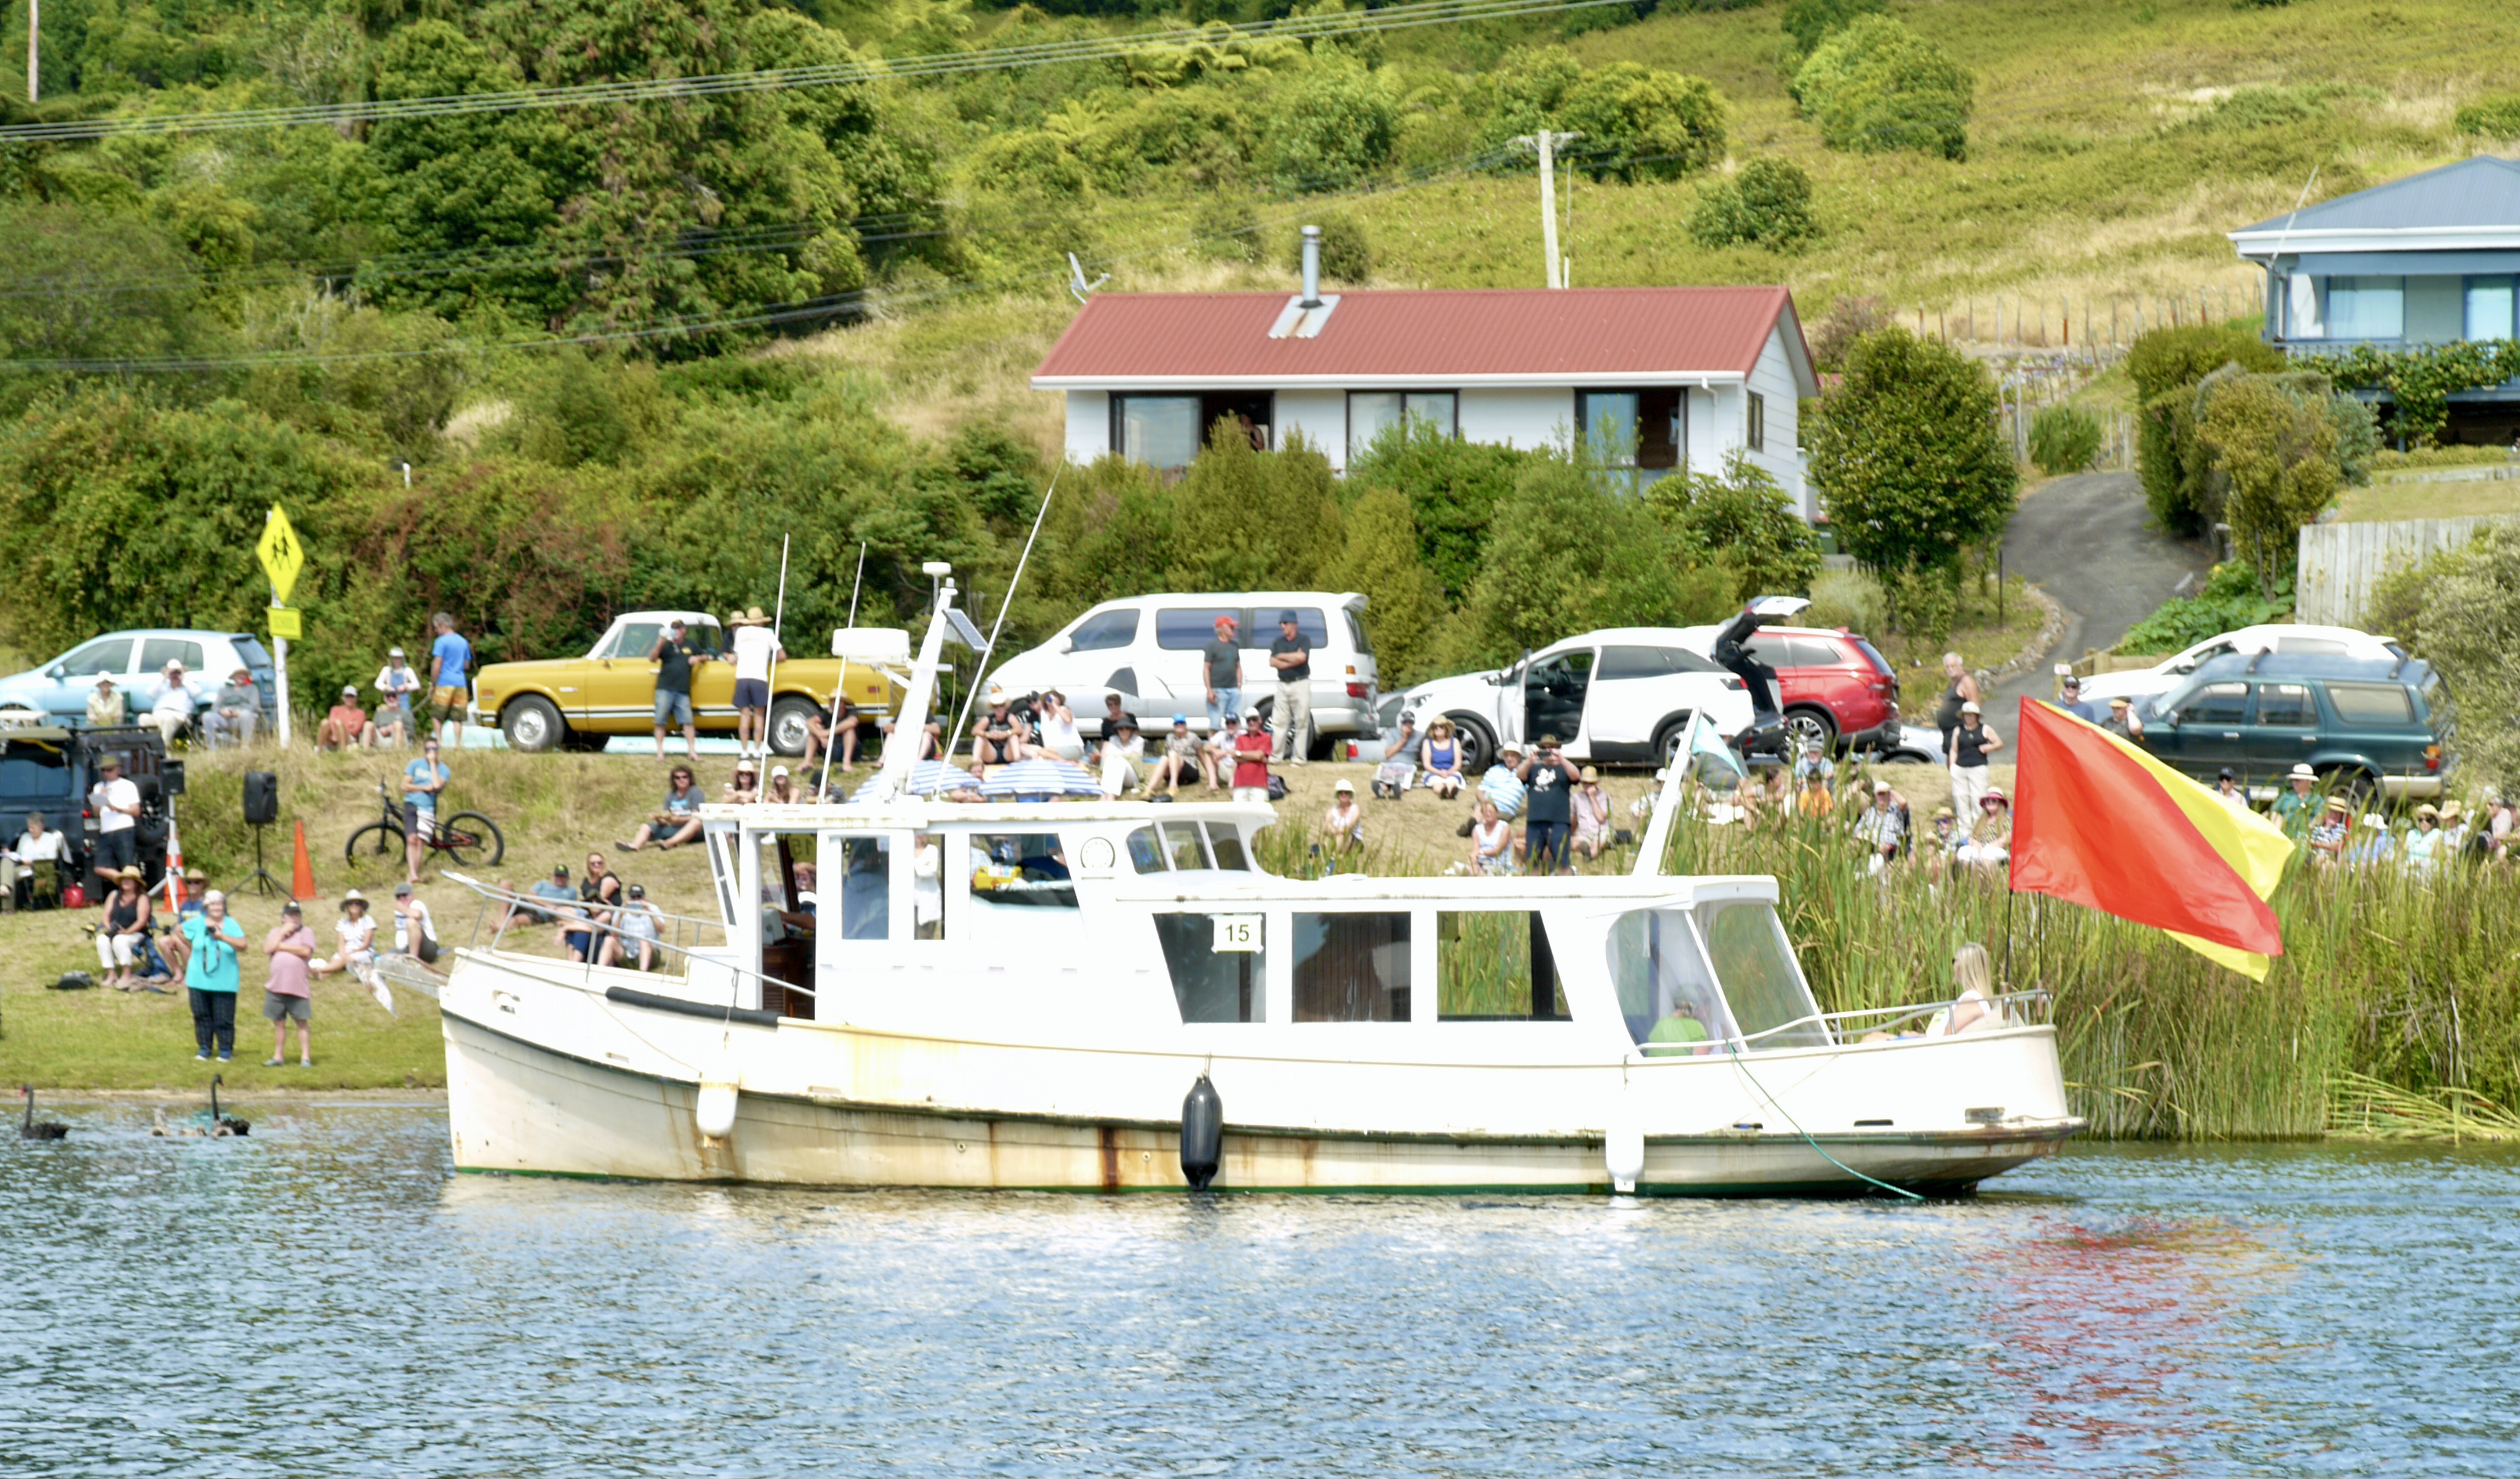
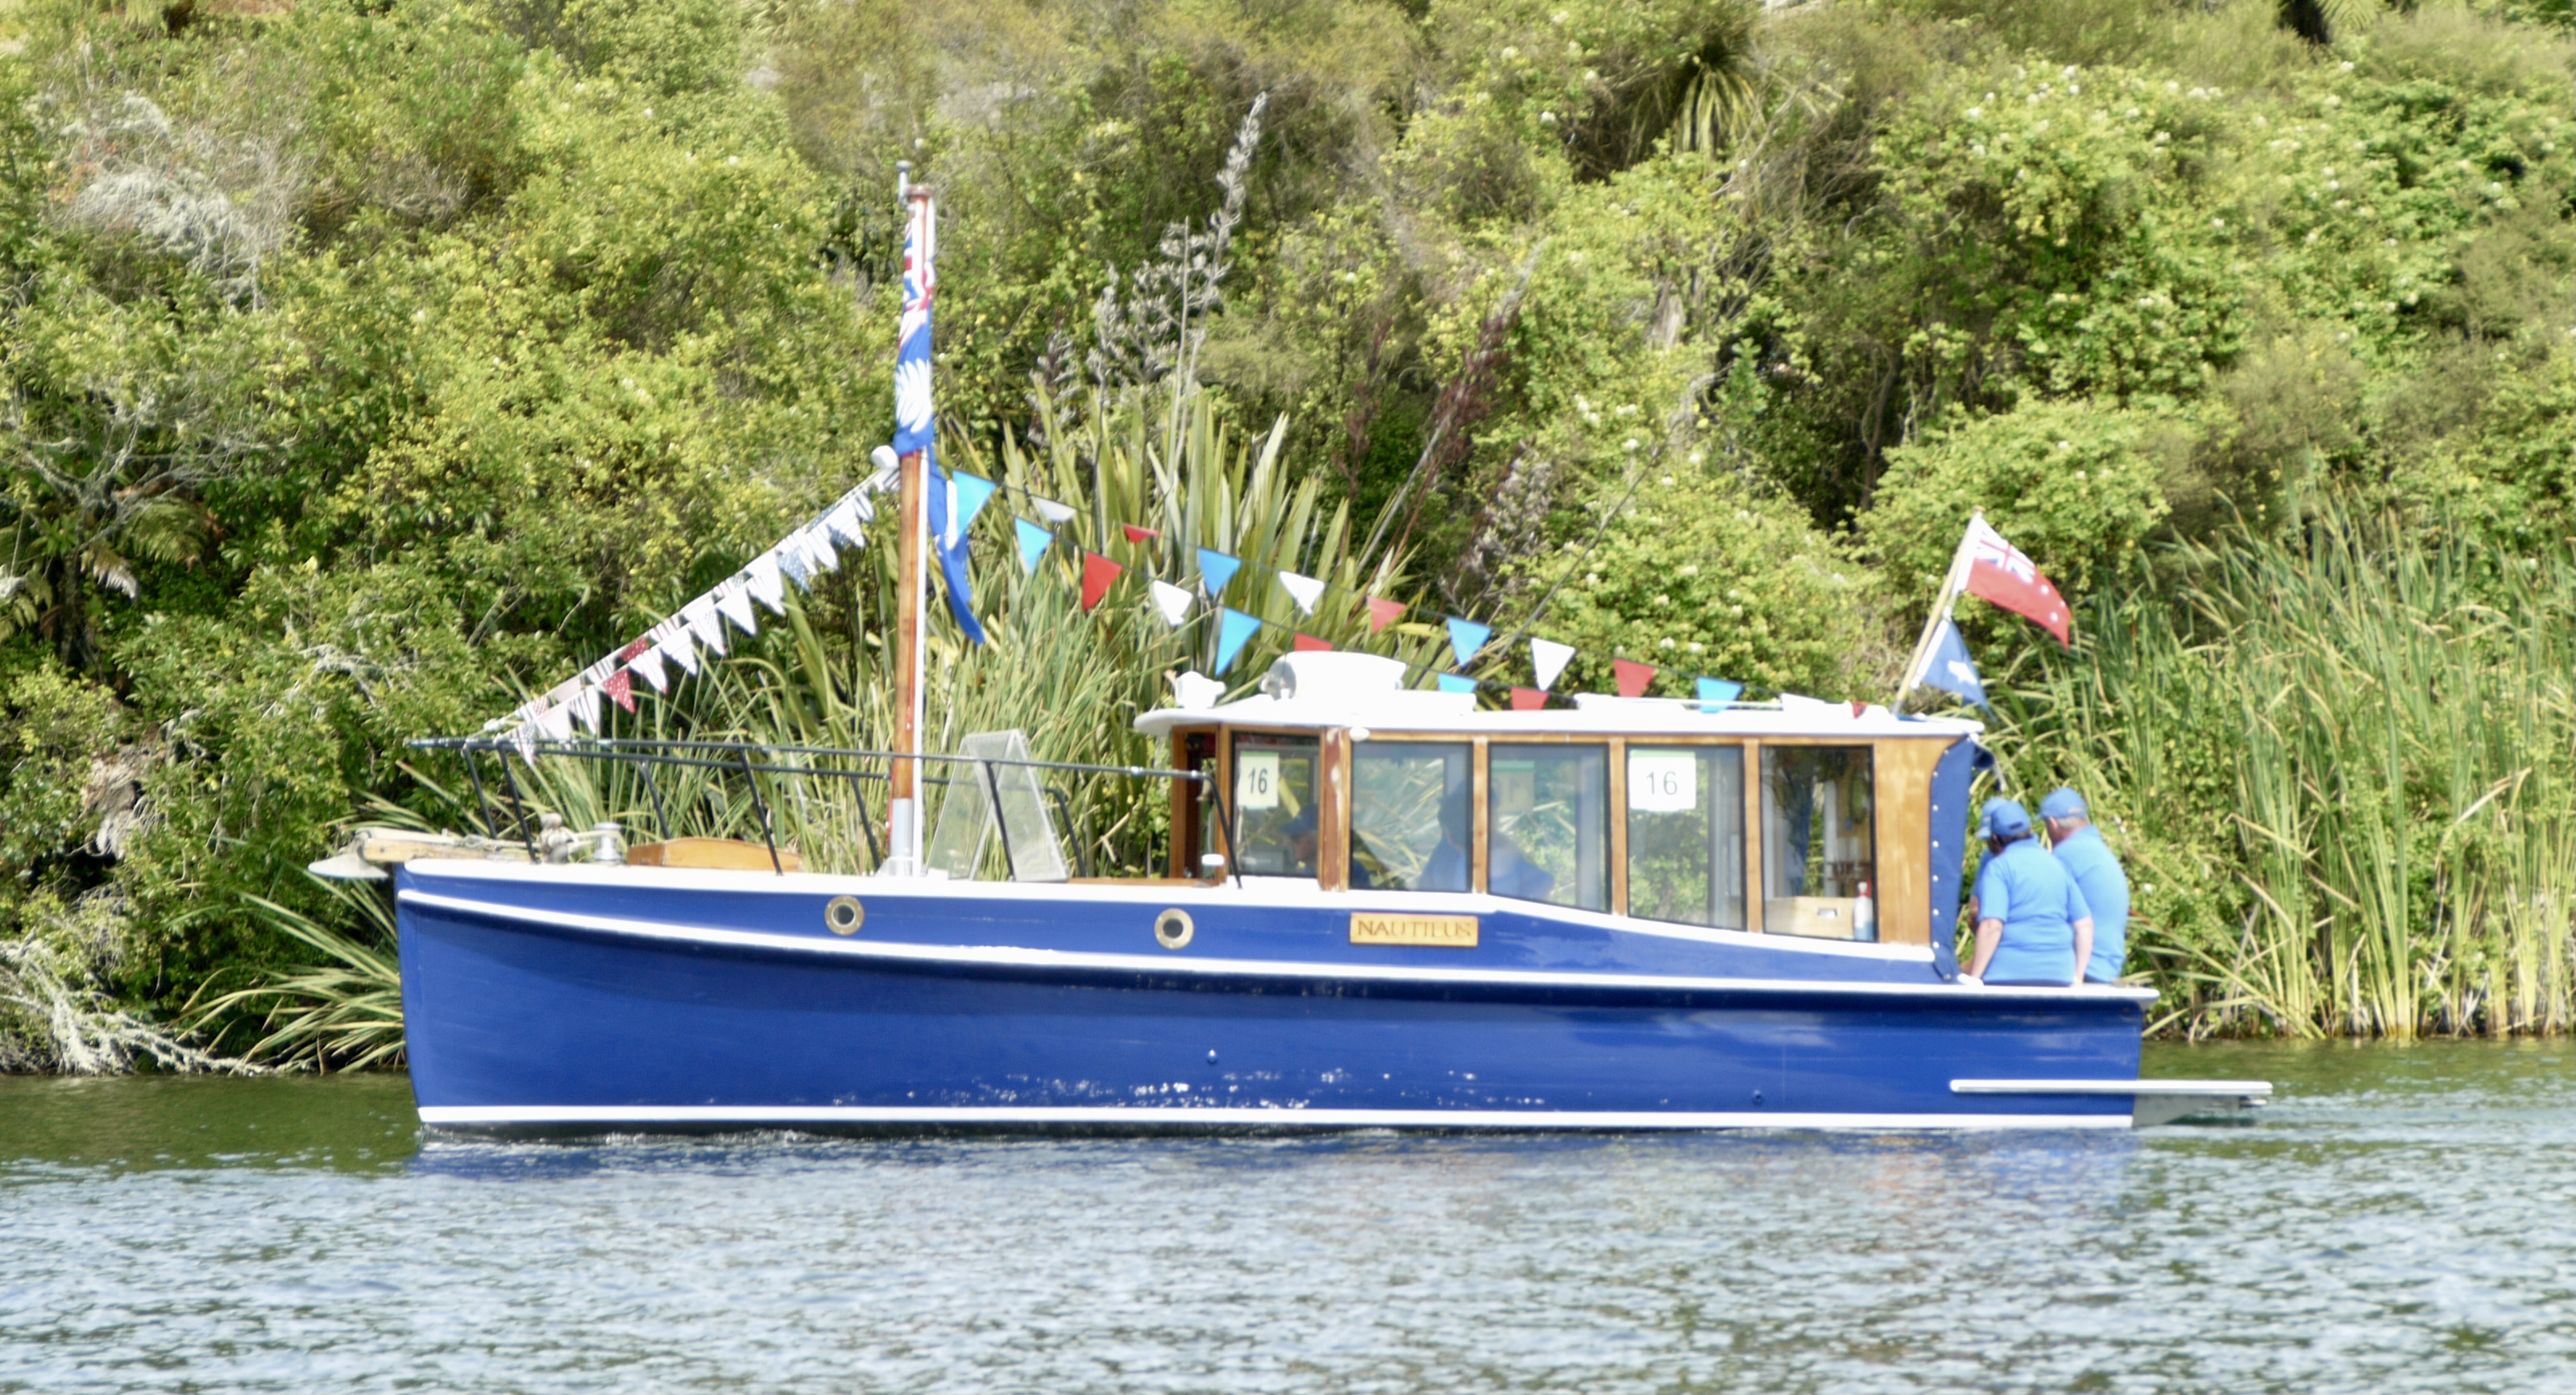
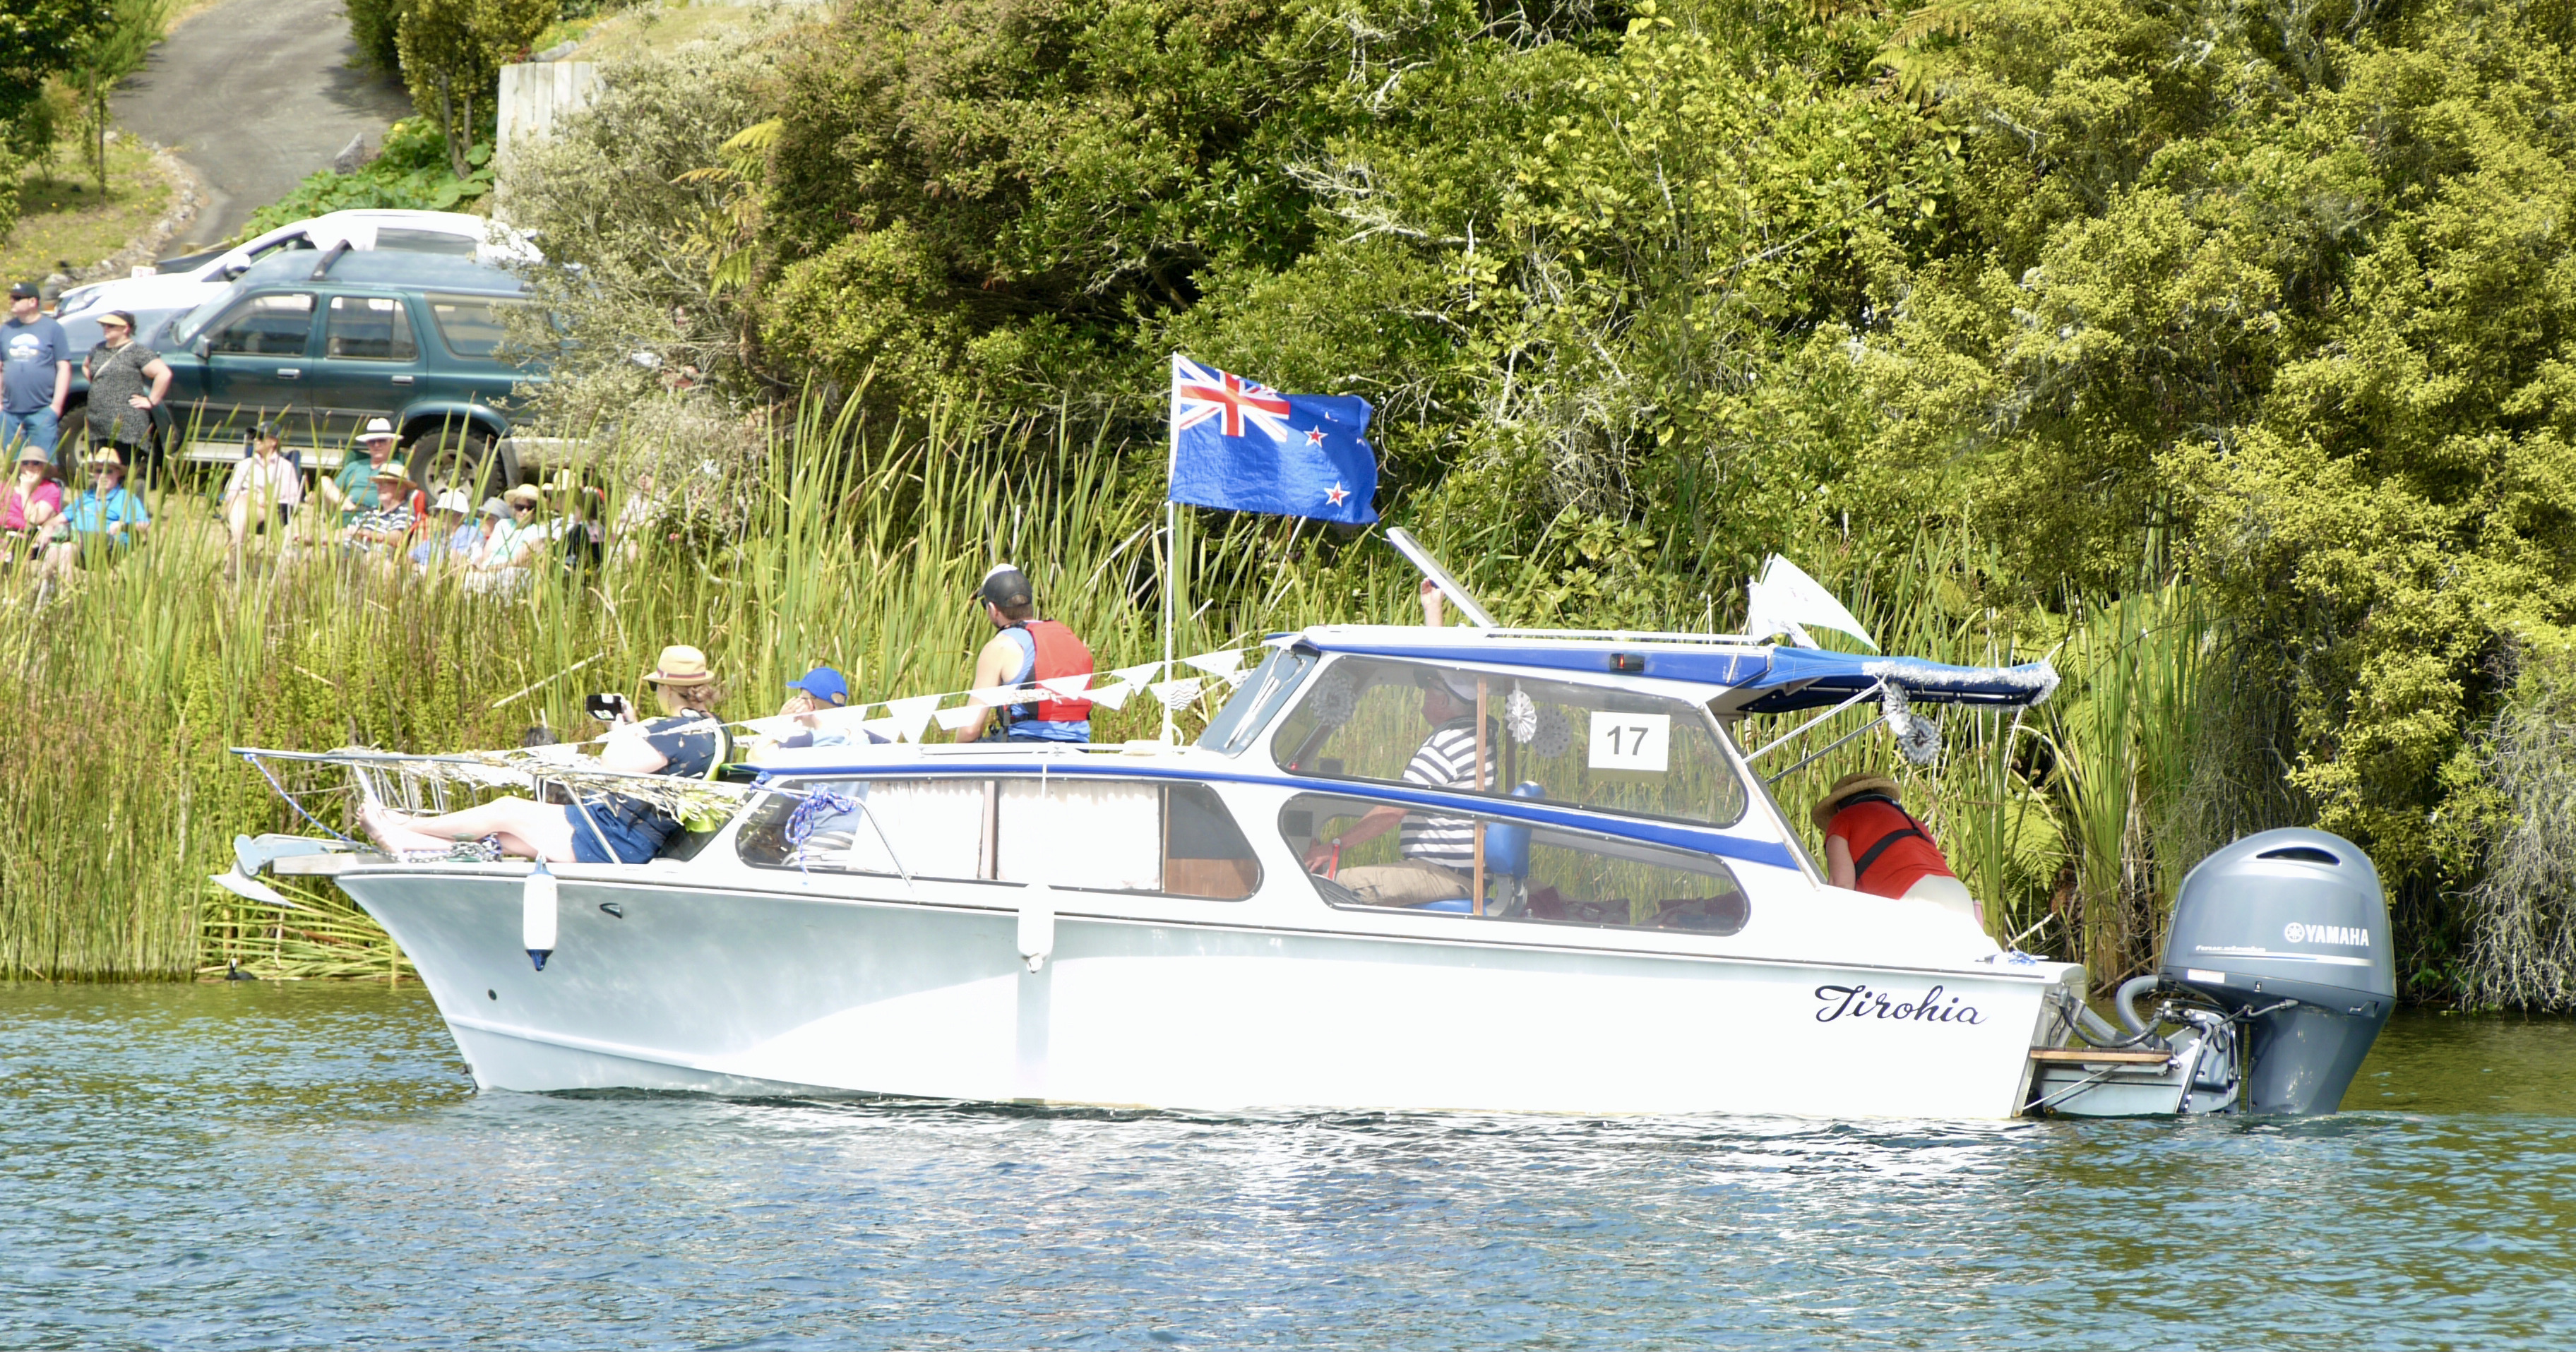
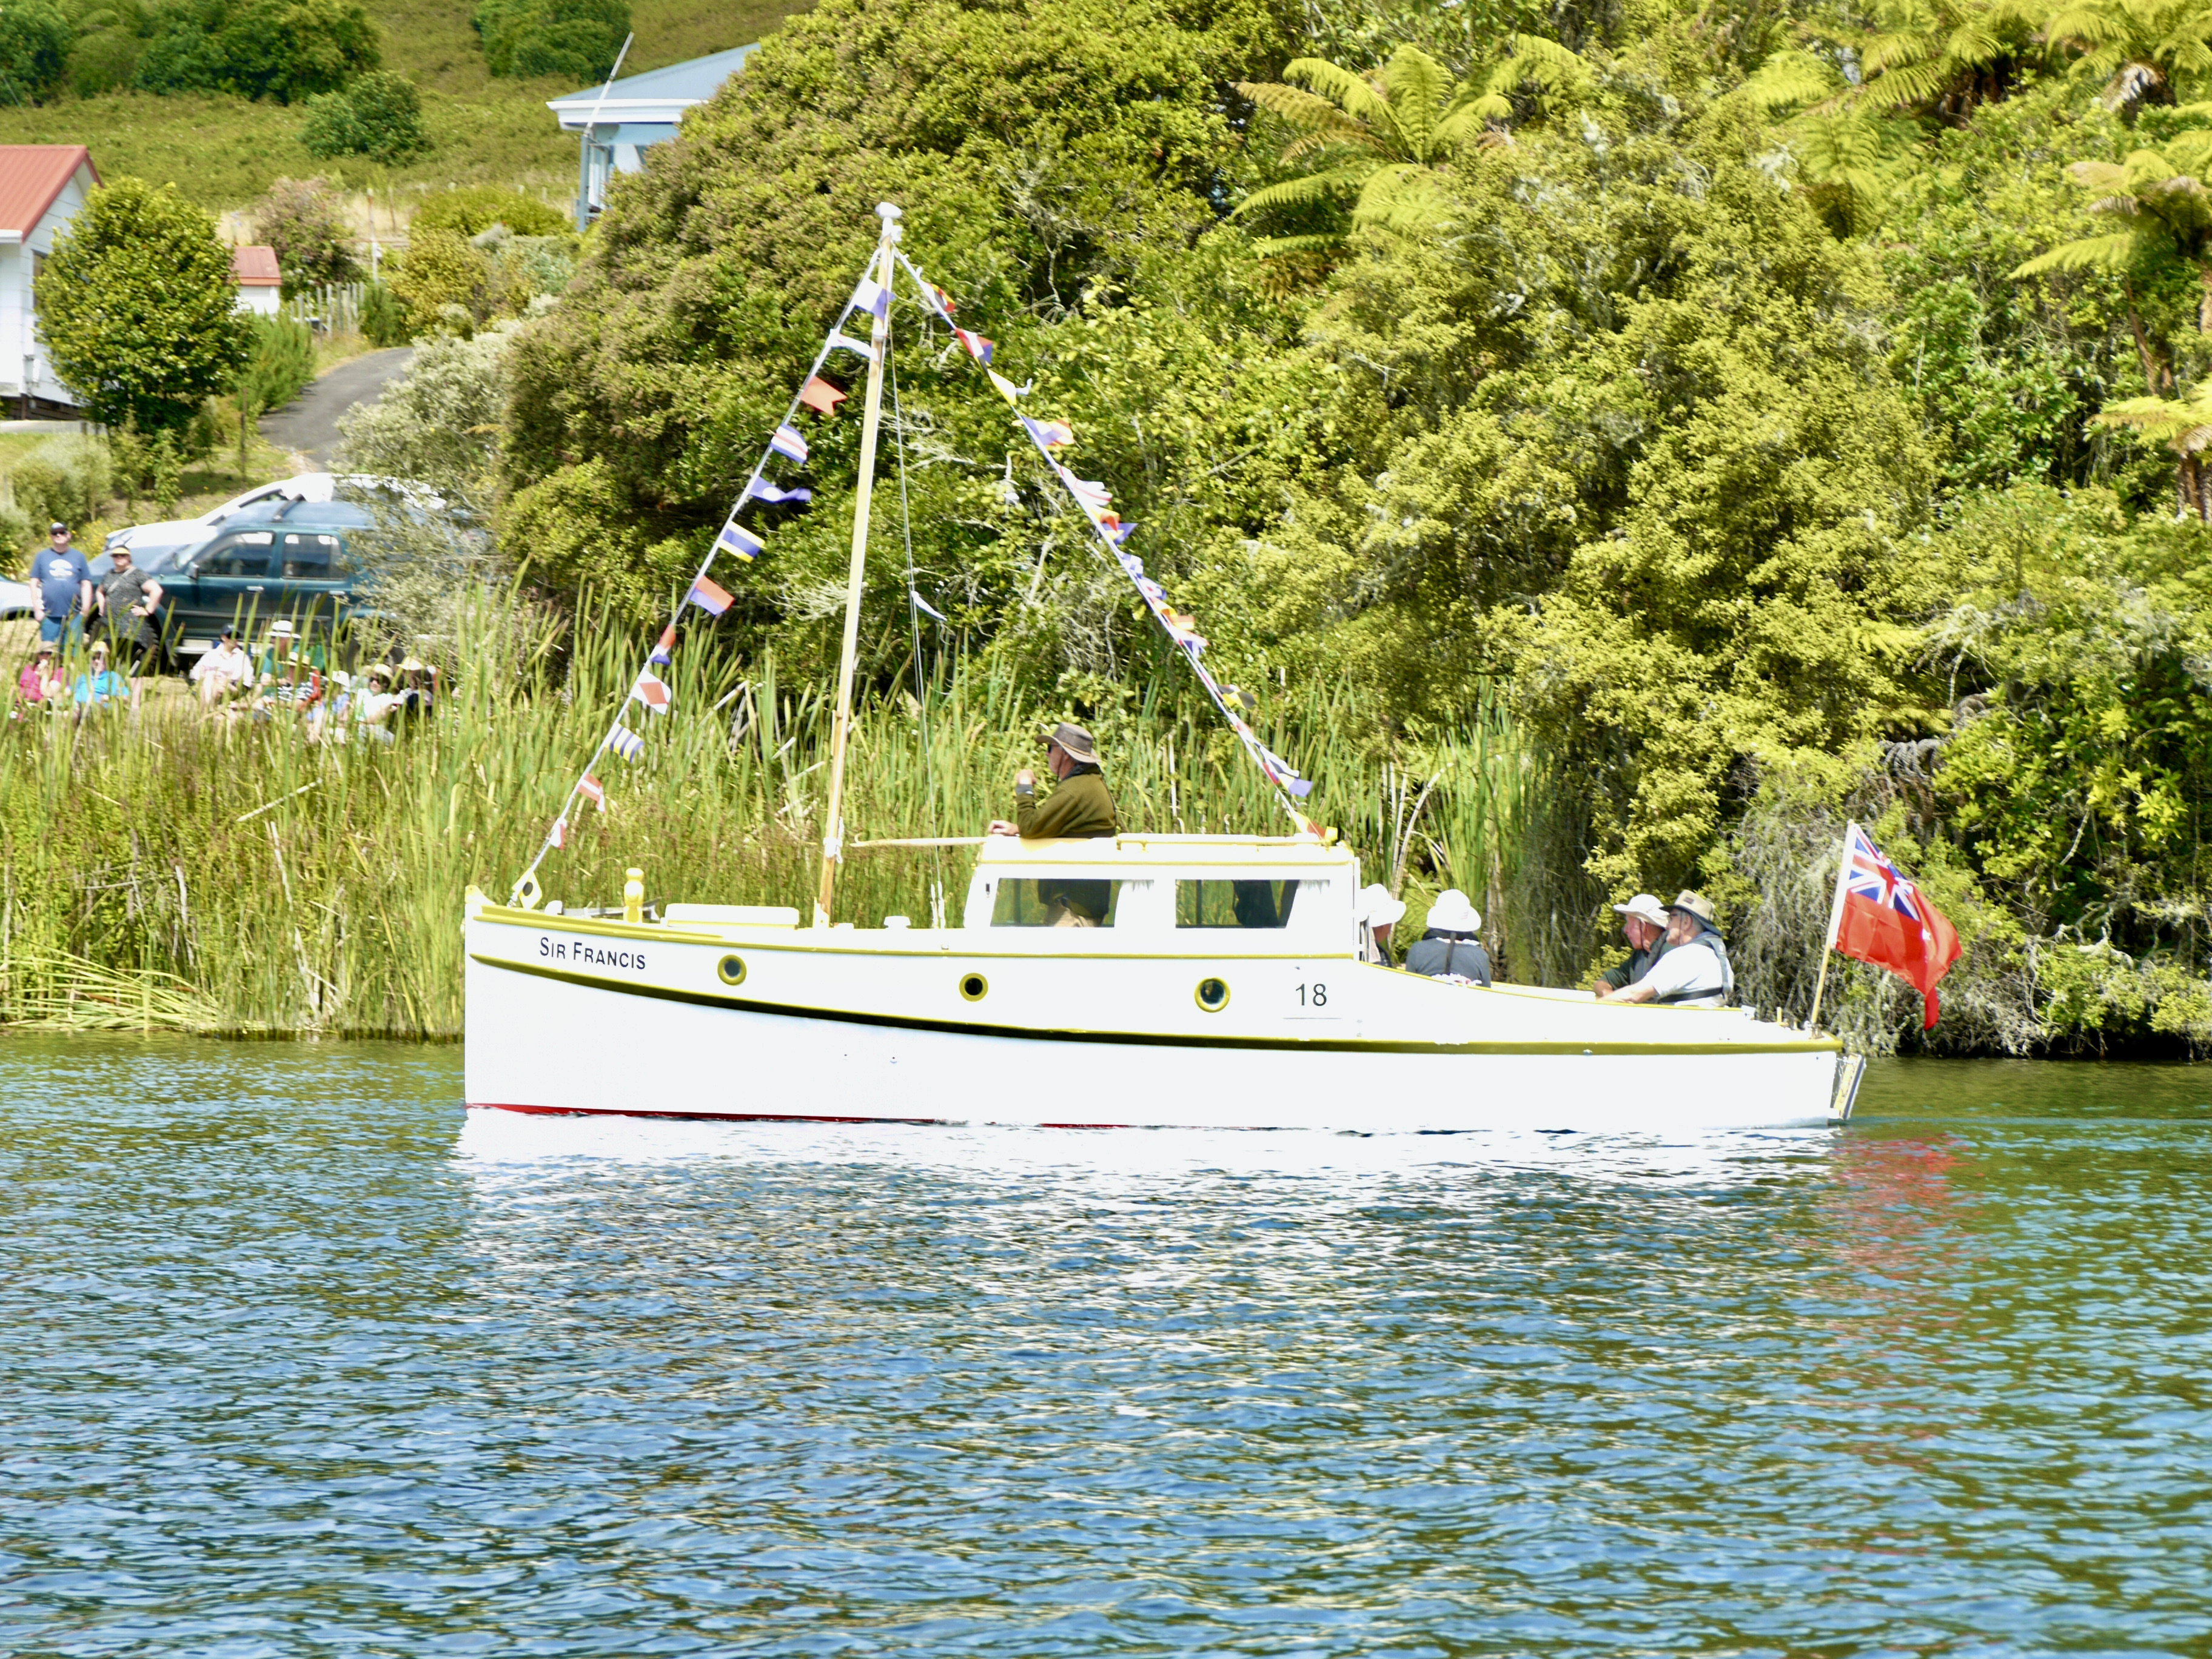
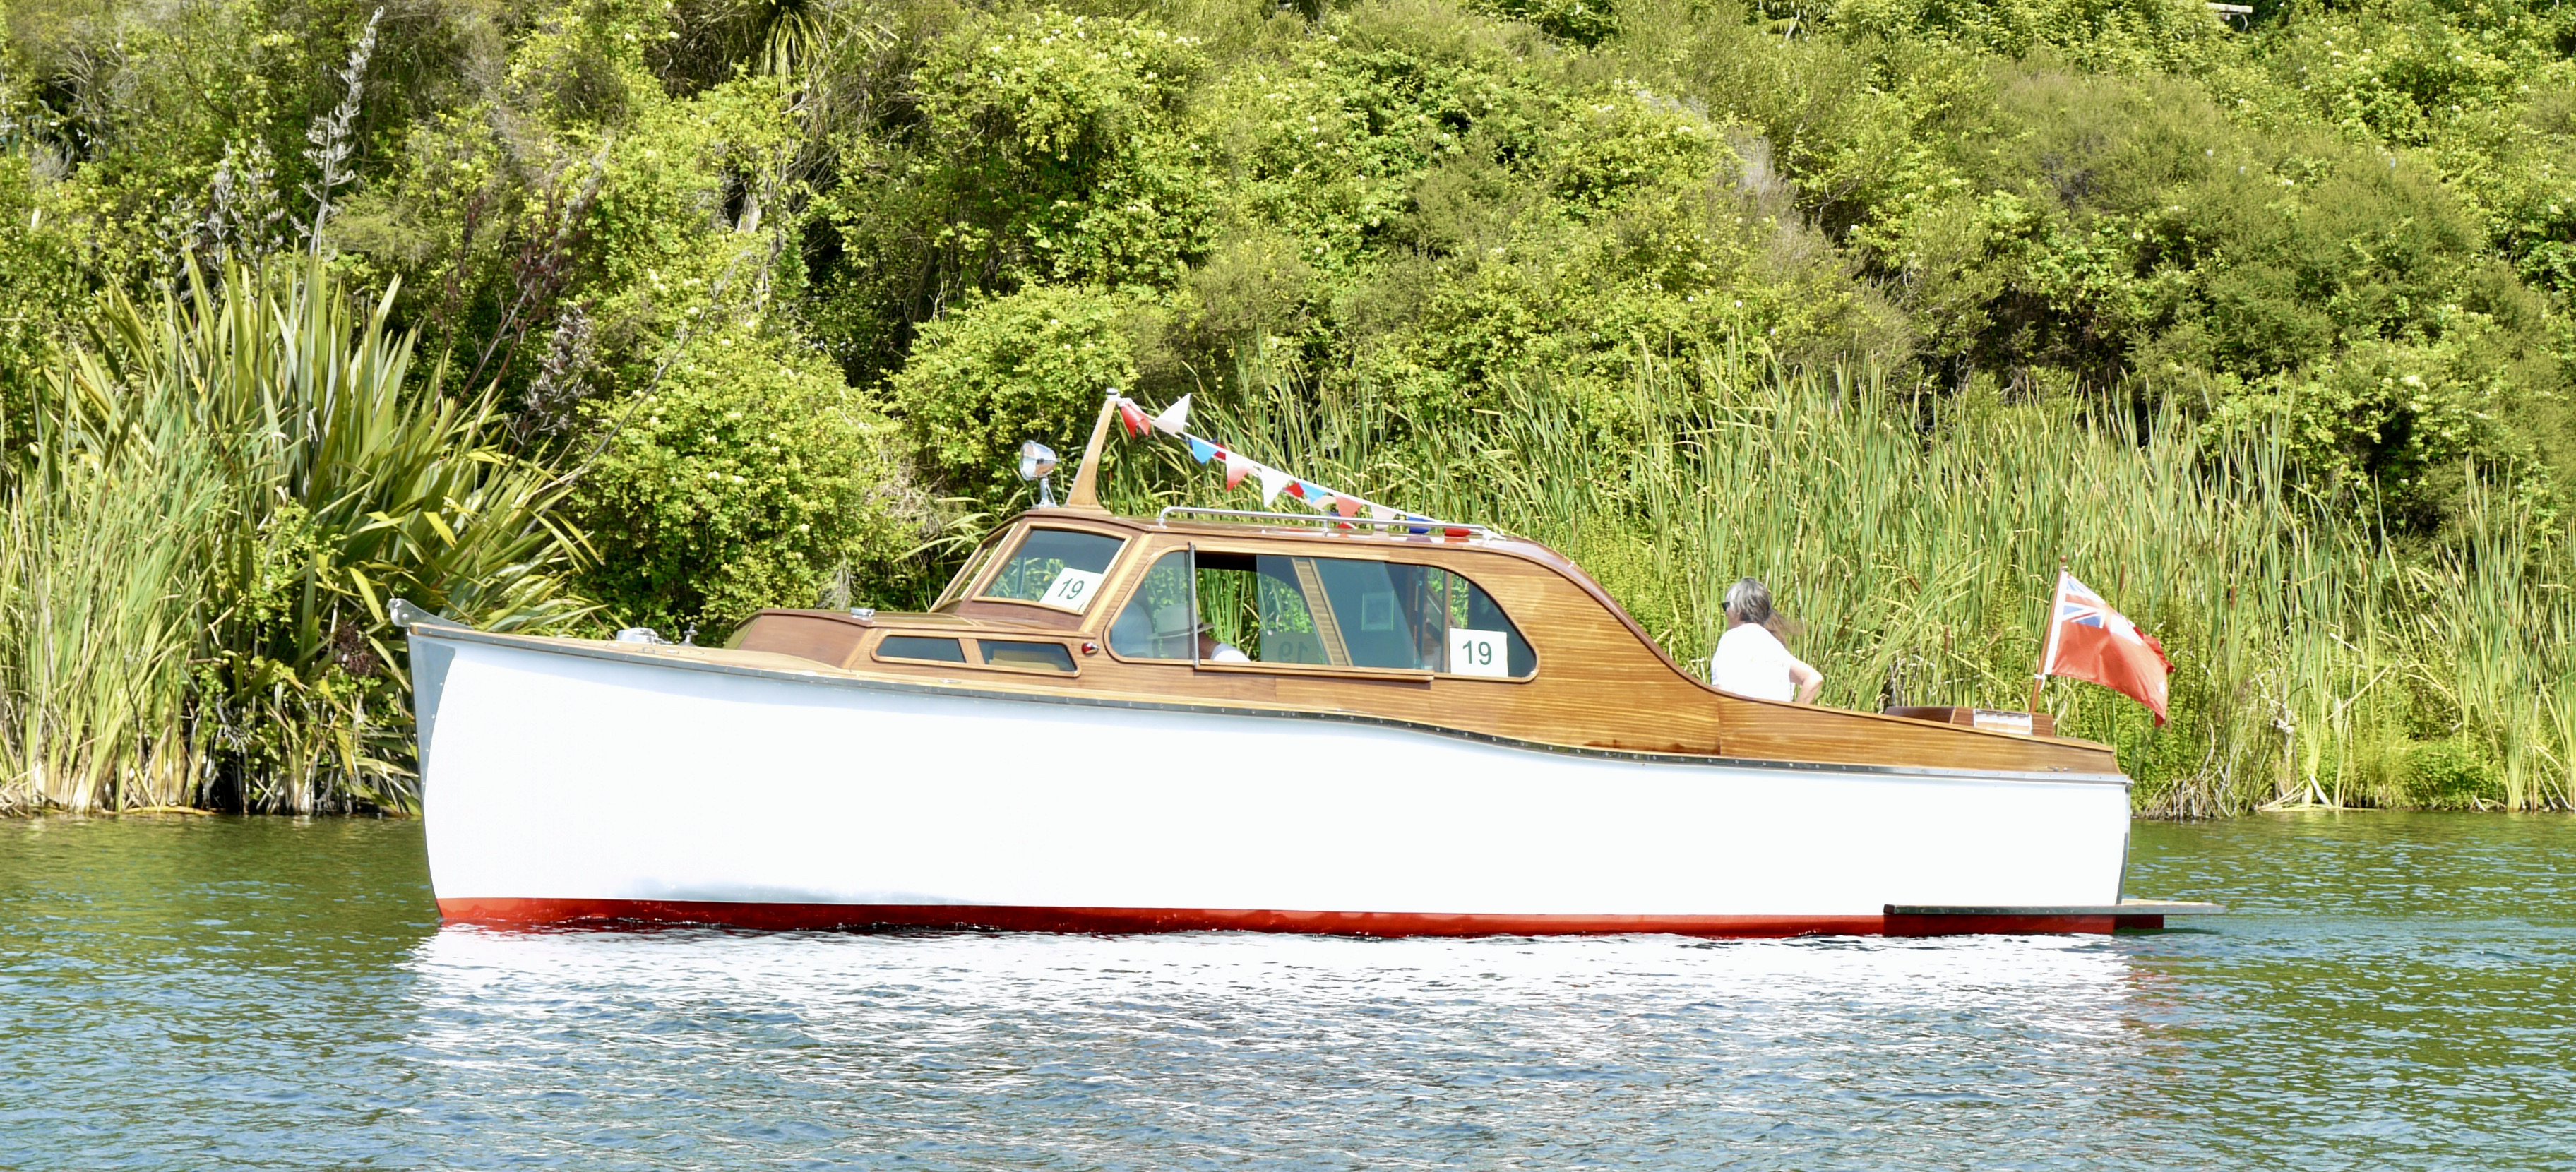
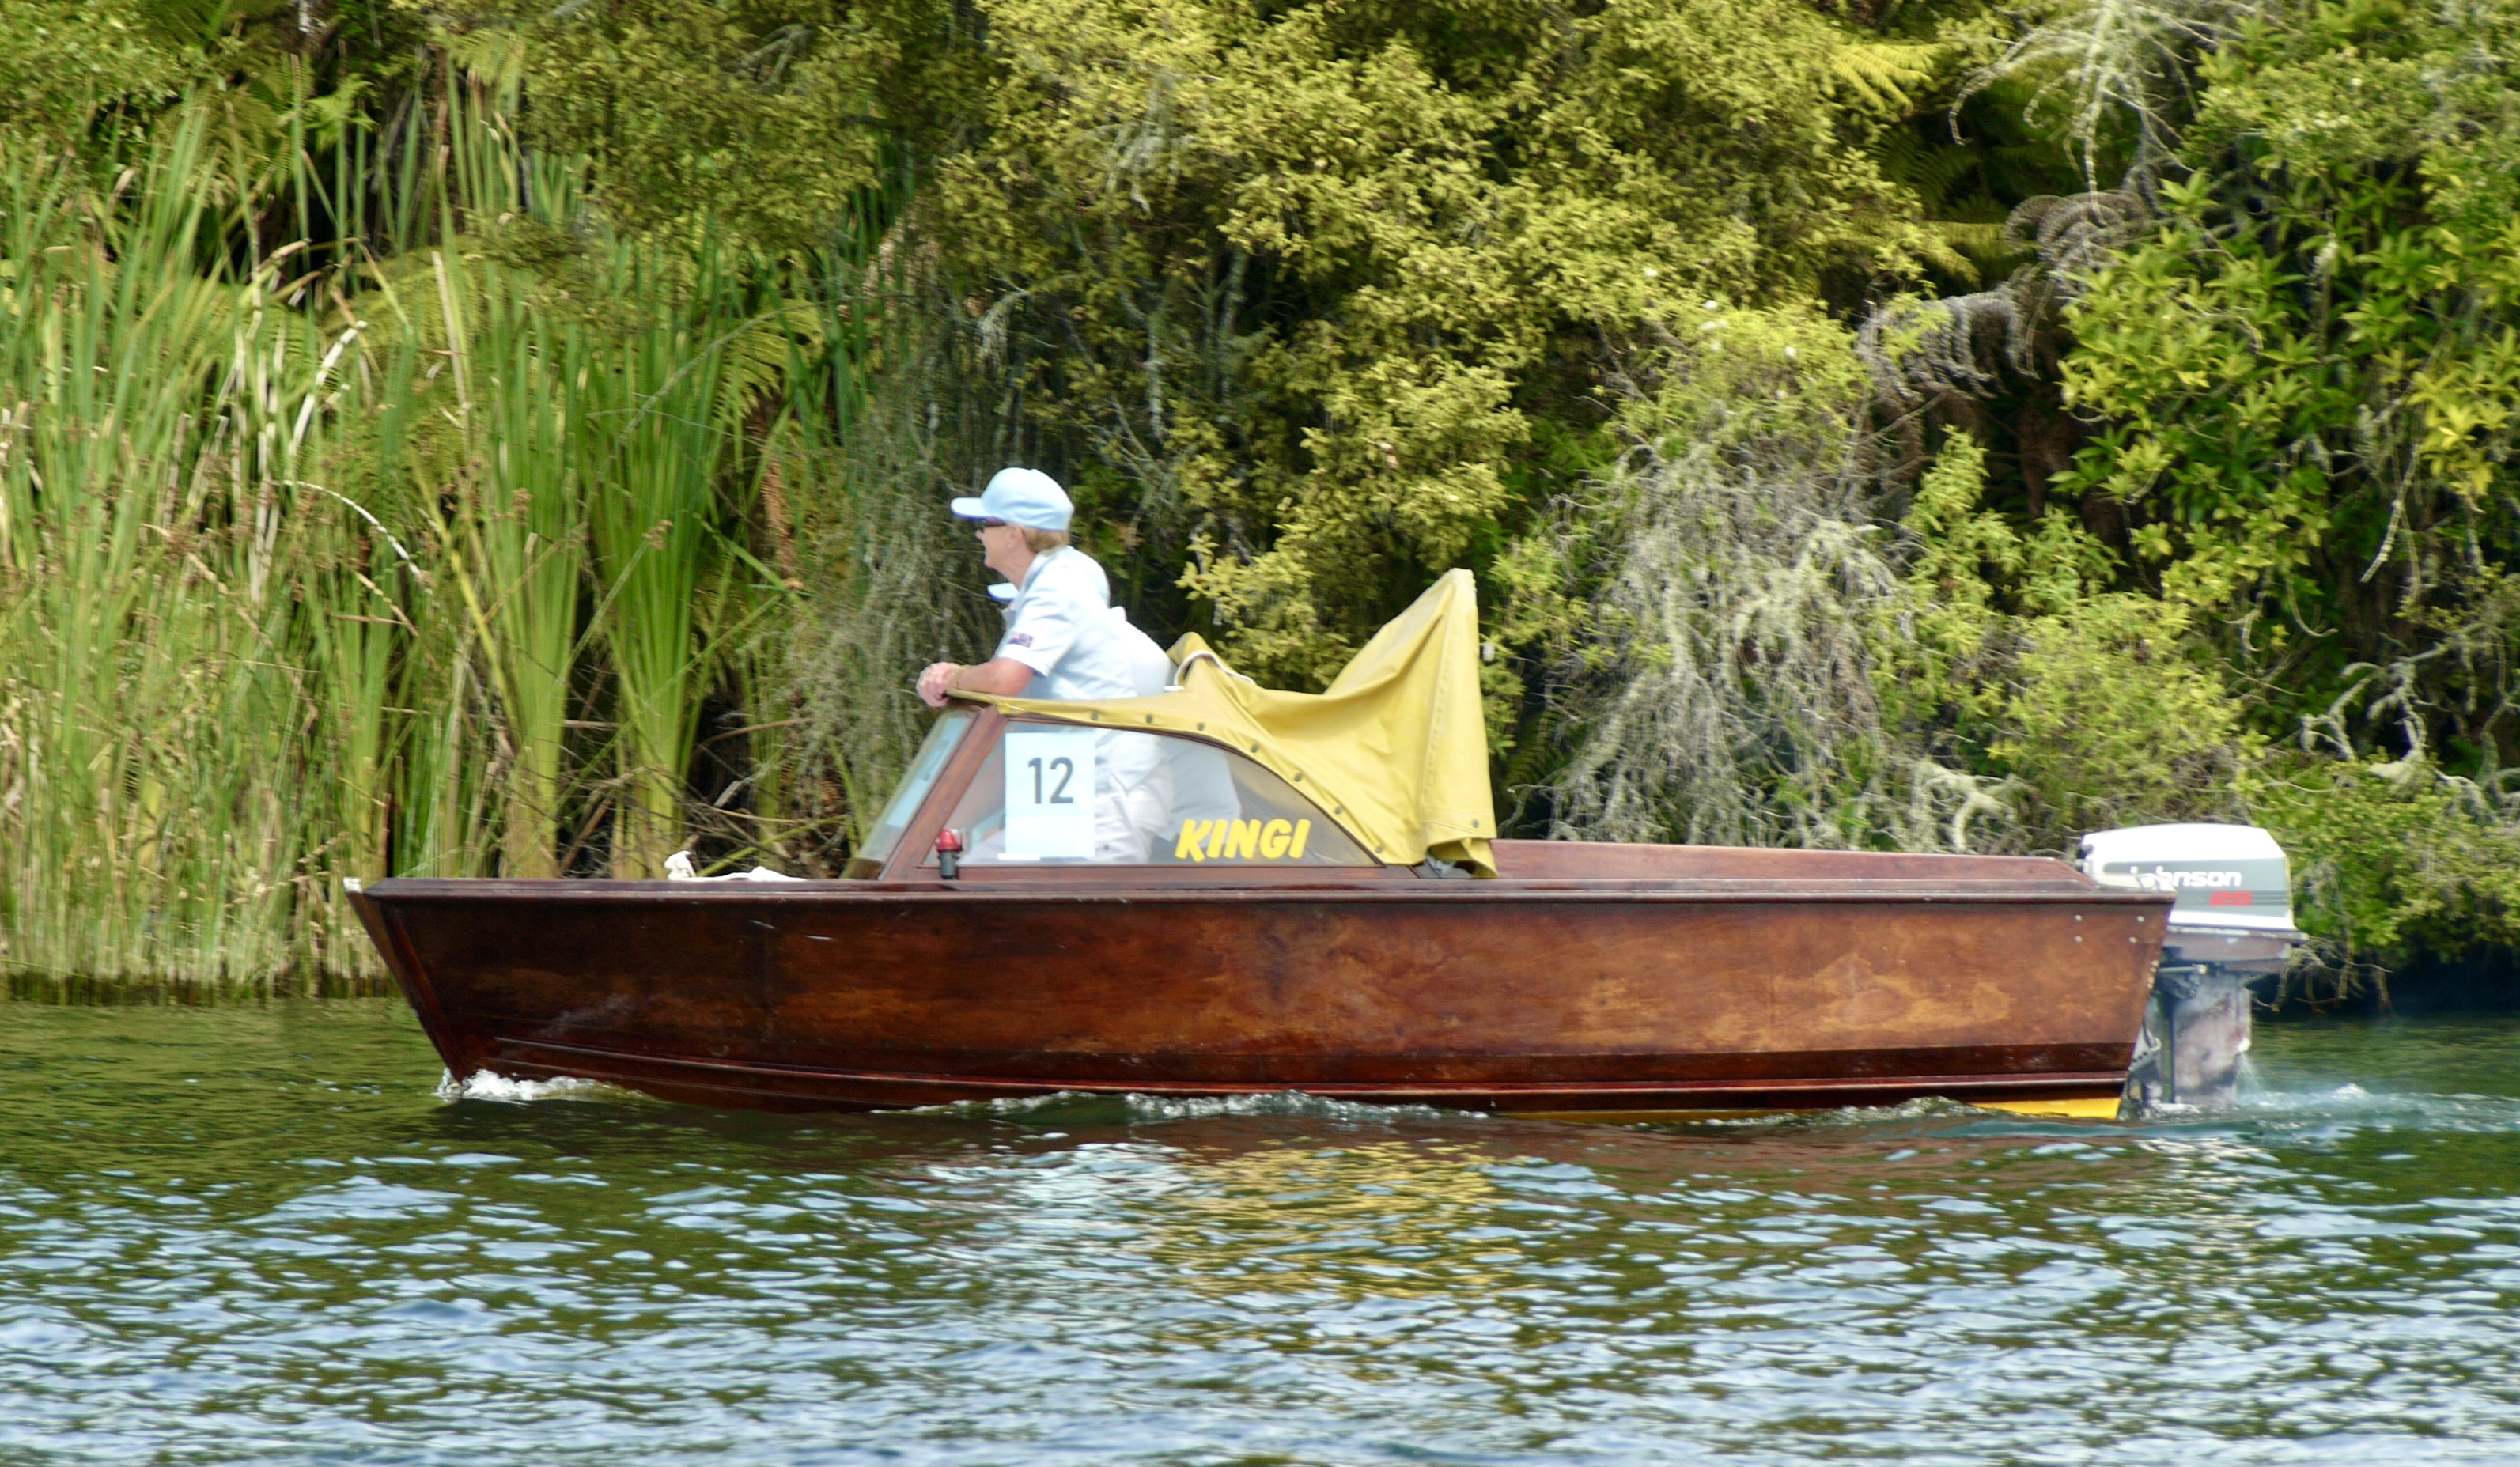
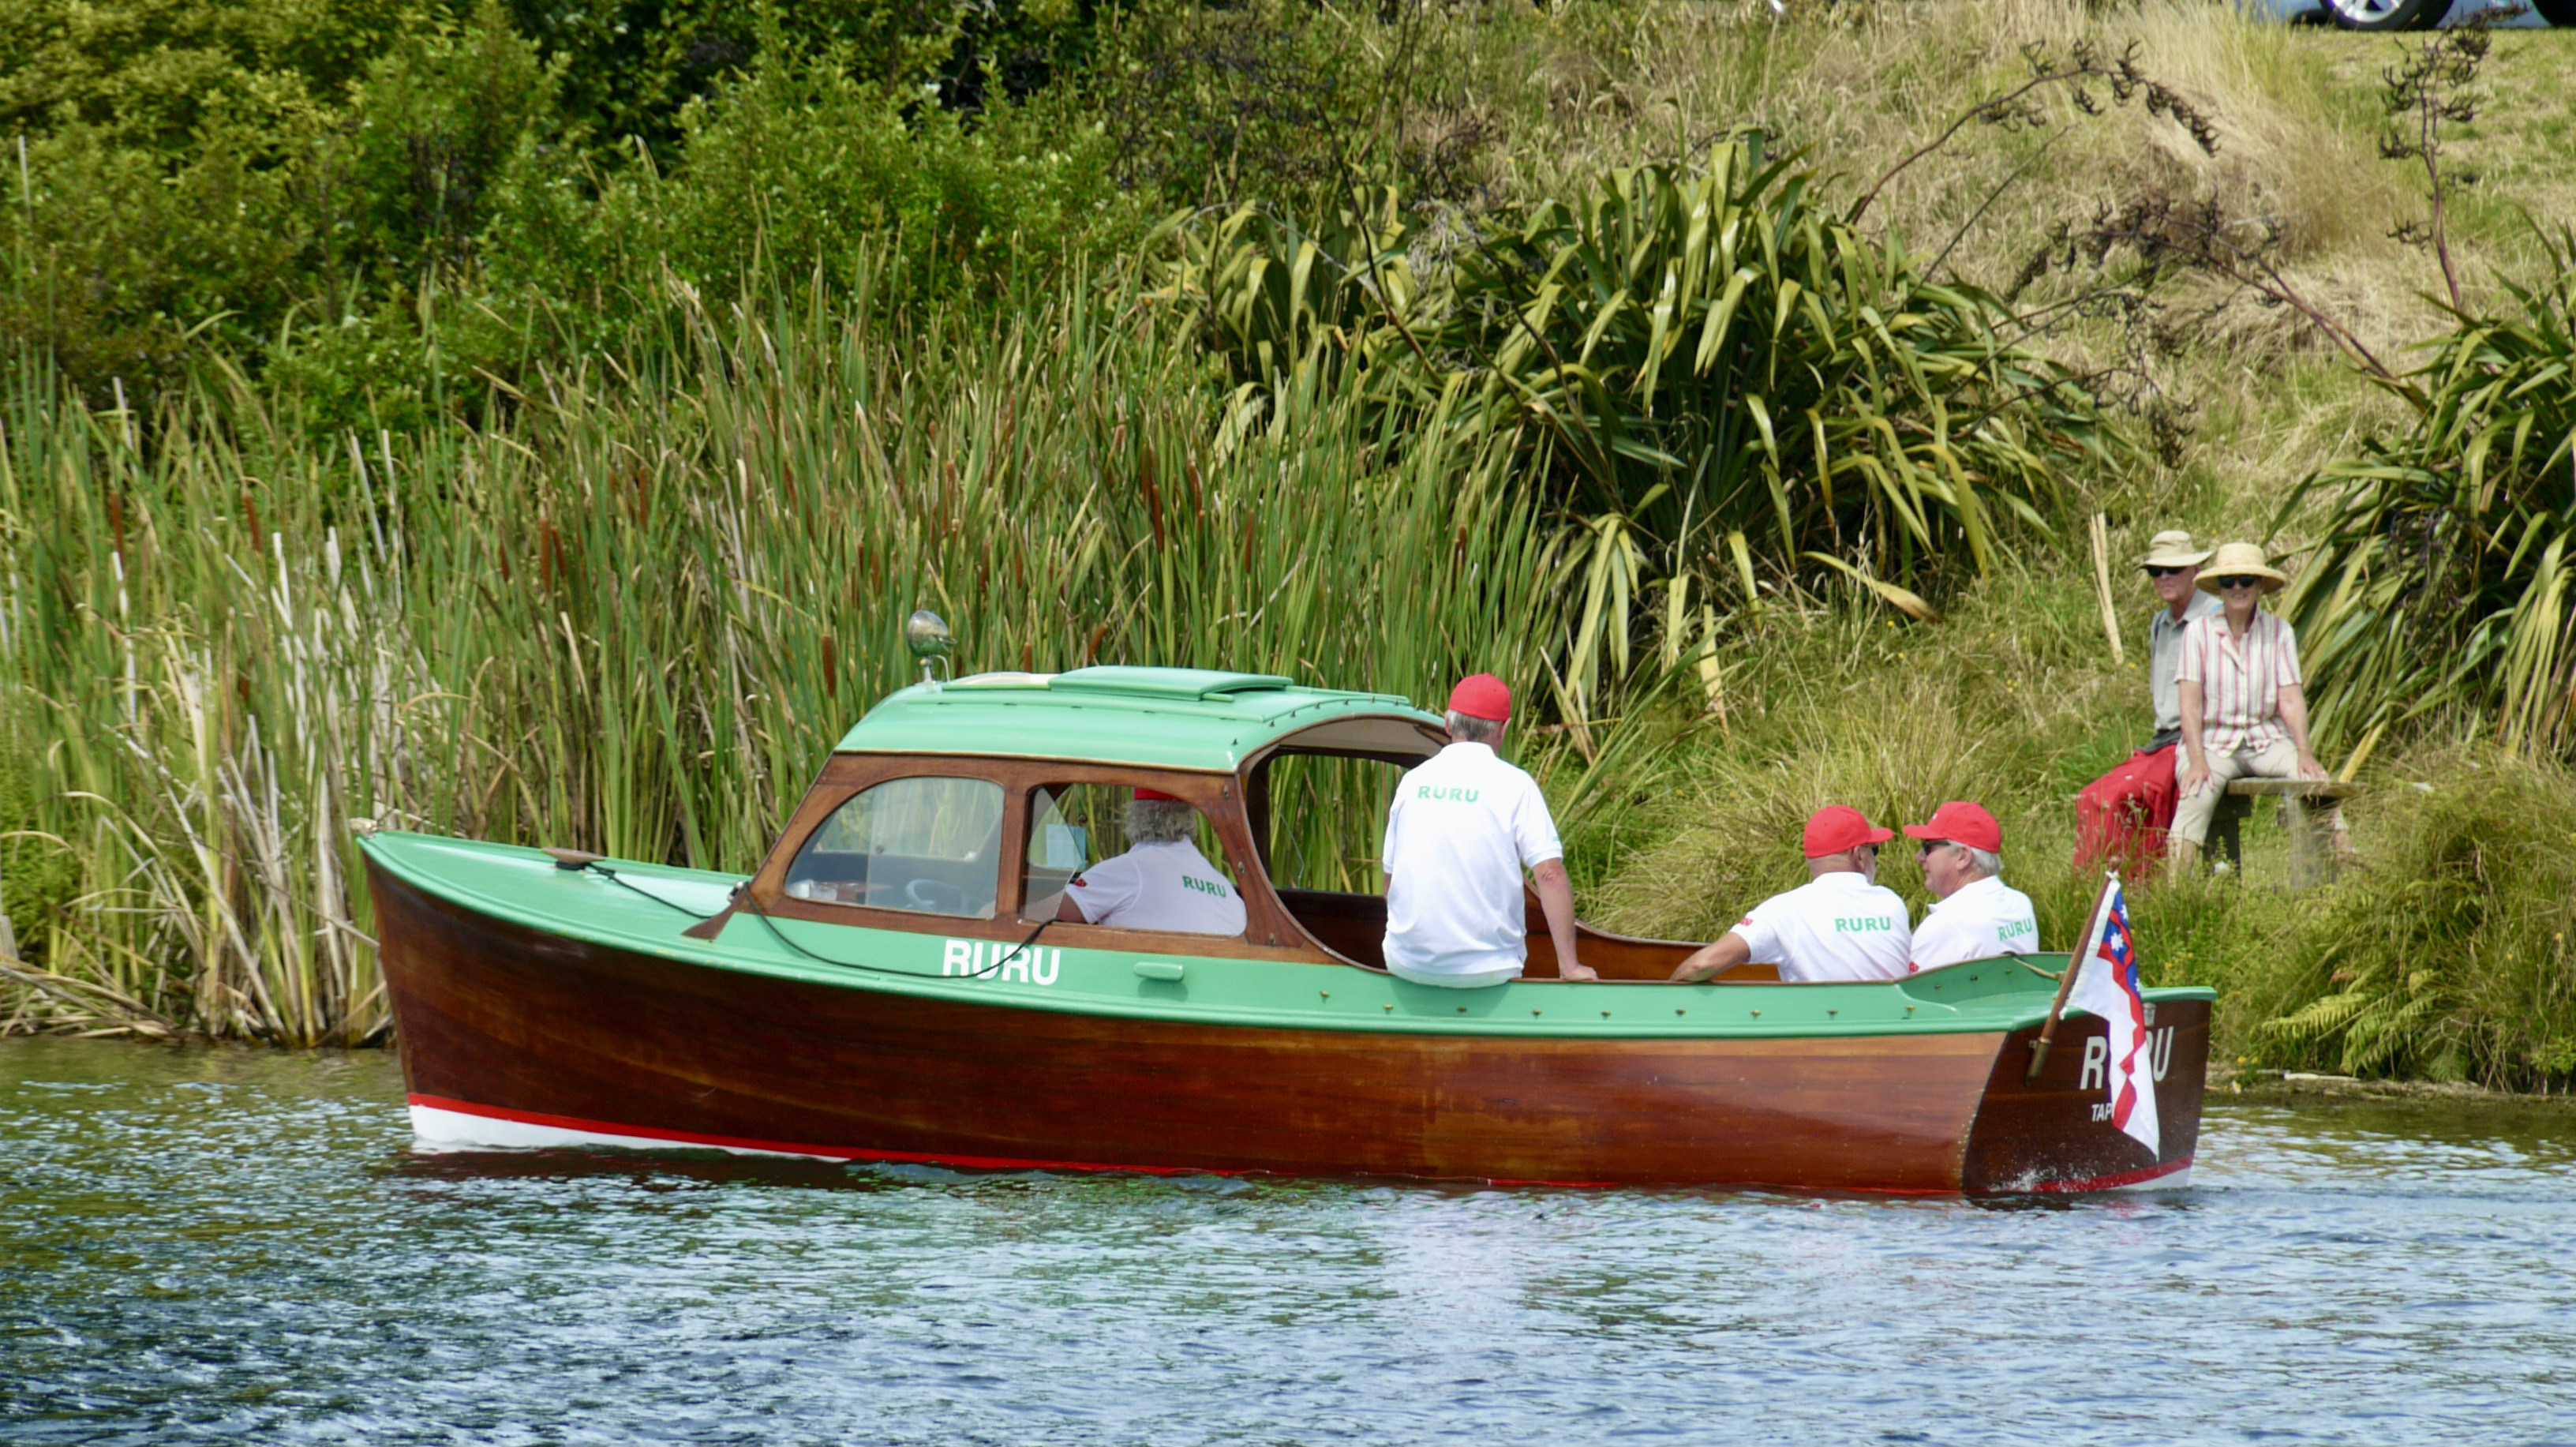
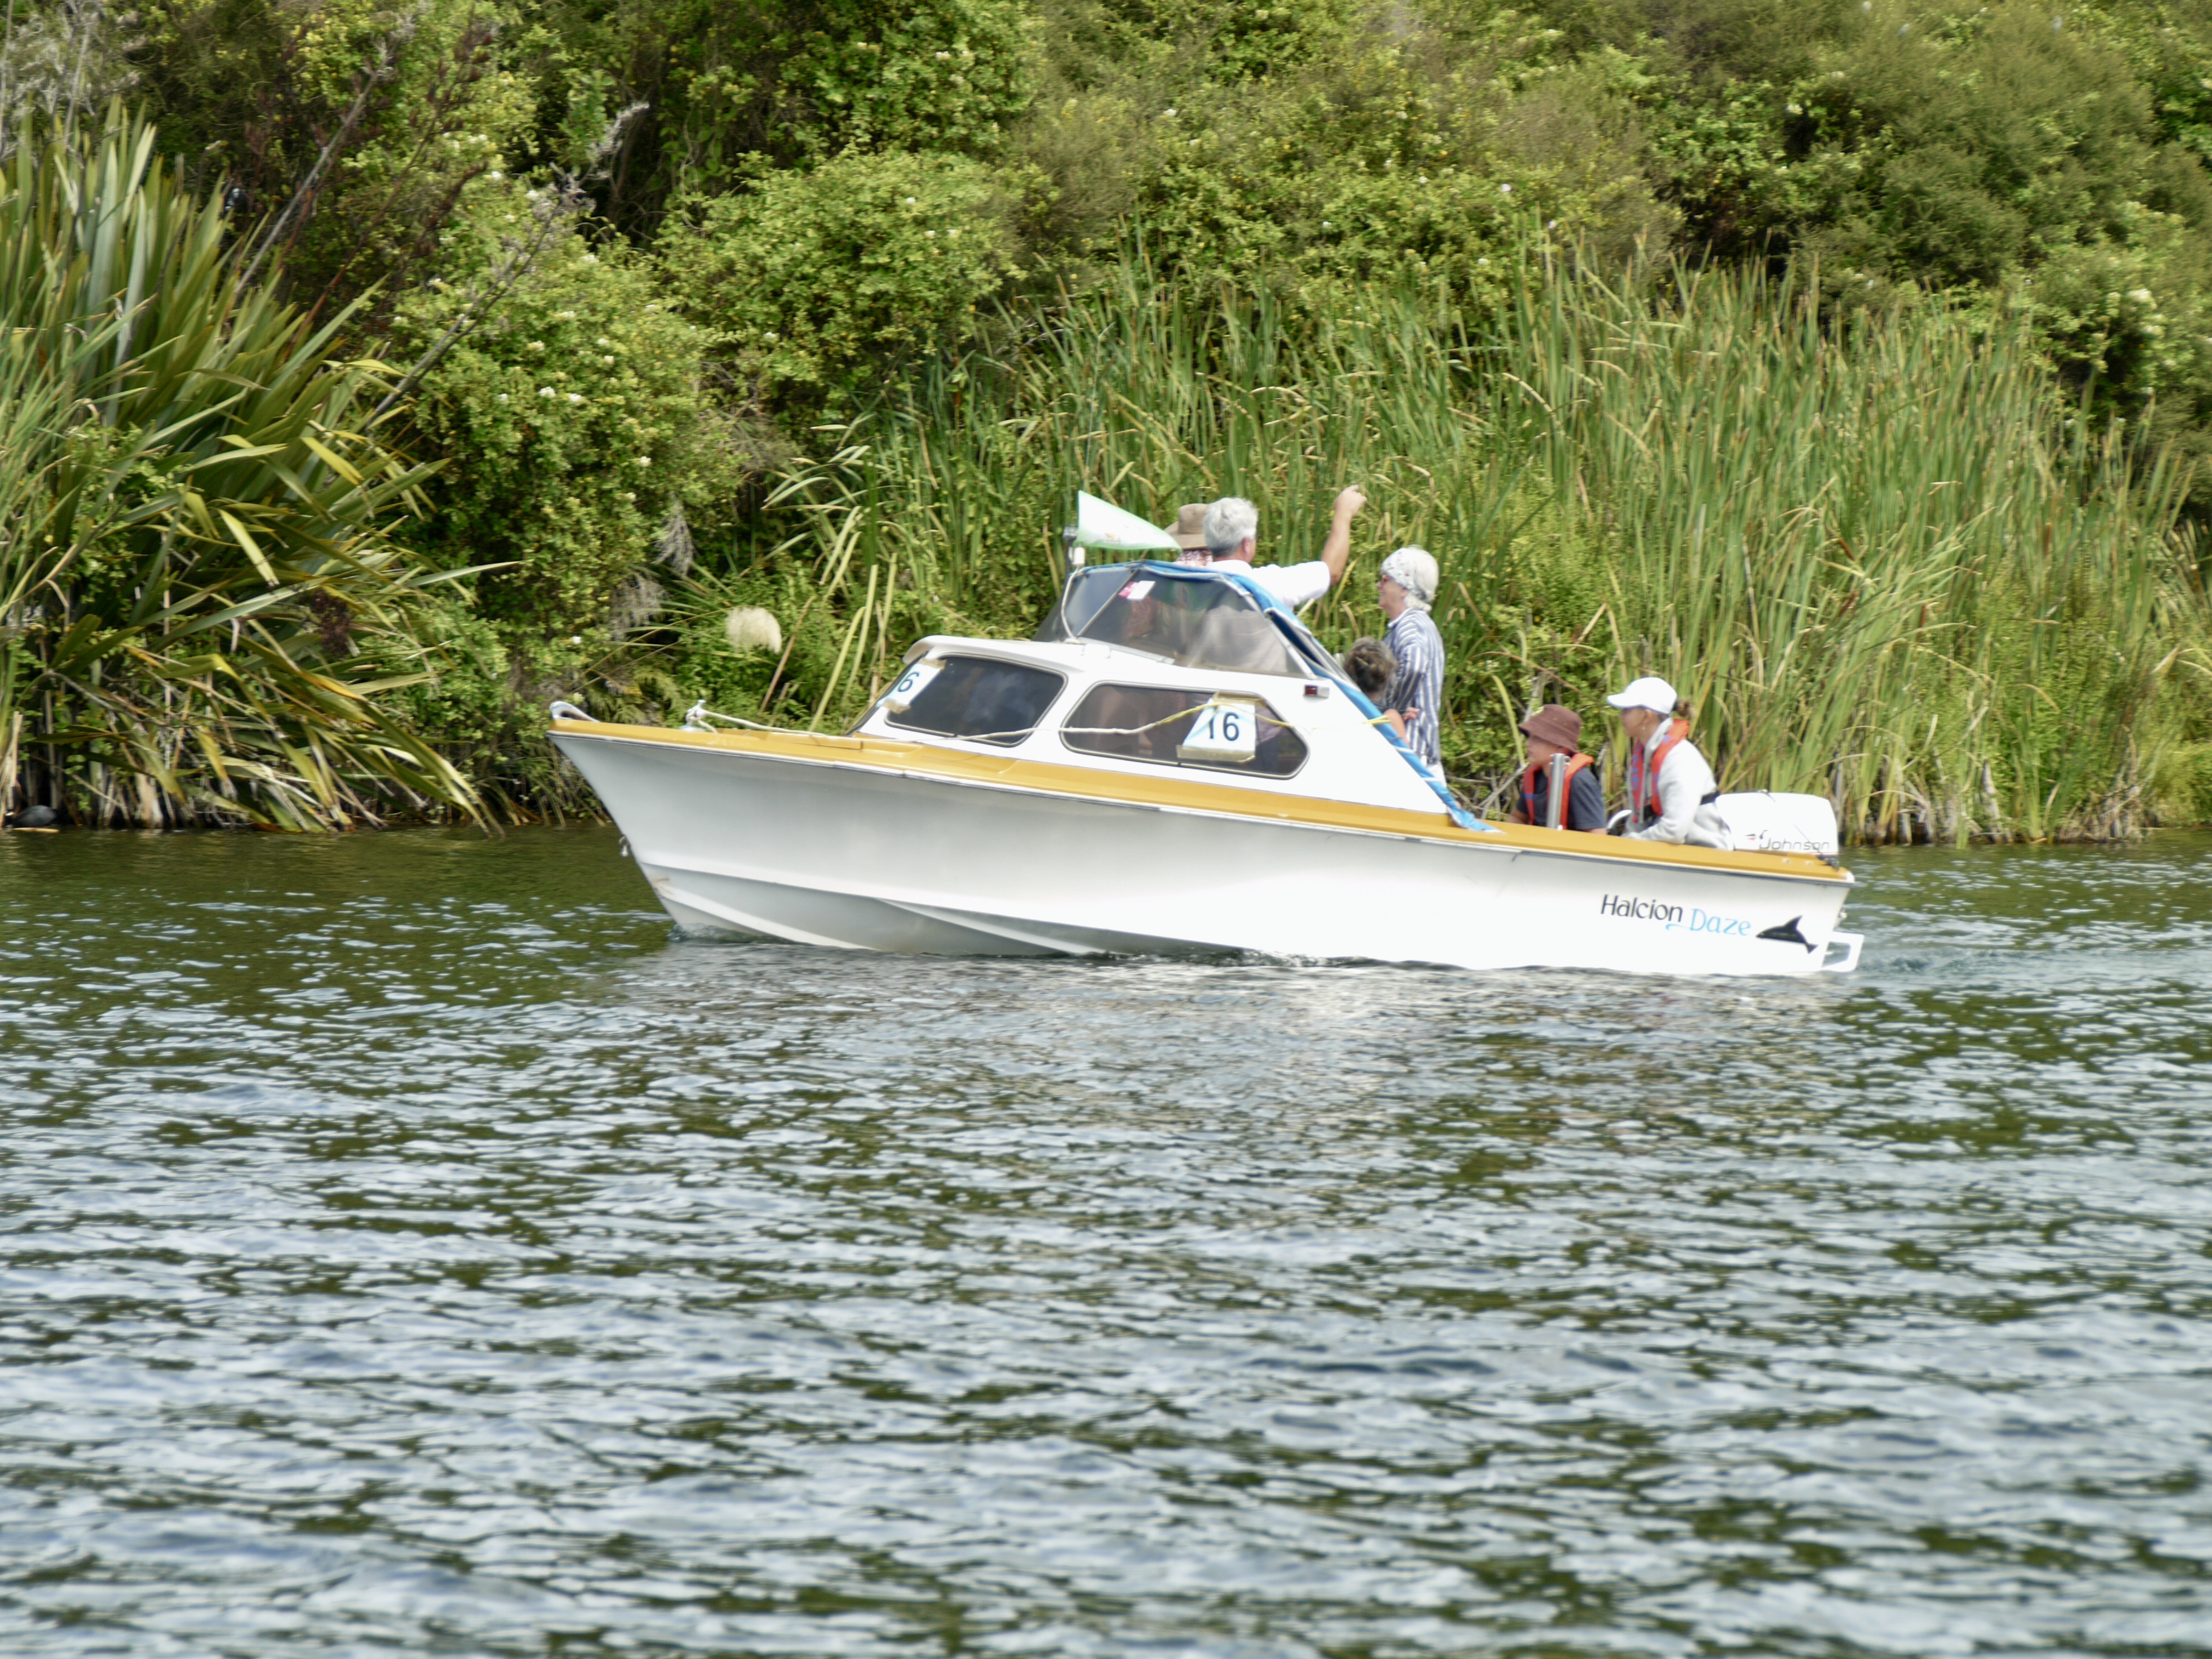
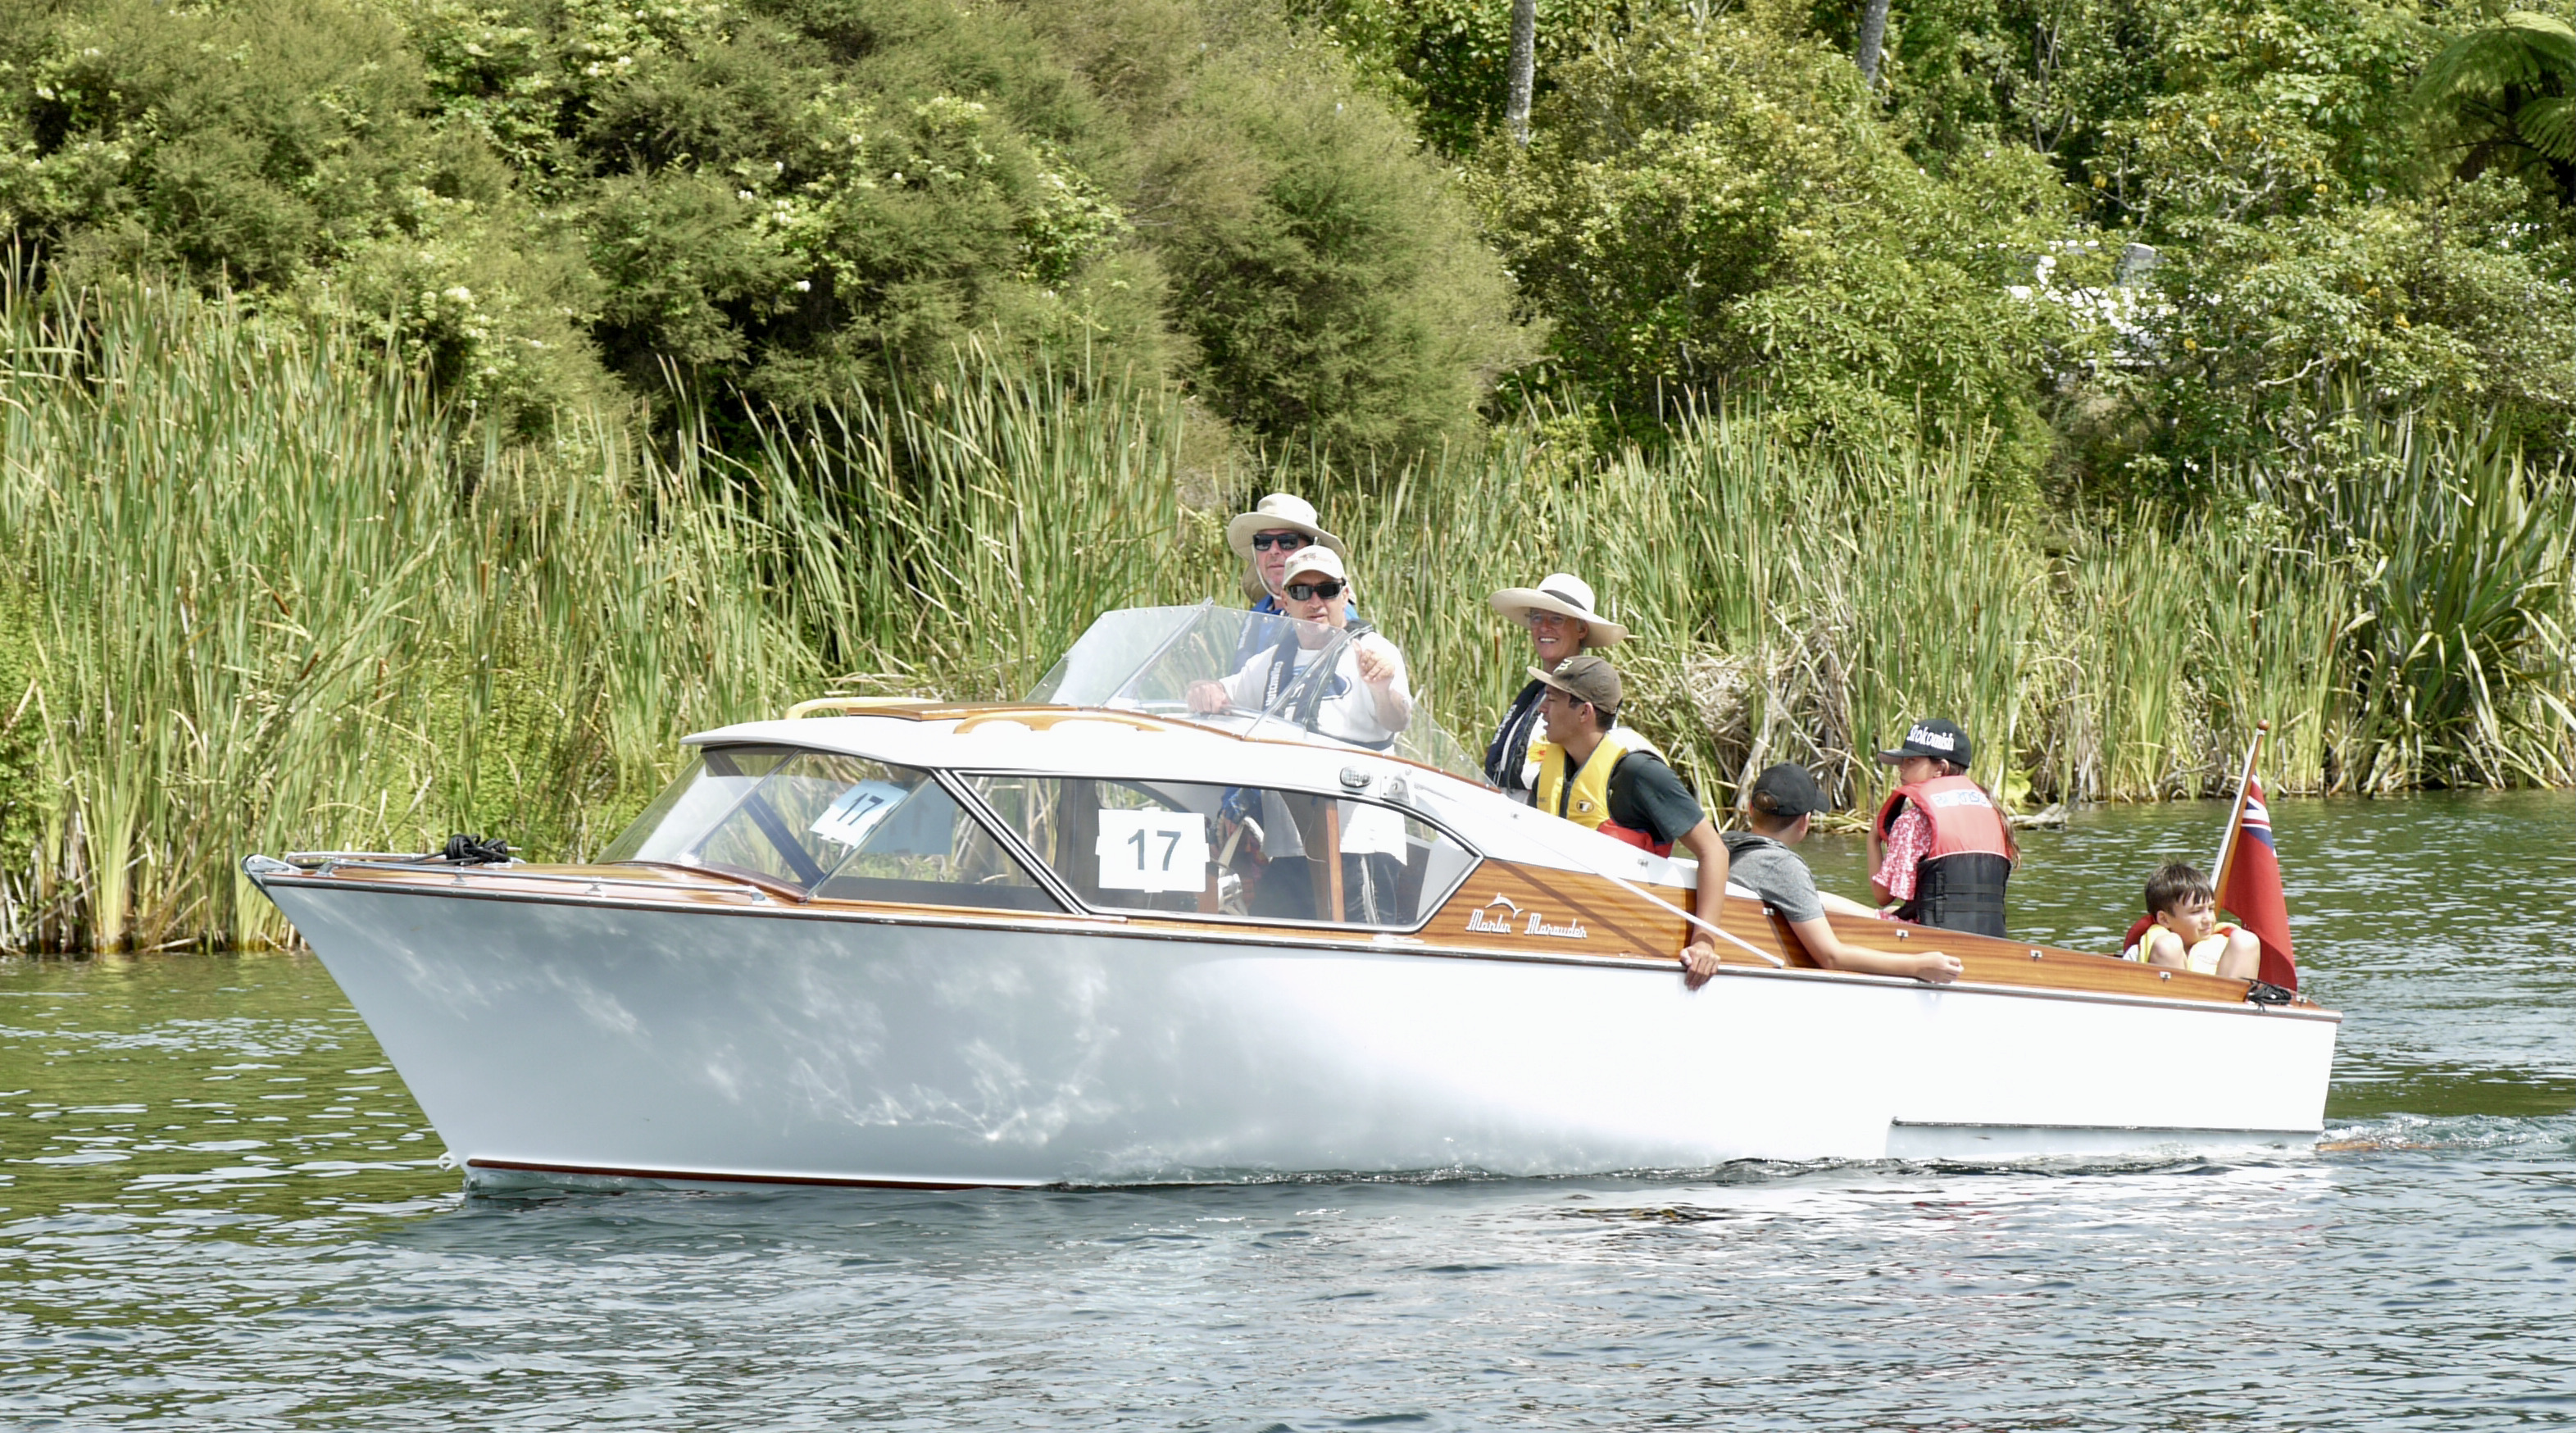
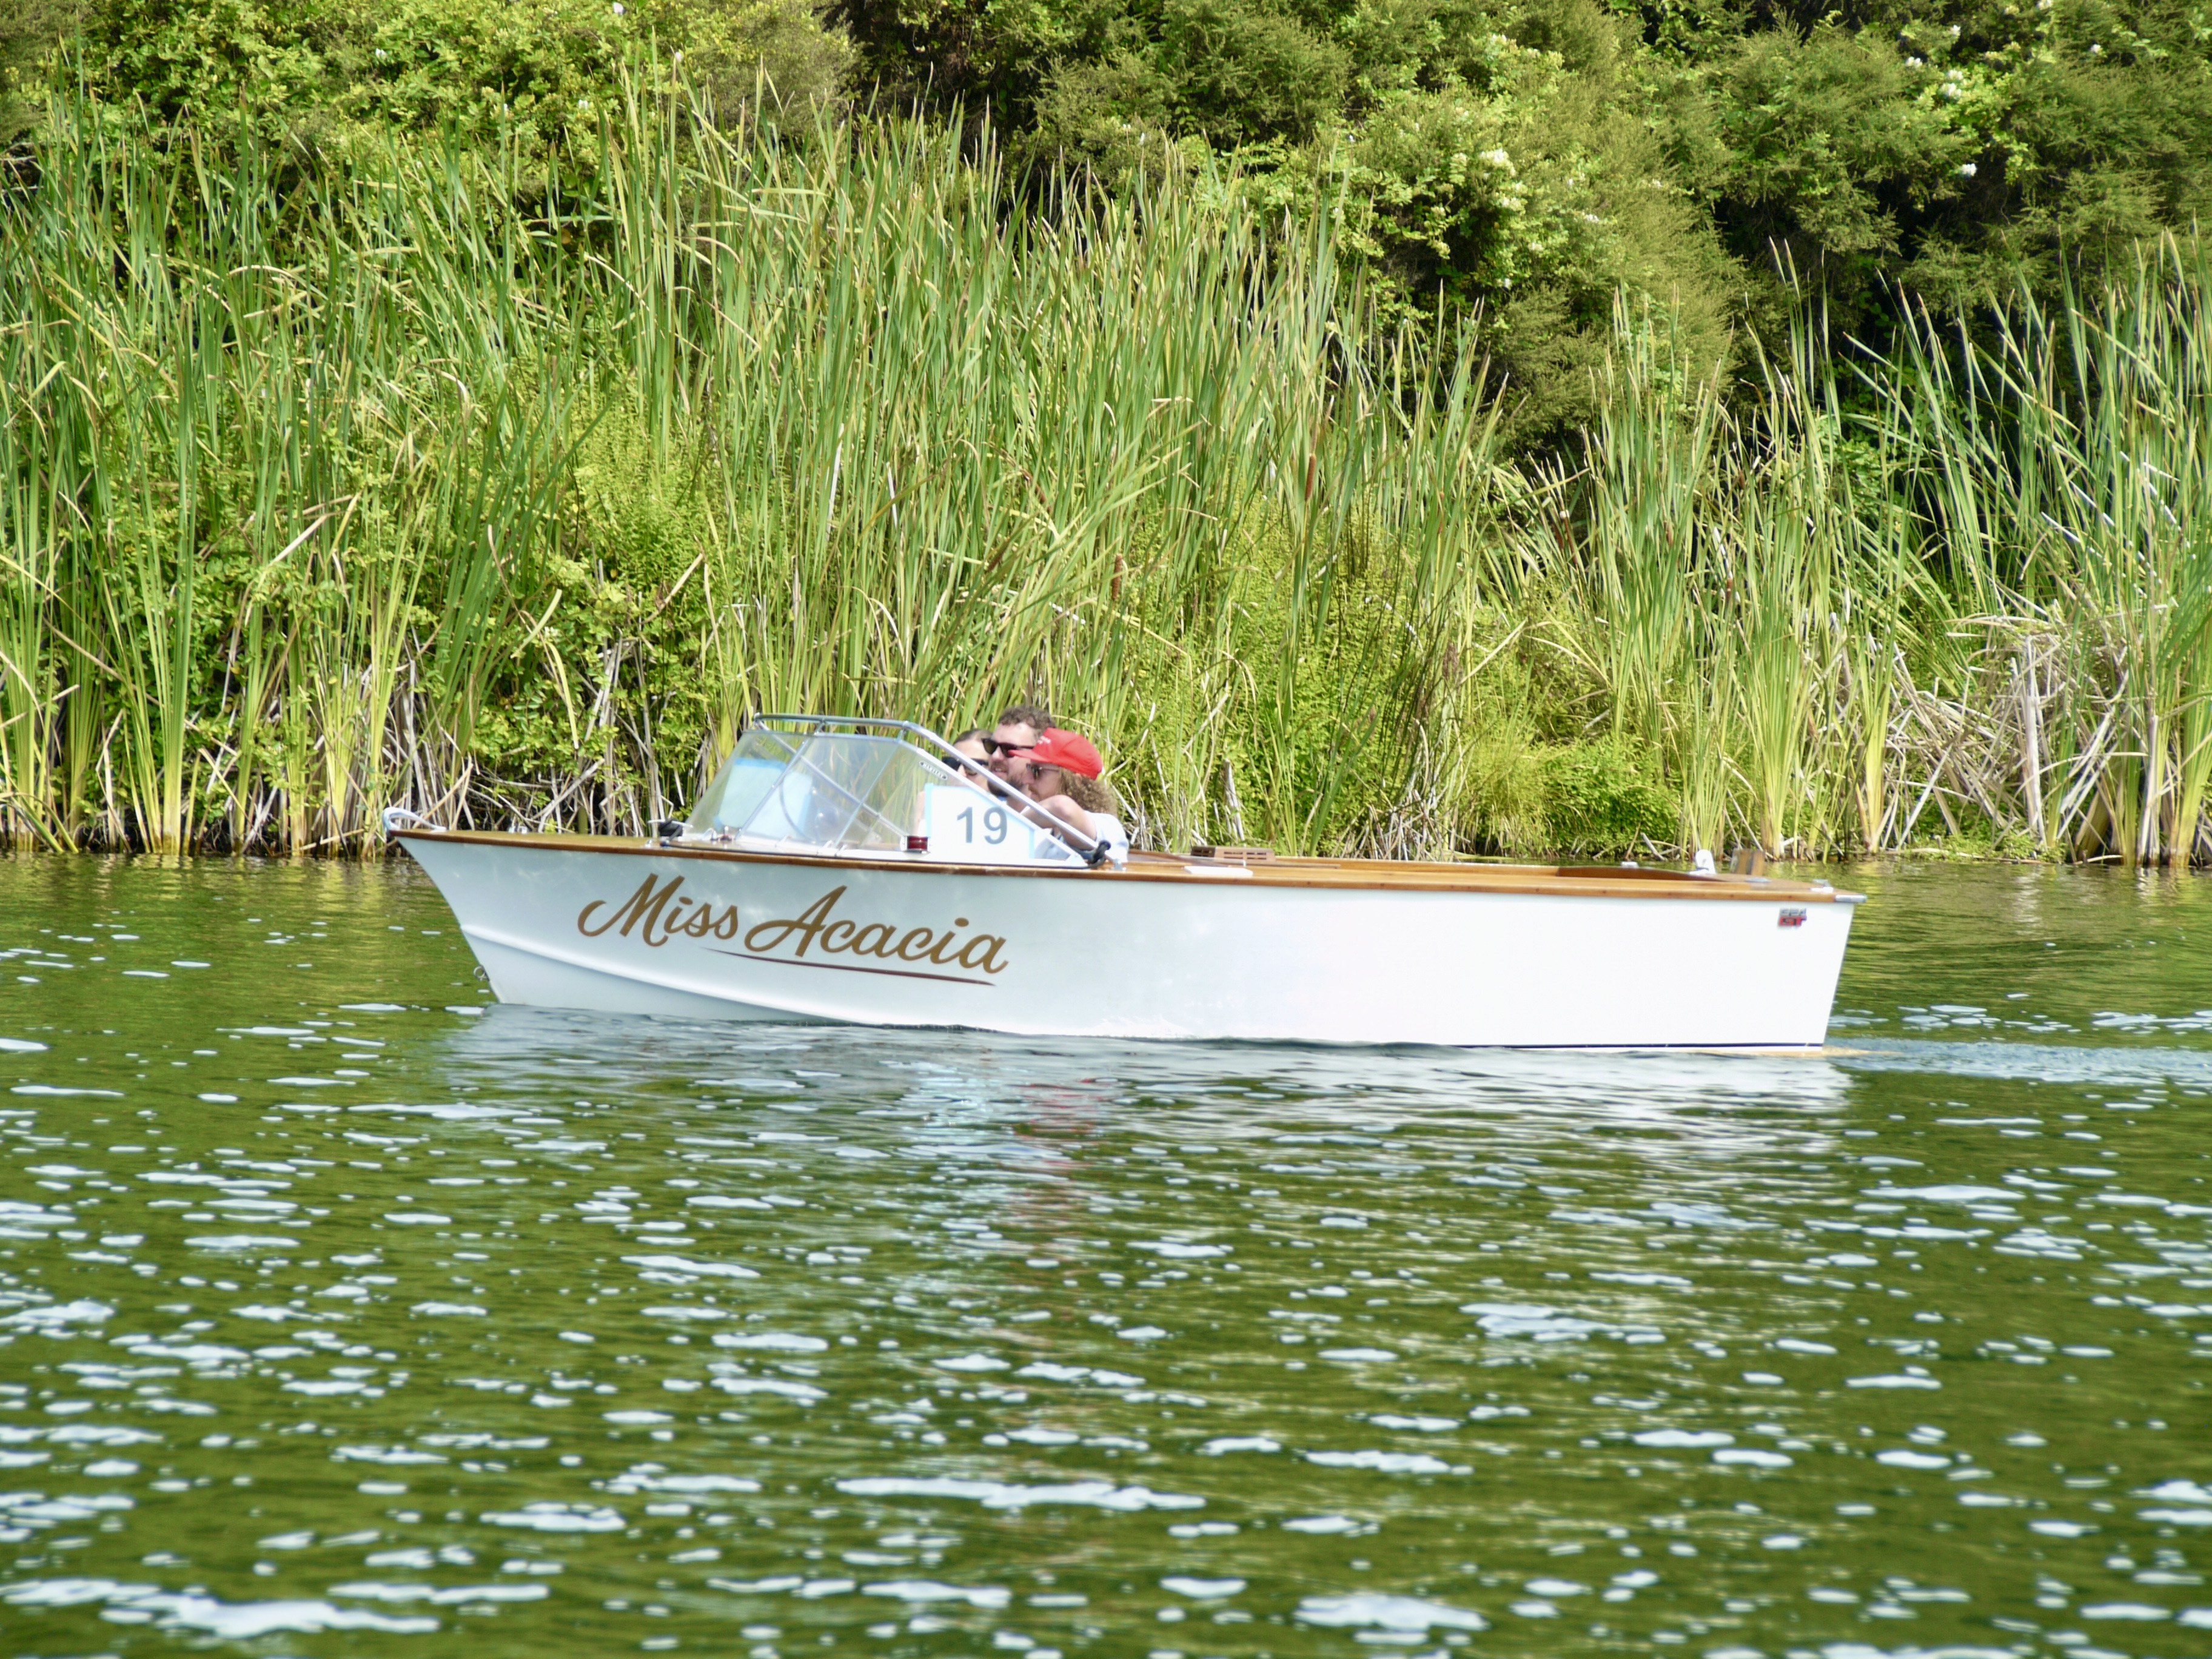
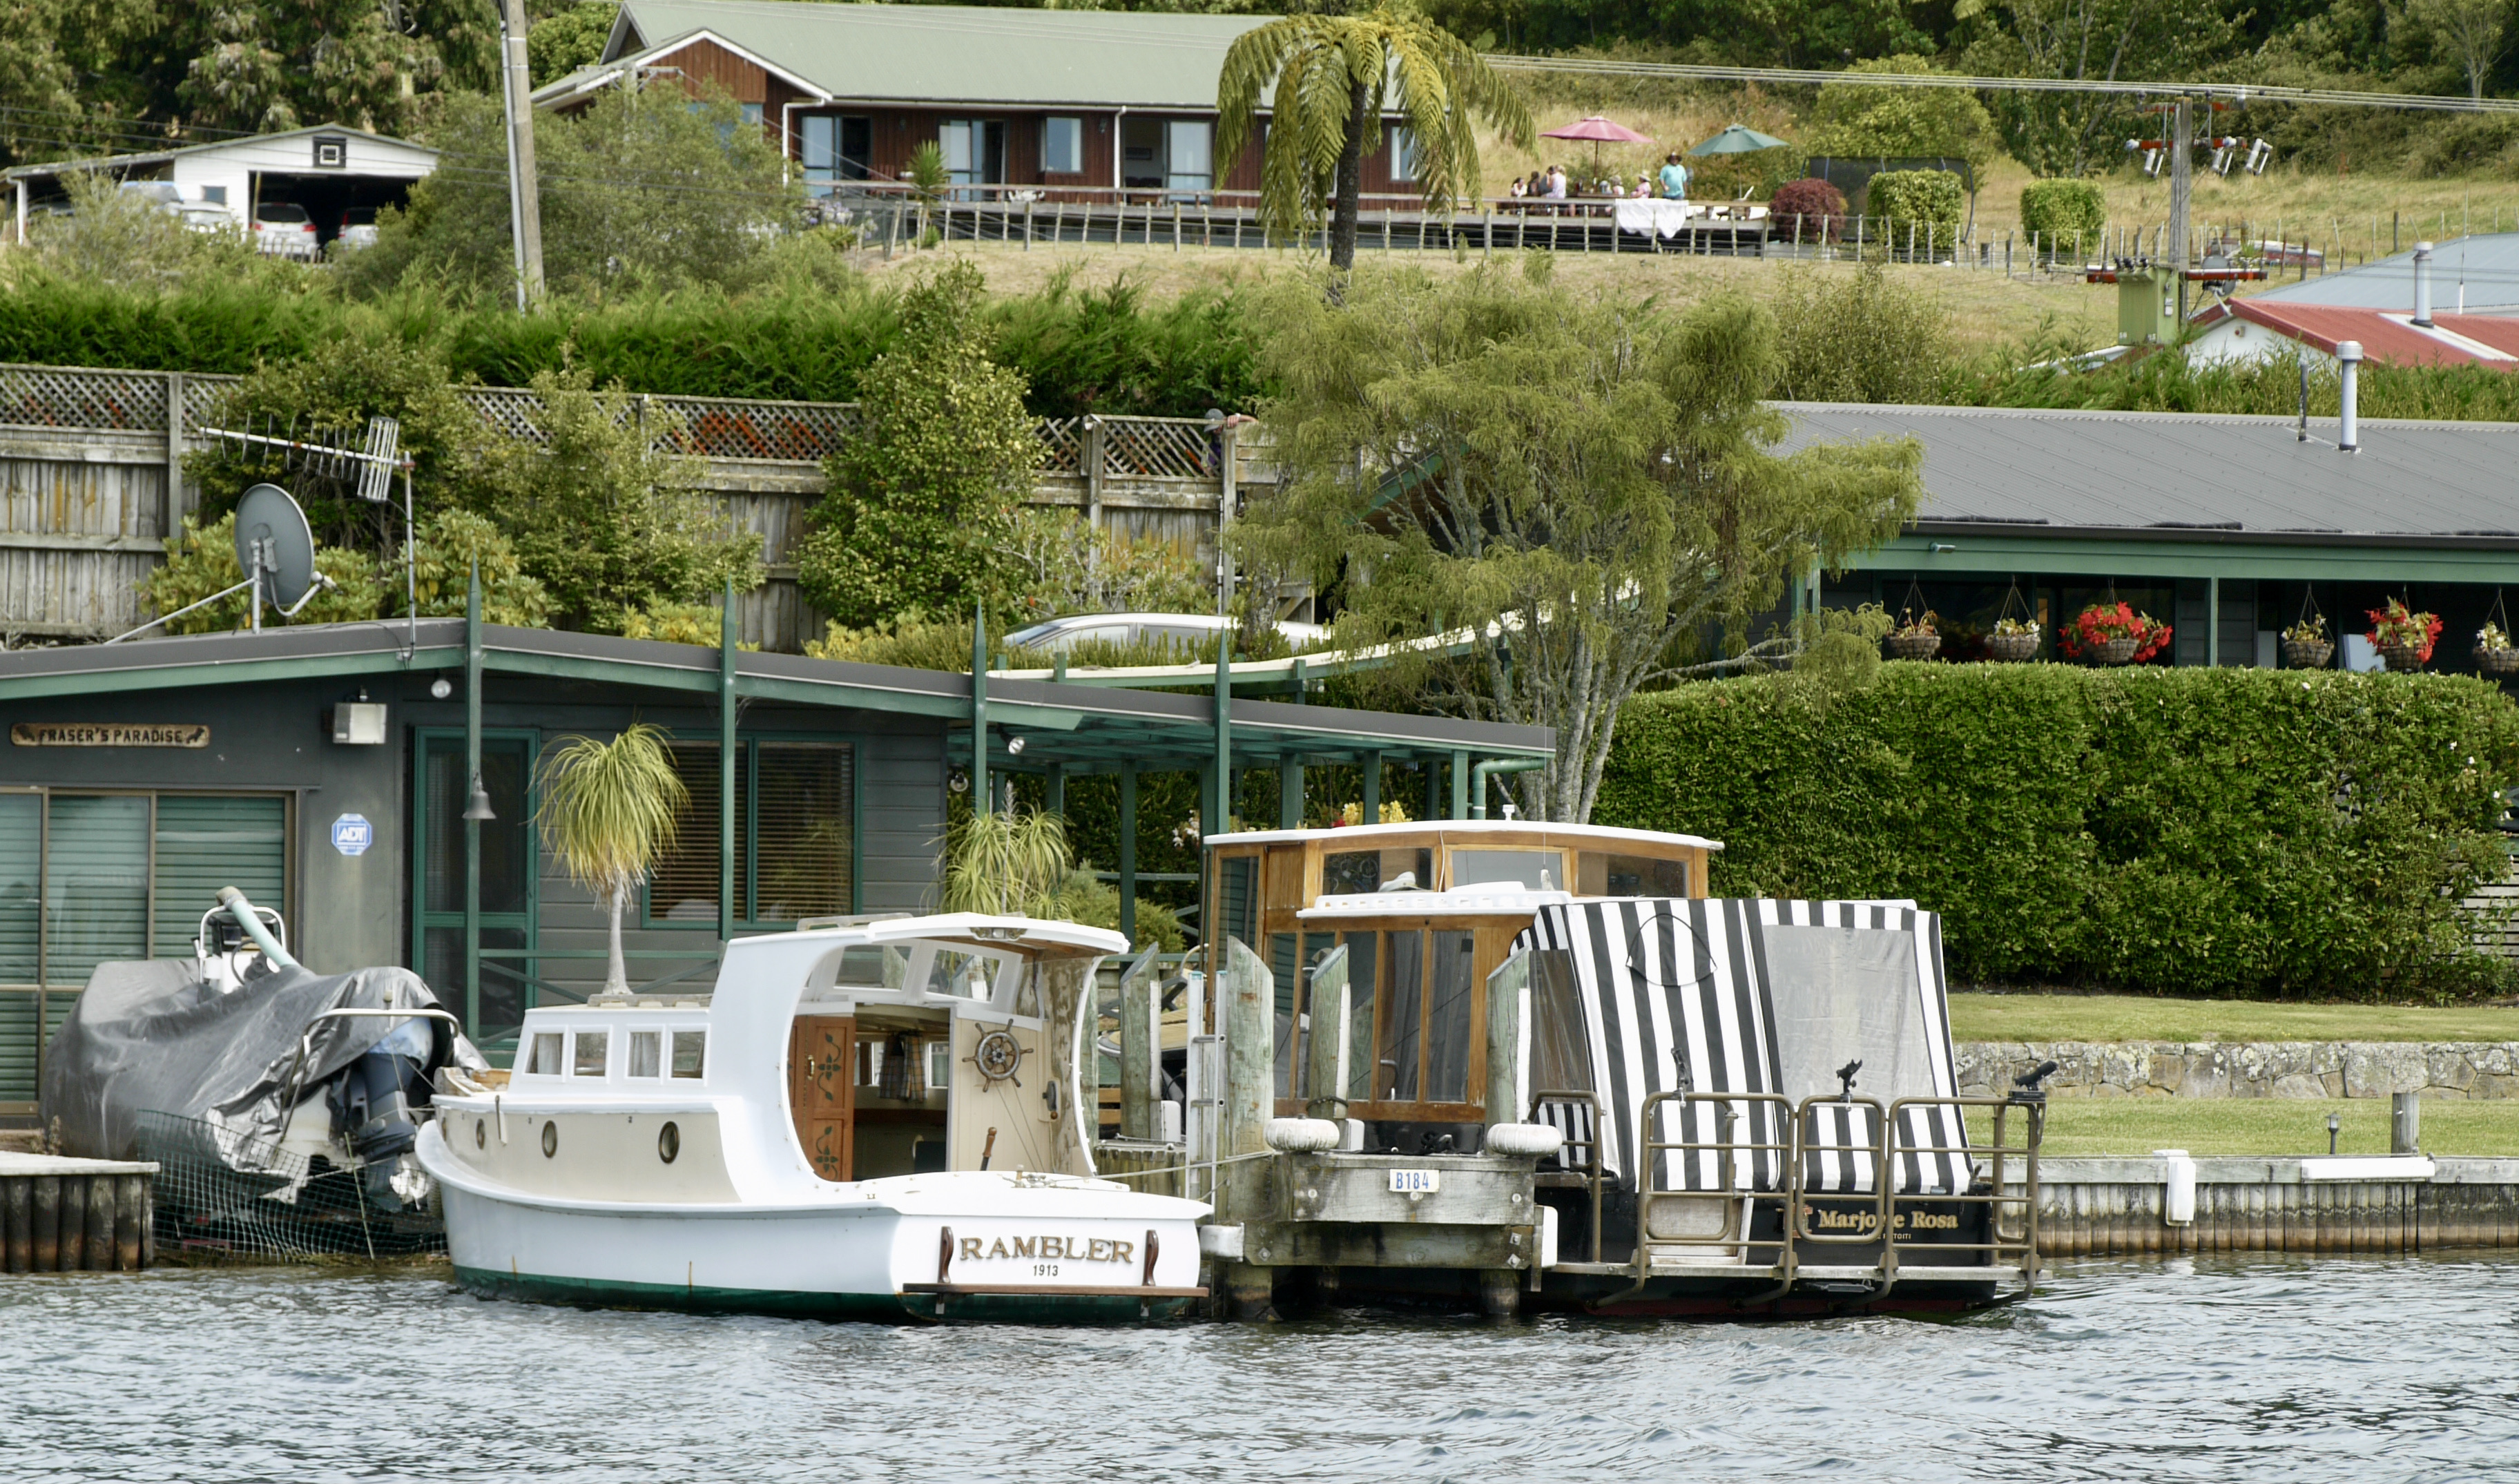
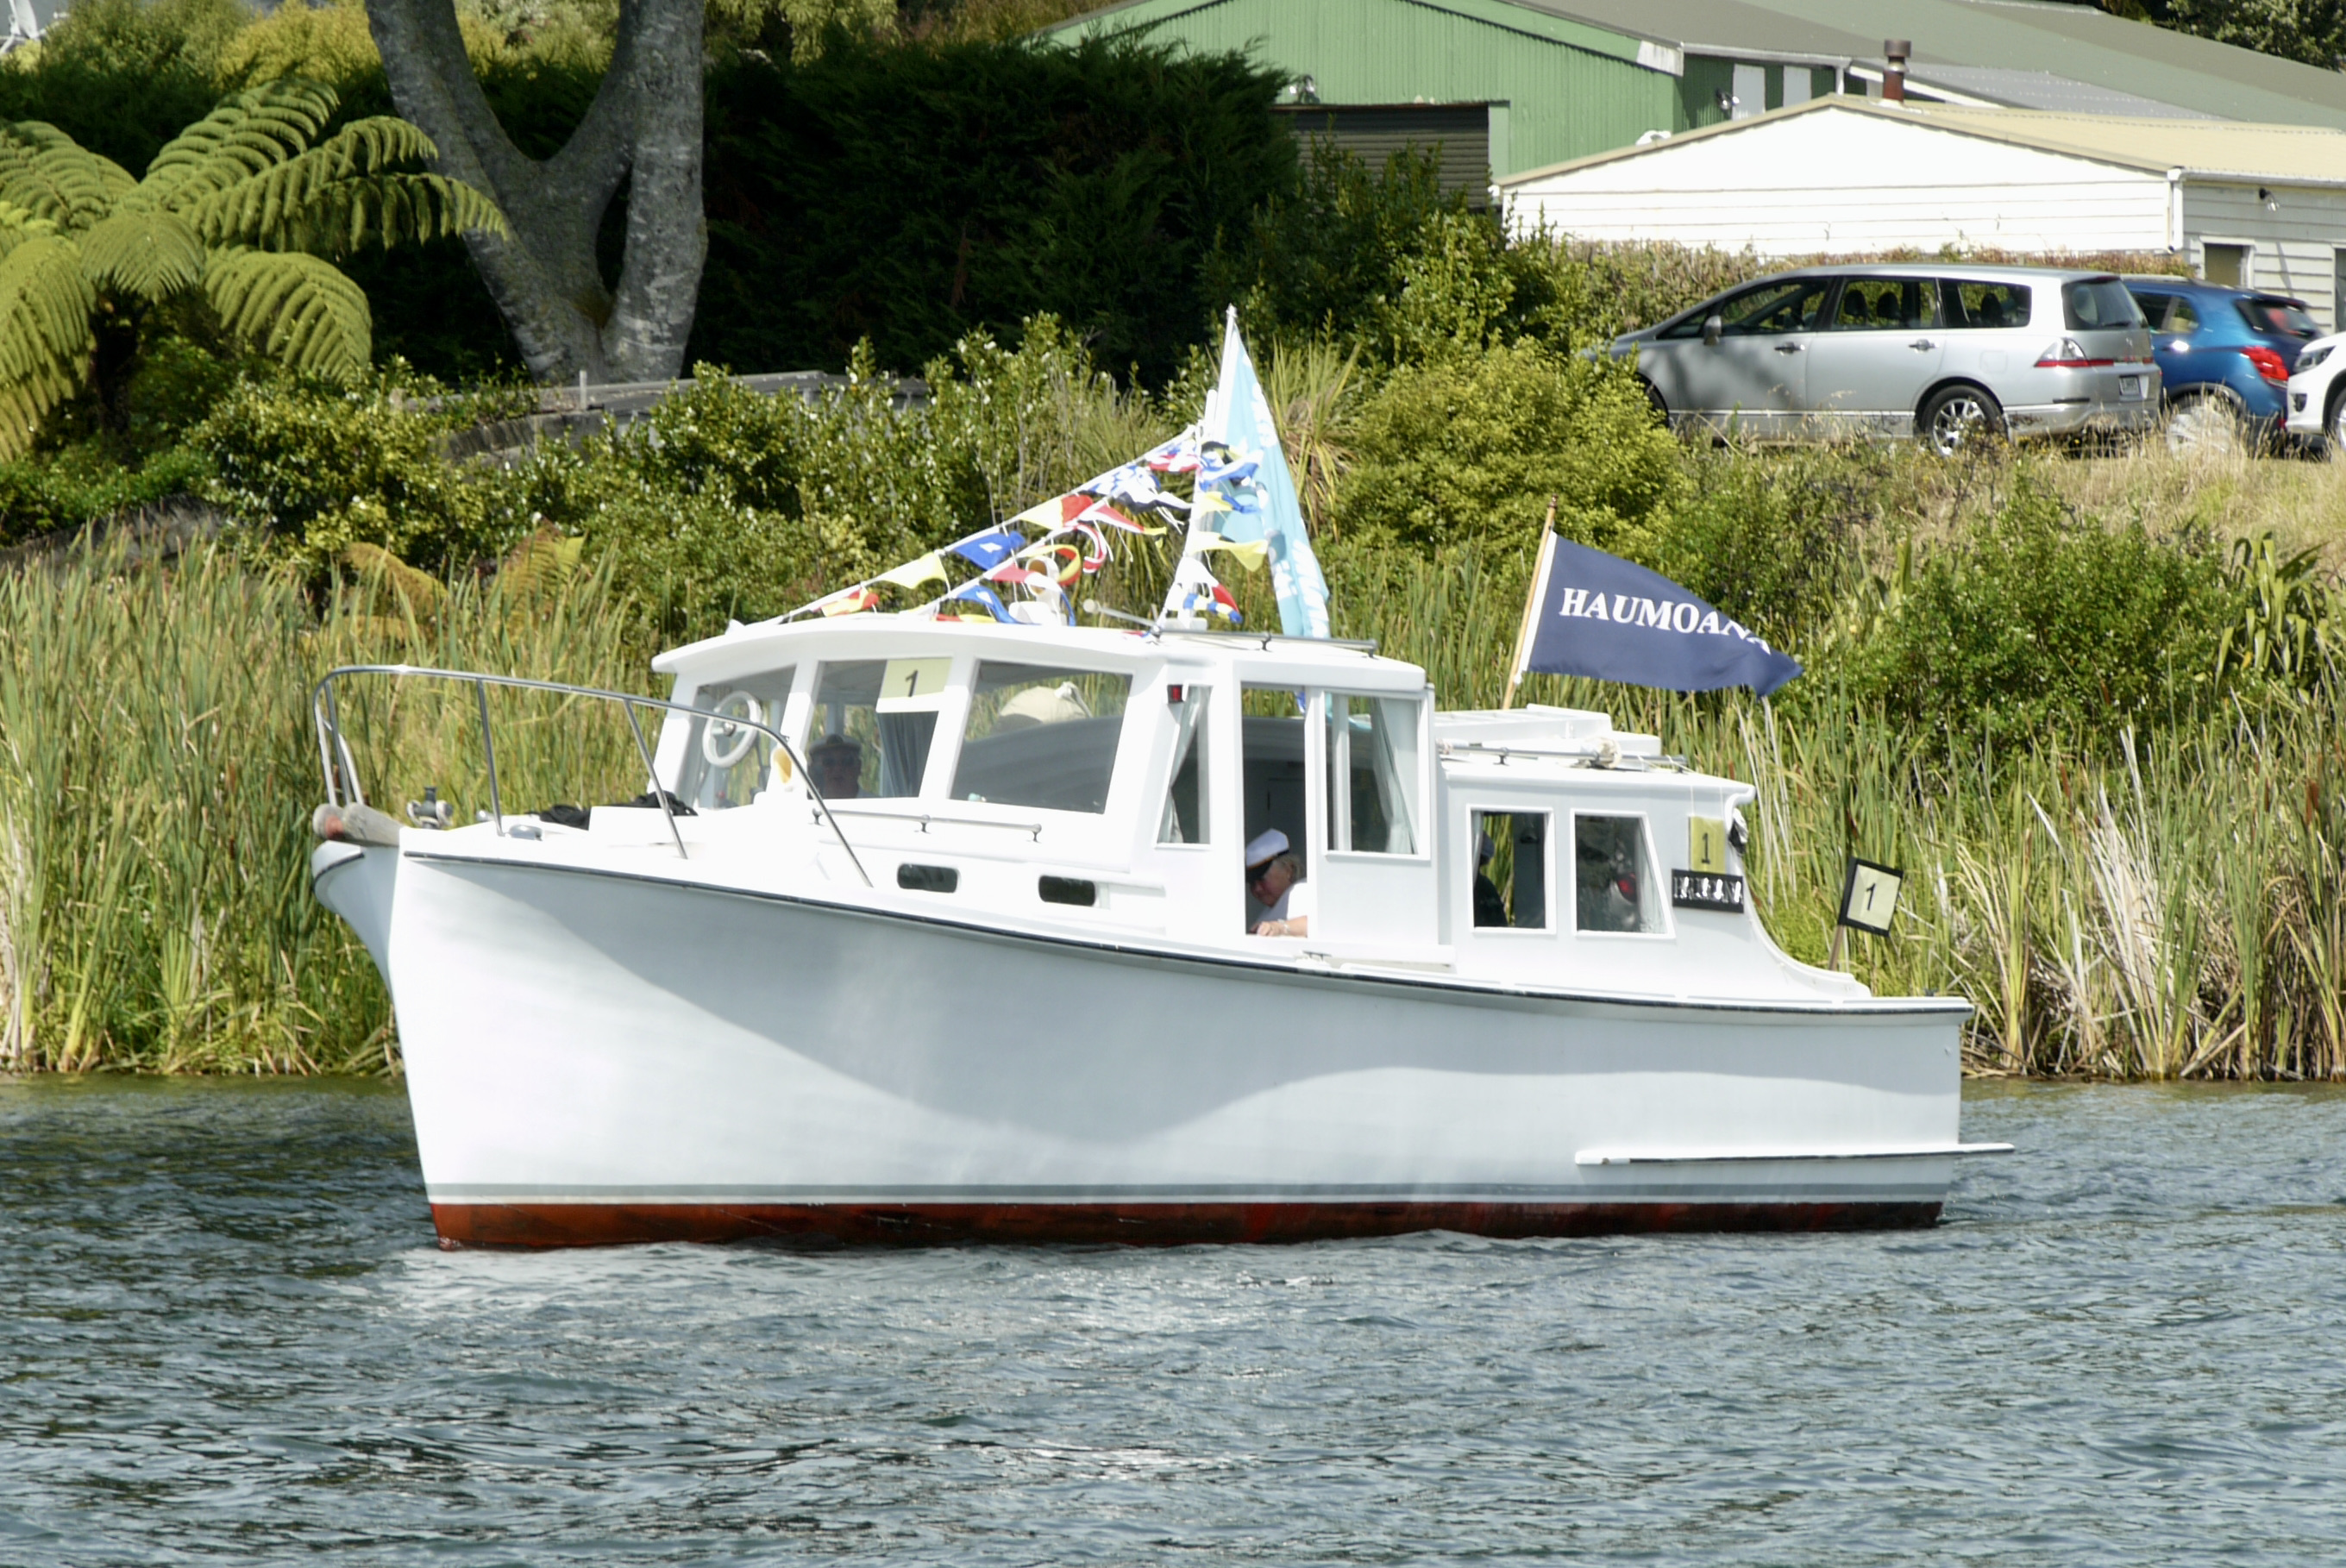
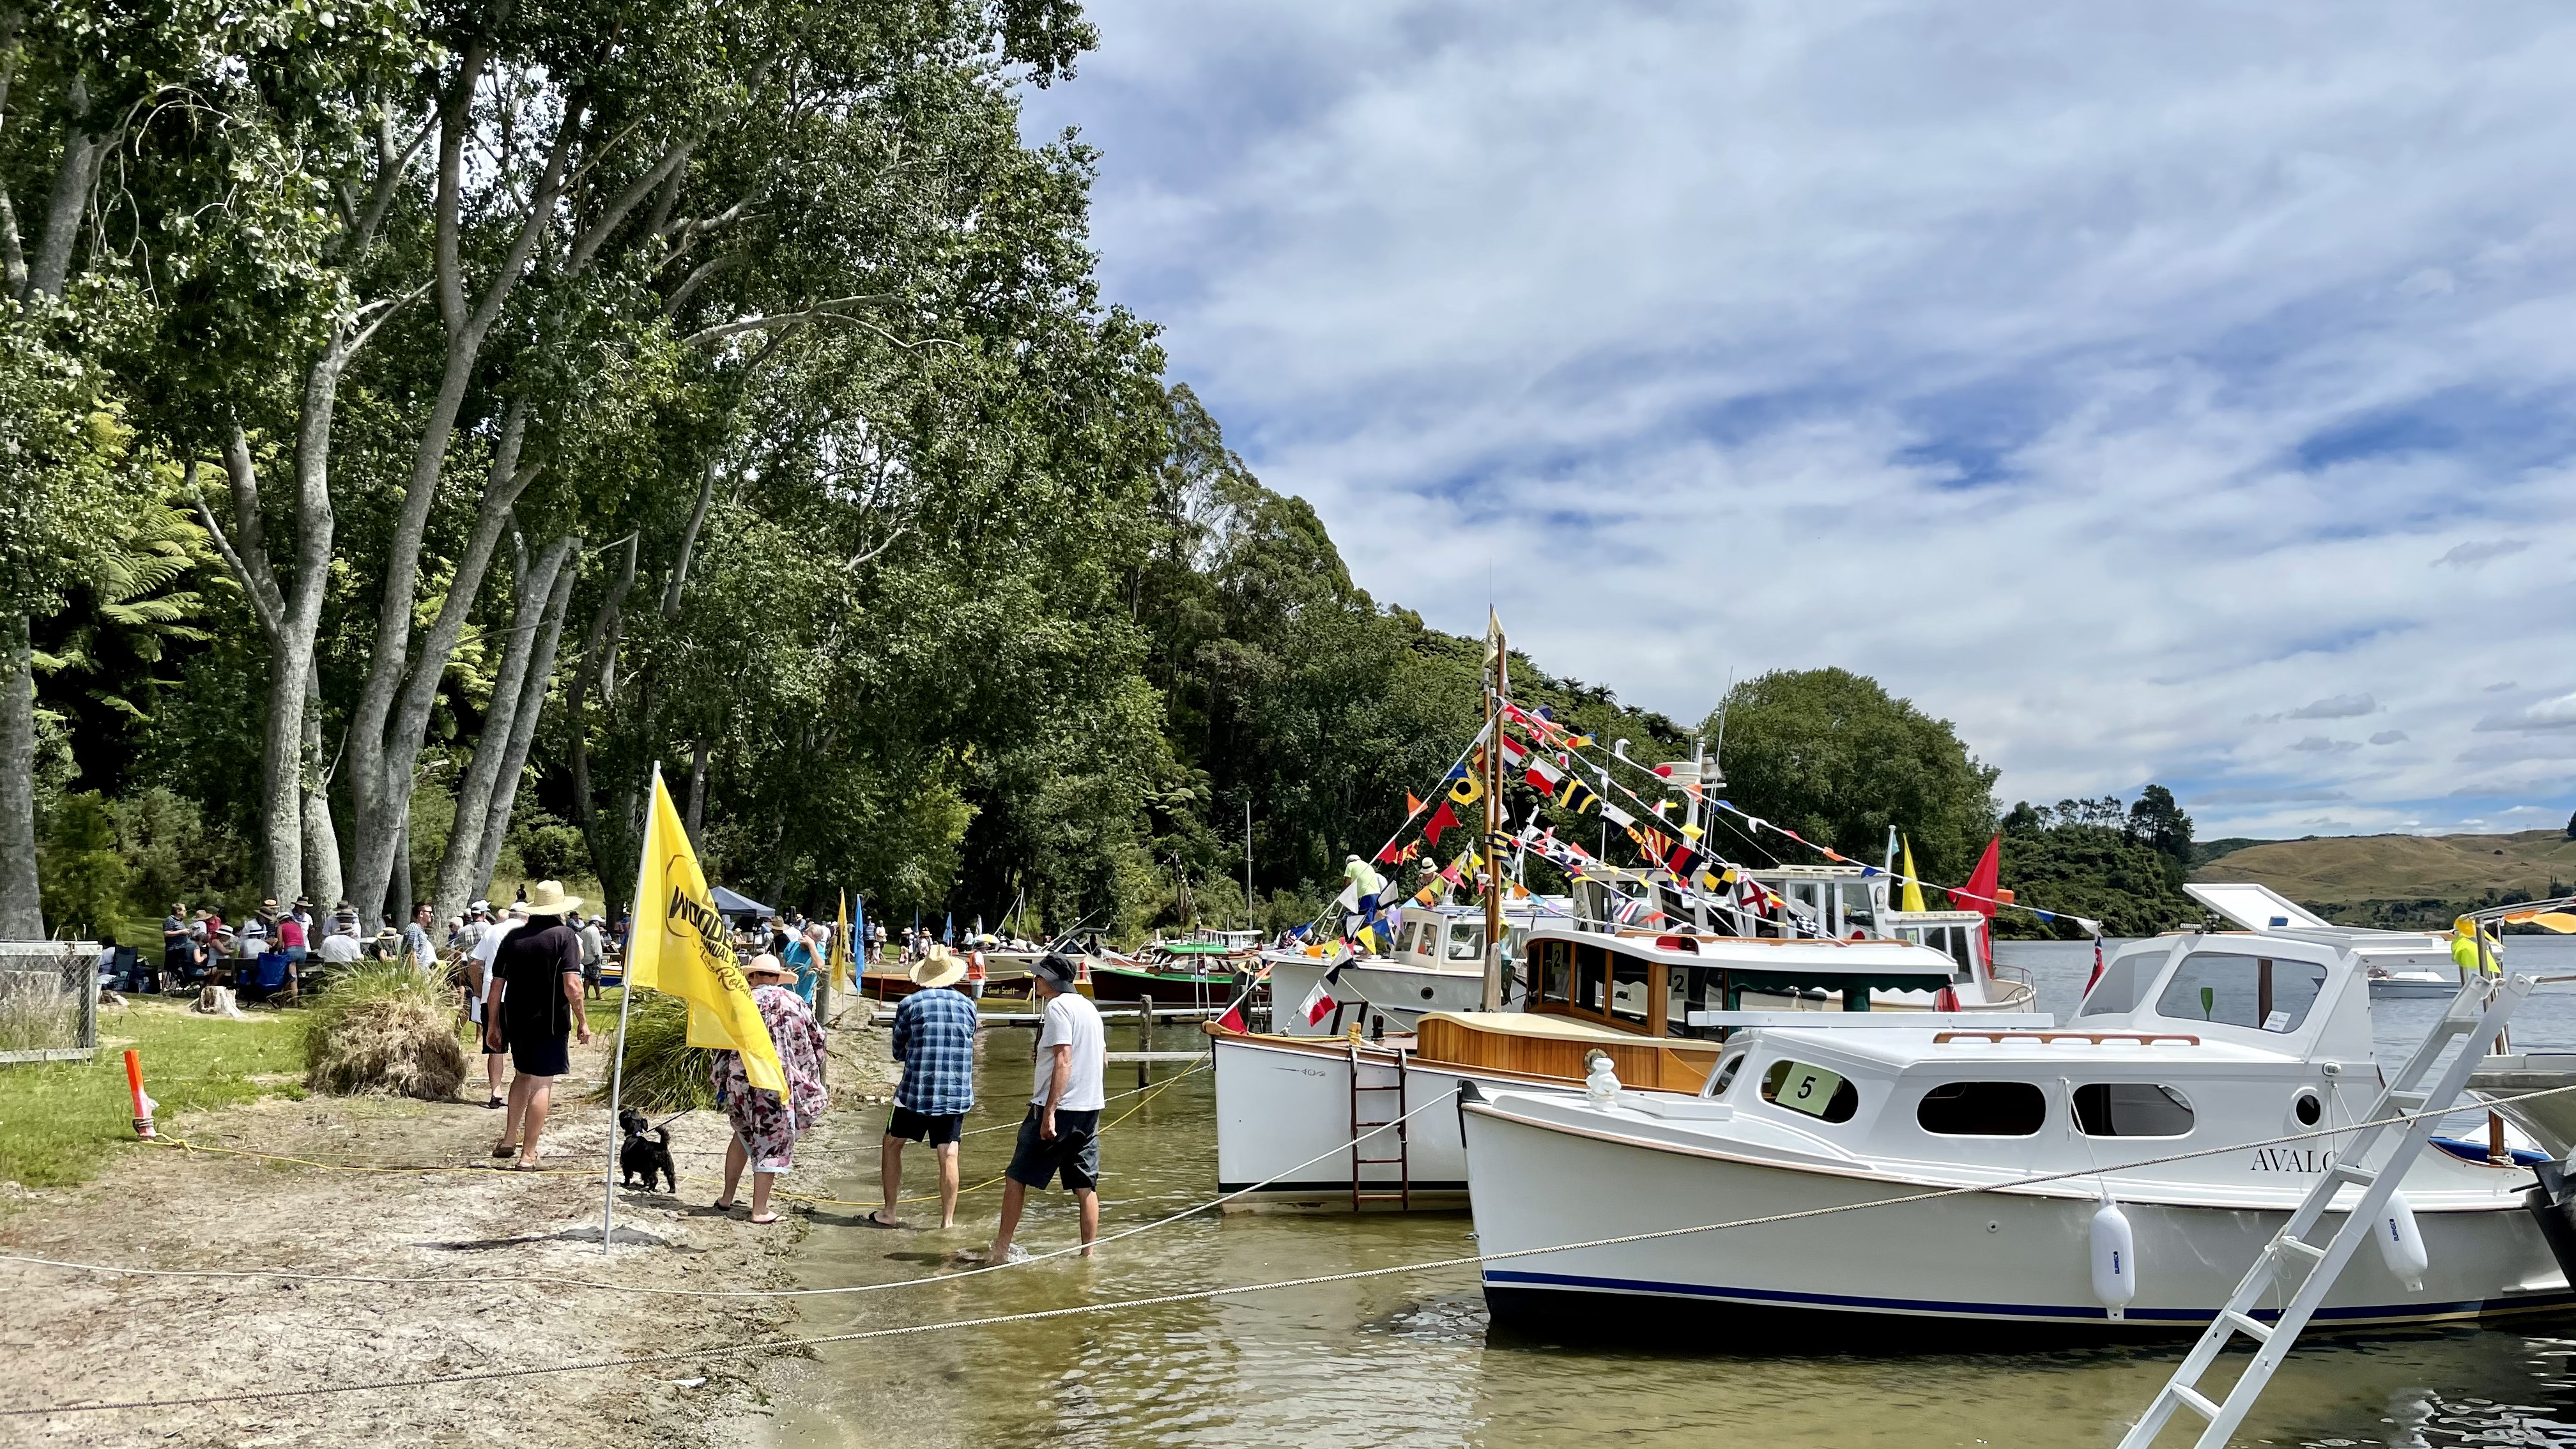
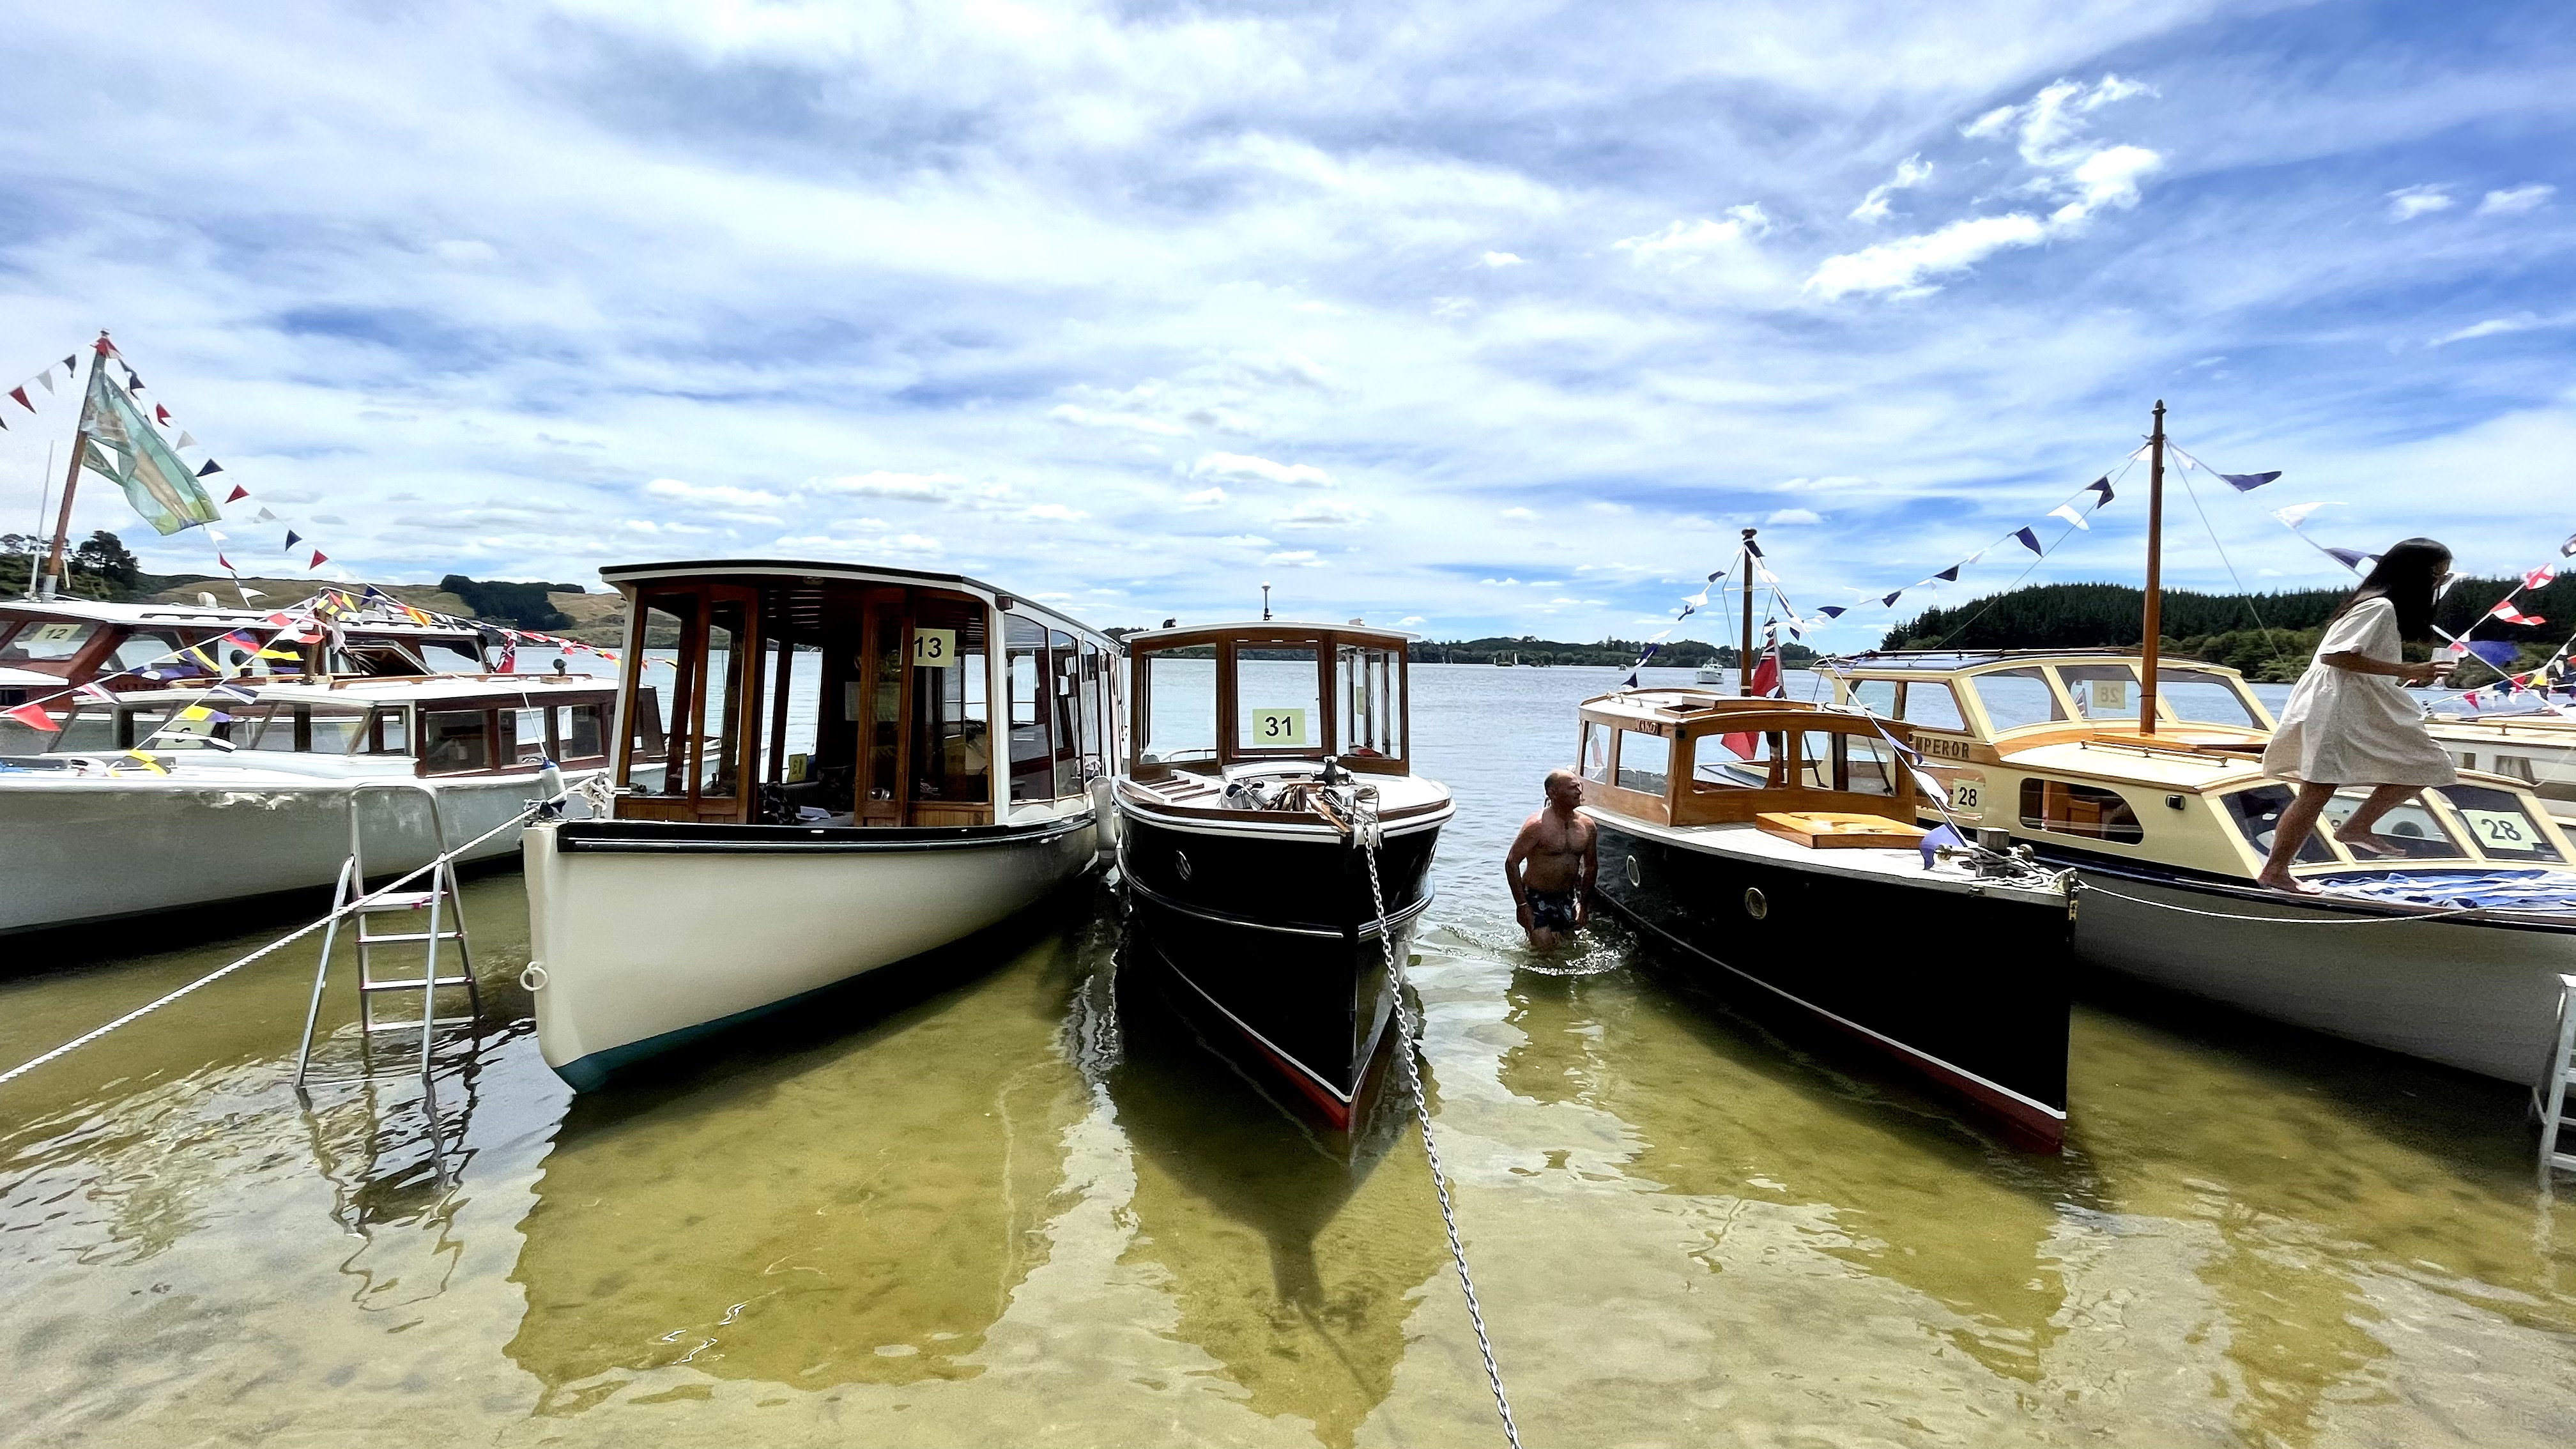
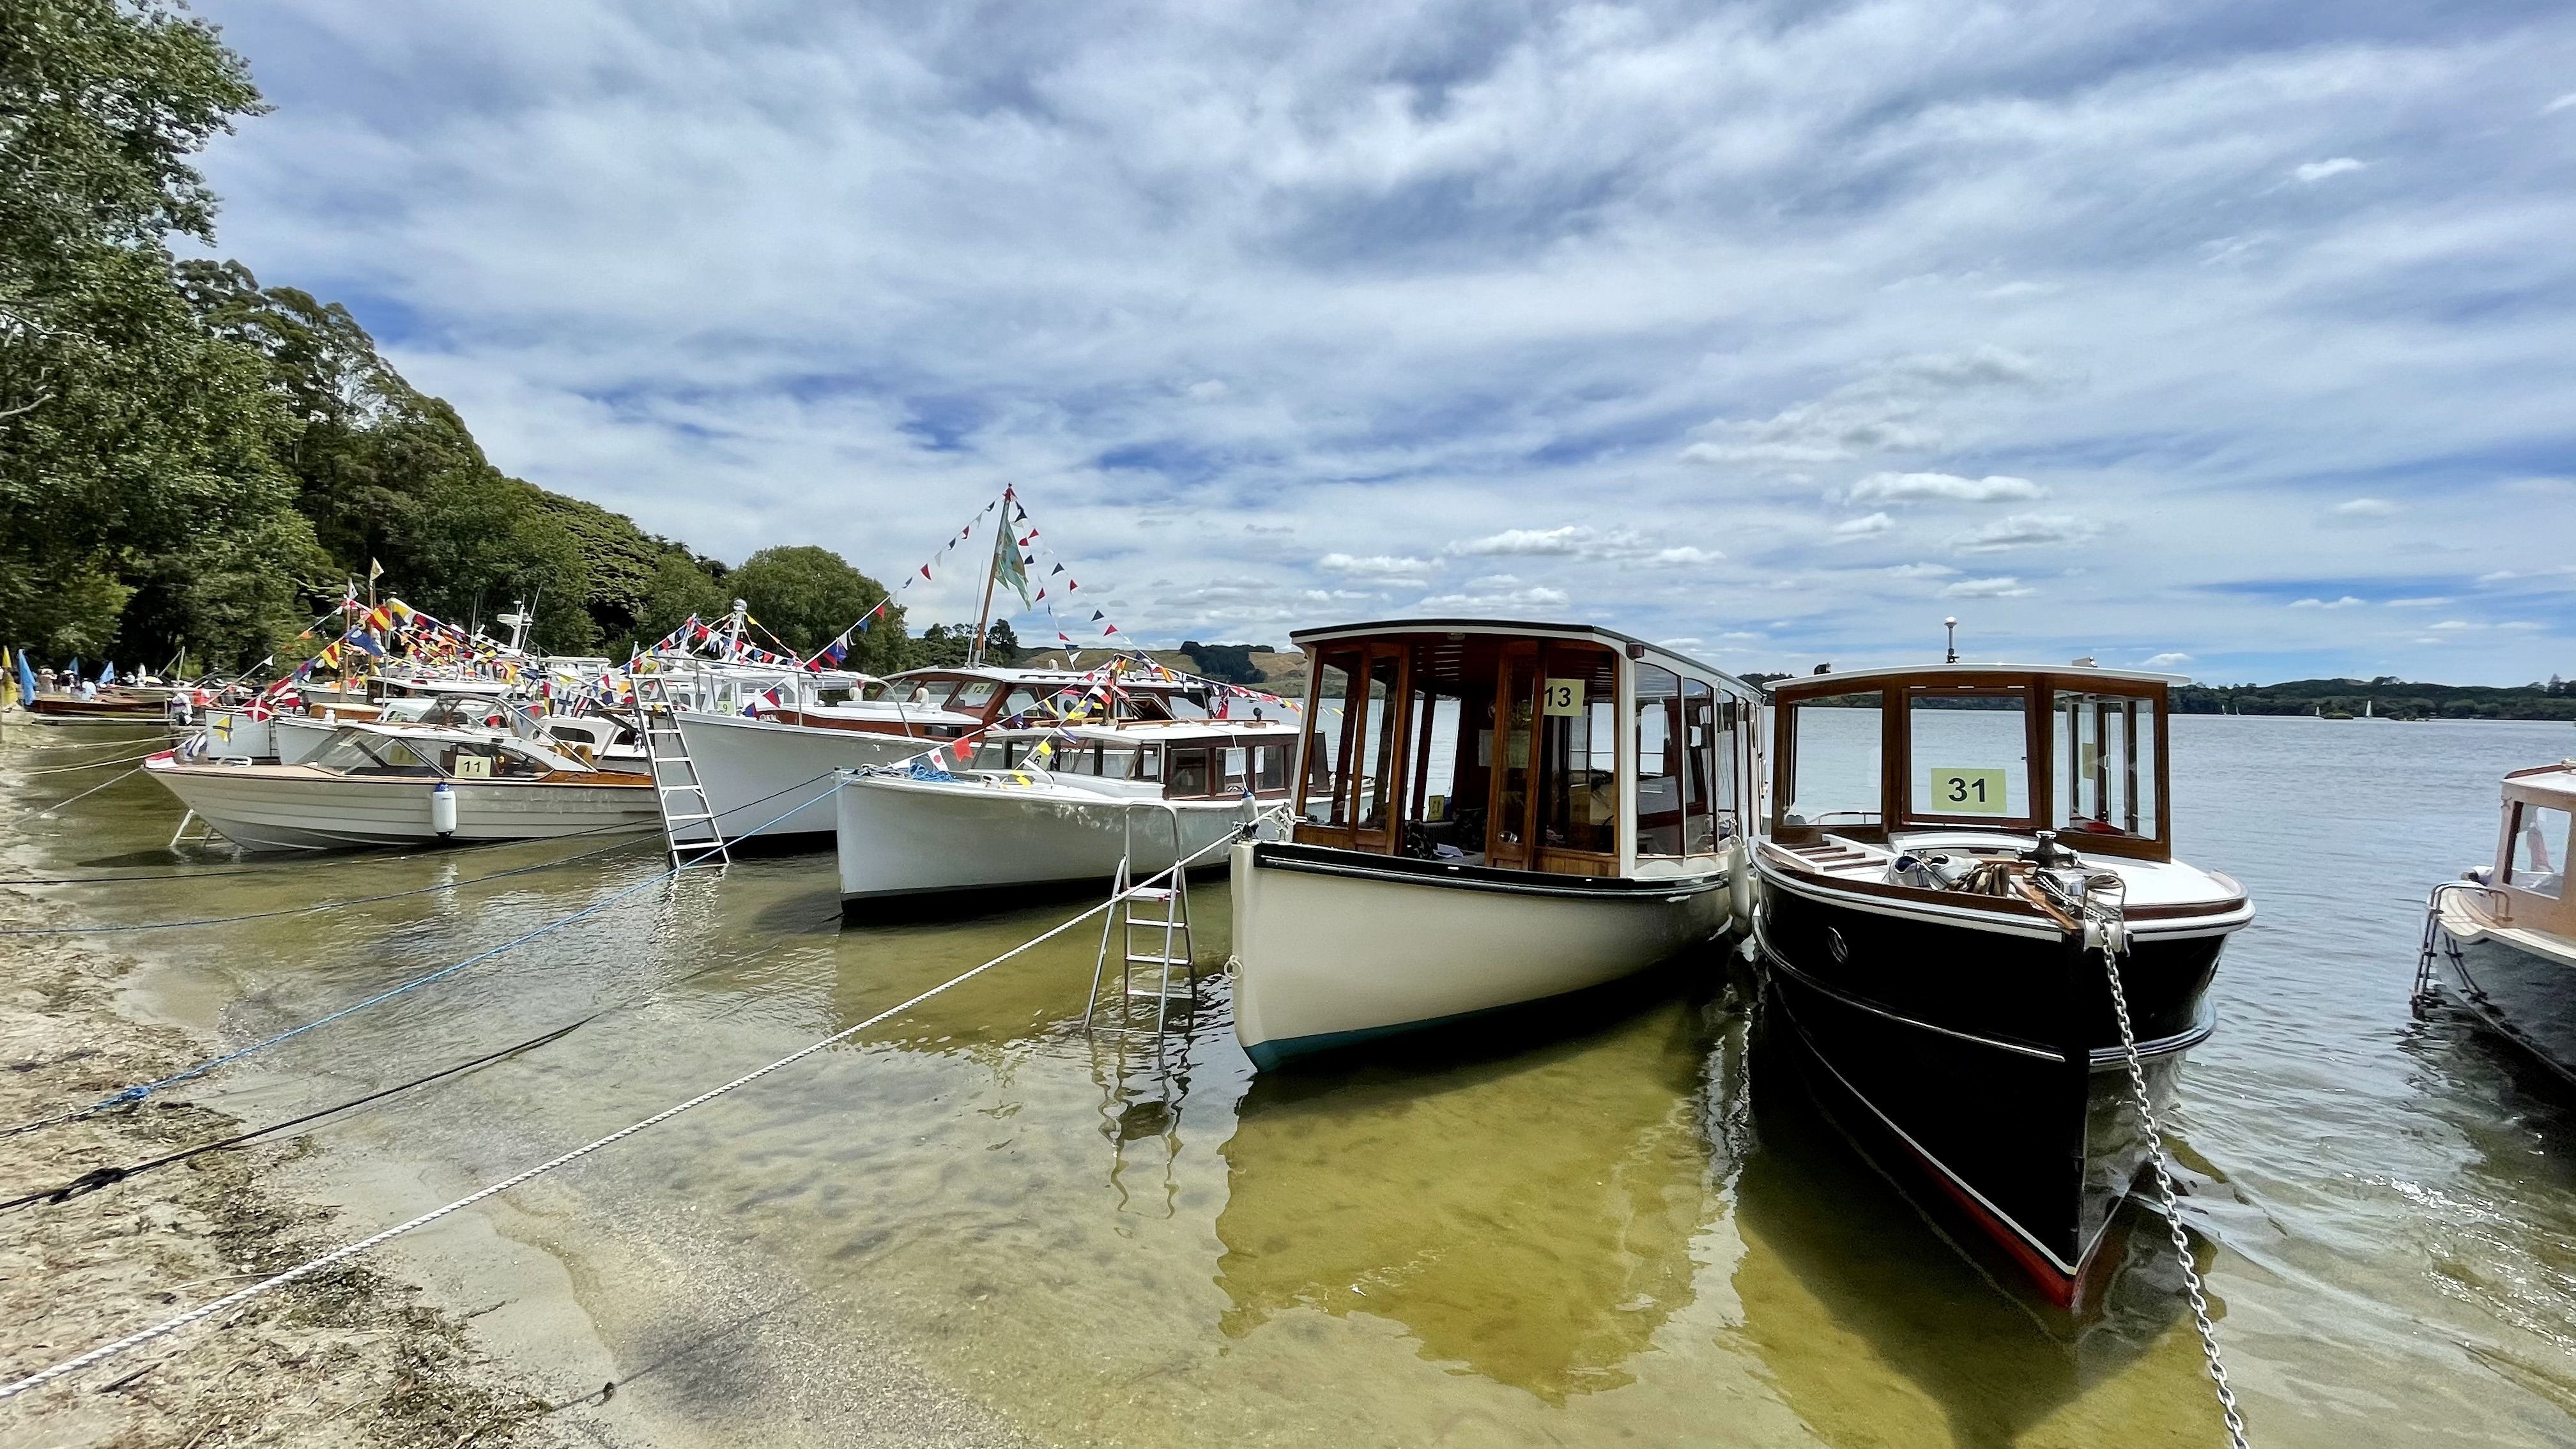
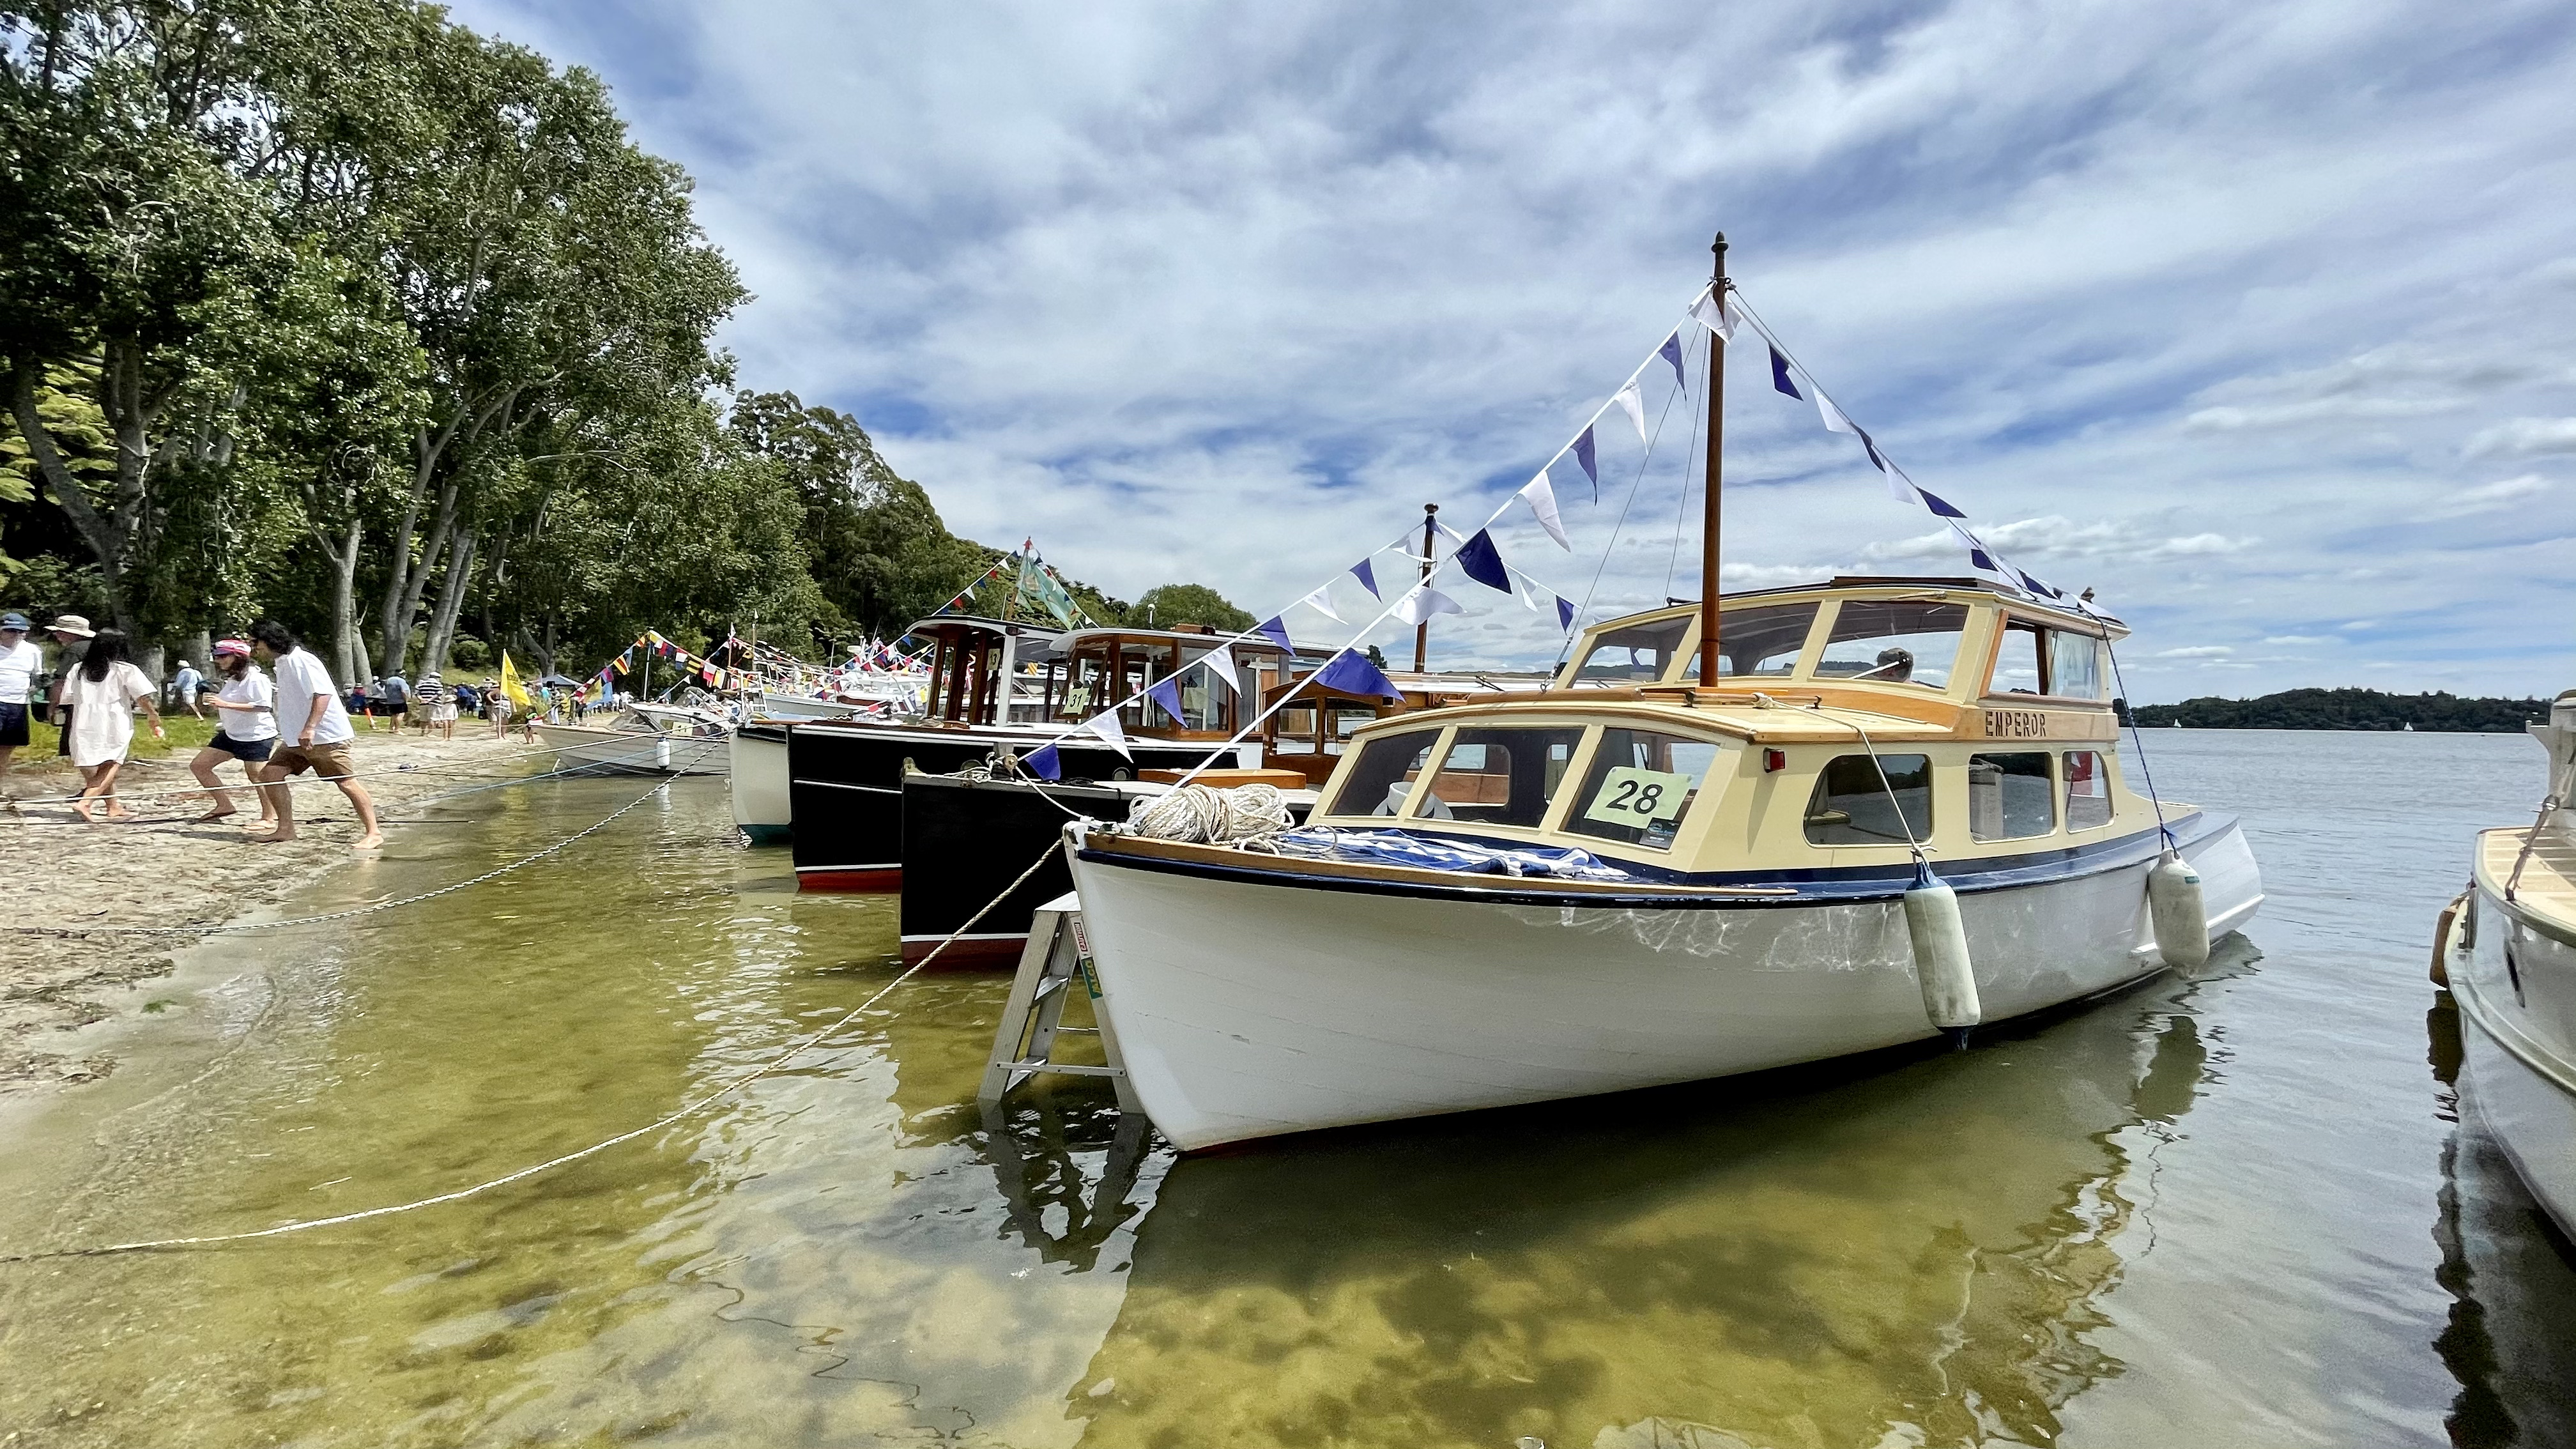
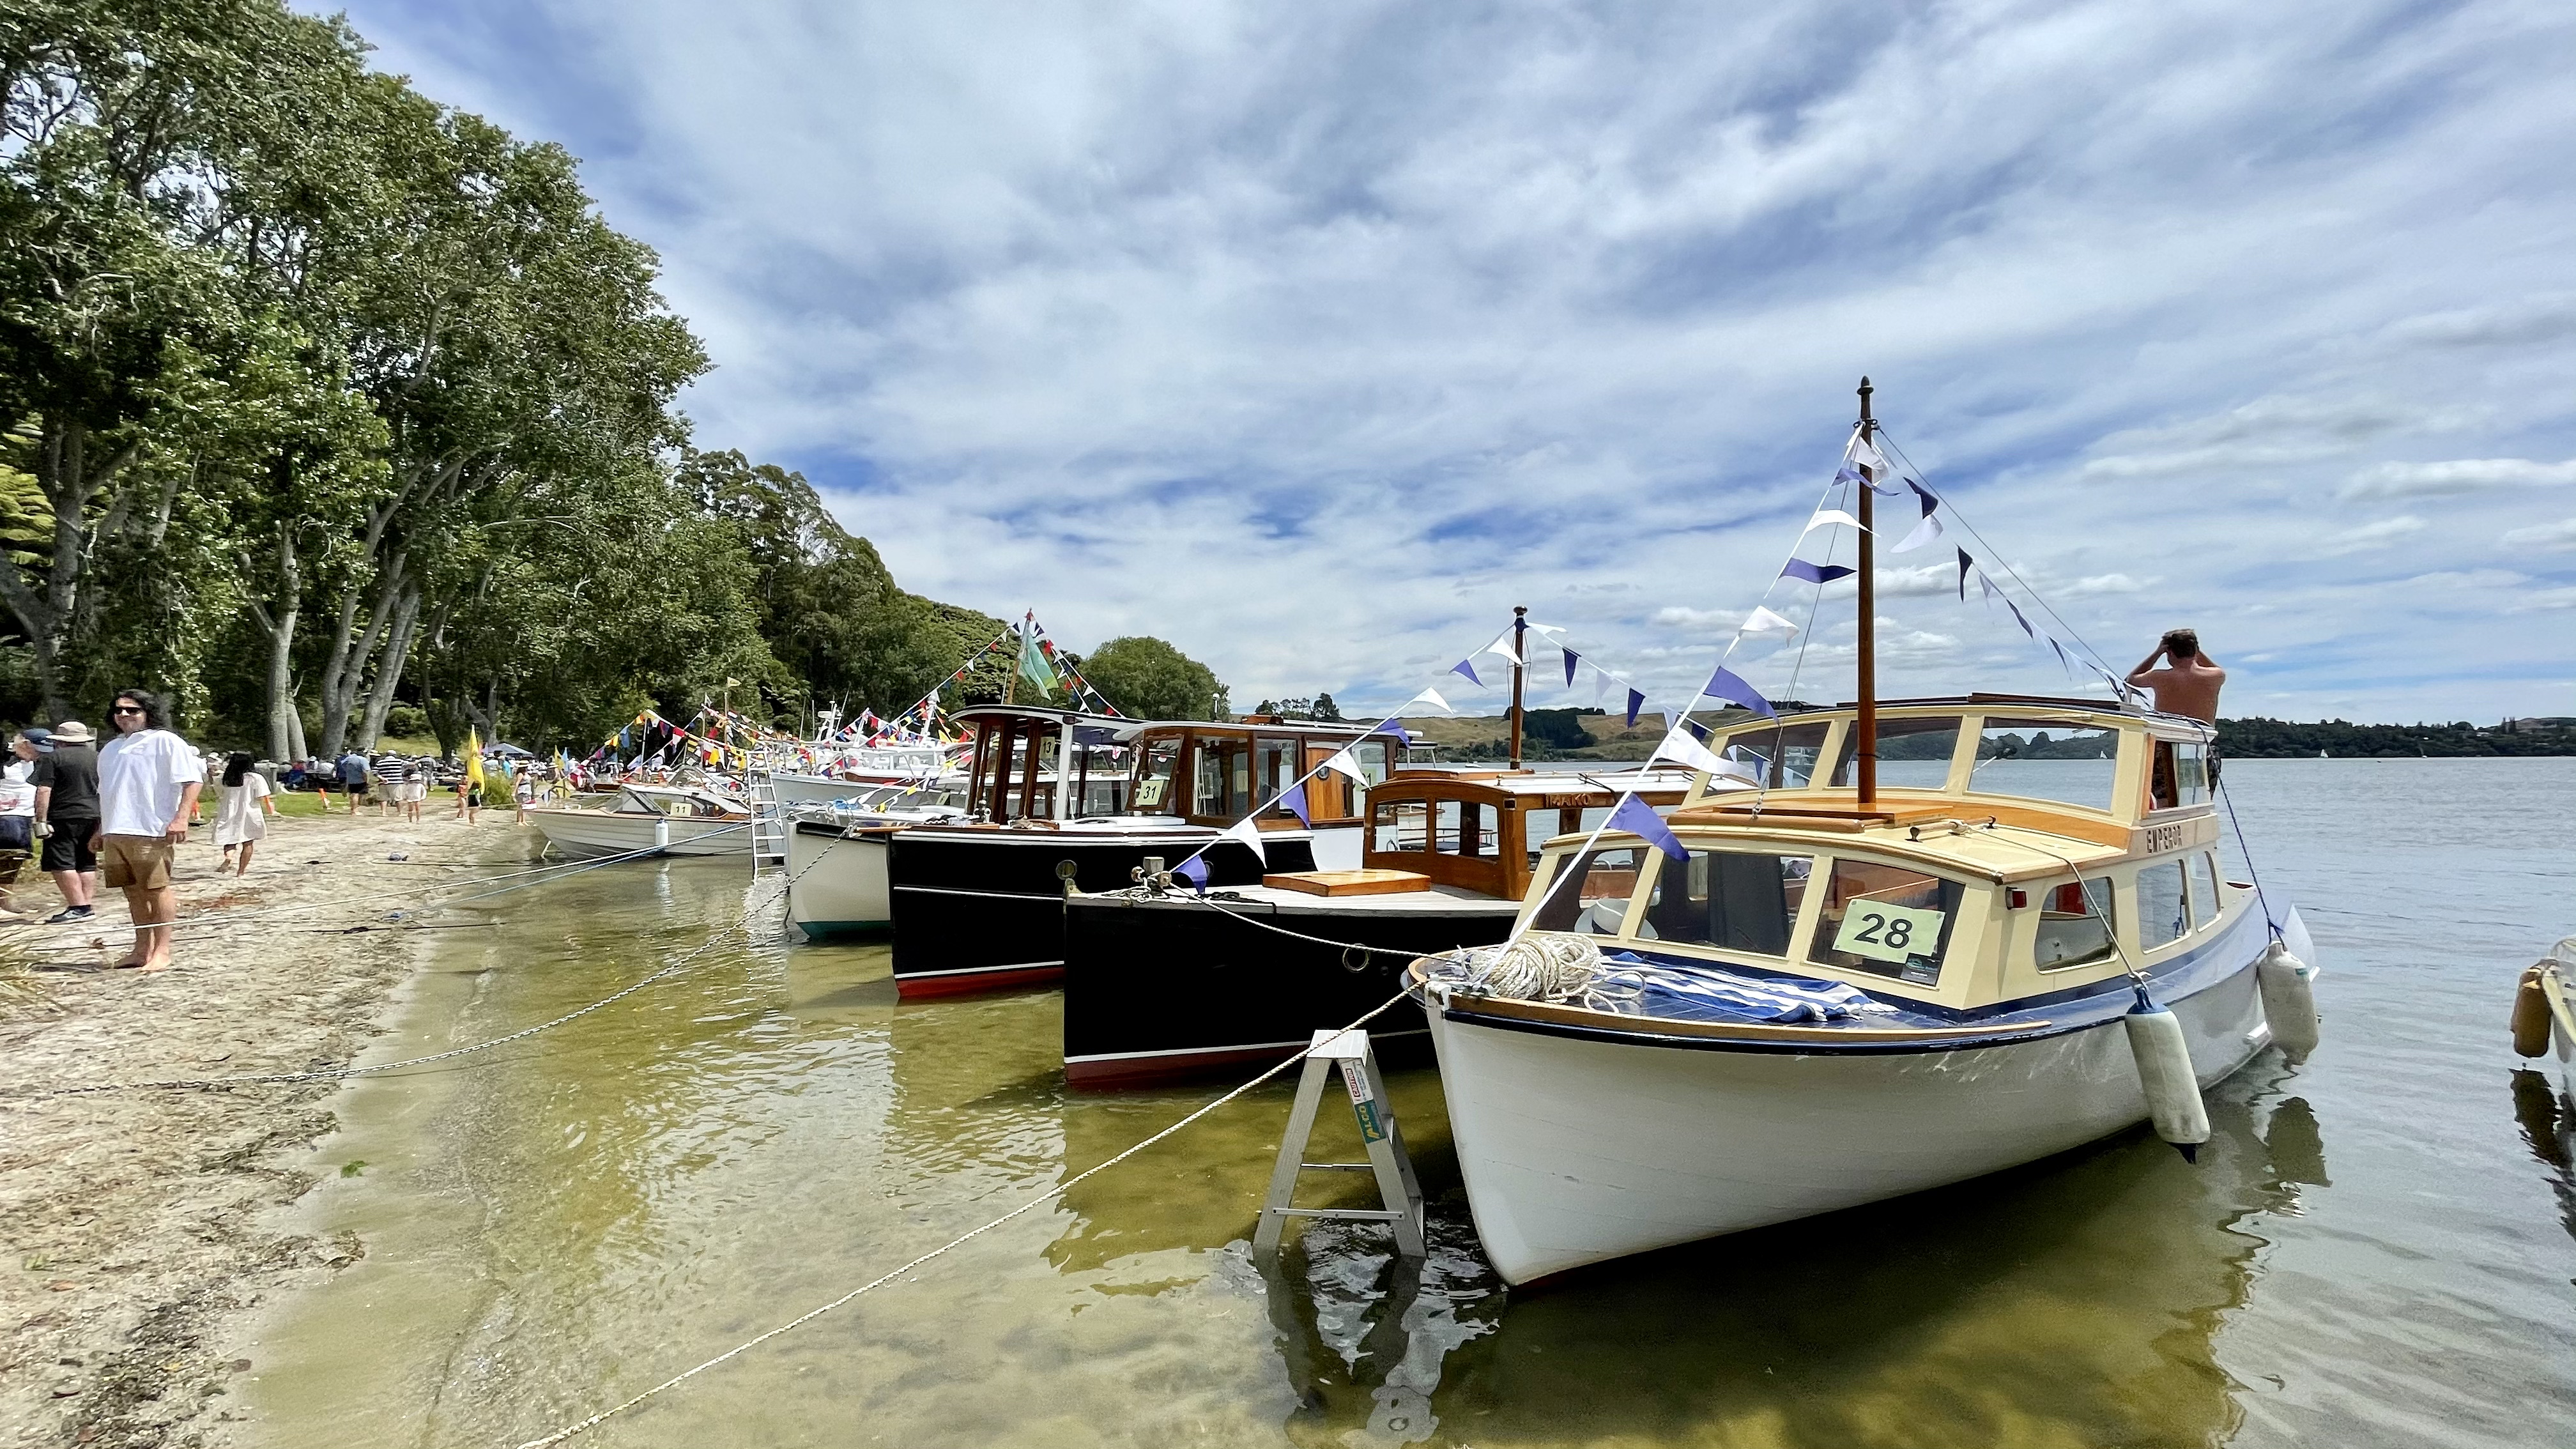
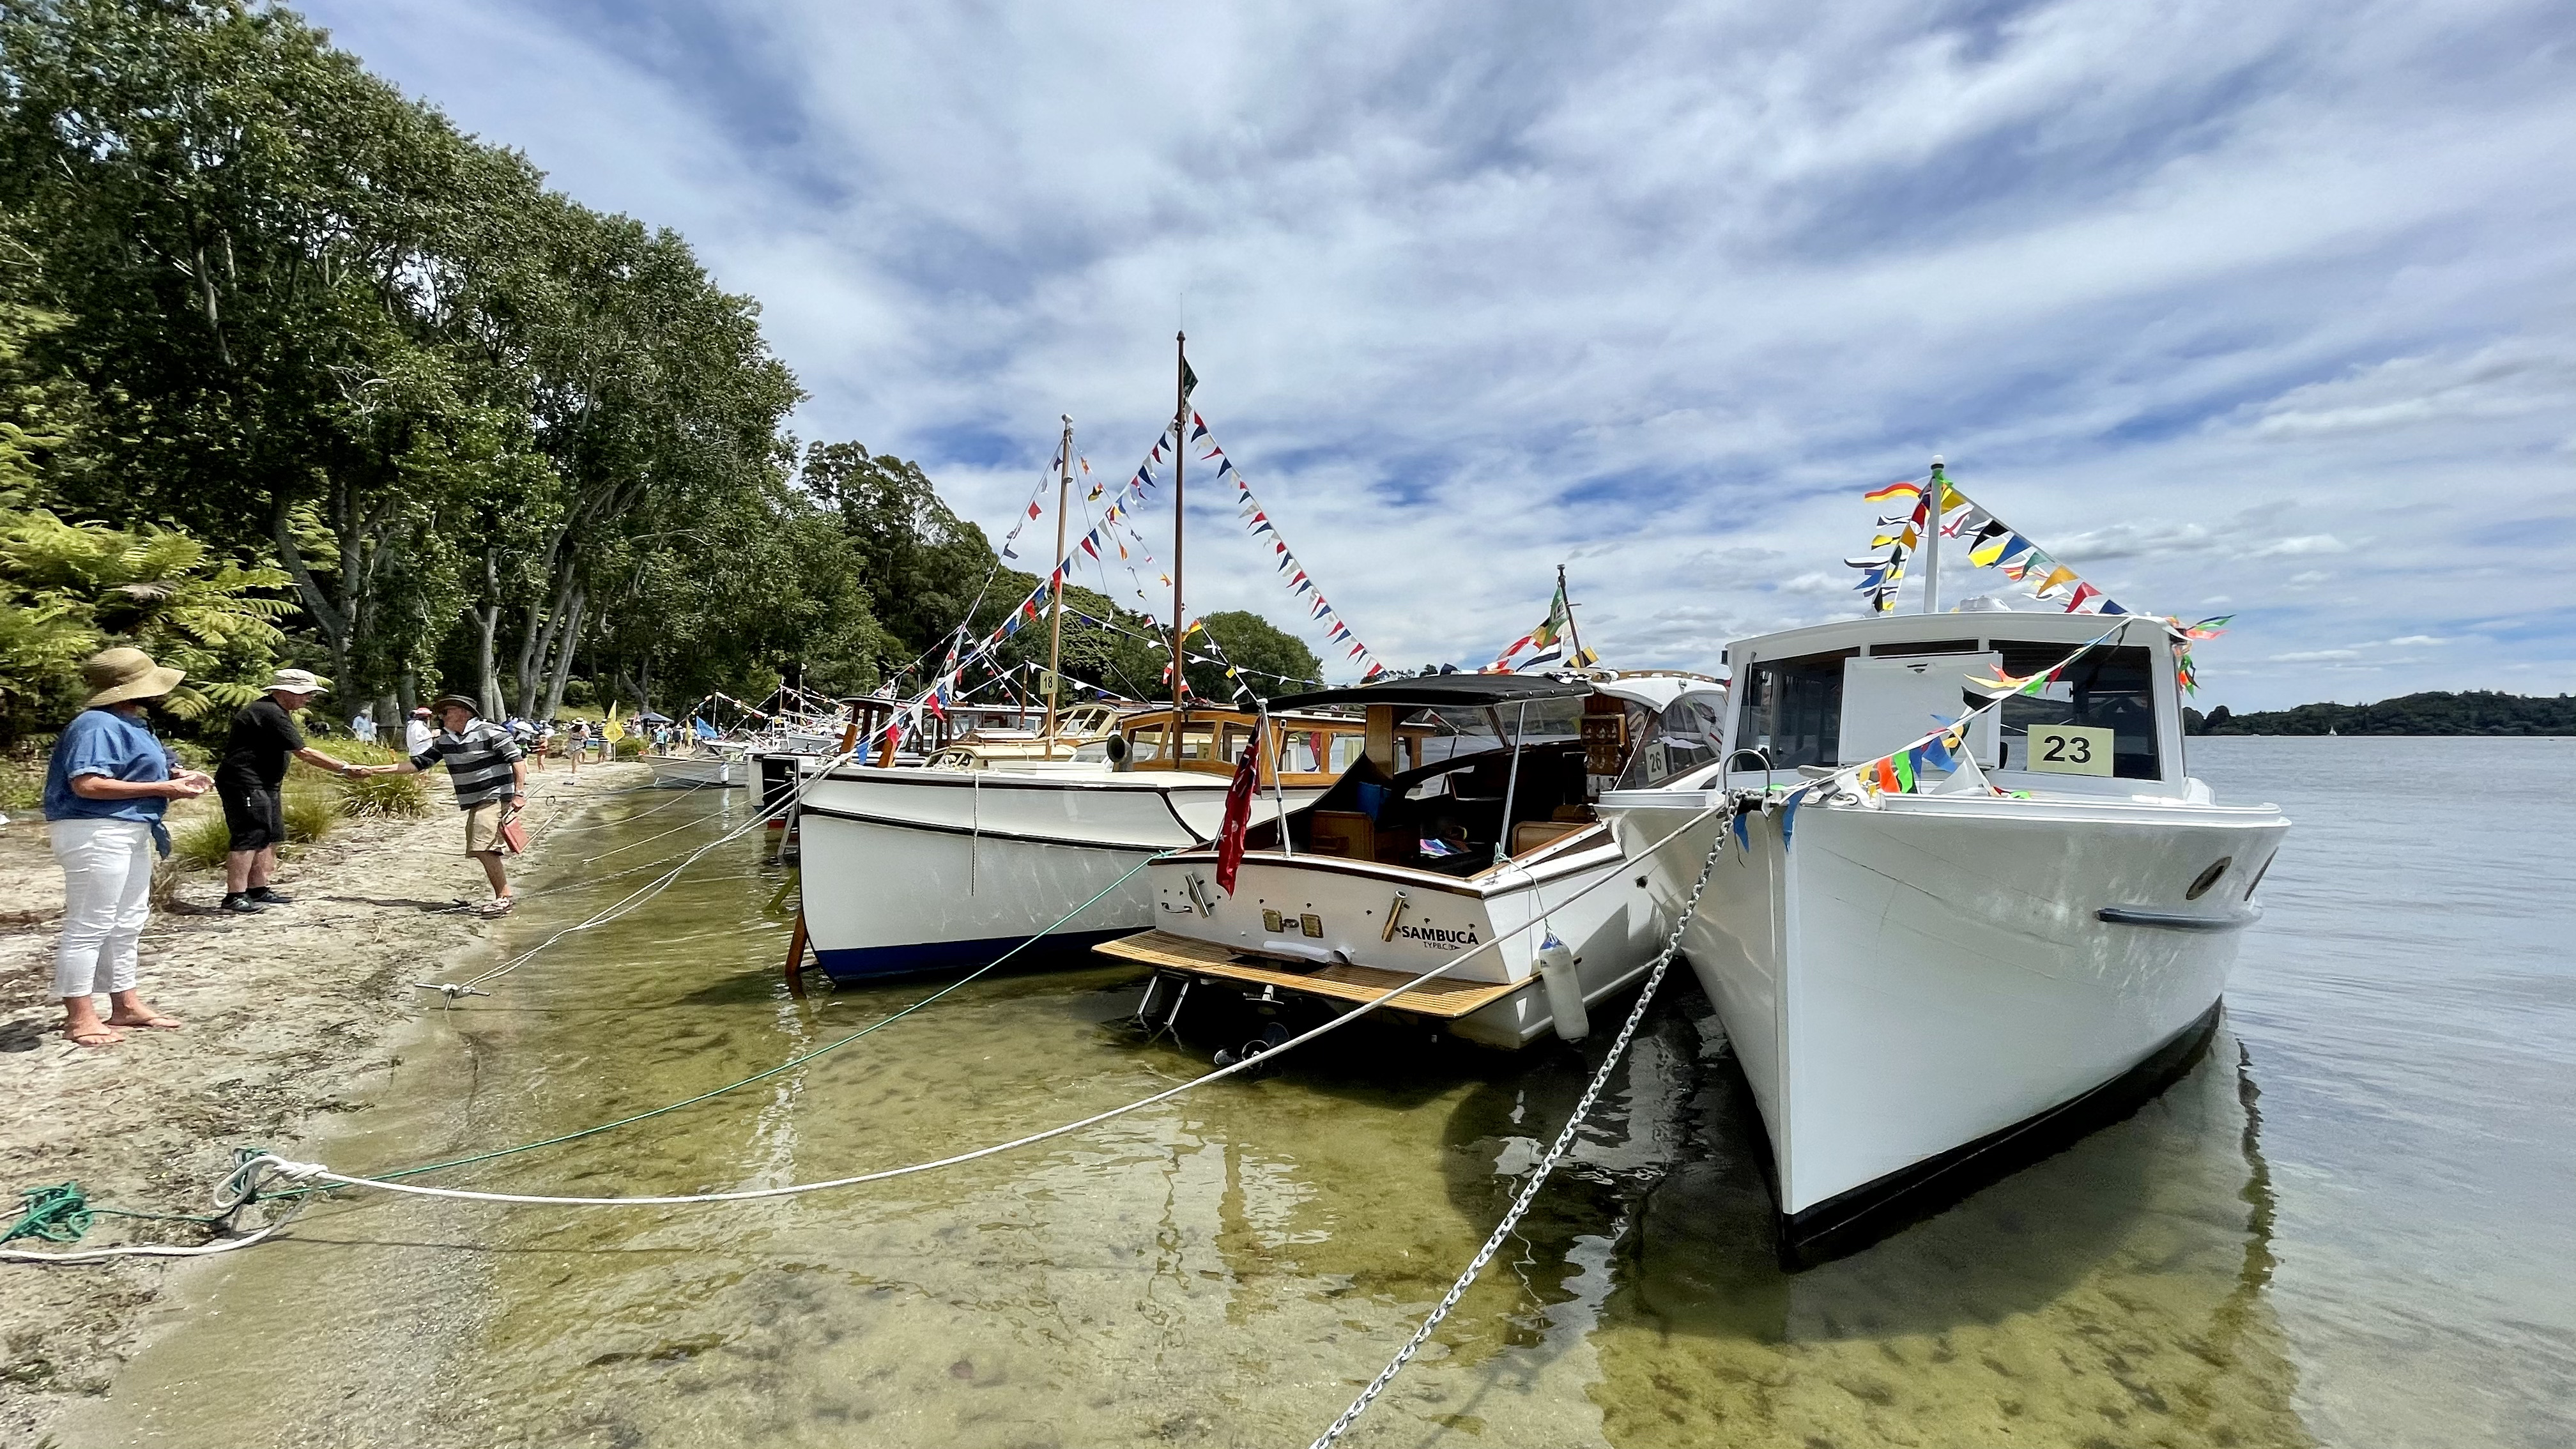
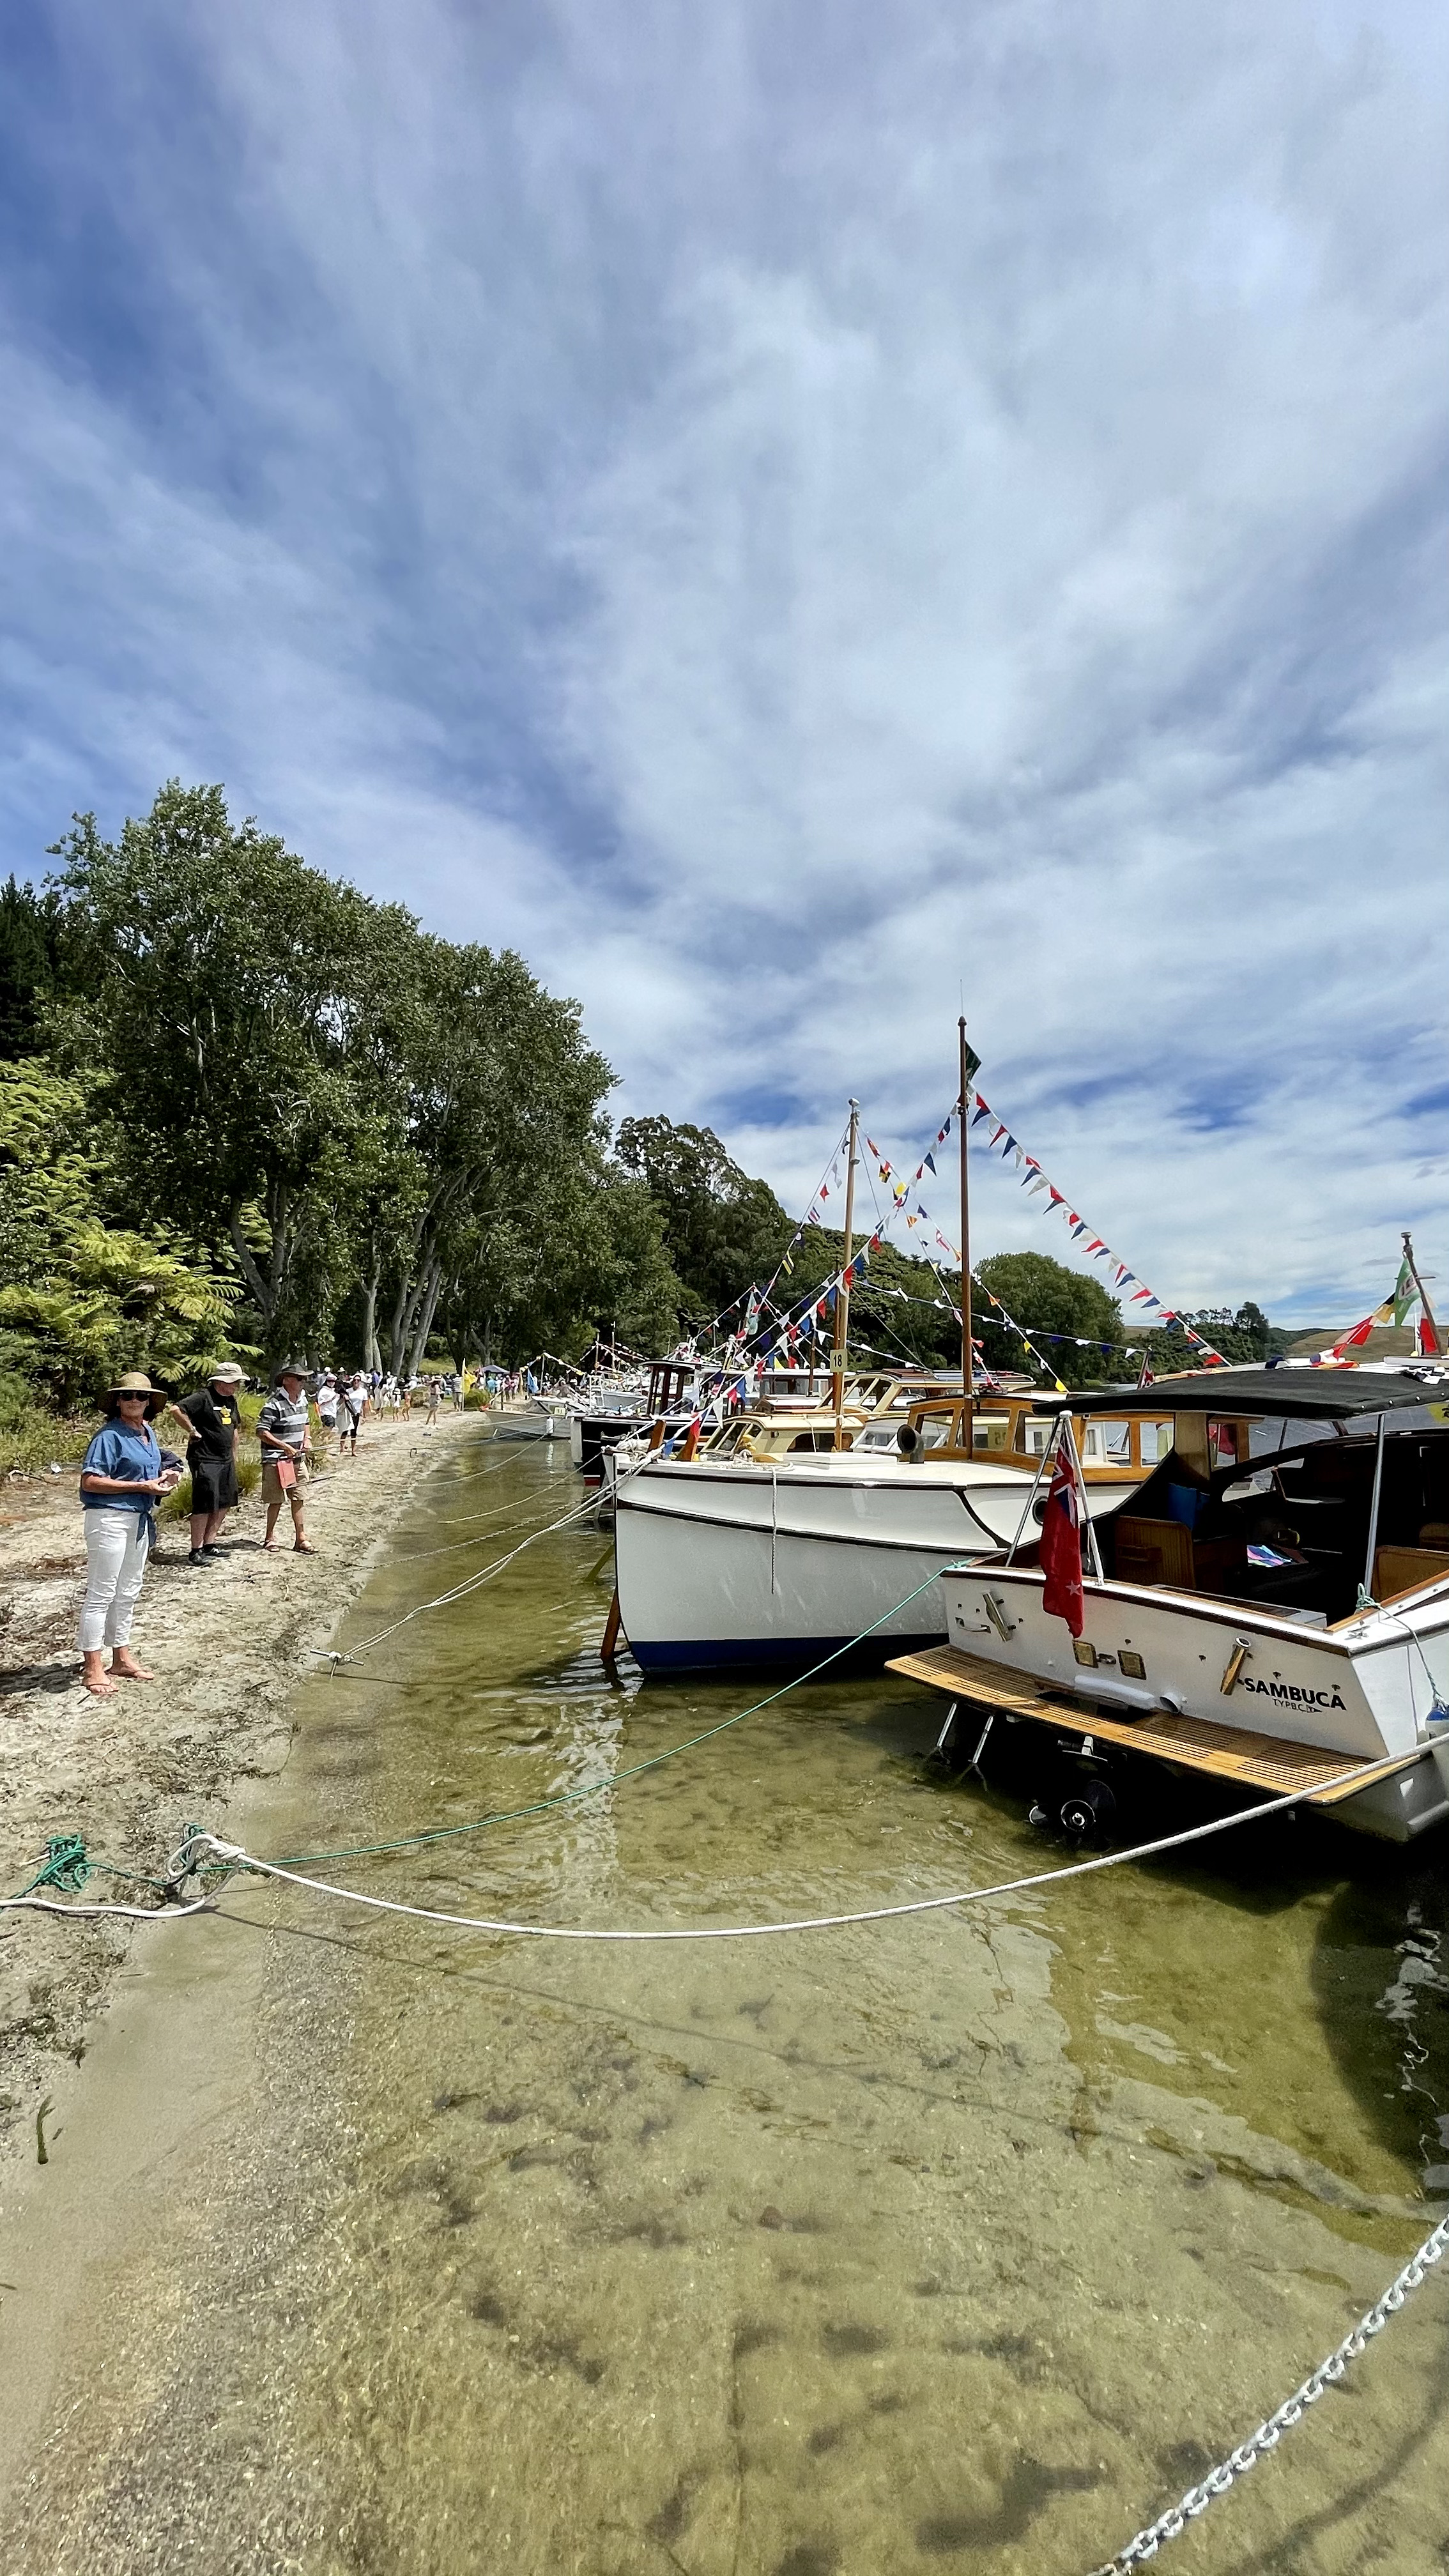
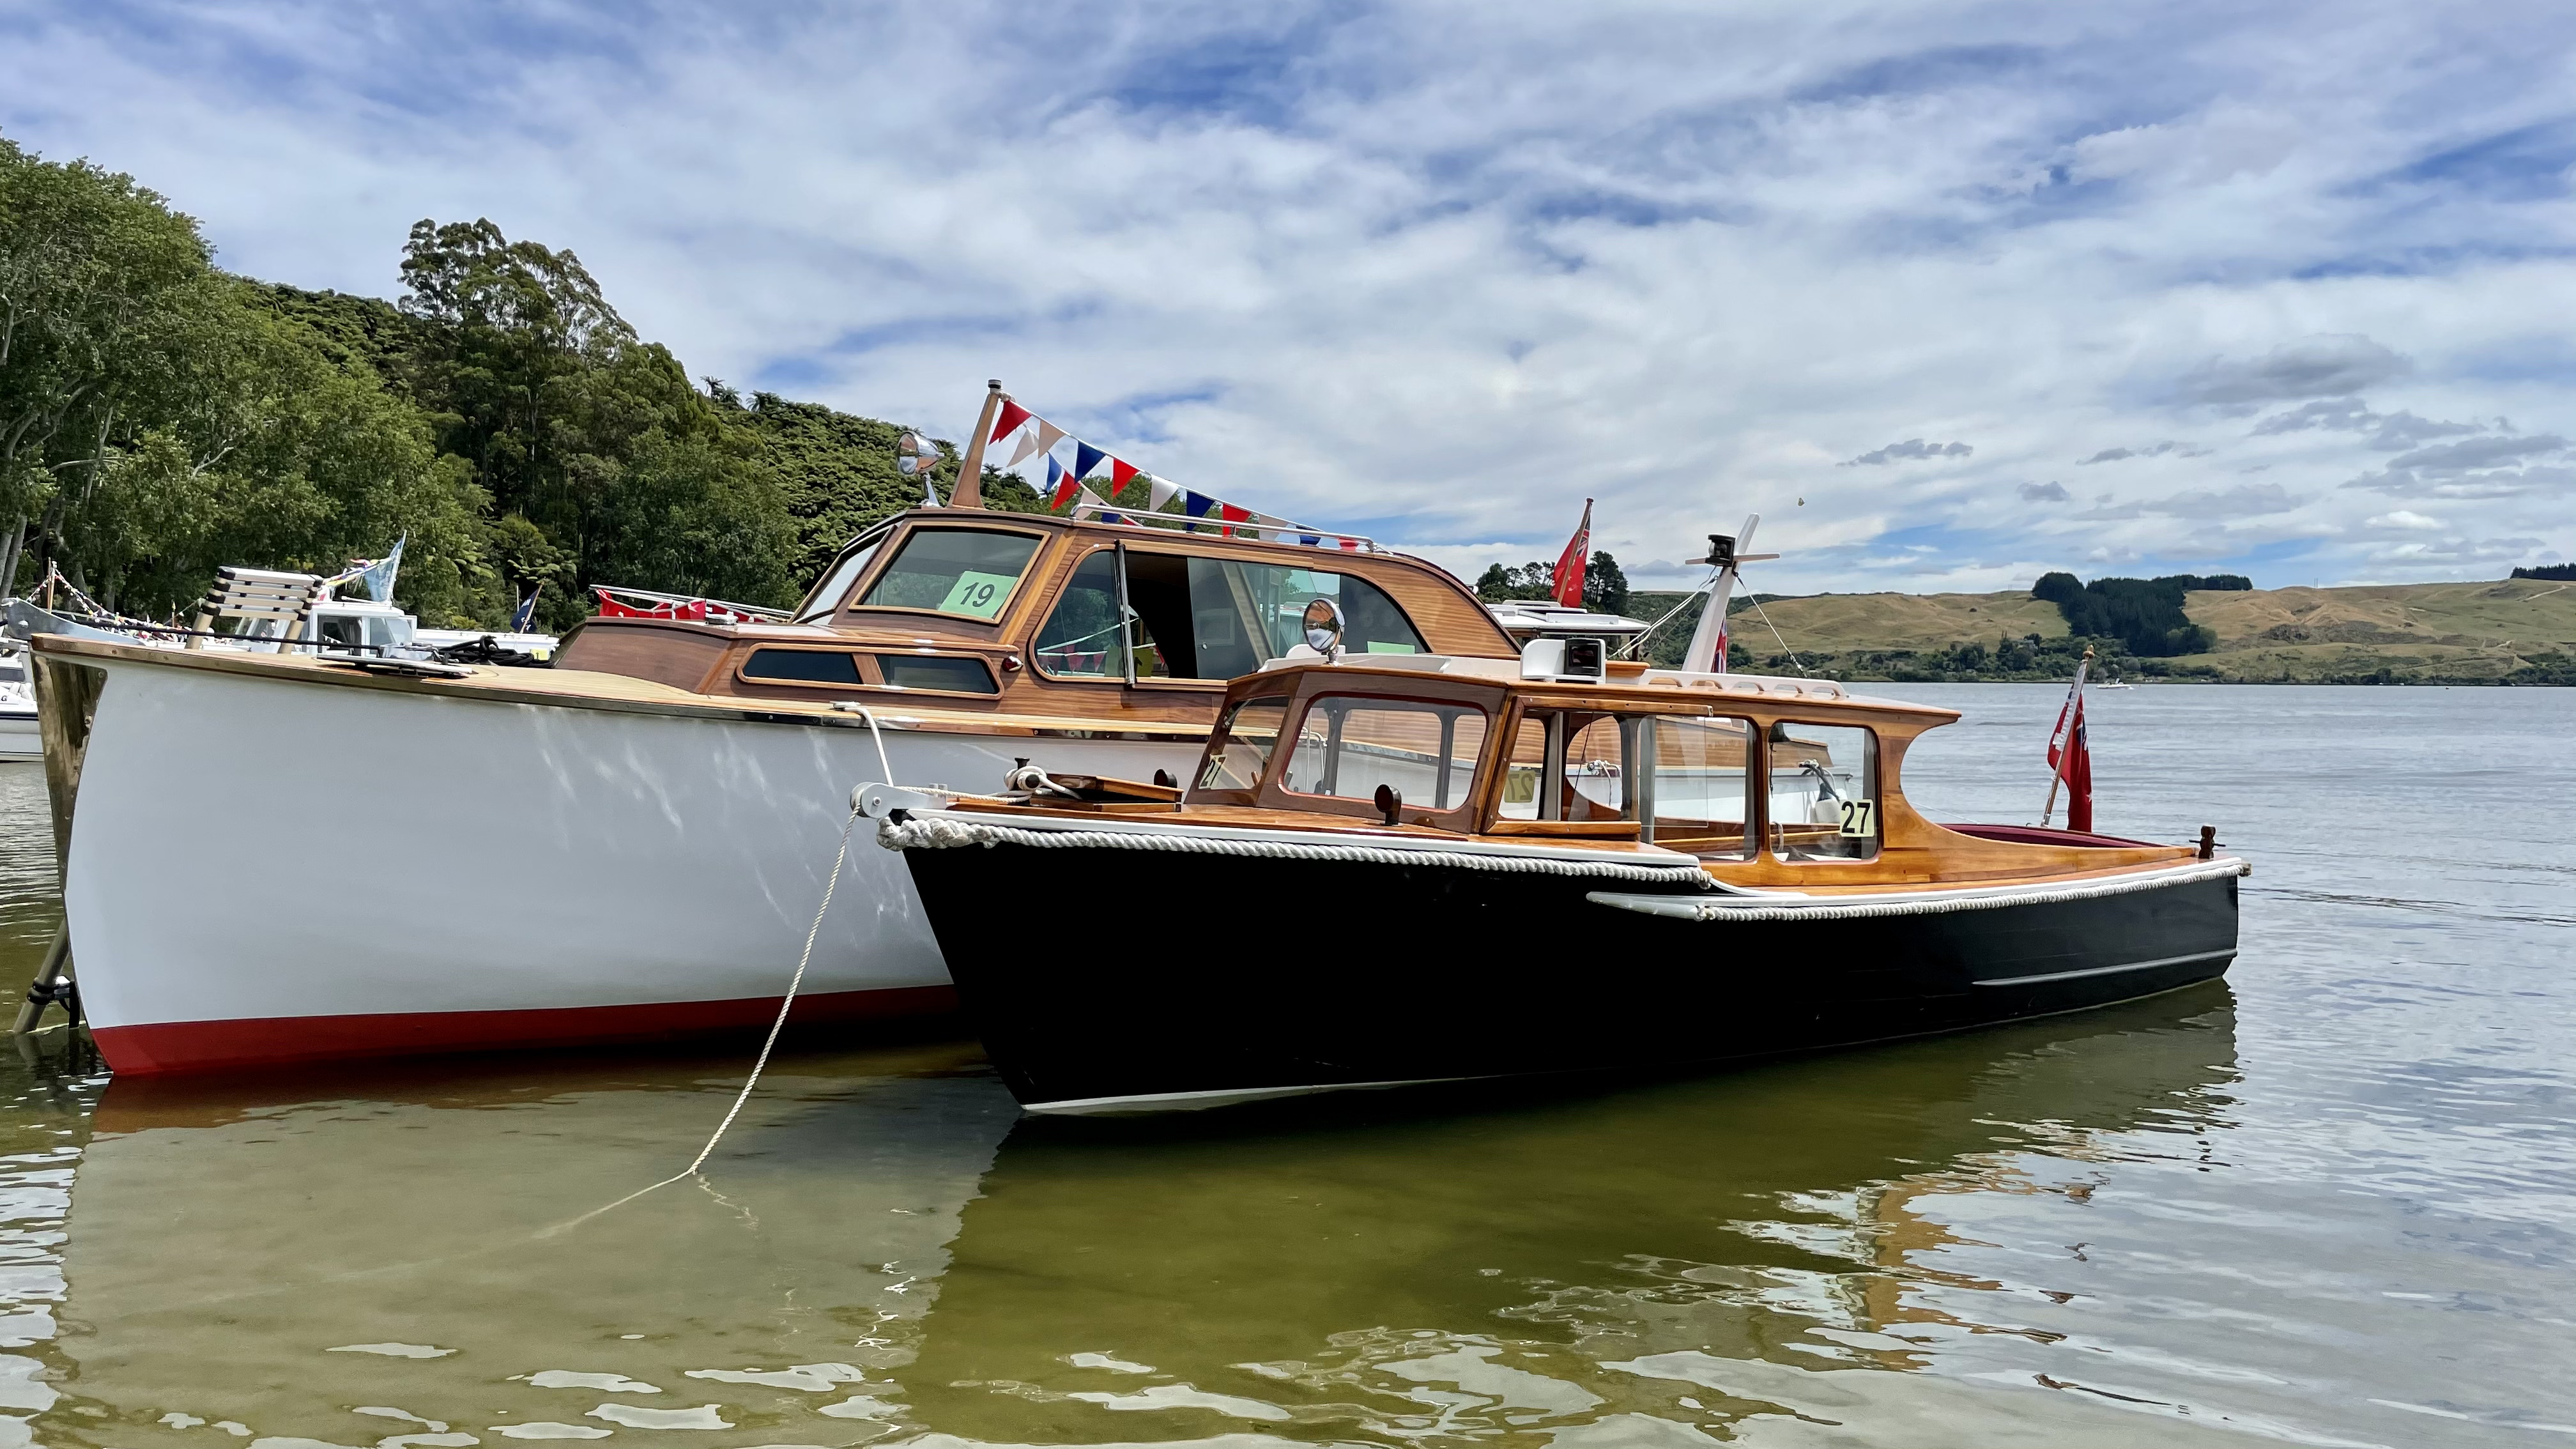
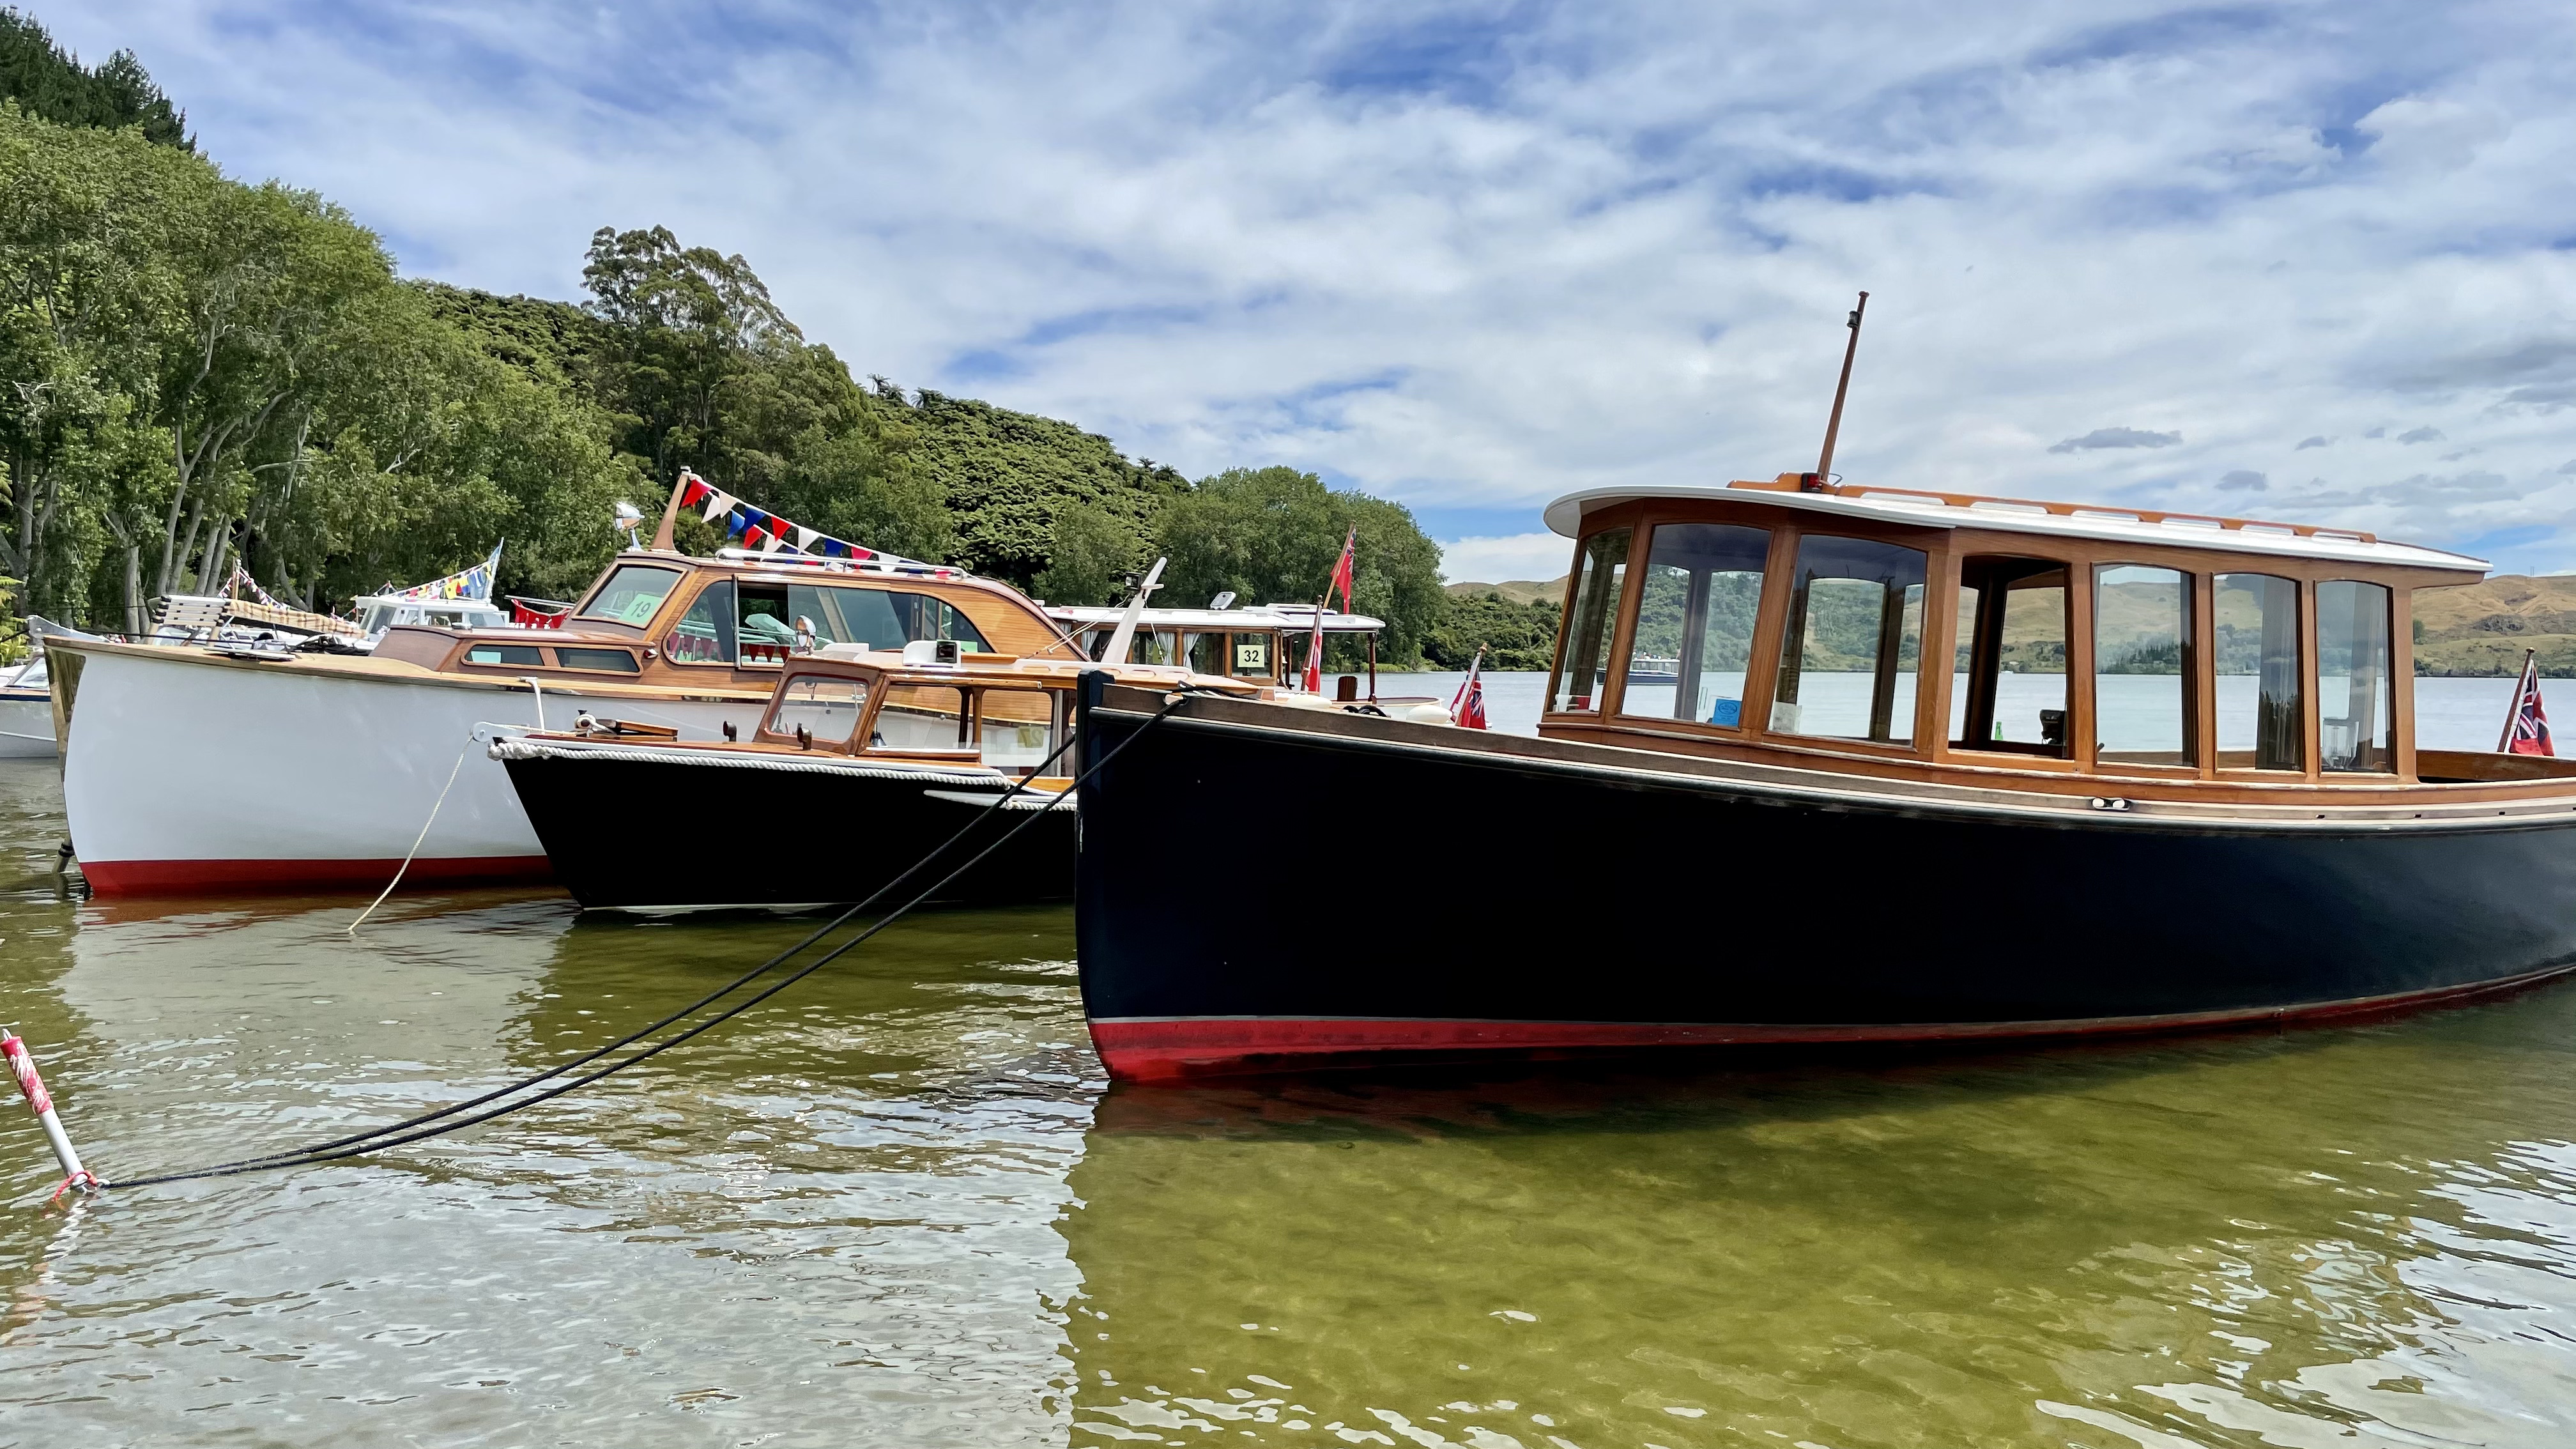
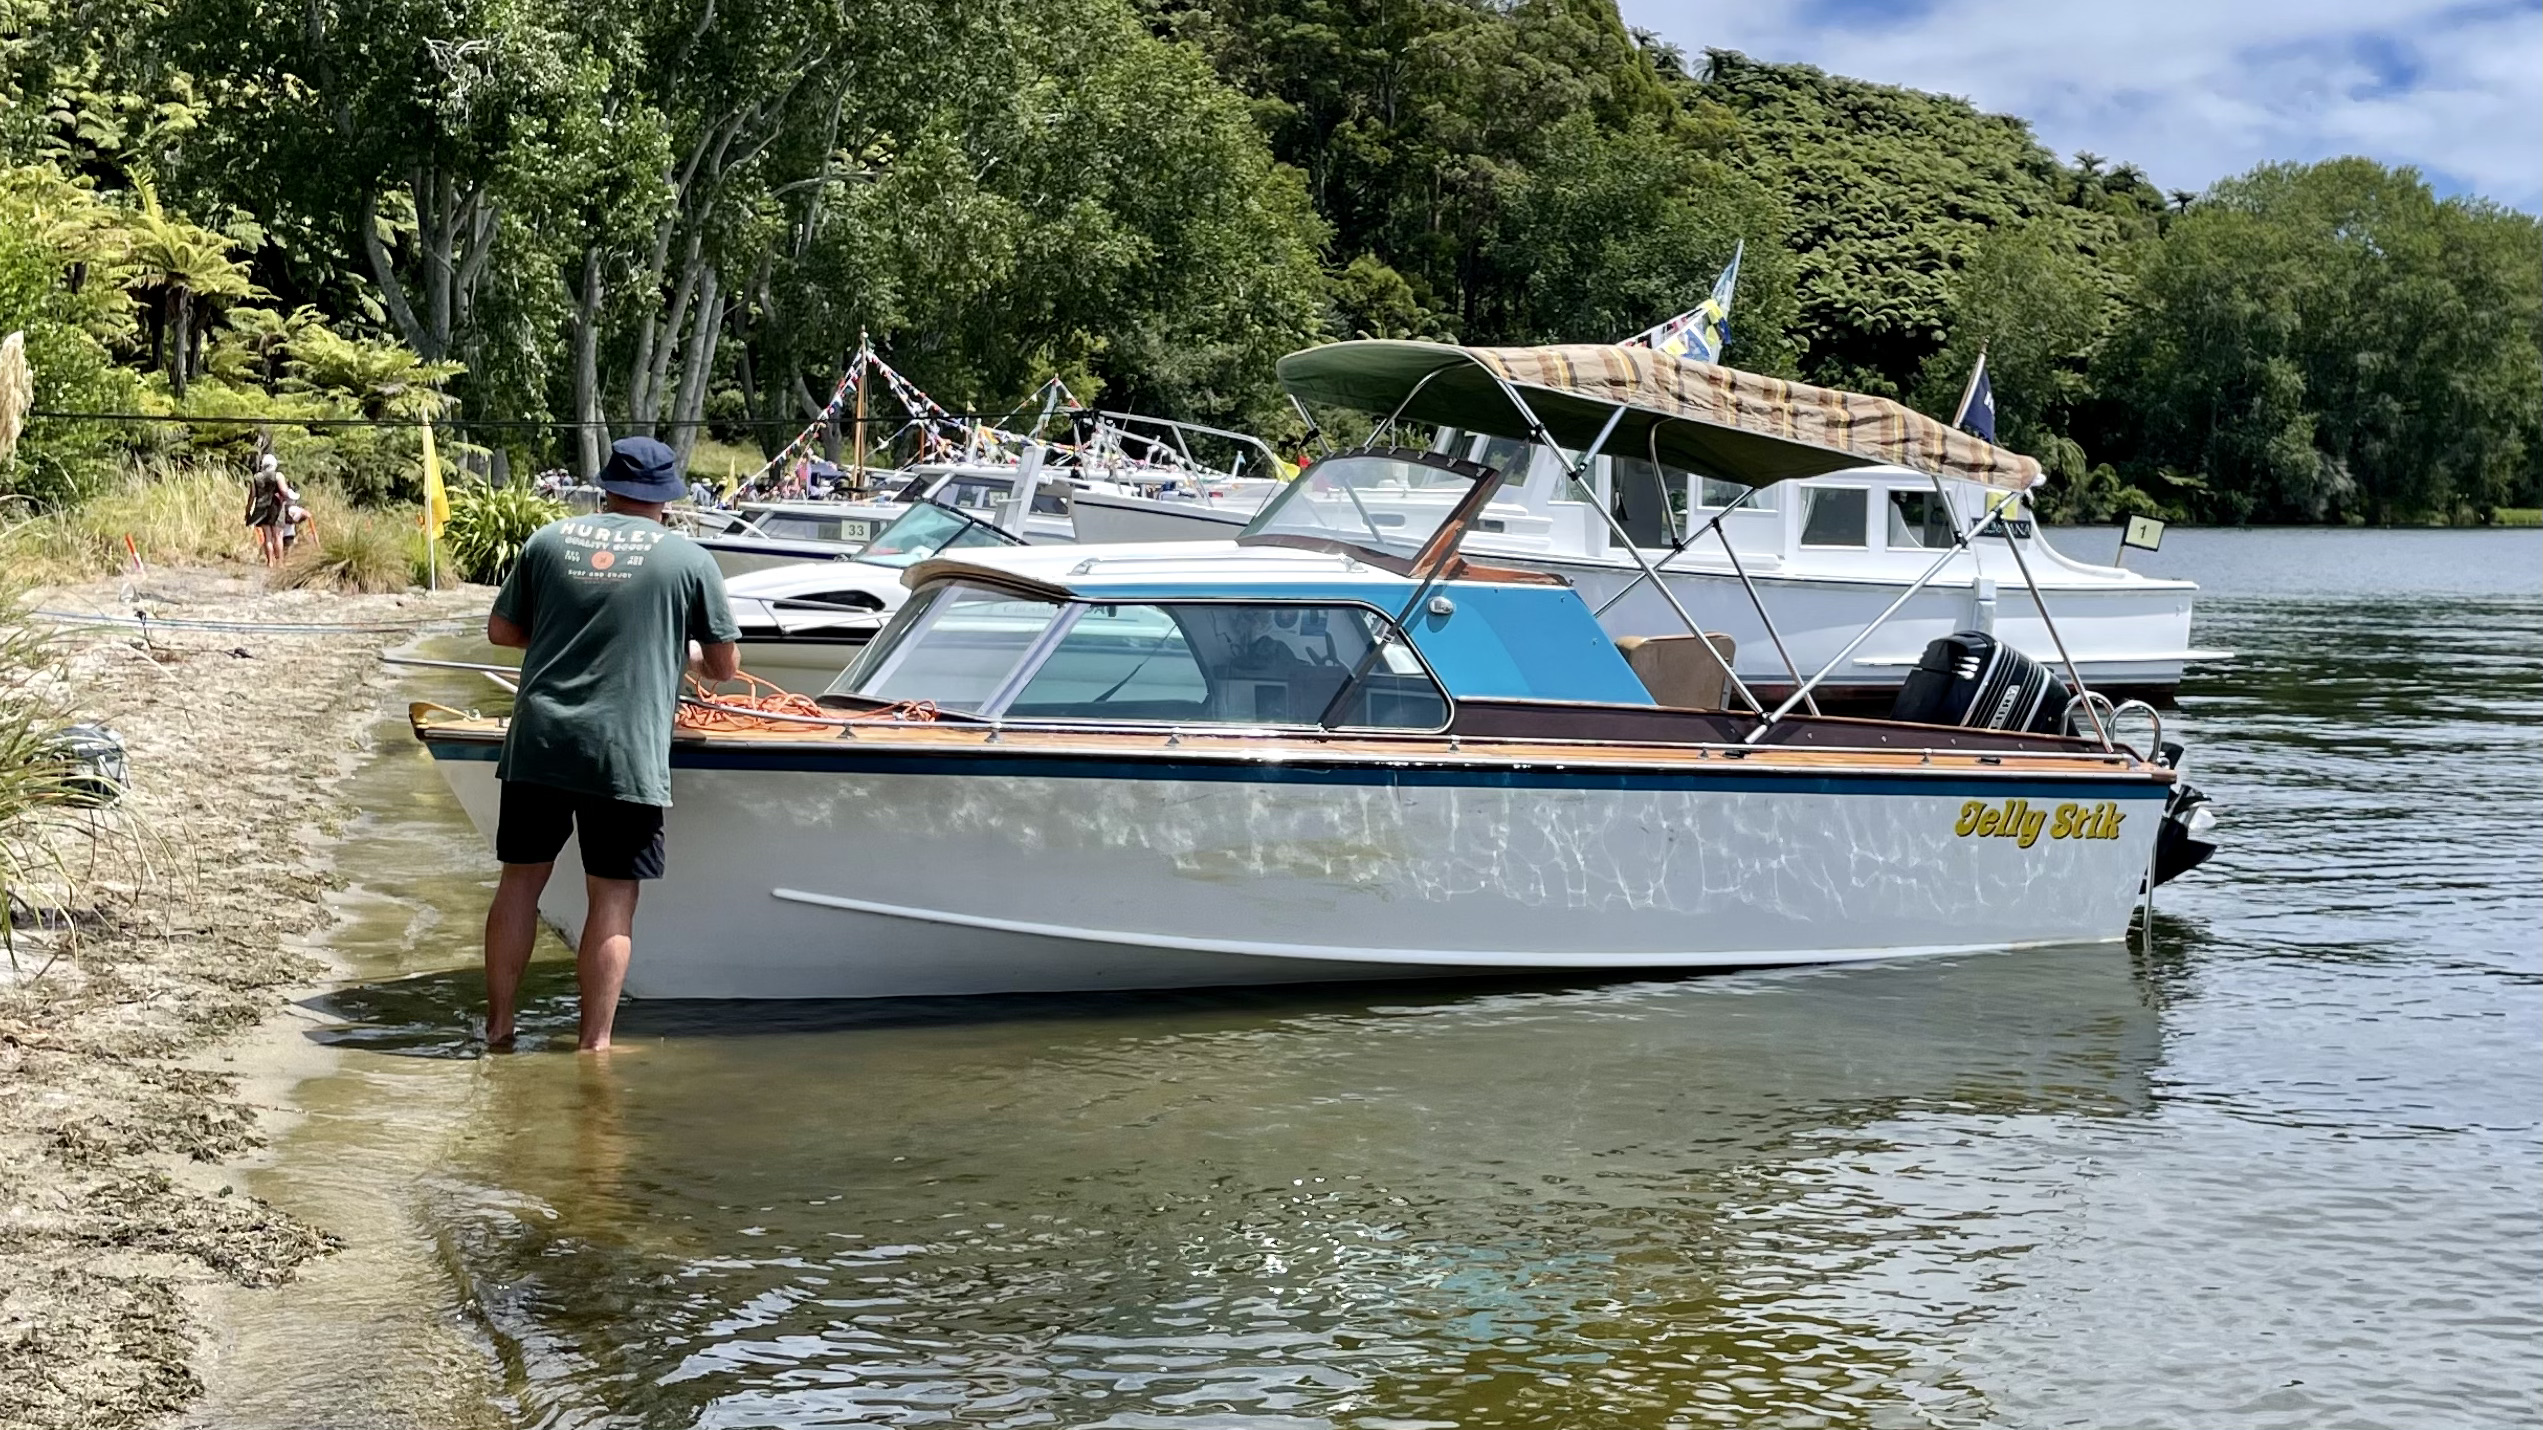
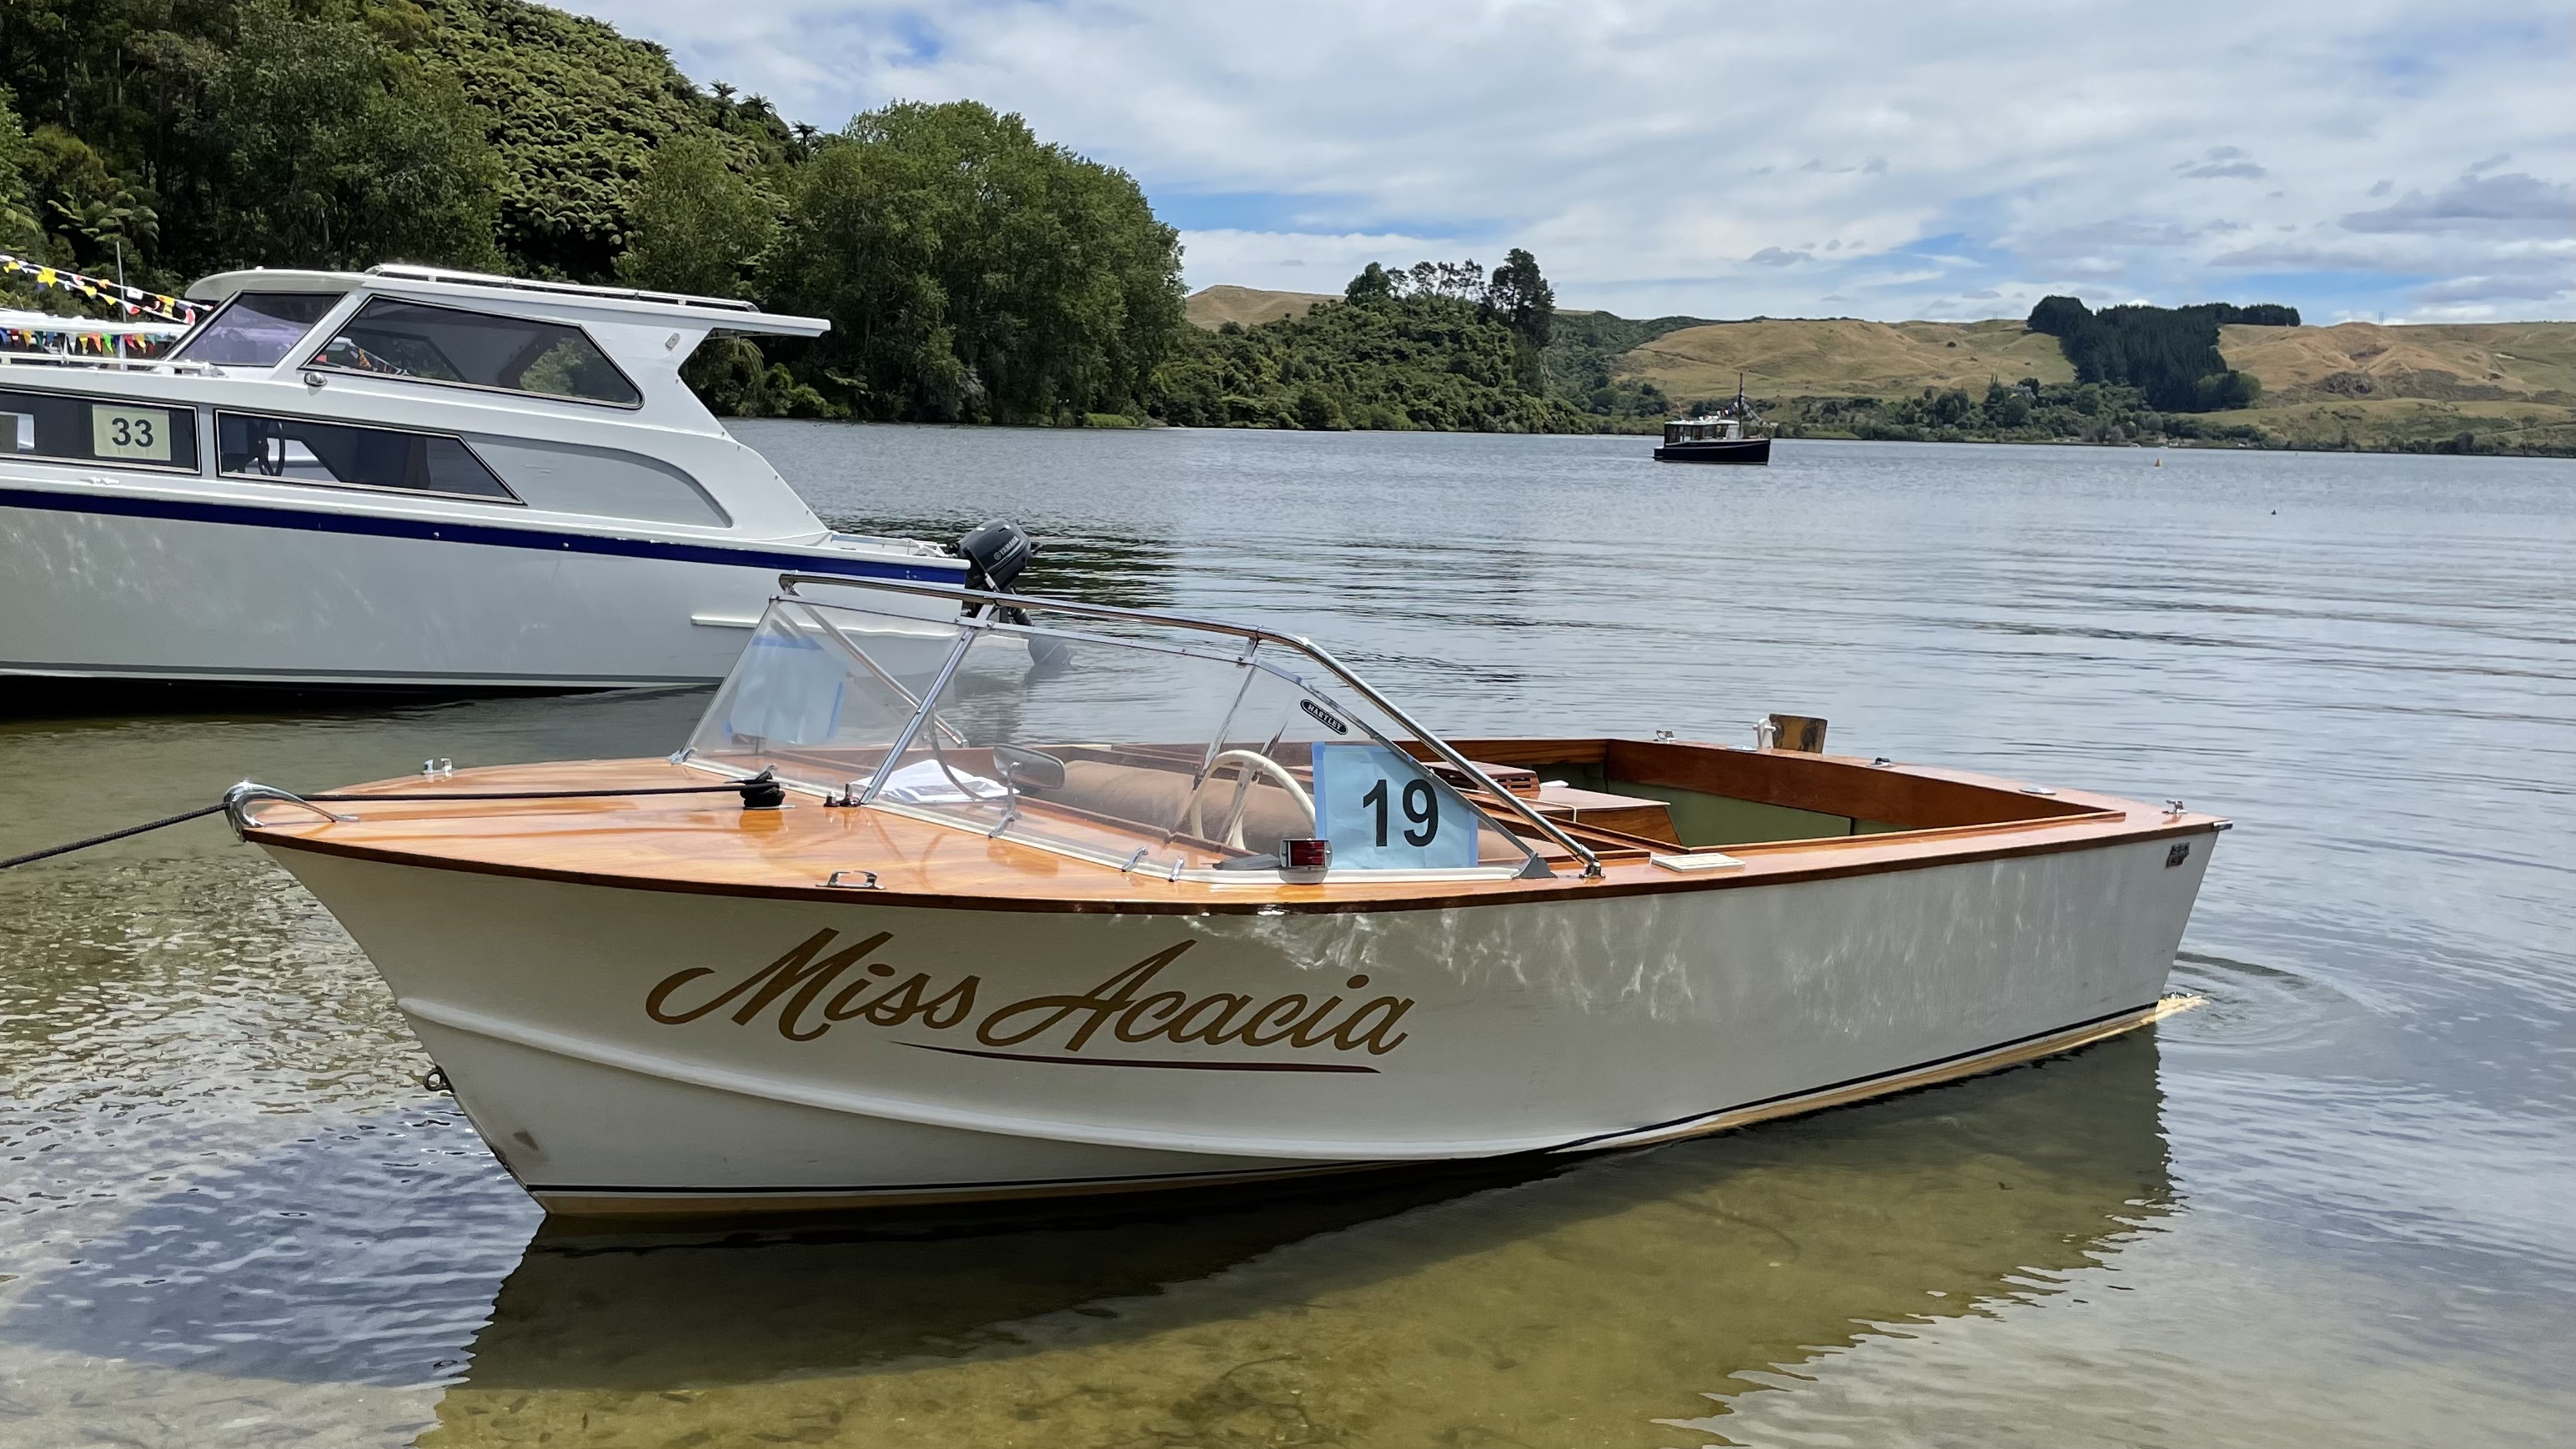
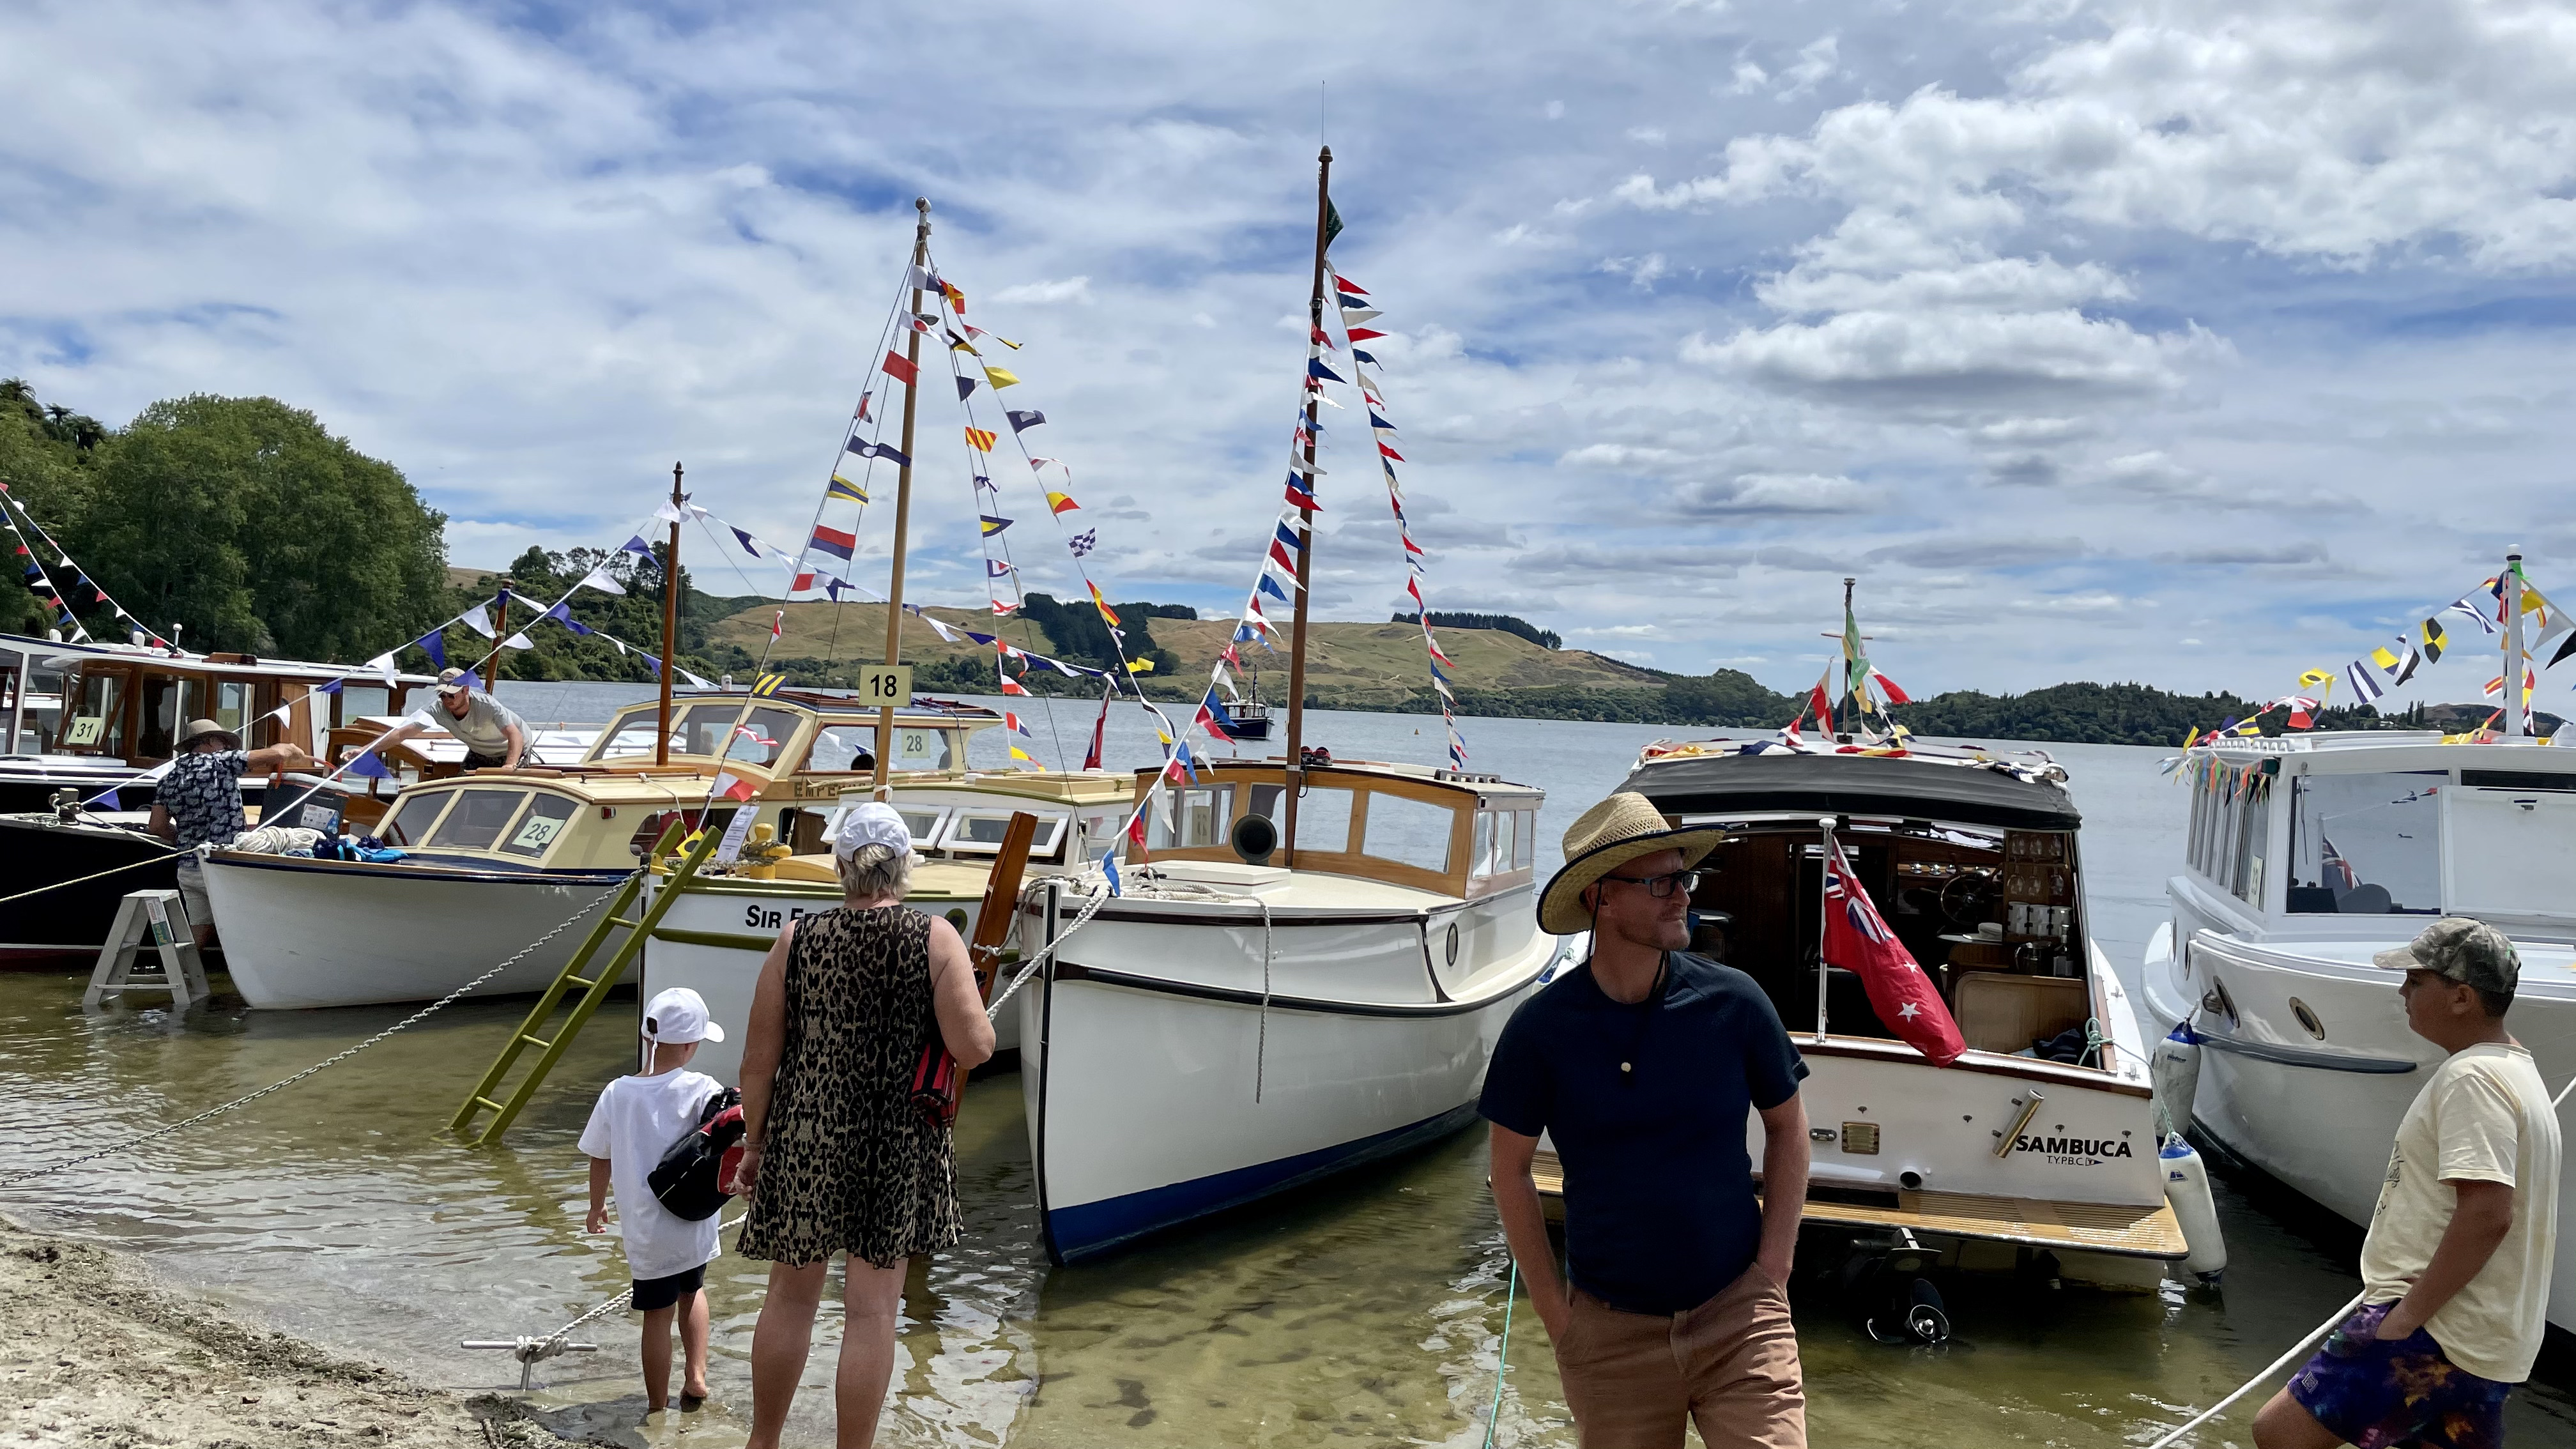
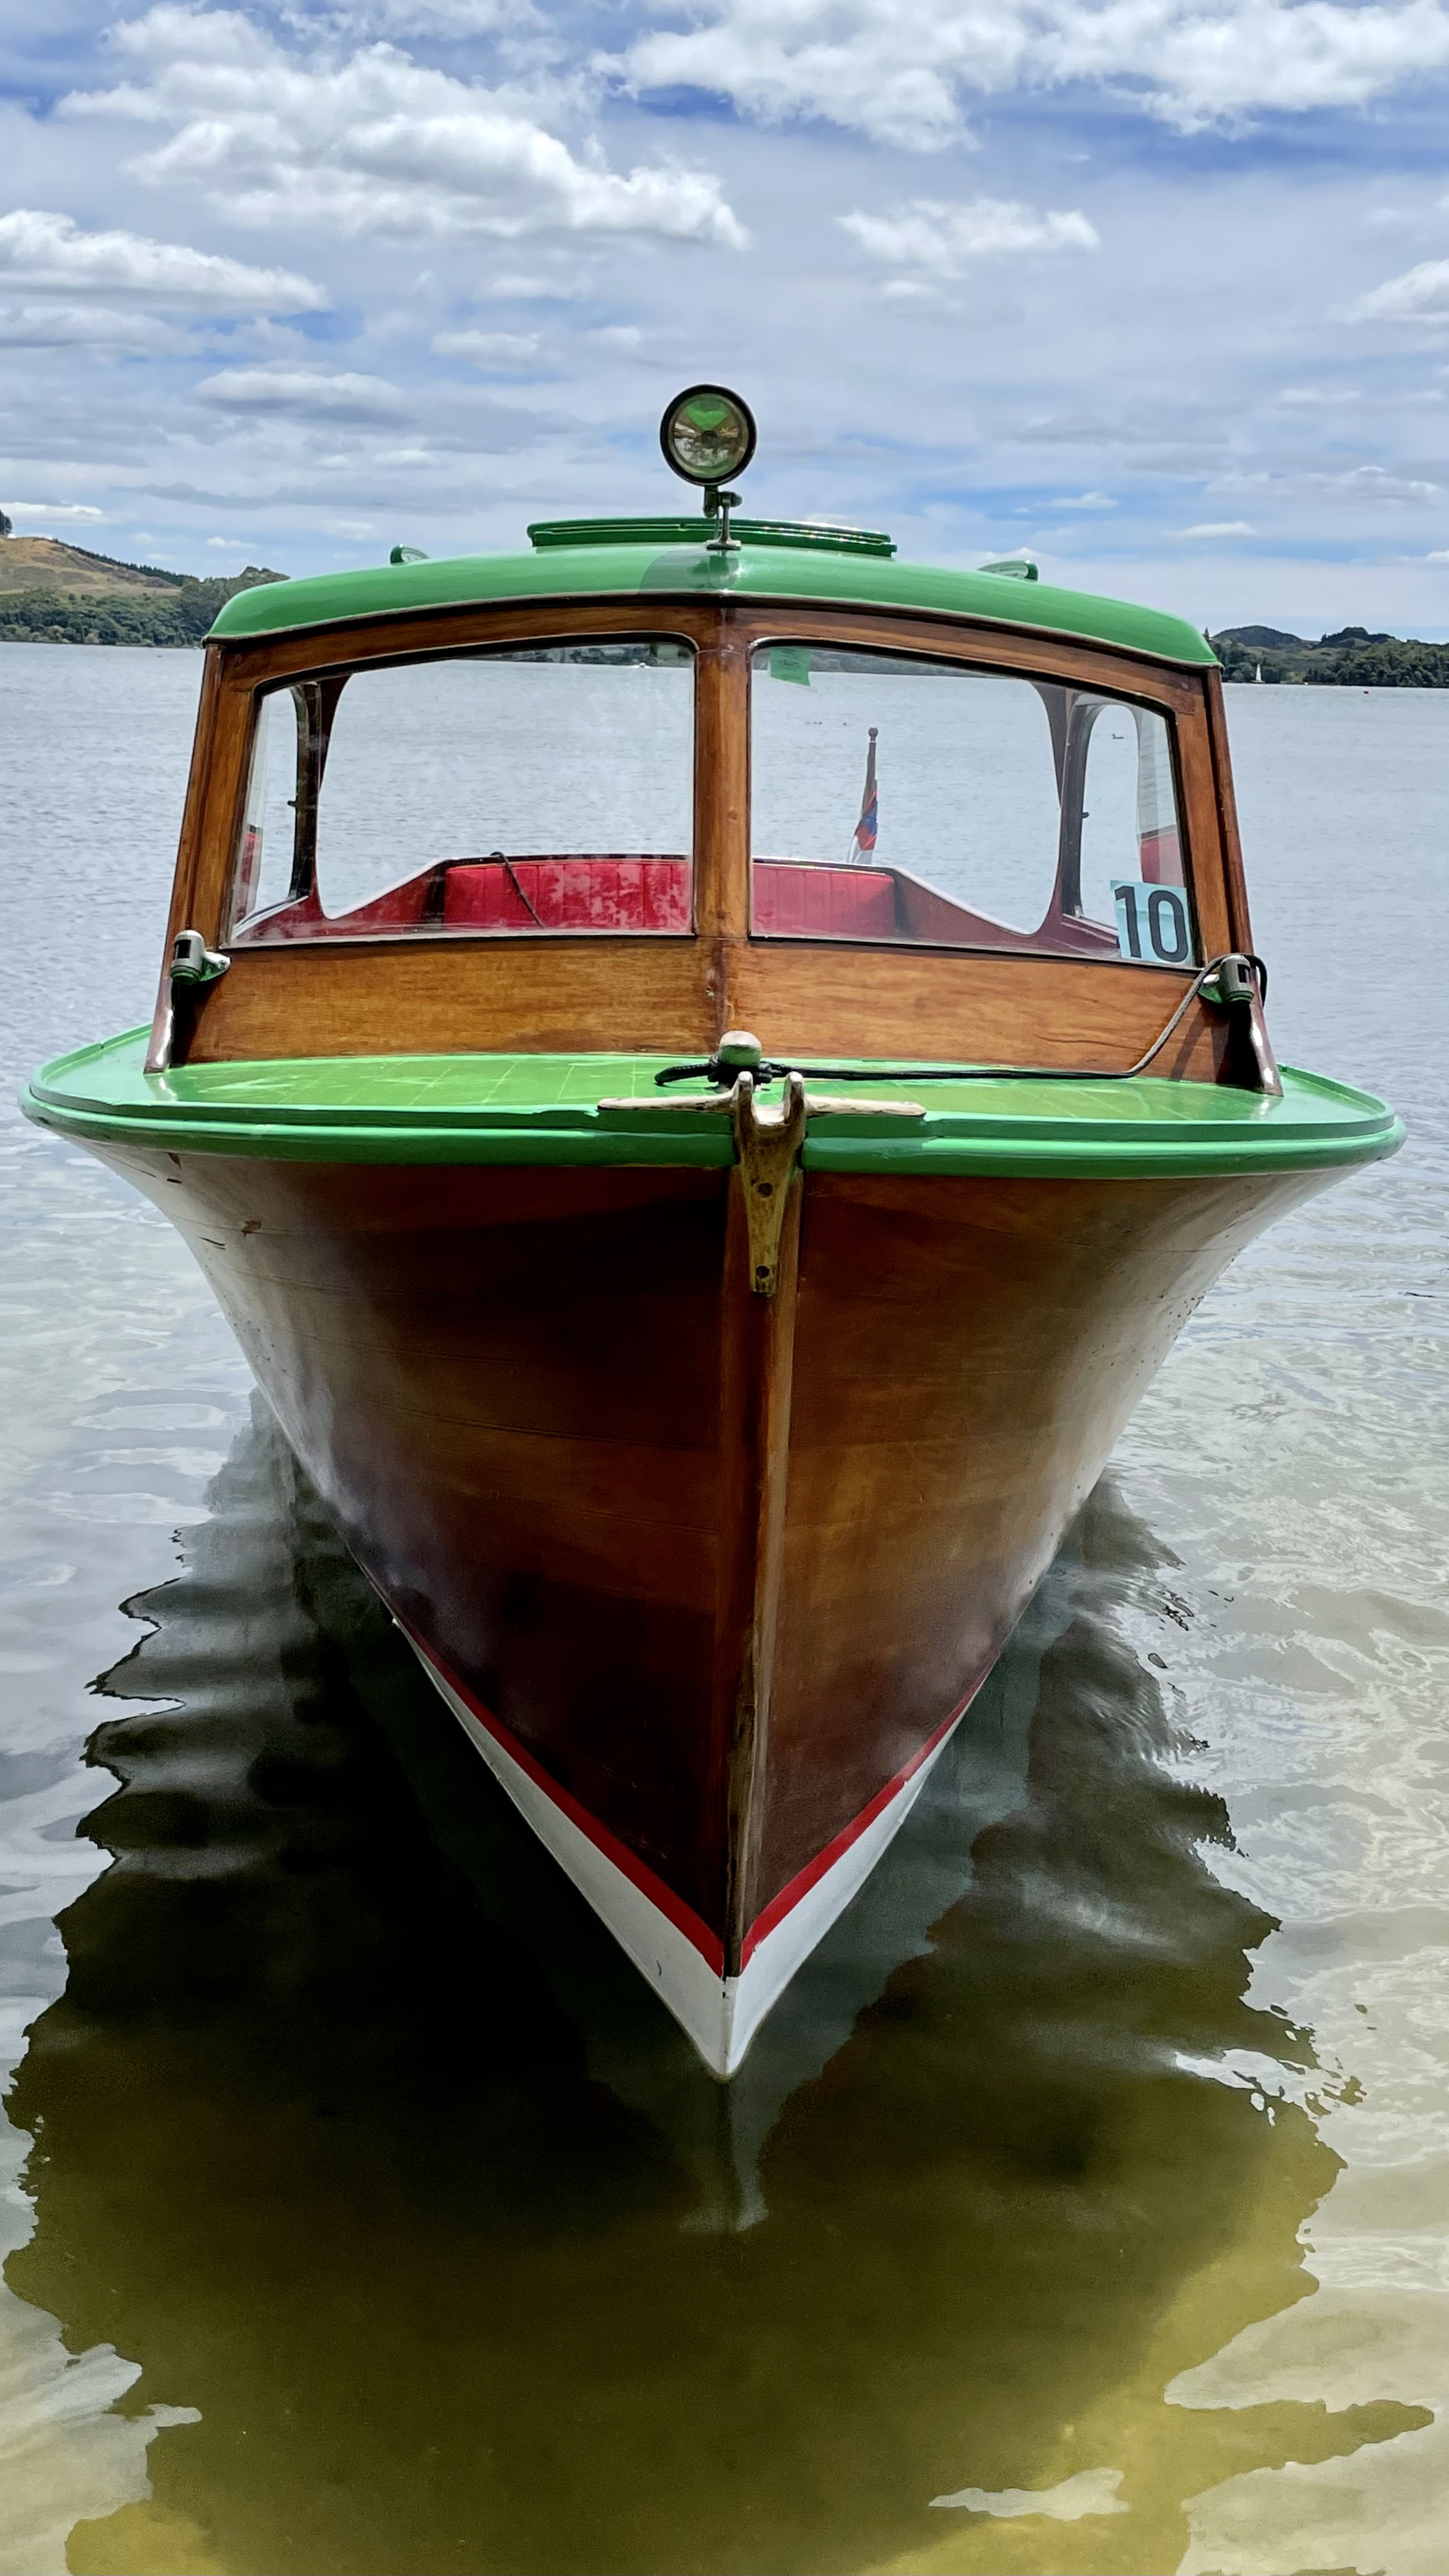
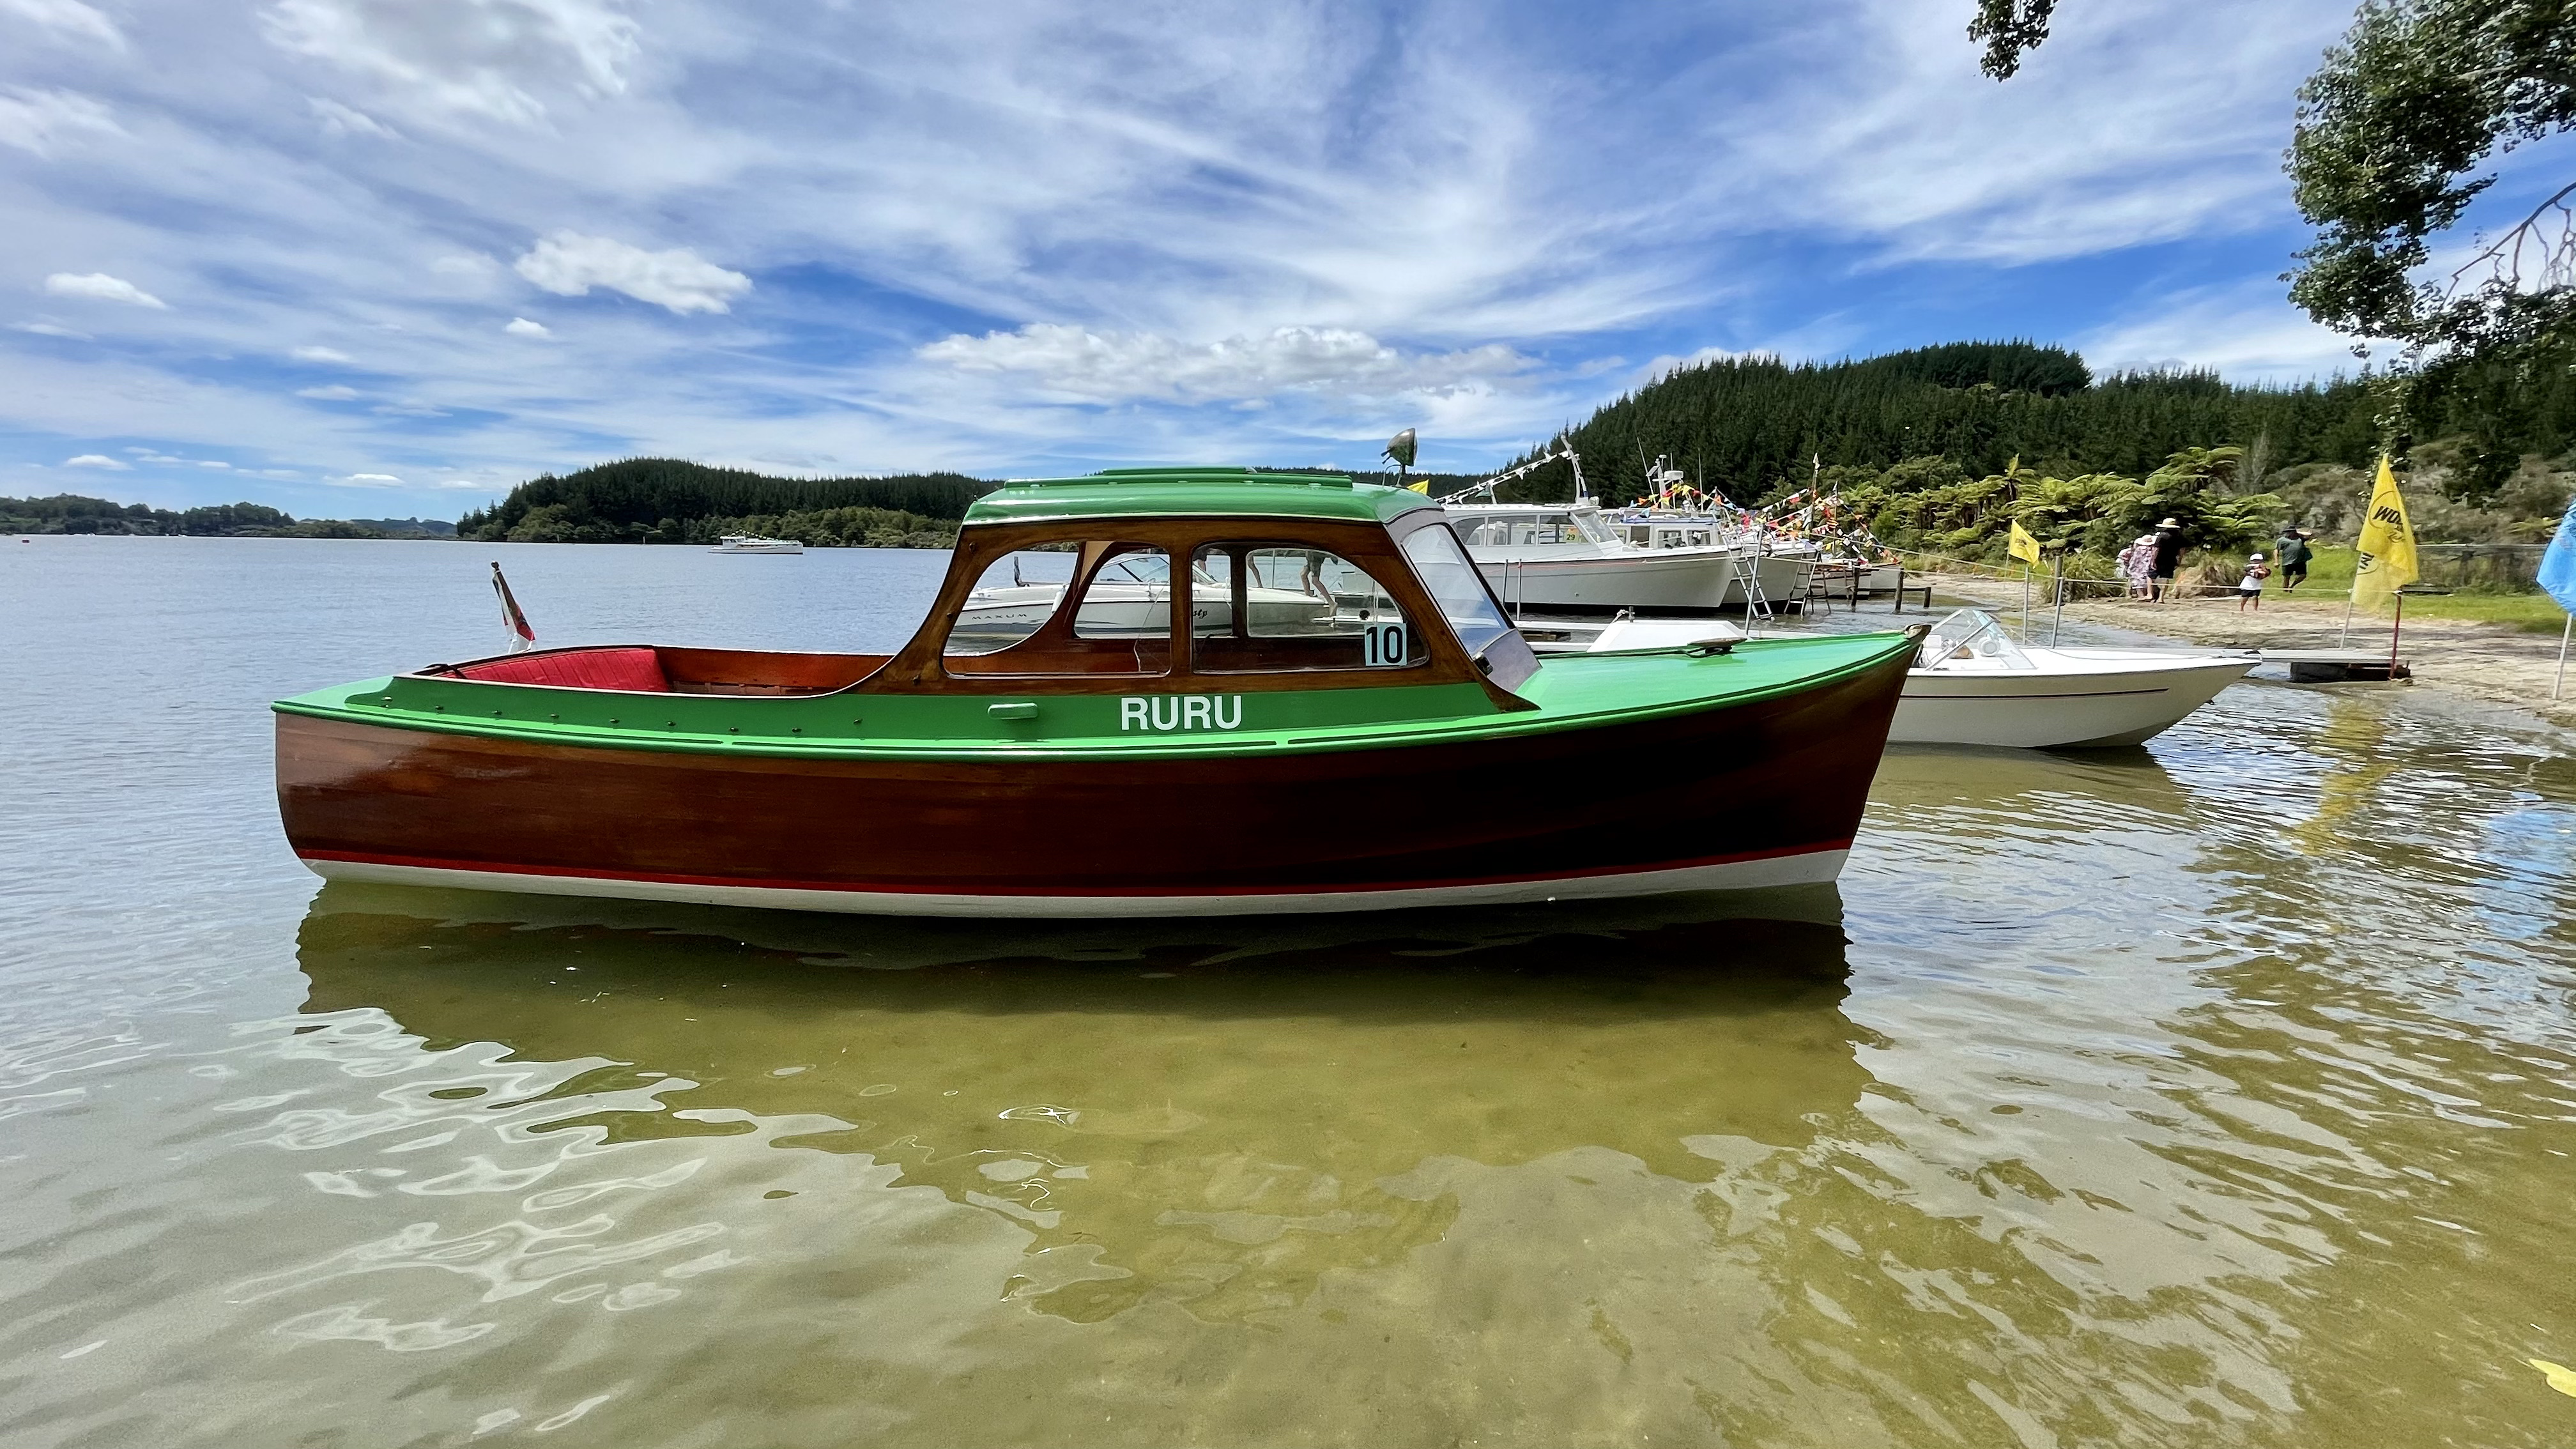
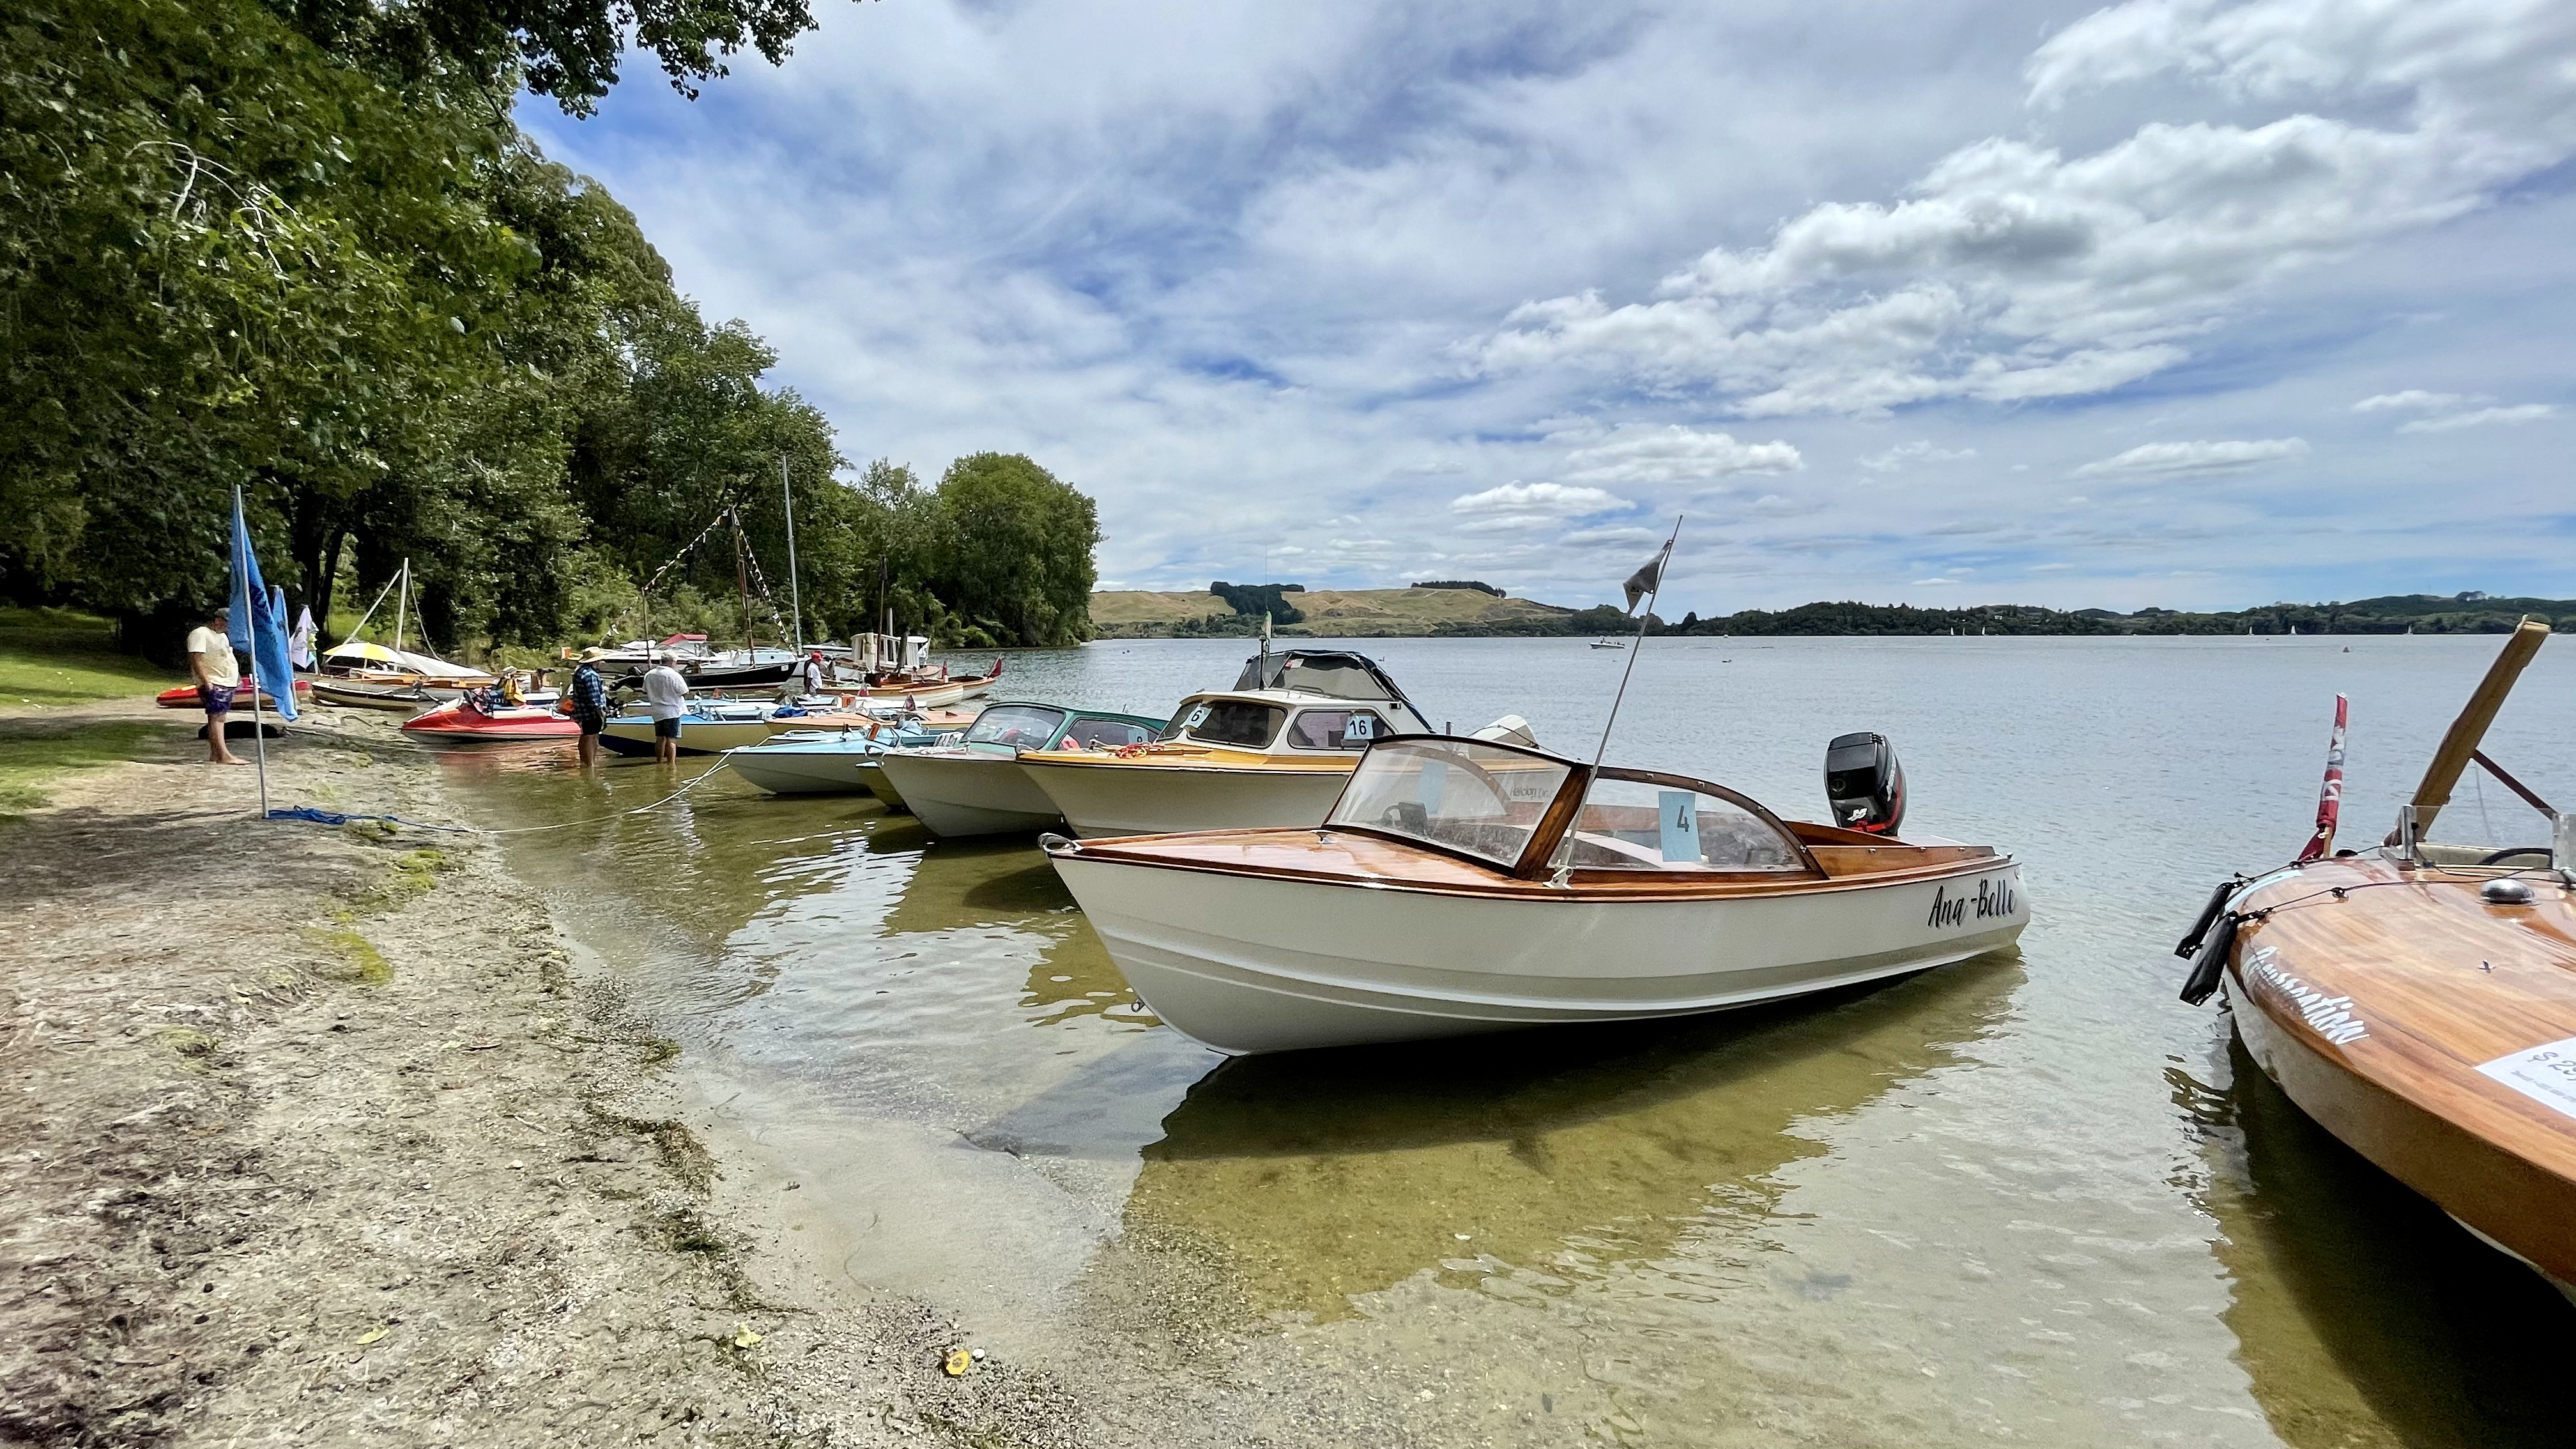
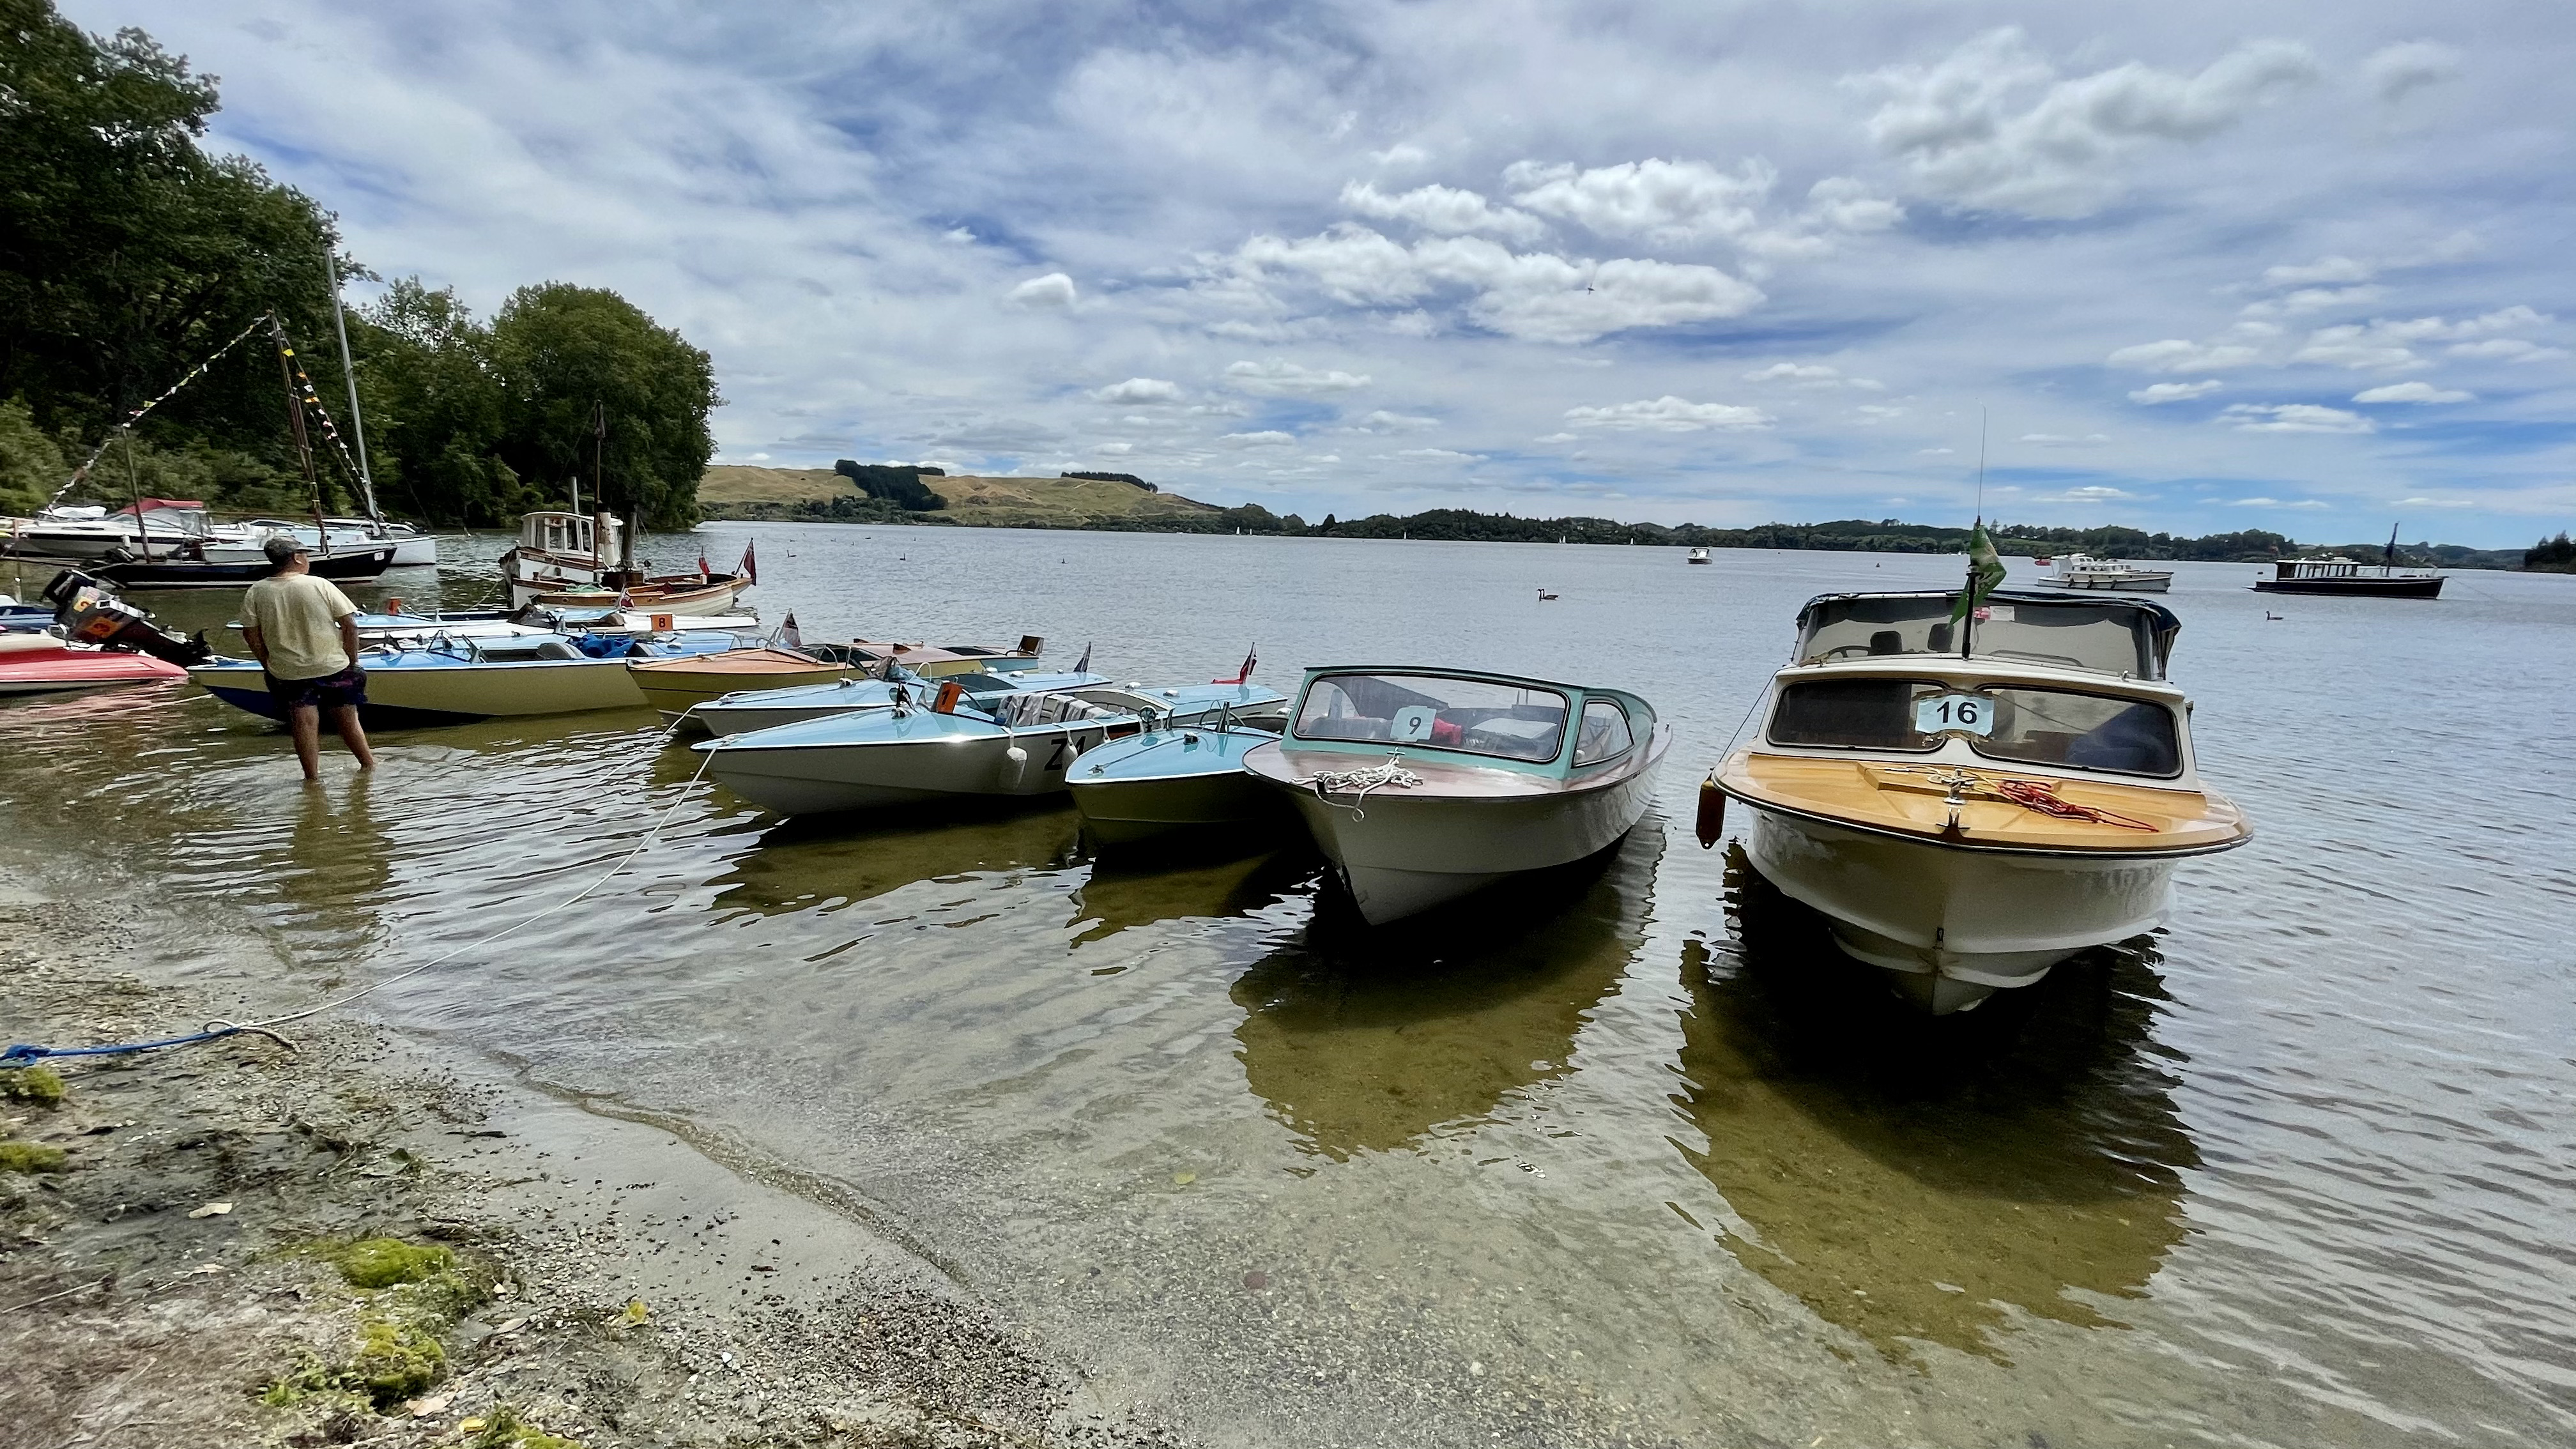
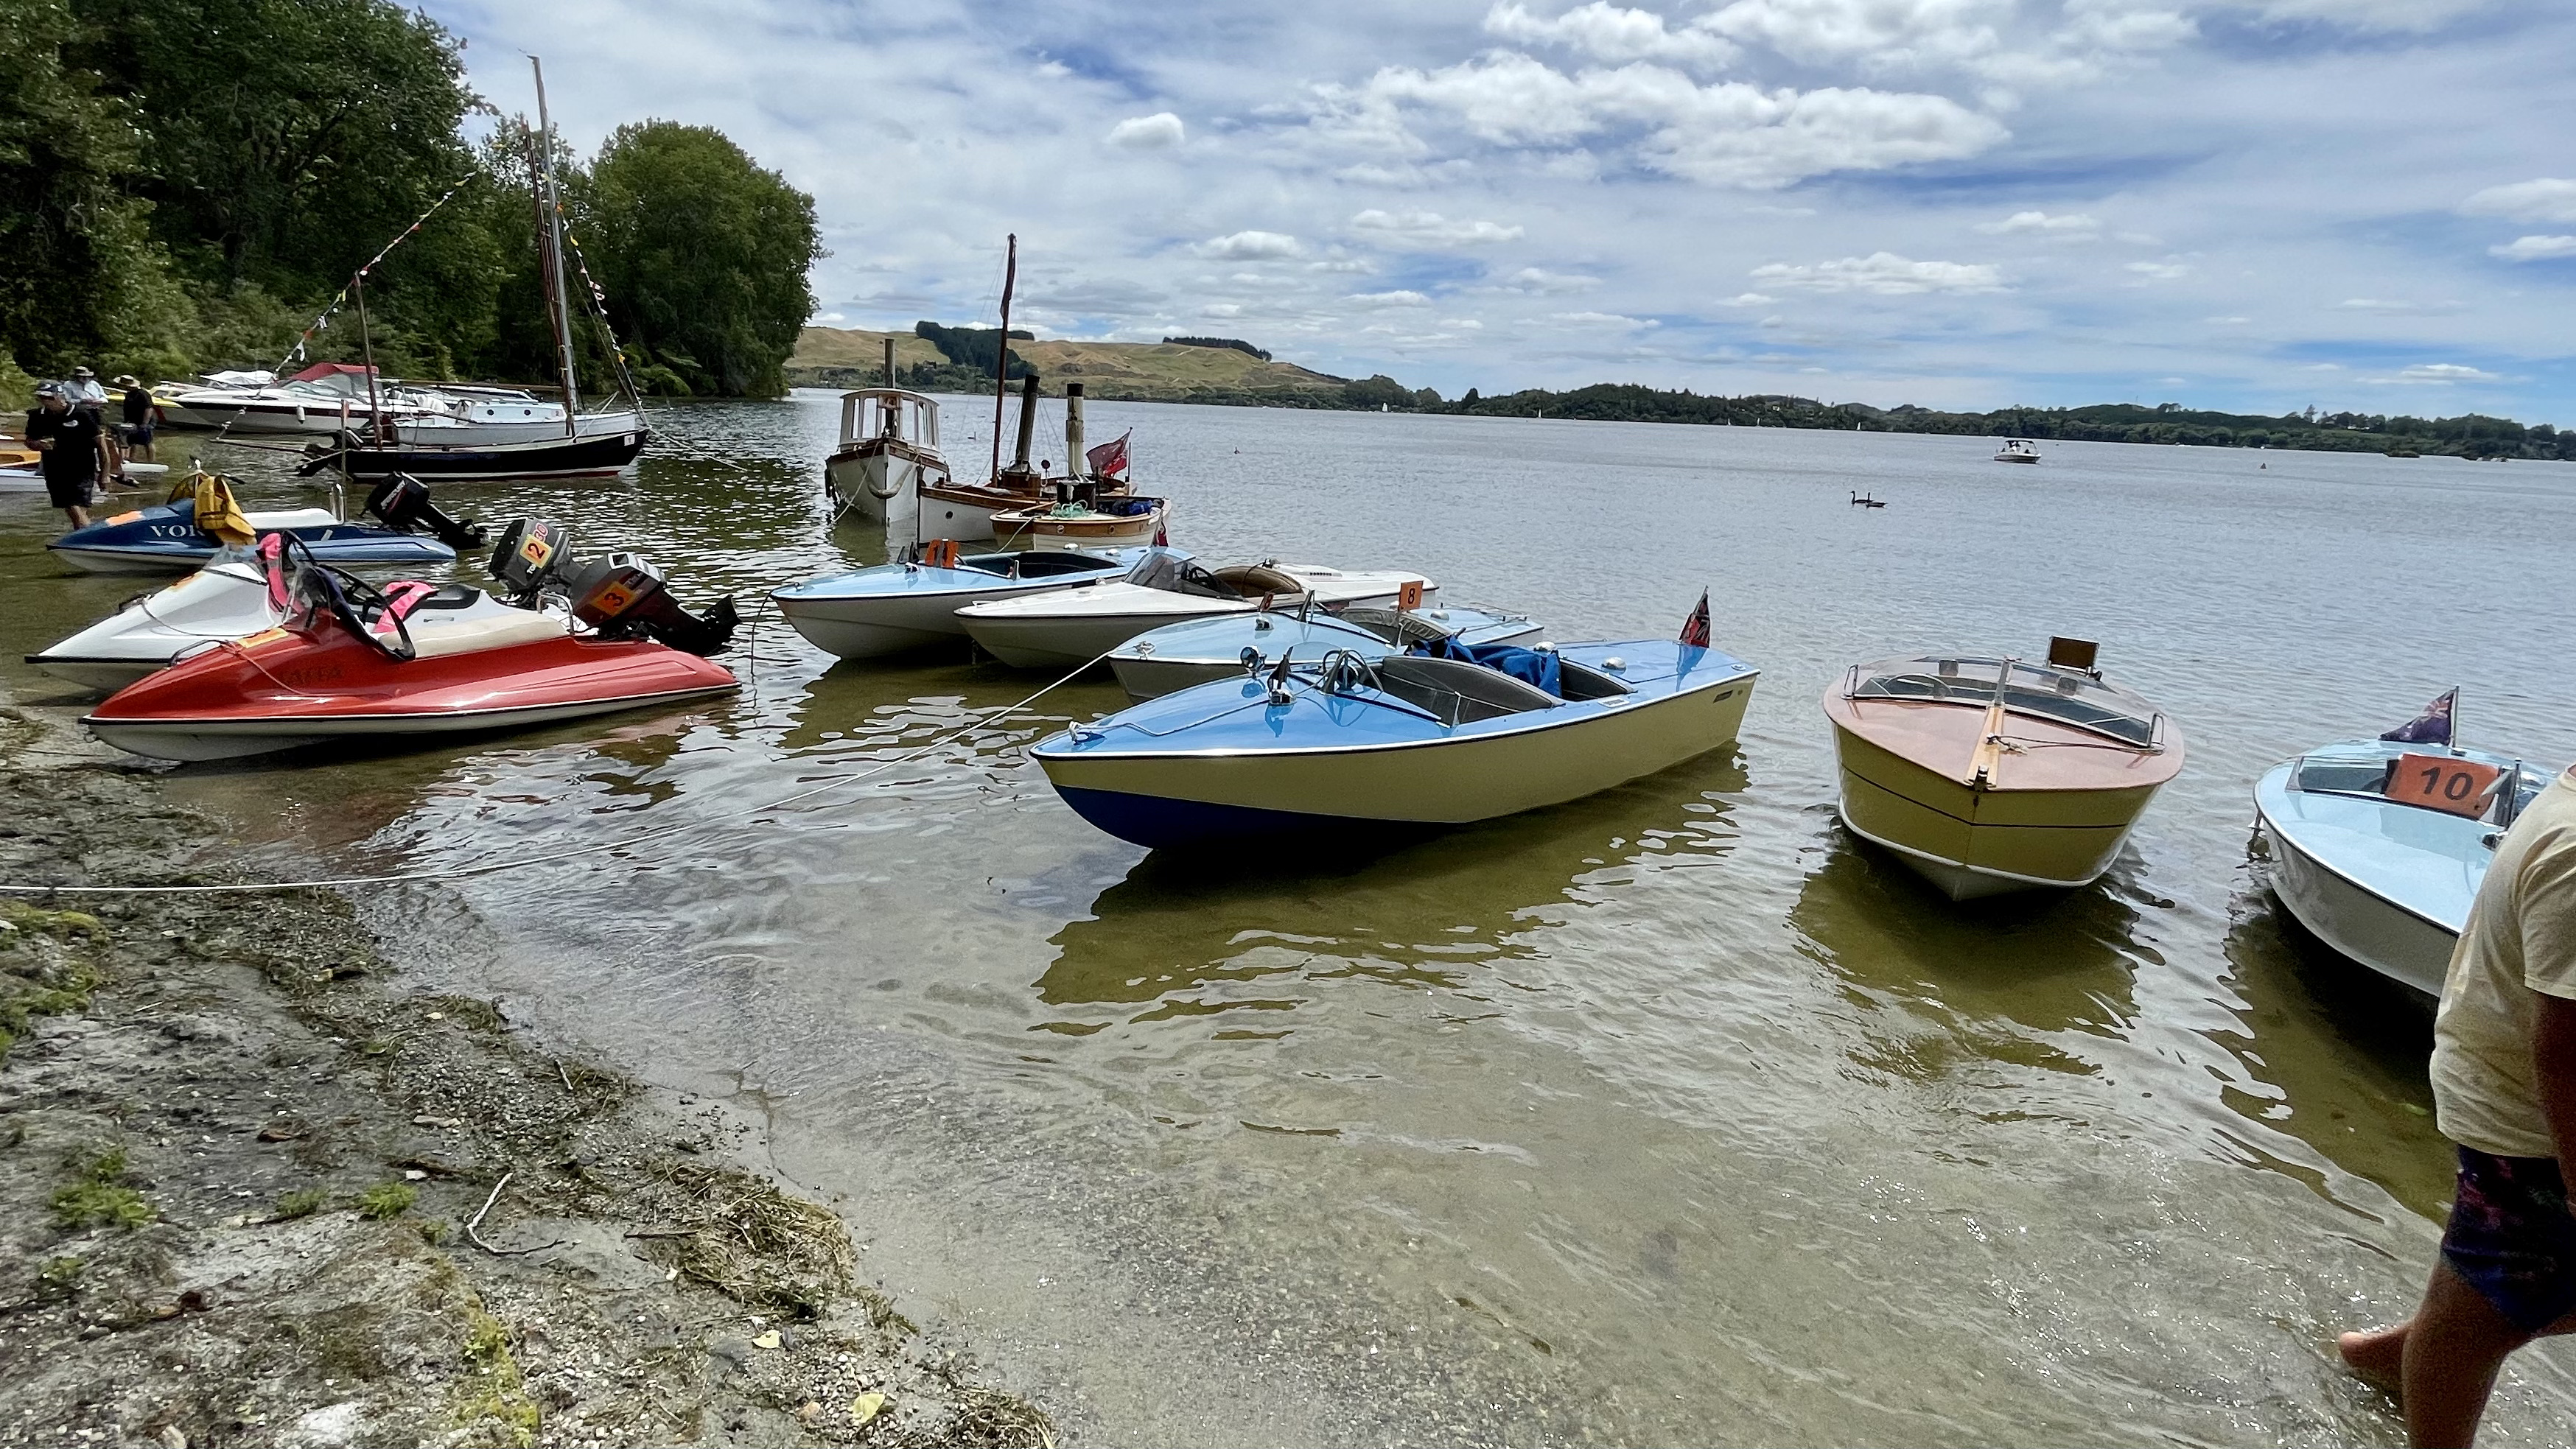
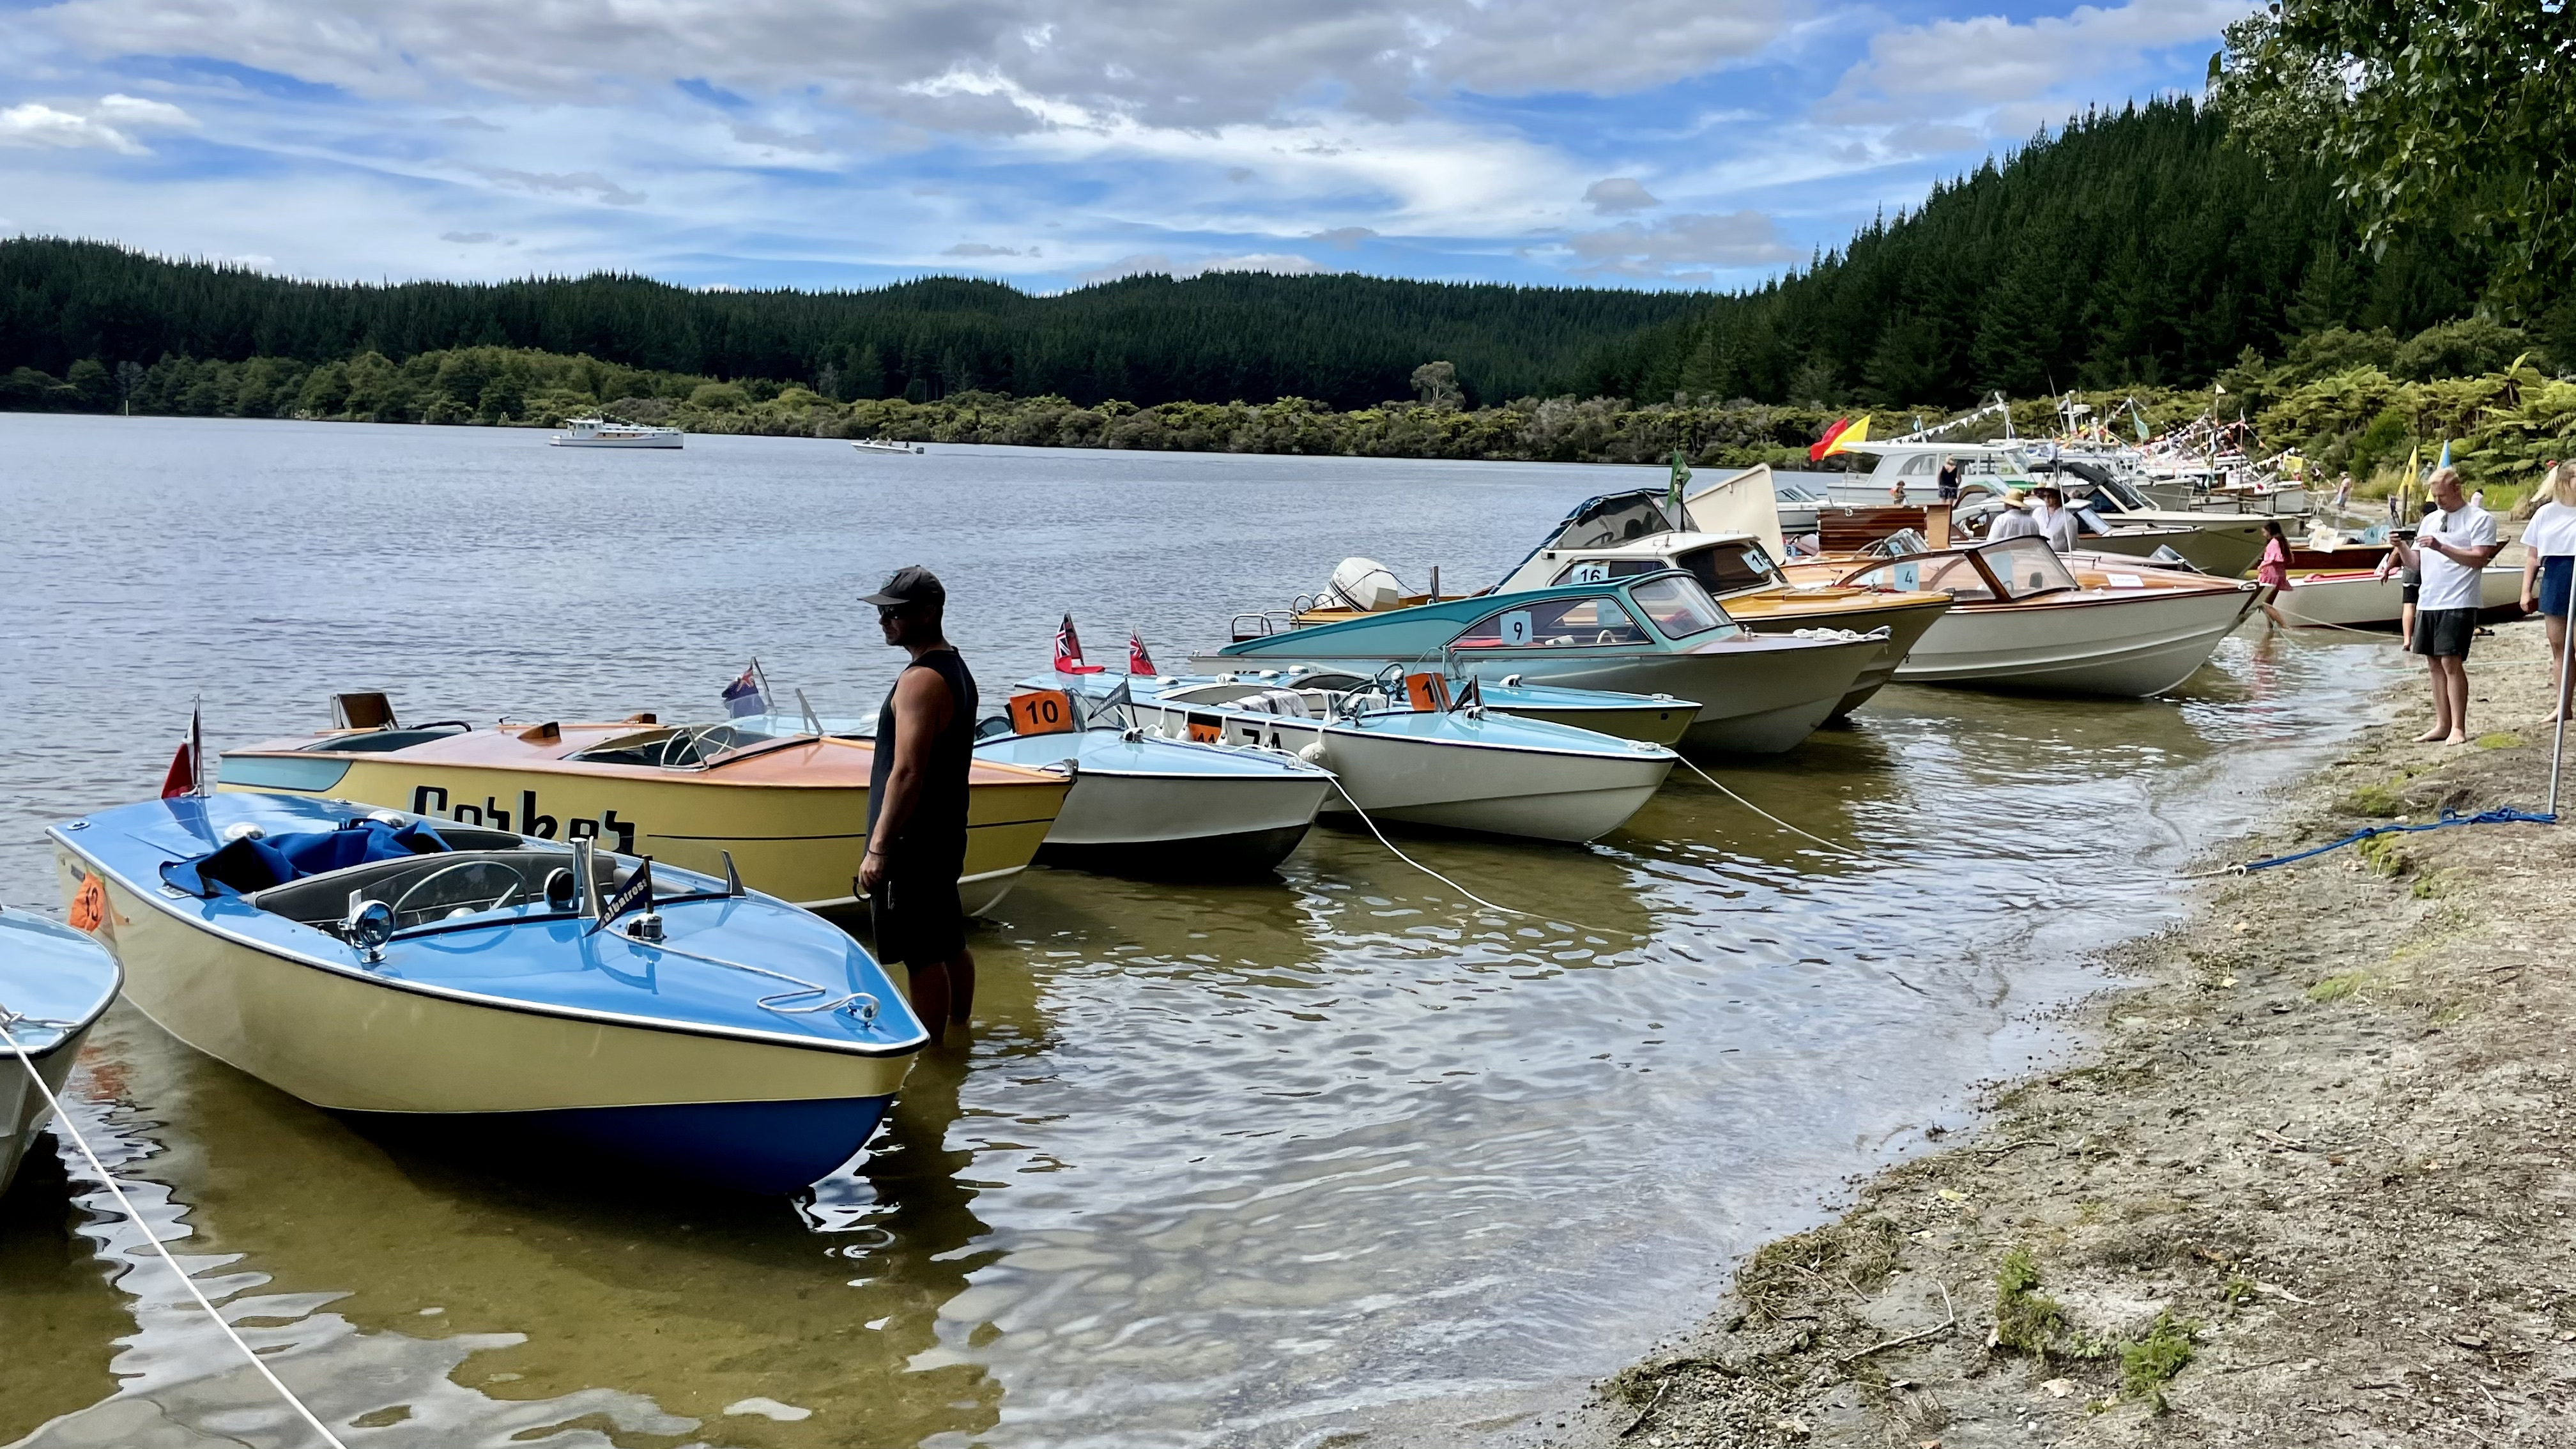
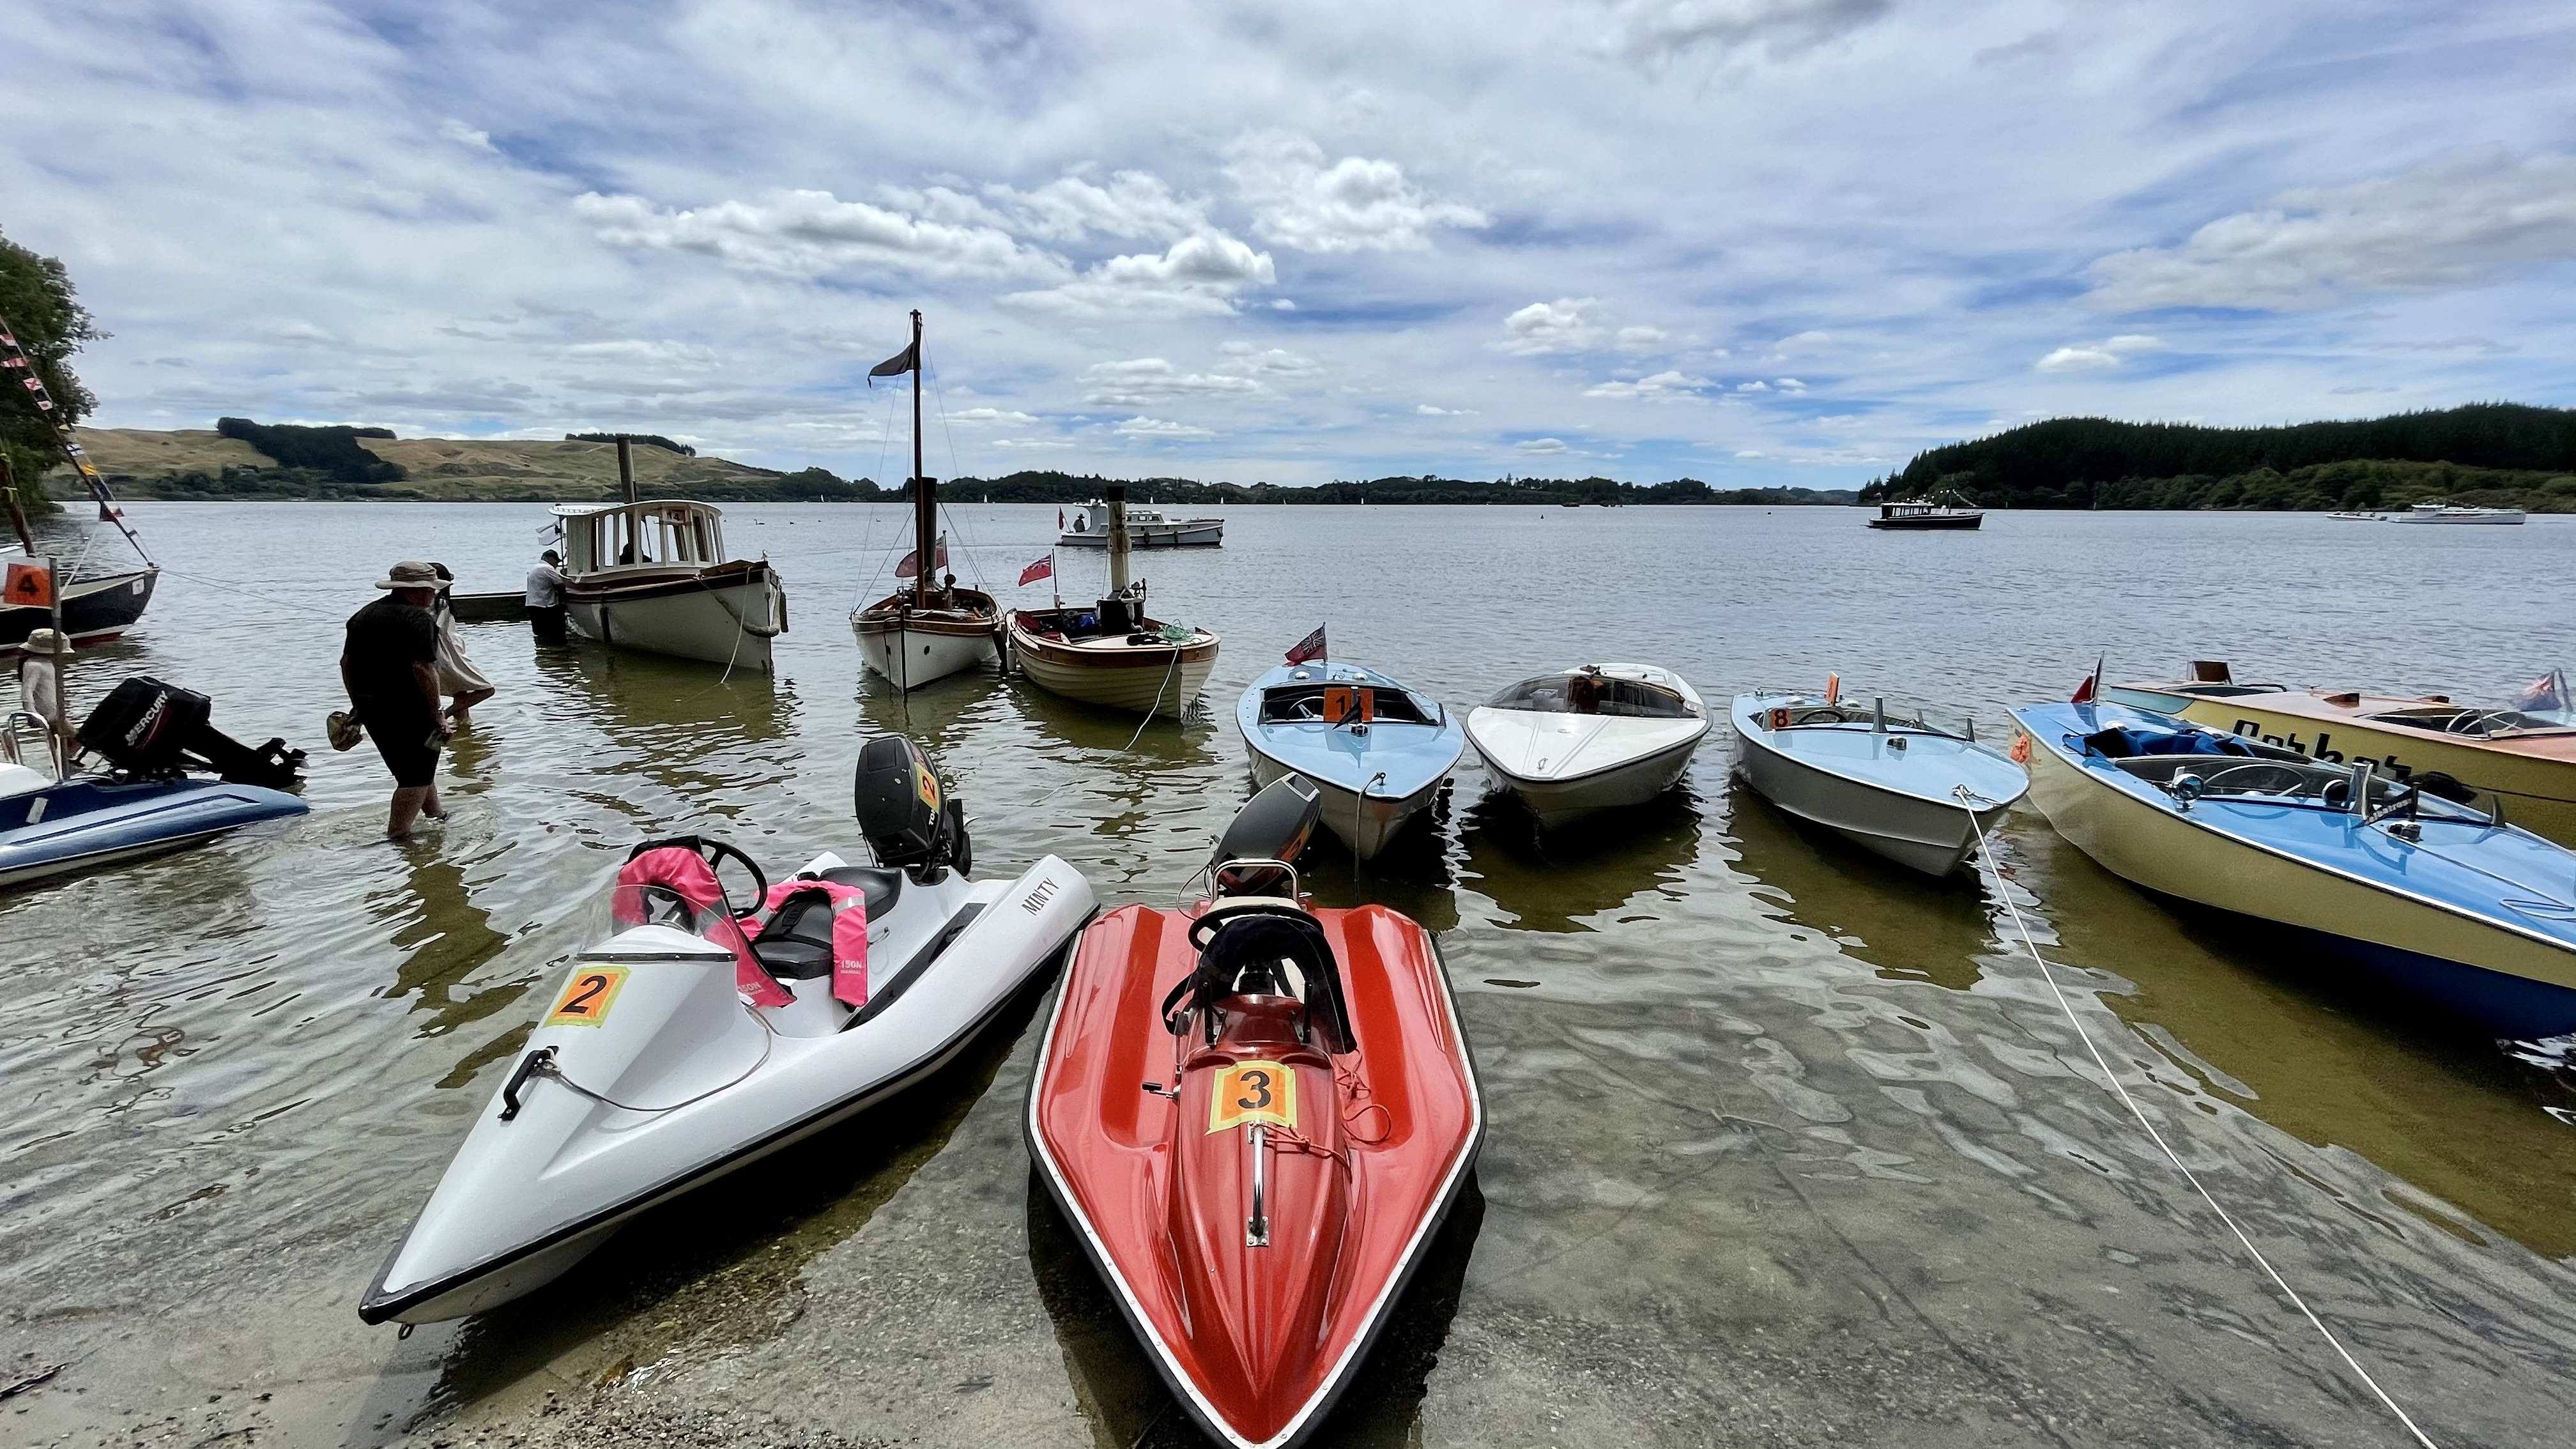
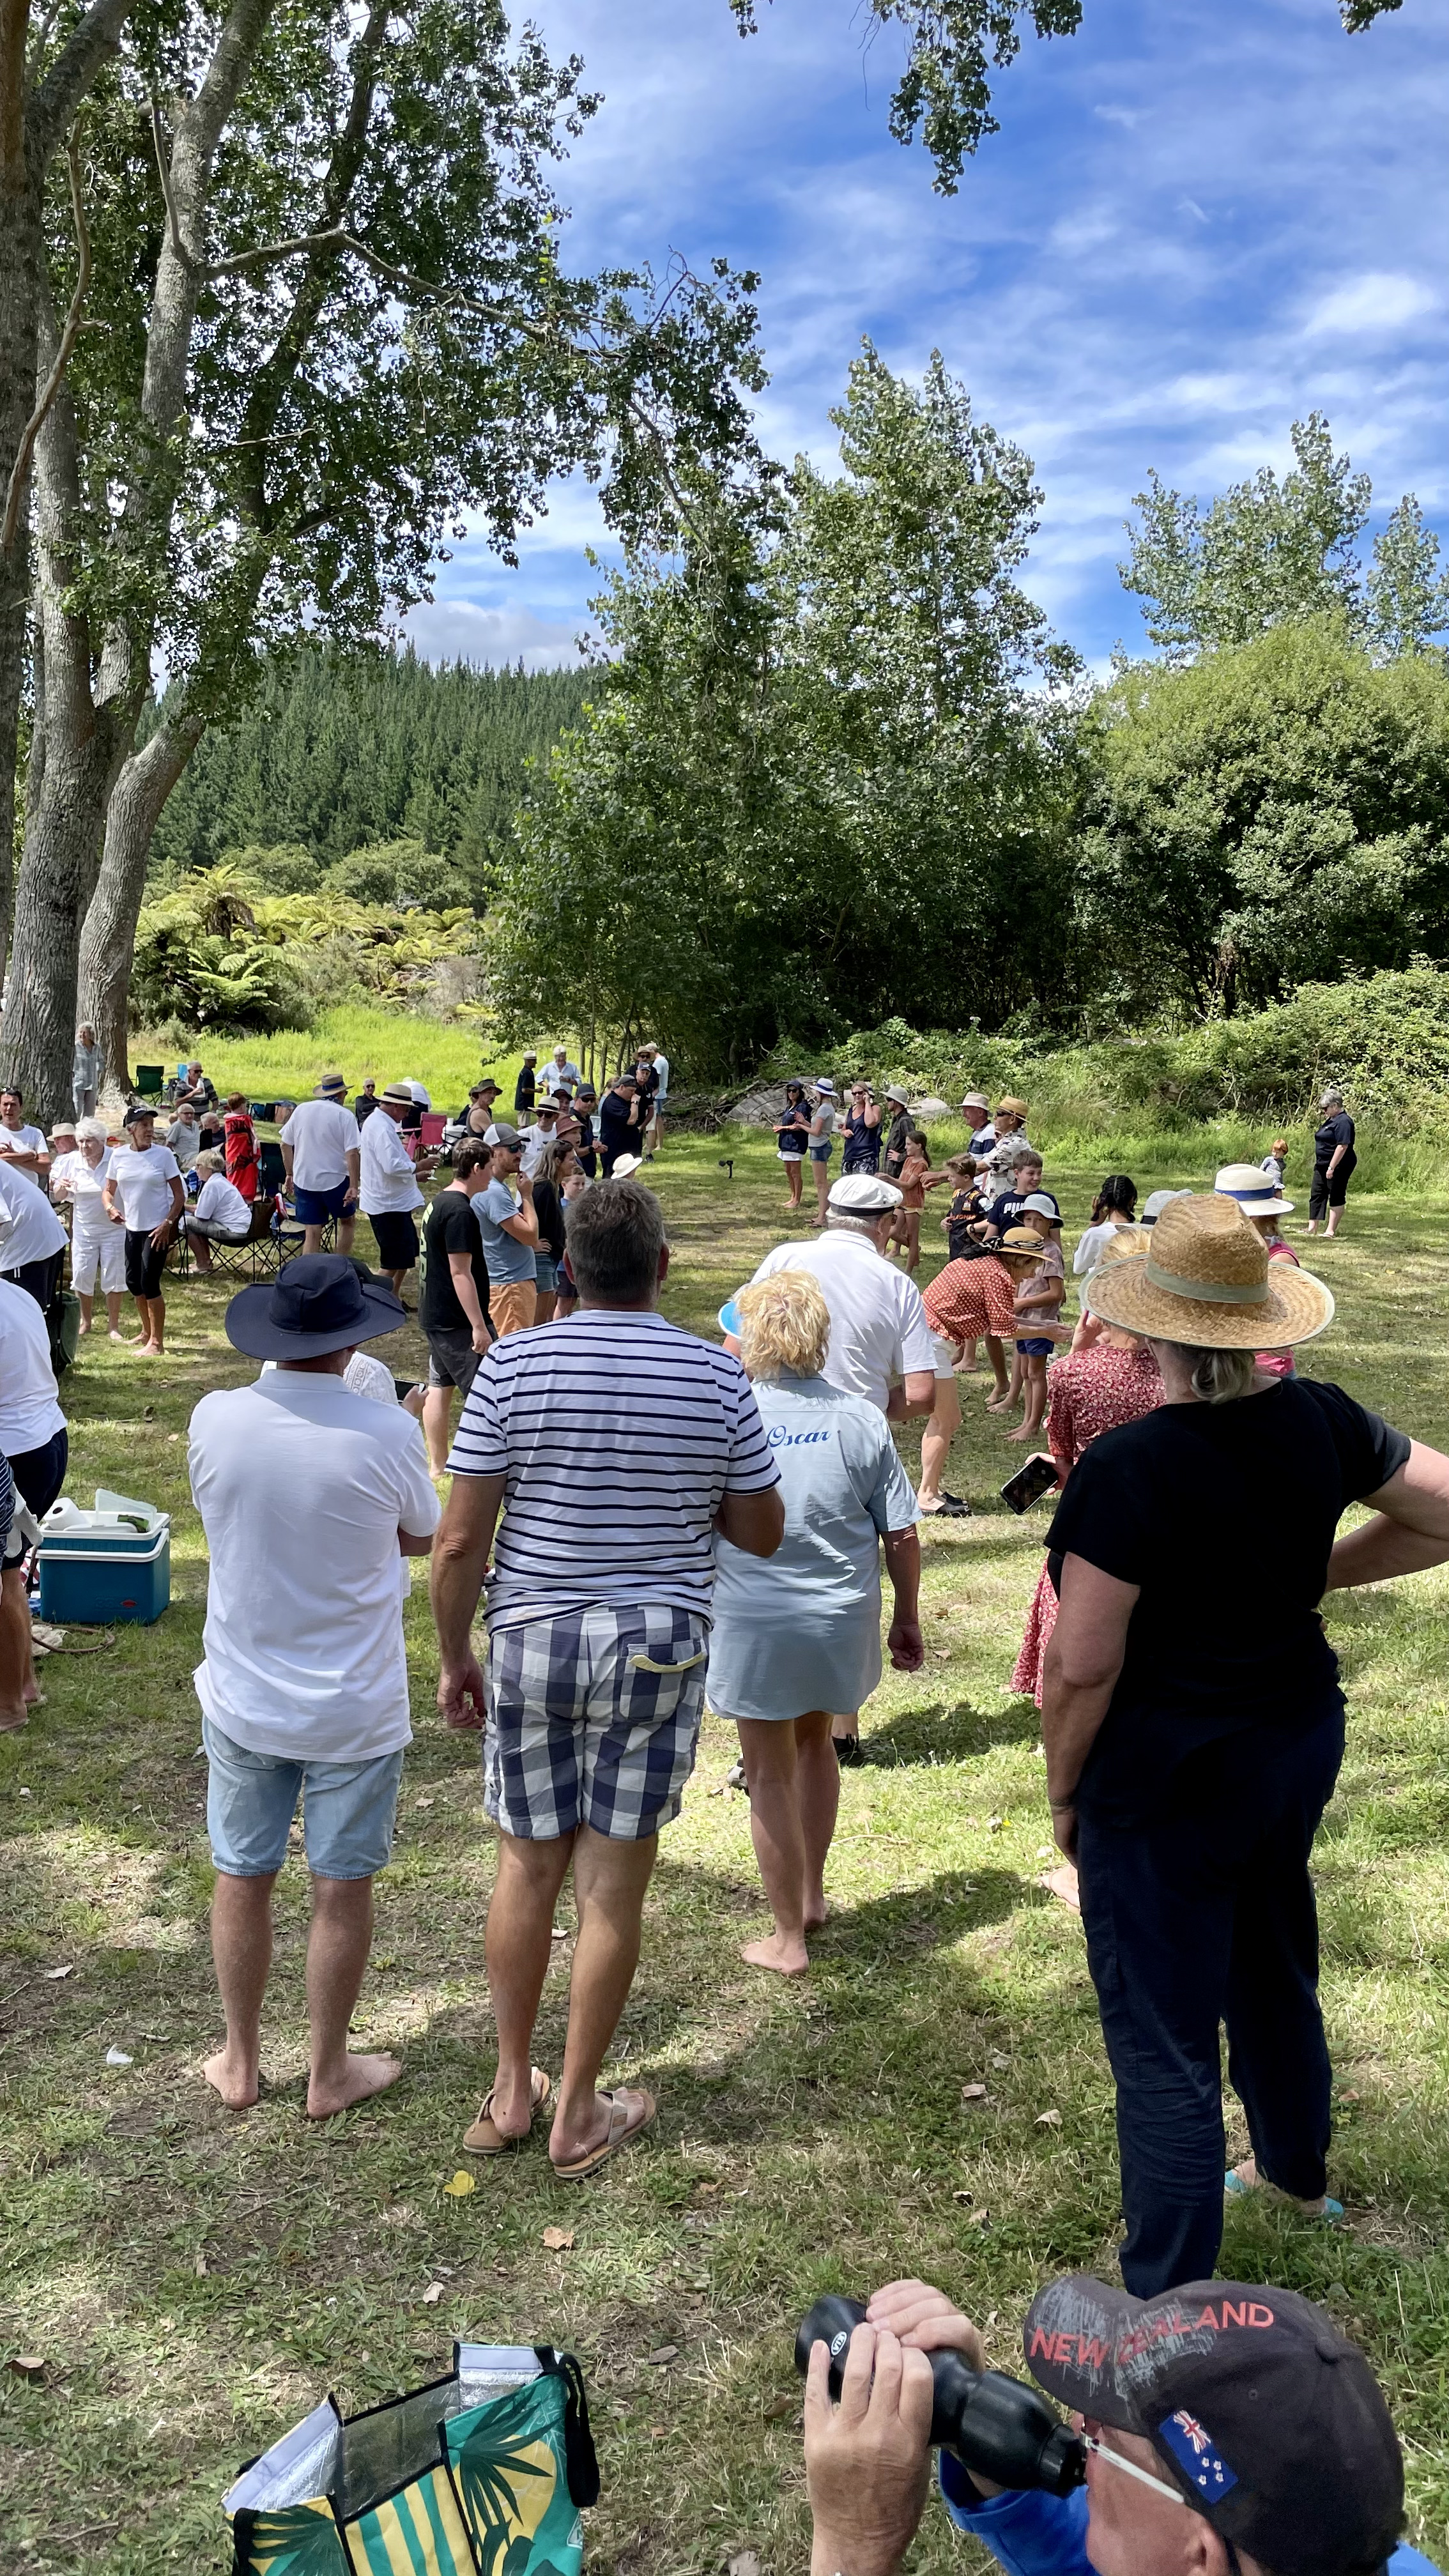
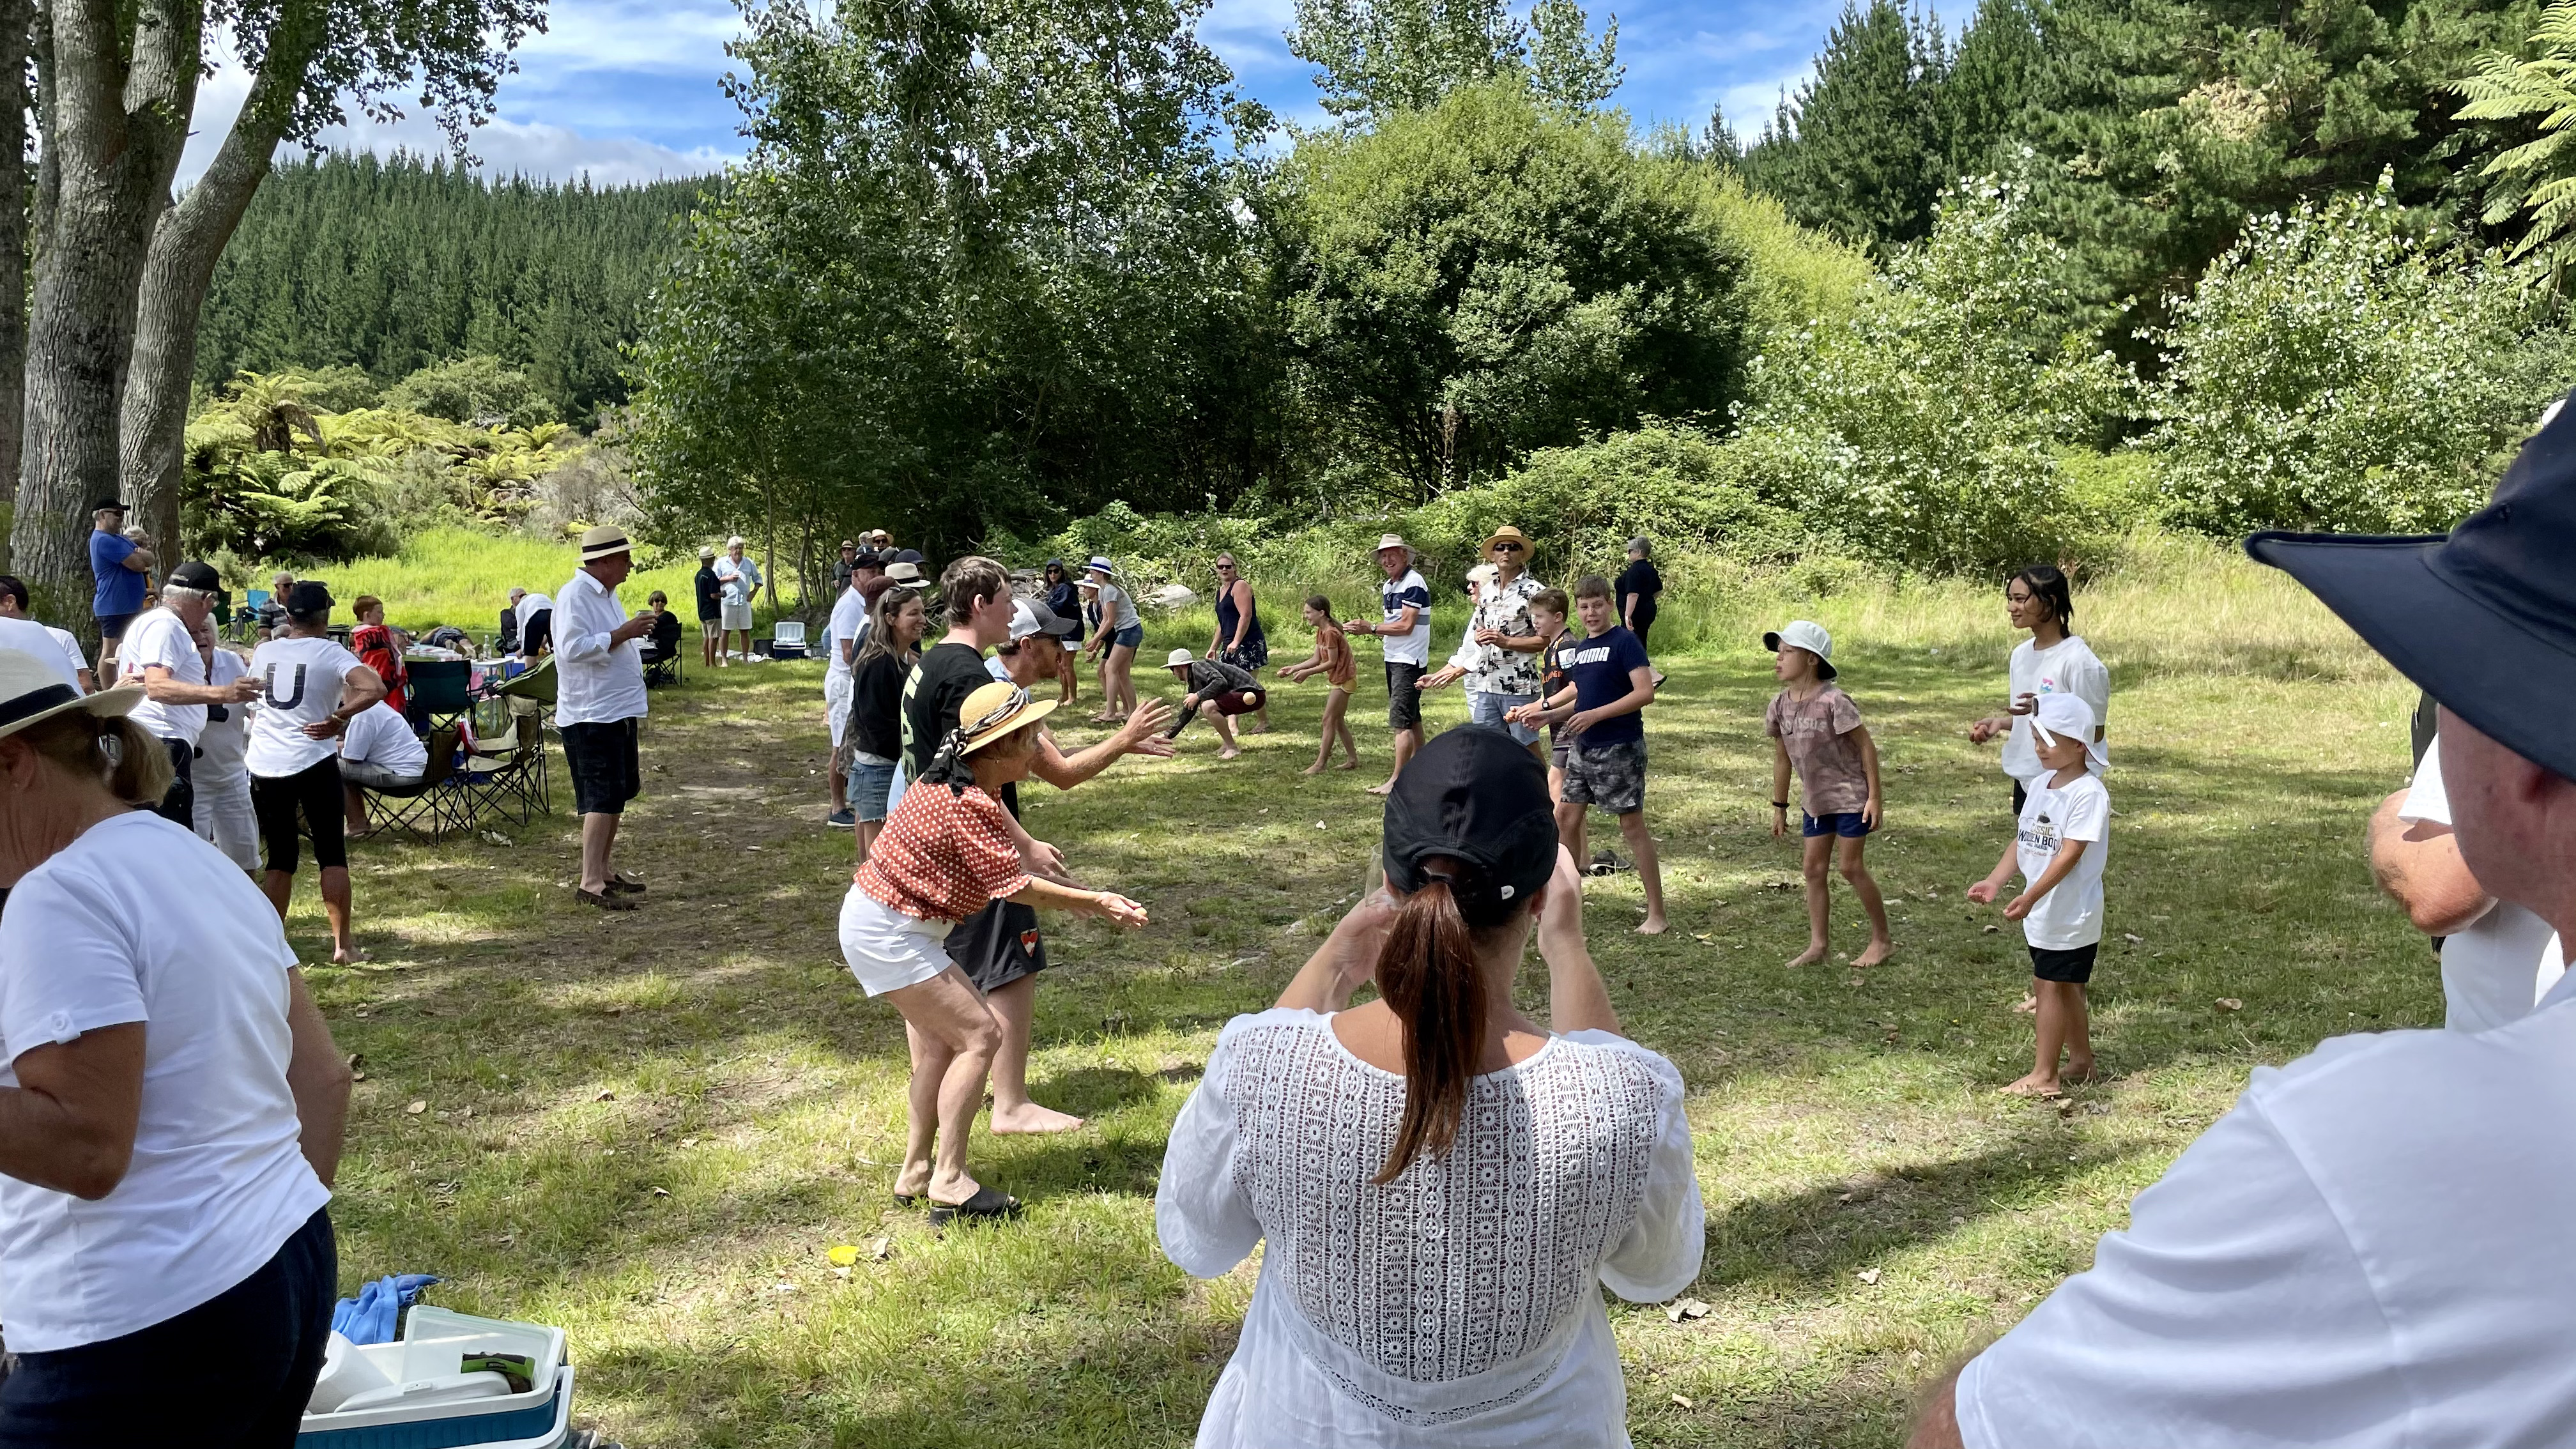
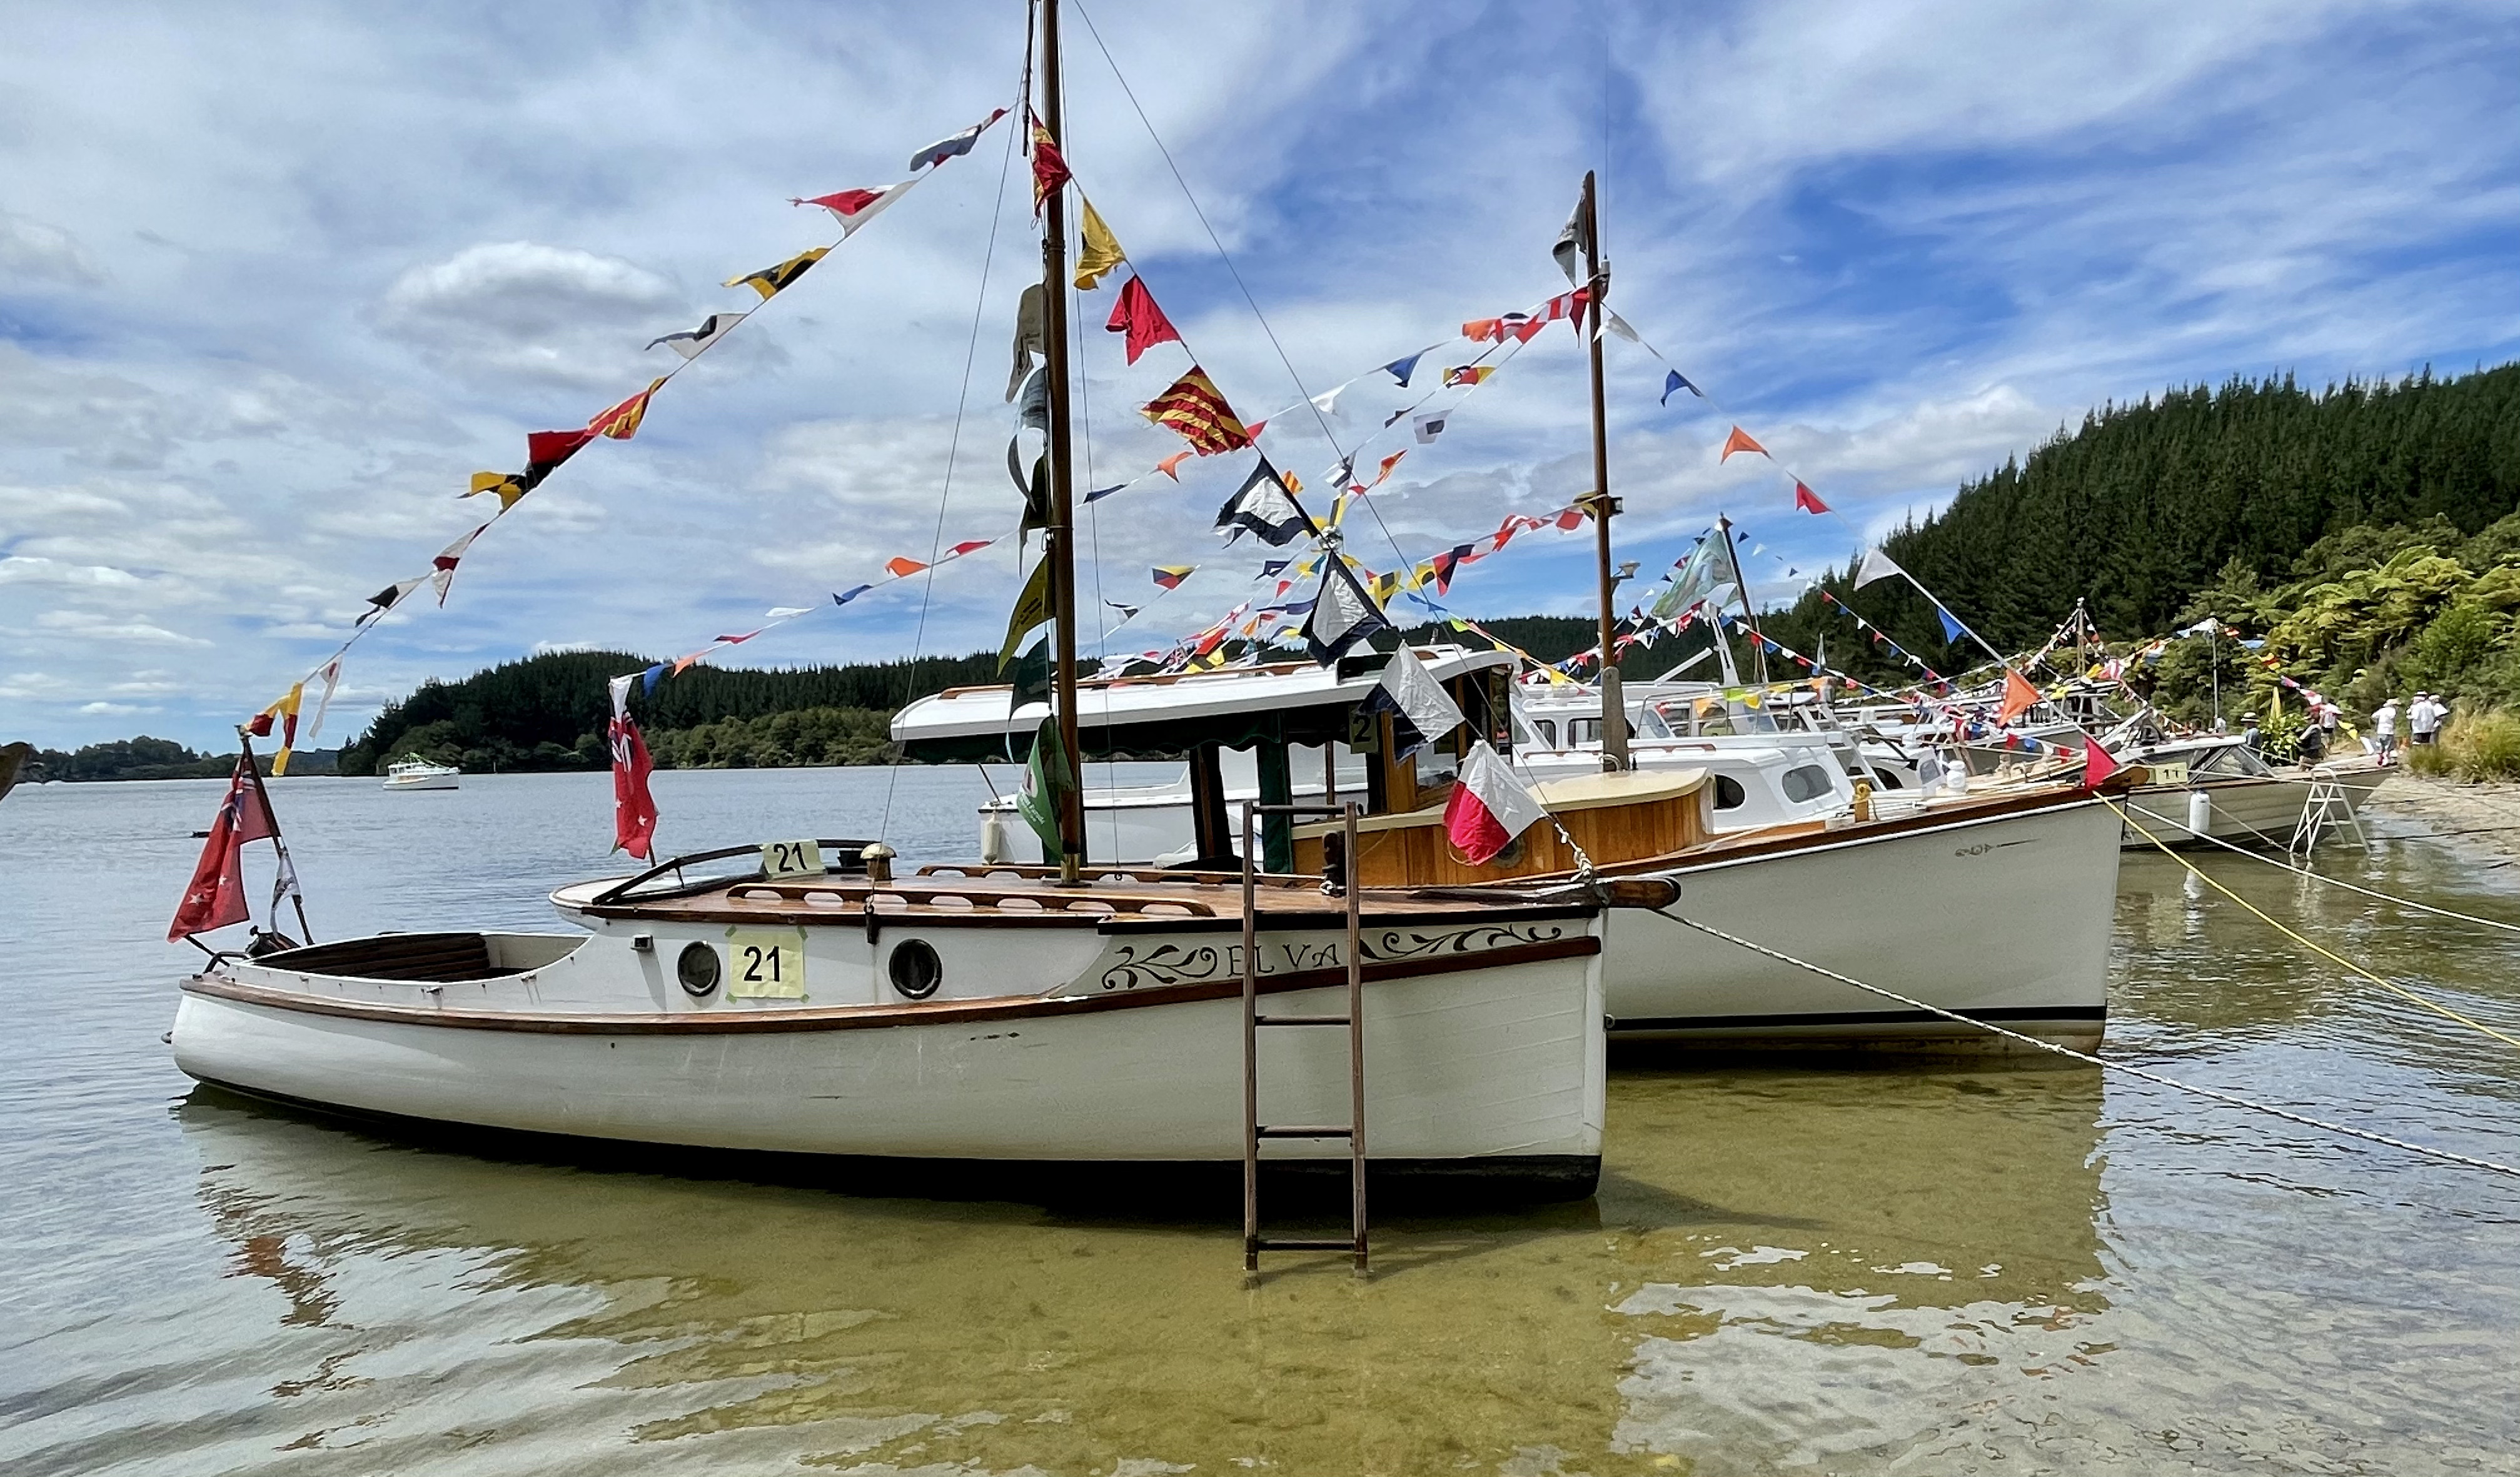
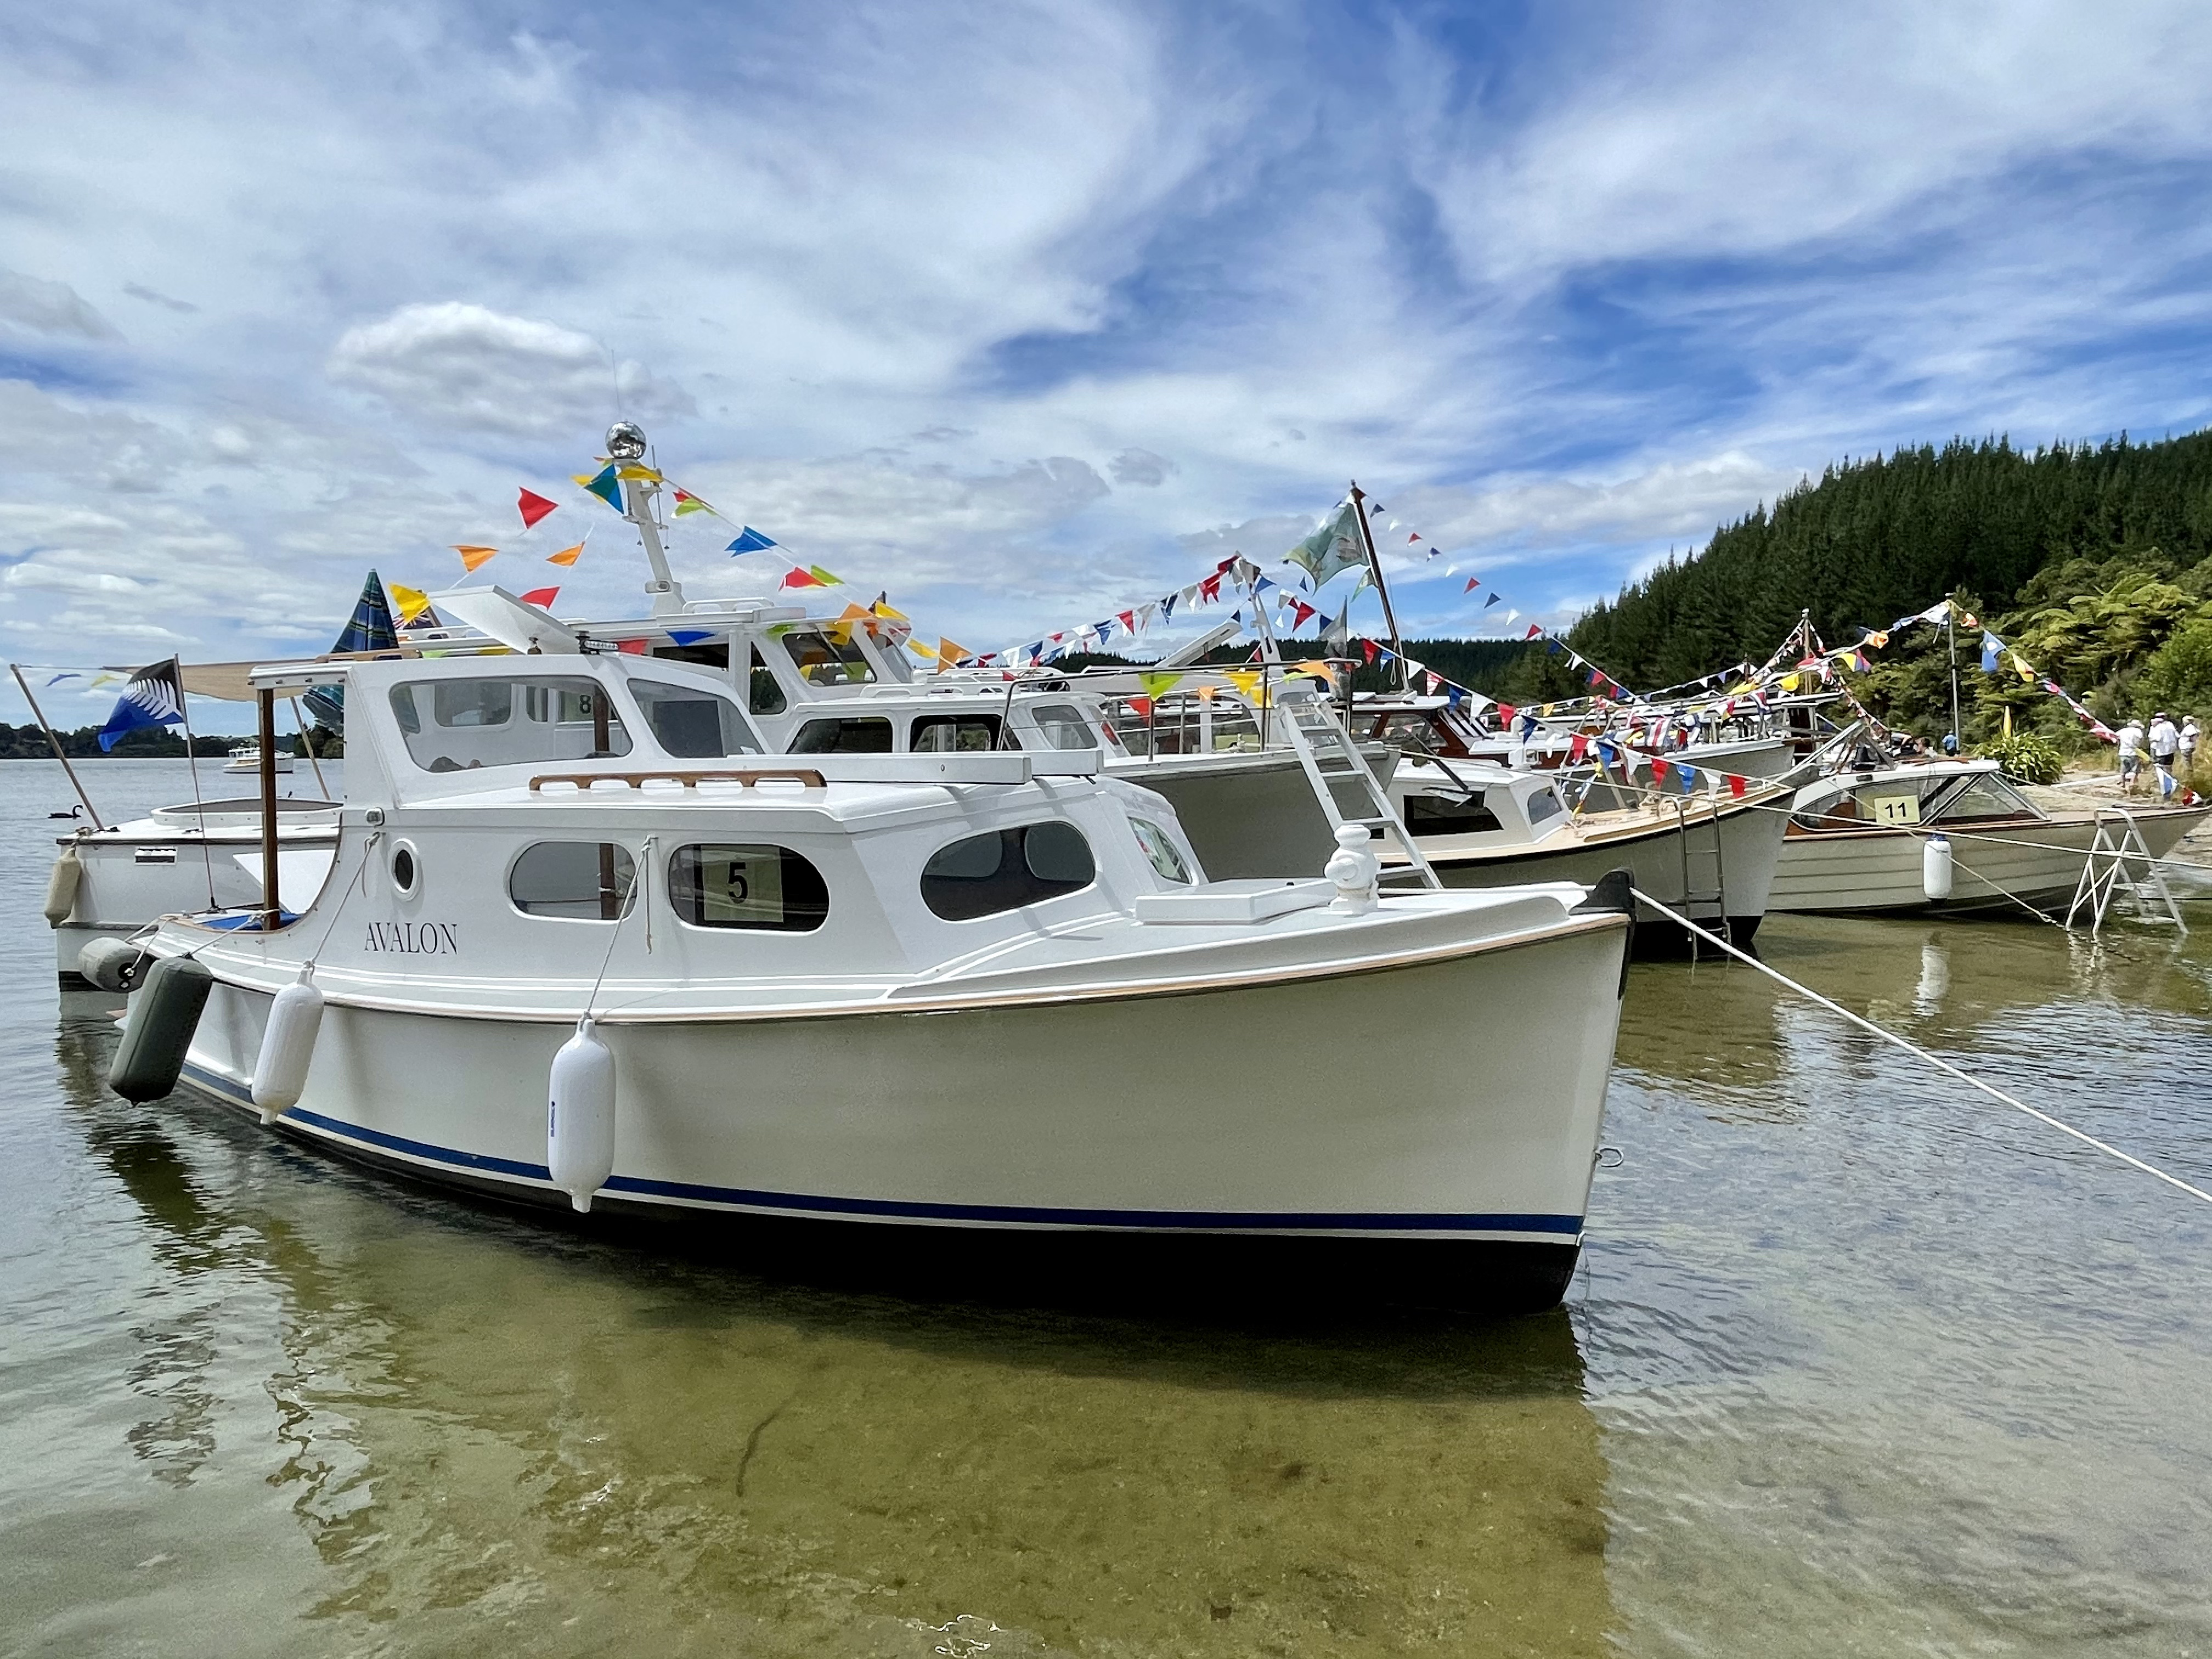
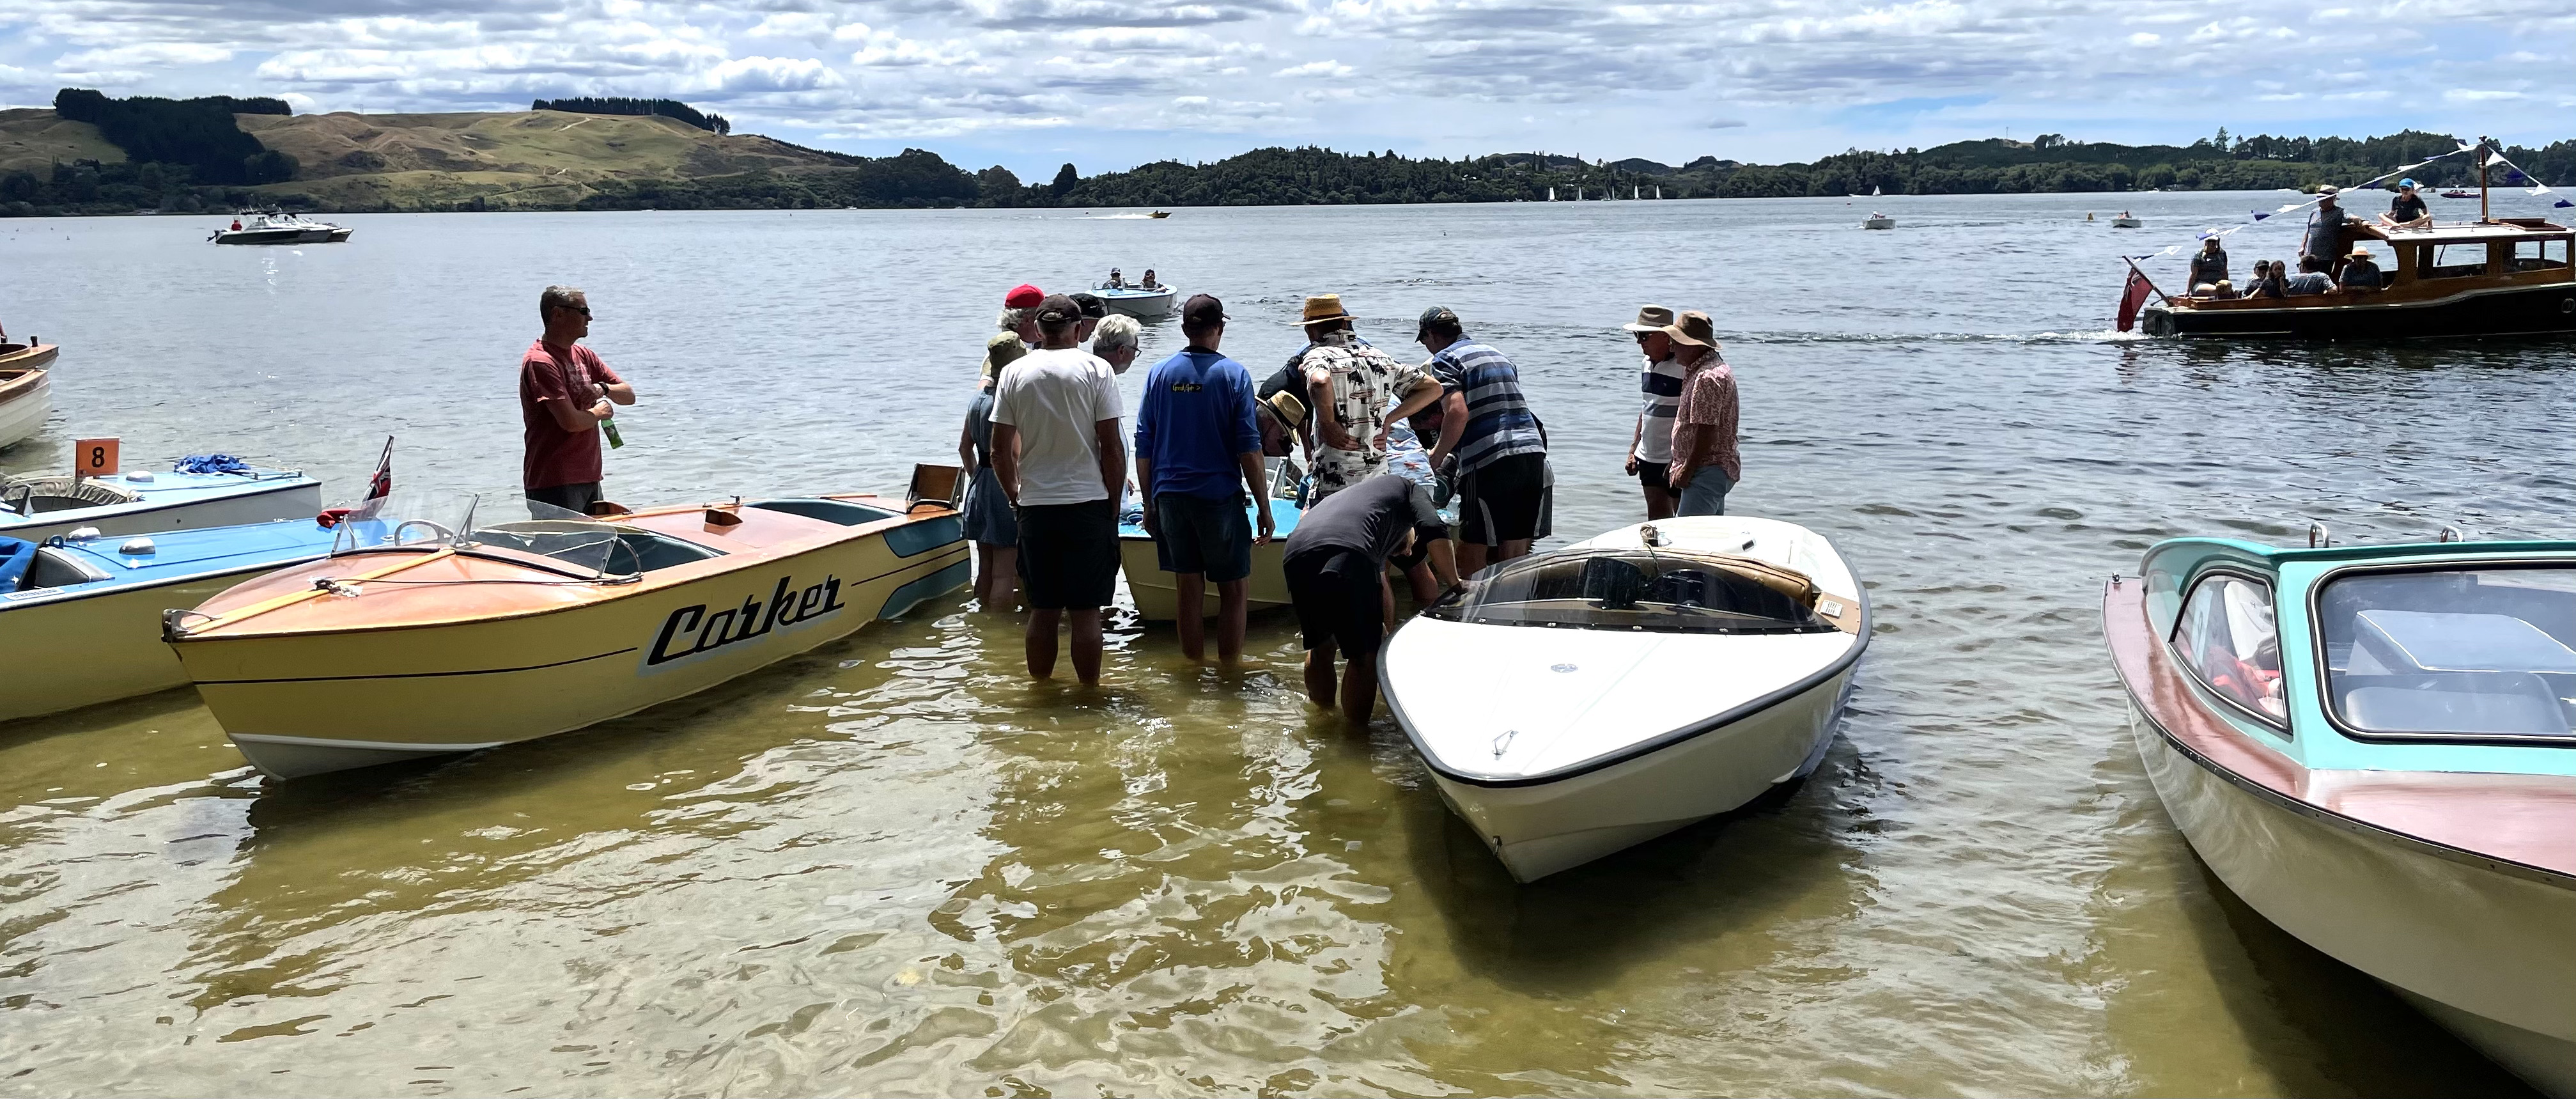
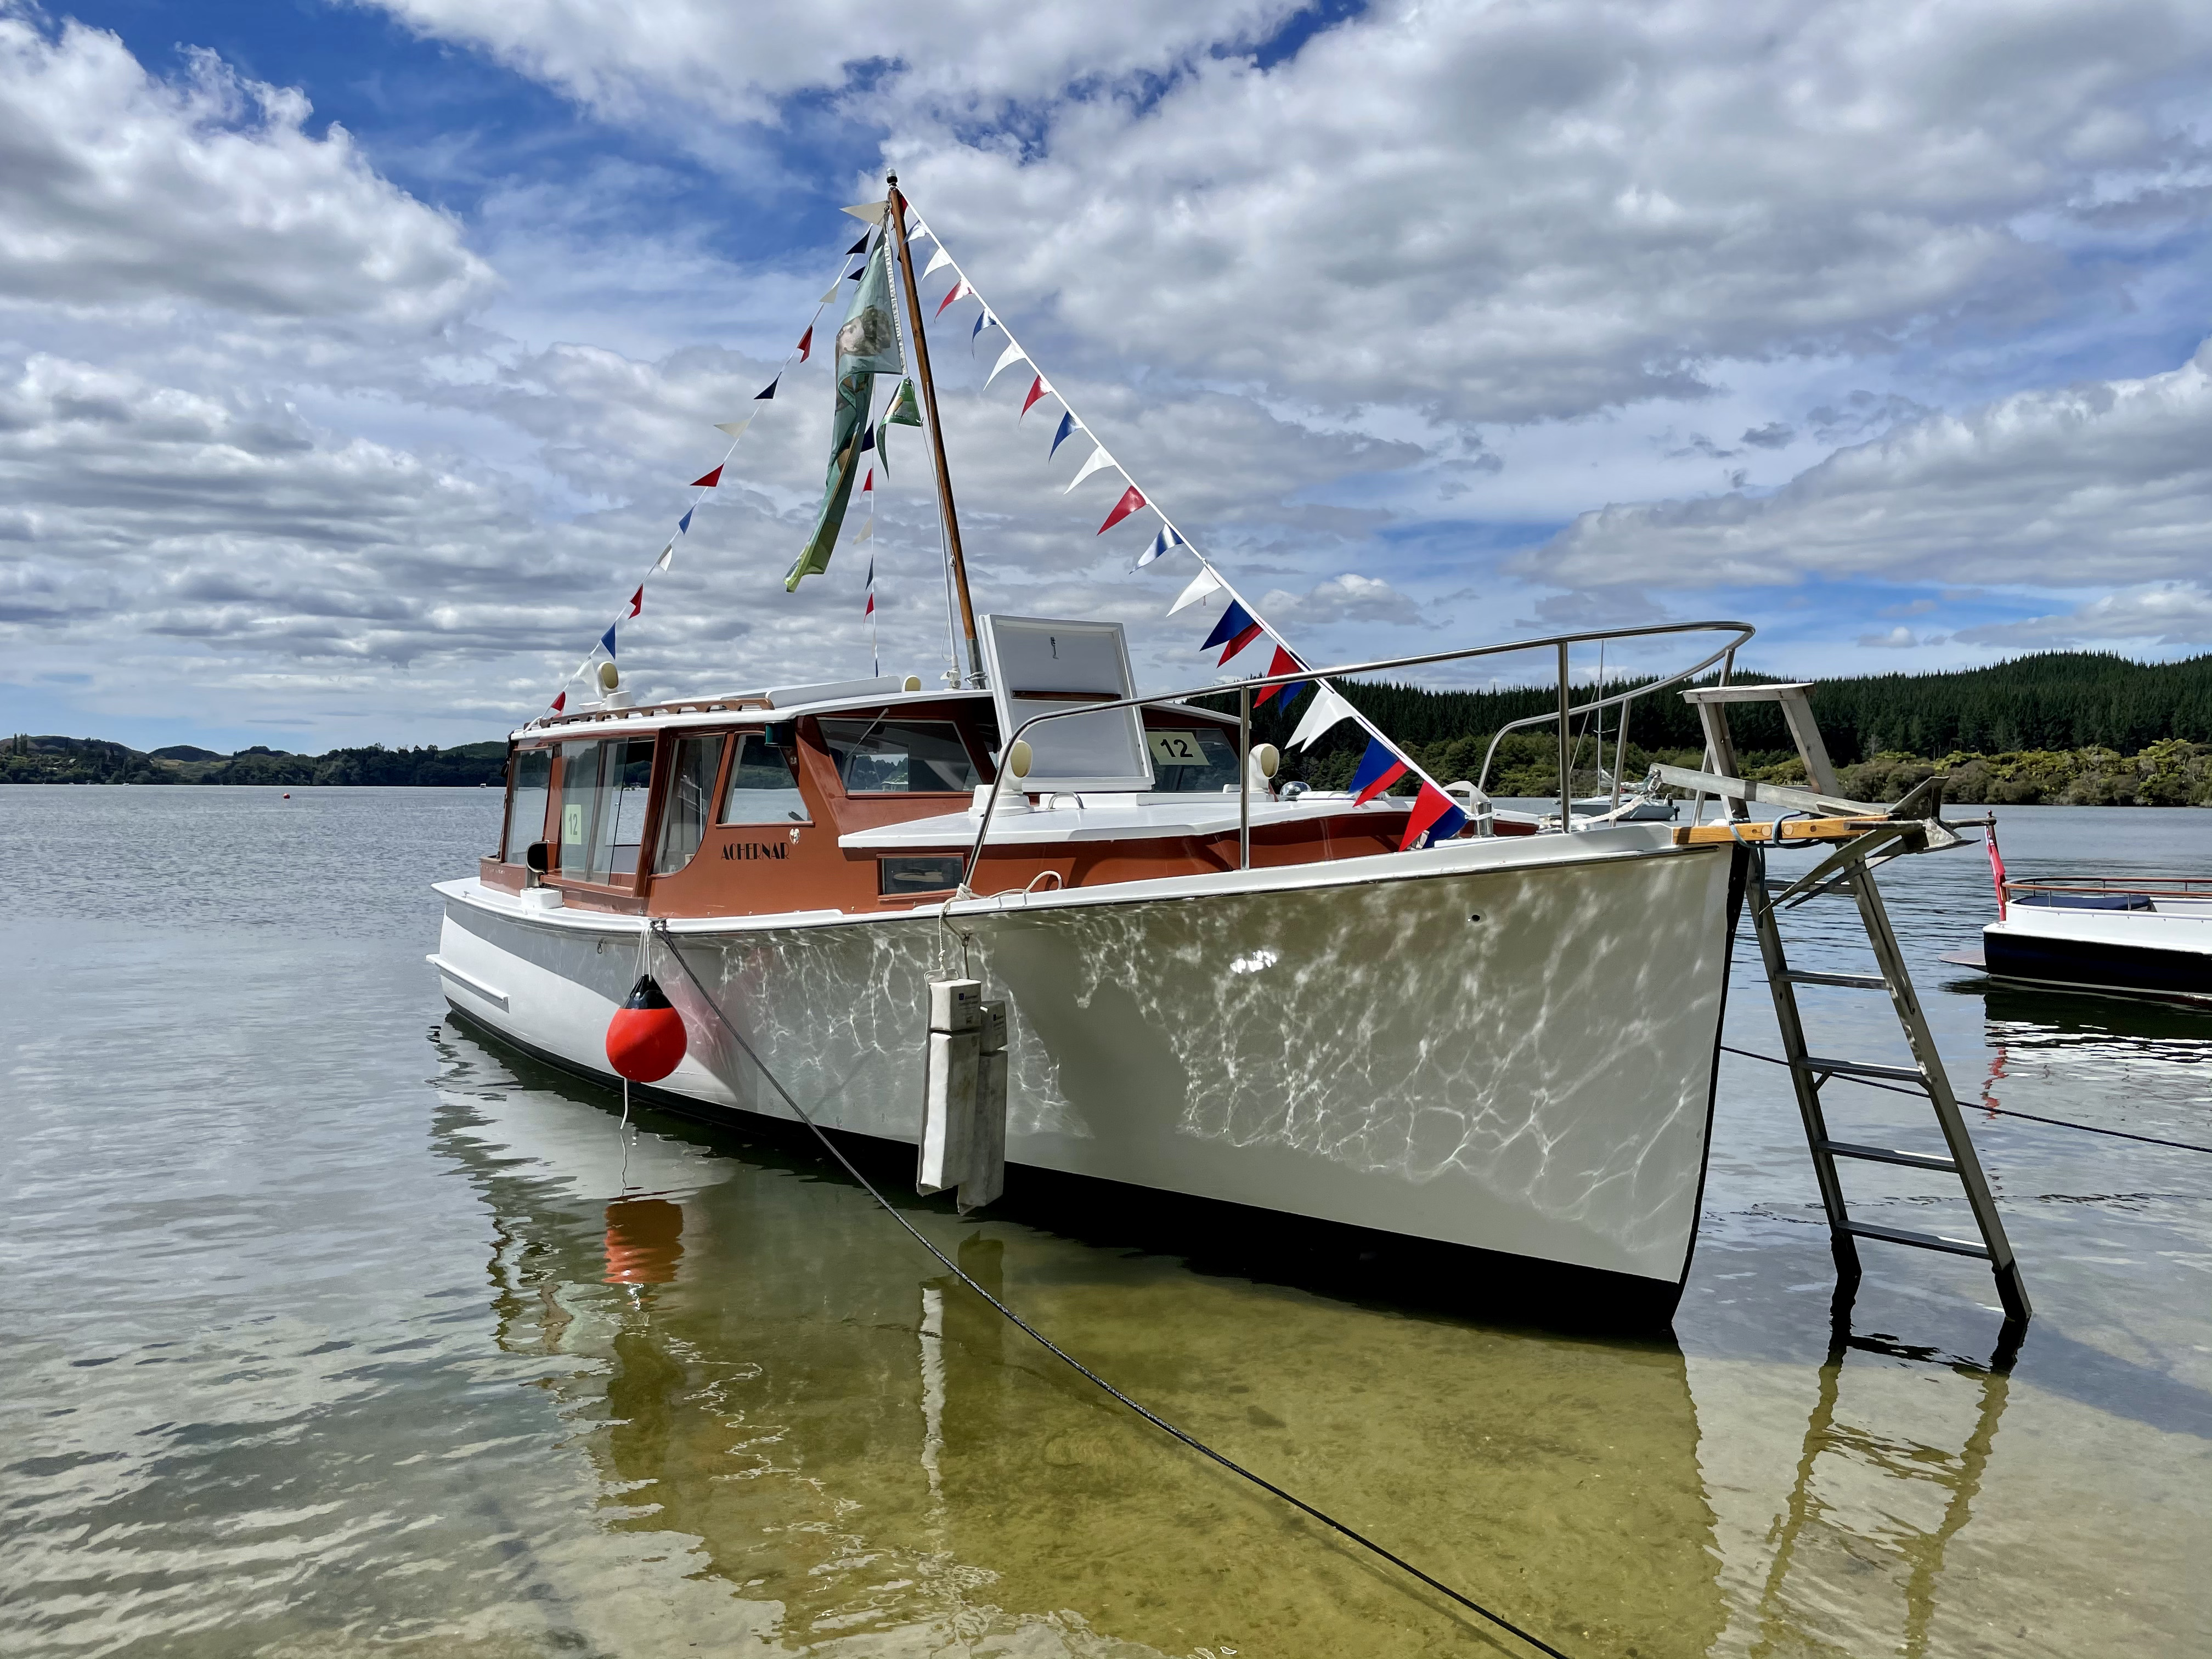
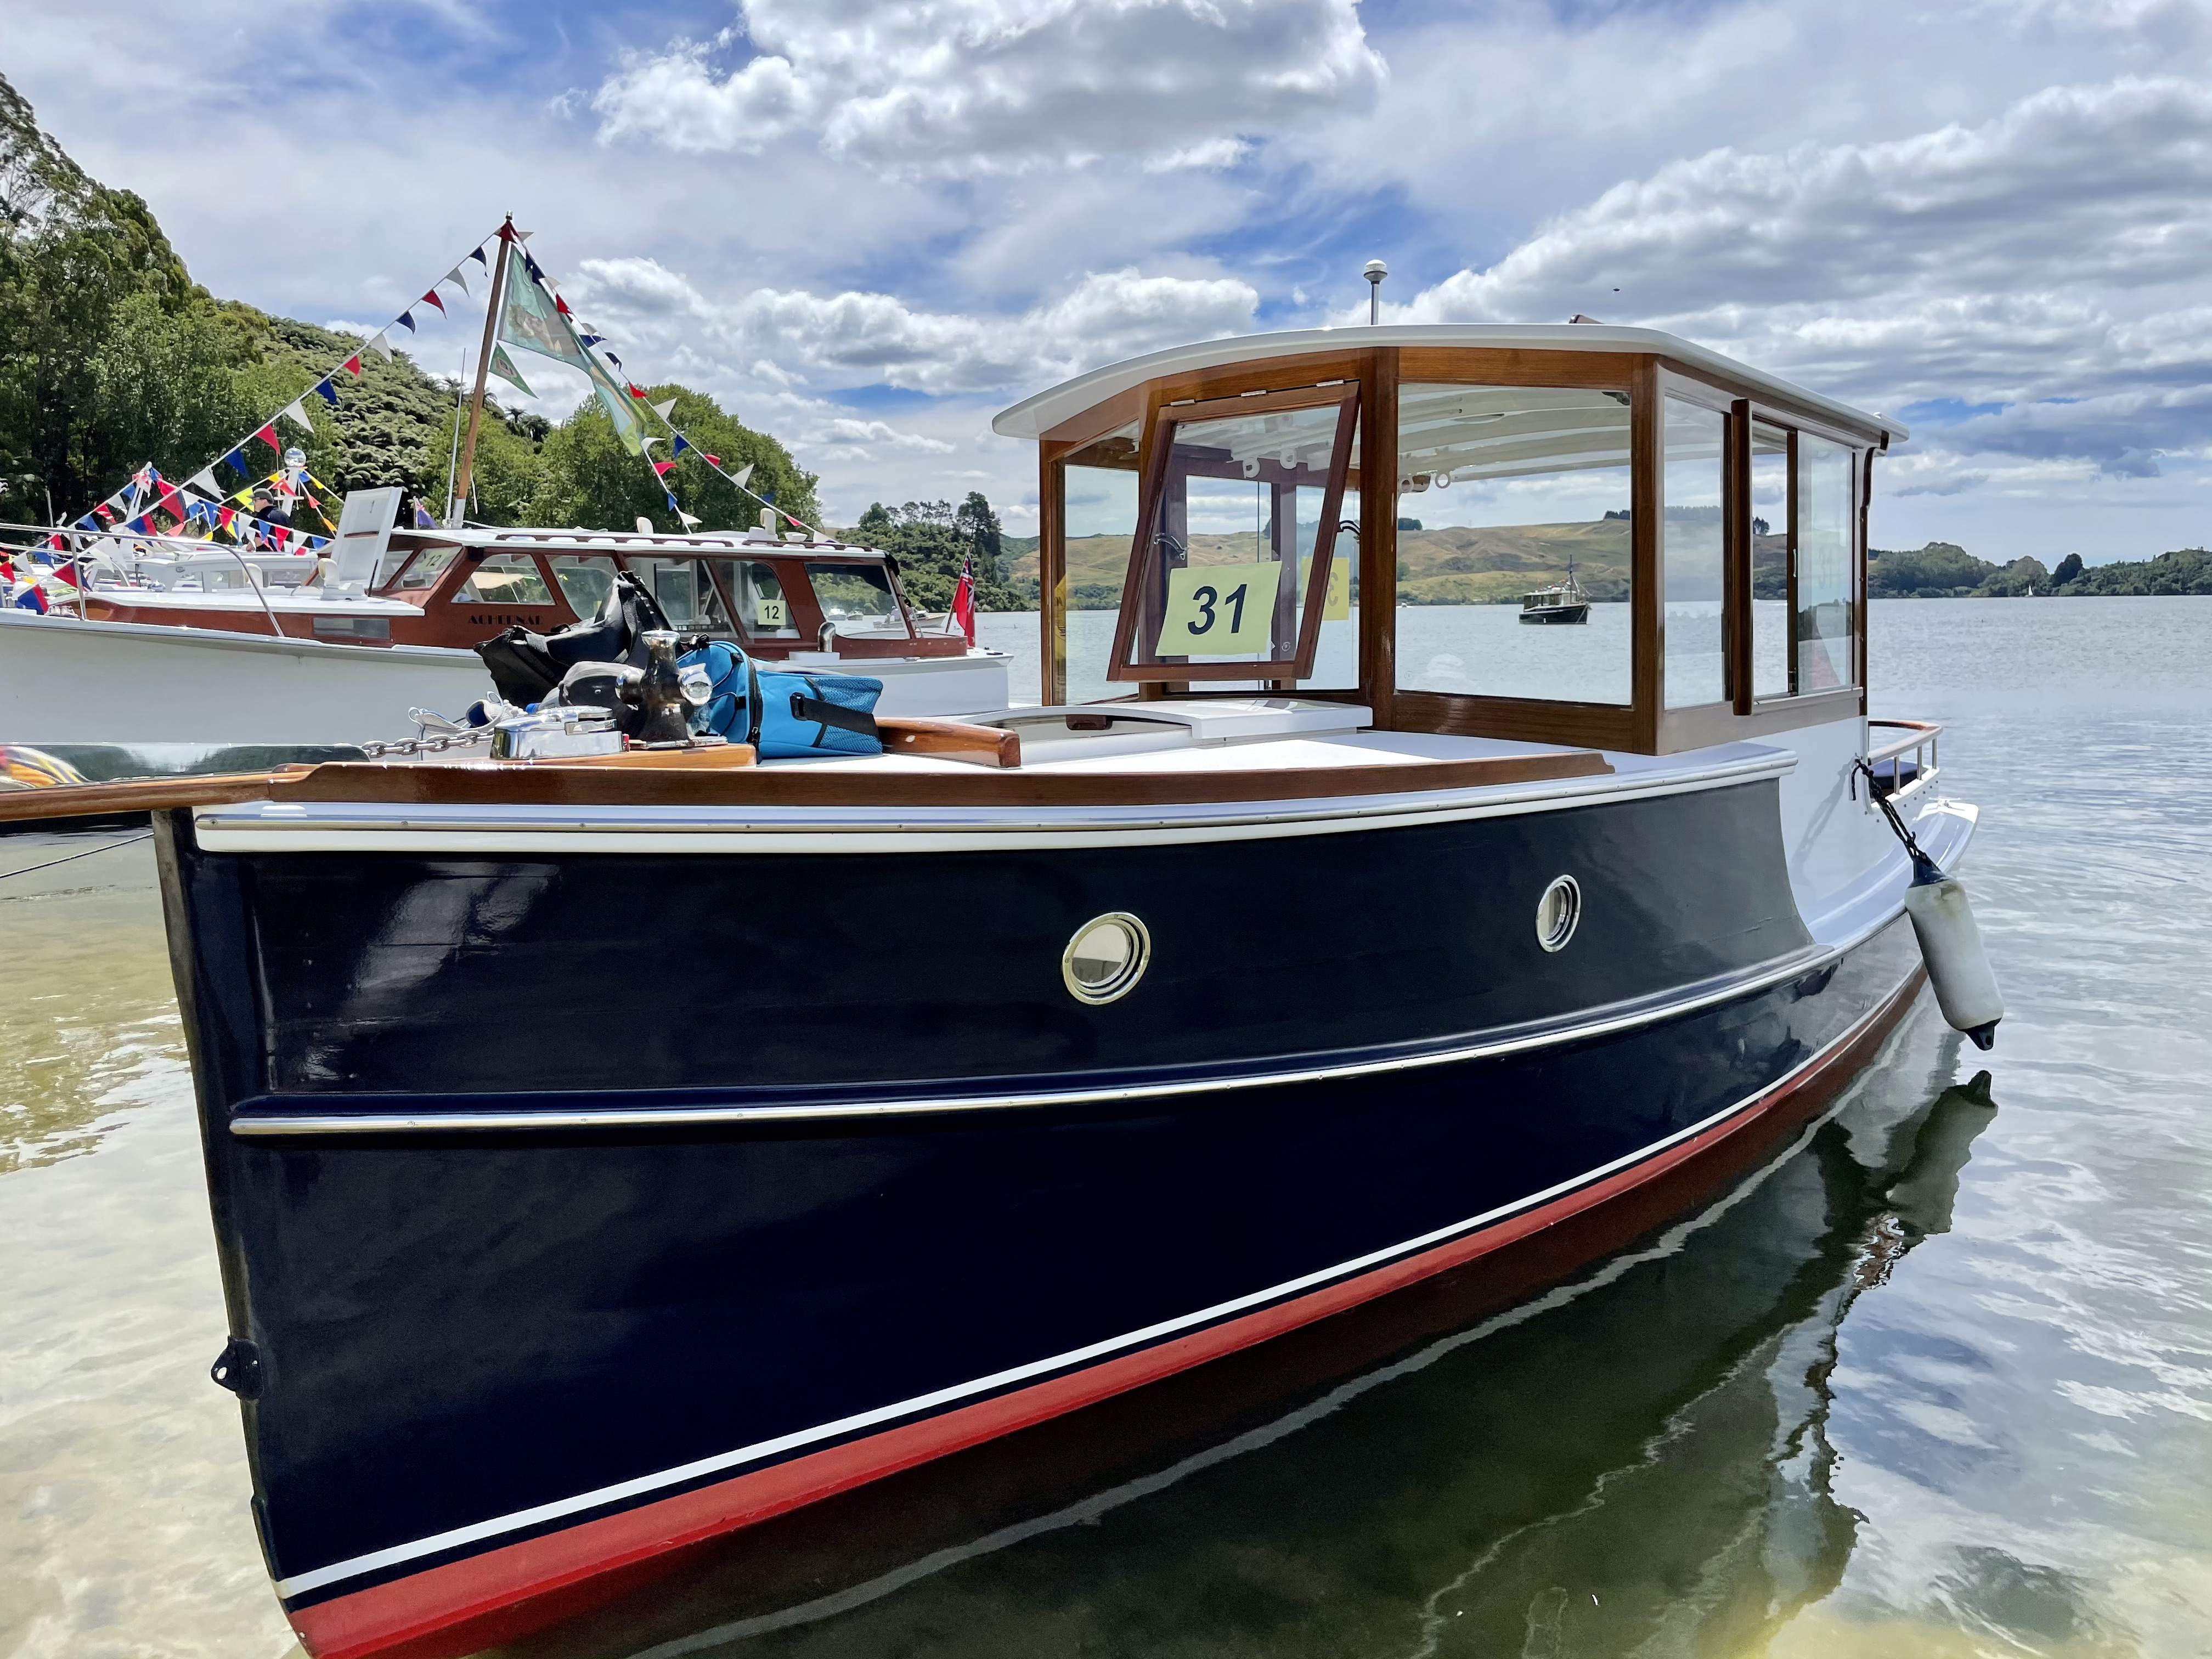
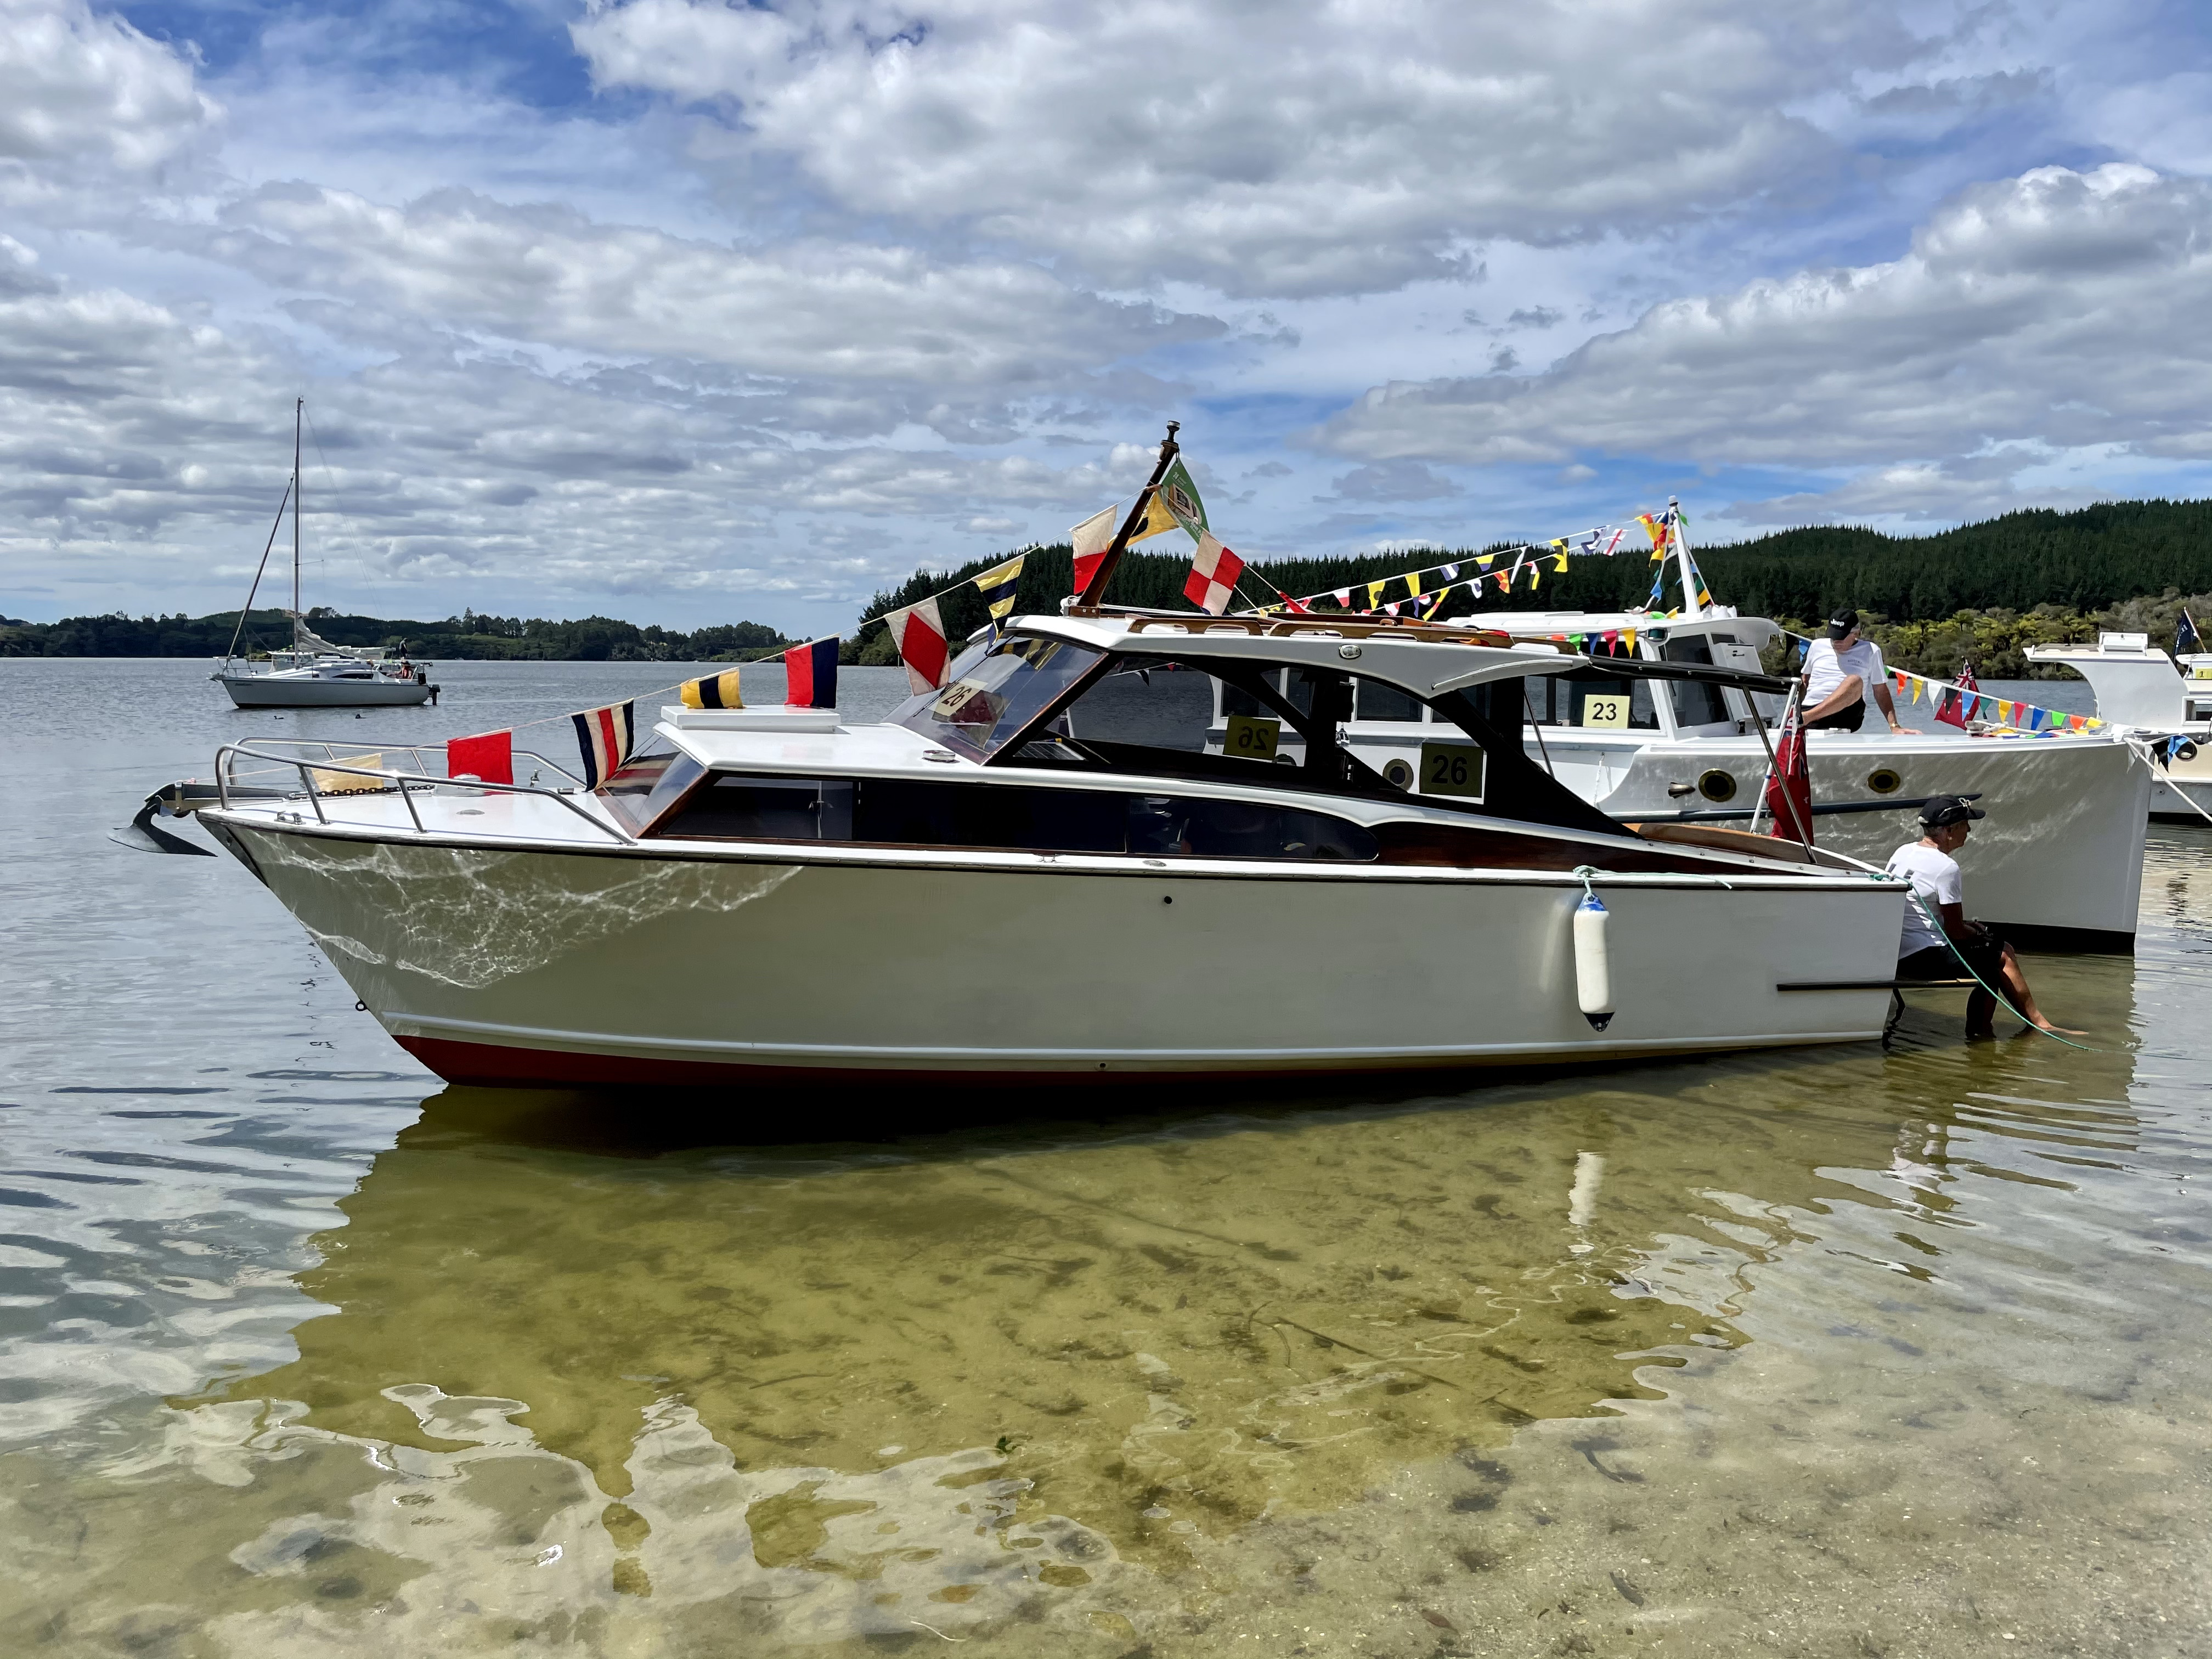
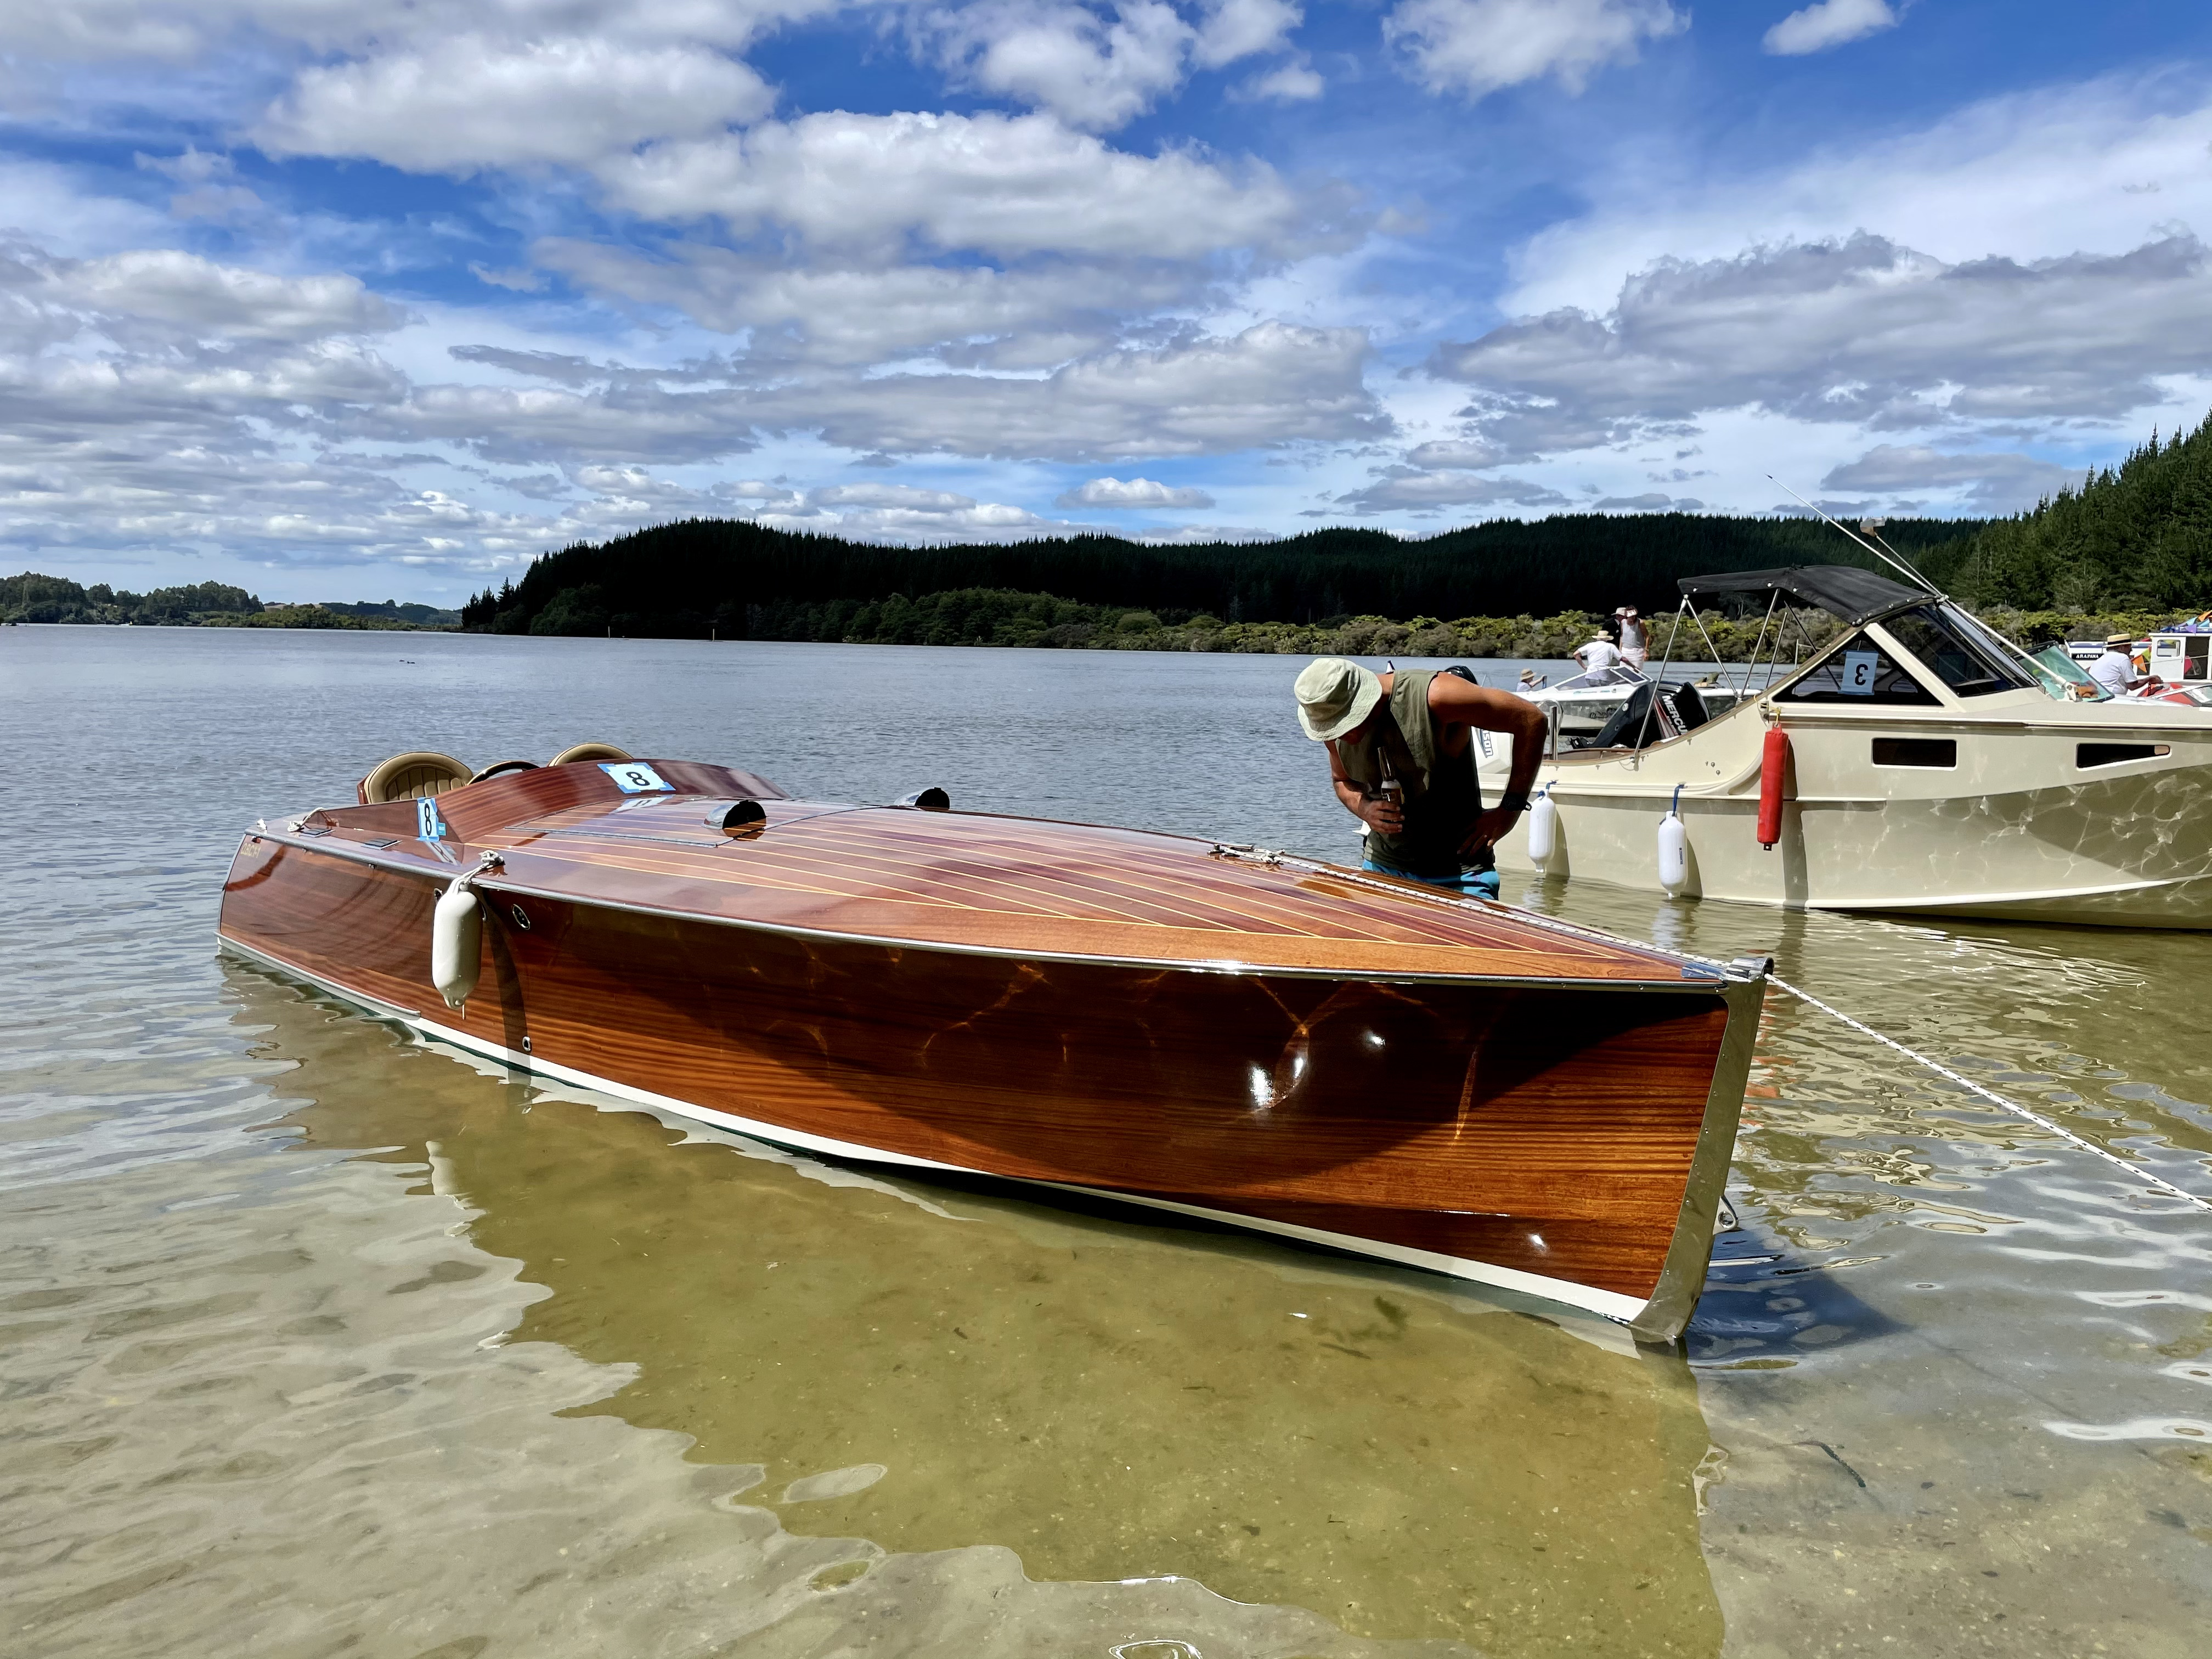
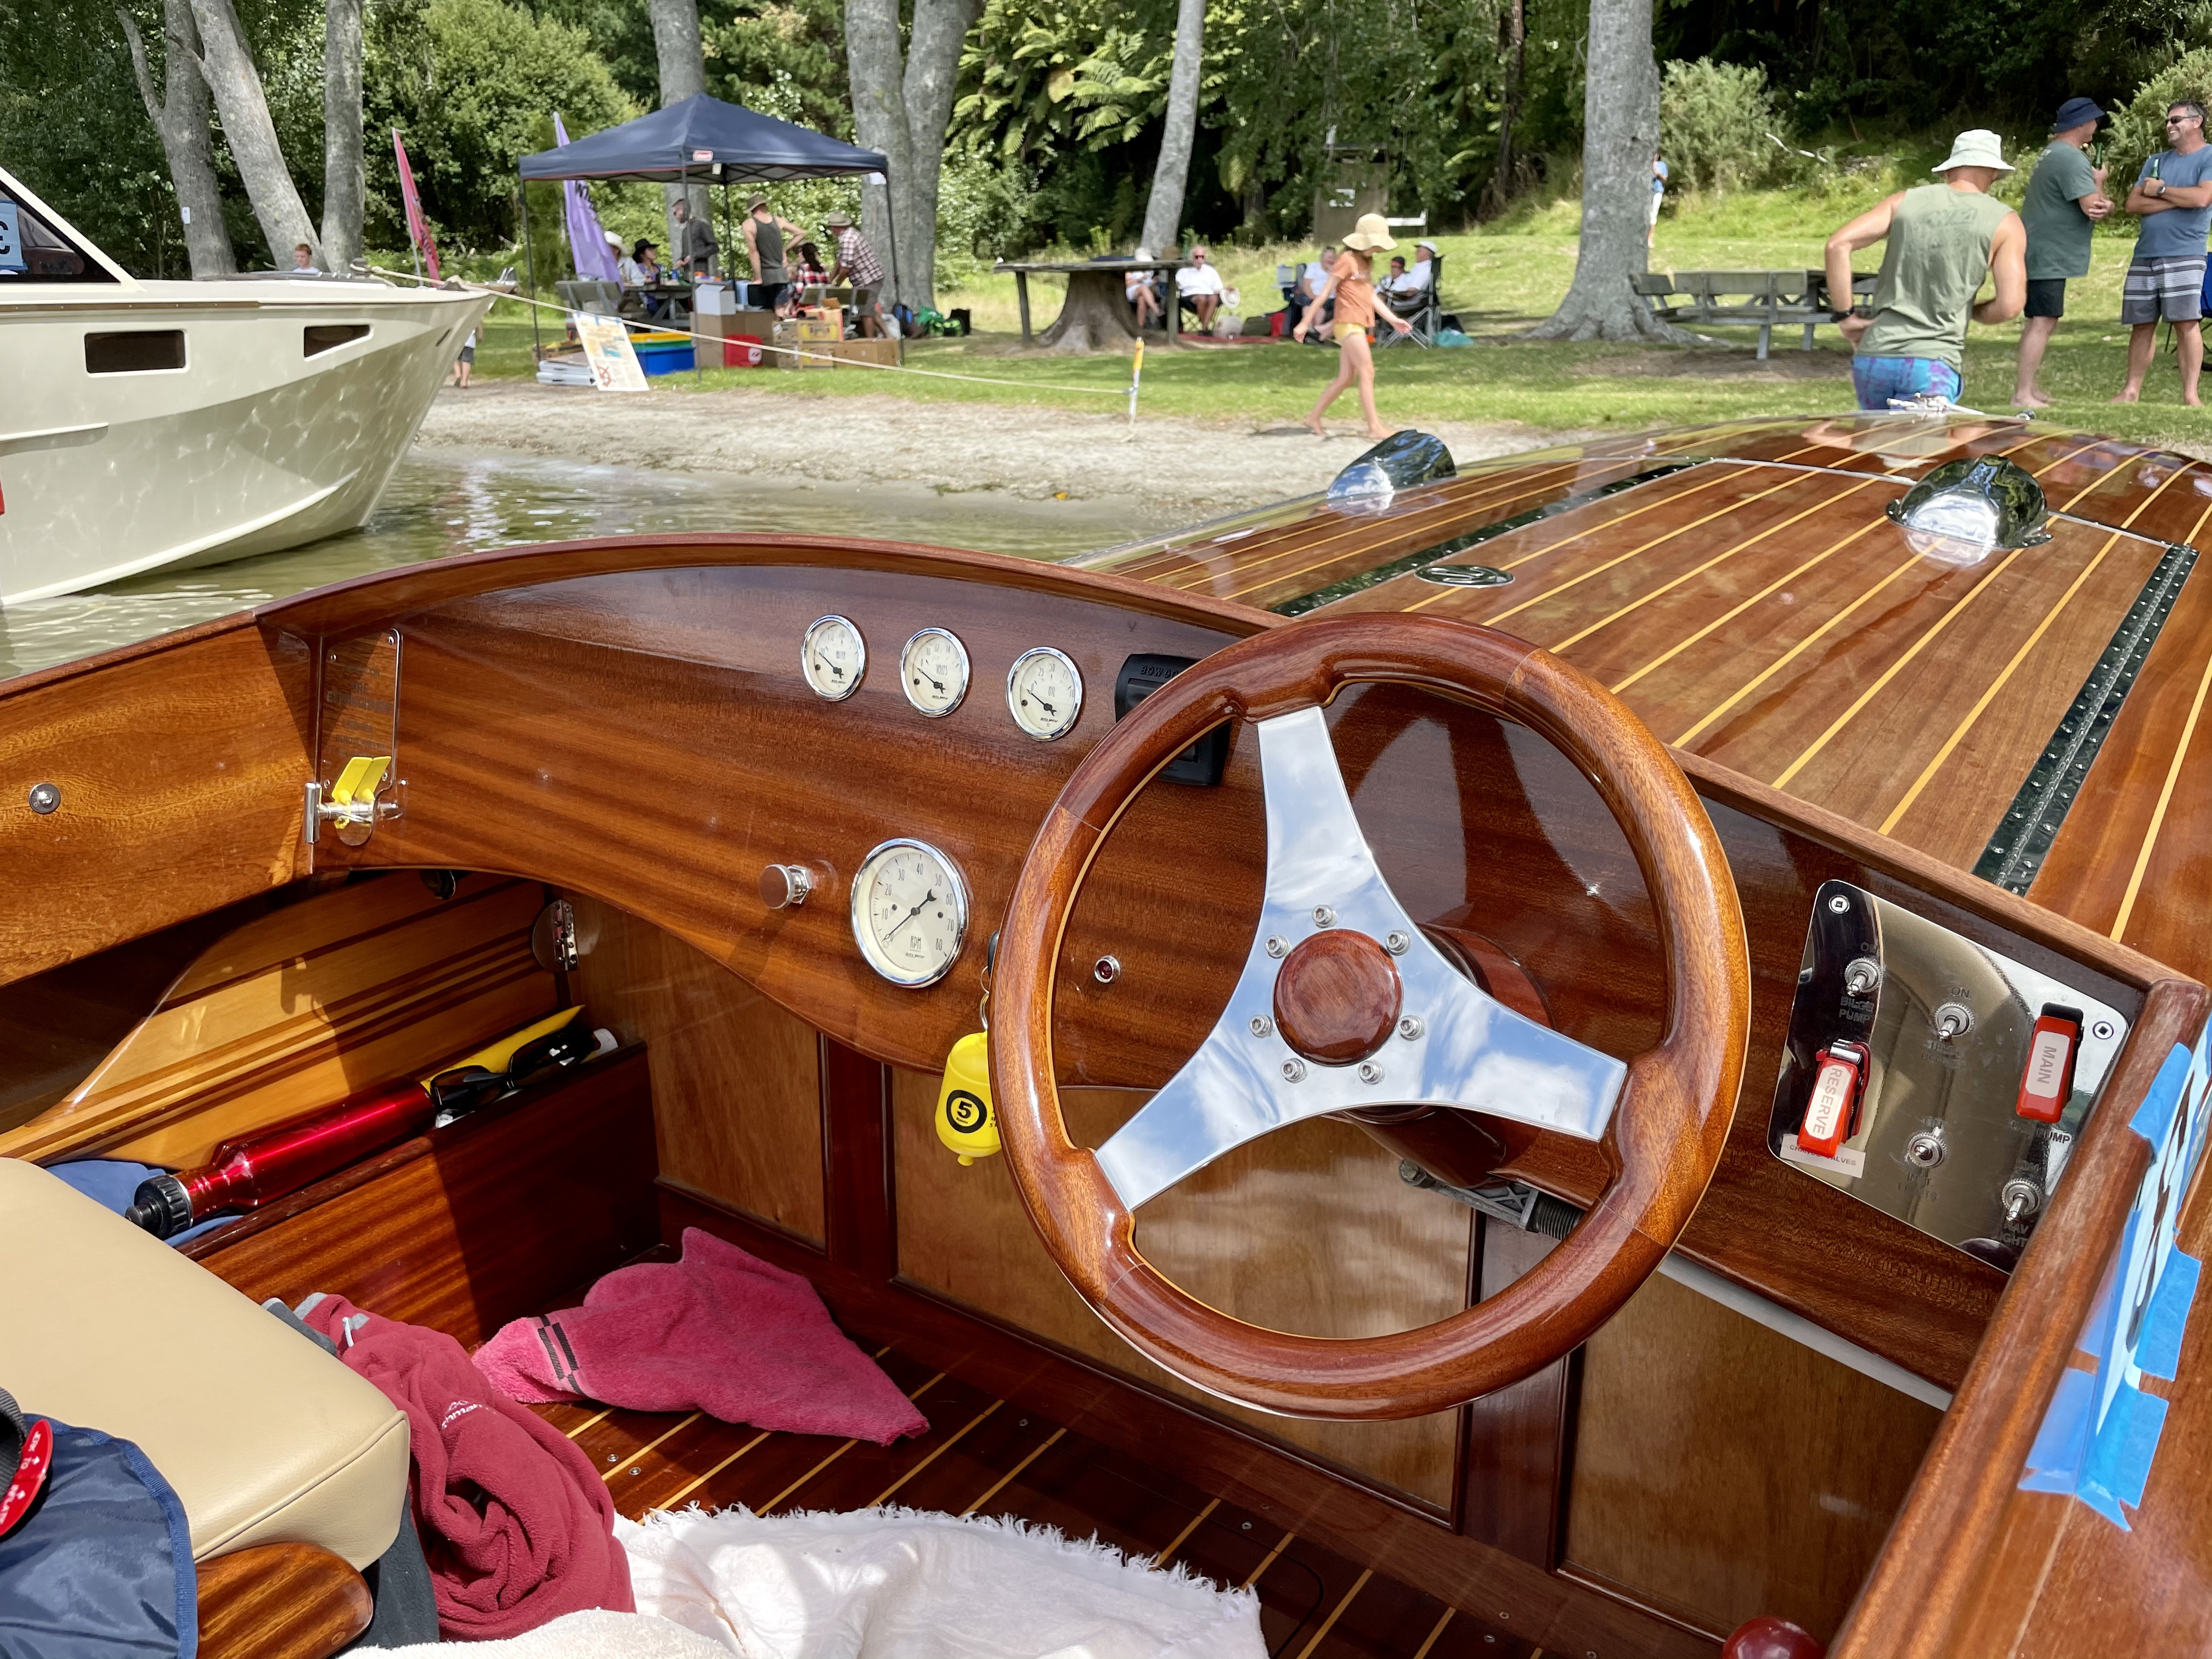
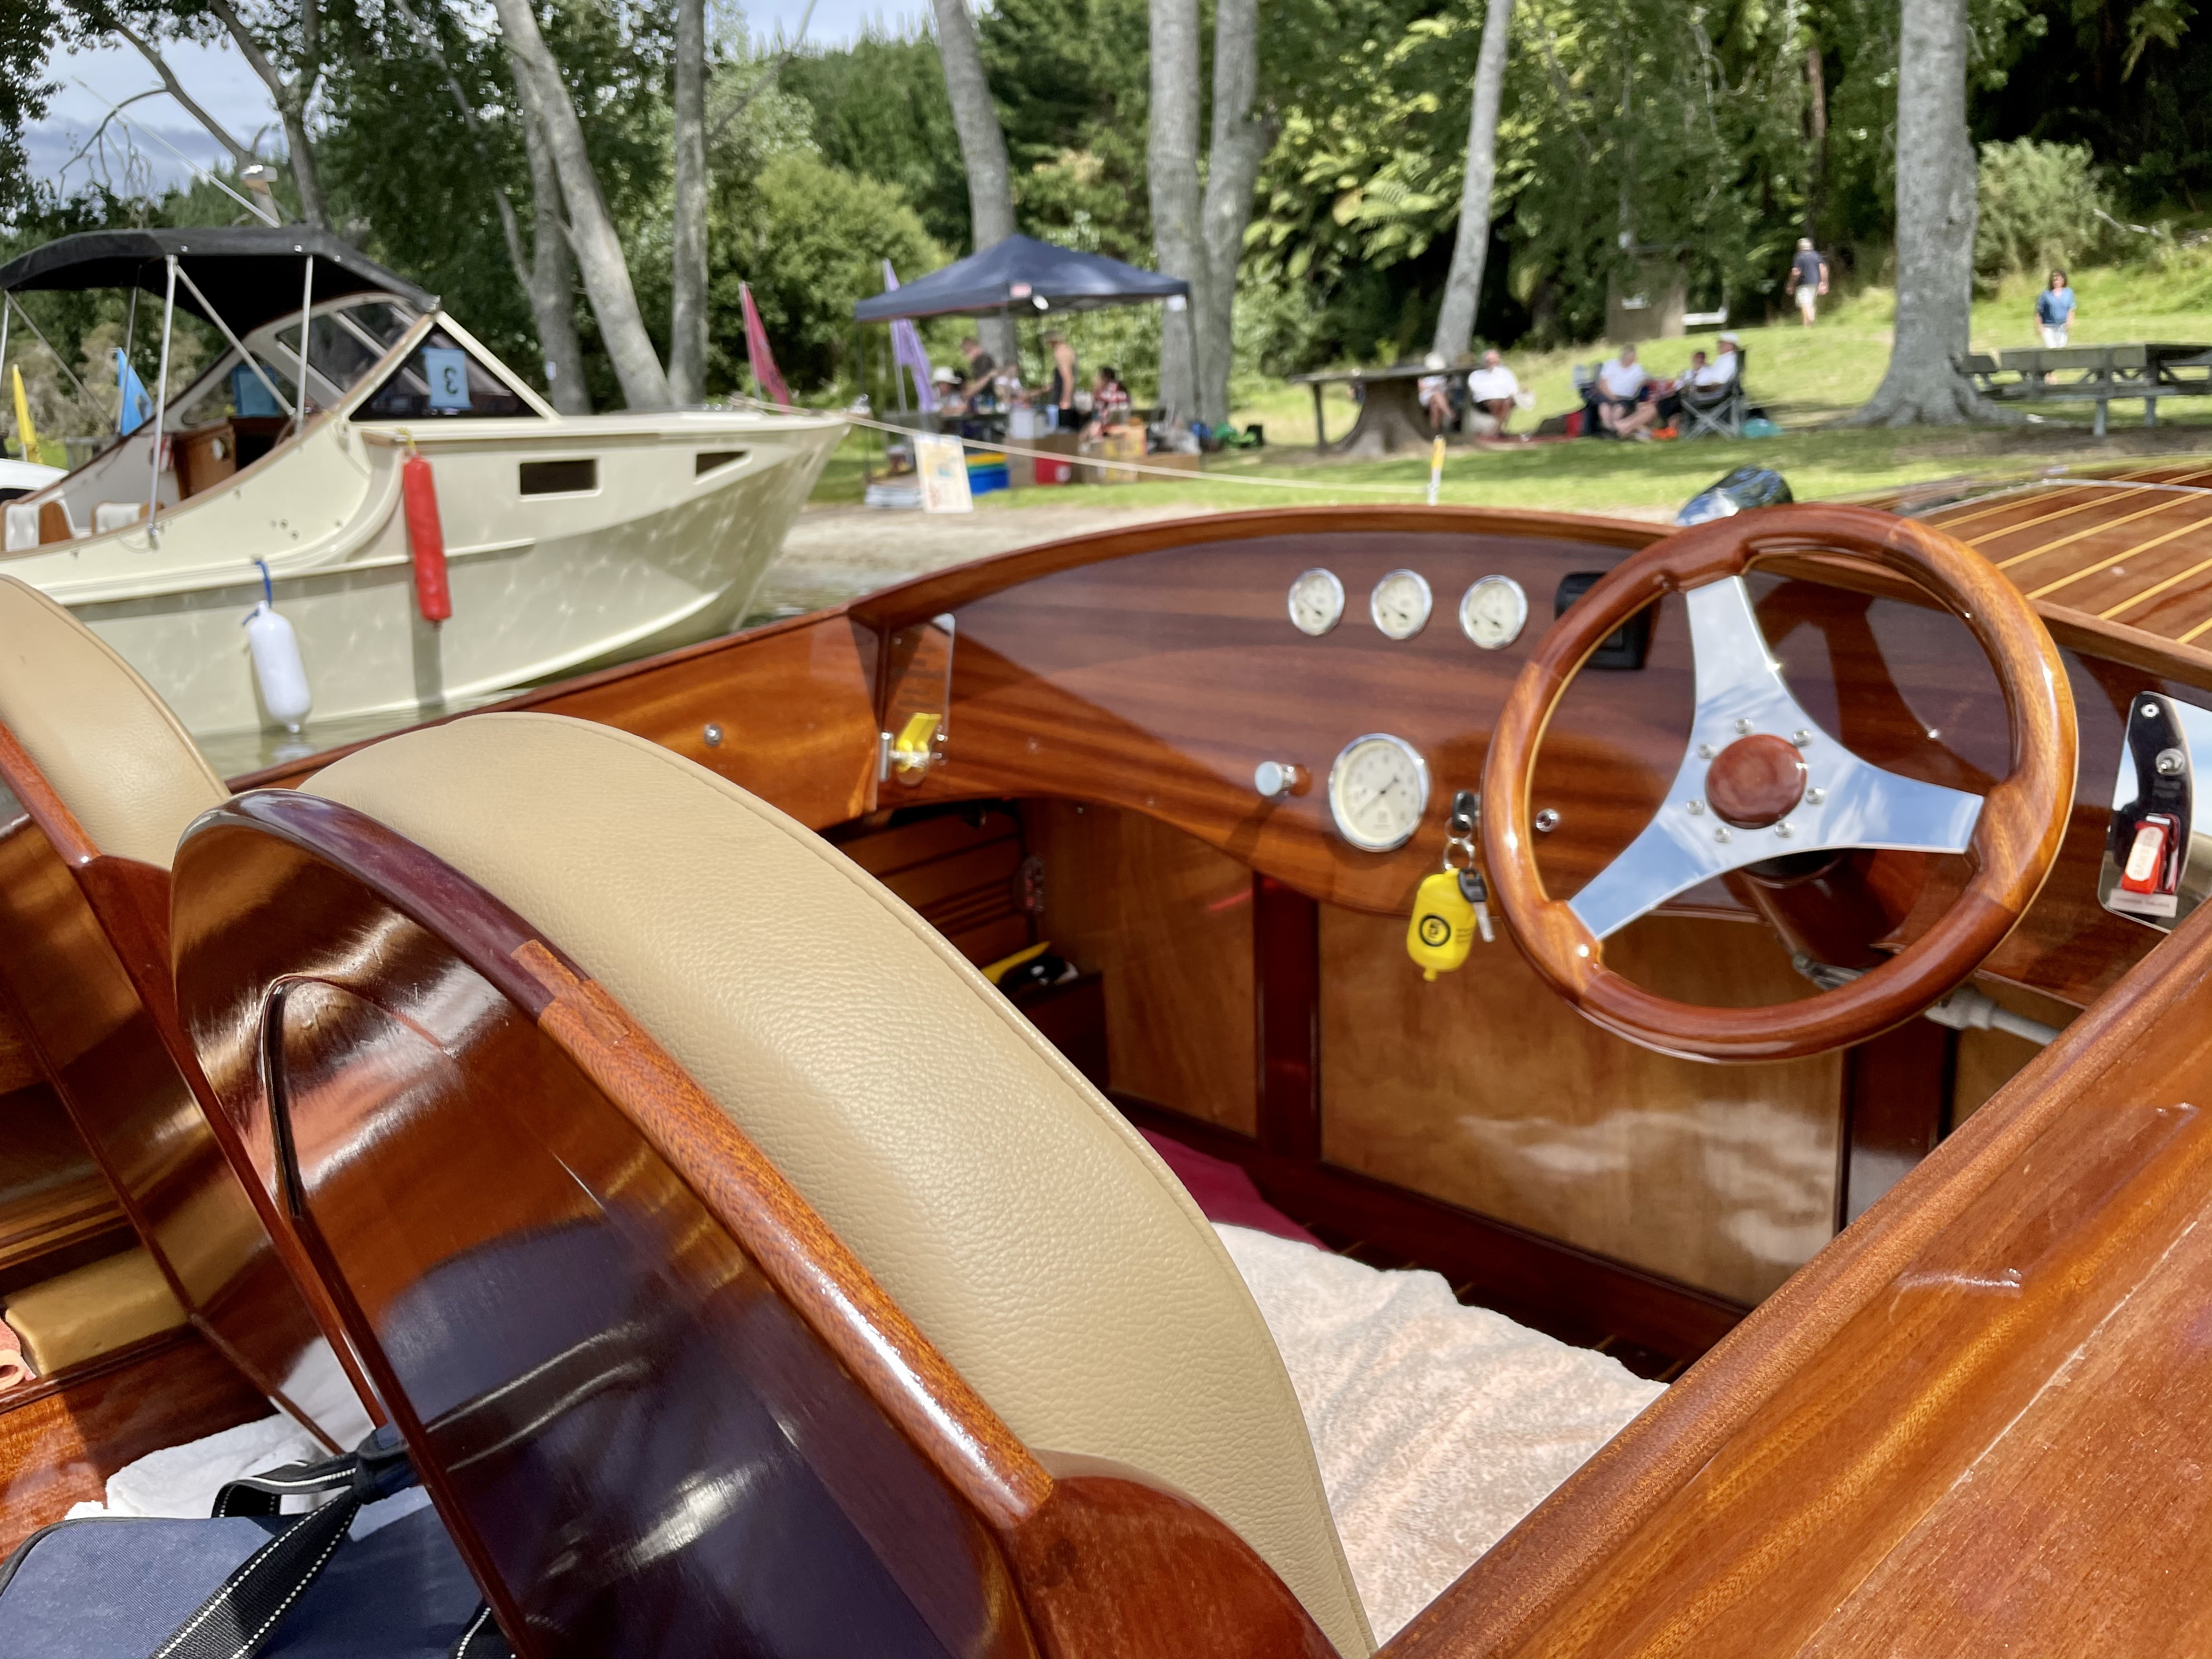
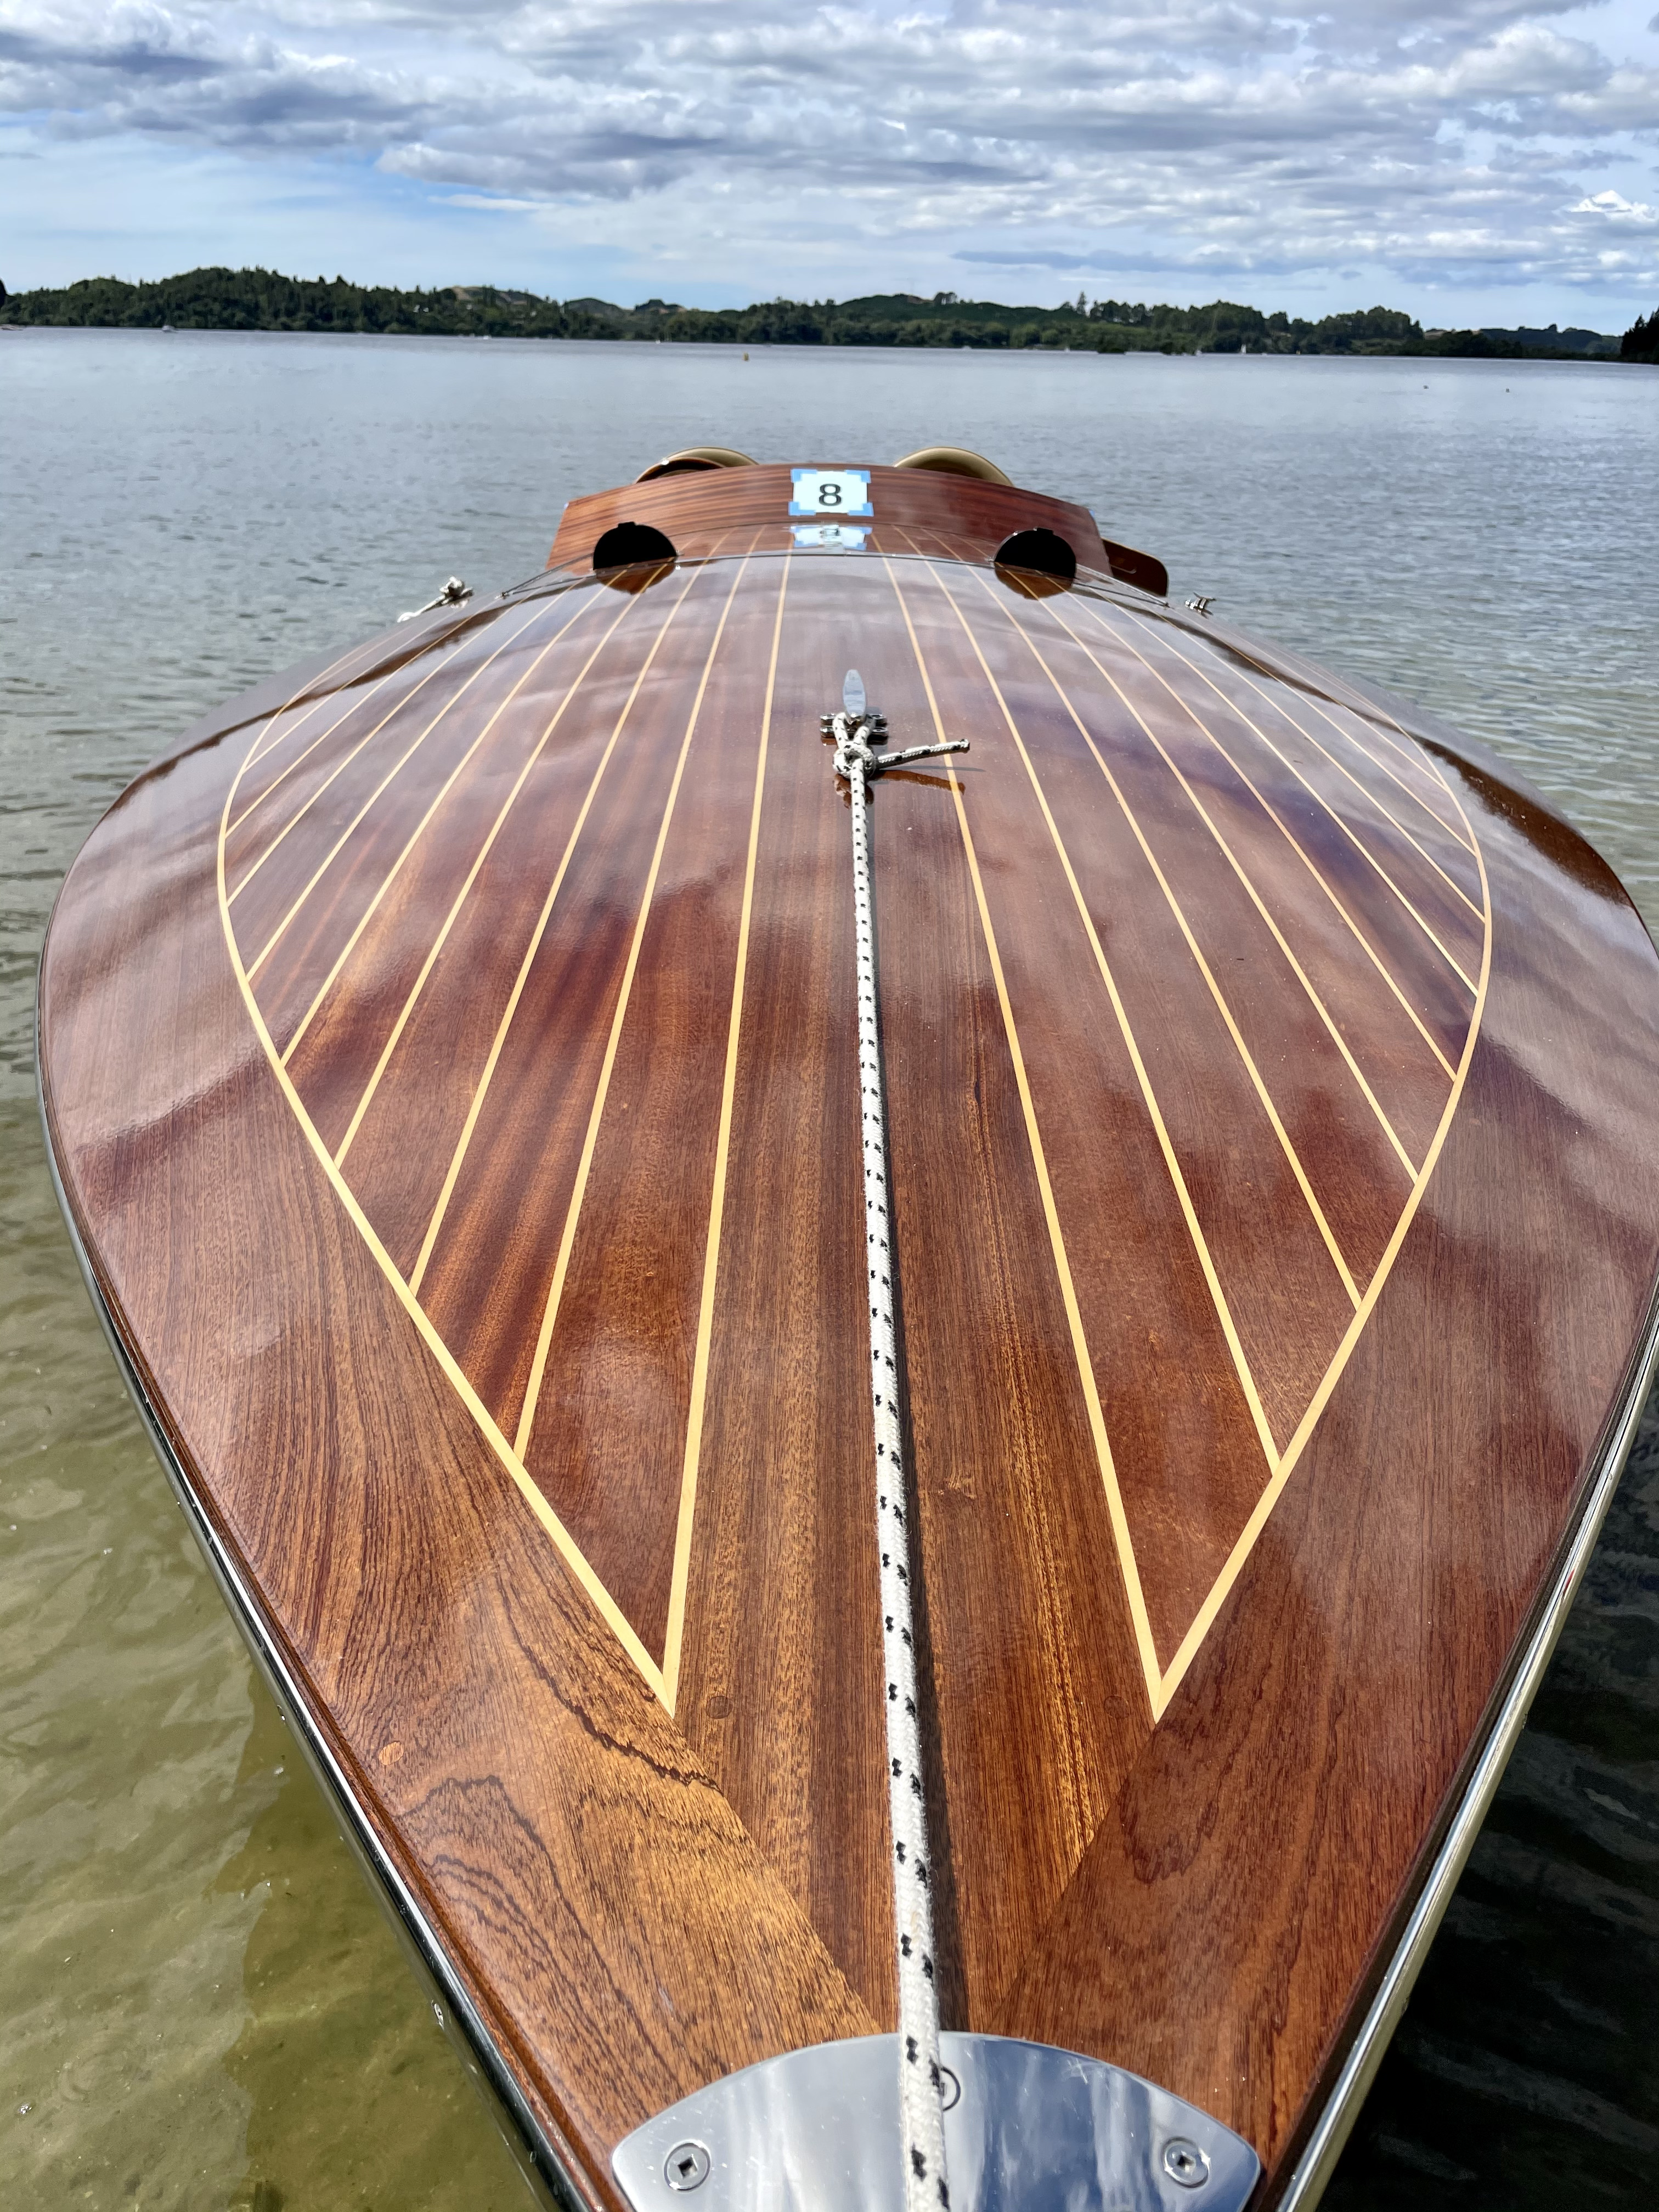
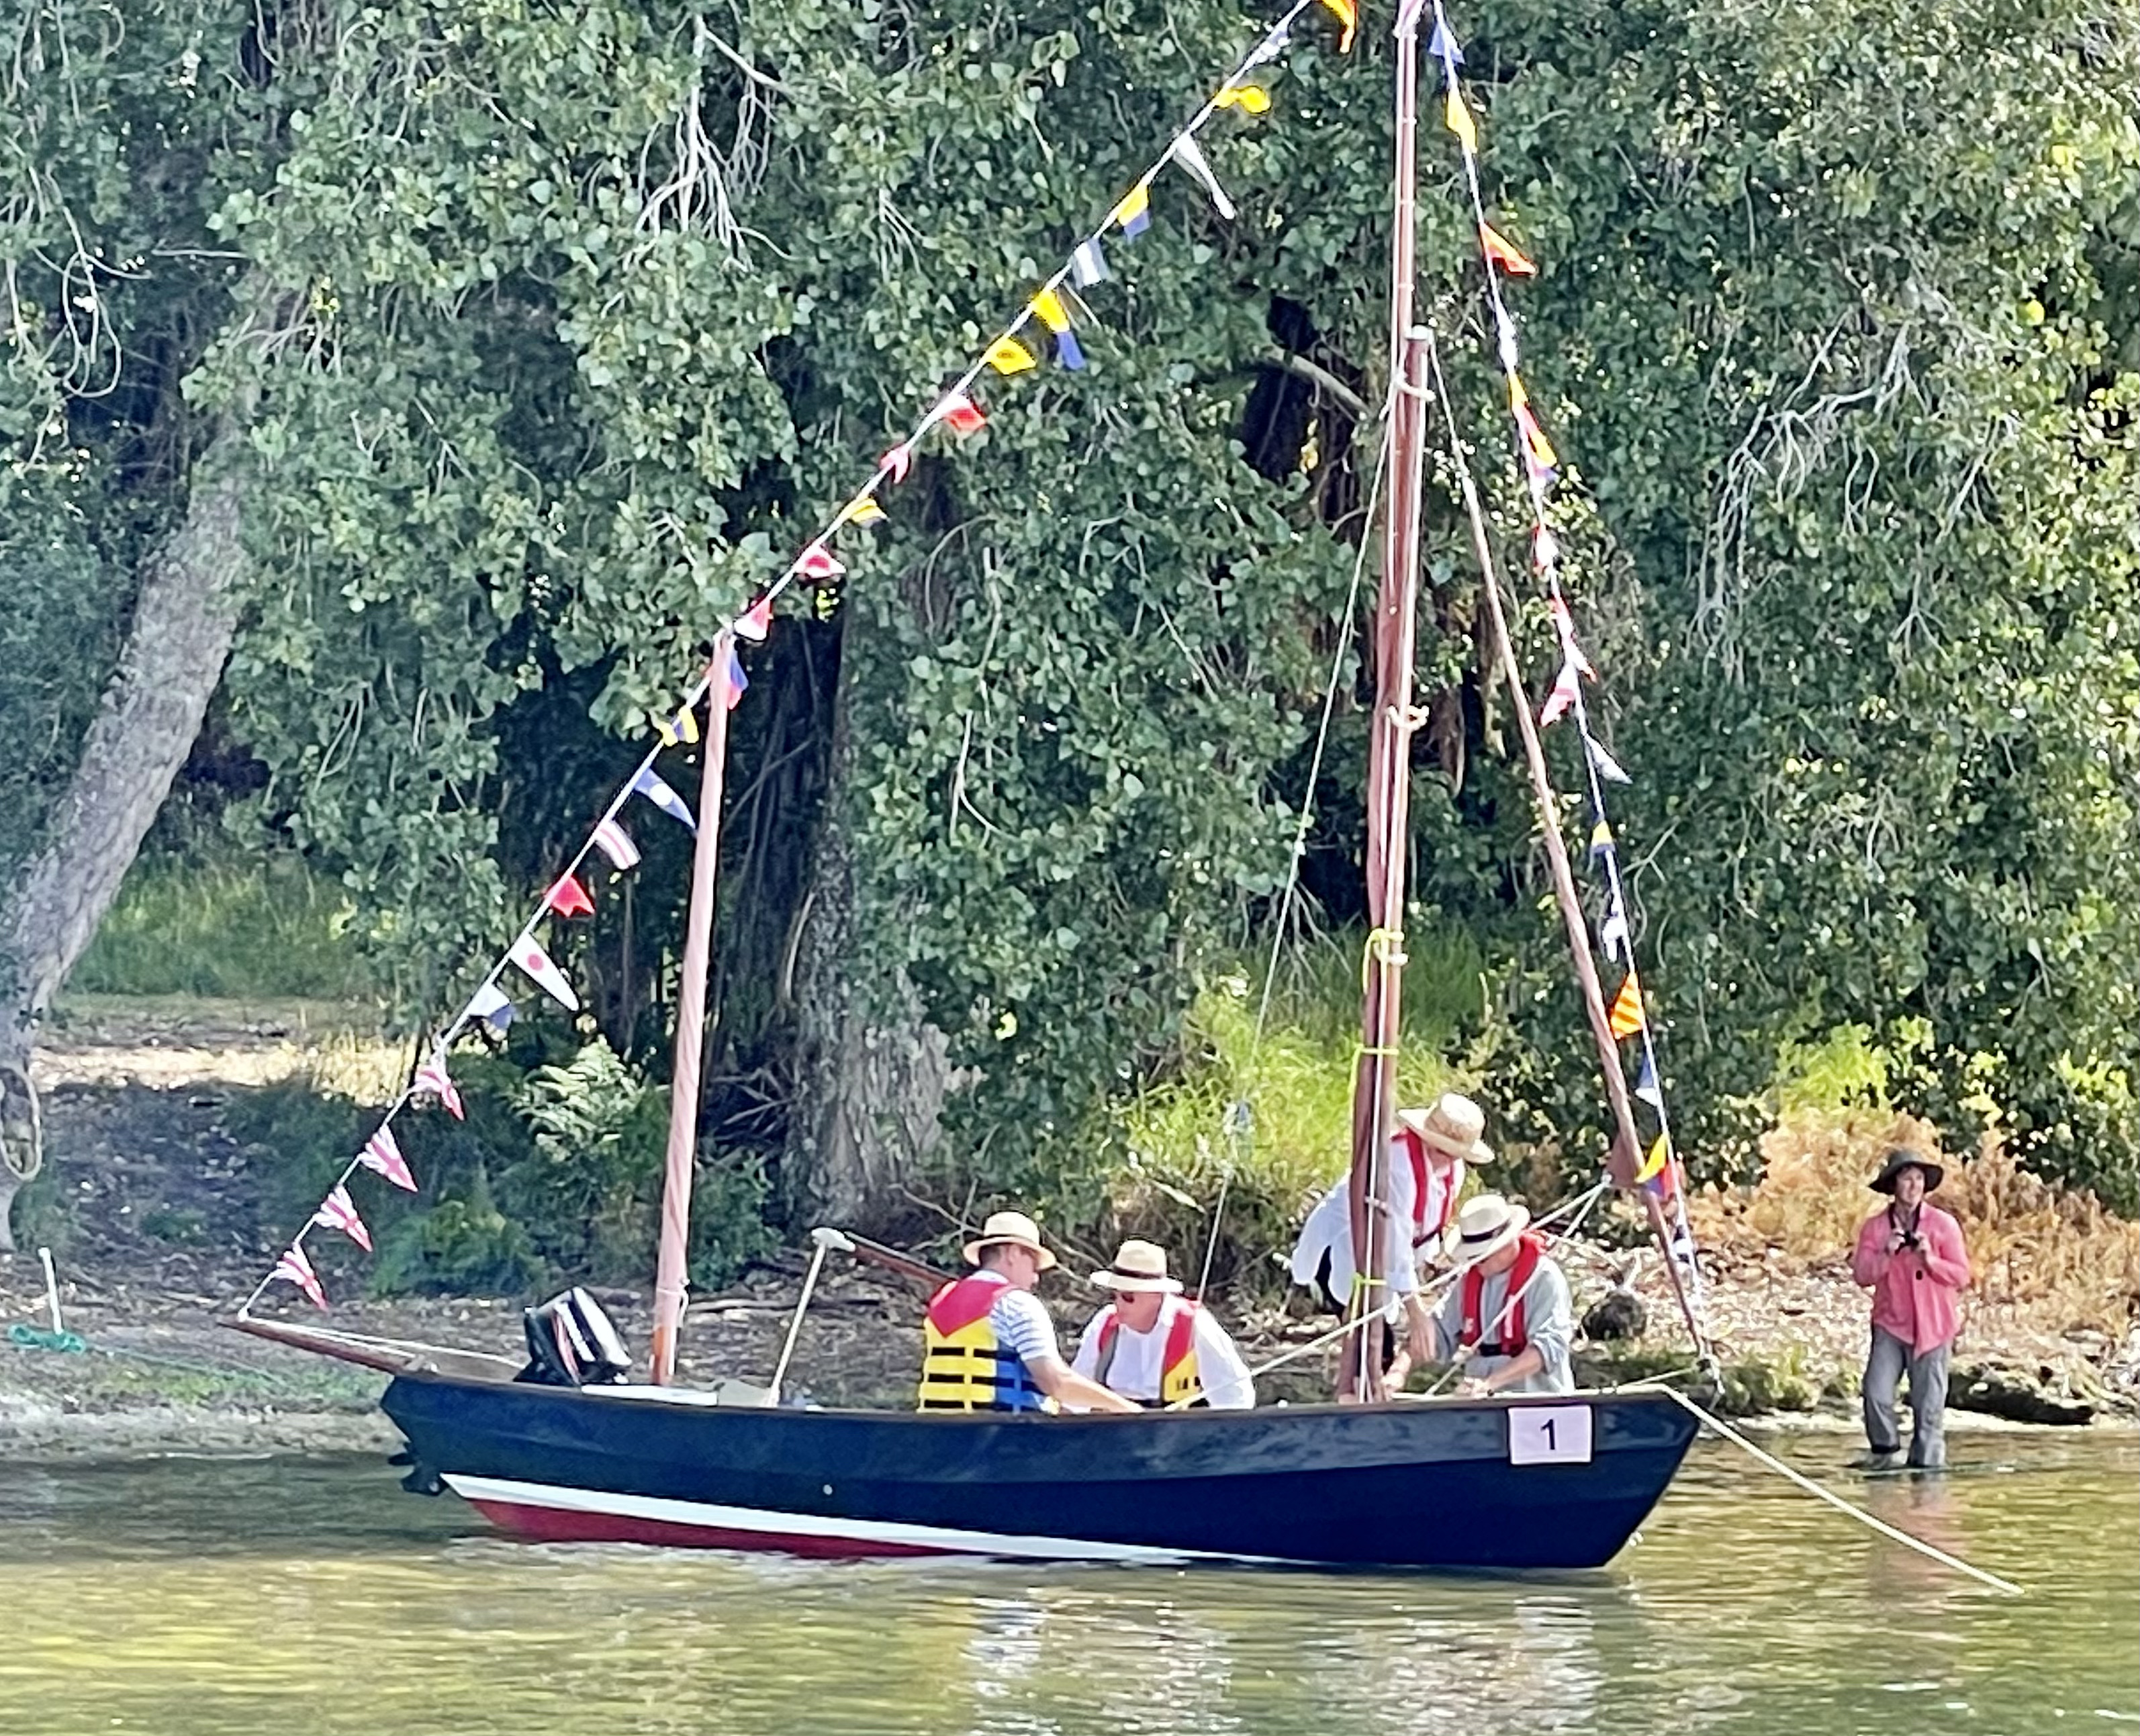
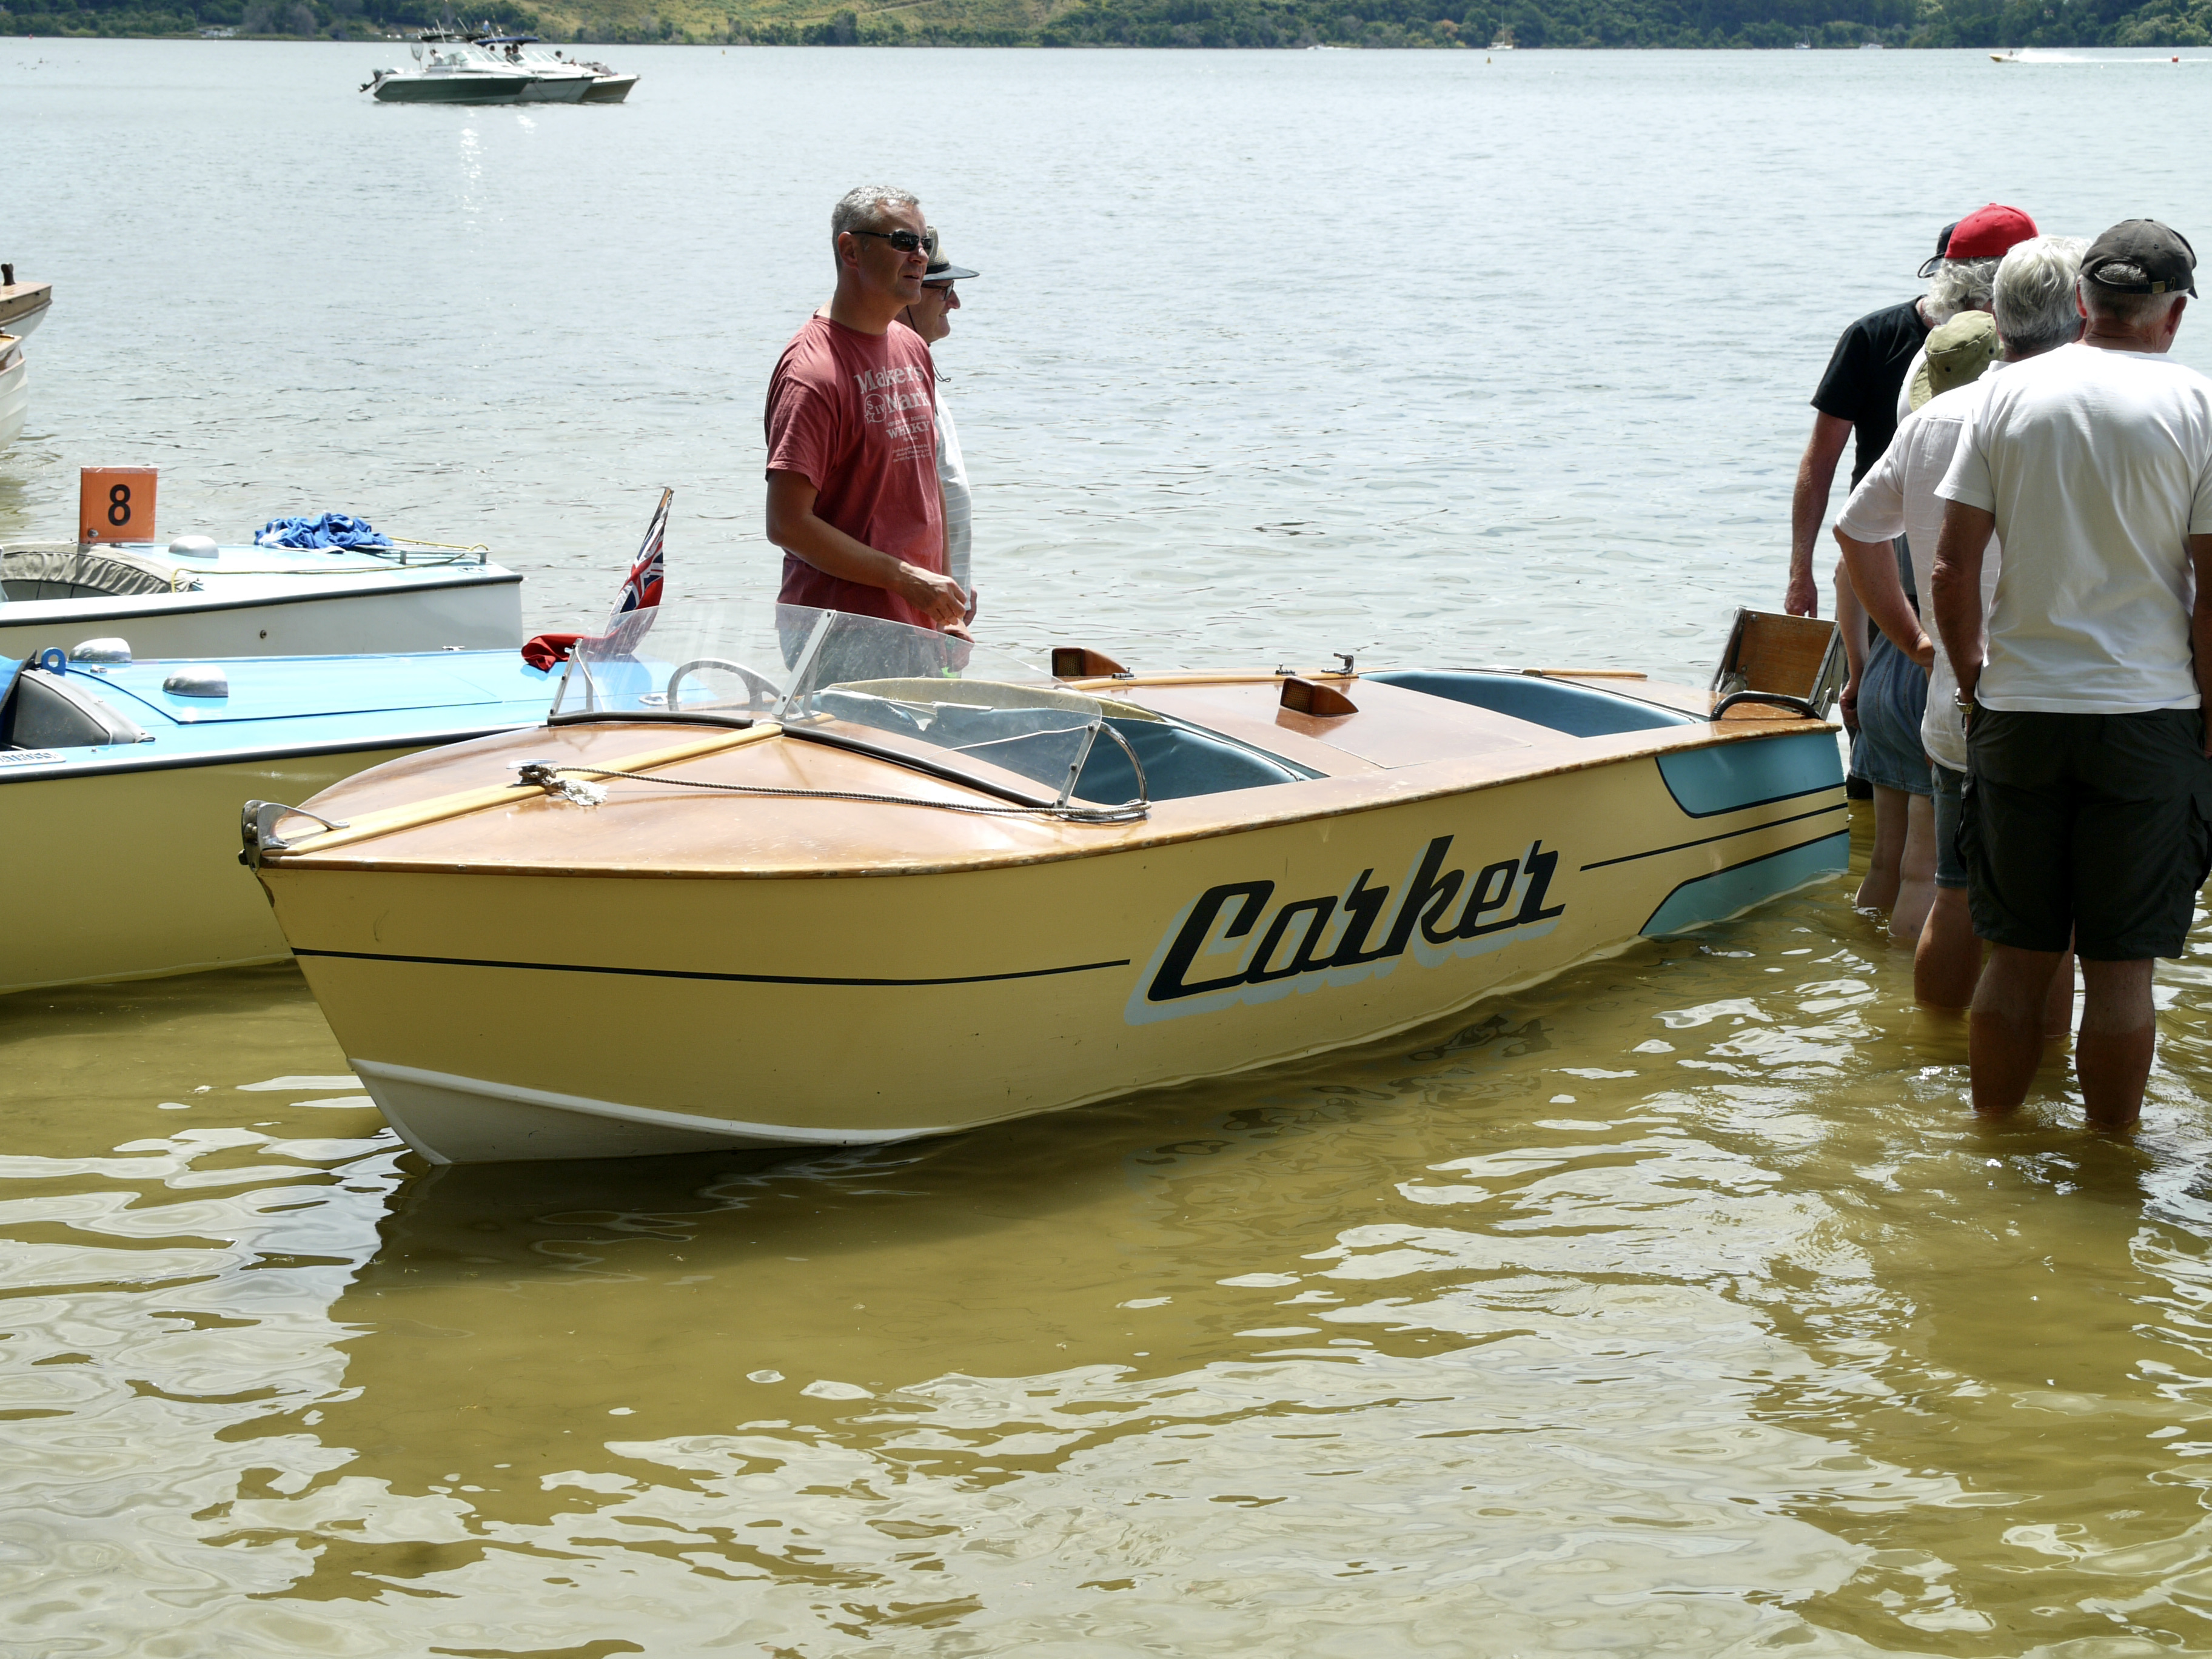
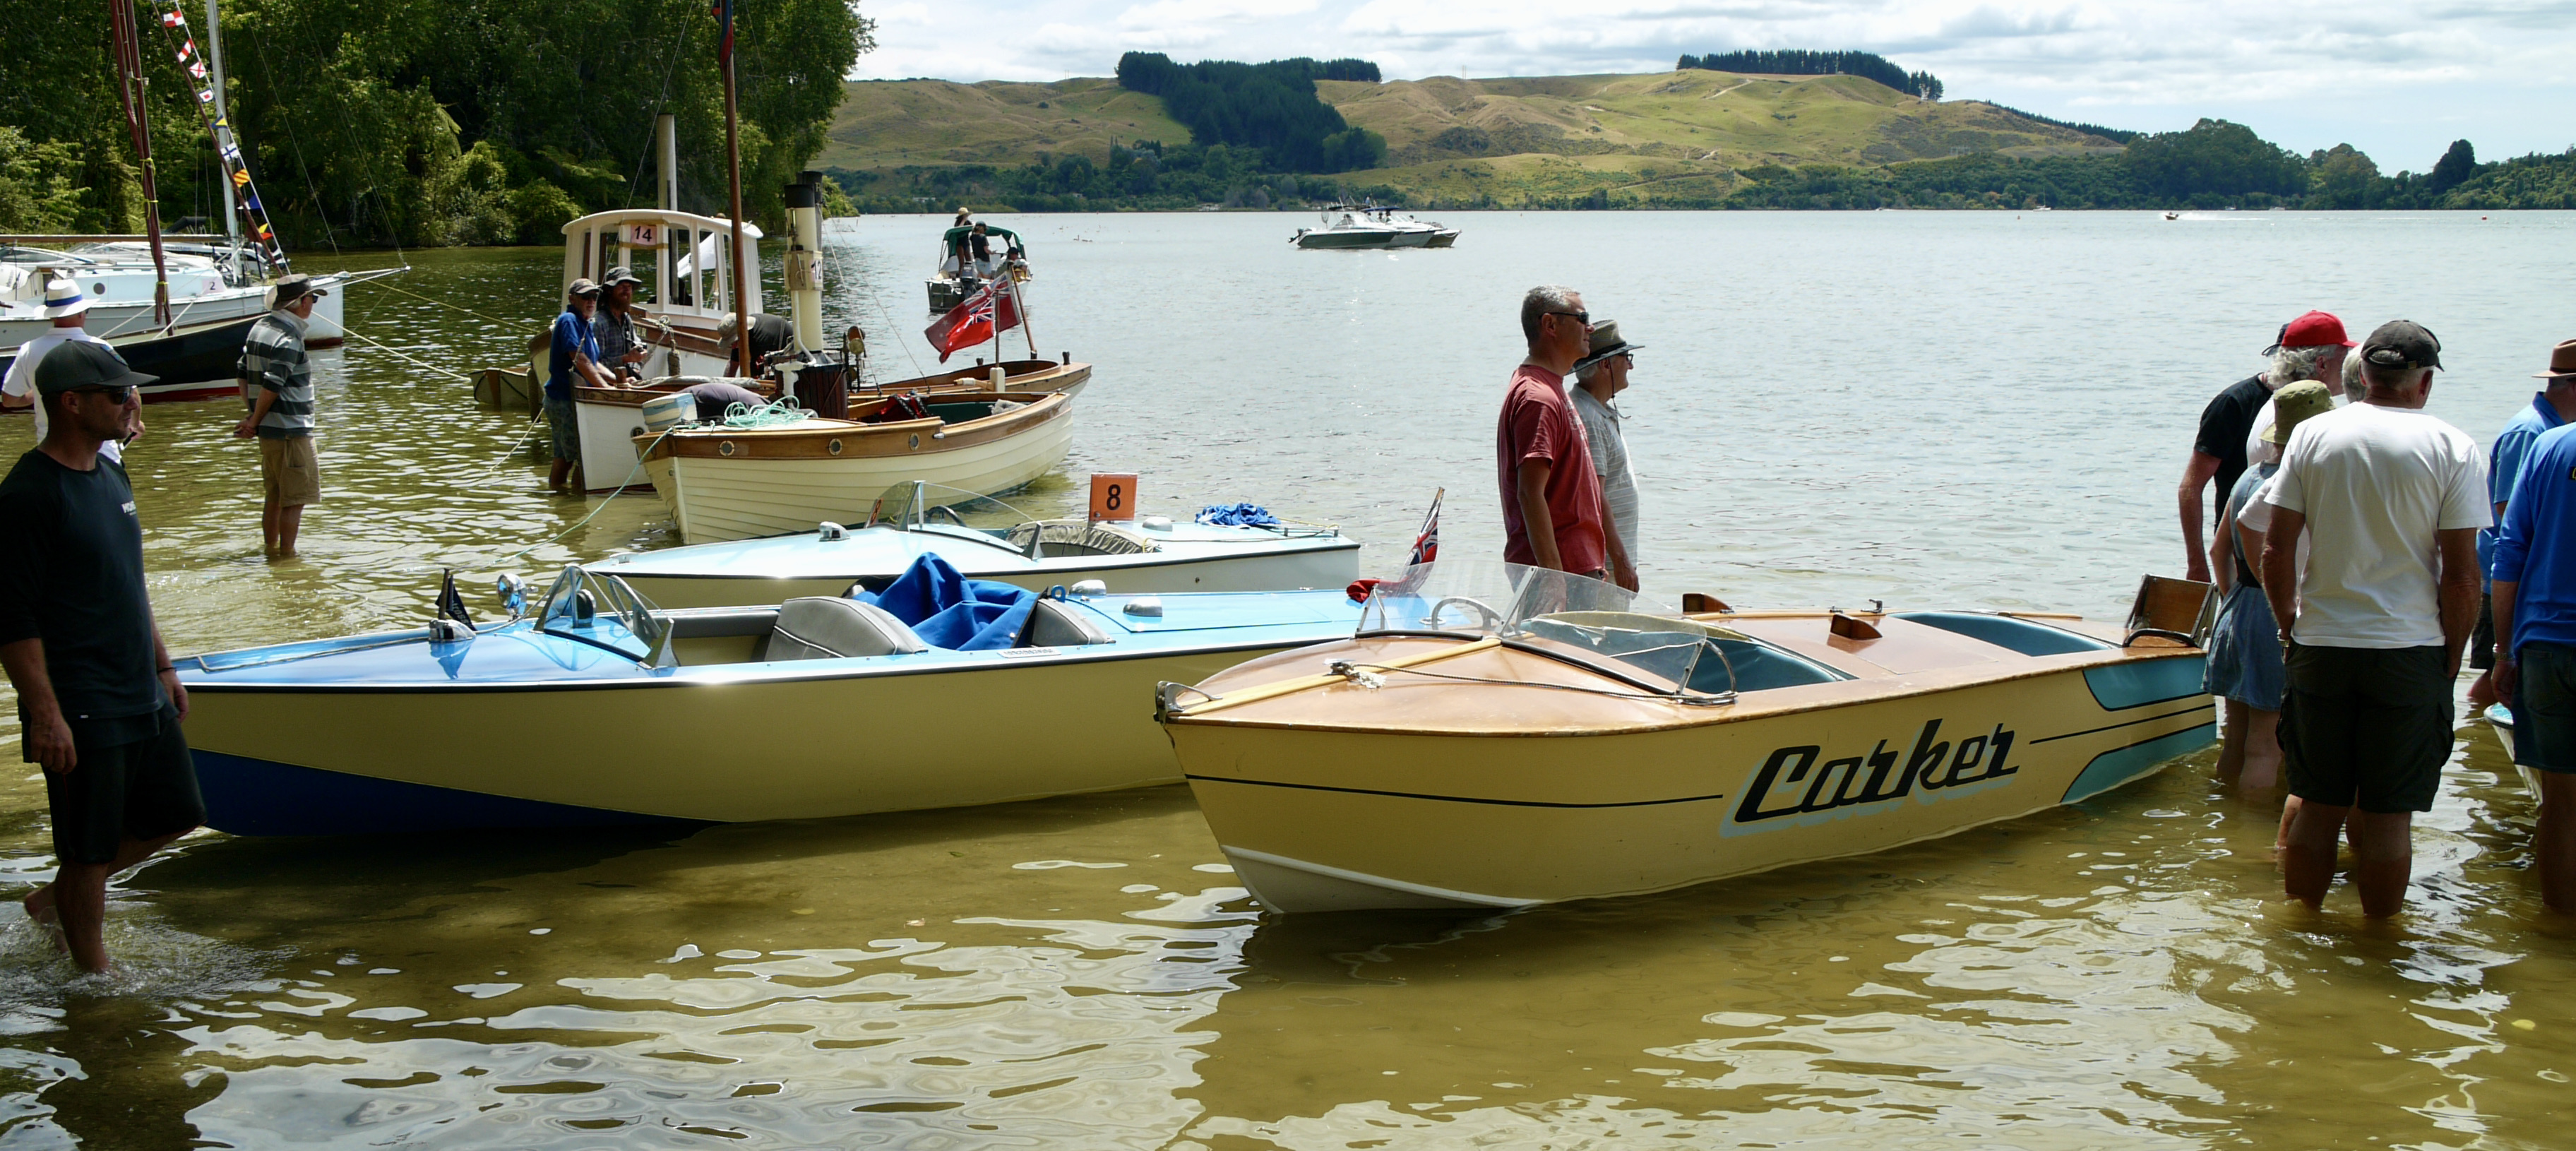
Close to 80 classic and wooden craft of all shapes and sizes – power, sail, oar and steam participated in the days events – starting with a parade that snakes around the waterfront properties and vantage points. Post parade every one heads off to Wairoa Bay for an old school boating picnic – being lake based, no issue with tides or anchoring, people just nudge up to the shore – perfect for checking out each others woody.
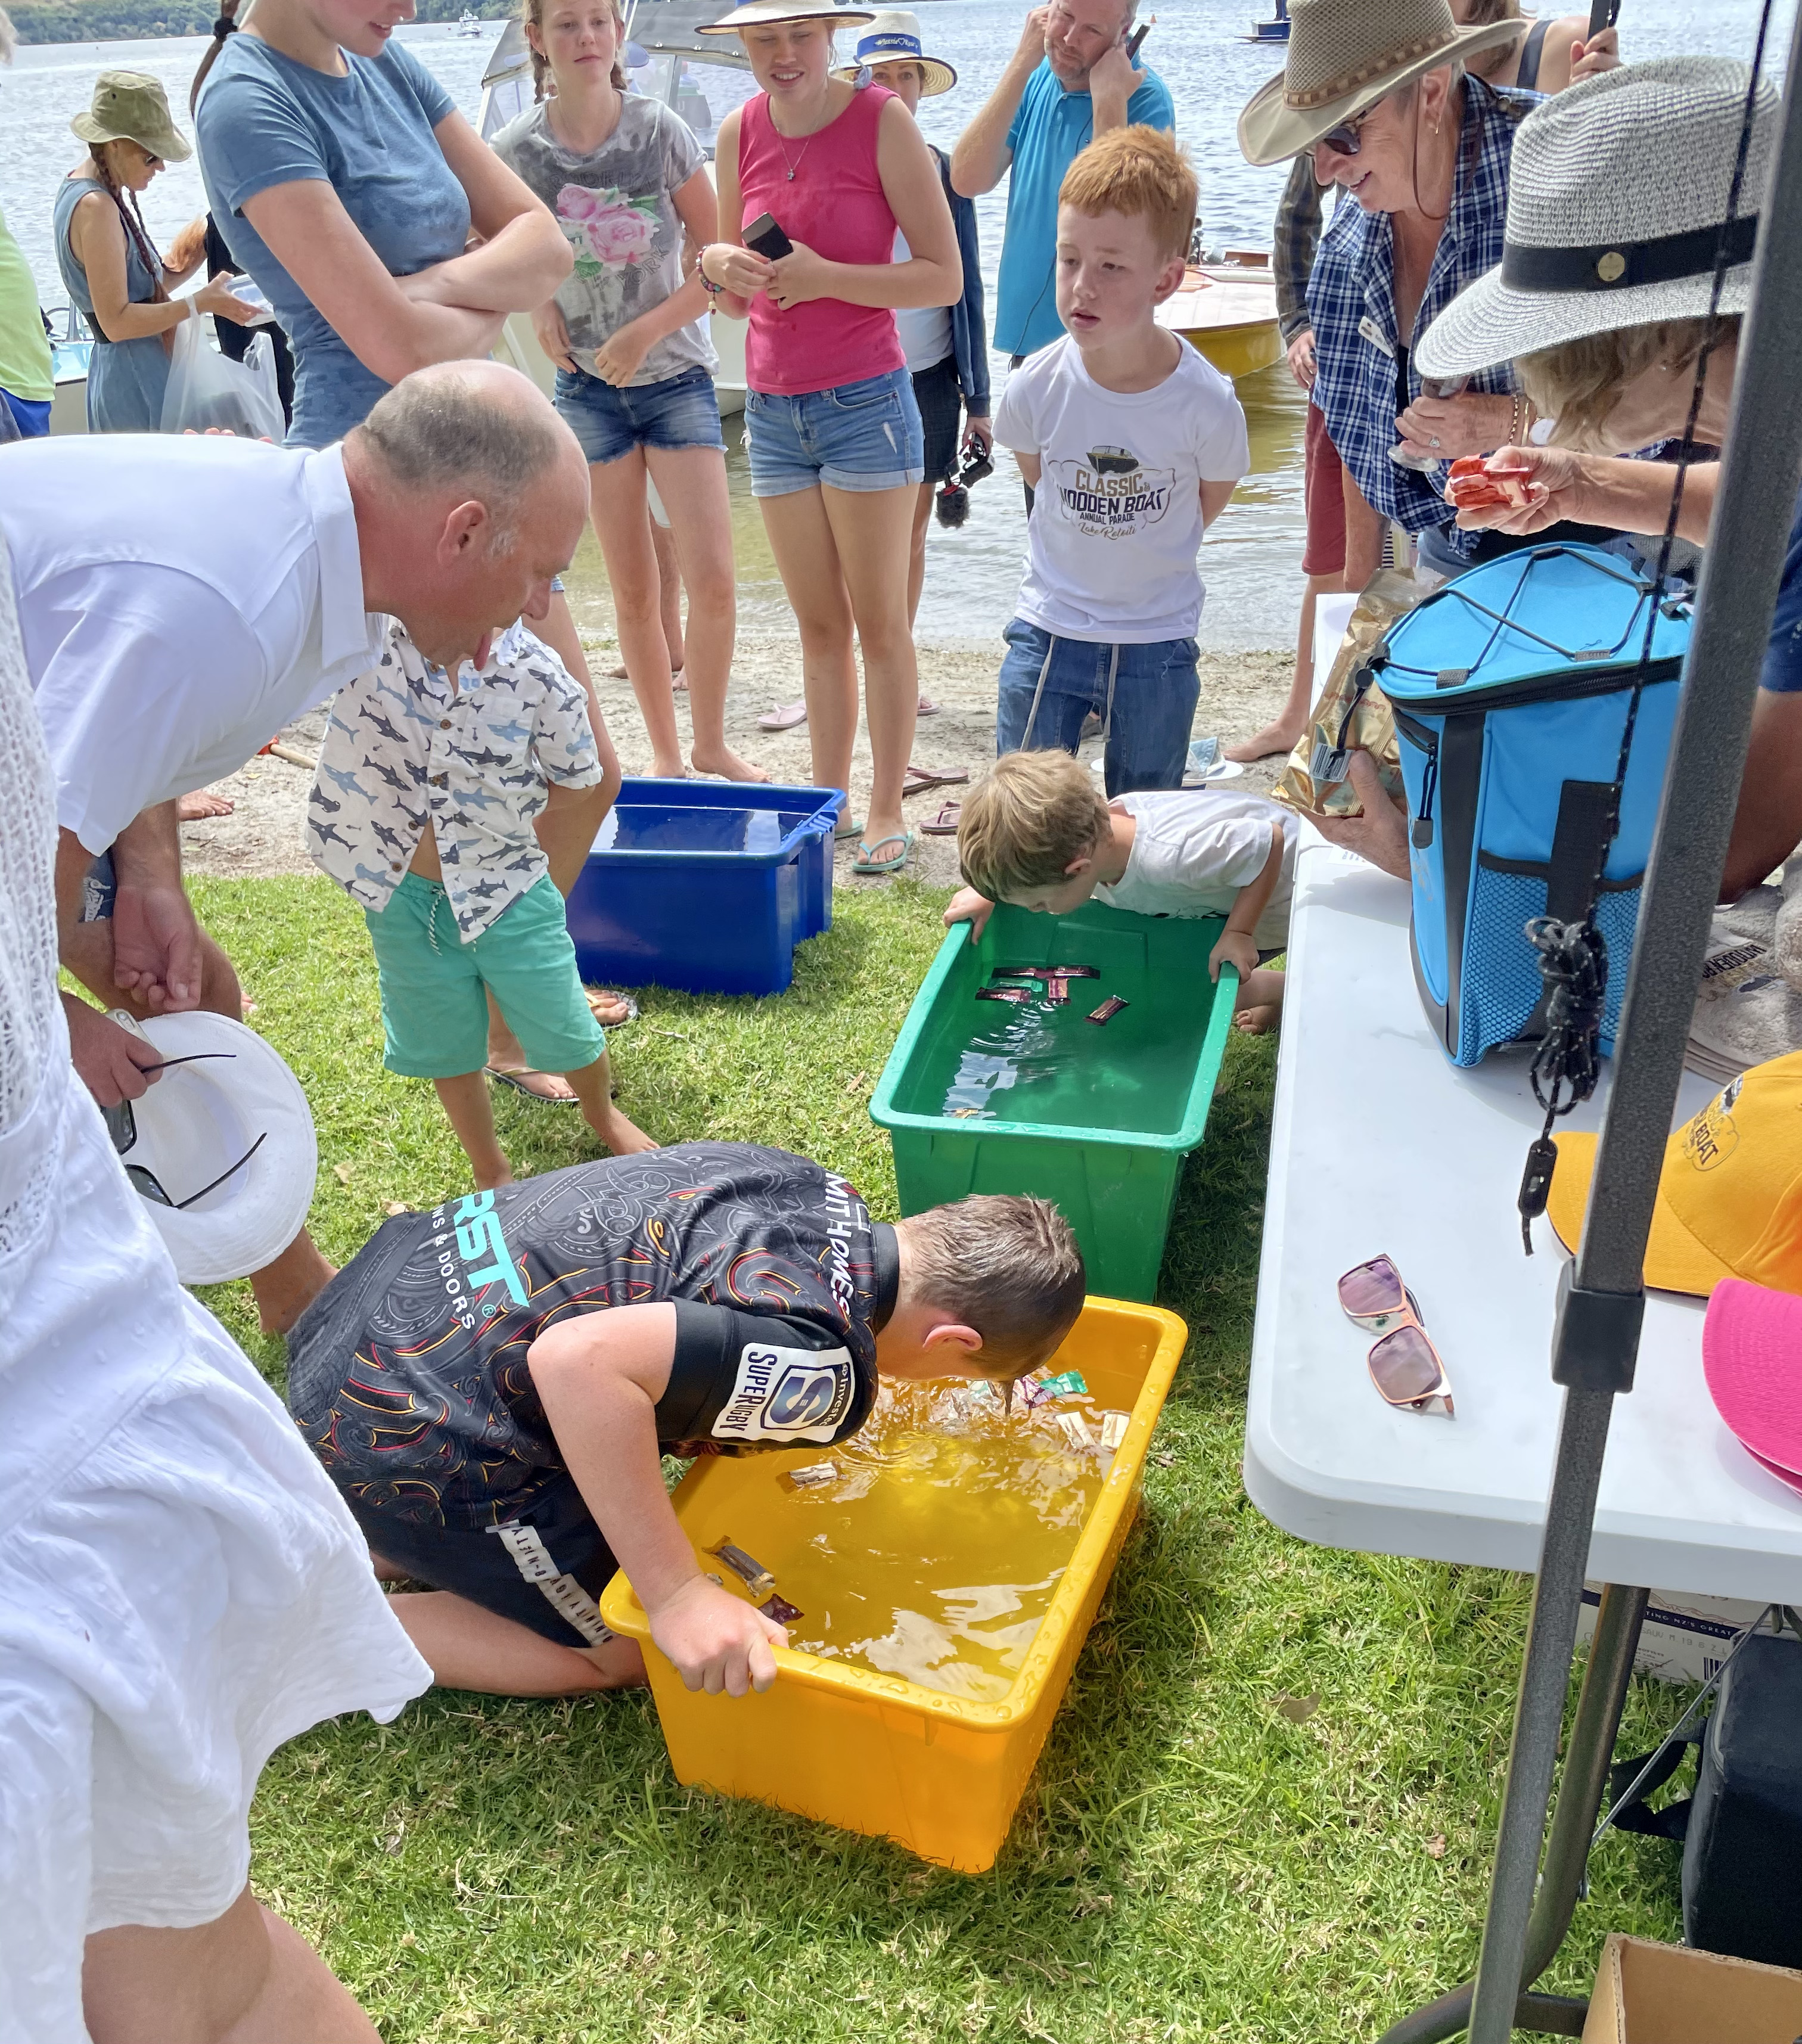
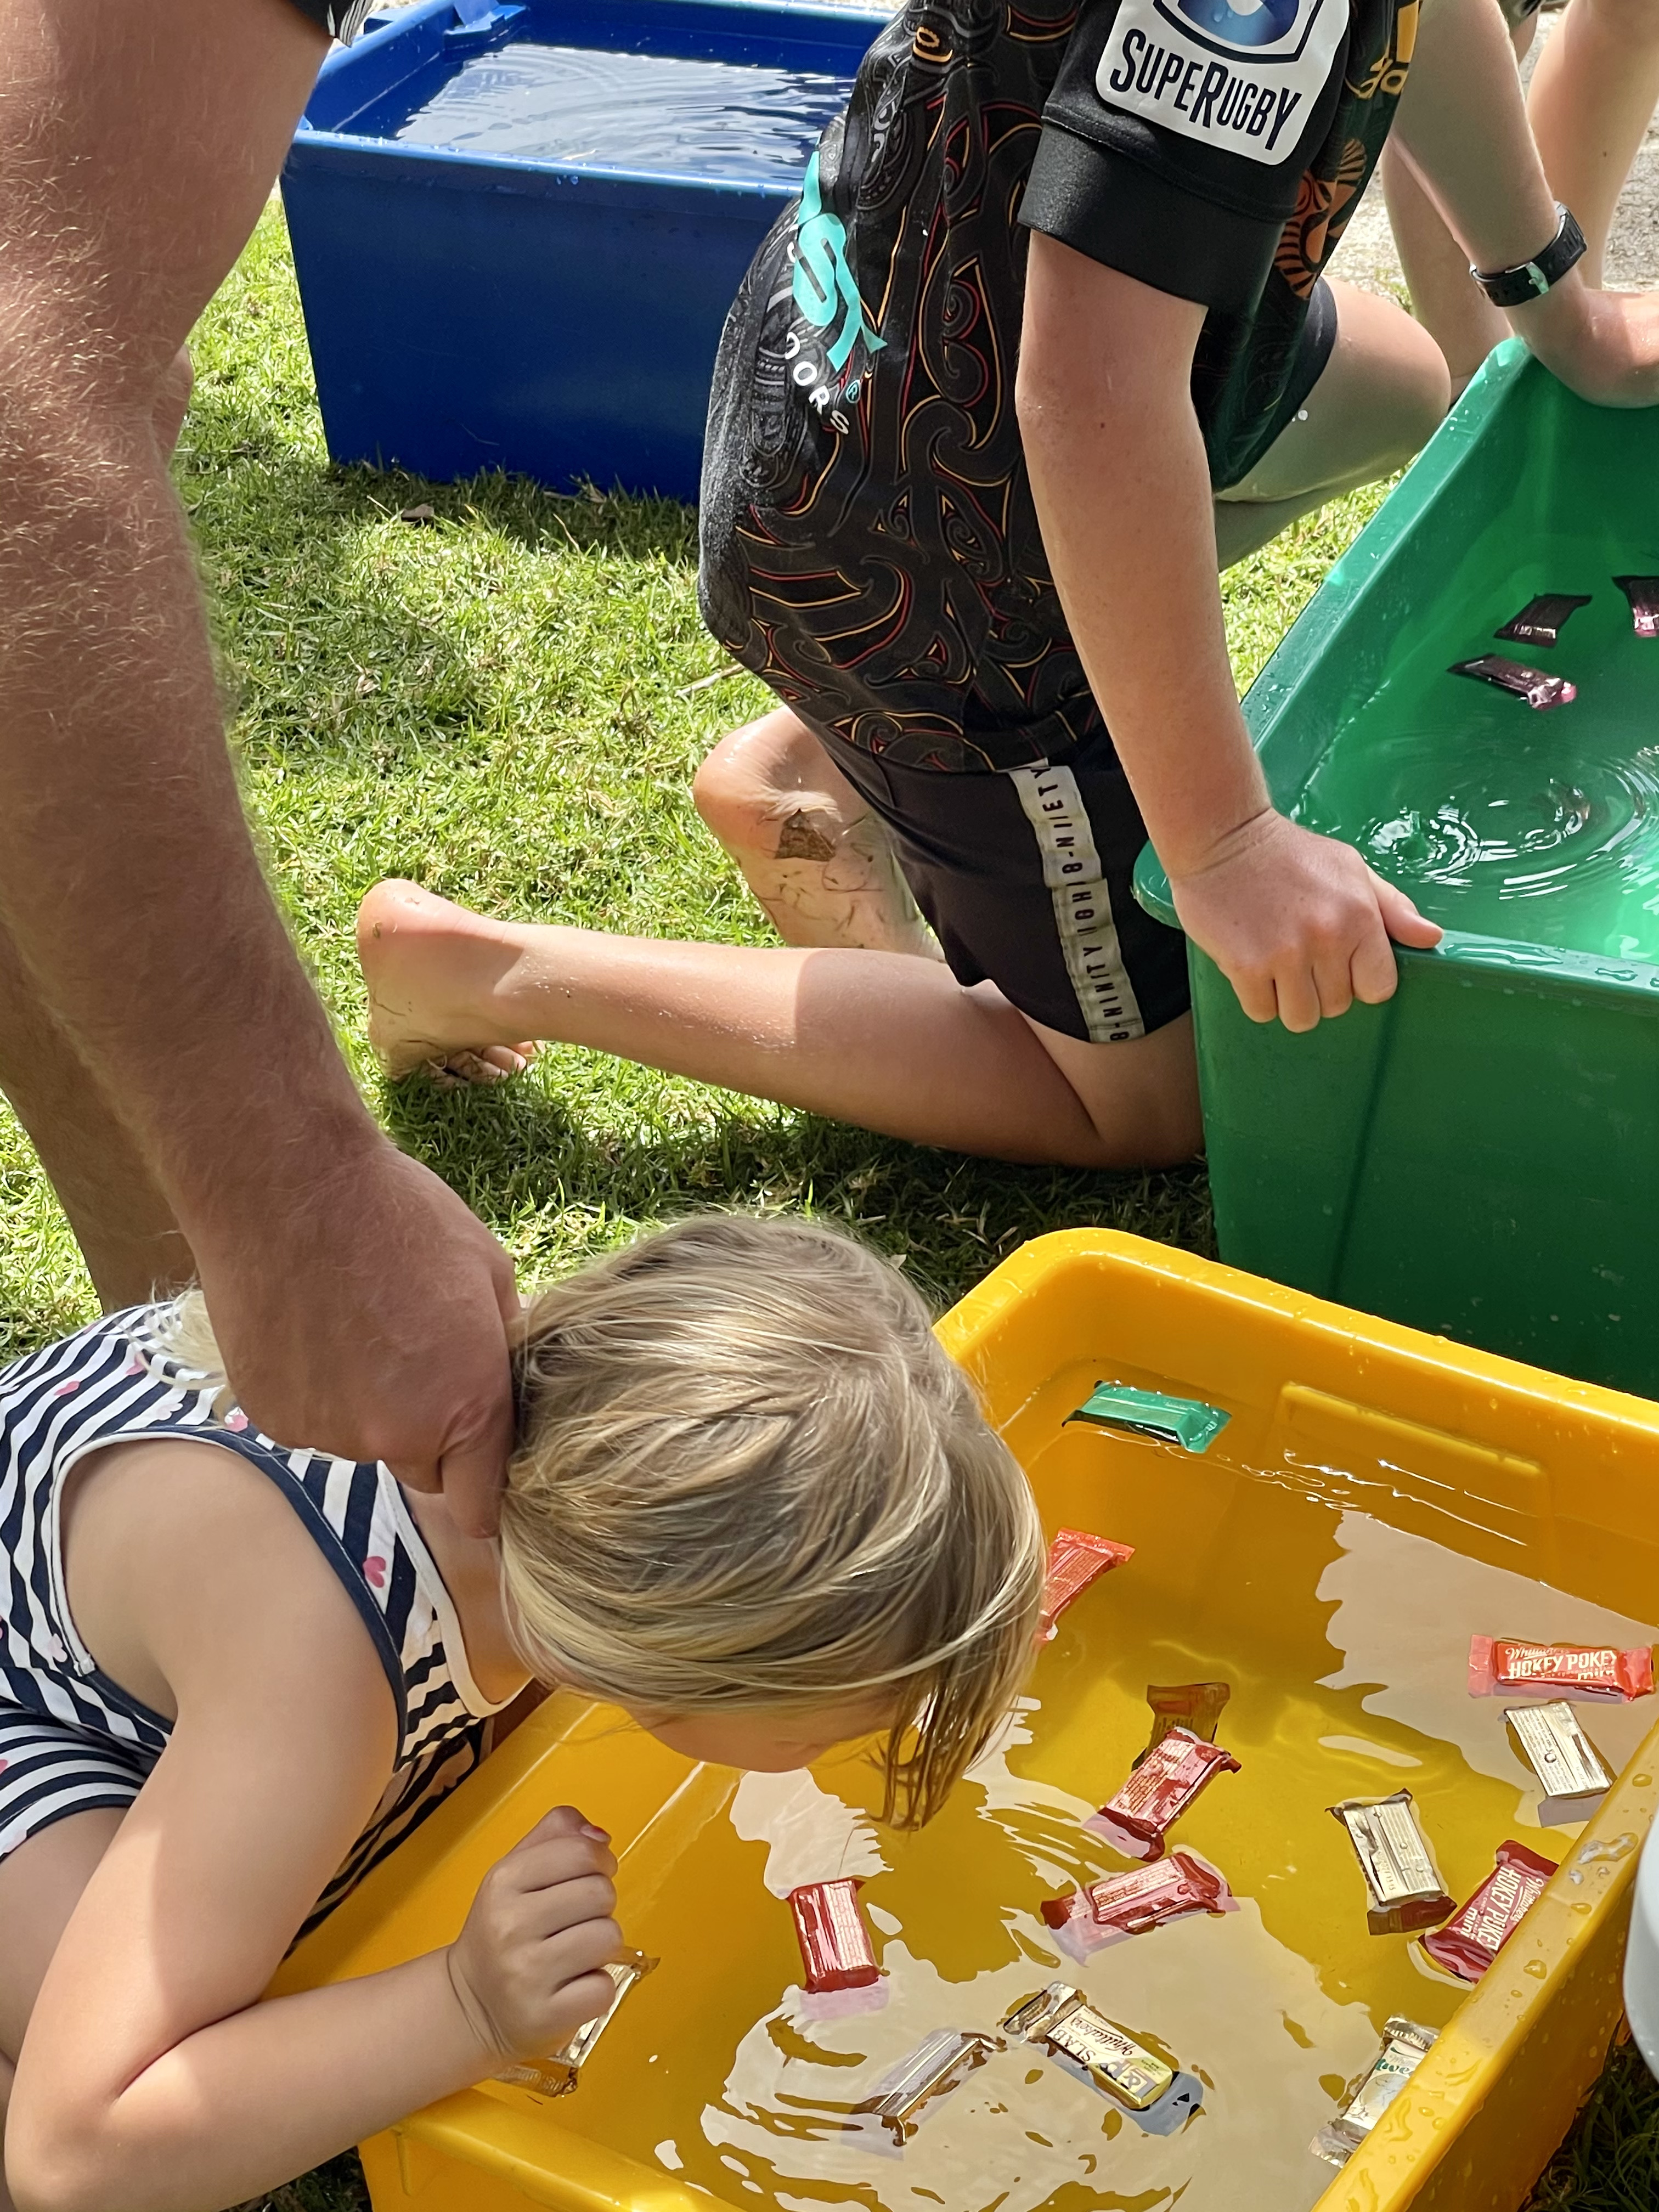
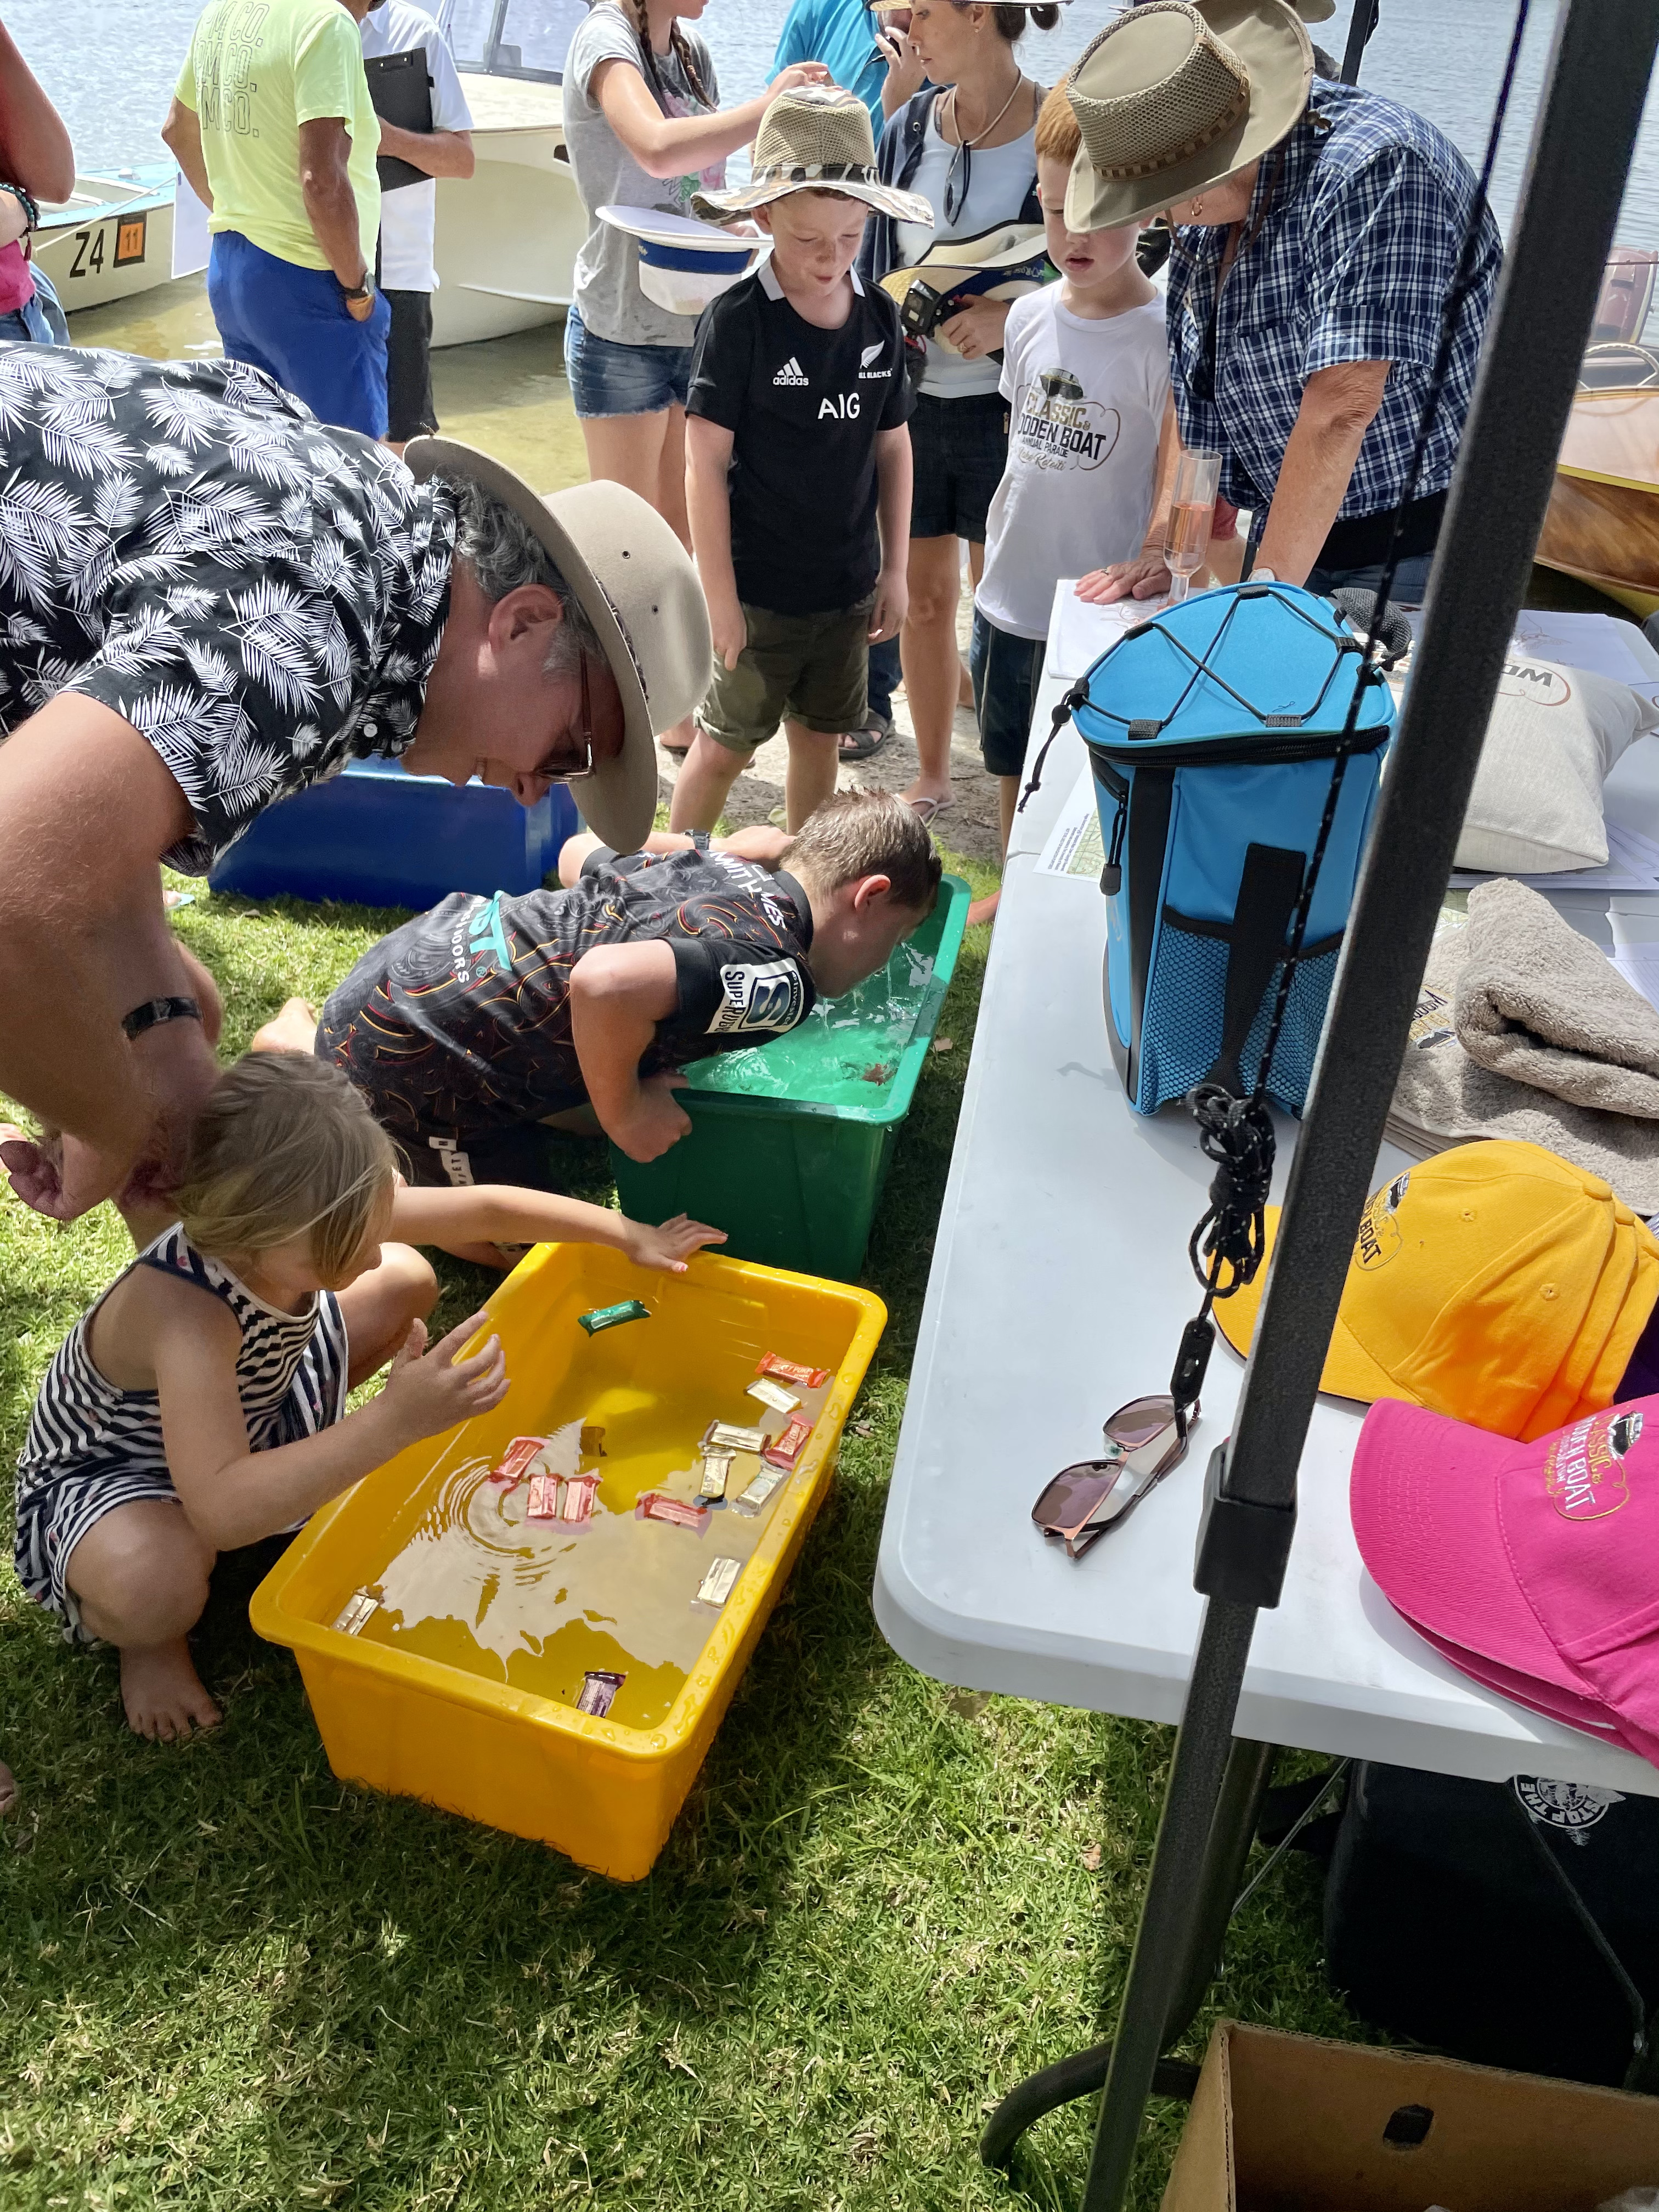
The afternoon activities had something for everyone – adults and kids activities (egg throwing, bucket diving for sweets etc) + lots of cool prizes to be won.Without a doubt its the best organised and executed boating event I have been to – very slick and the bonus – lots of nice friendly people – we like that 🙂
Enjoy the photos. As always – click photos to enlarge 😉 If I missed your boat, sorry but one boat and one camera can only be in so many places at one time – next year.